One of my other projects ( BLE MIDI kit dev blog) needs the ability to be powered from USB at 3.3v, as well as charge and discharge a battery, and ideally, not reset when you plug in/unplug the usb.
As I’ve learned recently, this is called power path management. The question about how to do this has come up a few times on the VHS slack. I’ve gone ahead and designed a board that will hopefully satisfy this need and once I figure out any bugs, I’ll incorporate it into my other project.
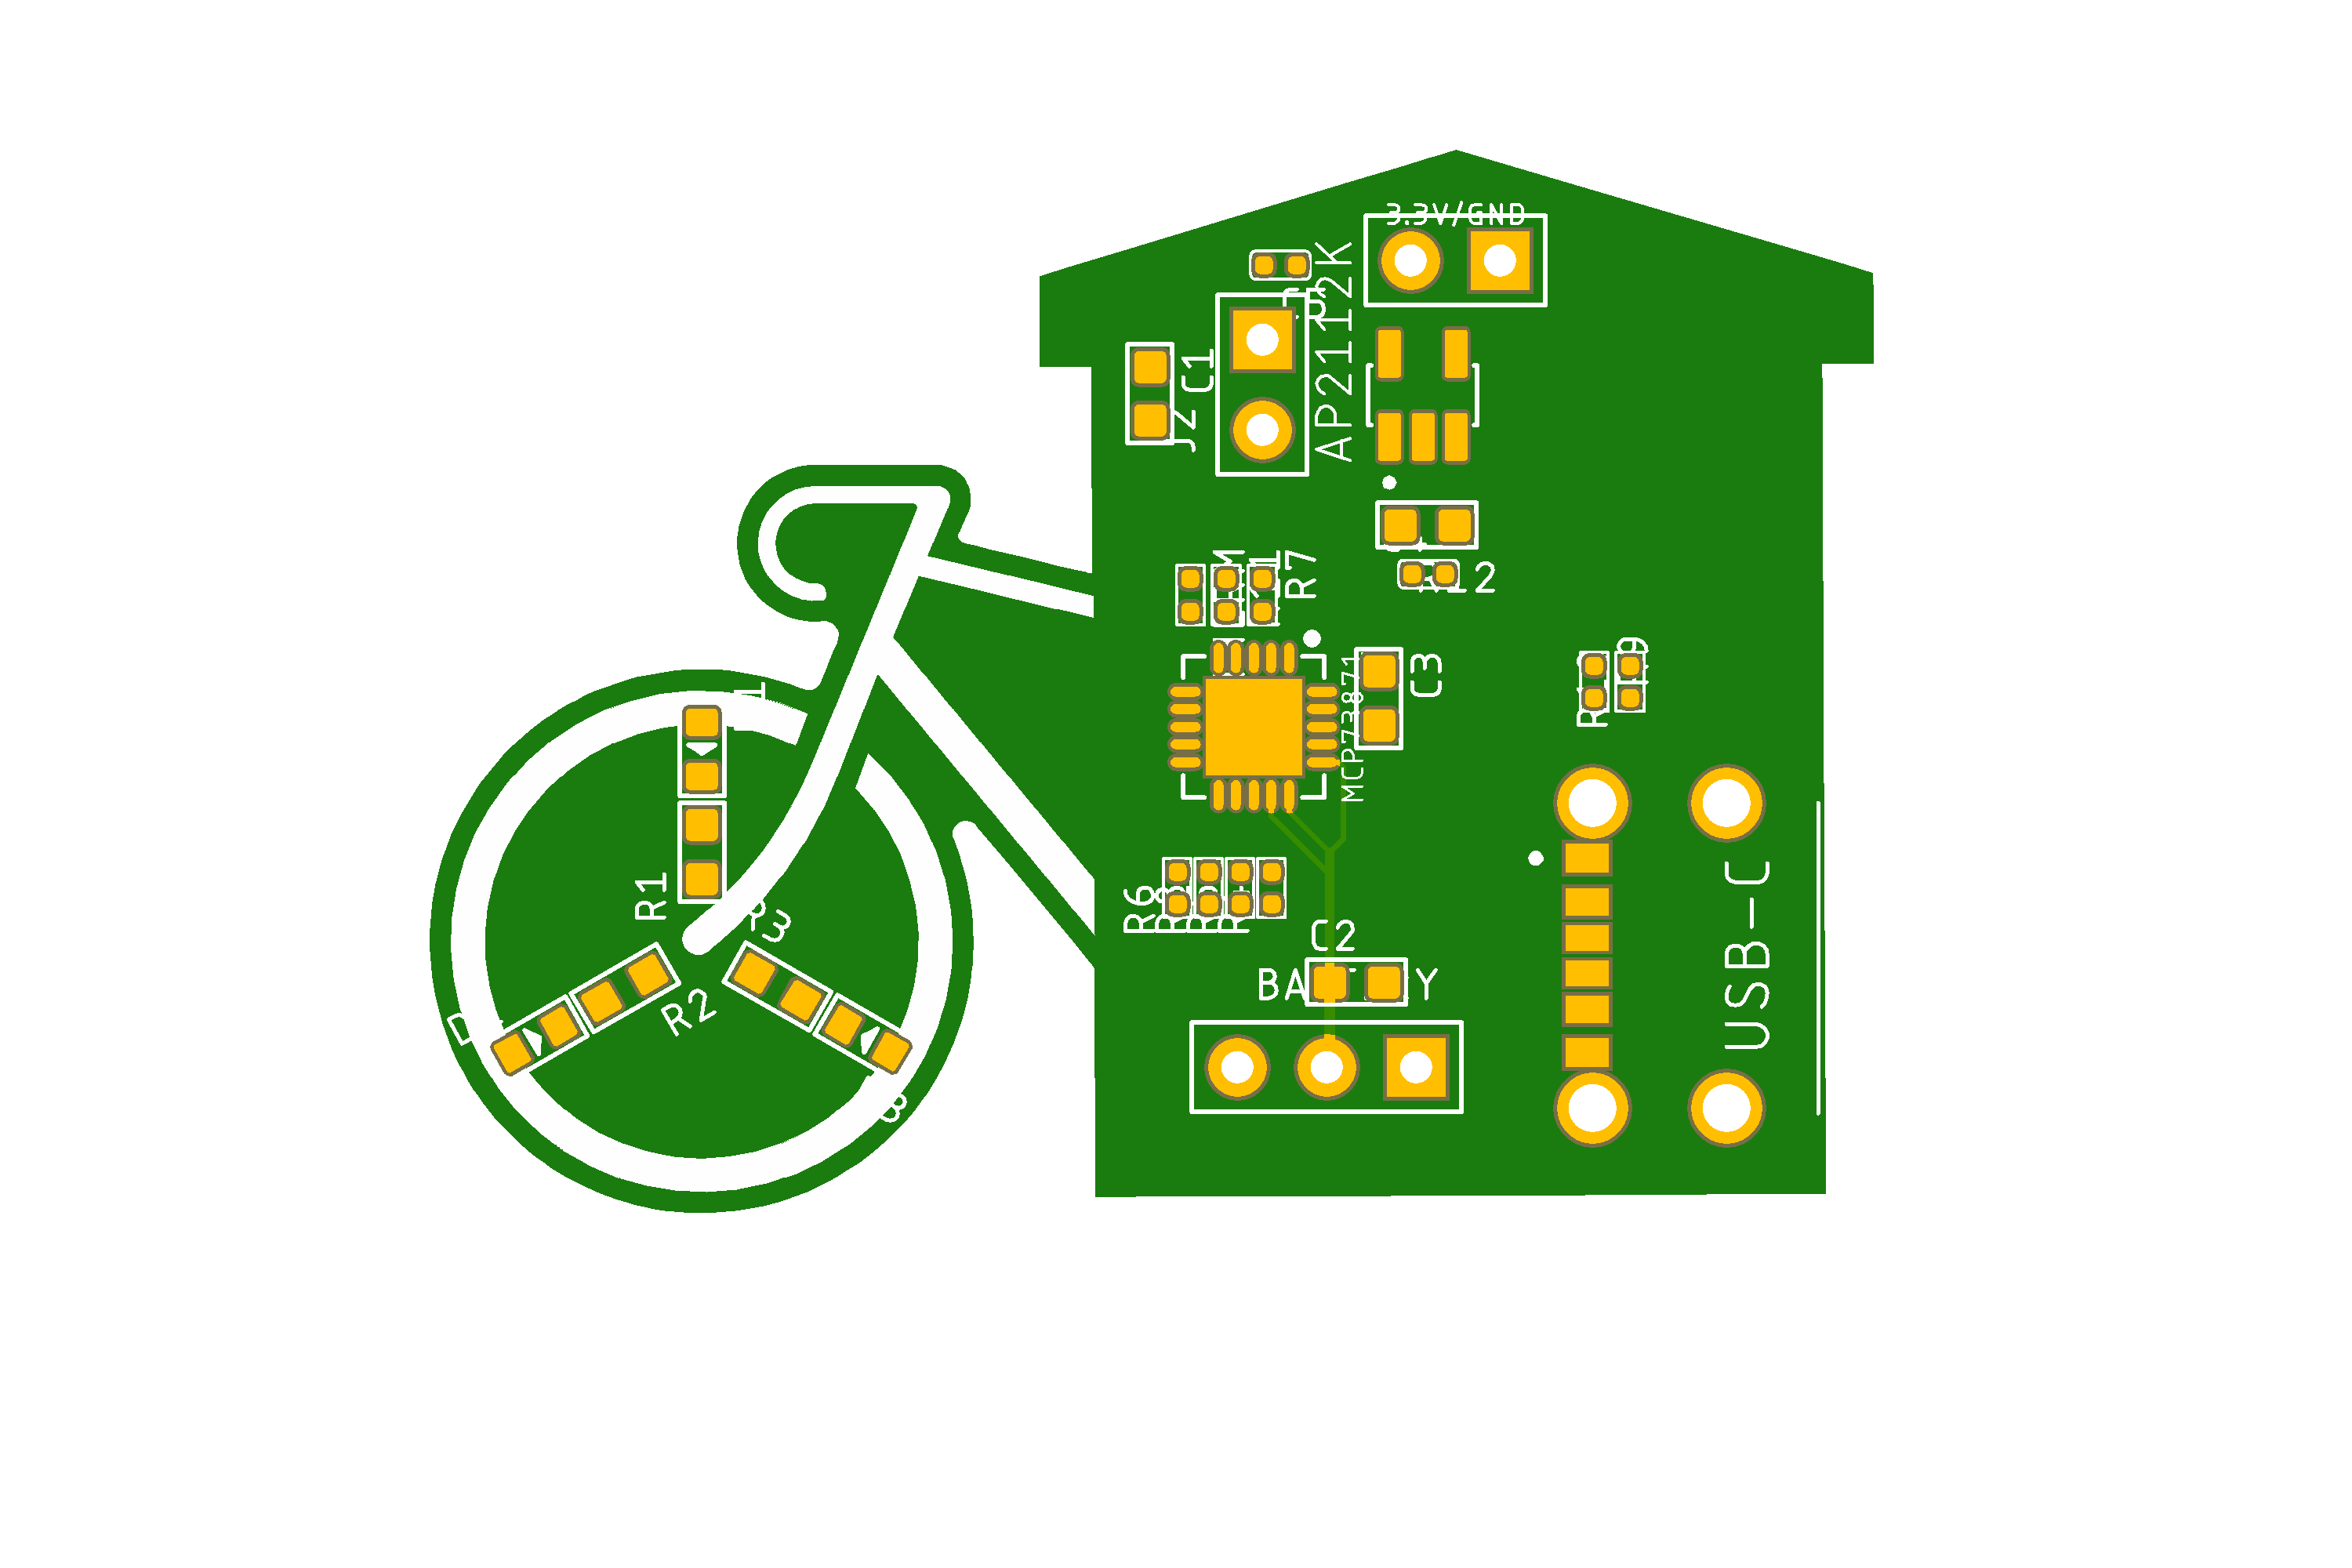
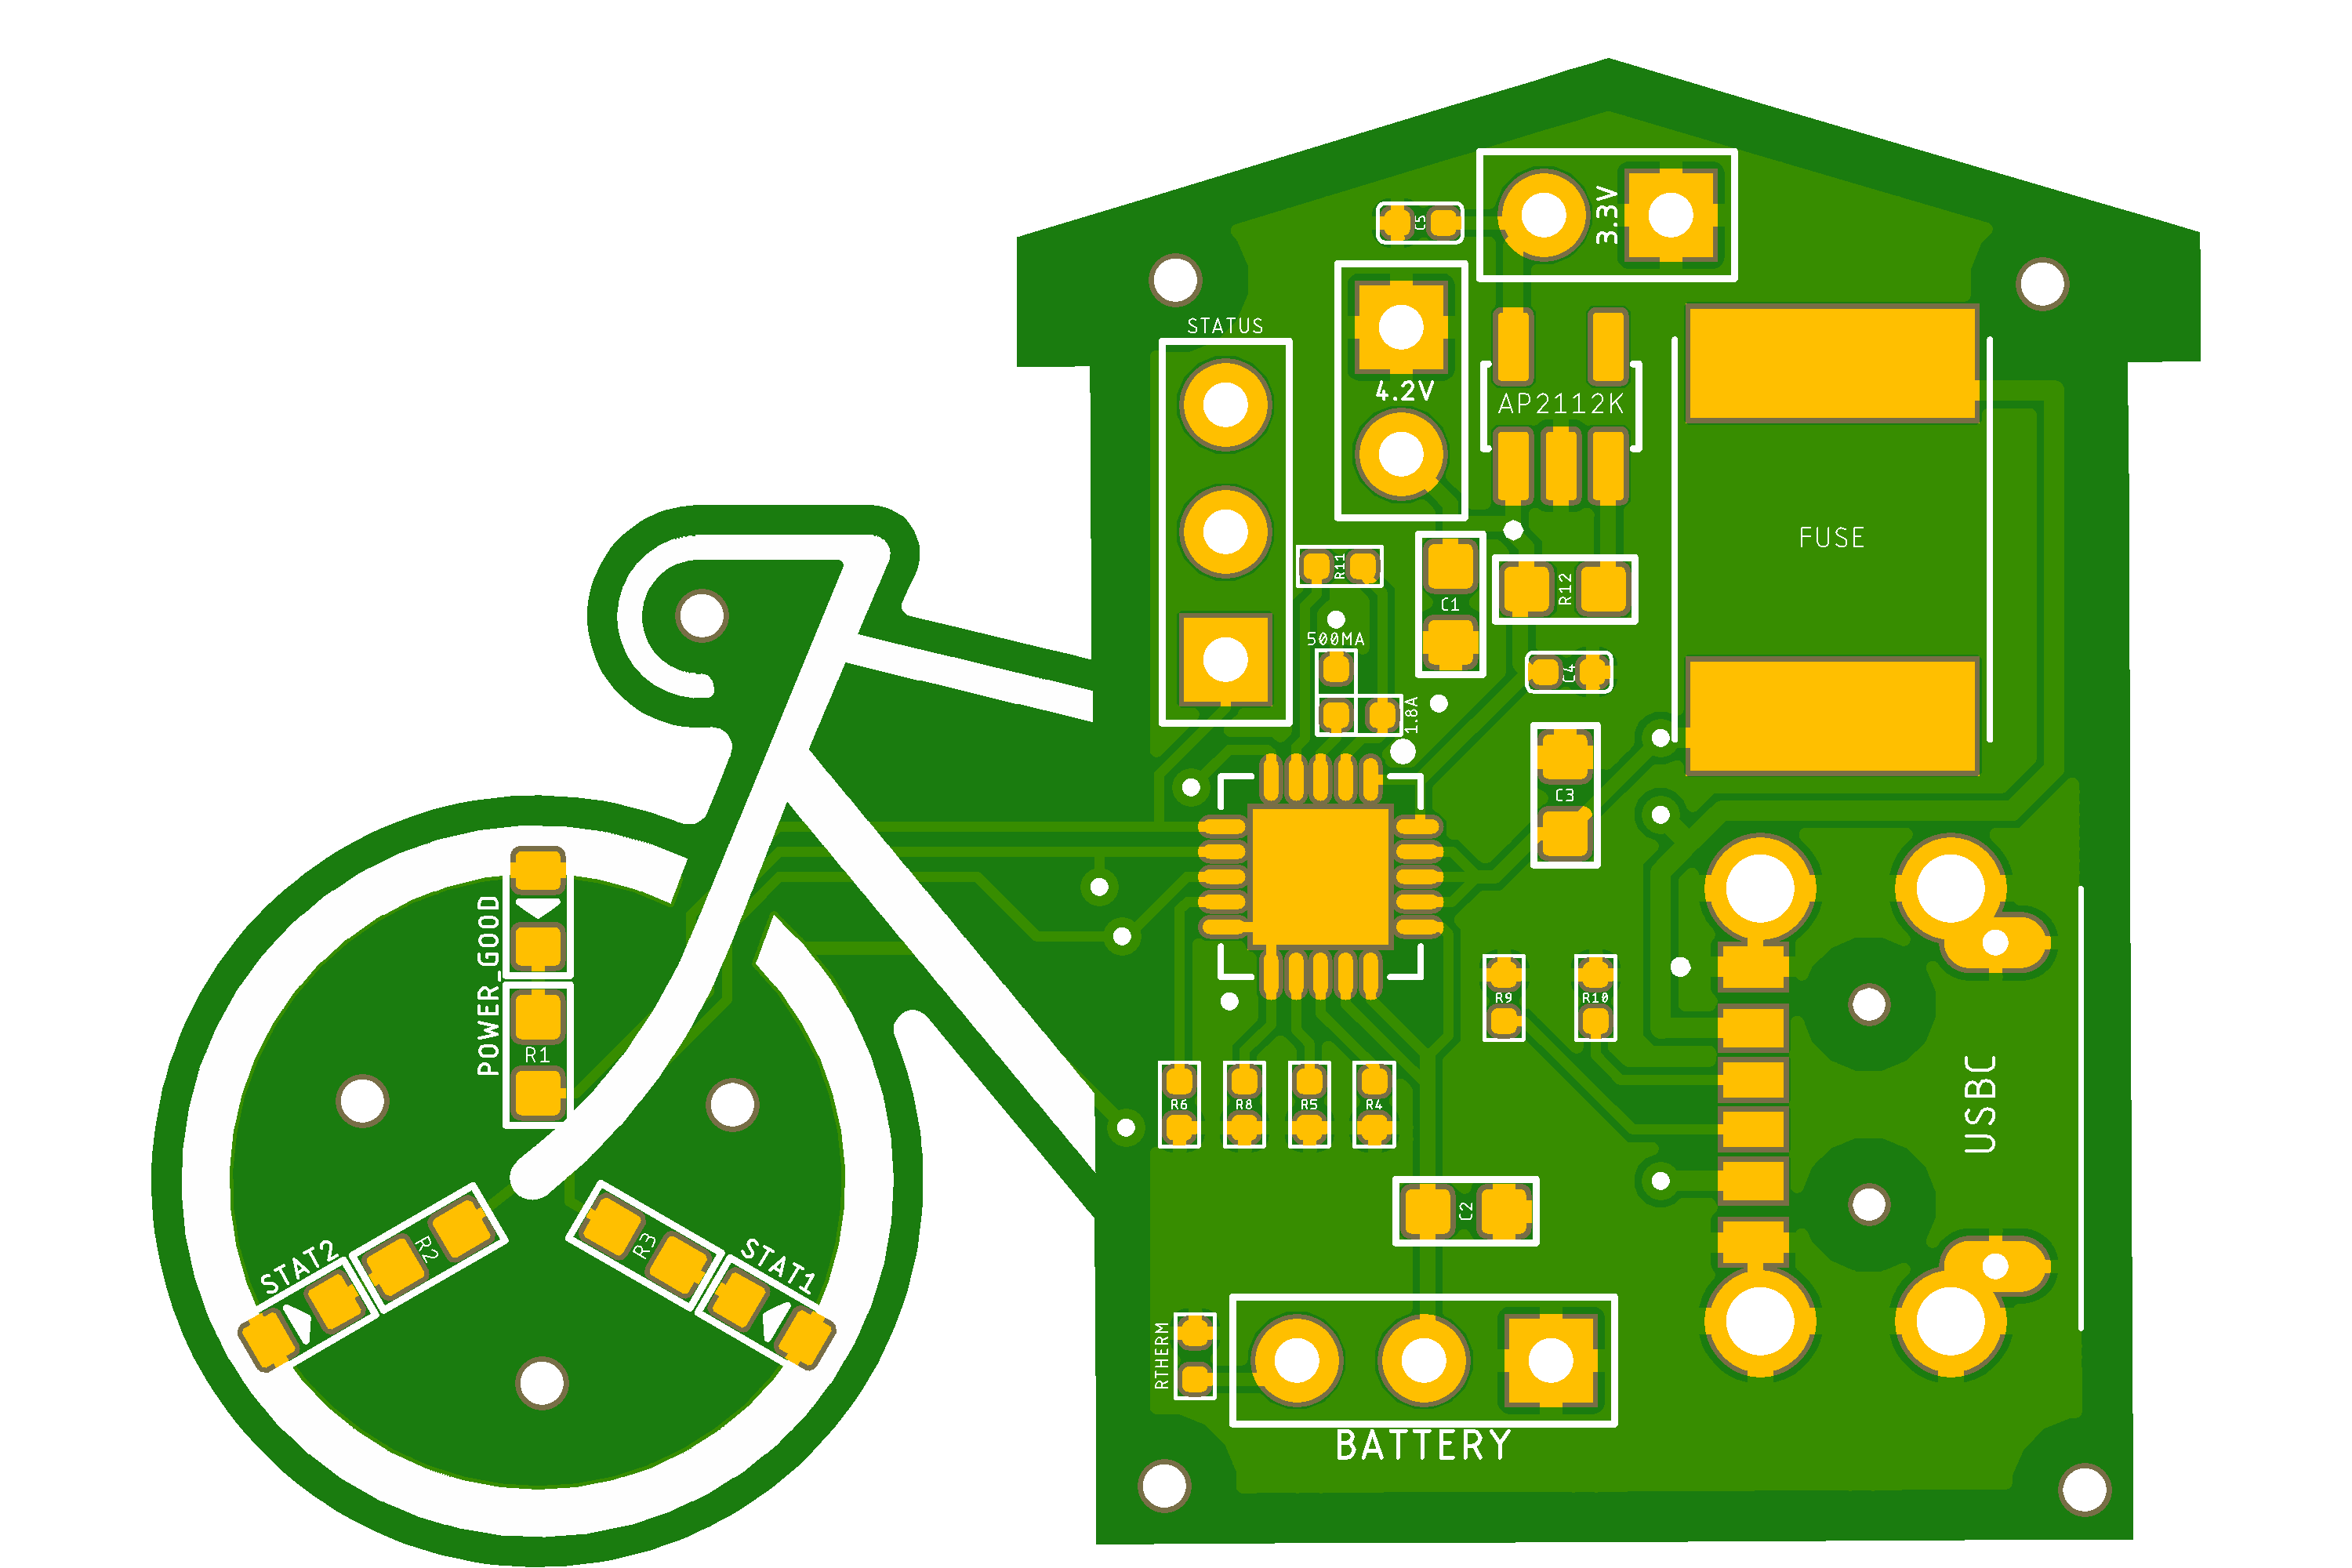
Throughout the last few days, I’ve been asking a lot of questions on the slack circuit board design channel, and I got some great feedback! One of the silly things that has happened though is I’ve gotten requests (or rather, suggestions) for a change of the USB port, twice. In proper :allthethings: fashion, I’ve instead just added ALL of them to the board.
I present to you, the most ridiculous power path board ever made.
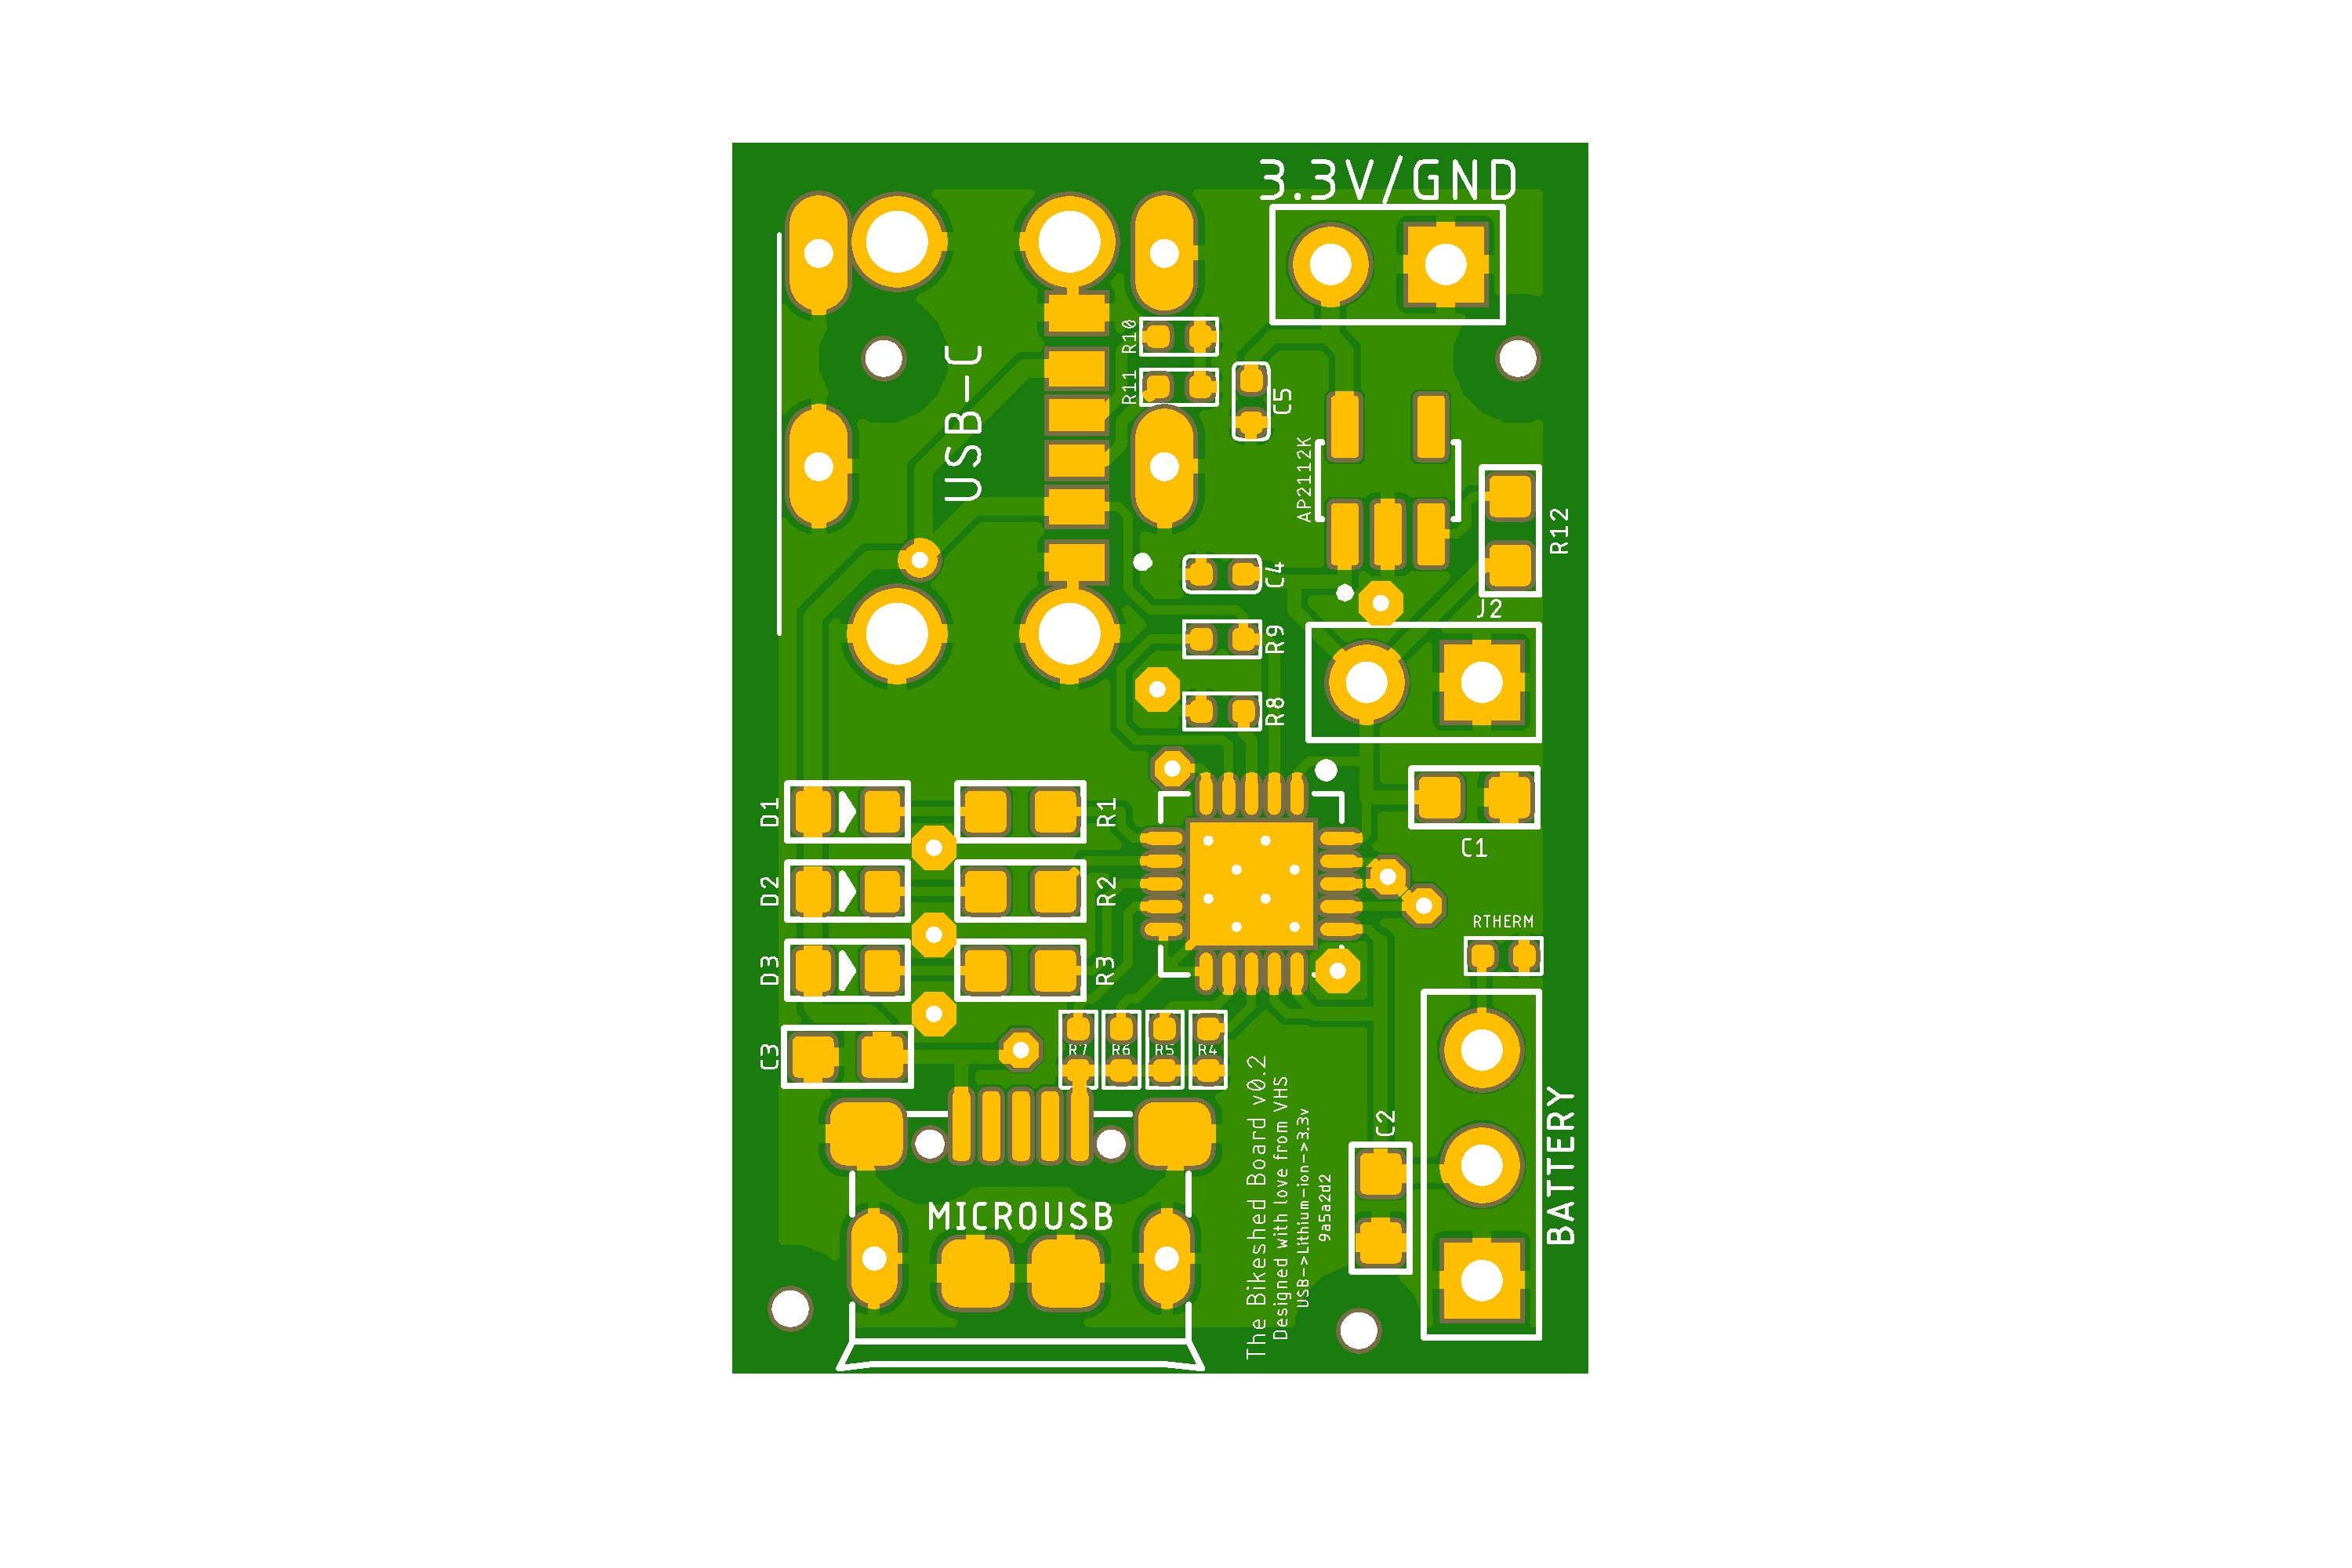
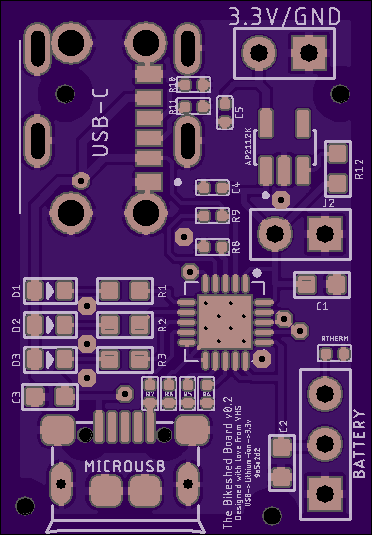
It has MicroUSB, MiniUSB, and USB-C connectors (you really should only solder one, but I won’t stop you if you want to solder more than one). It supports Lithium-Ion charging, and outputs sweet sweet 3.3v… in theory.
I sent it off for fab tonight. If this all goes well, I’ll make this board available as a kit.
Coming along… I have mounting holes all over, PTC fuse, status indicator pinouts, a bit more spacing for the resistors so they are easier to place (still going to be a pain). MicroUSB is in there on the reversed side.
The last major thing to do that is on my list is to add a couple ESD diodes for the CC lines, and of course test the first prototype to make sure most of the first assumptions are correct.
Also, I realized that I don’t need an SAO connector since my original output already complies to the power spec!
I’ve got 2 sets of boards coming in. I’m not an SMD soldering master (I’ve SMD soldered fewer chips than I have fingers).
I’ve got all the parts and boards on their way. While I’ll be soldering up a few myself, if anyone is interested in helping me validate this board, I’ll provide you a free board and set of components if you want to be beta tester!
Please sign up here if you are interested. I’m arbitrarily setting the limit it at 5 slots. Board and components should be here in ~3 weeks.
Awesome, thanks everyone. I’ll keep you updated with the shipping process.
How should I go about making a stencil? OSHPark didn’t seem to have that as an option. I assume I can output a layer and just etch that on something on the laser?