For the last 2-3 months we’ve been working on an Injection Molder for VHS based on the Precious Plastics design. My motivation for building the machine was to be able to do relatively cheap/rapid prototyping for my juggling club holders when resin casting proved too brittle. @msearracanada wanted in on the project, being more experienced than I and having an idea for a project of his own. Since starting the Injection Molder, we’ve had help from a huge number of members all offering different areas of expertise and advice. I was going to do a Talk post once we were done, but the project has taken a lot longer than expected and this first post is going to be long enough as it is. I’ve left out some of the less important or interesting things like drilling holes, cutting lengths, buying fasteners, etc. So without further ado…
~ The Chronicle of the VHS Injection Molder ~
December 2017
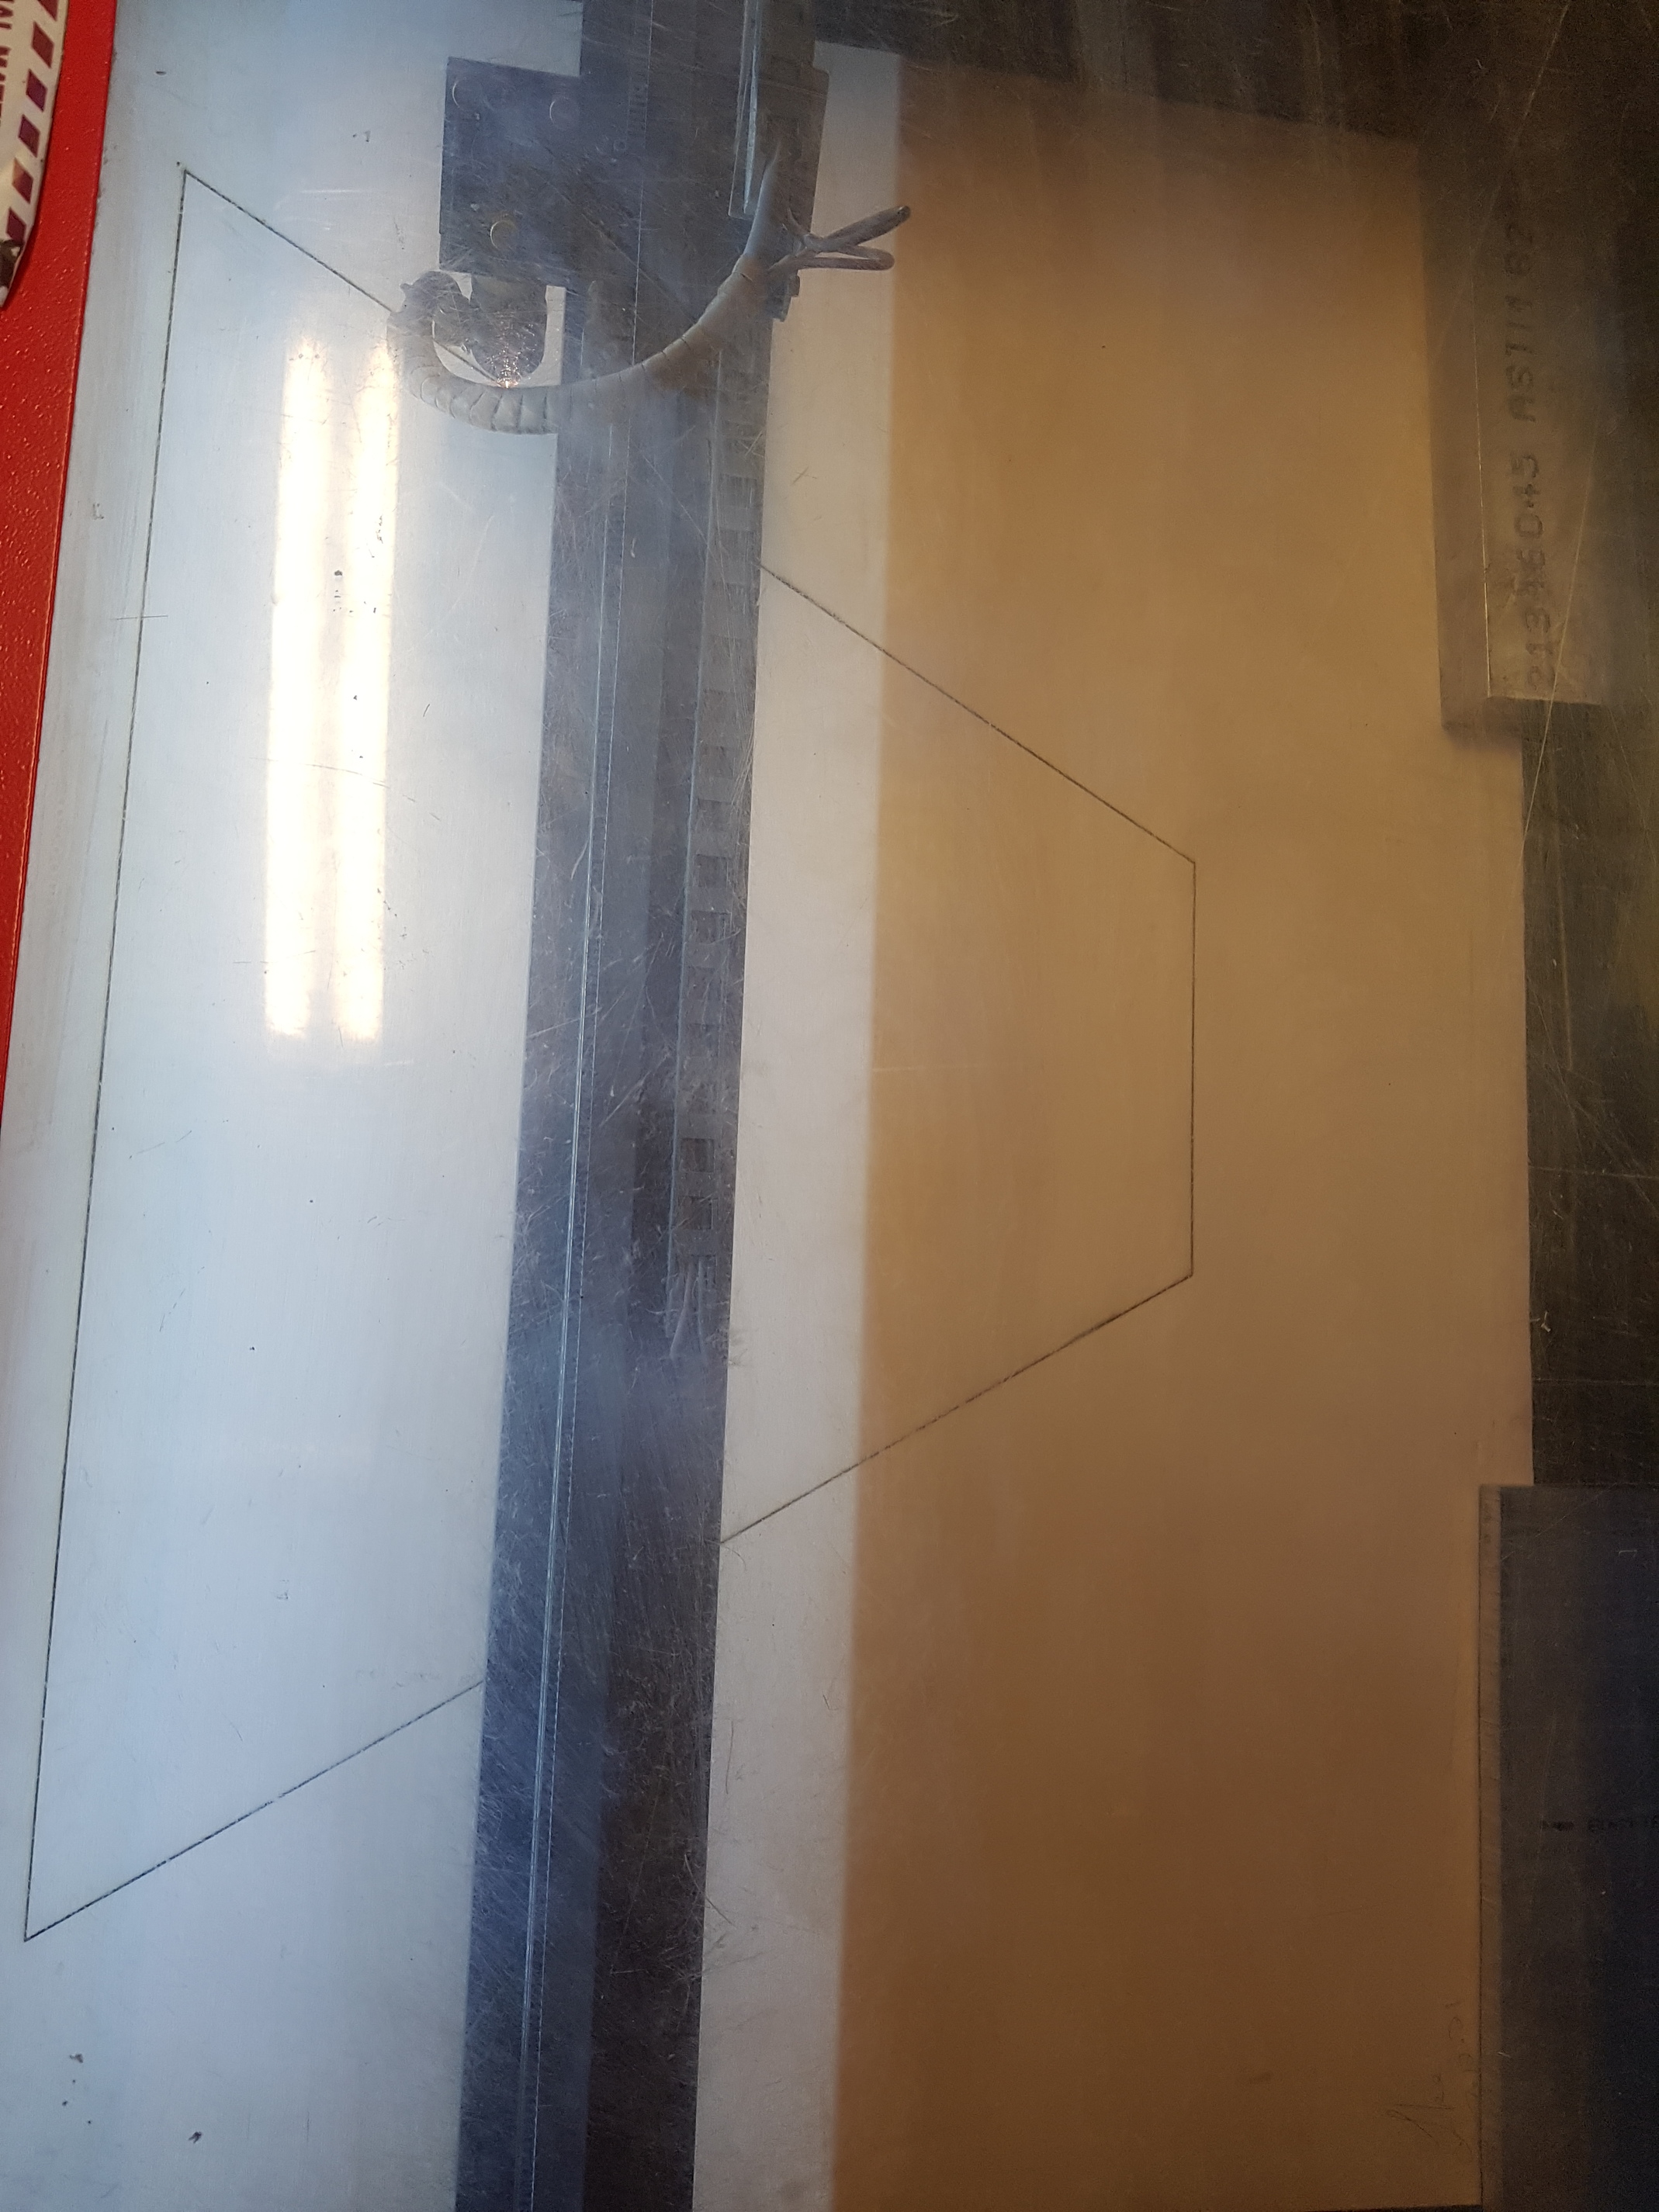
I collected all the required materials from the junkyard at NorthStar Metal Recycling and Metal Supermarket. On our first build day we cut the sheet metal for the hopper with the help of @faja66 and cut a section out of our barrel for the plastic to flow in. Unfortunately, the bottom of the hopper needed to have a very small and accurate curve to hug the barrel - the angle grinder wasn’t going to cut it (zing!). So the plan for next time was to try to CNC the sheet metal.
January 2018
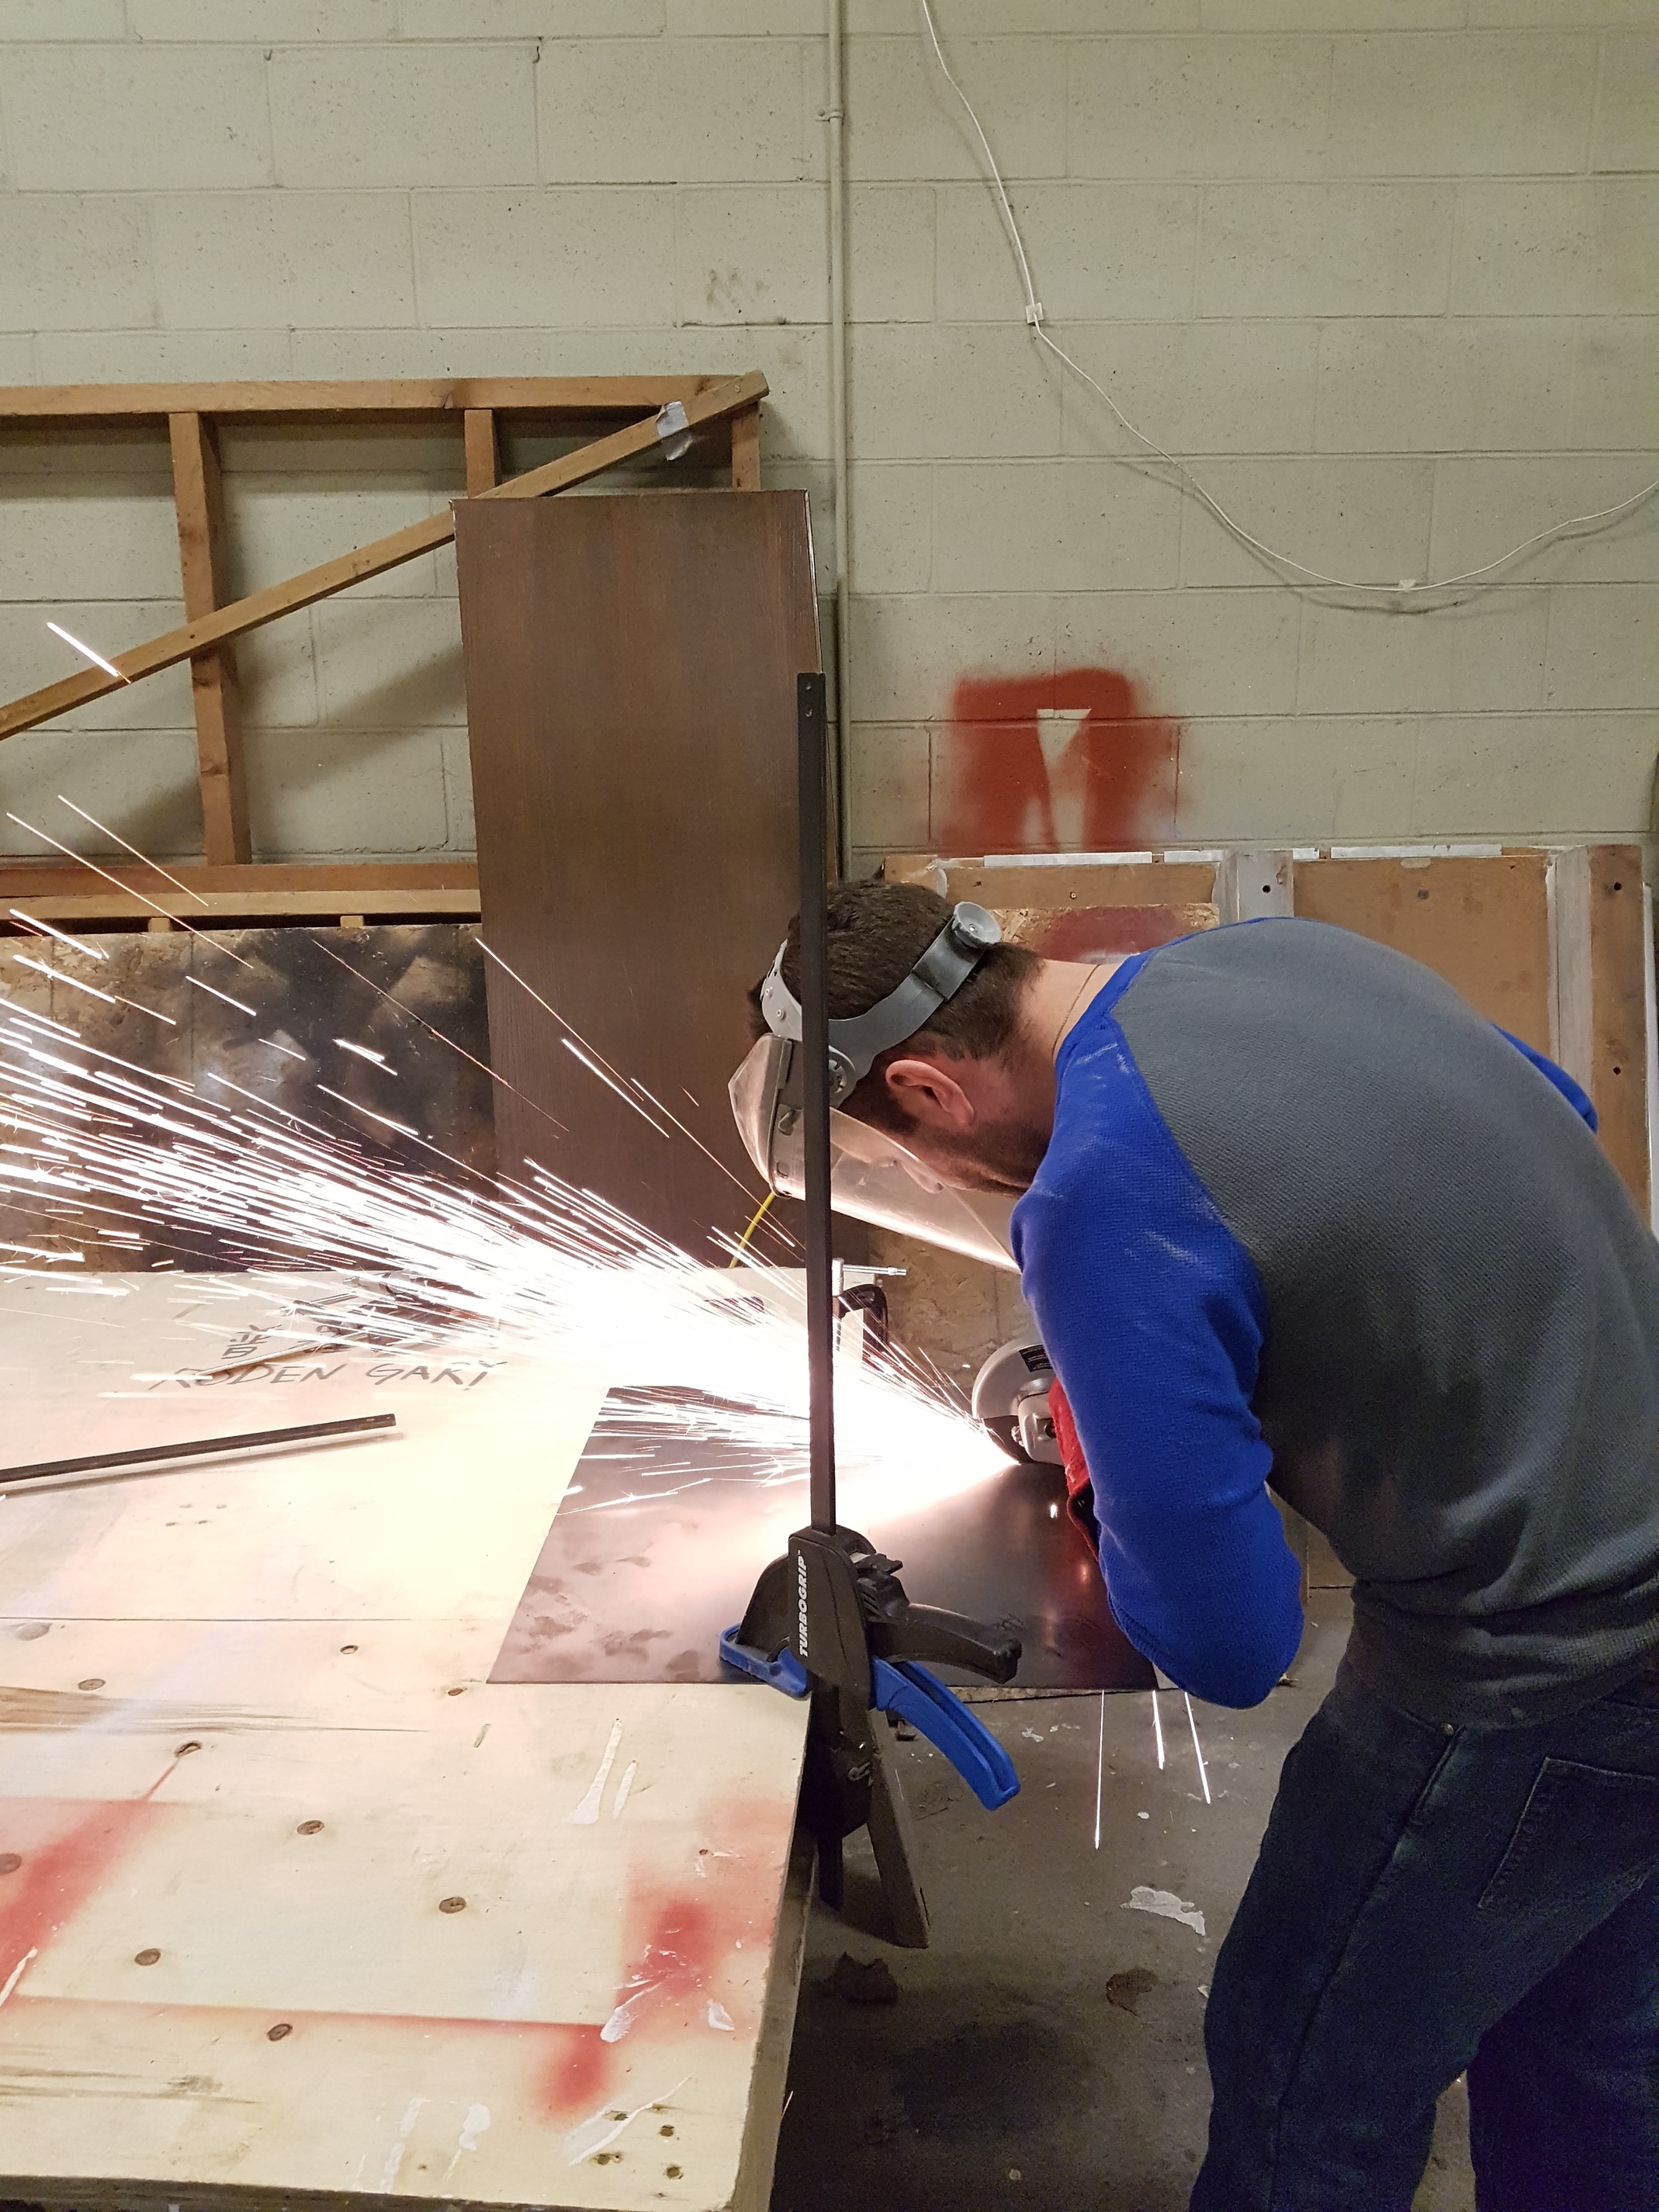
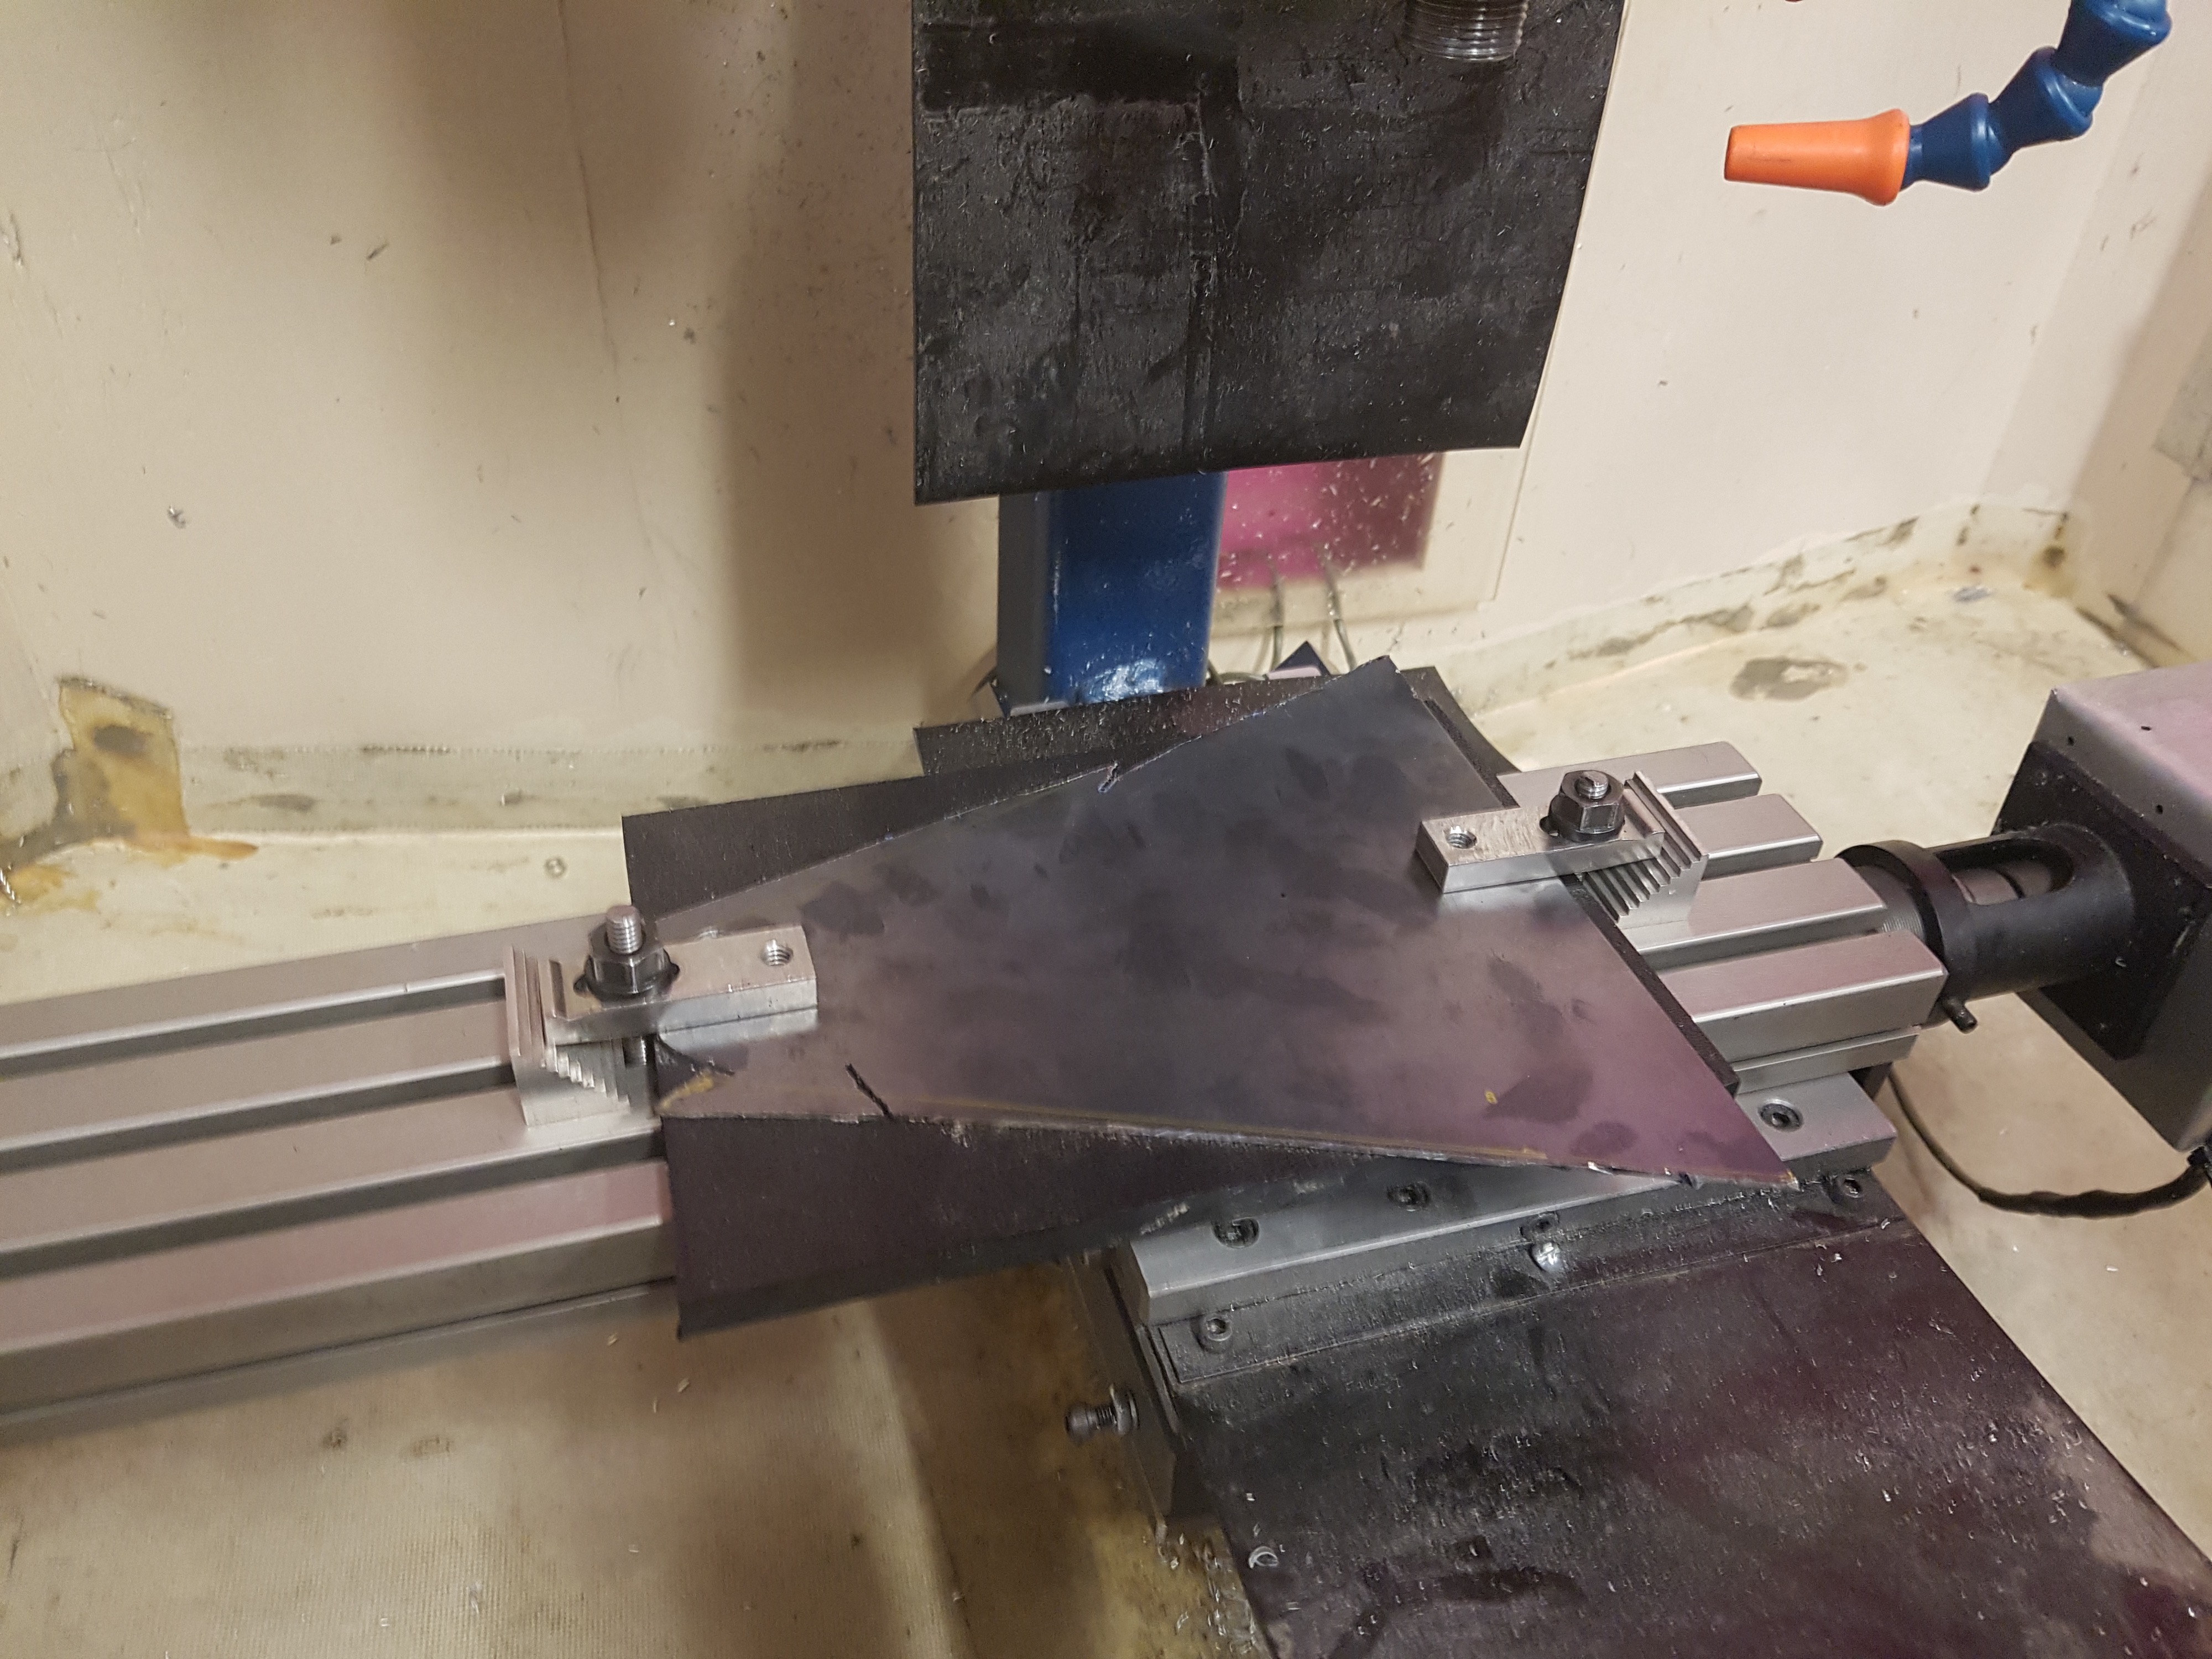
Being fairly new to the CNC, it was a little intimidating trying to cut sheet metal on it, but @Lukeo helped us out. We broke an old junky bit on our first attempt - definitely keep your cut depths short if you’re trying this yourself. The second attempt (with a much better endmill) worked beautifully.

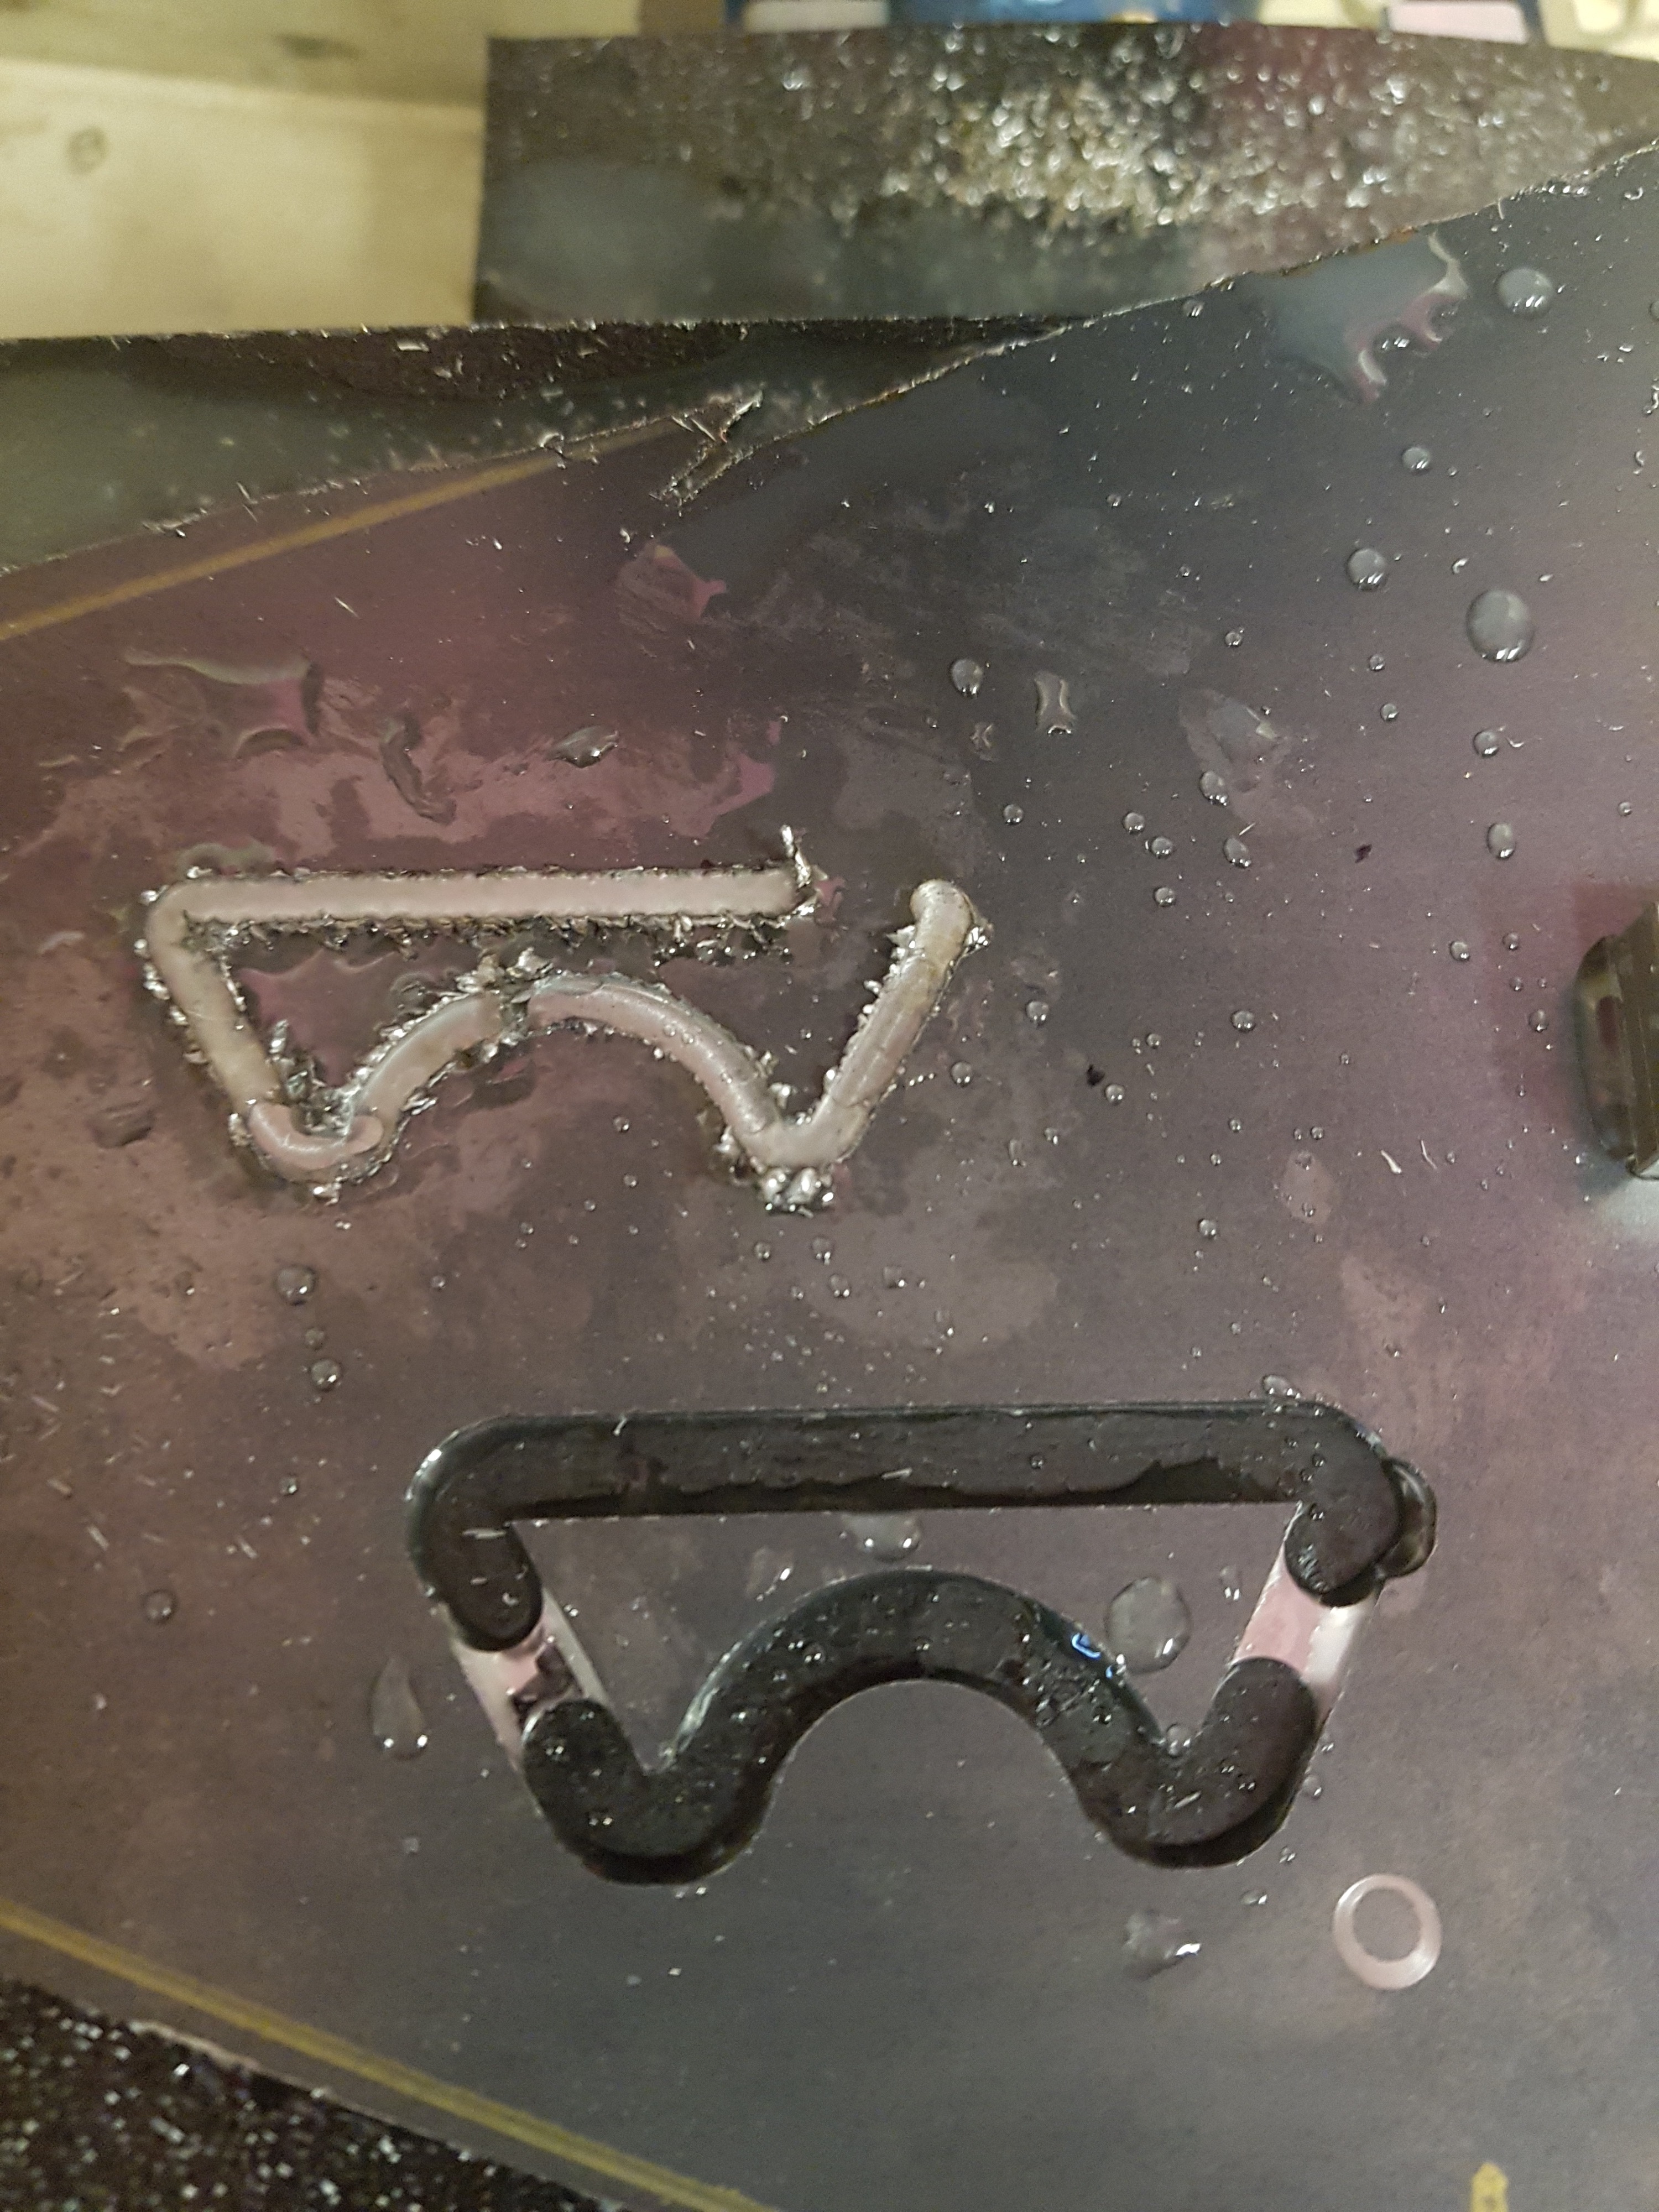

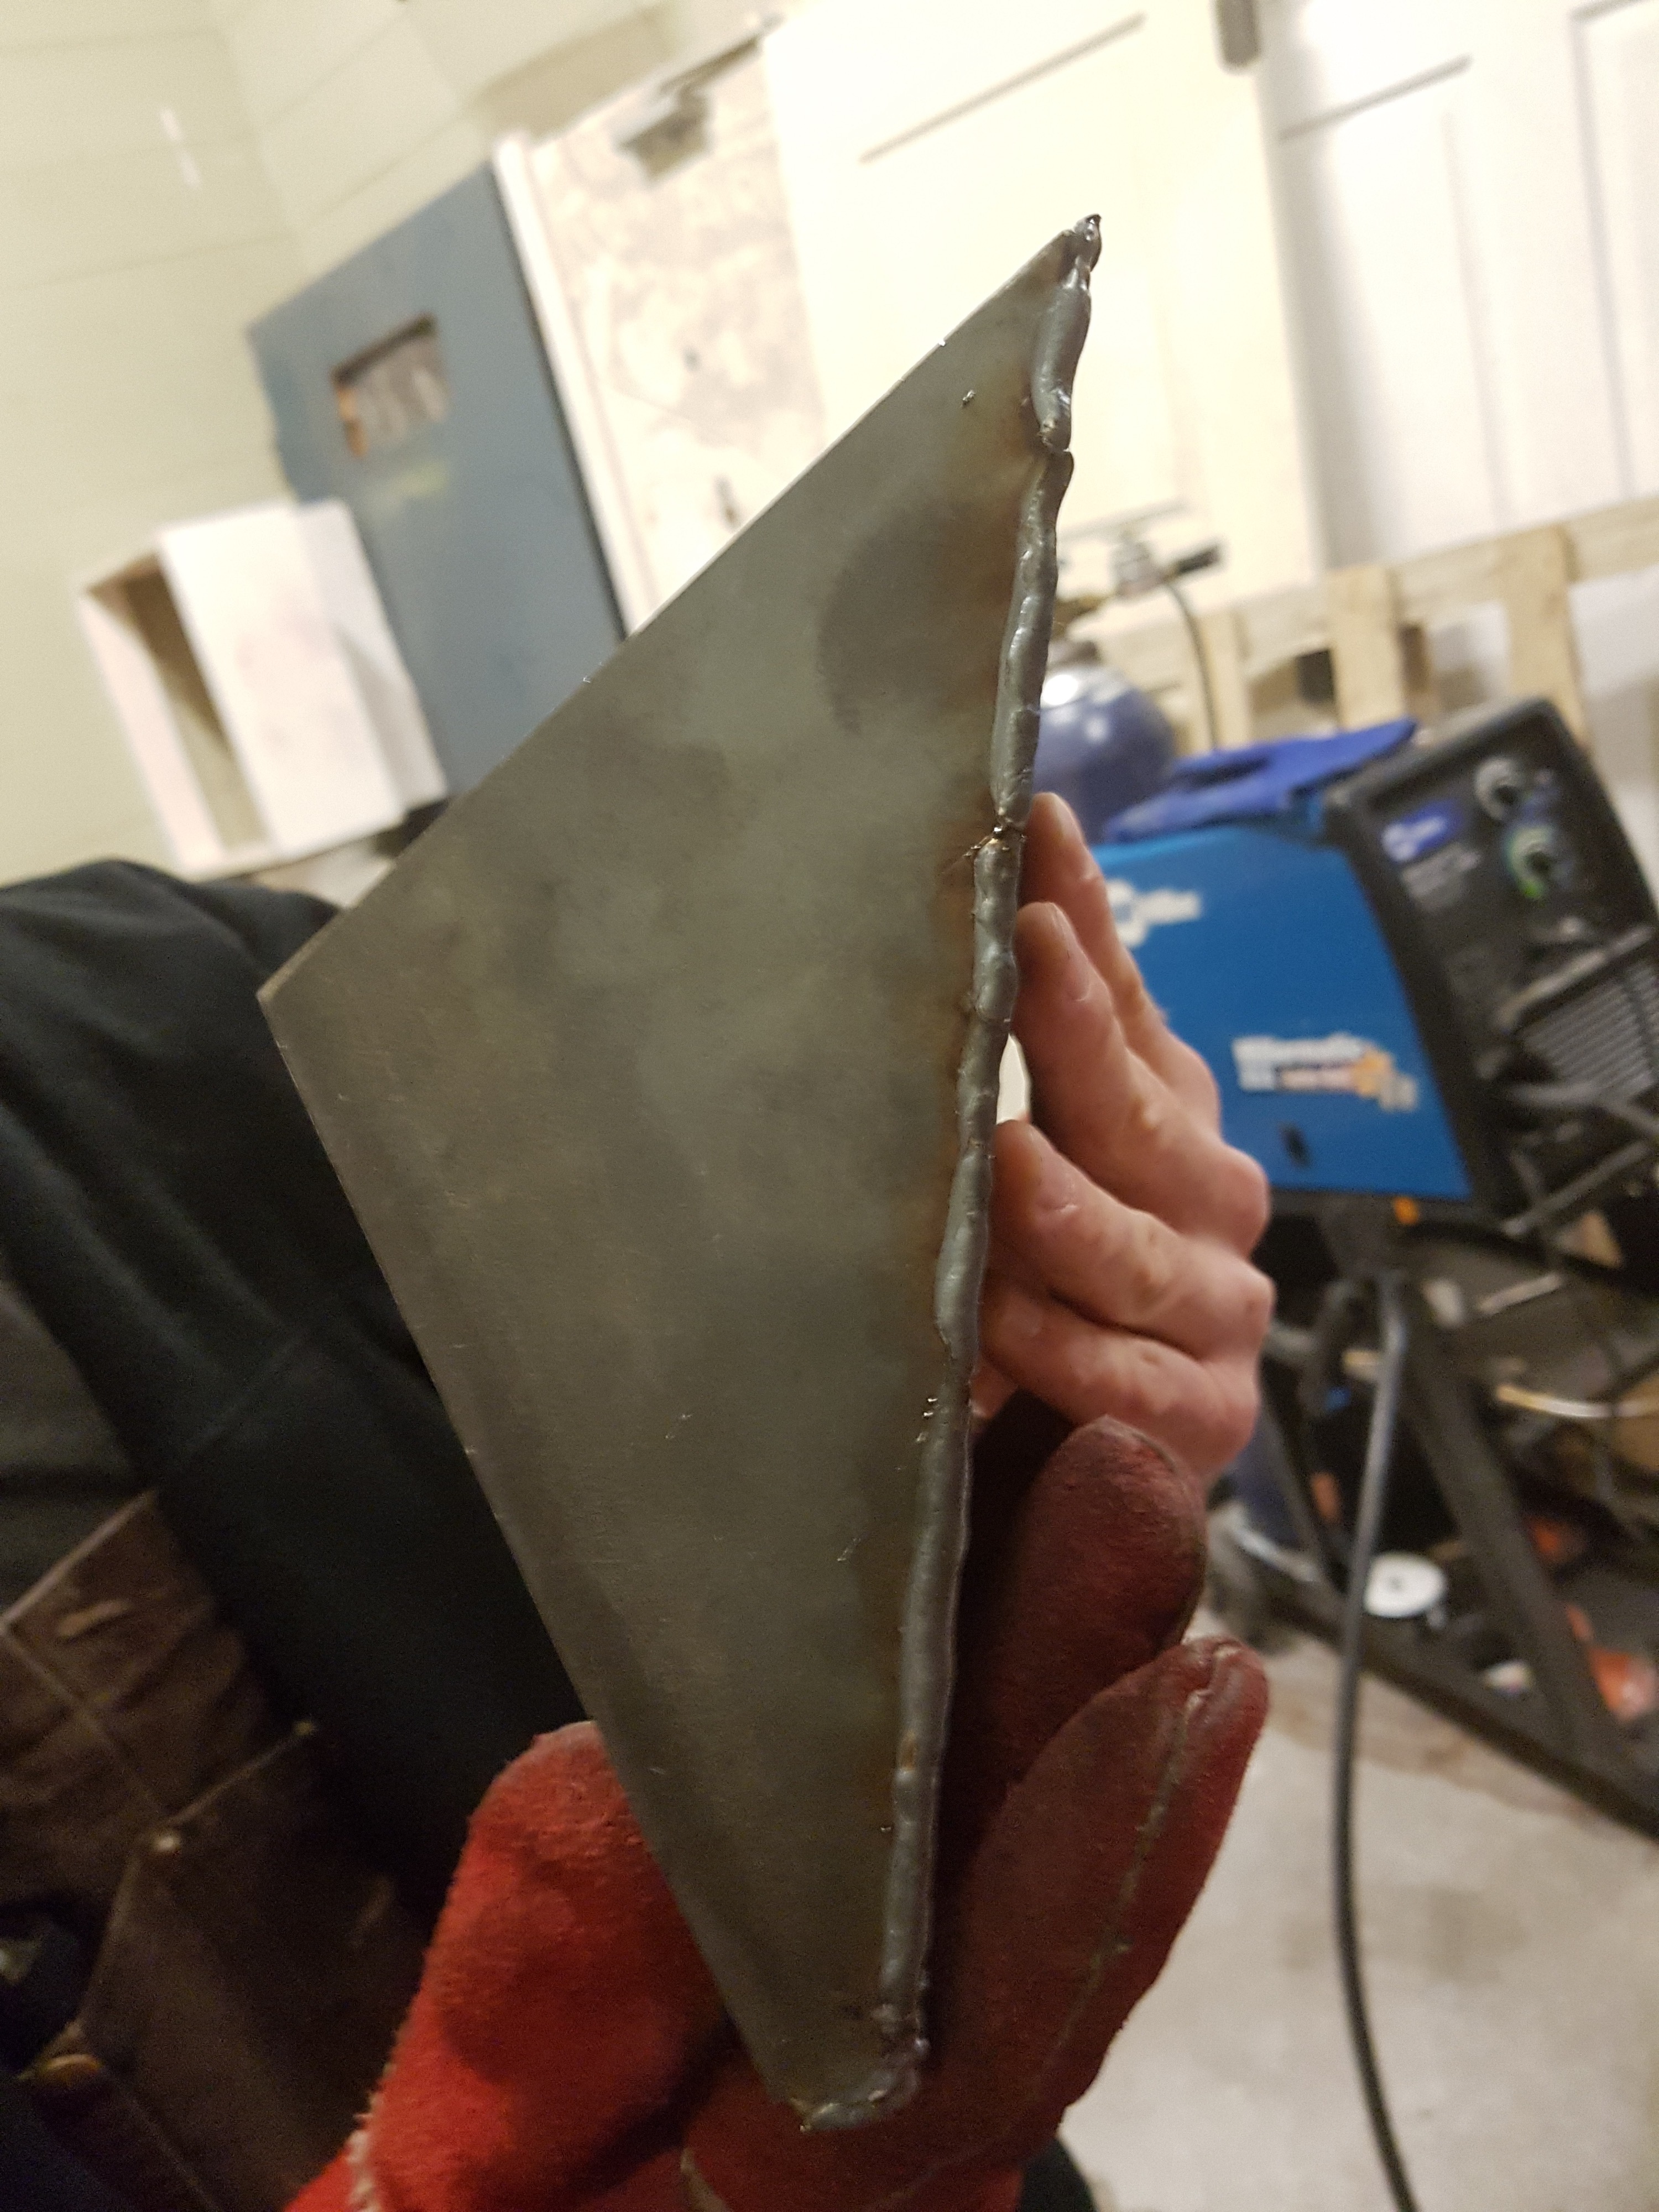
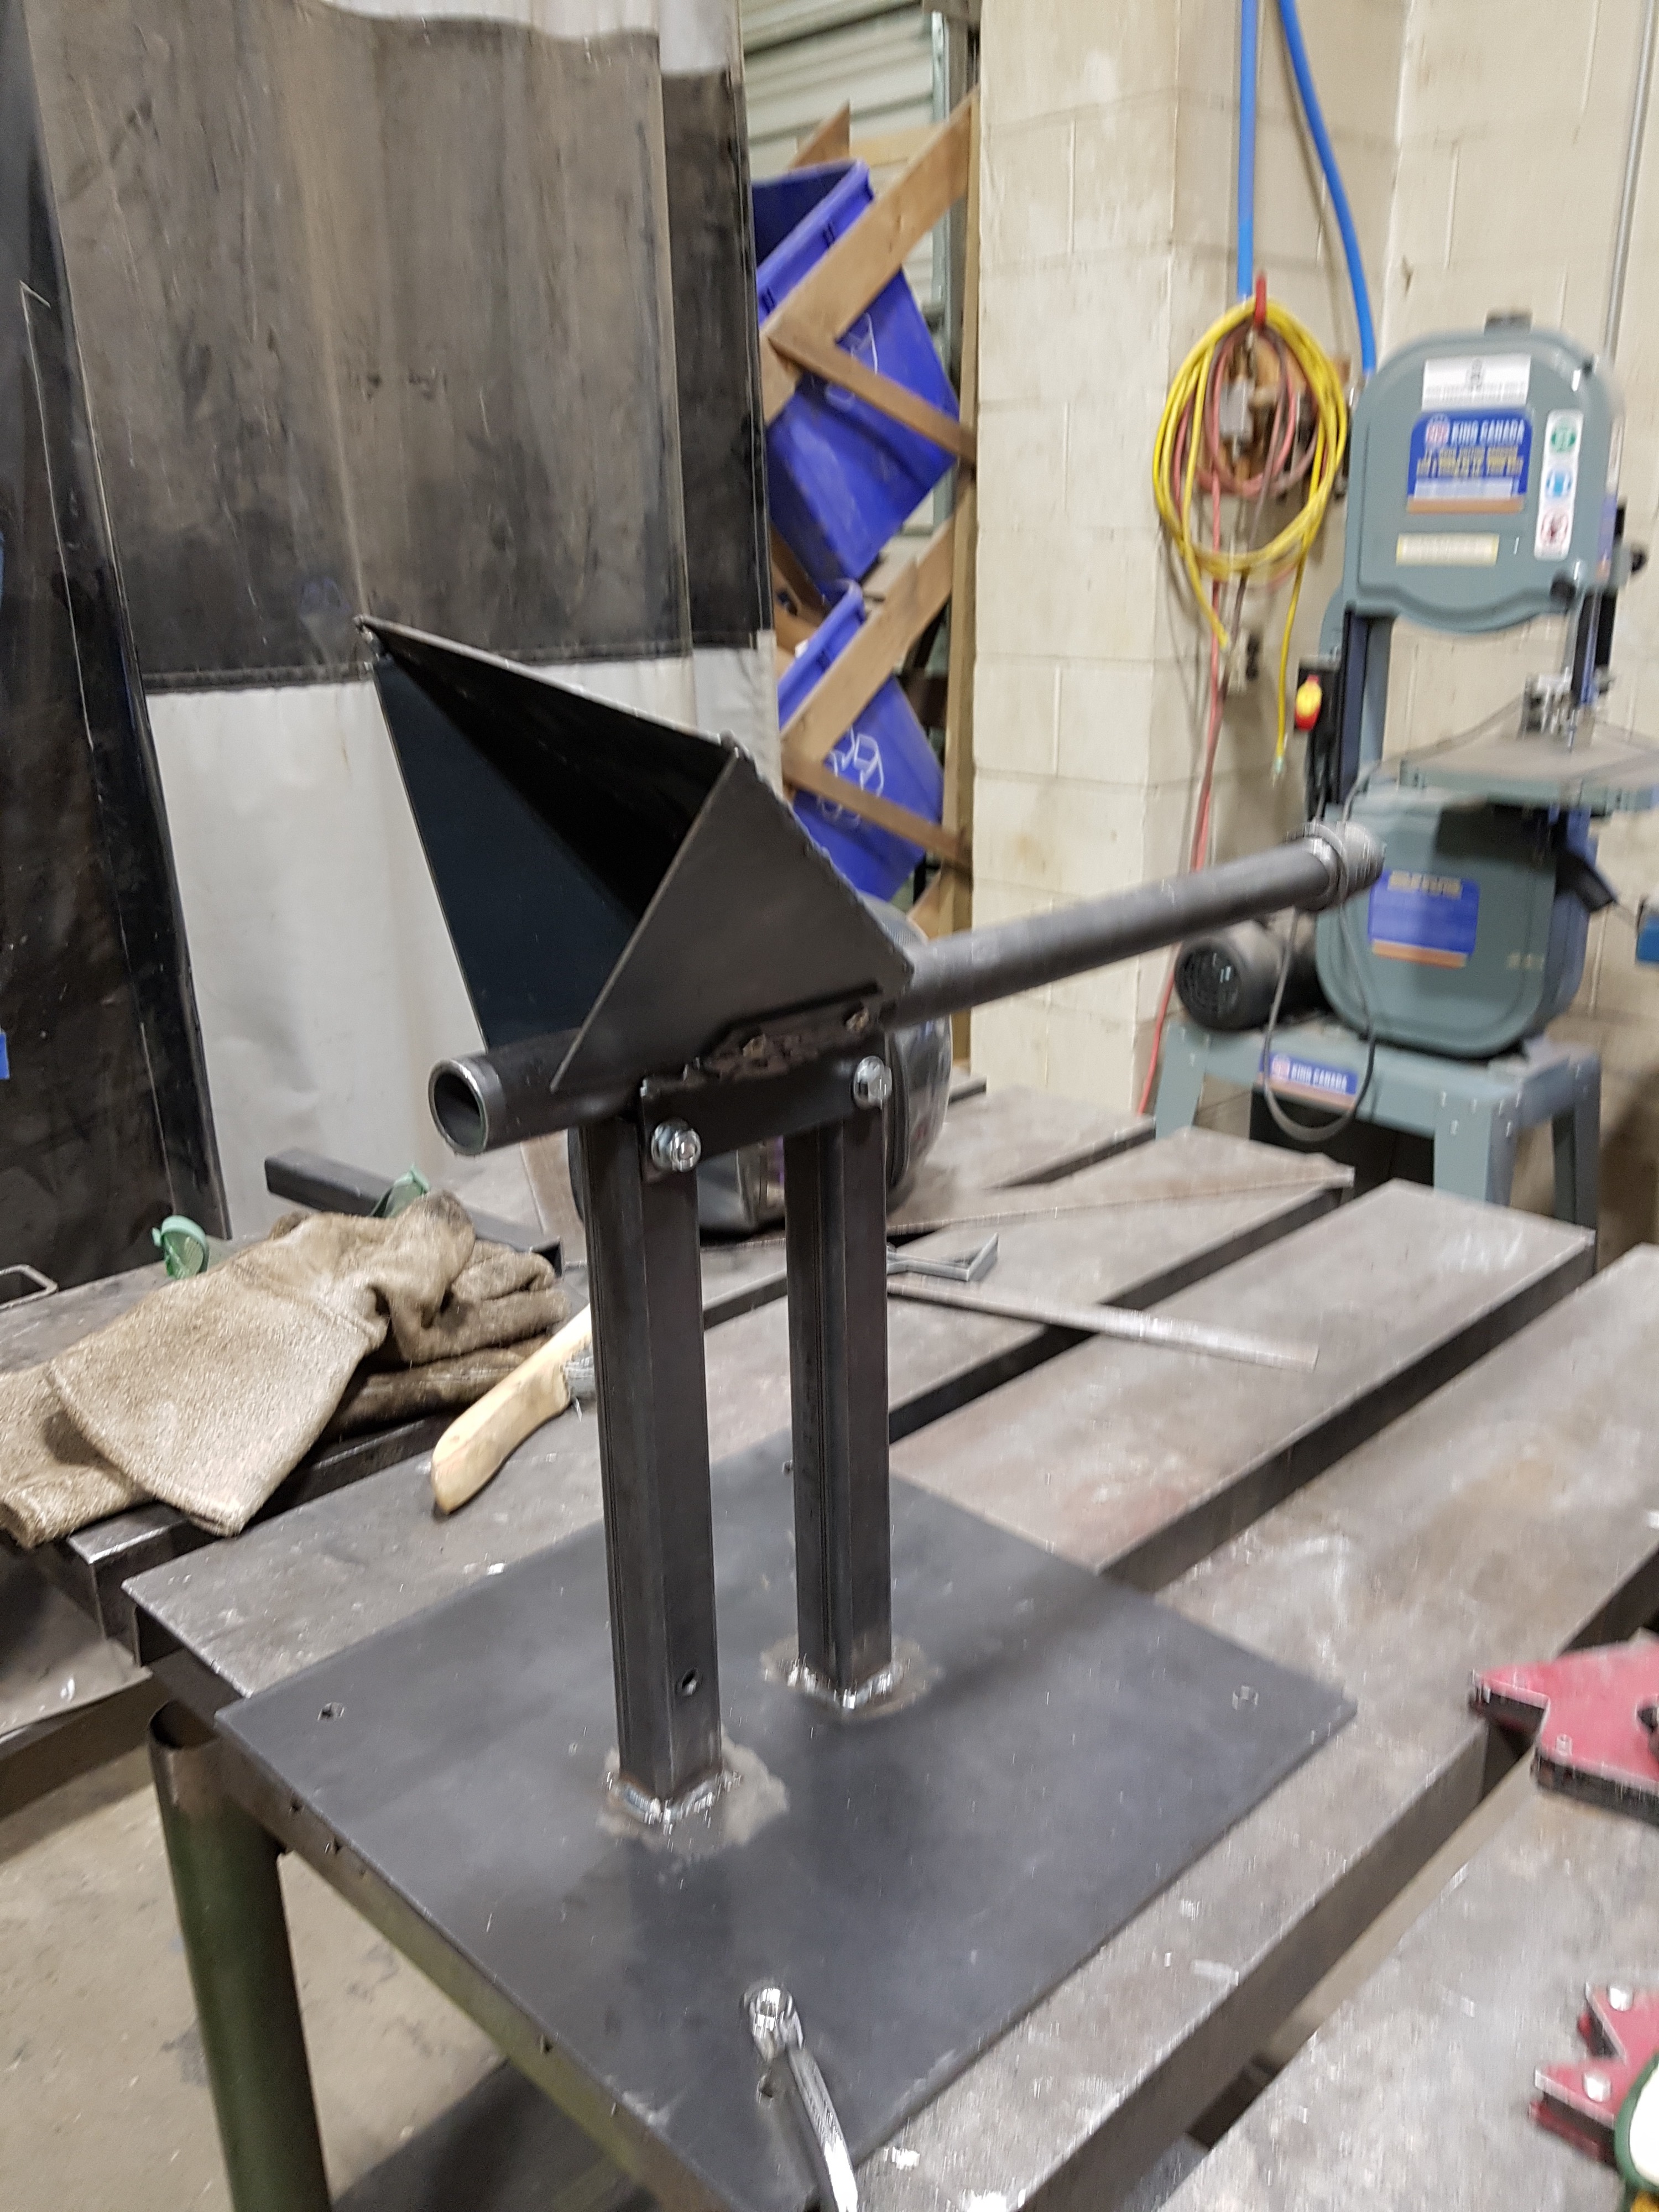
With all of the metal cut out, @Rob_MacKenzie welded it together and the hopper was done!

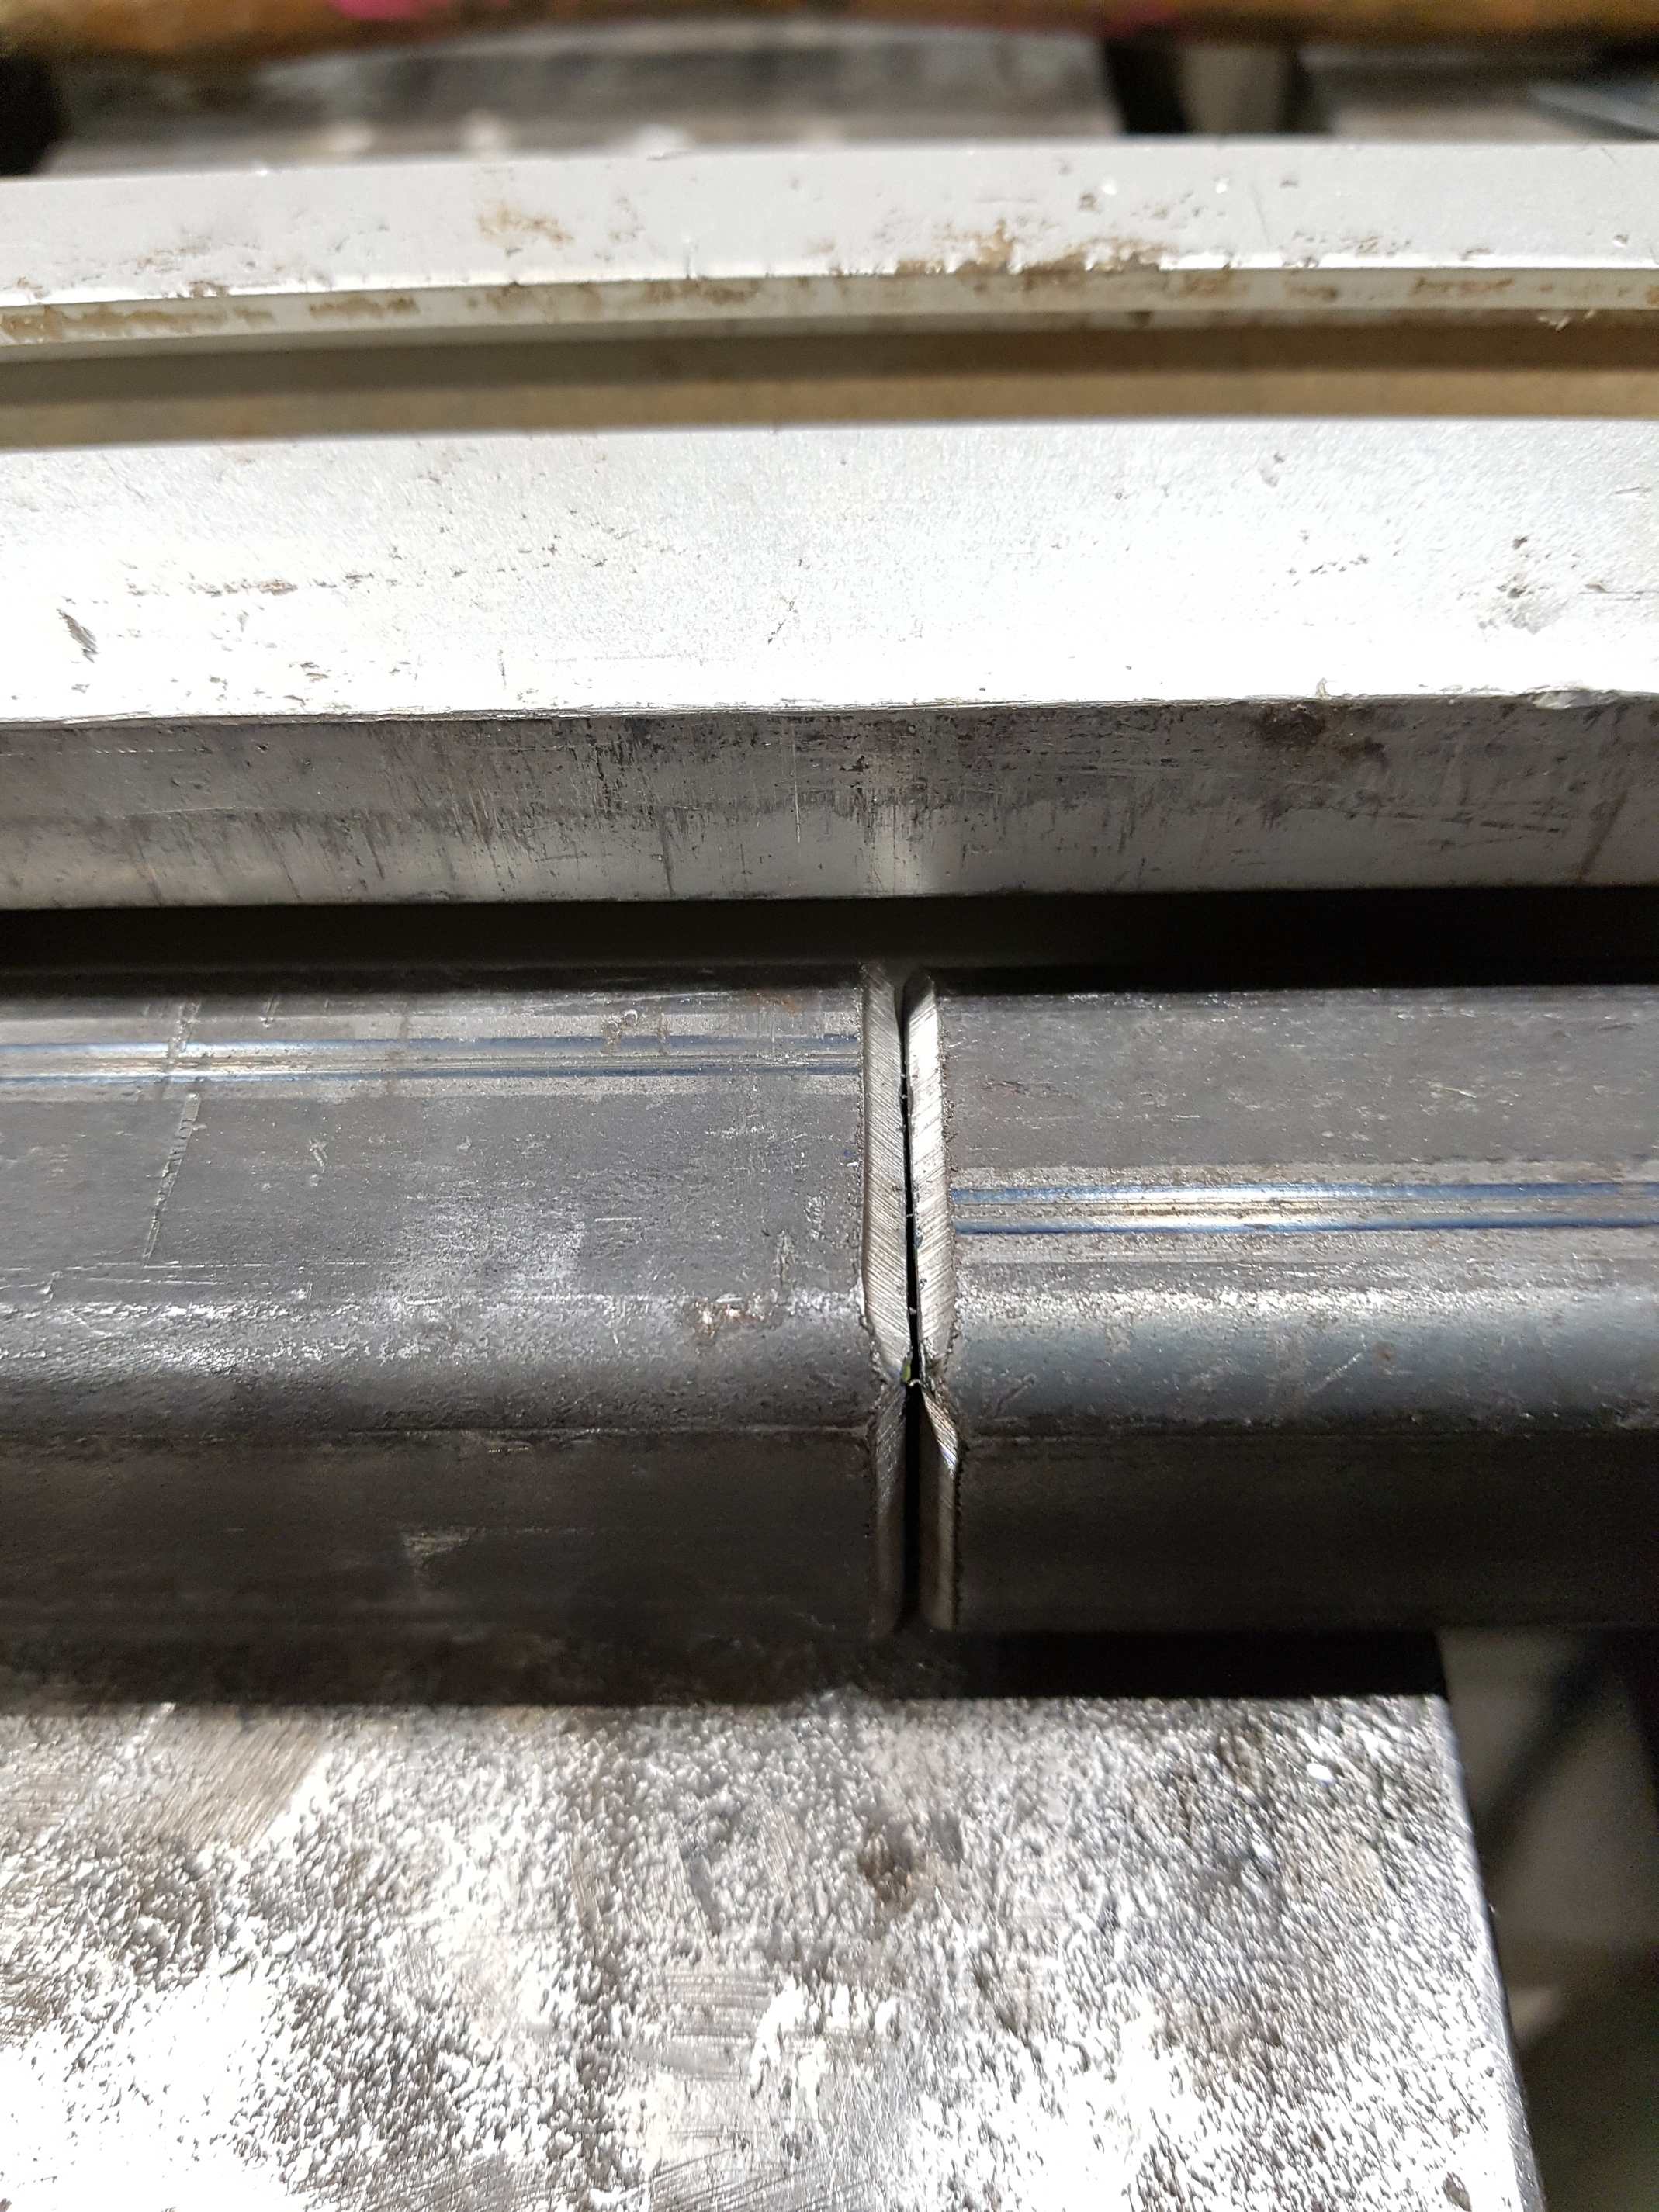
Another issue we had to solve was that the design uses a standard threaded plumbing pipe as the barrel, but it requires the pipe to be extruded (not welded) in order to avoid a seam within the pipe. We managed to get some extruded pipe, but it had a slightly thinner OD than standard plumbing pipe. We planned on using standard plumbing attachments at the end of the barrel, so we needed to figure out how to accommodate for the thinner pipe. We explored a bunch of different options - but in the end we went to Hillcrest Plumbing and Heating, where they were able to put a standard plumbing thread onto our pipe despite the different OD. There’s a little bit of wiggle to the attachments, but it should work well enough.

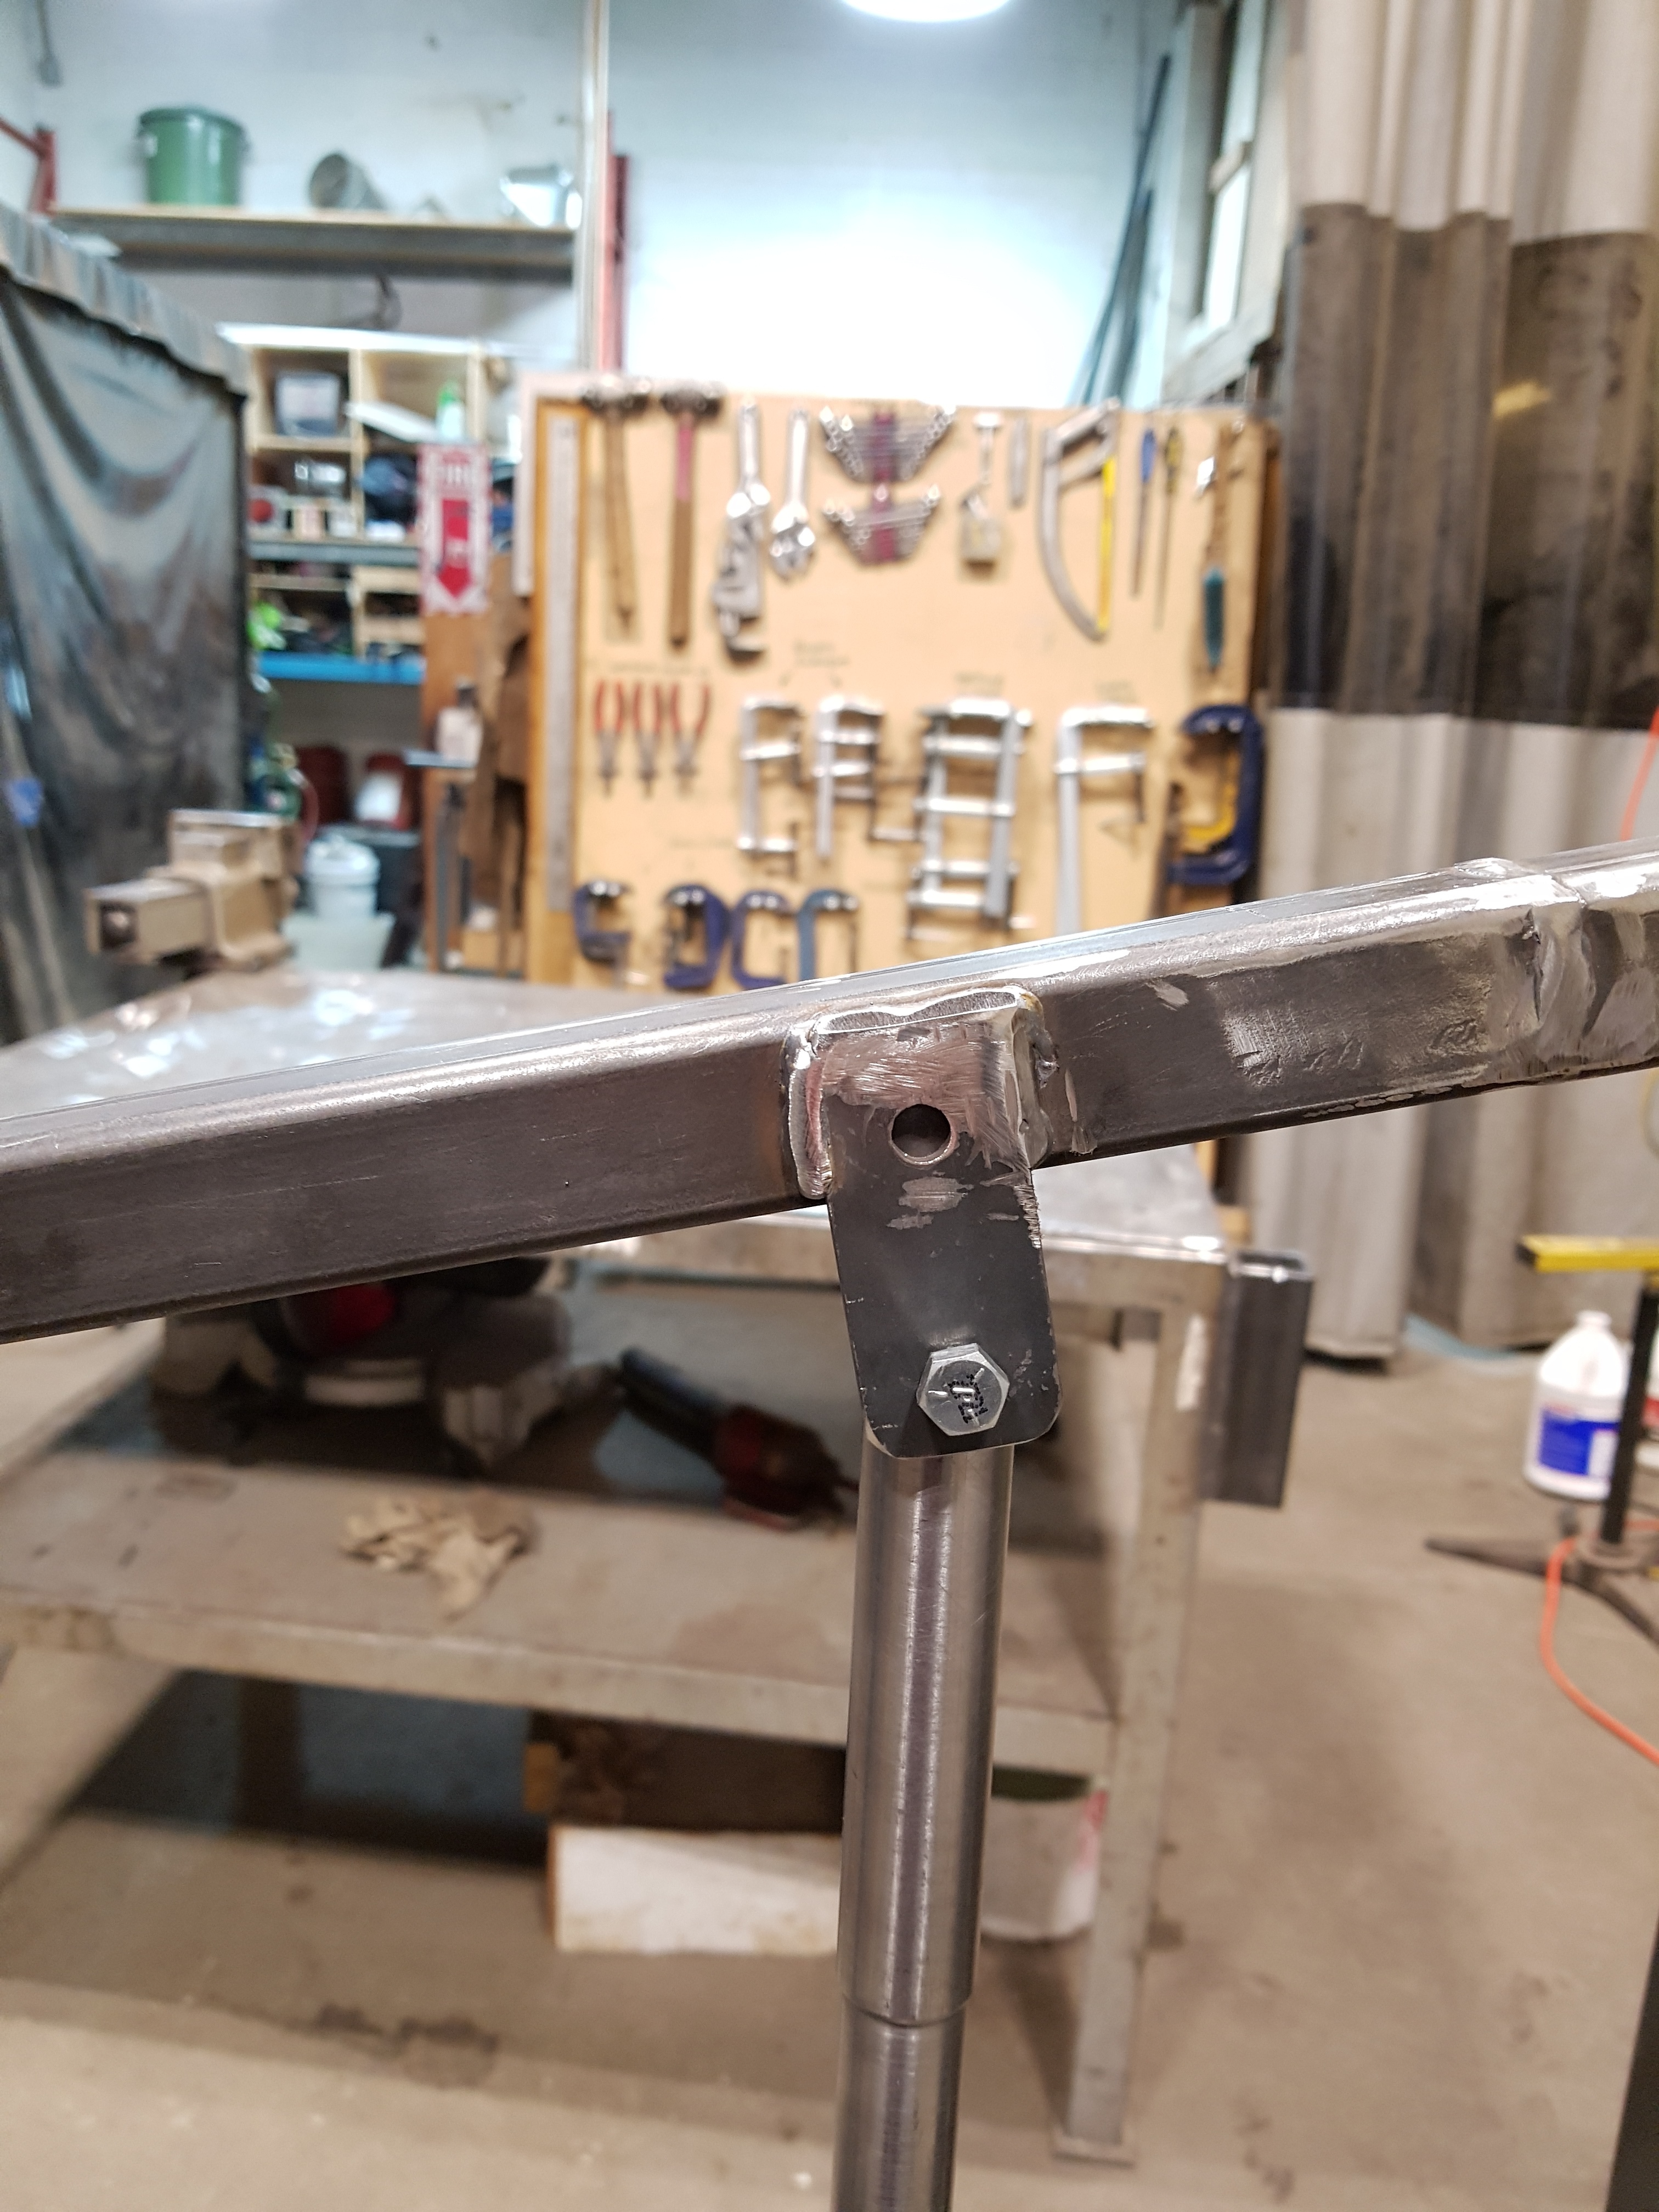
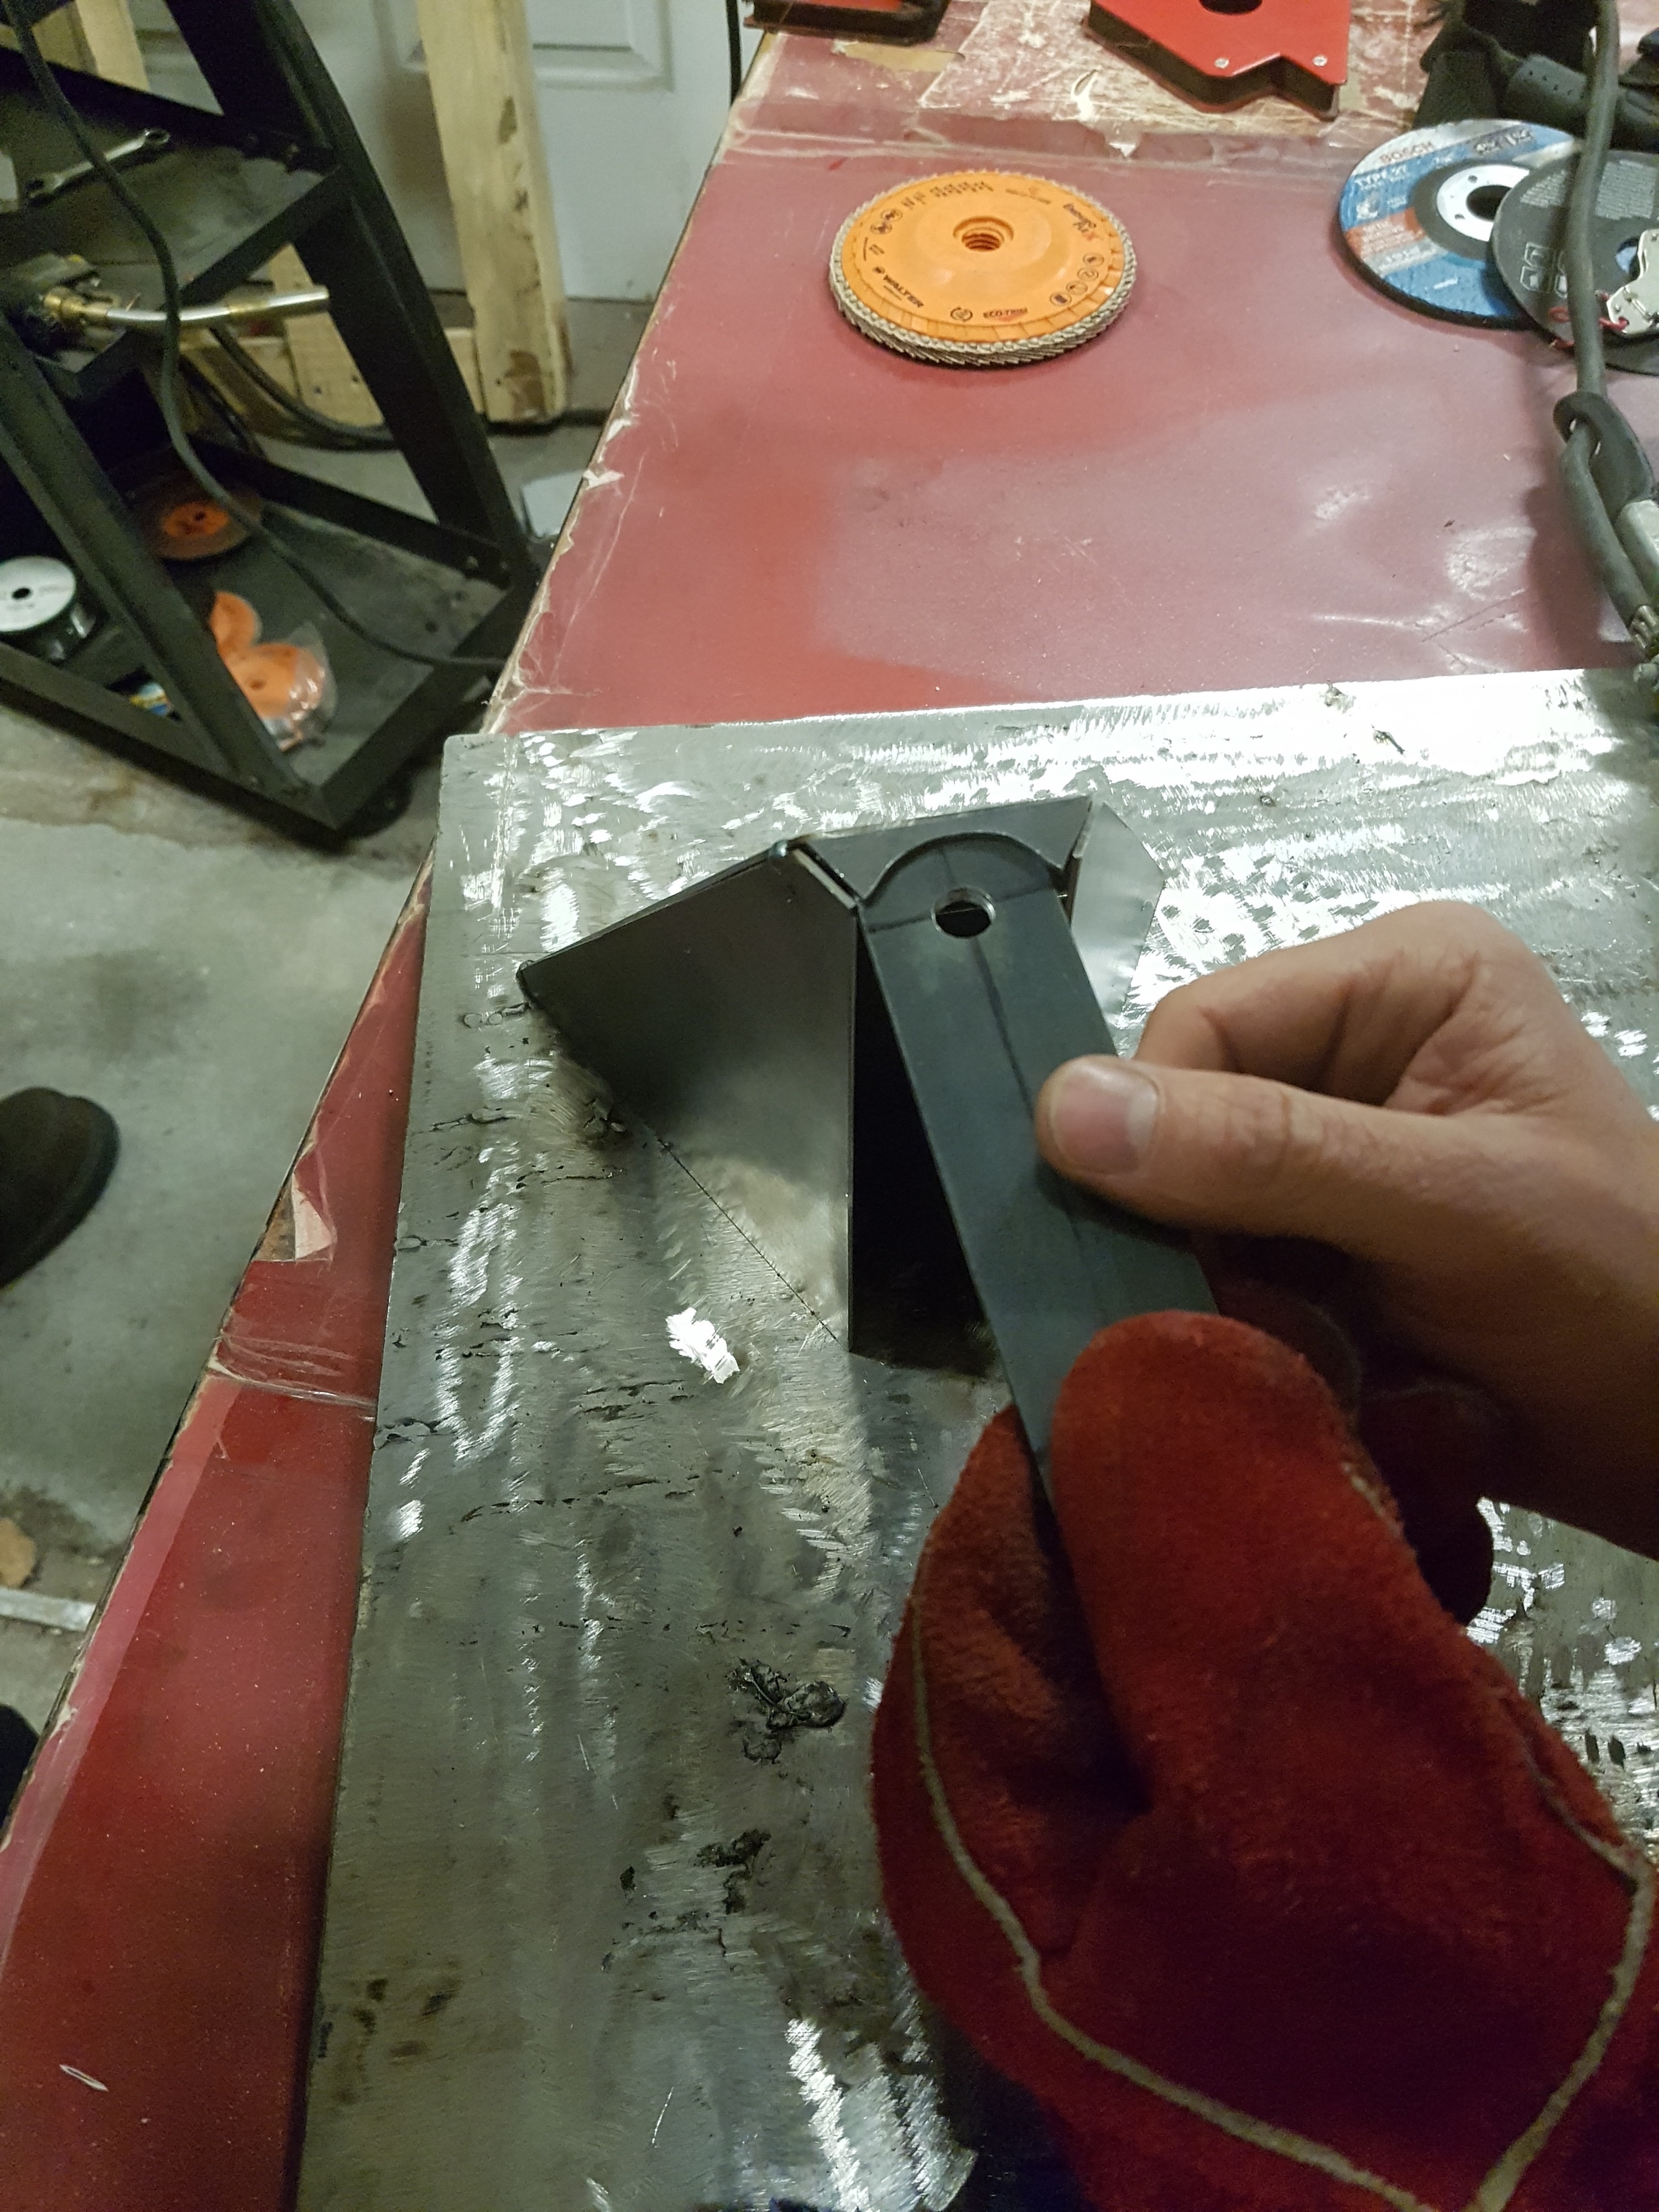
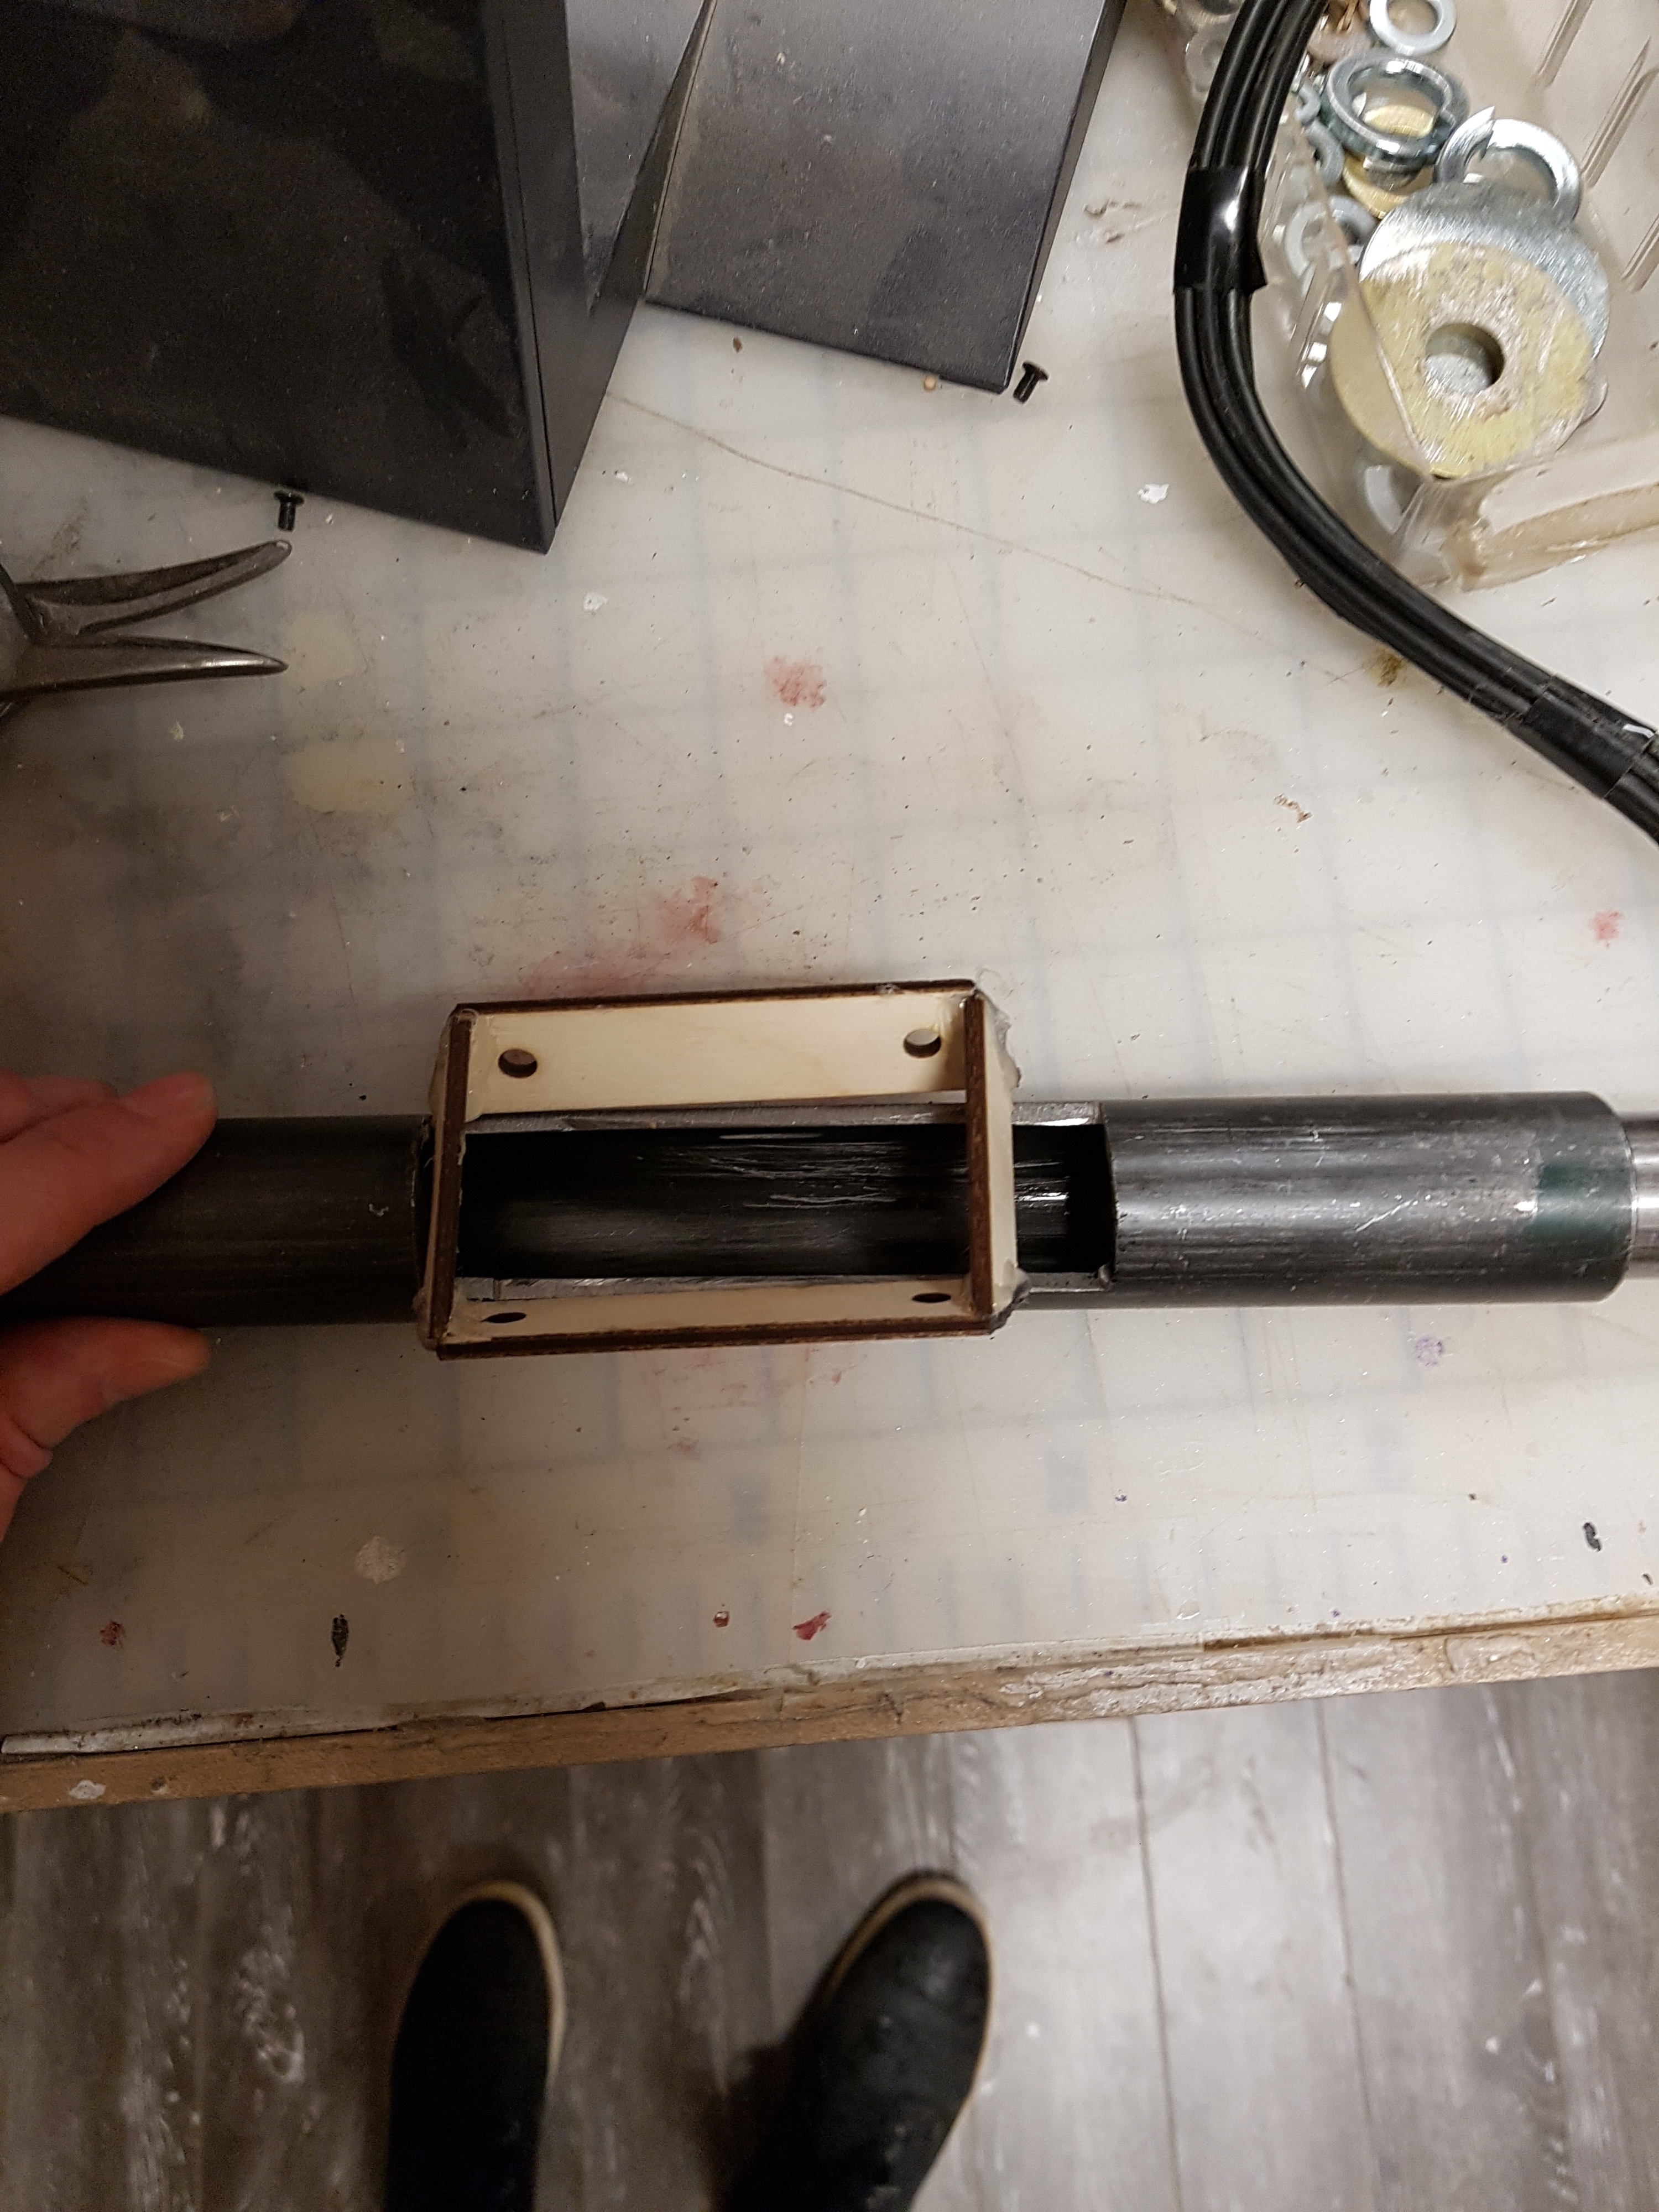
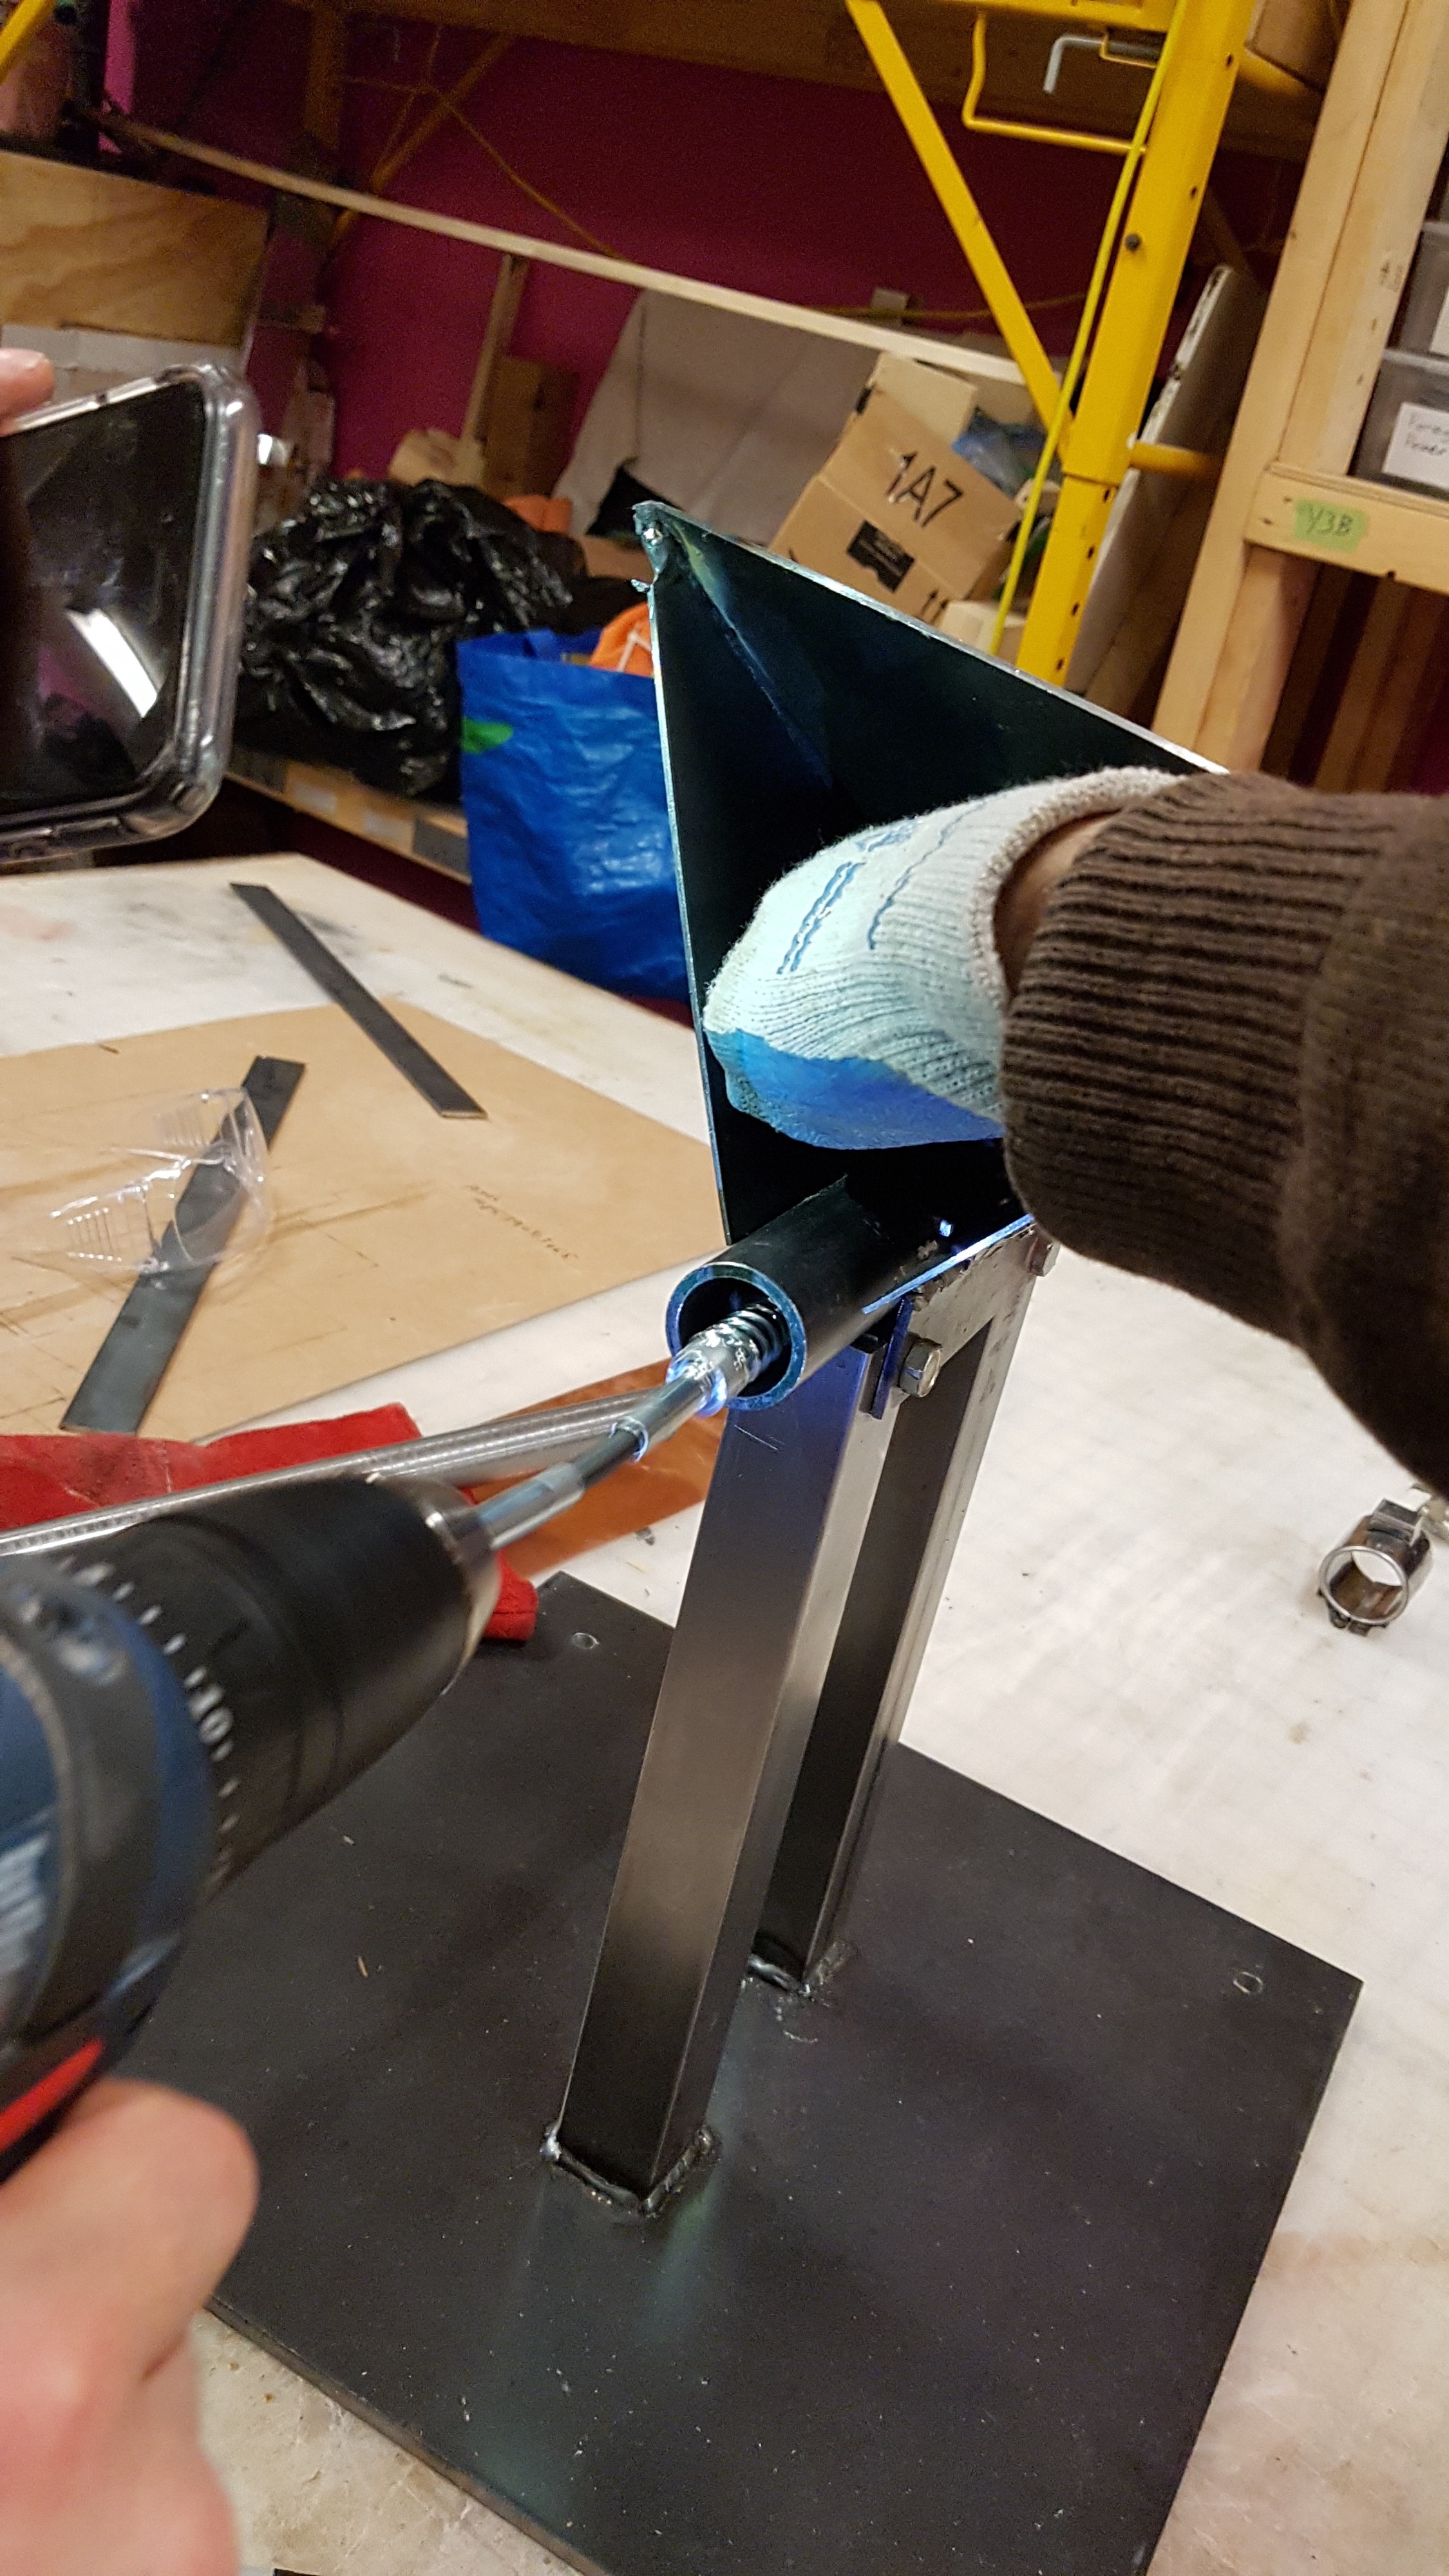
Our next goal was to figure out a good way to weld the brackets to the barrel to attach the hopper to. Unfortunately those two brackets had to go on at a very particular angle to accommodate the hopper’s shape, so I went into Fusion and designed a jig to lasercut and glue together. You’ll see how we used it further below.

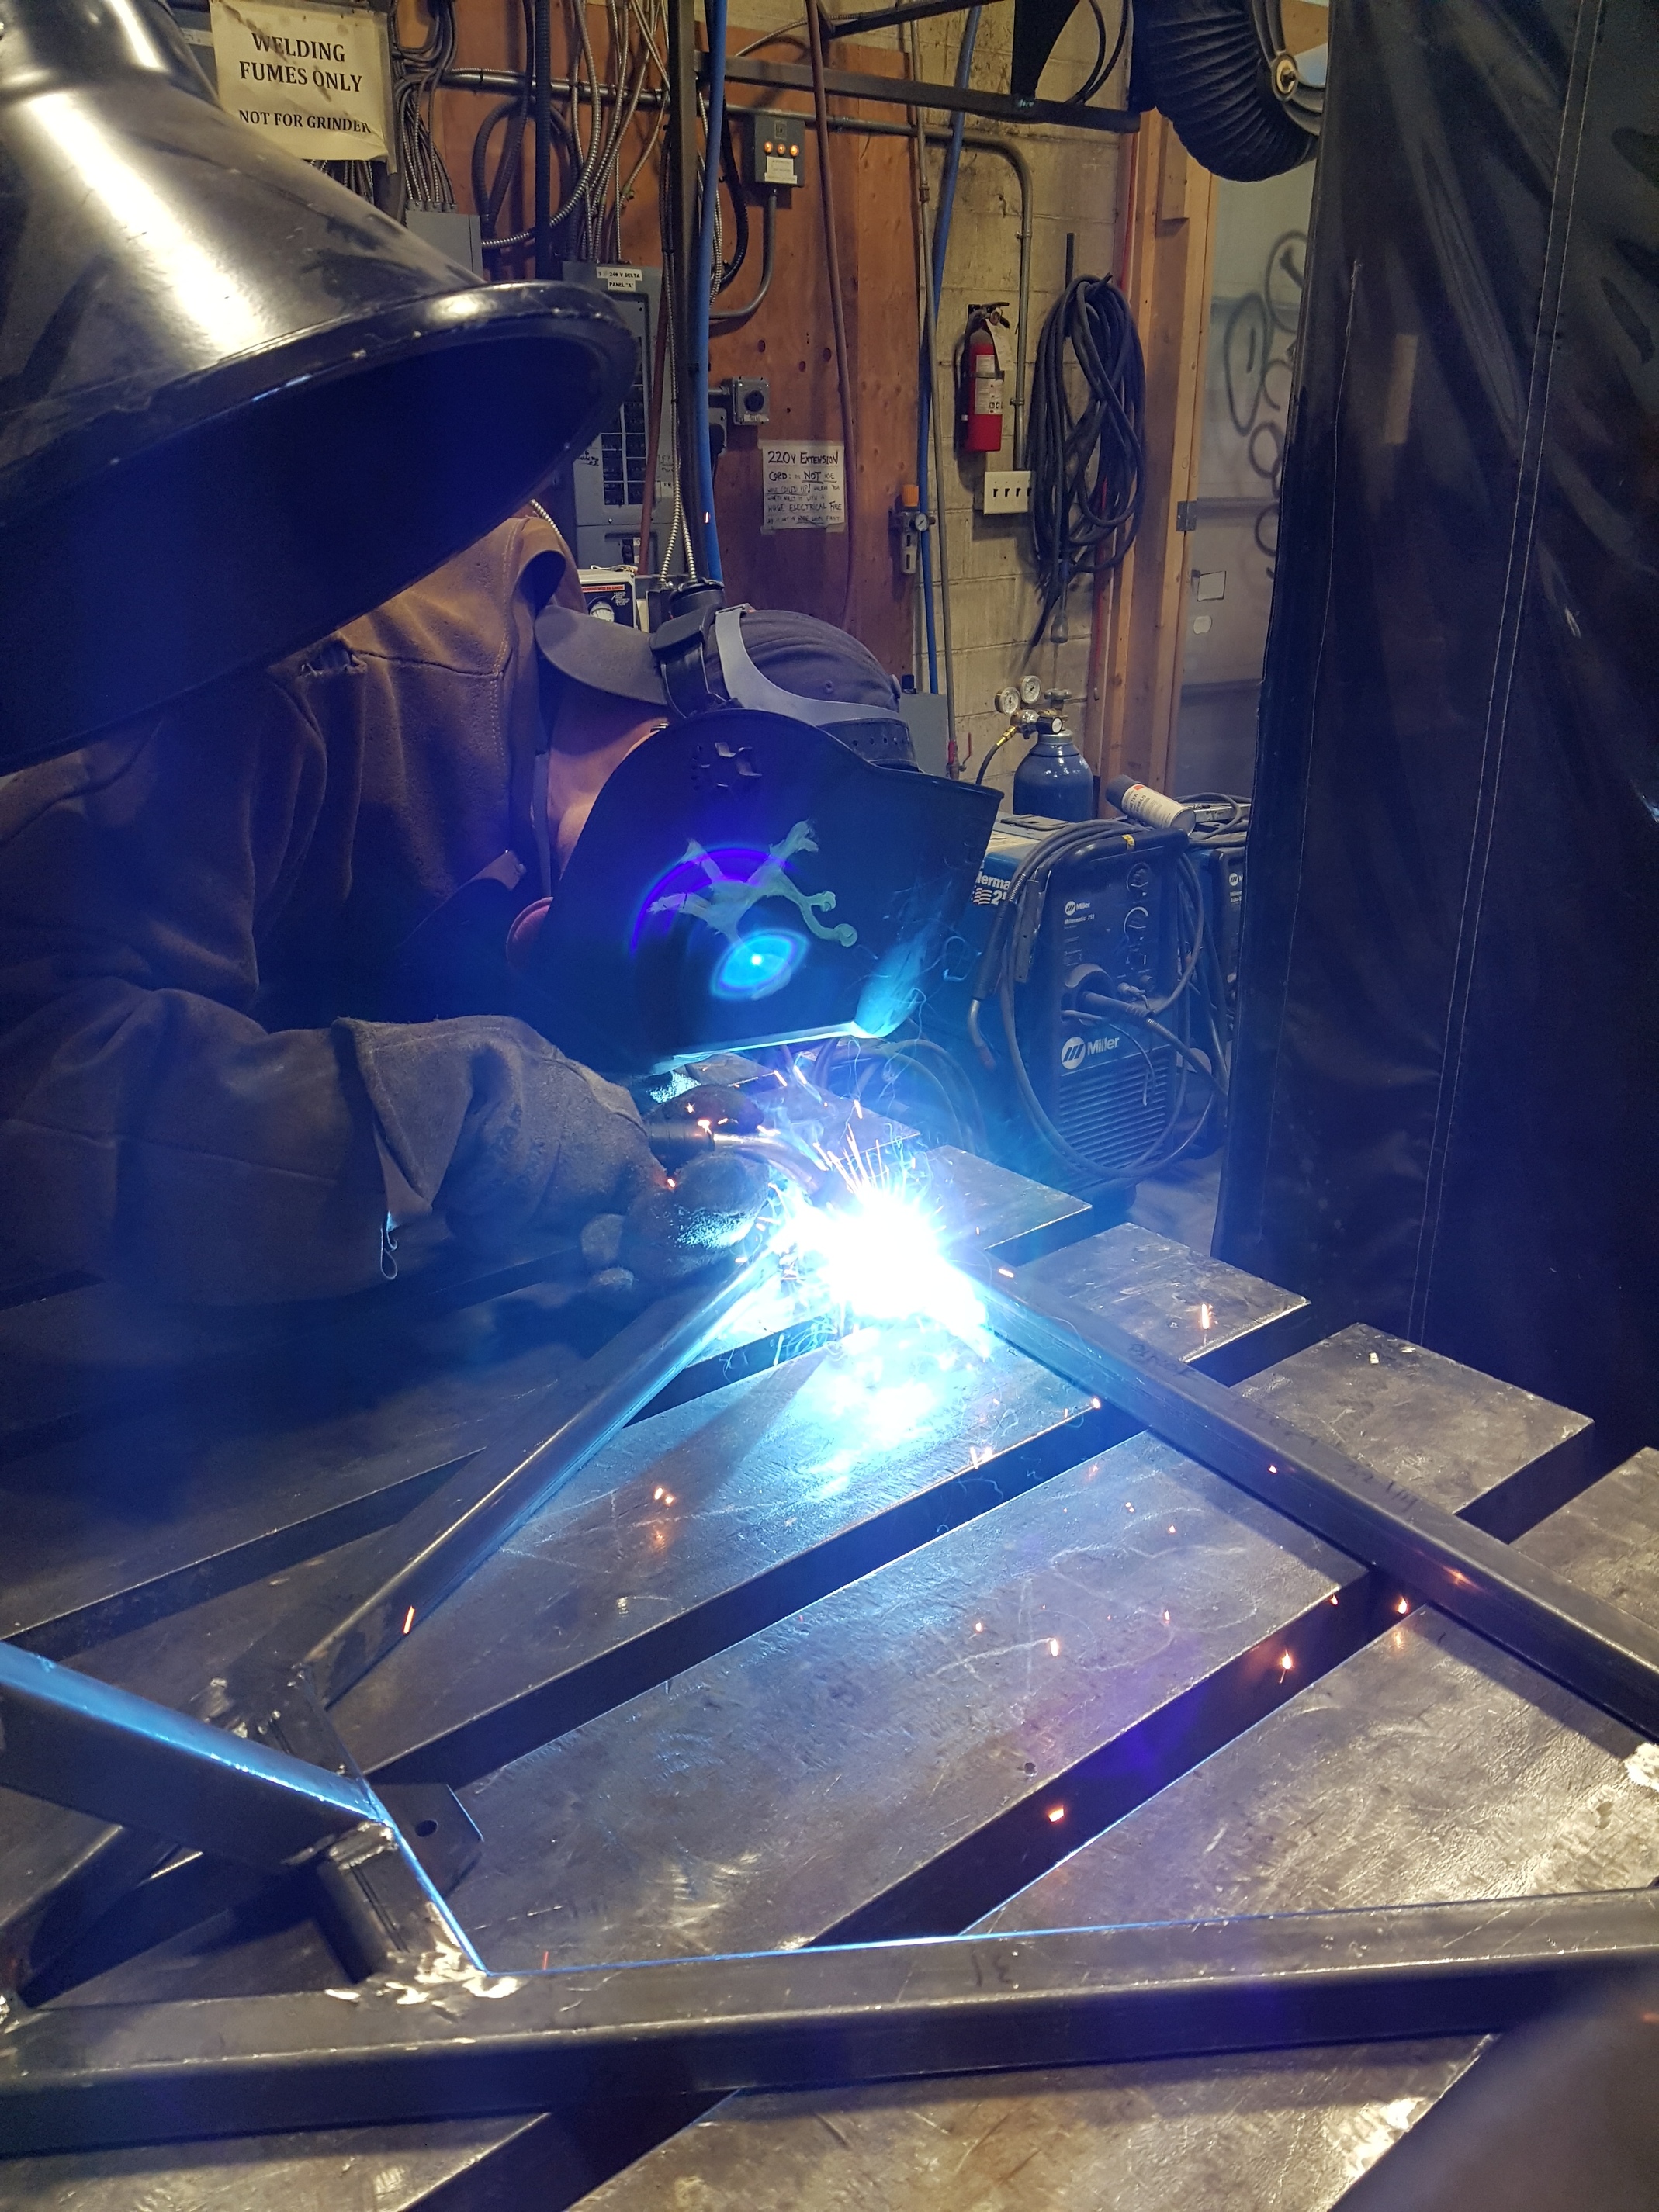
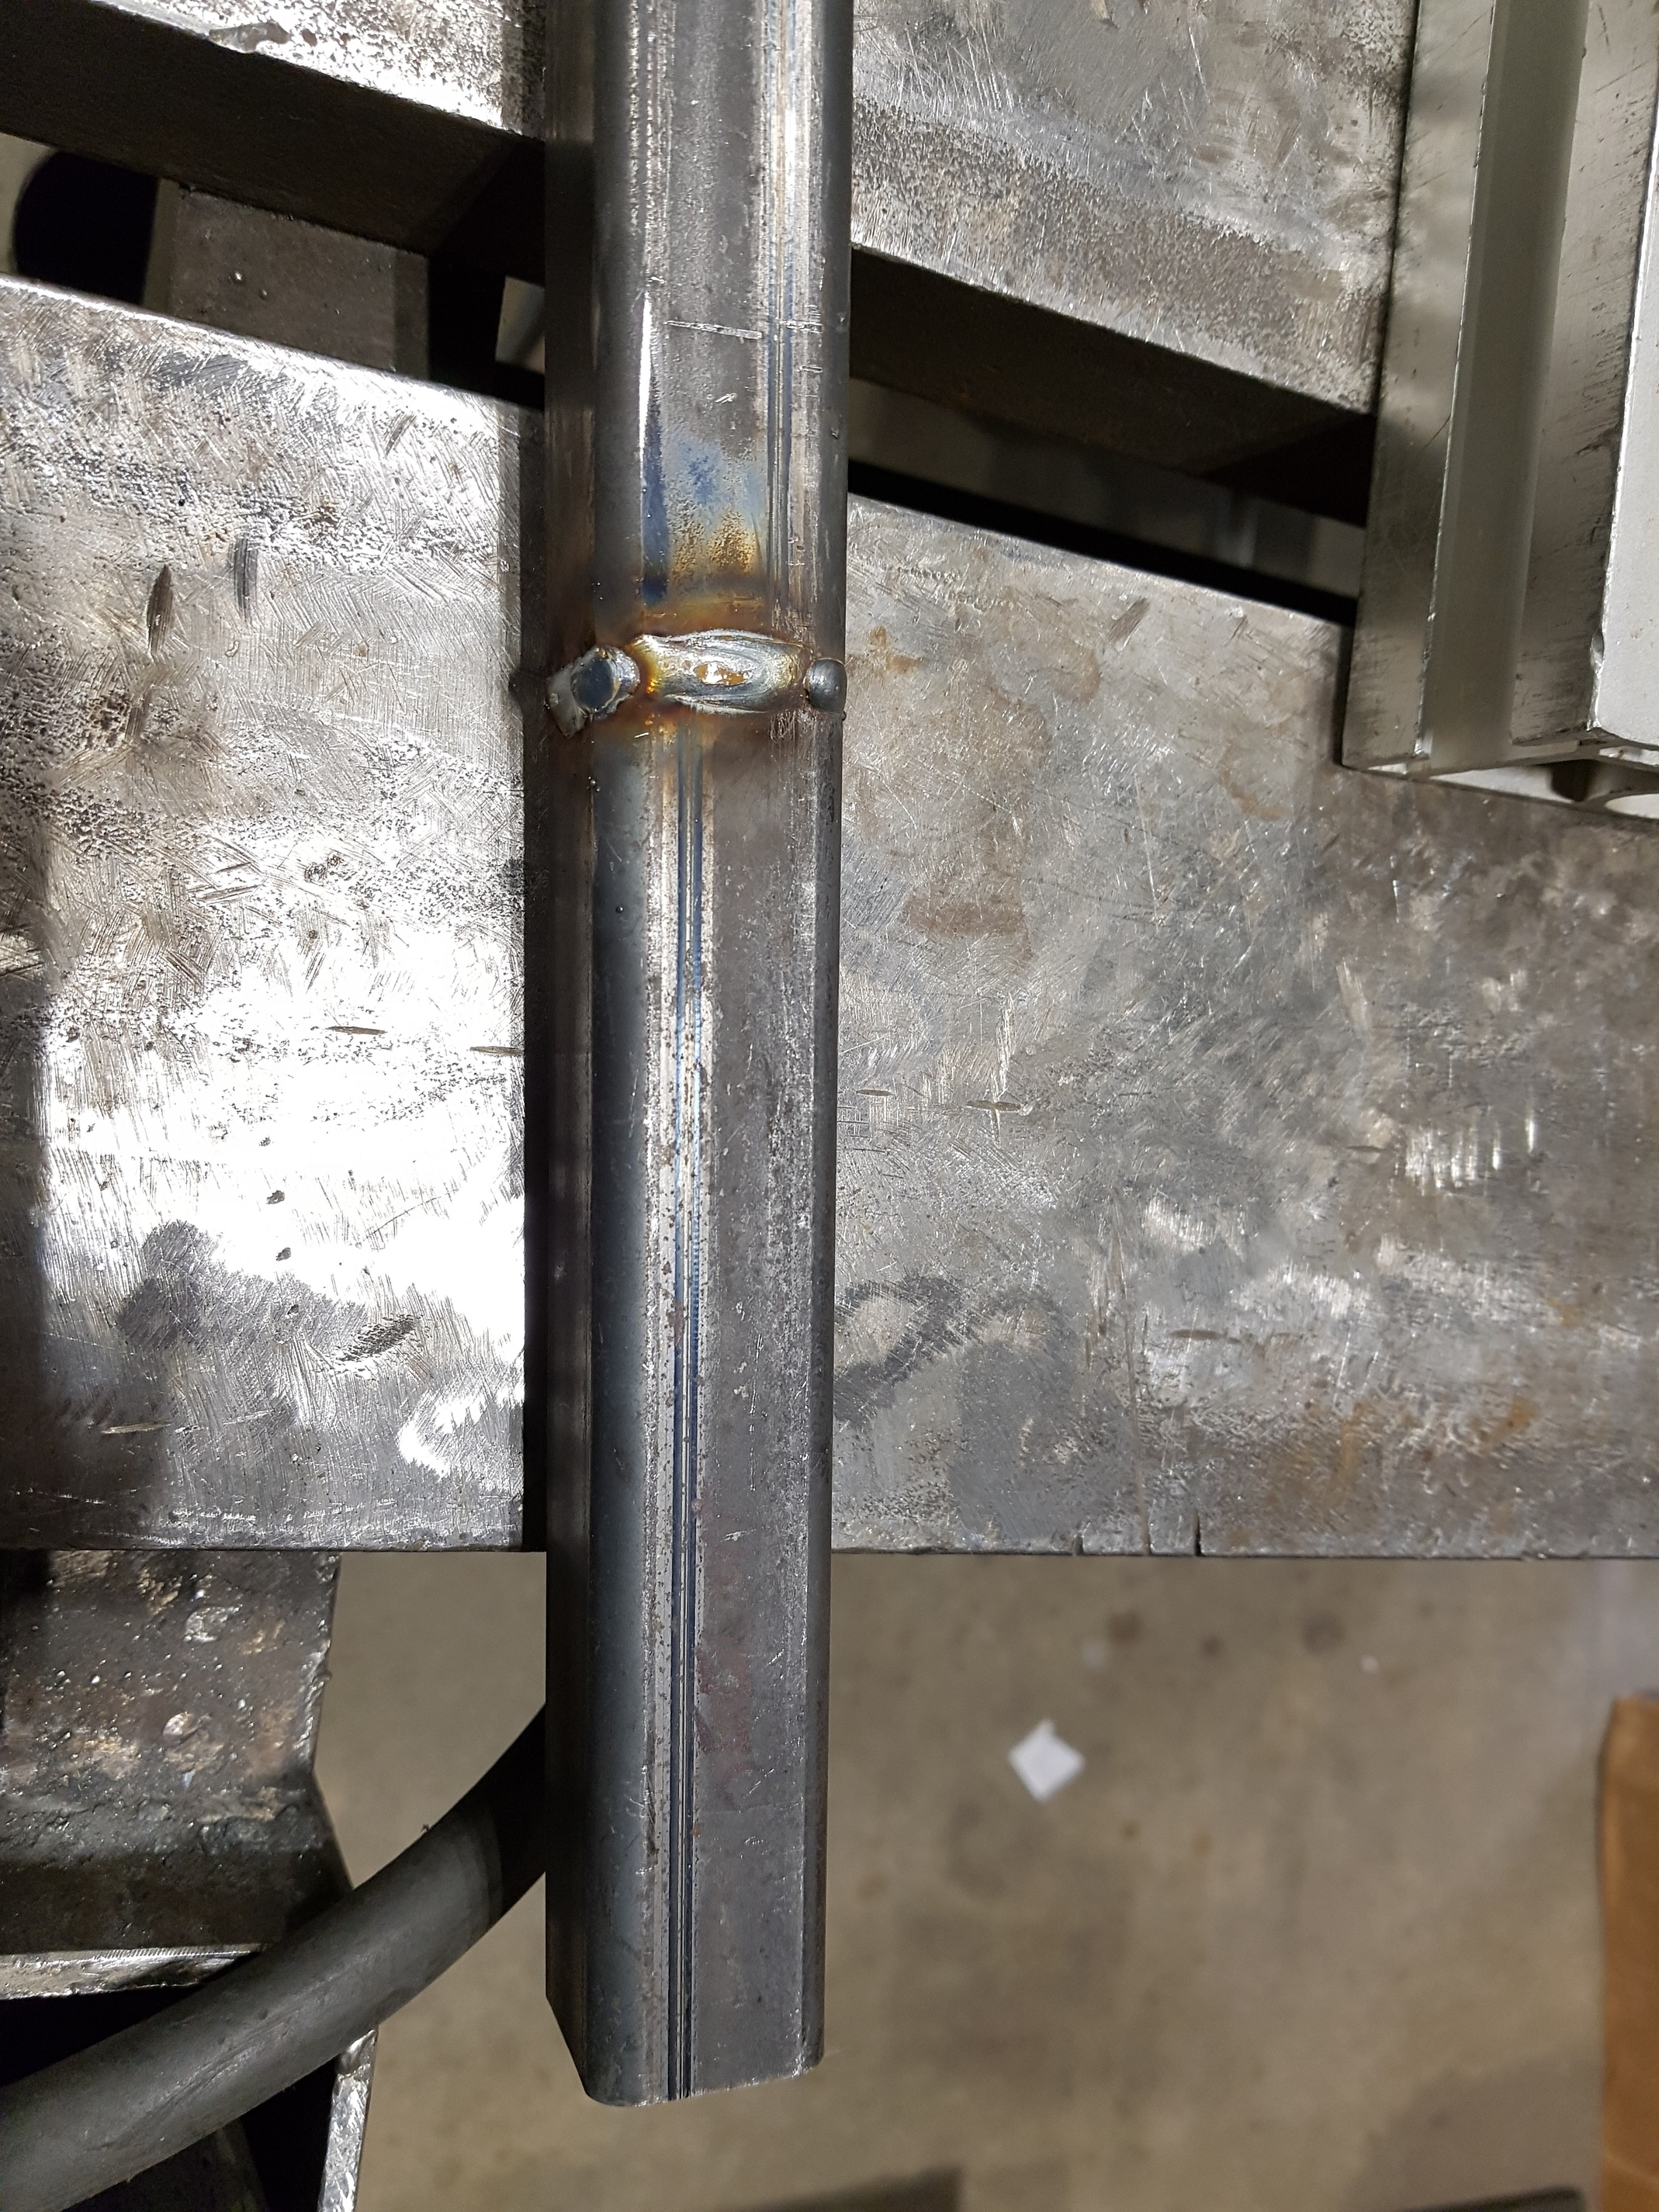
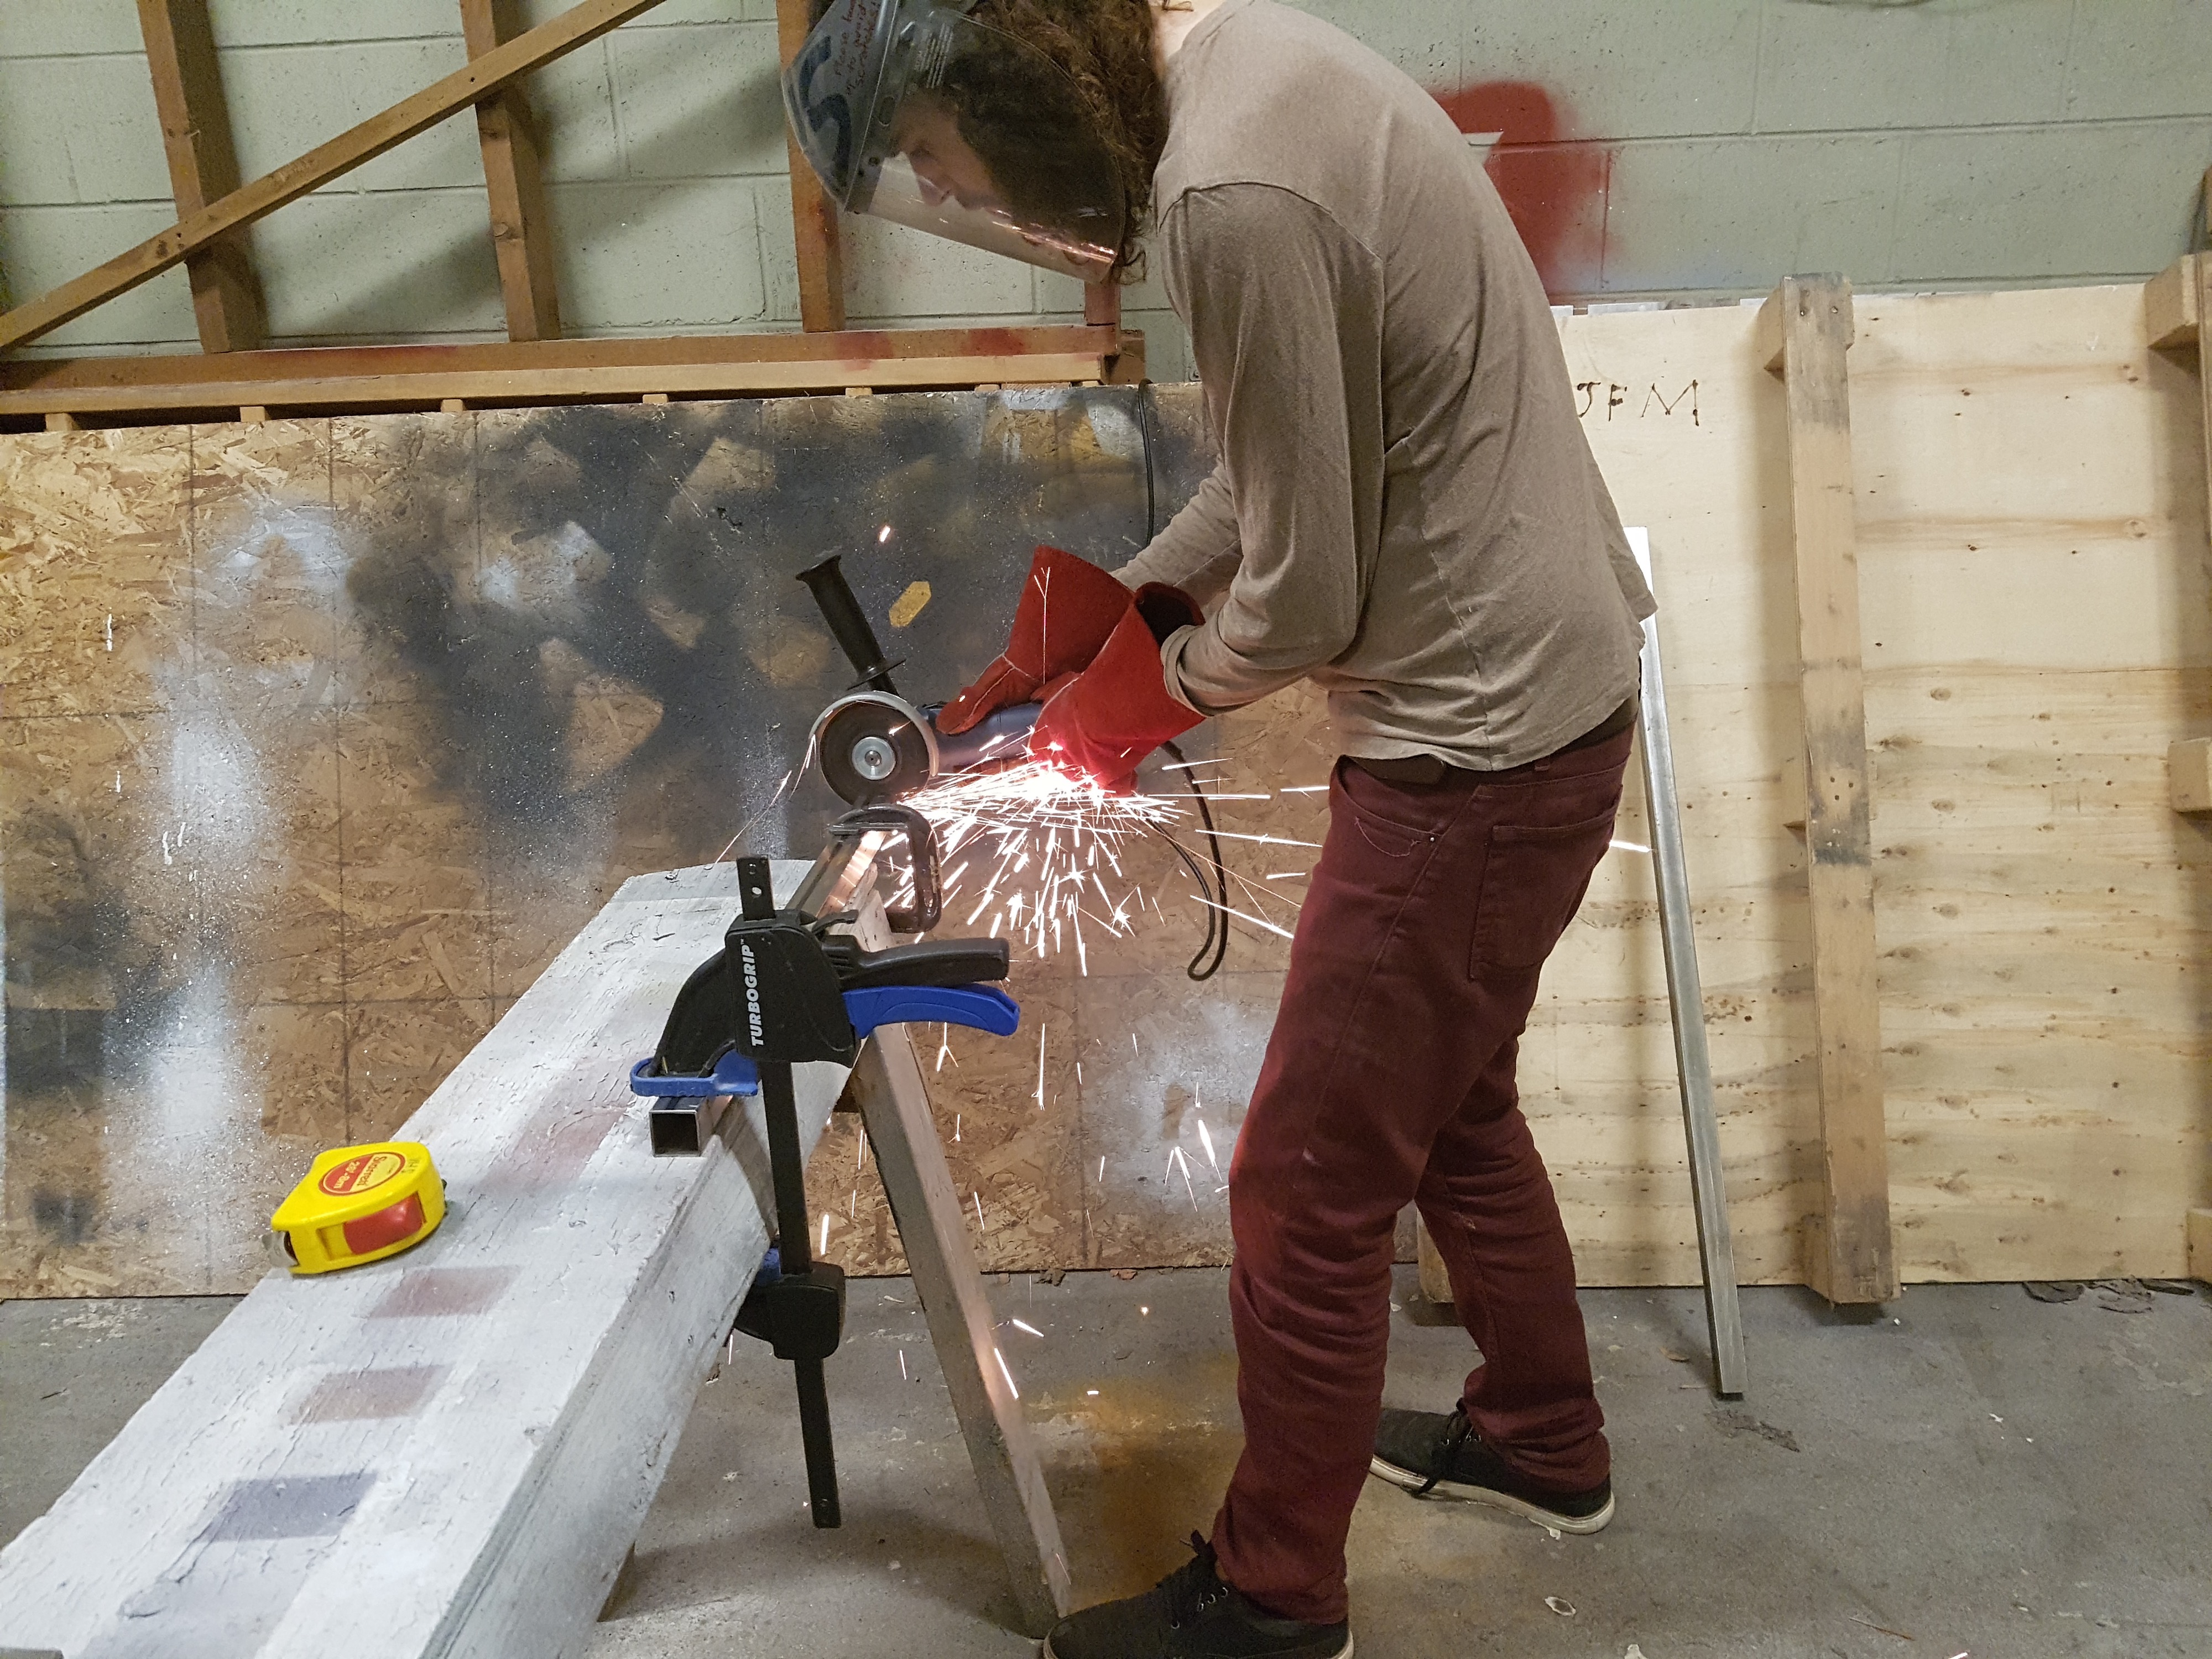
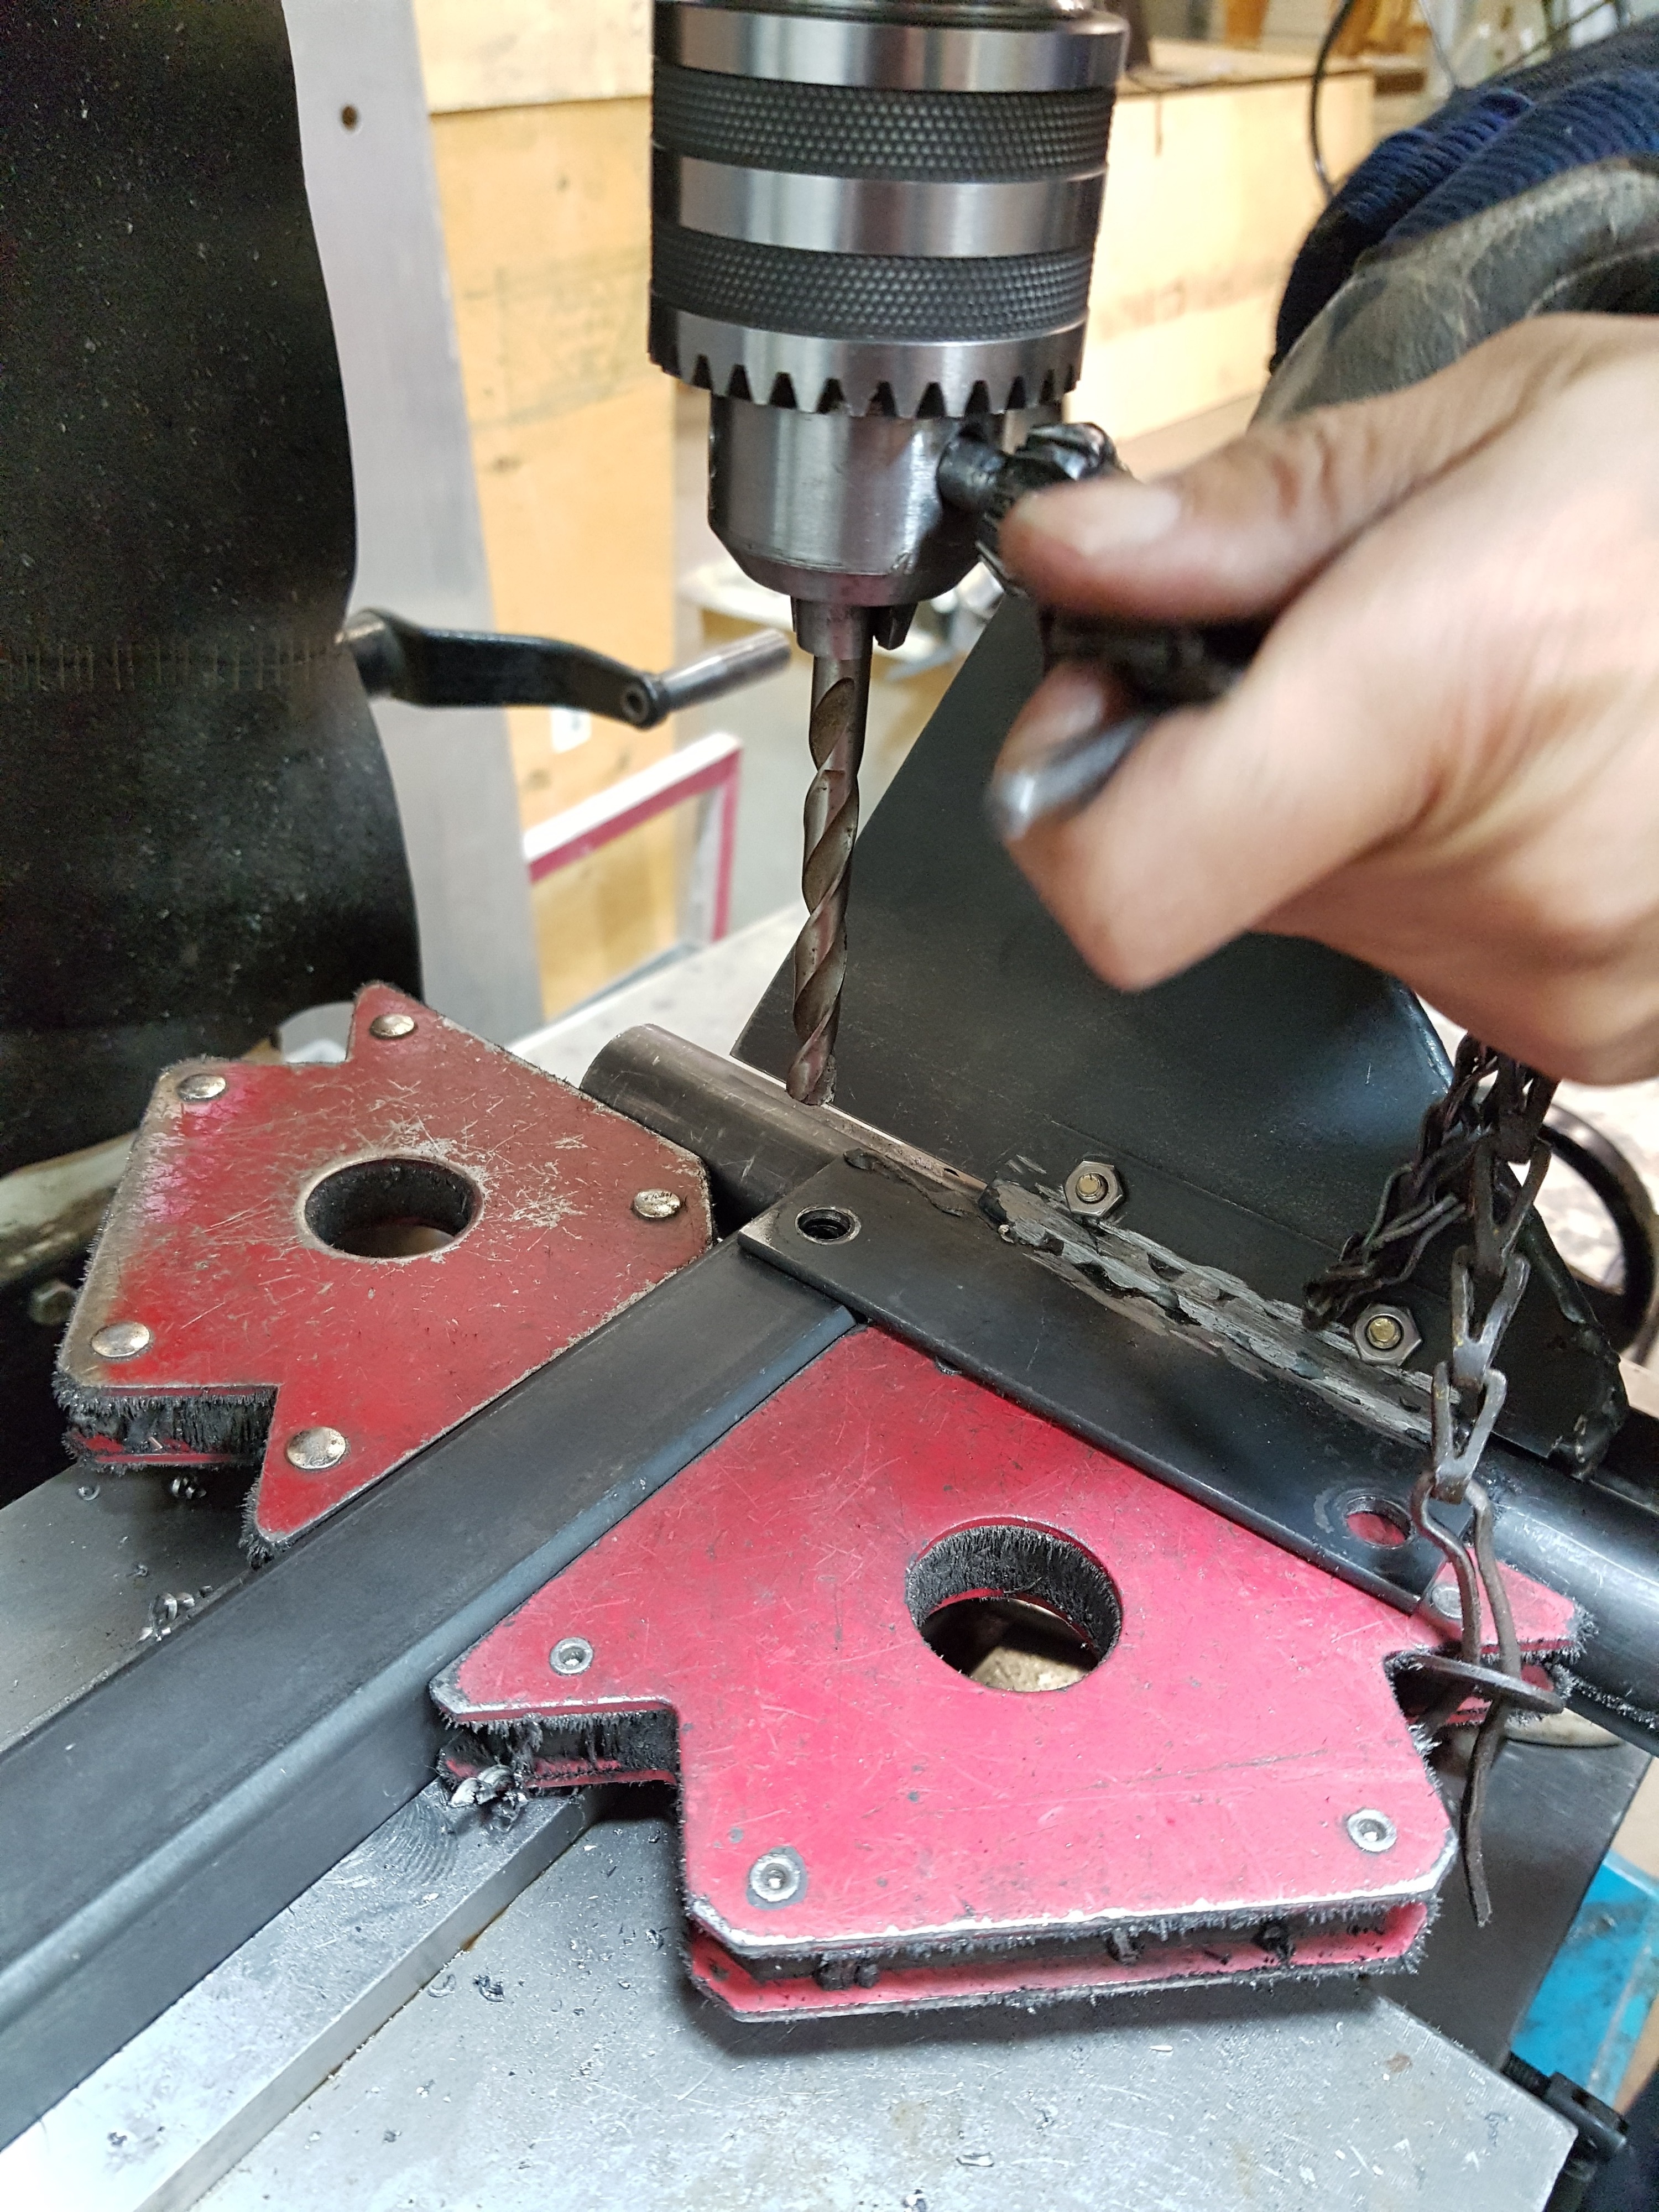
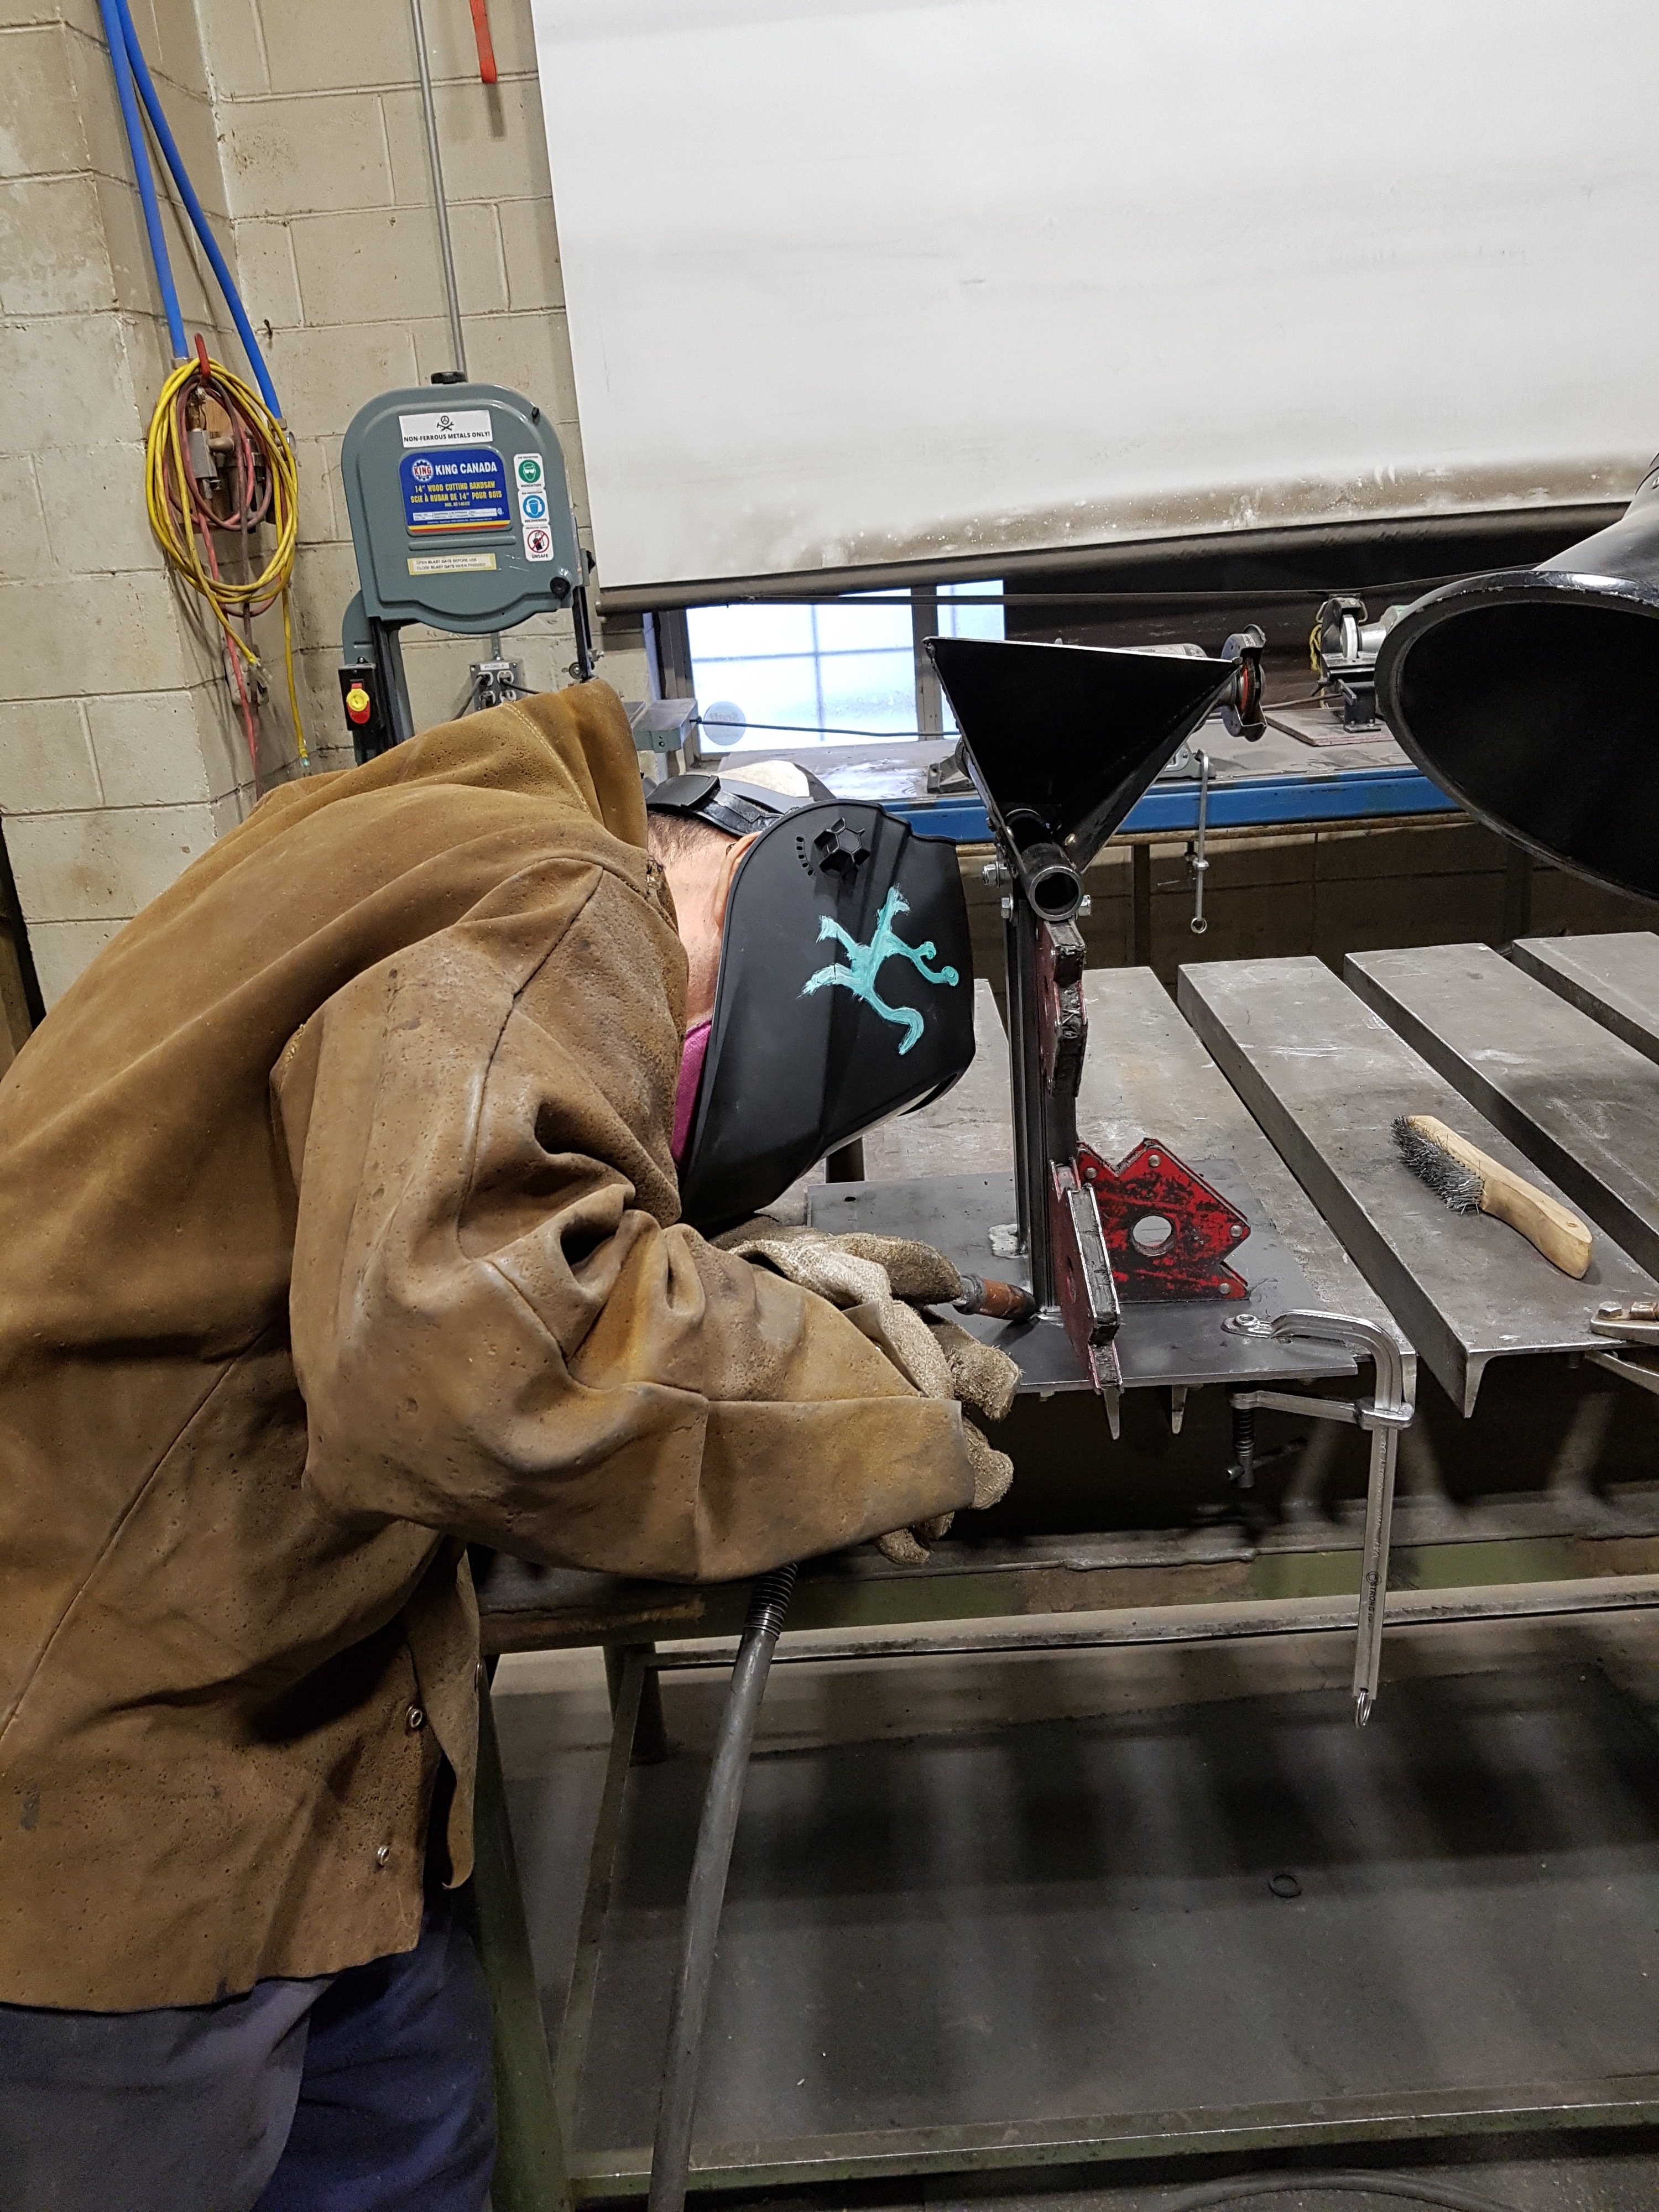
Next we cut up some of the square tubing I’d found at NorthStar to weld onto our backplate. Unfortunately the square tubing I got was of a different type of metal and way too thin, so welding it proved very difficult. Also cutting with an angle grinder is not recommended, we used a bandsaw later on and it made things infinitely easier. @msearracanada welded two of the brackets on, welded the square tubing on as well as possible, and used the jig to weld the last two brackets onto the pipe - which worked pretty well!
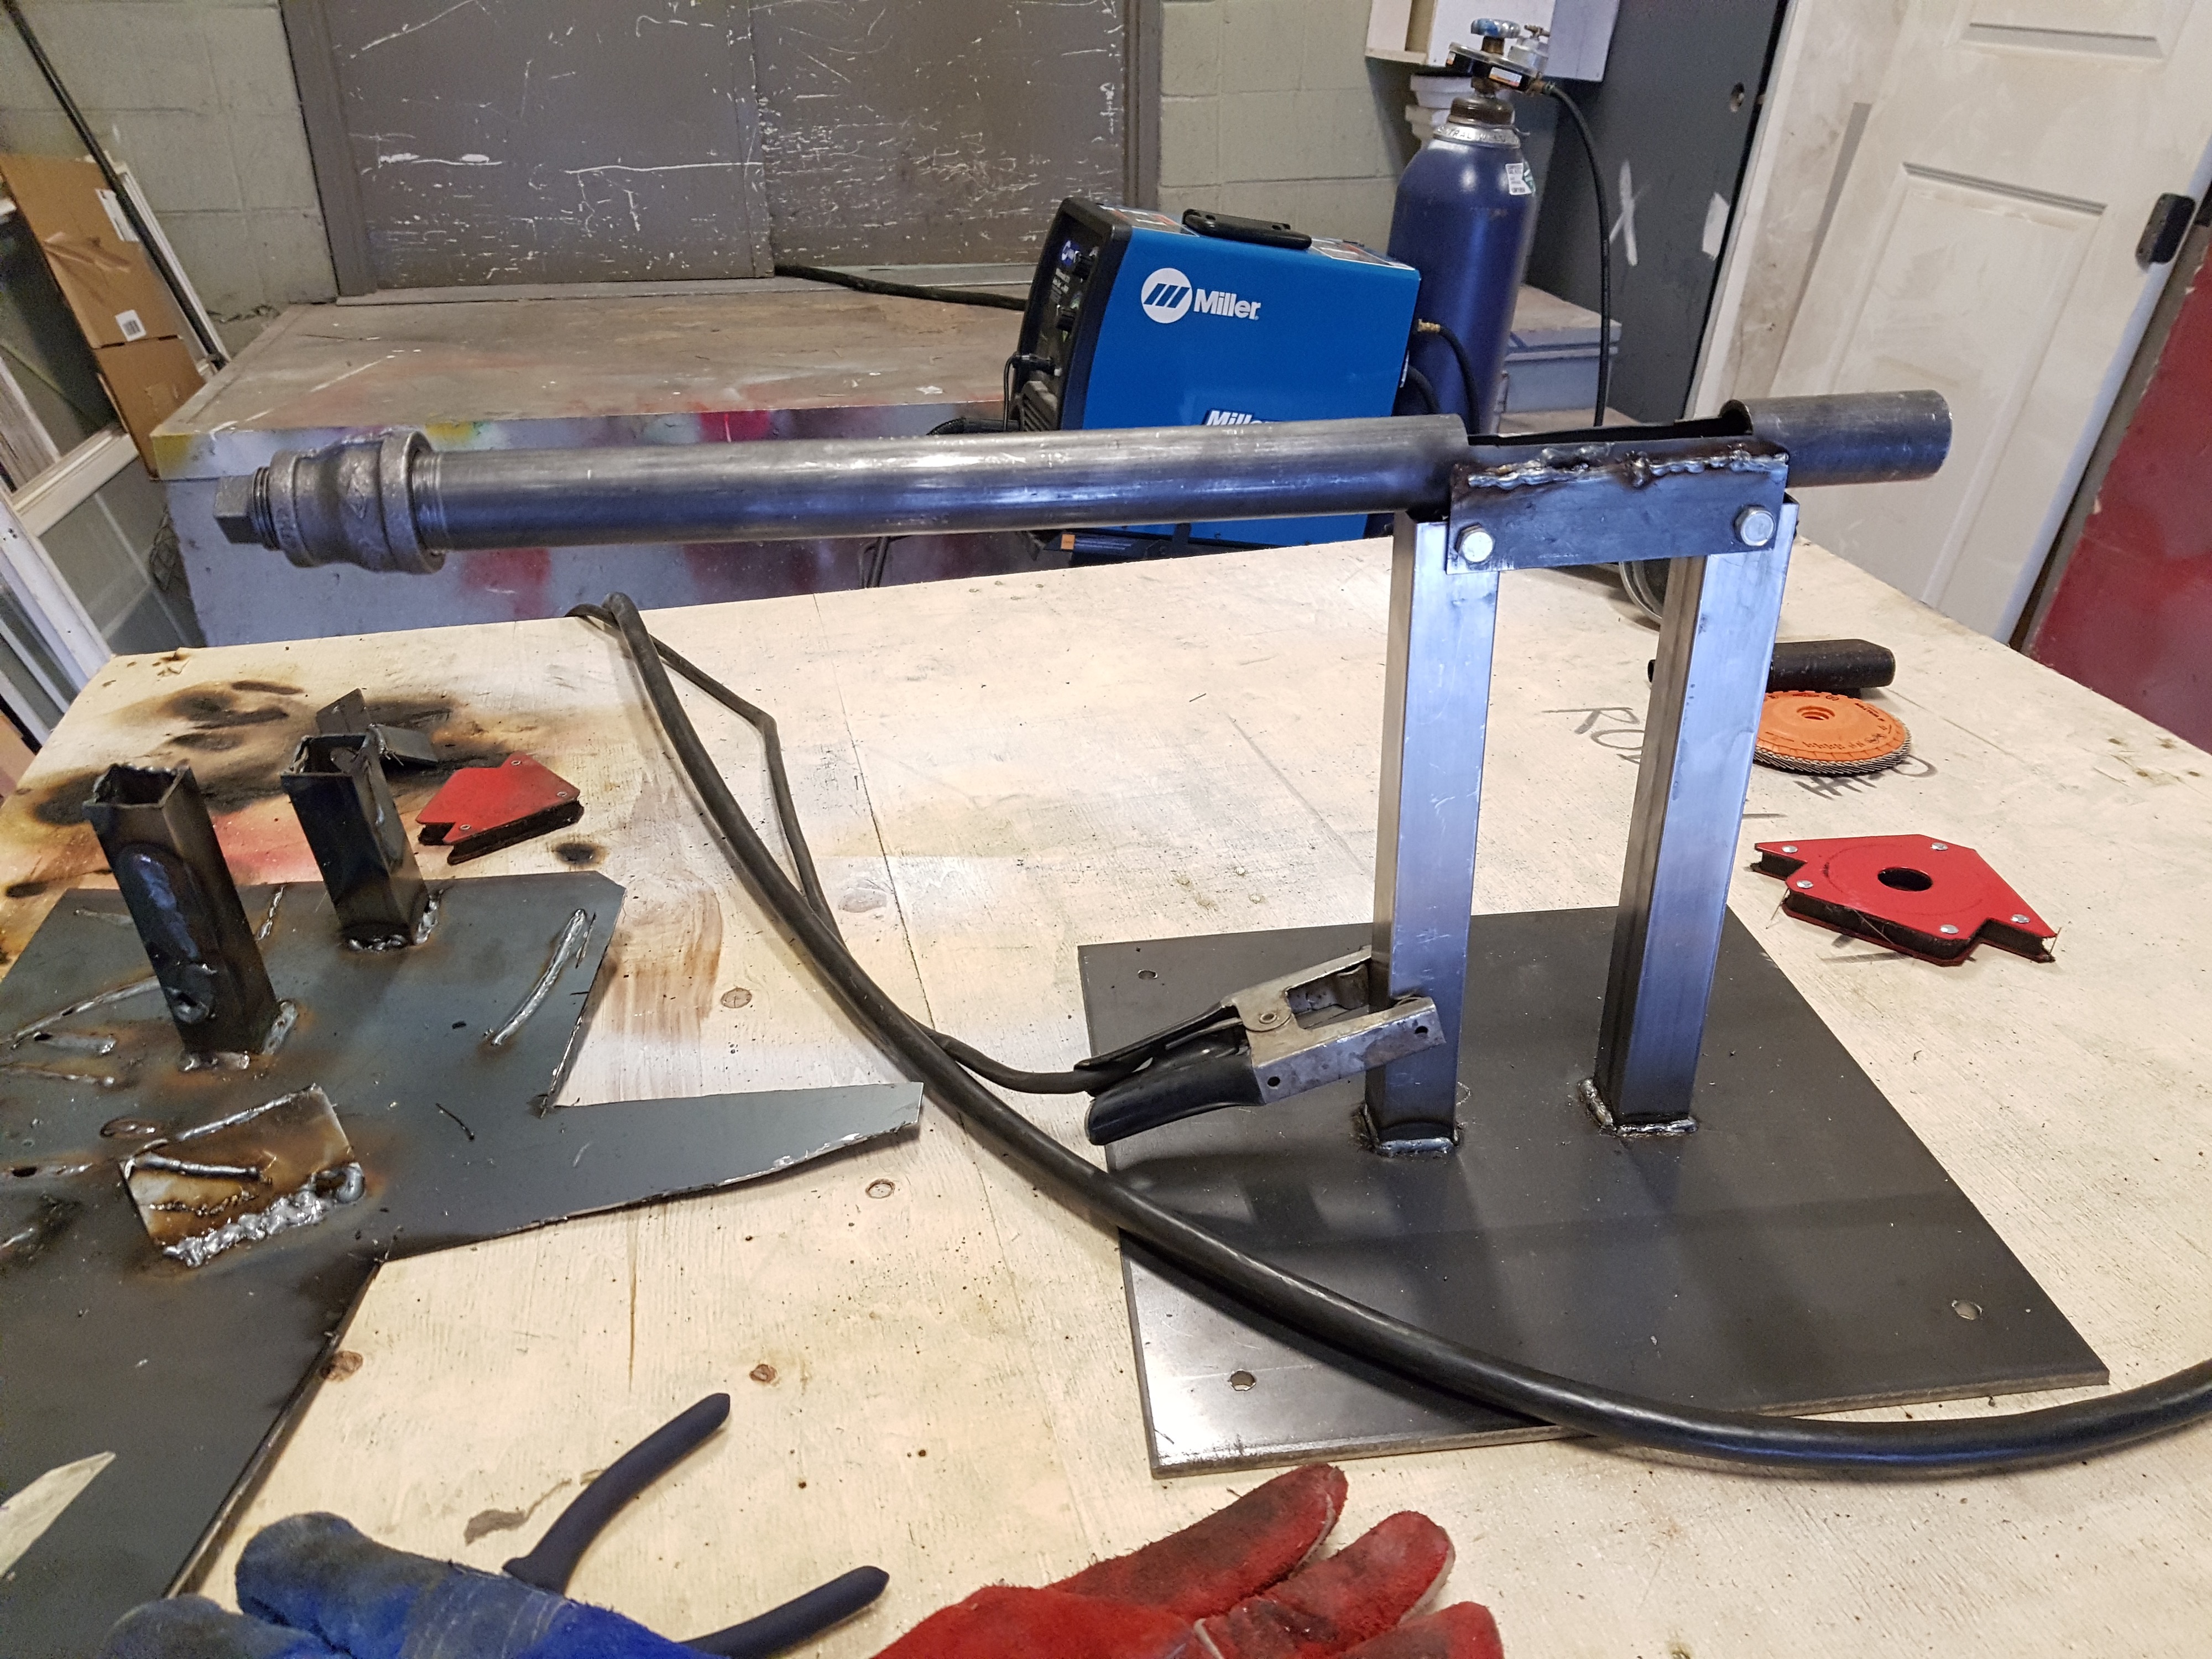


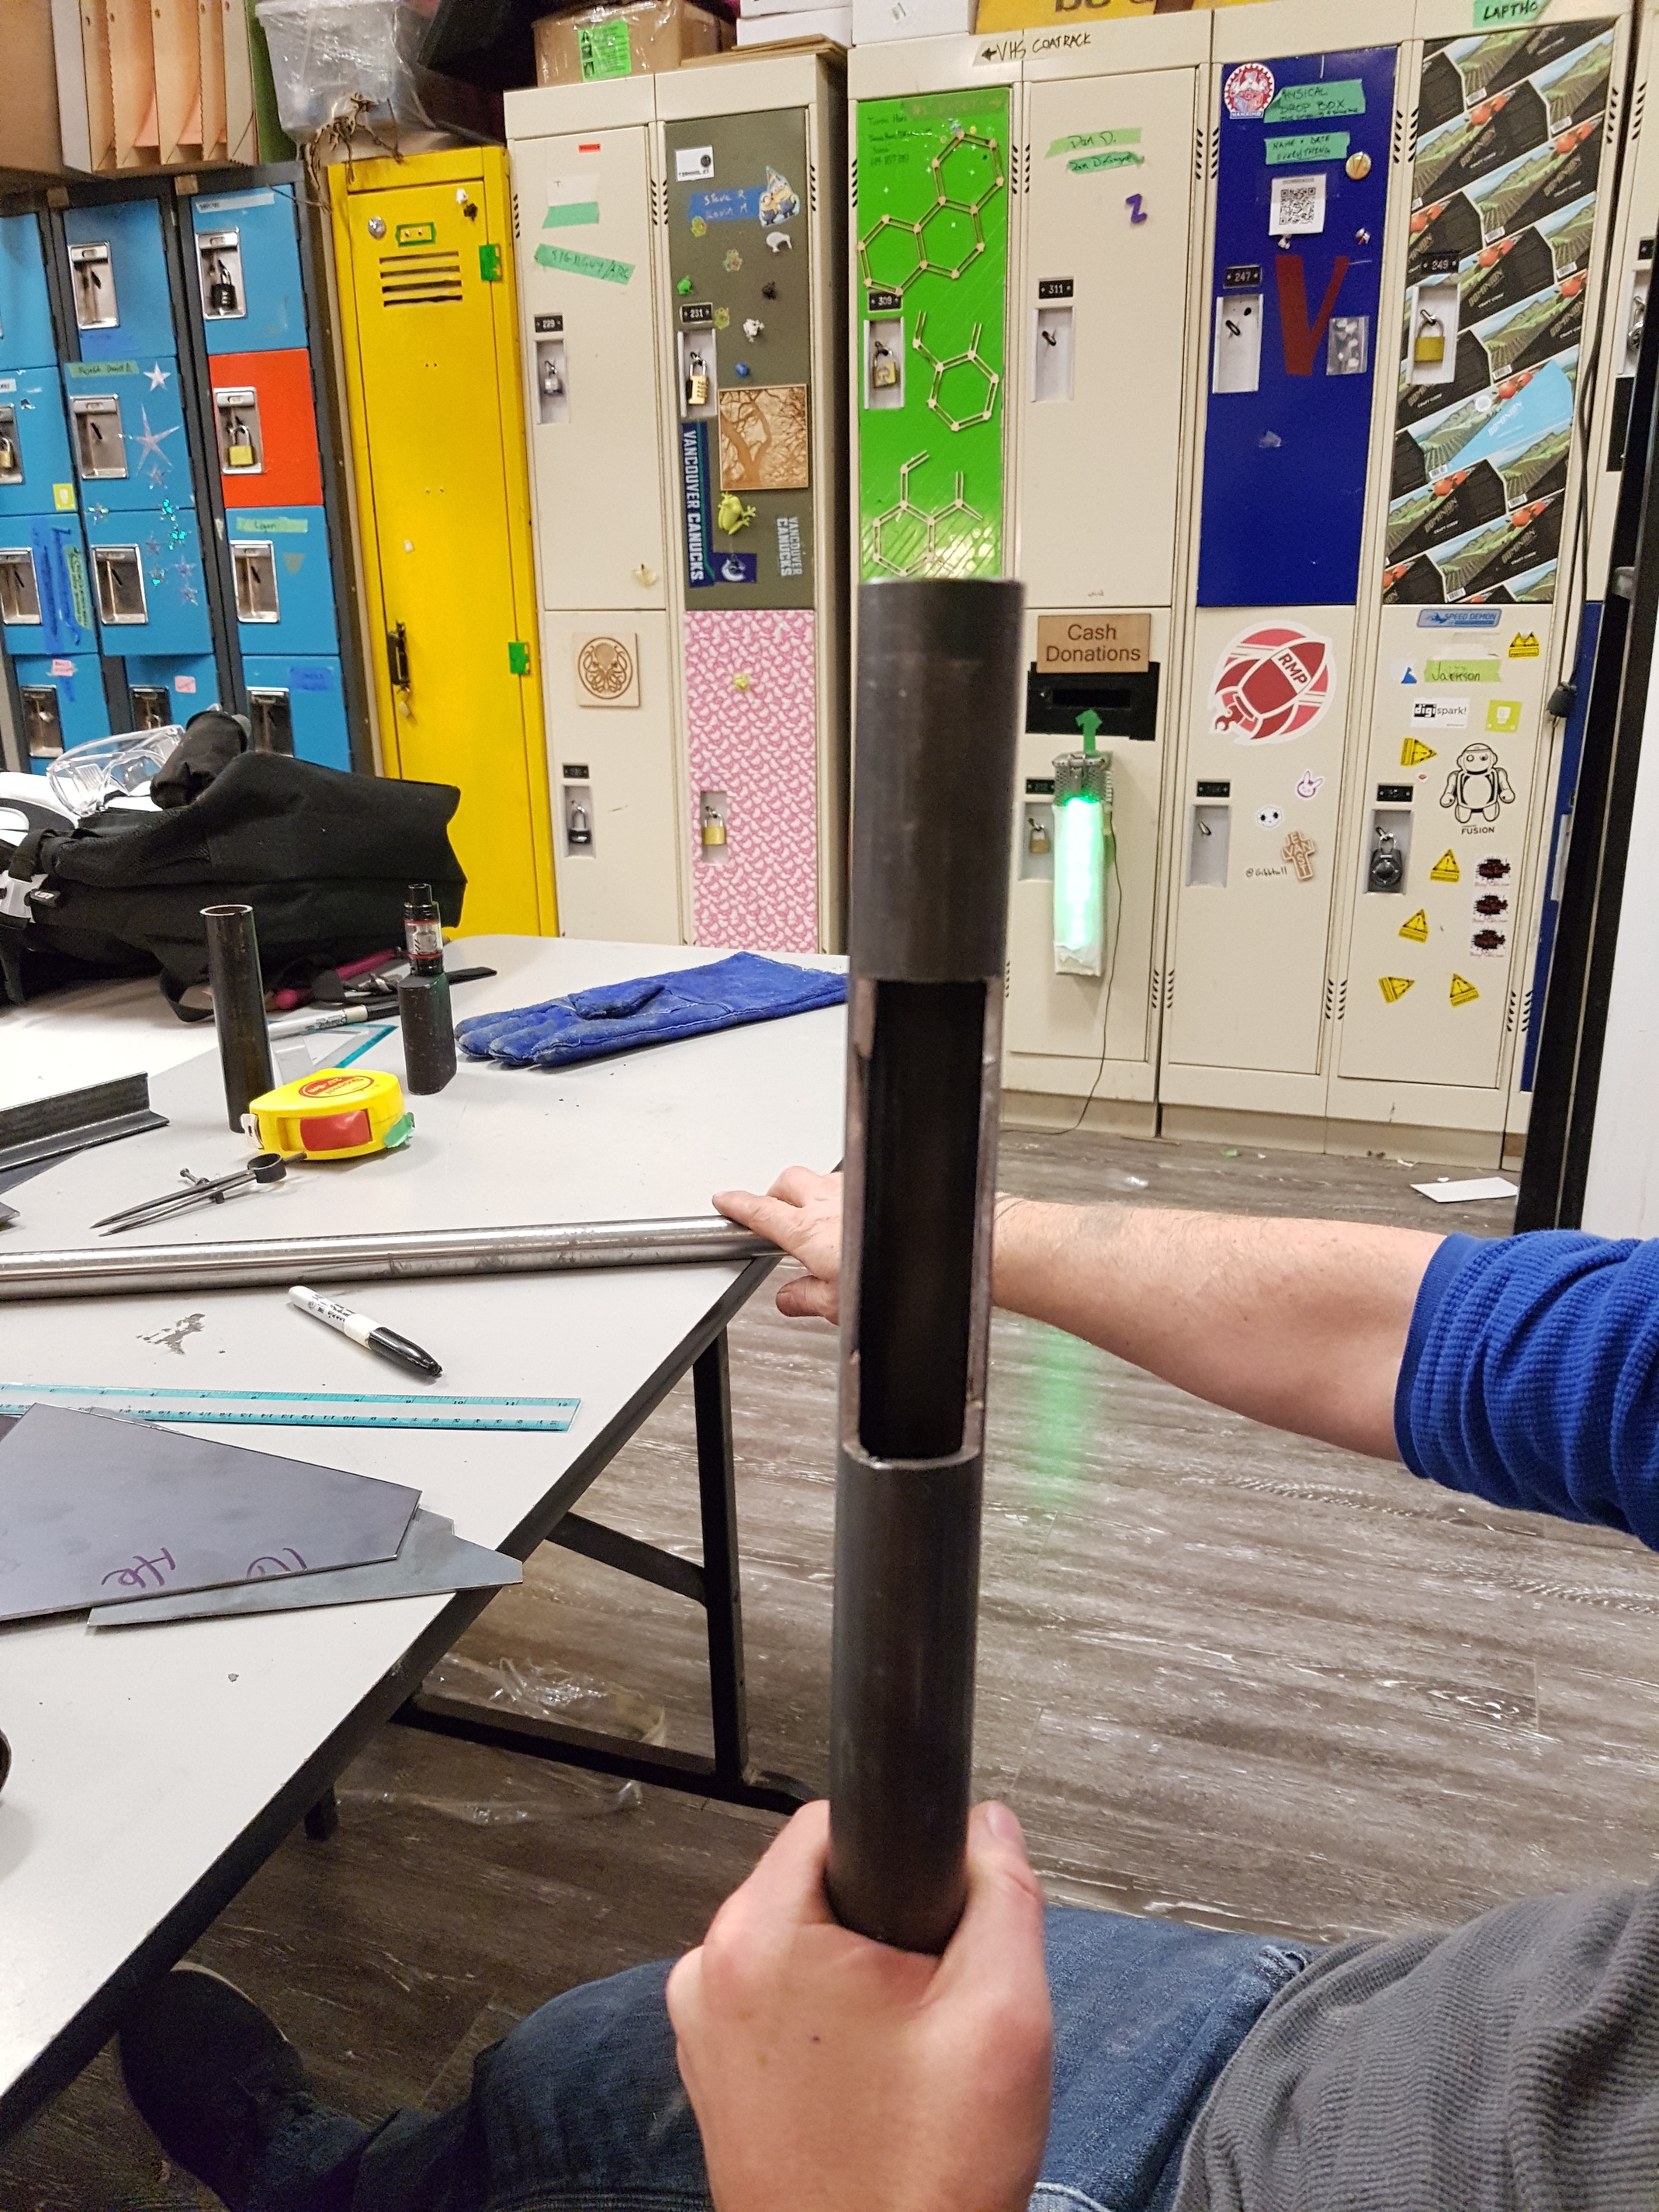
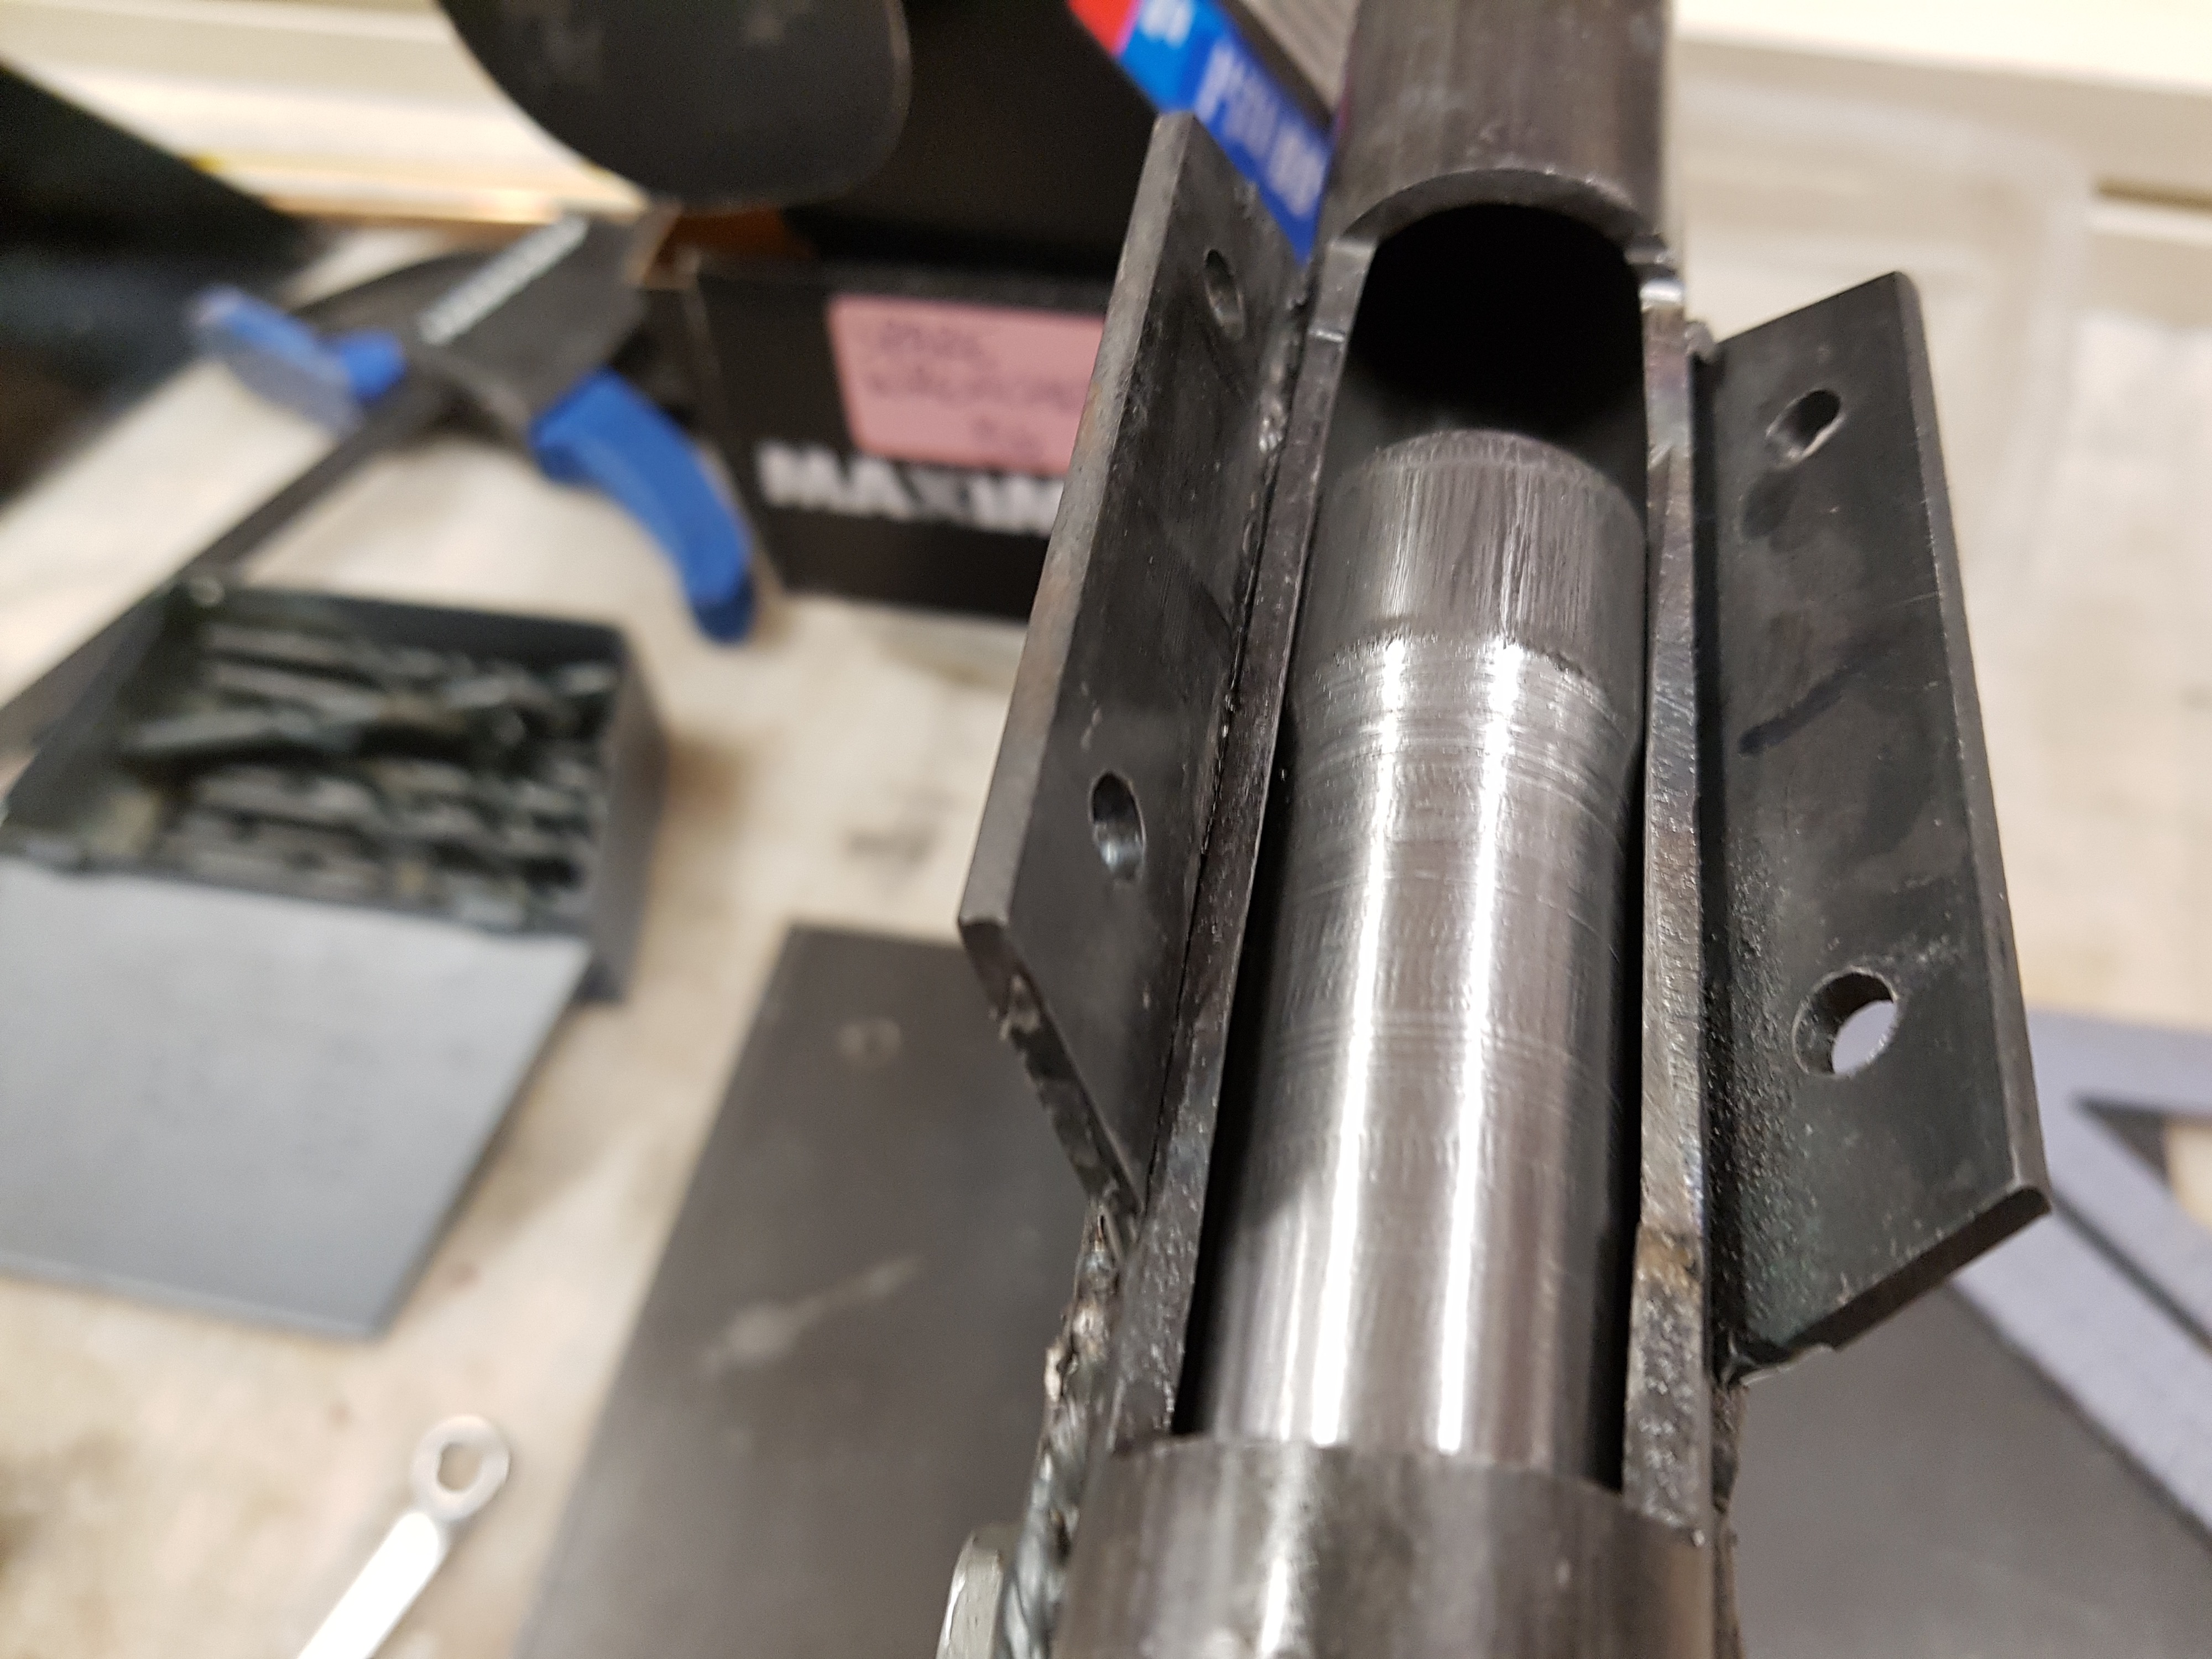
We put everything together, feeling great about ourselves, and at the end of the day tried to put the plunging rod through the now-mounted barrel. Then…
…It got stuck…
February 2018
This was a huge disappointment, since the rod fit in the pipe absolutely perfectly before. We realized that welding to the pipe heated it up enough to deform its shape. We spent the entire next build day using a brake cylinder hone to open up the spot it was getting stuck at, but the whole hone grinded away. We tried to use it with sandpaper, still no luck.
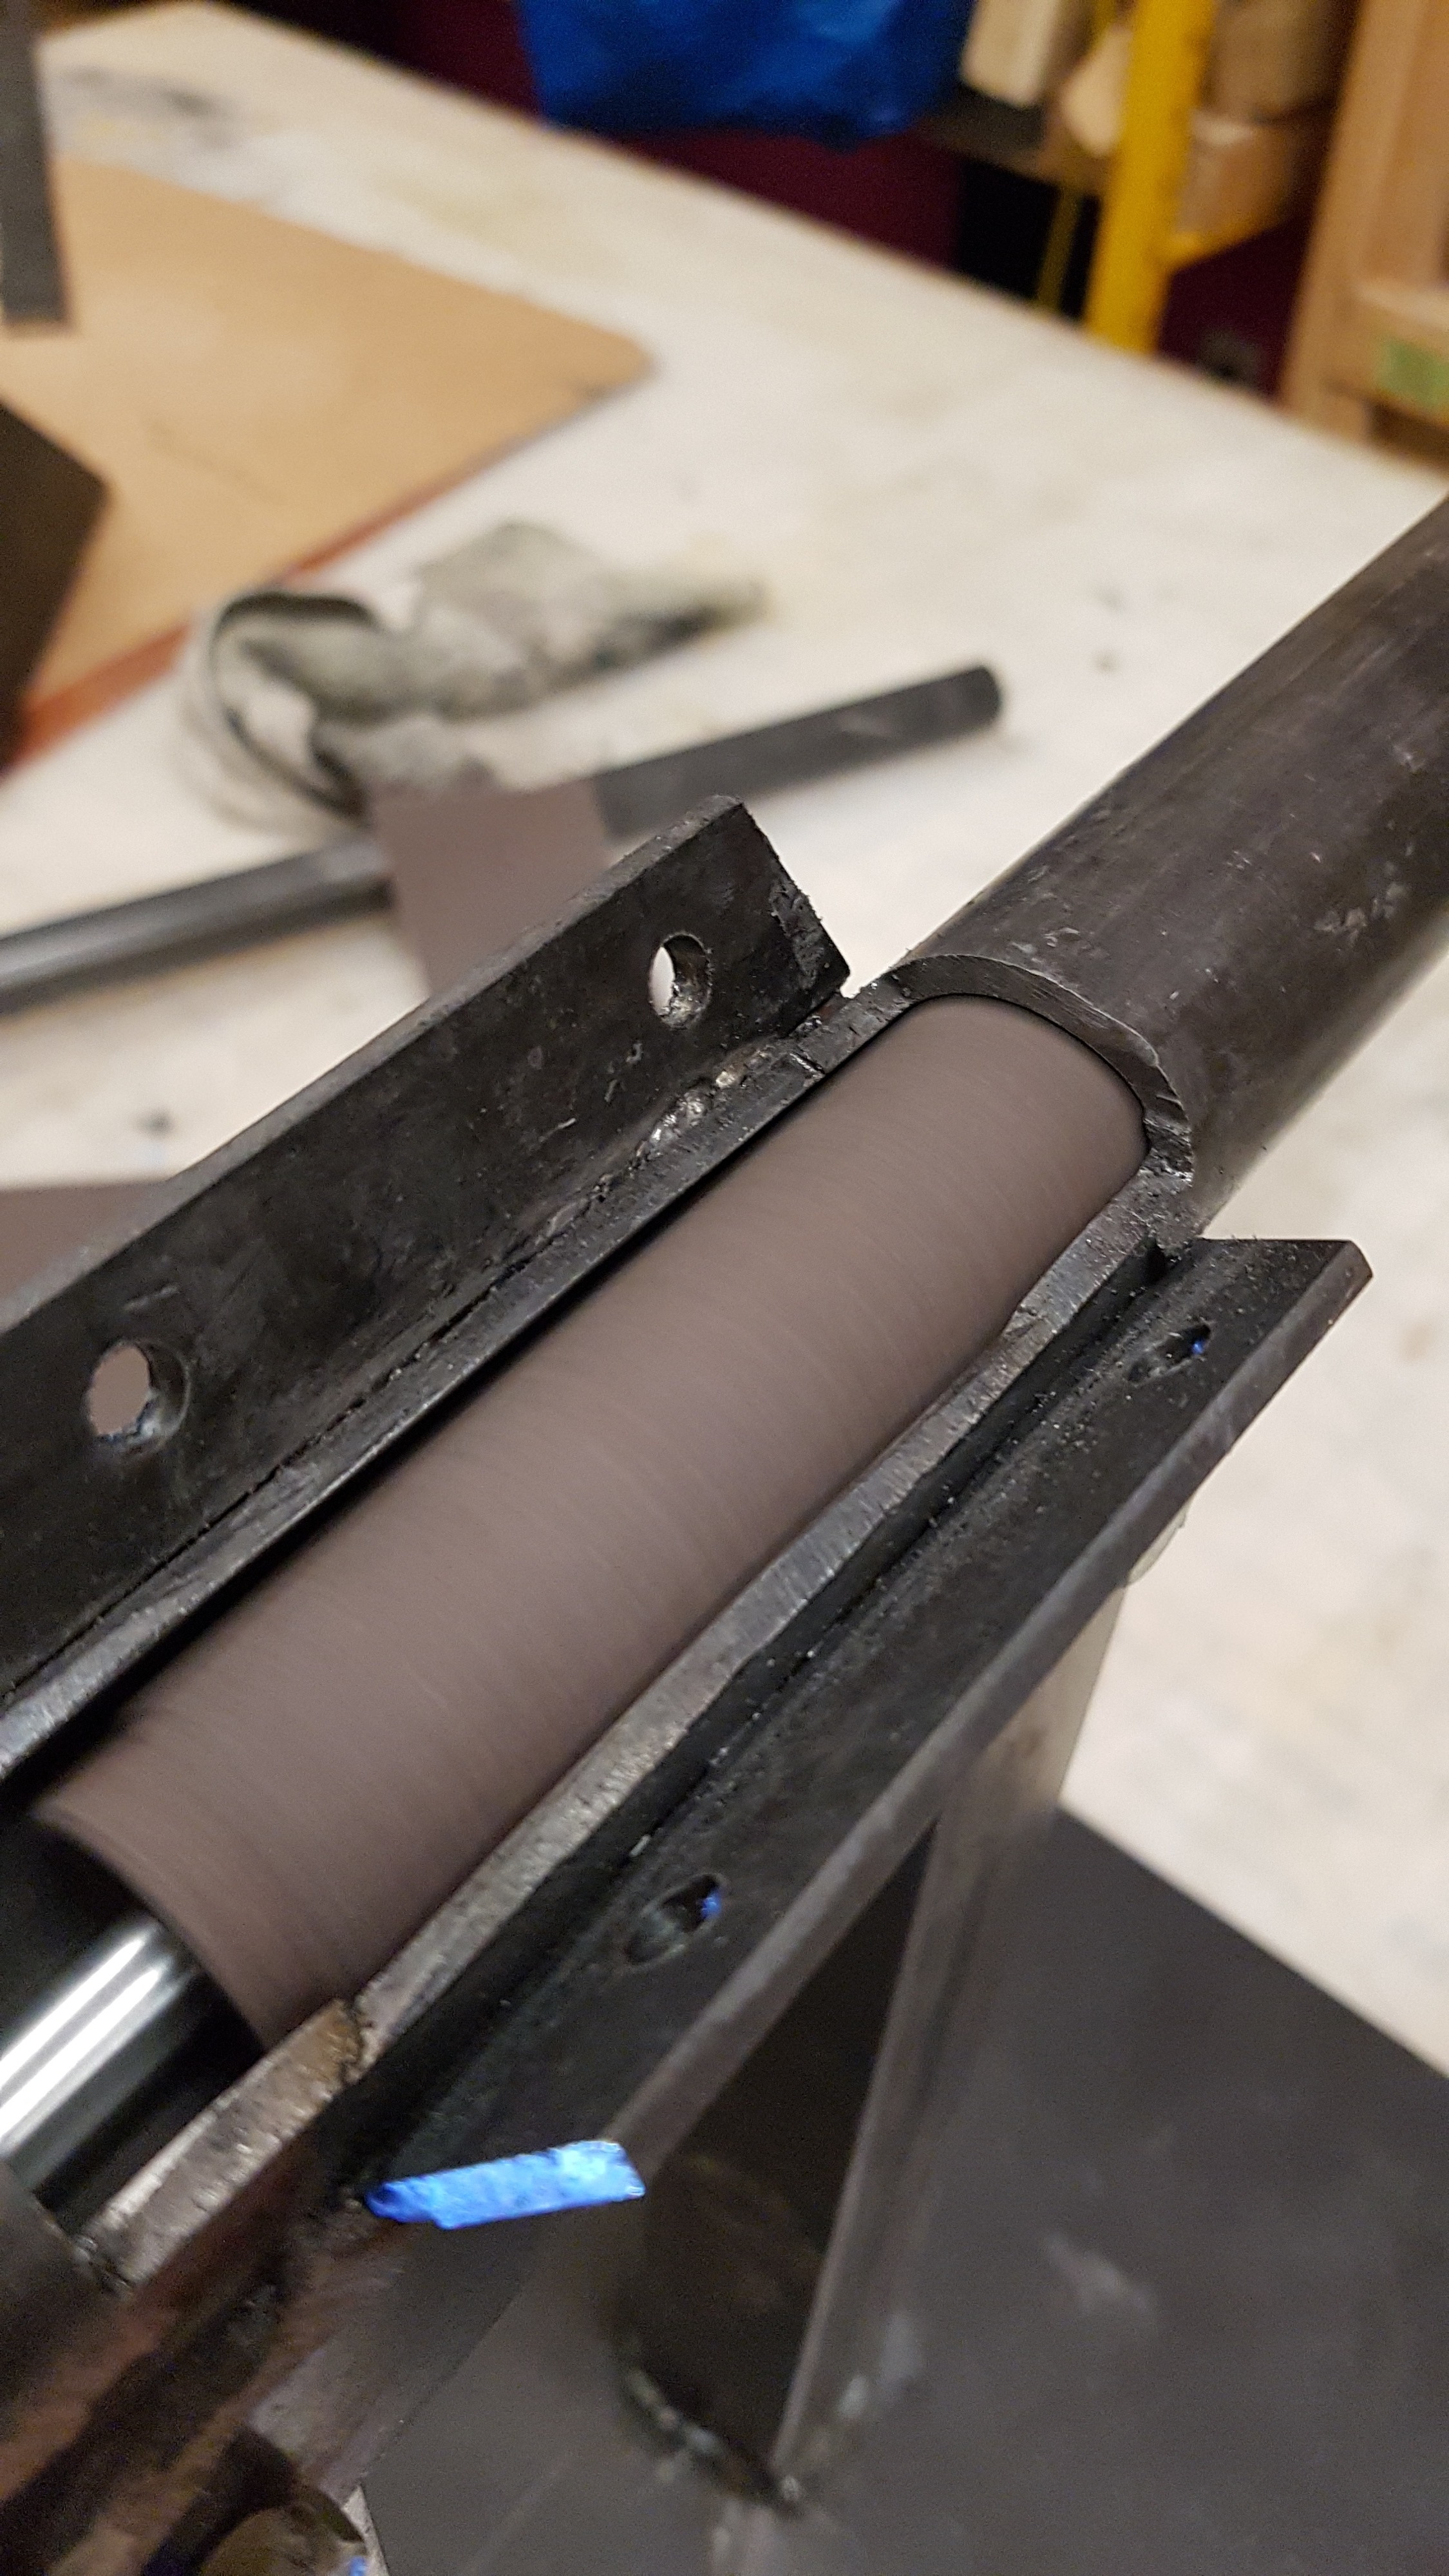
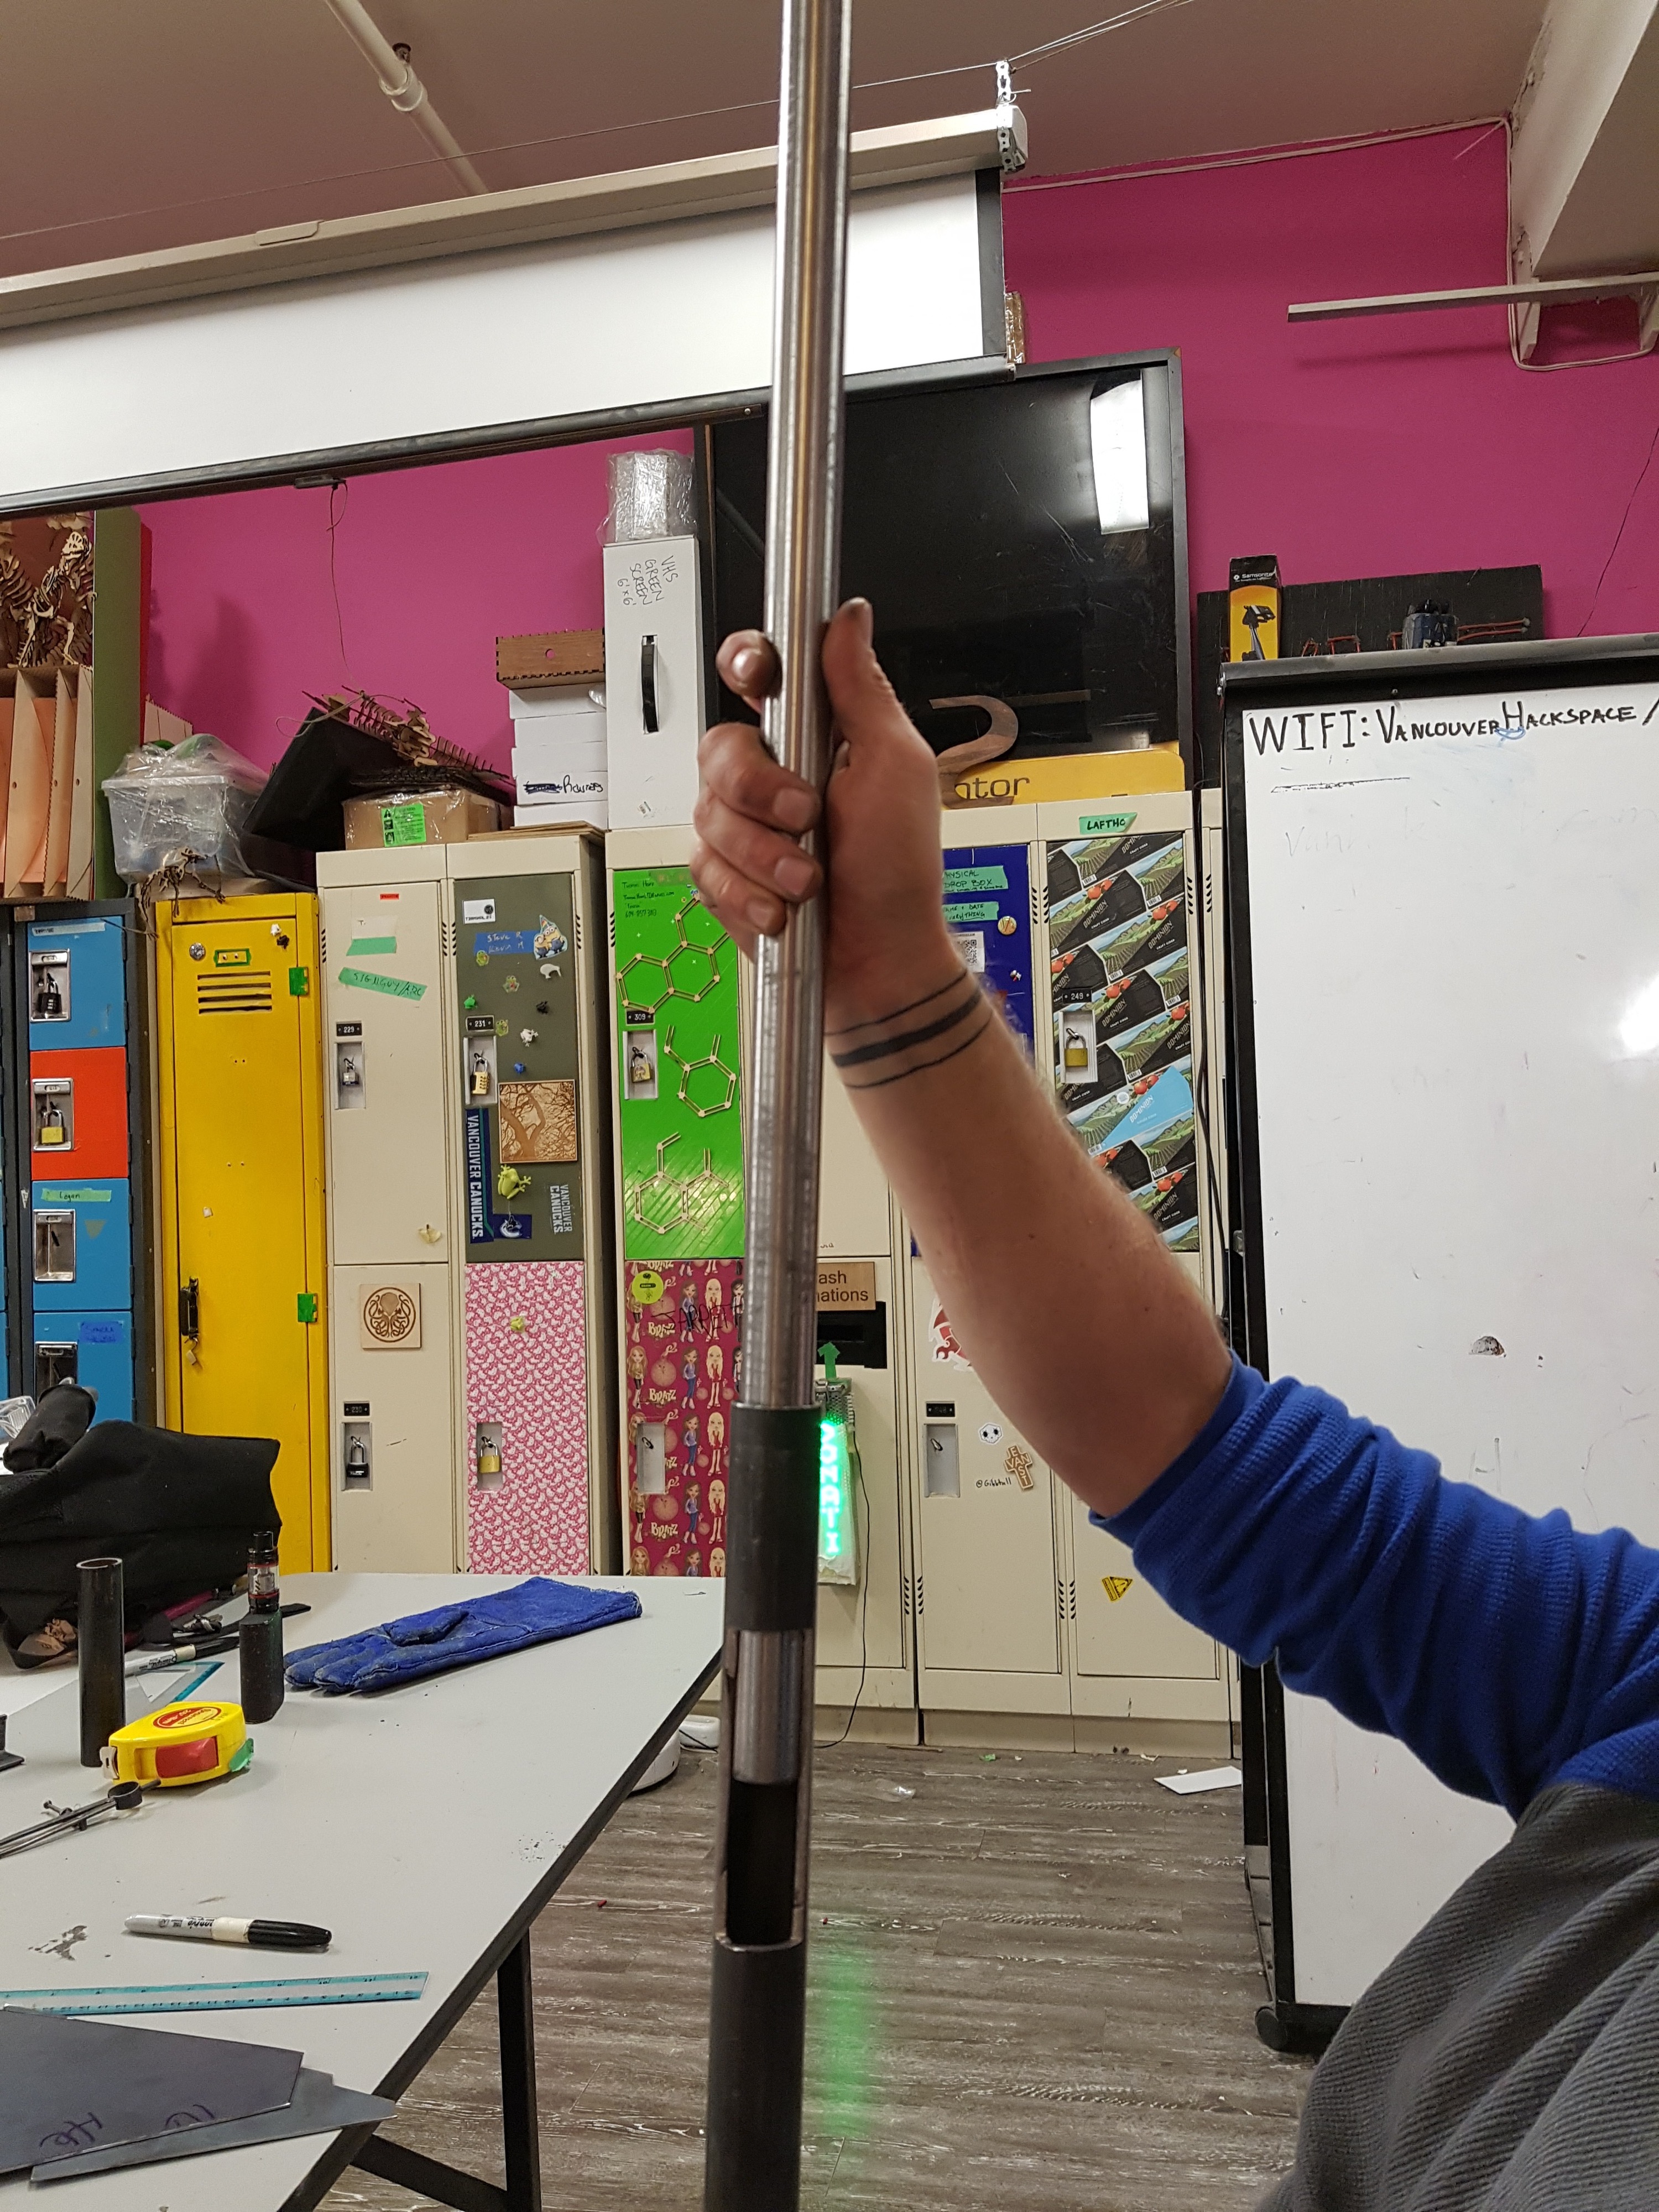
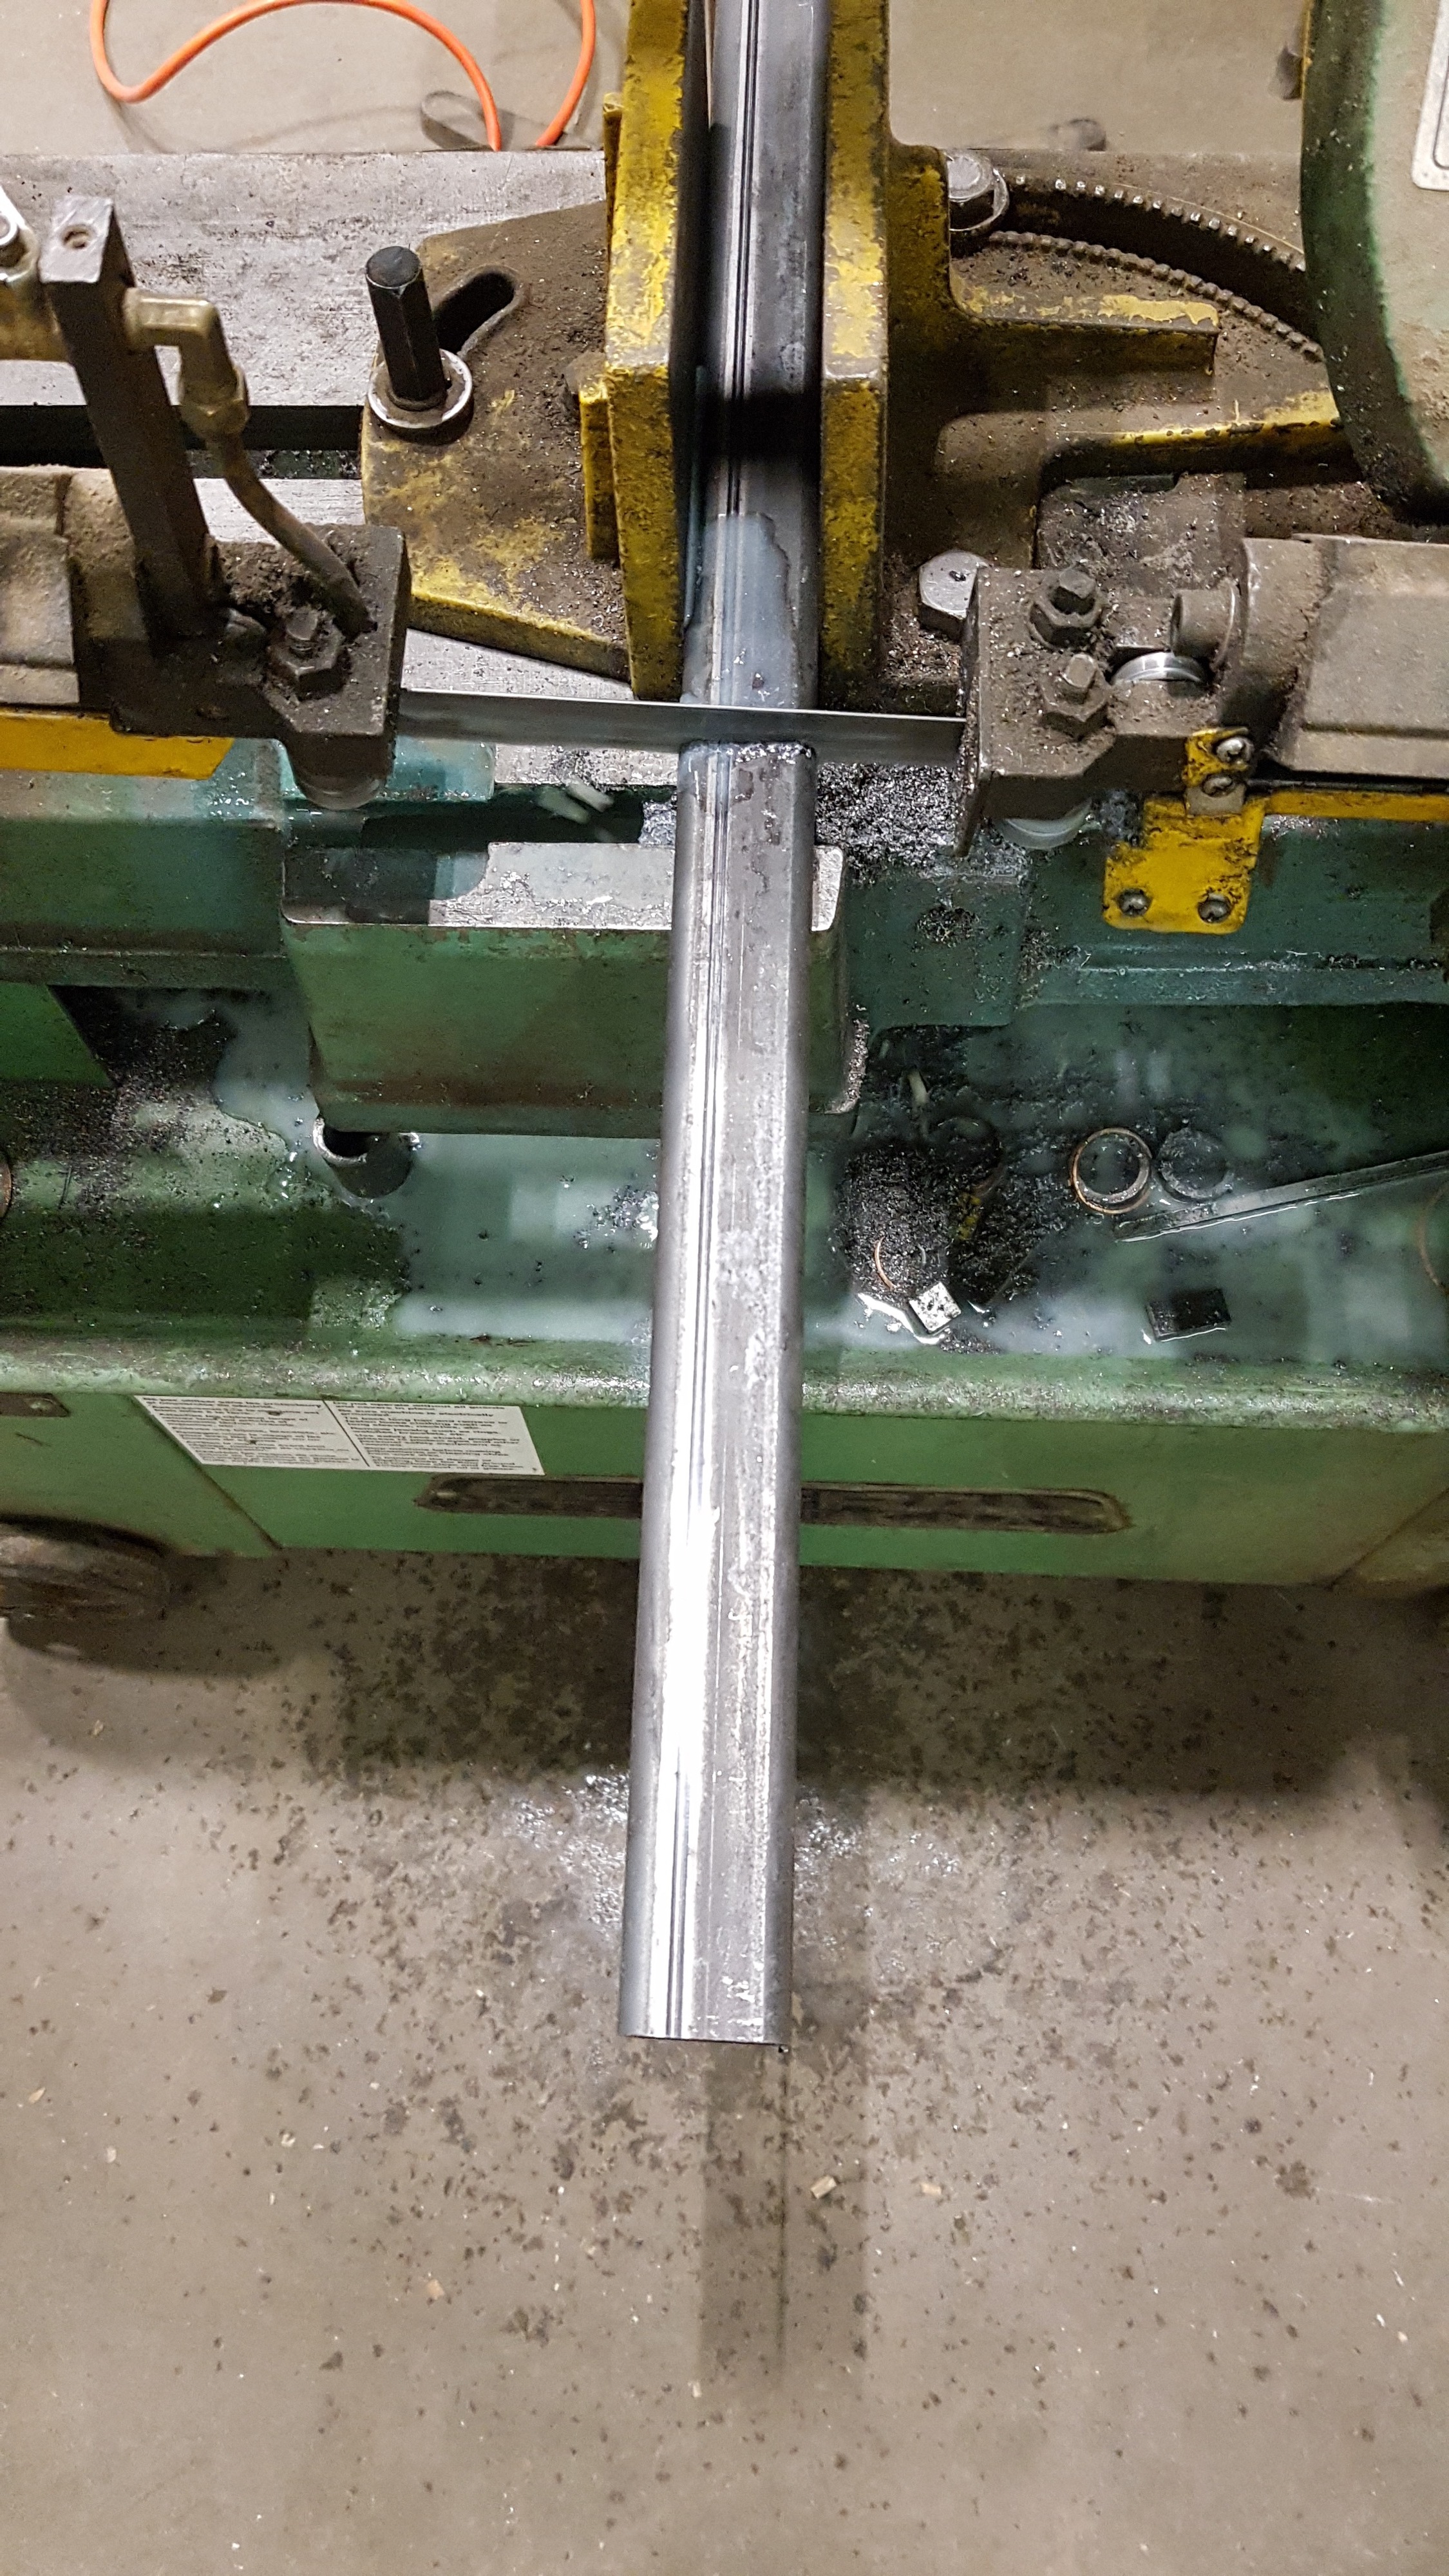
So we decided to call it quits and ask here on Talk for advice. @Big_Mak came up with a great solution - to use the lathe to remove some material from most of the rod, leaving just the plunging head with its full diameter.
The next build day @Majicj helped us out on the lathe.
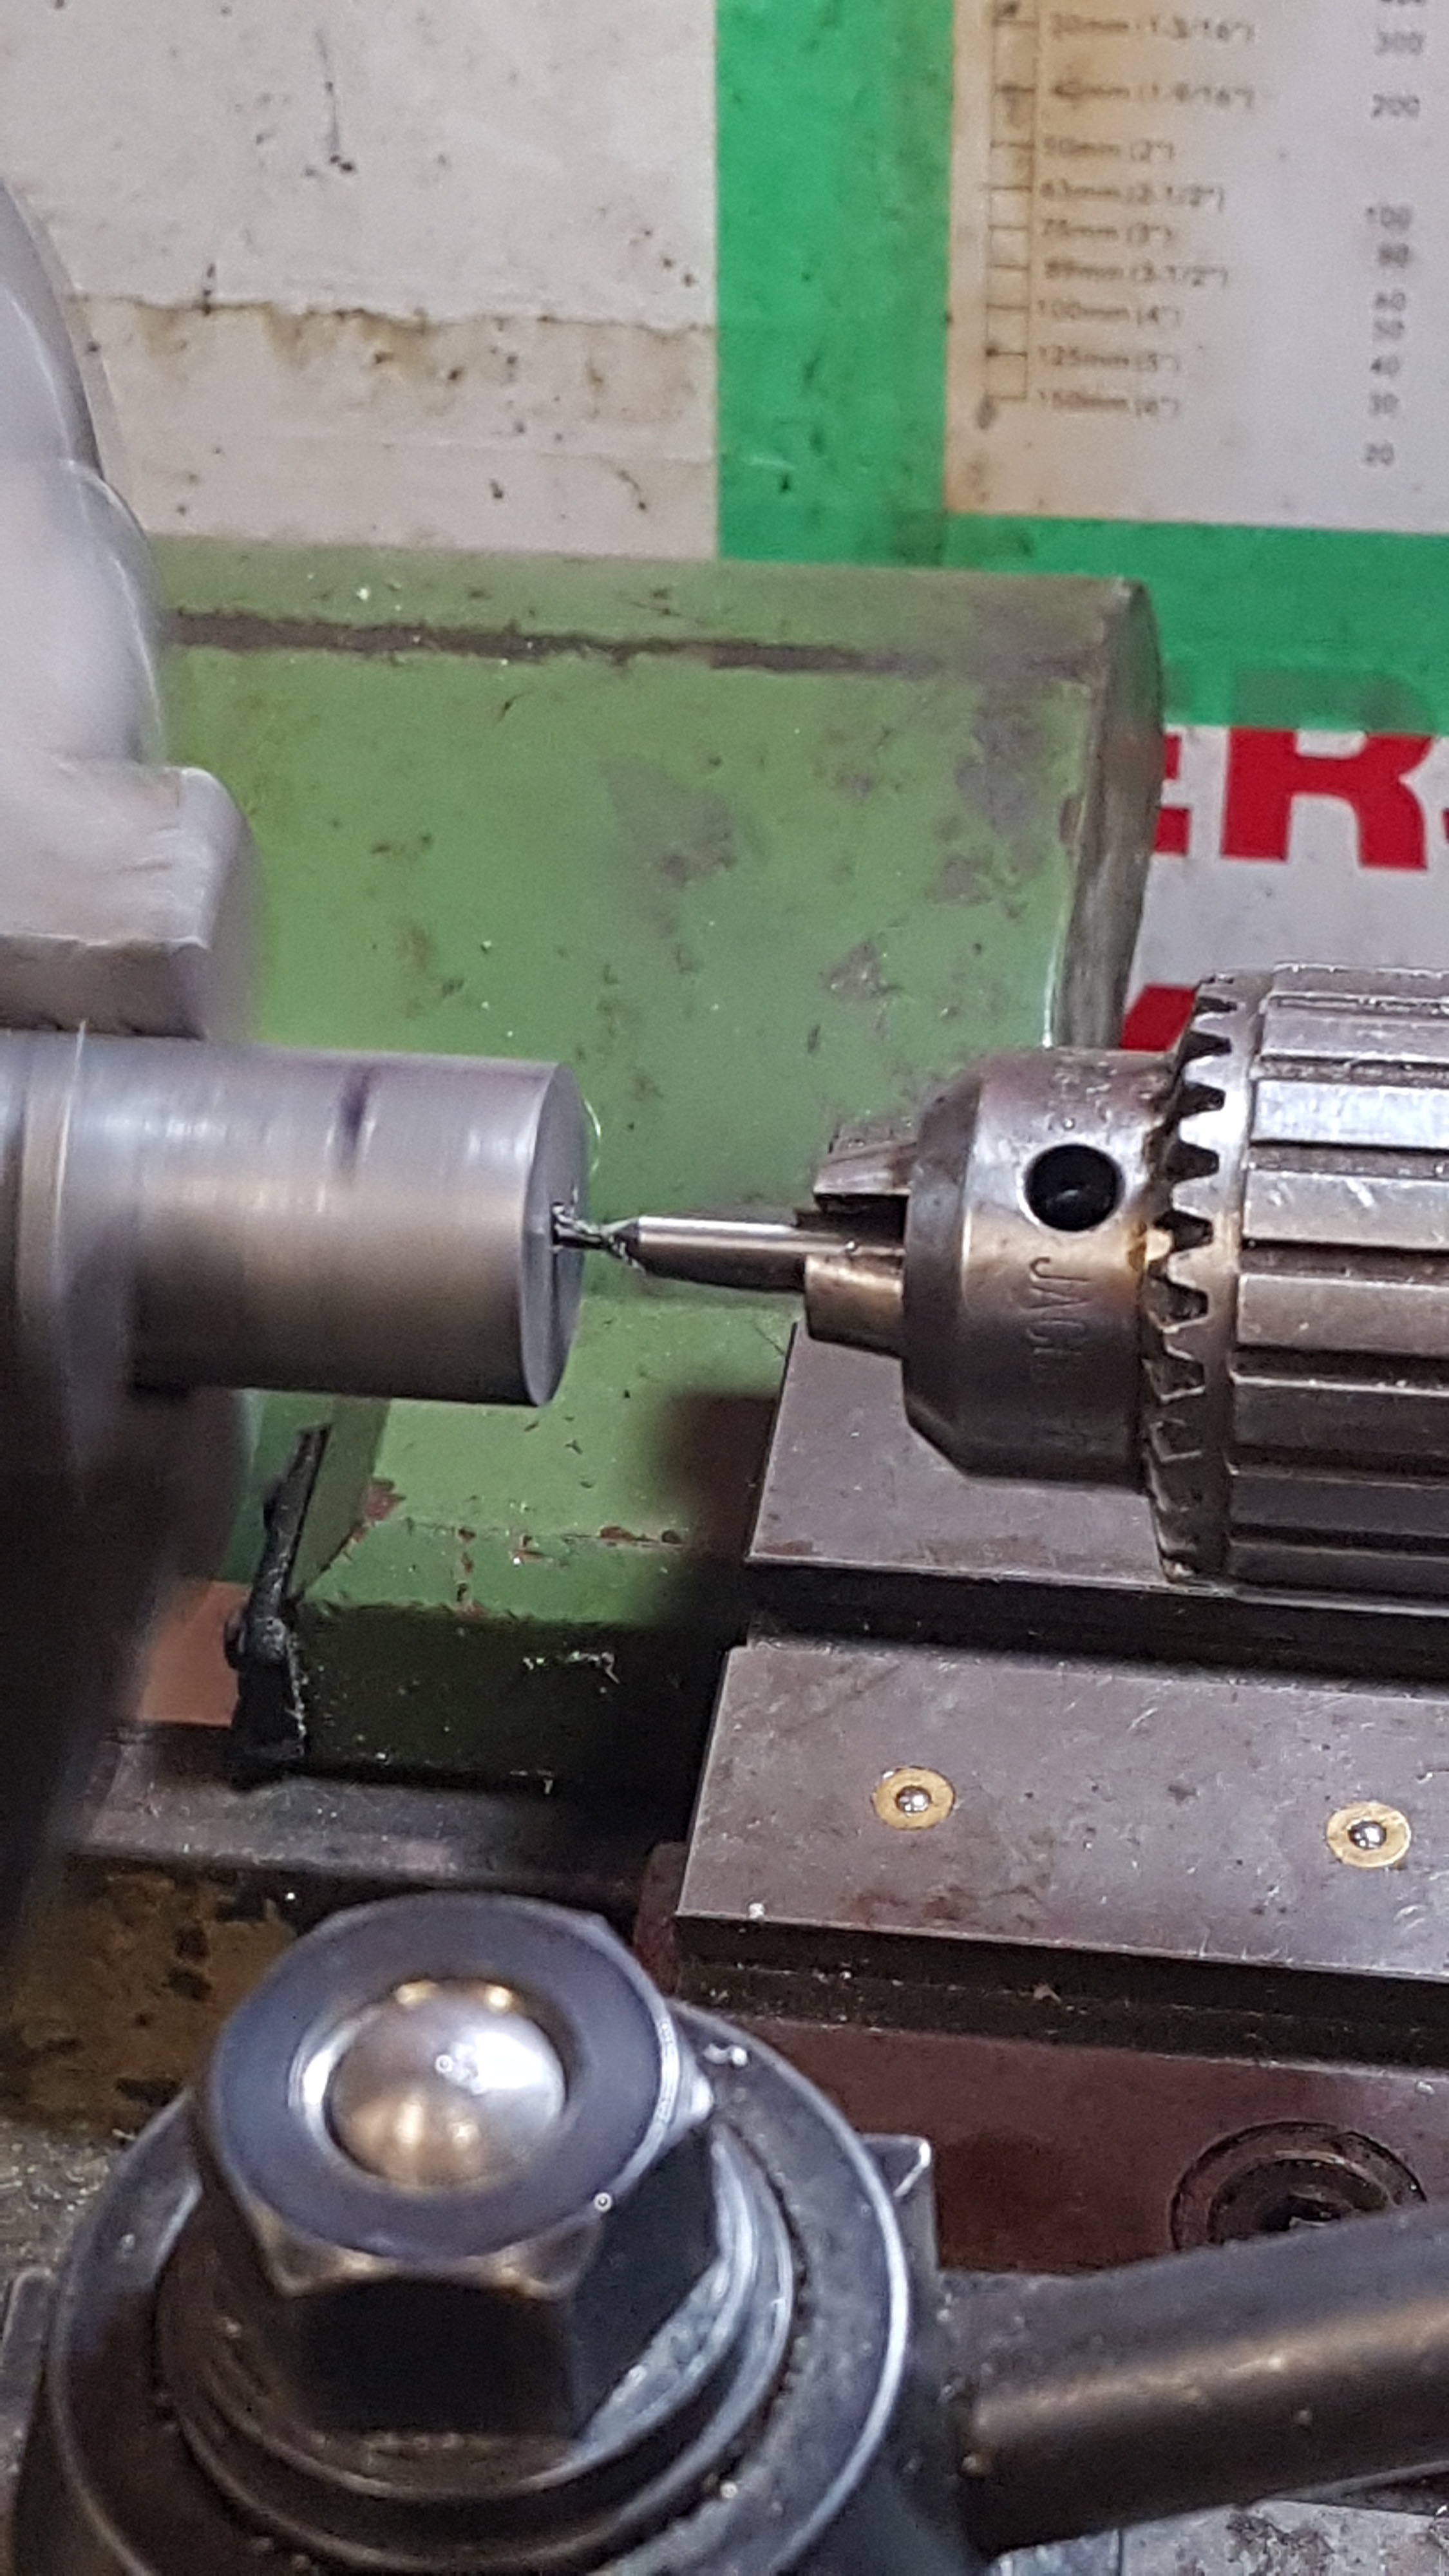
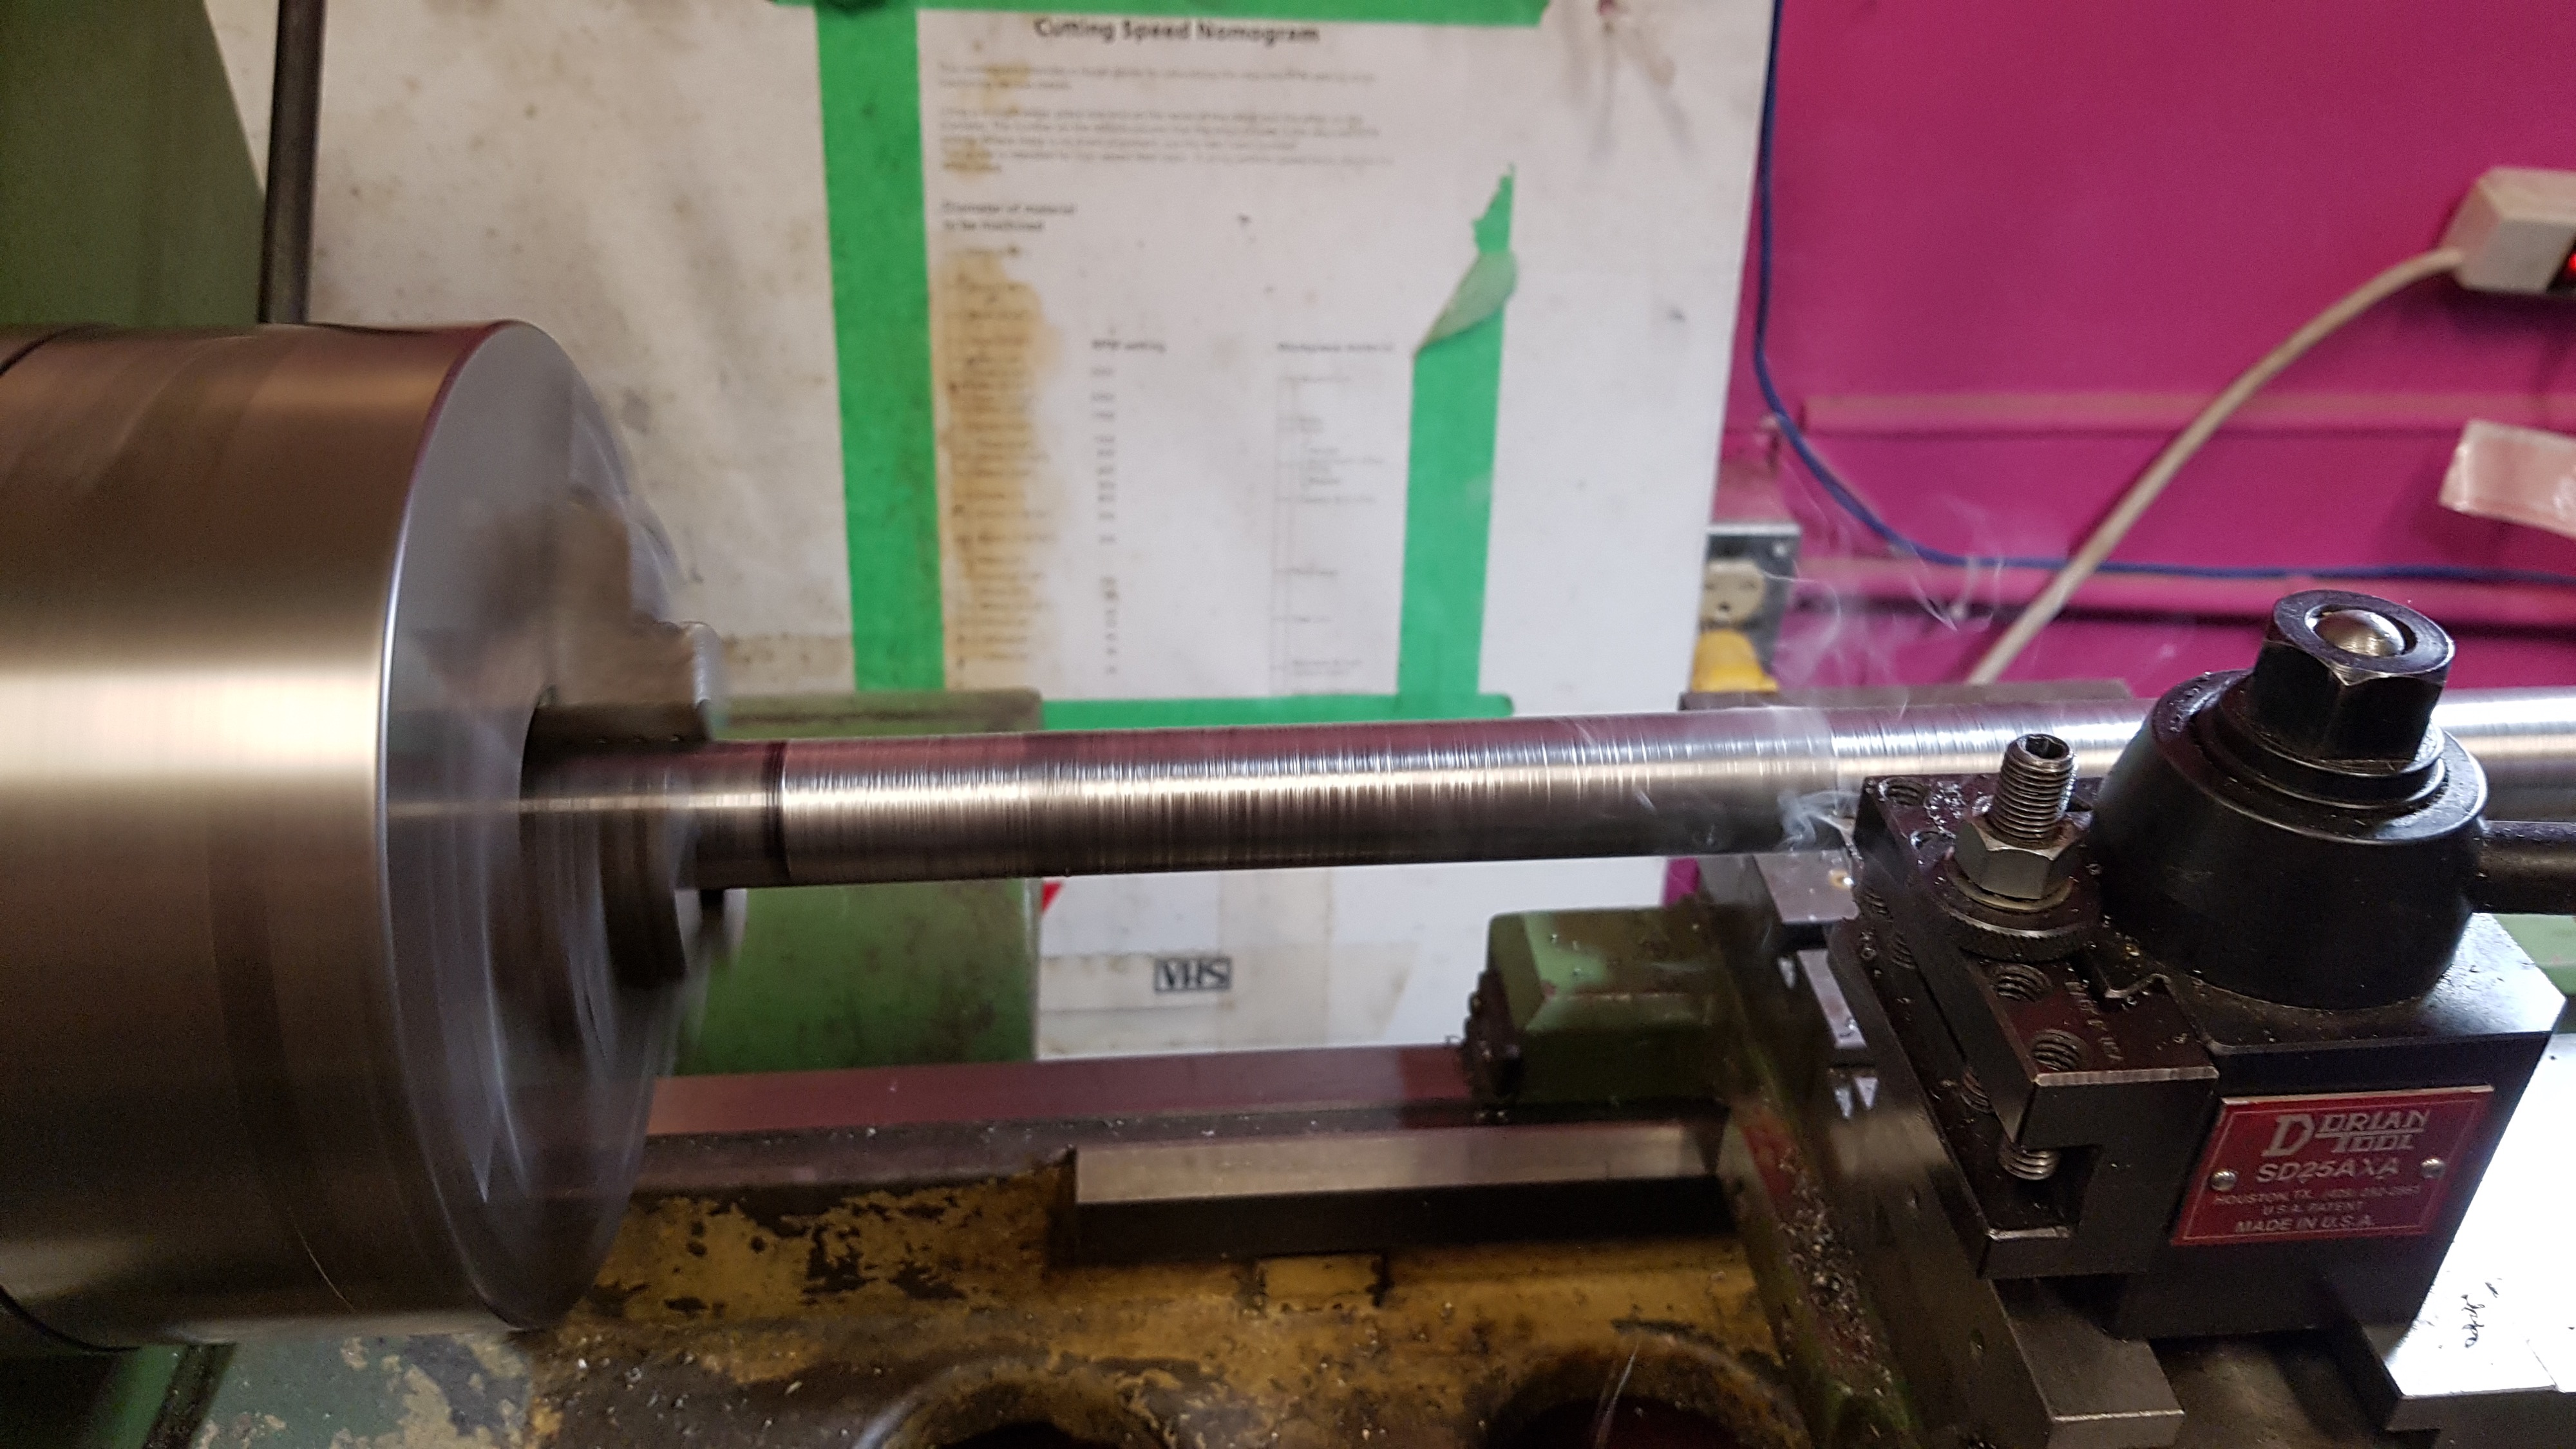
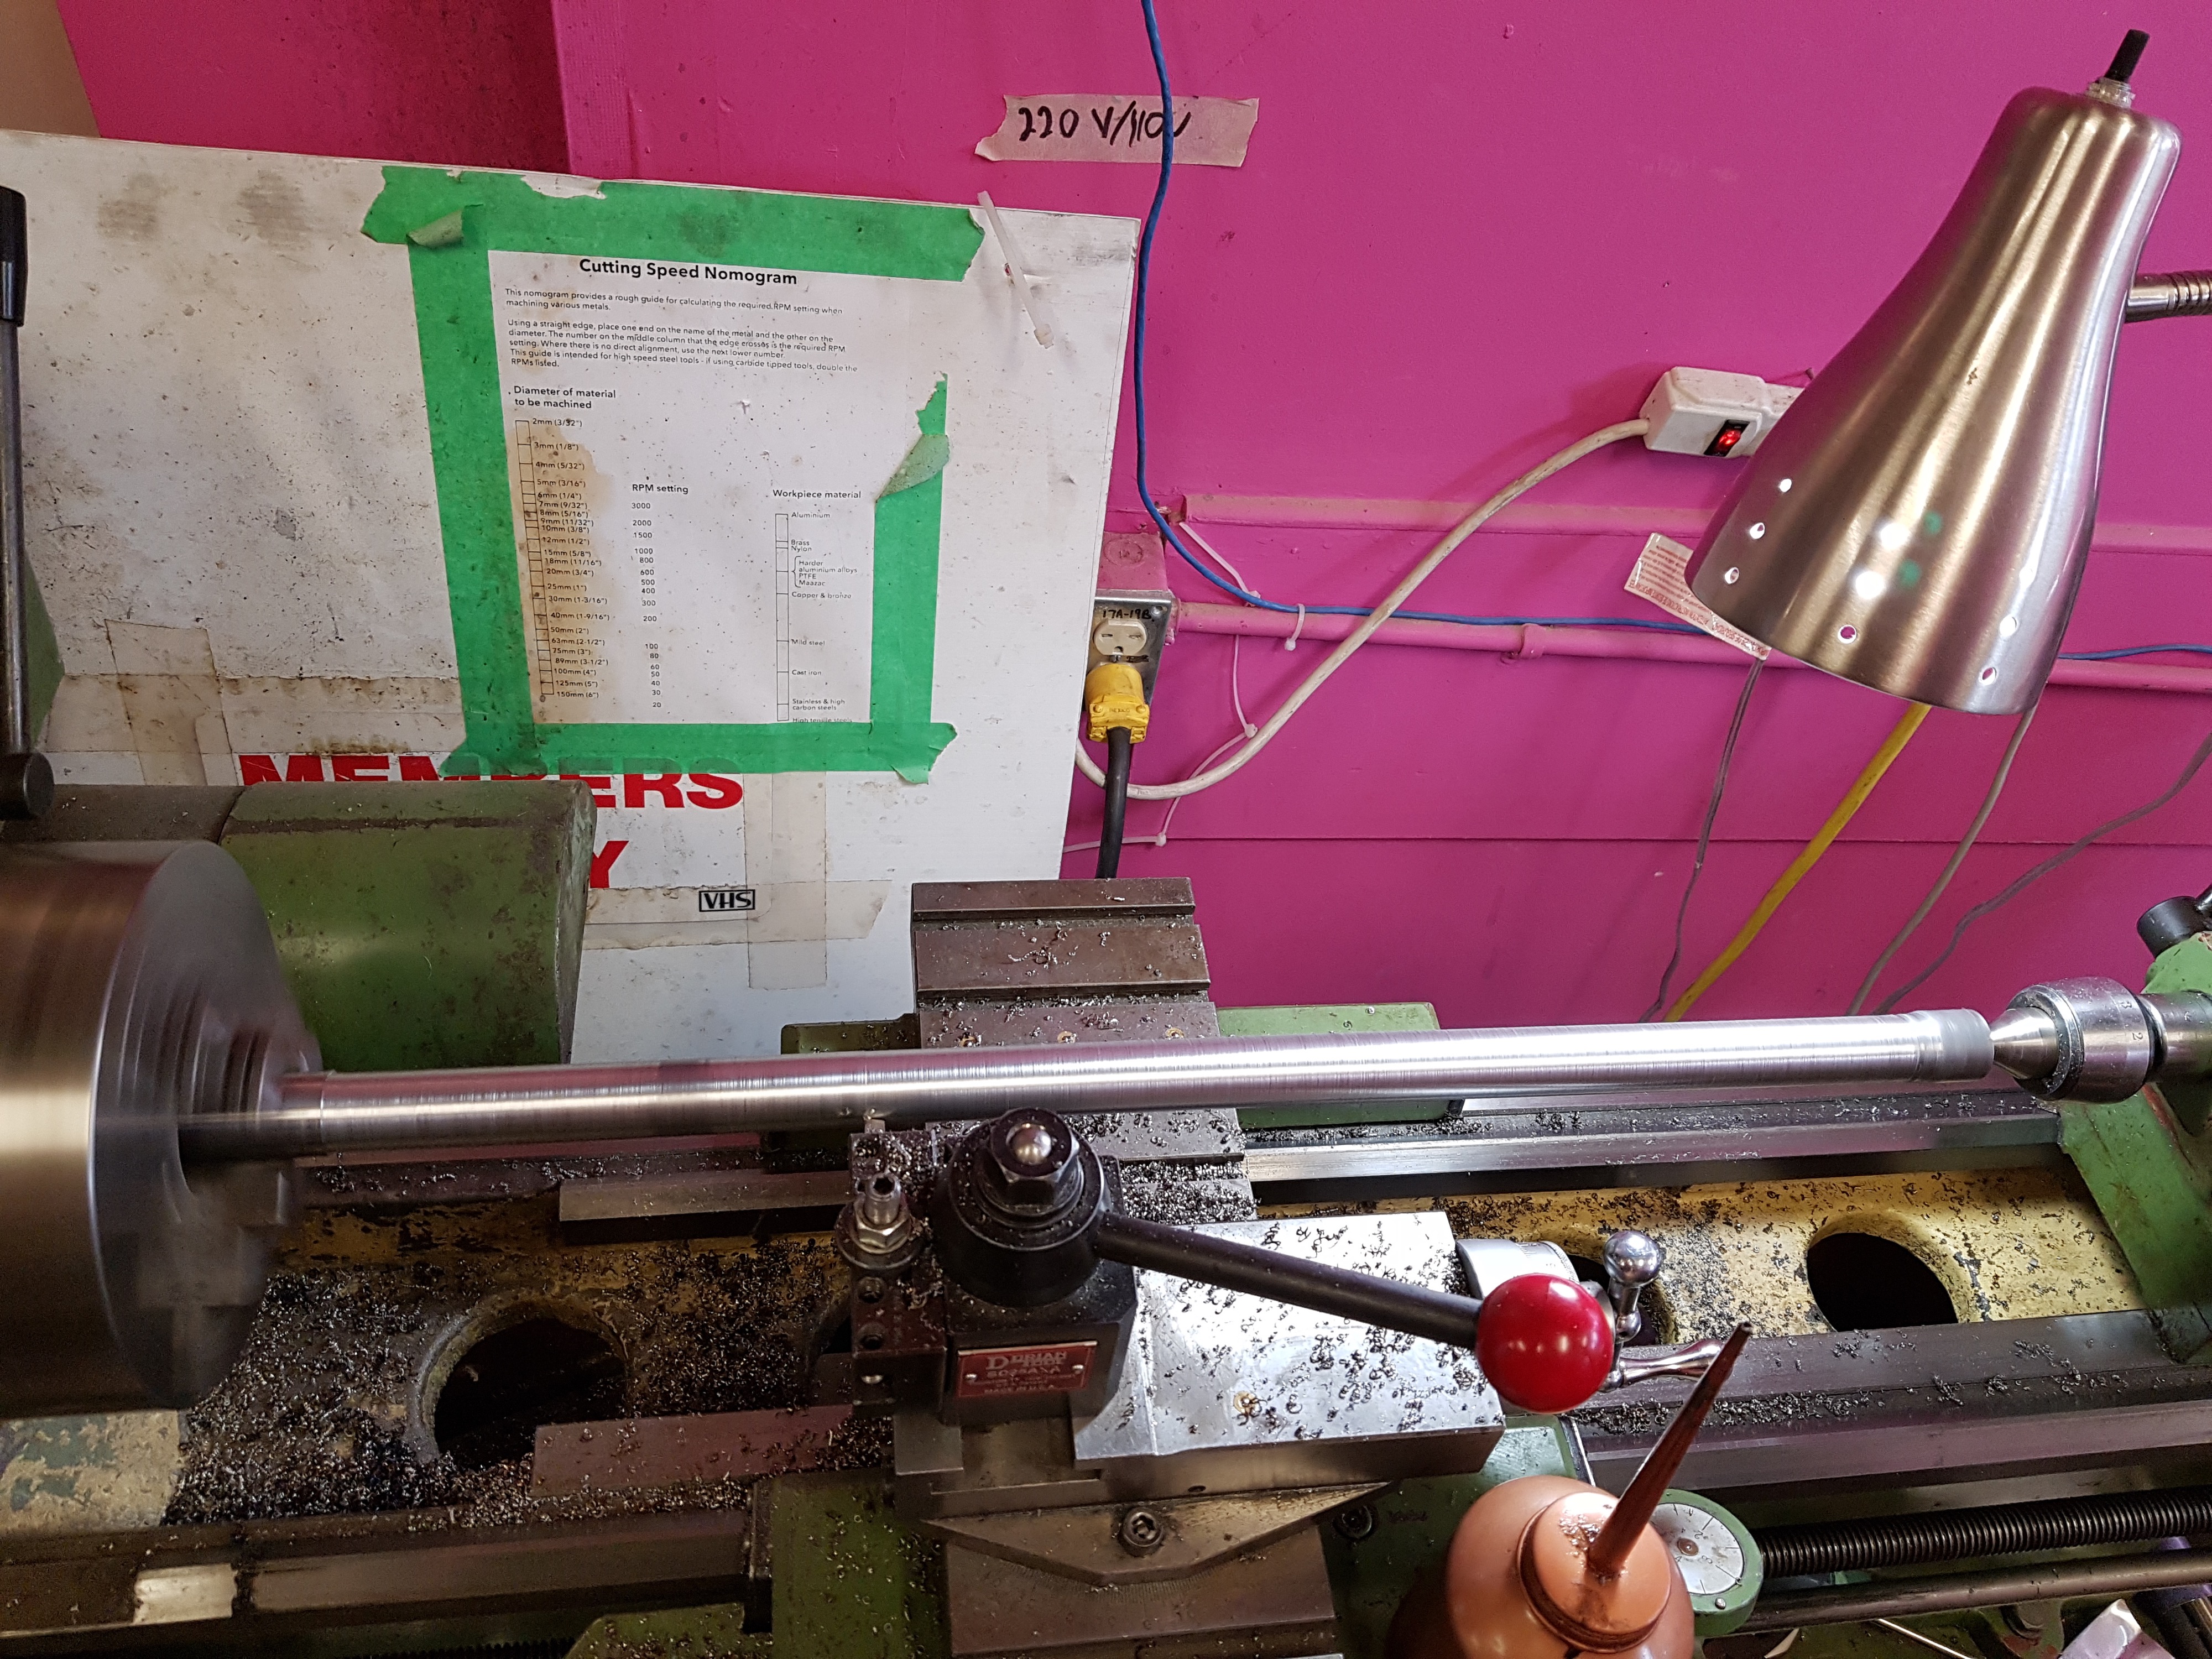
It worked!! The rod could now go the full length of the barrel without getting stuck.

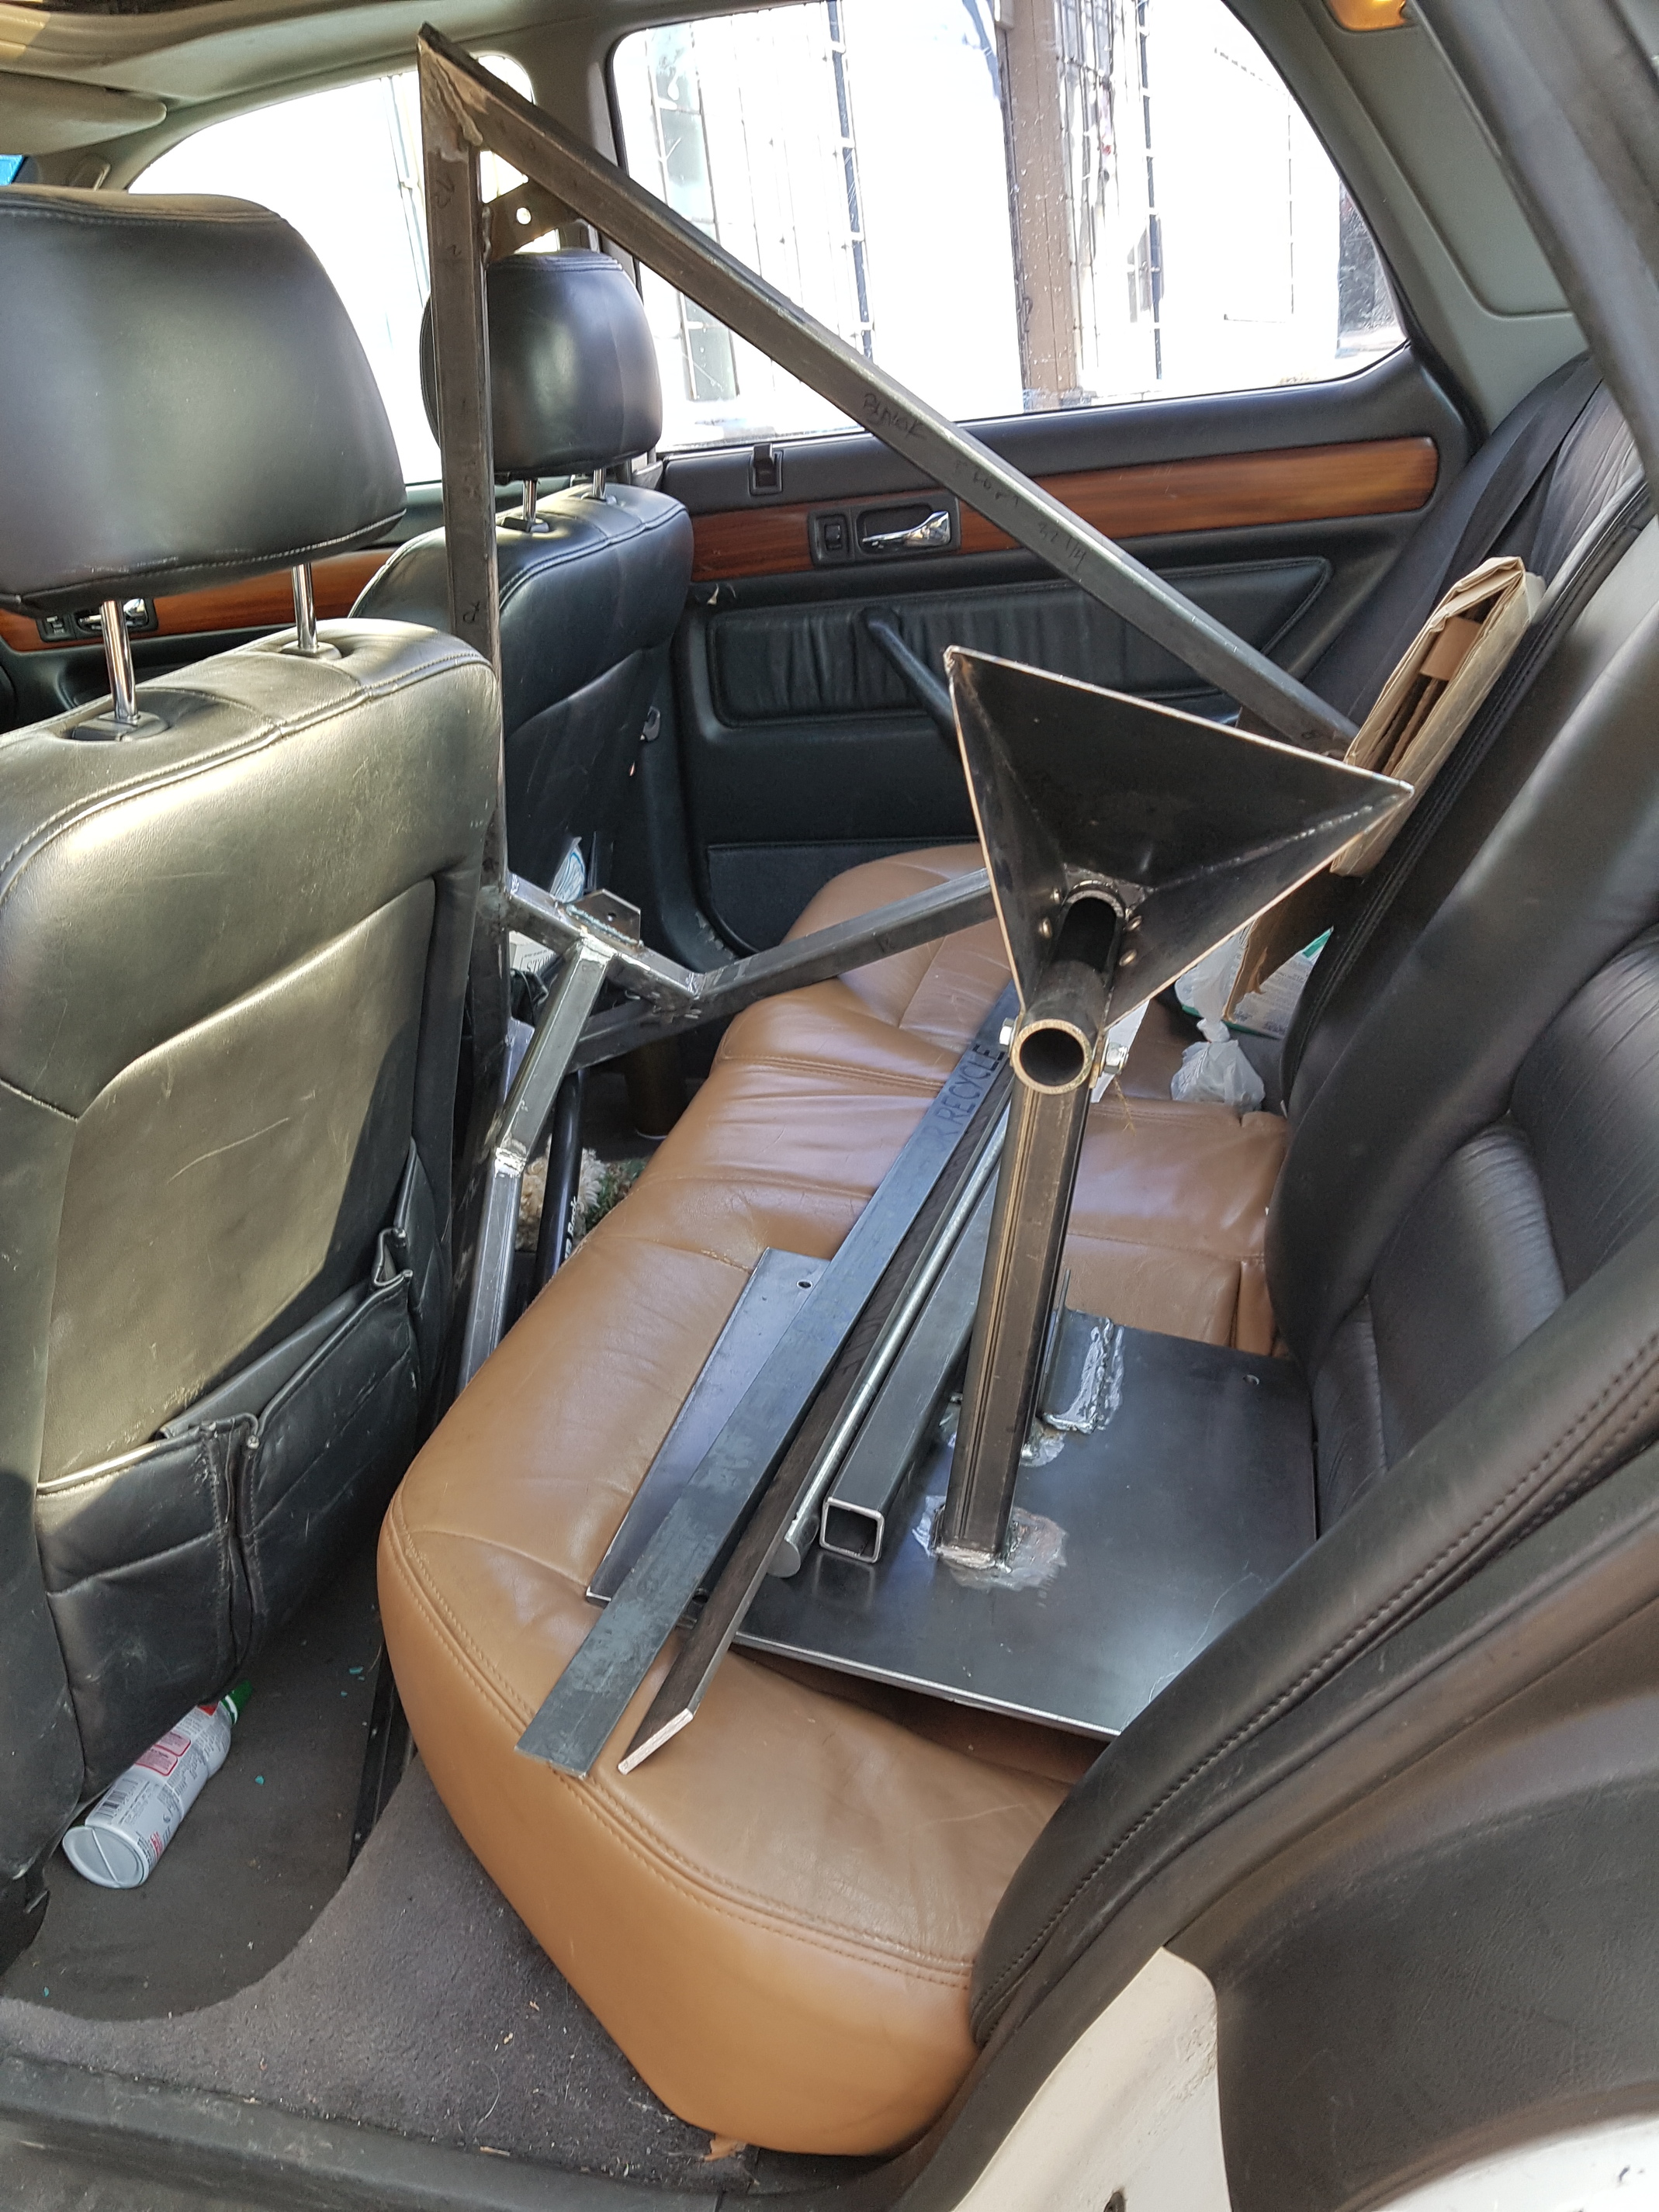
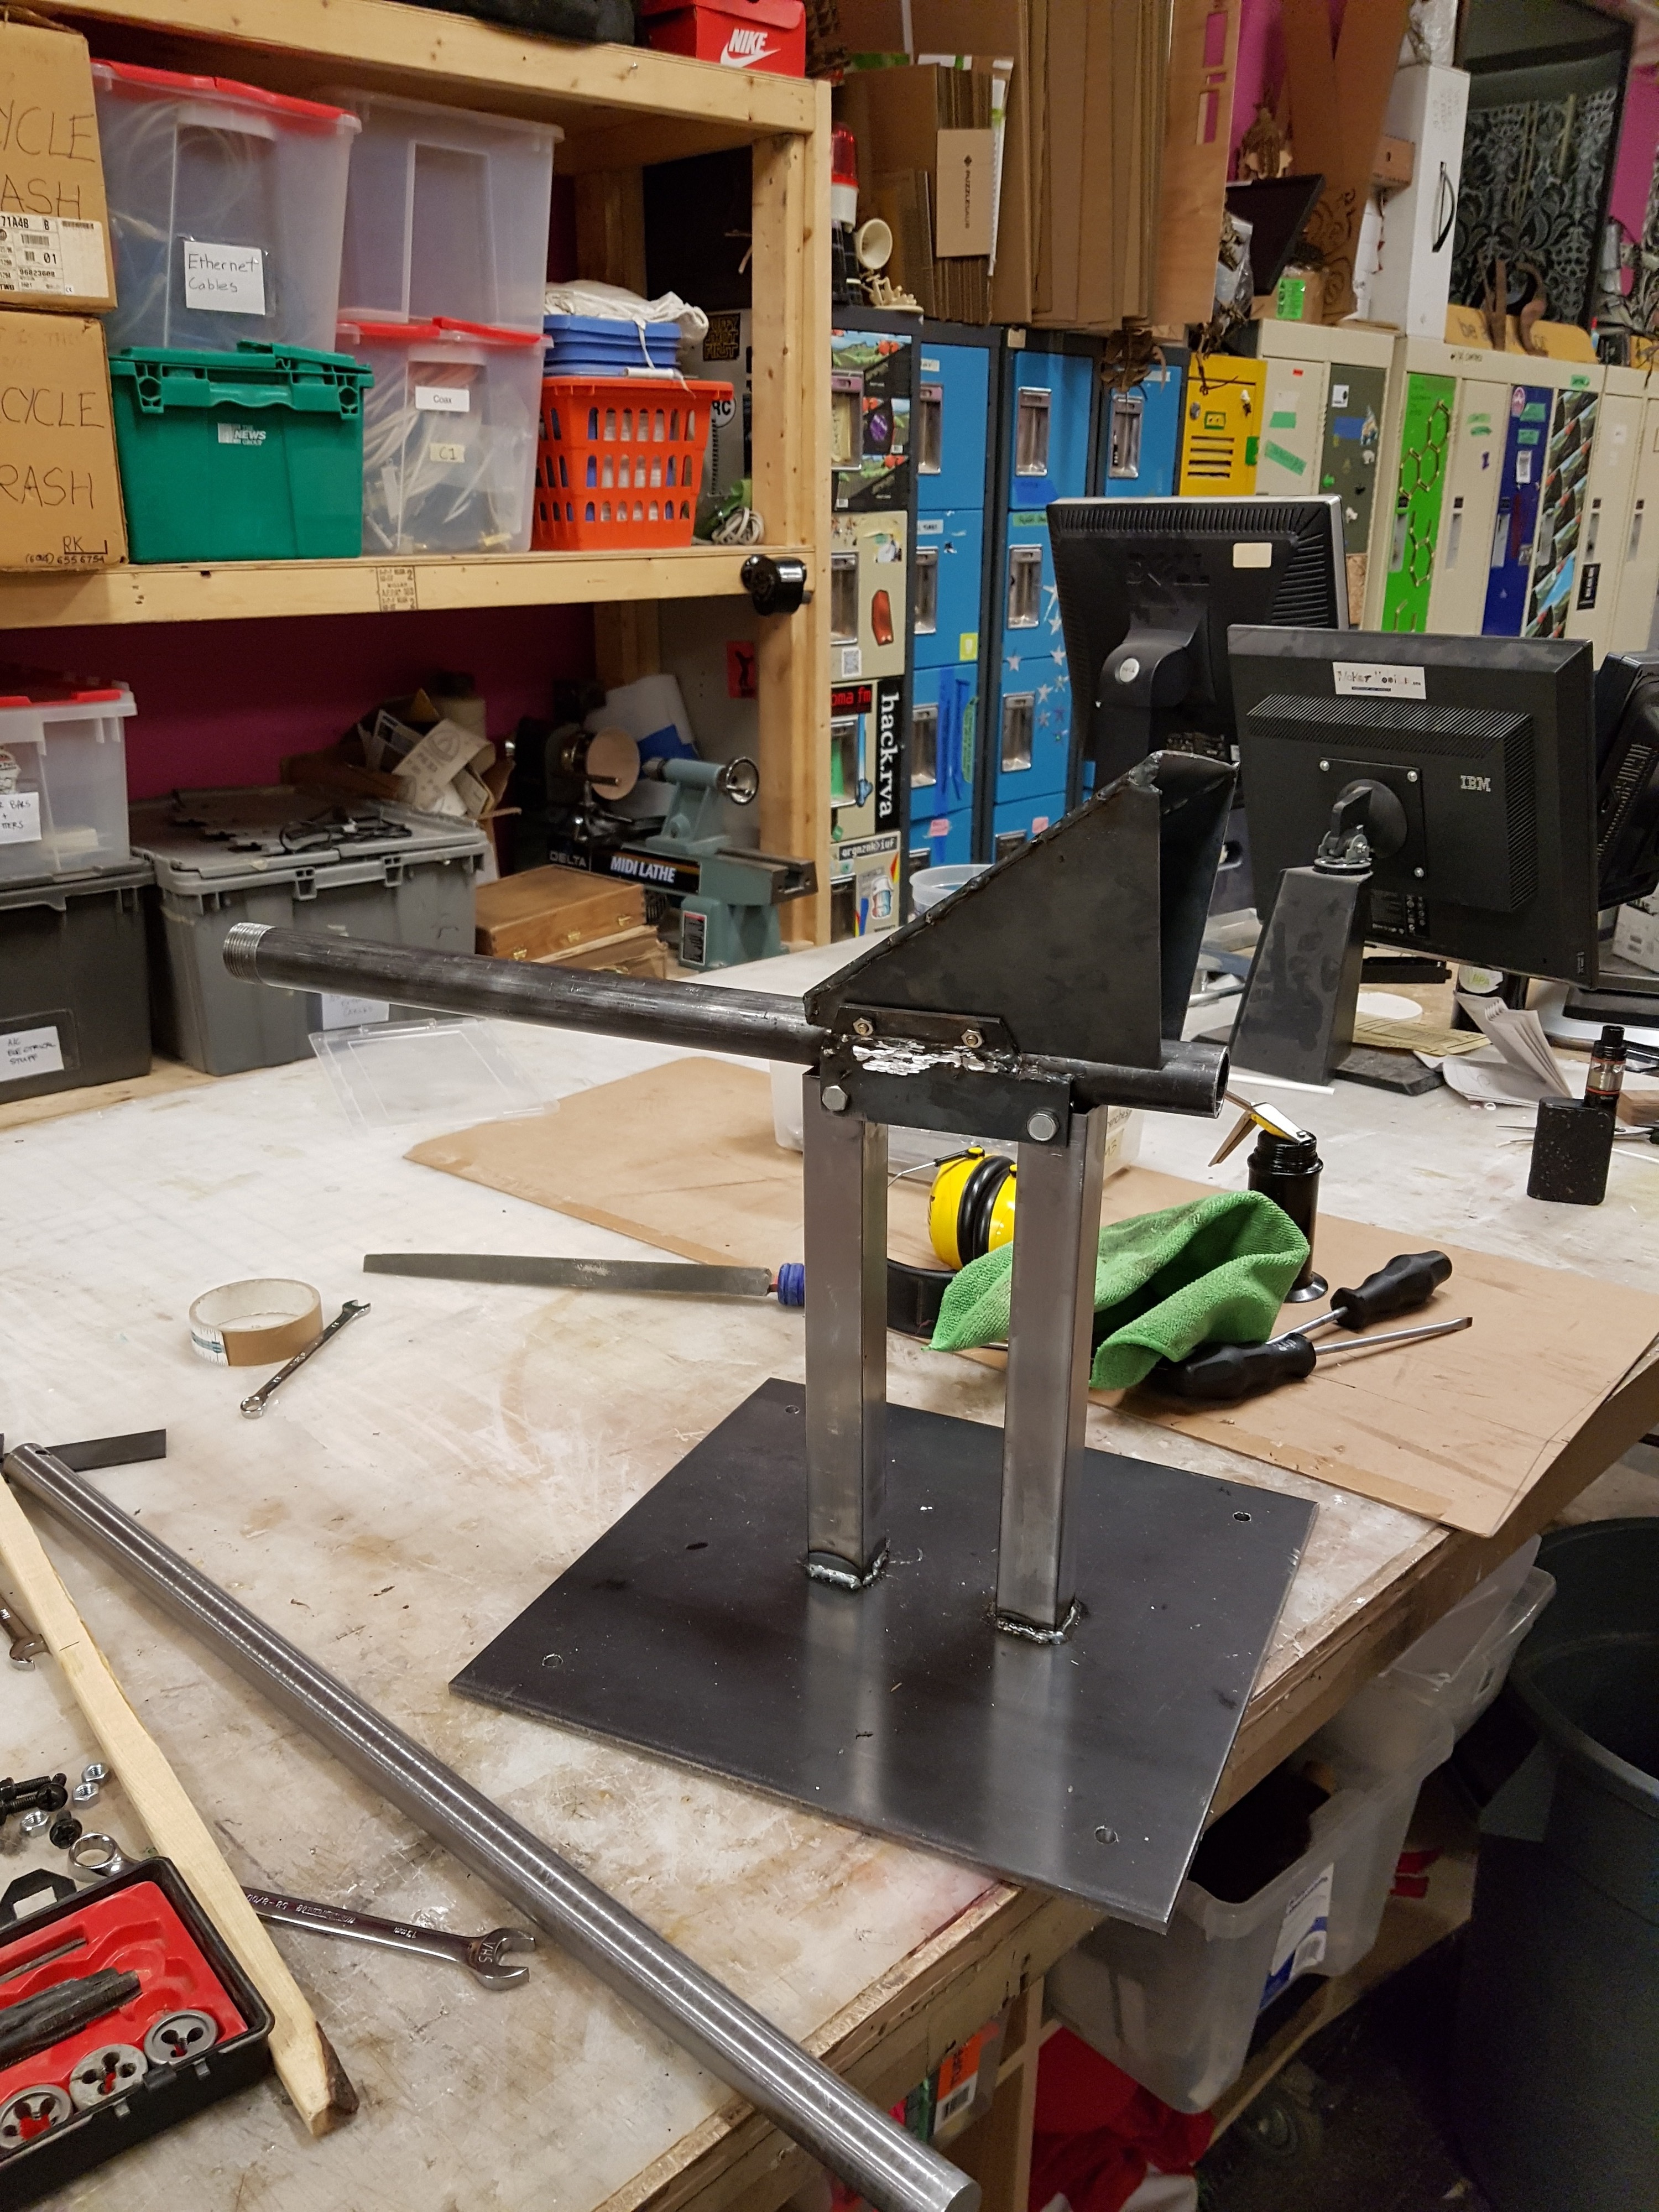
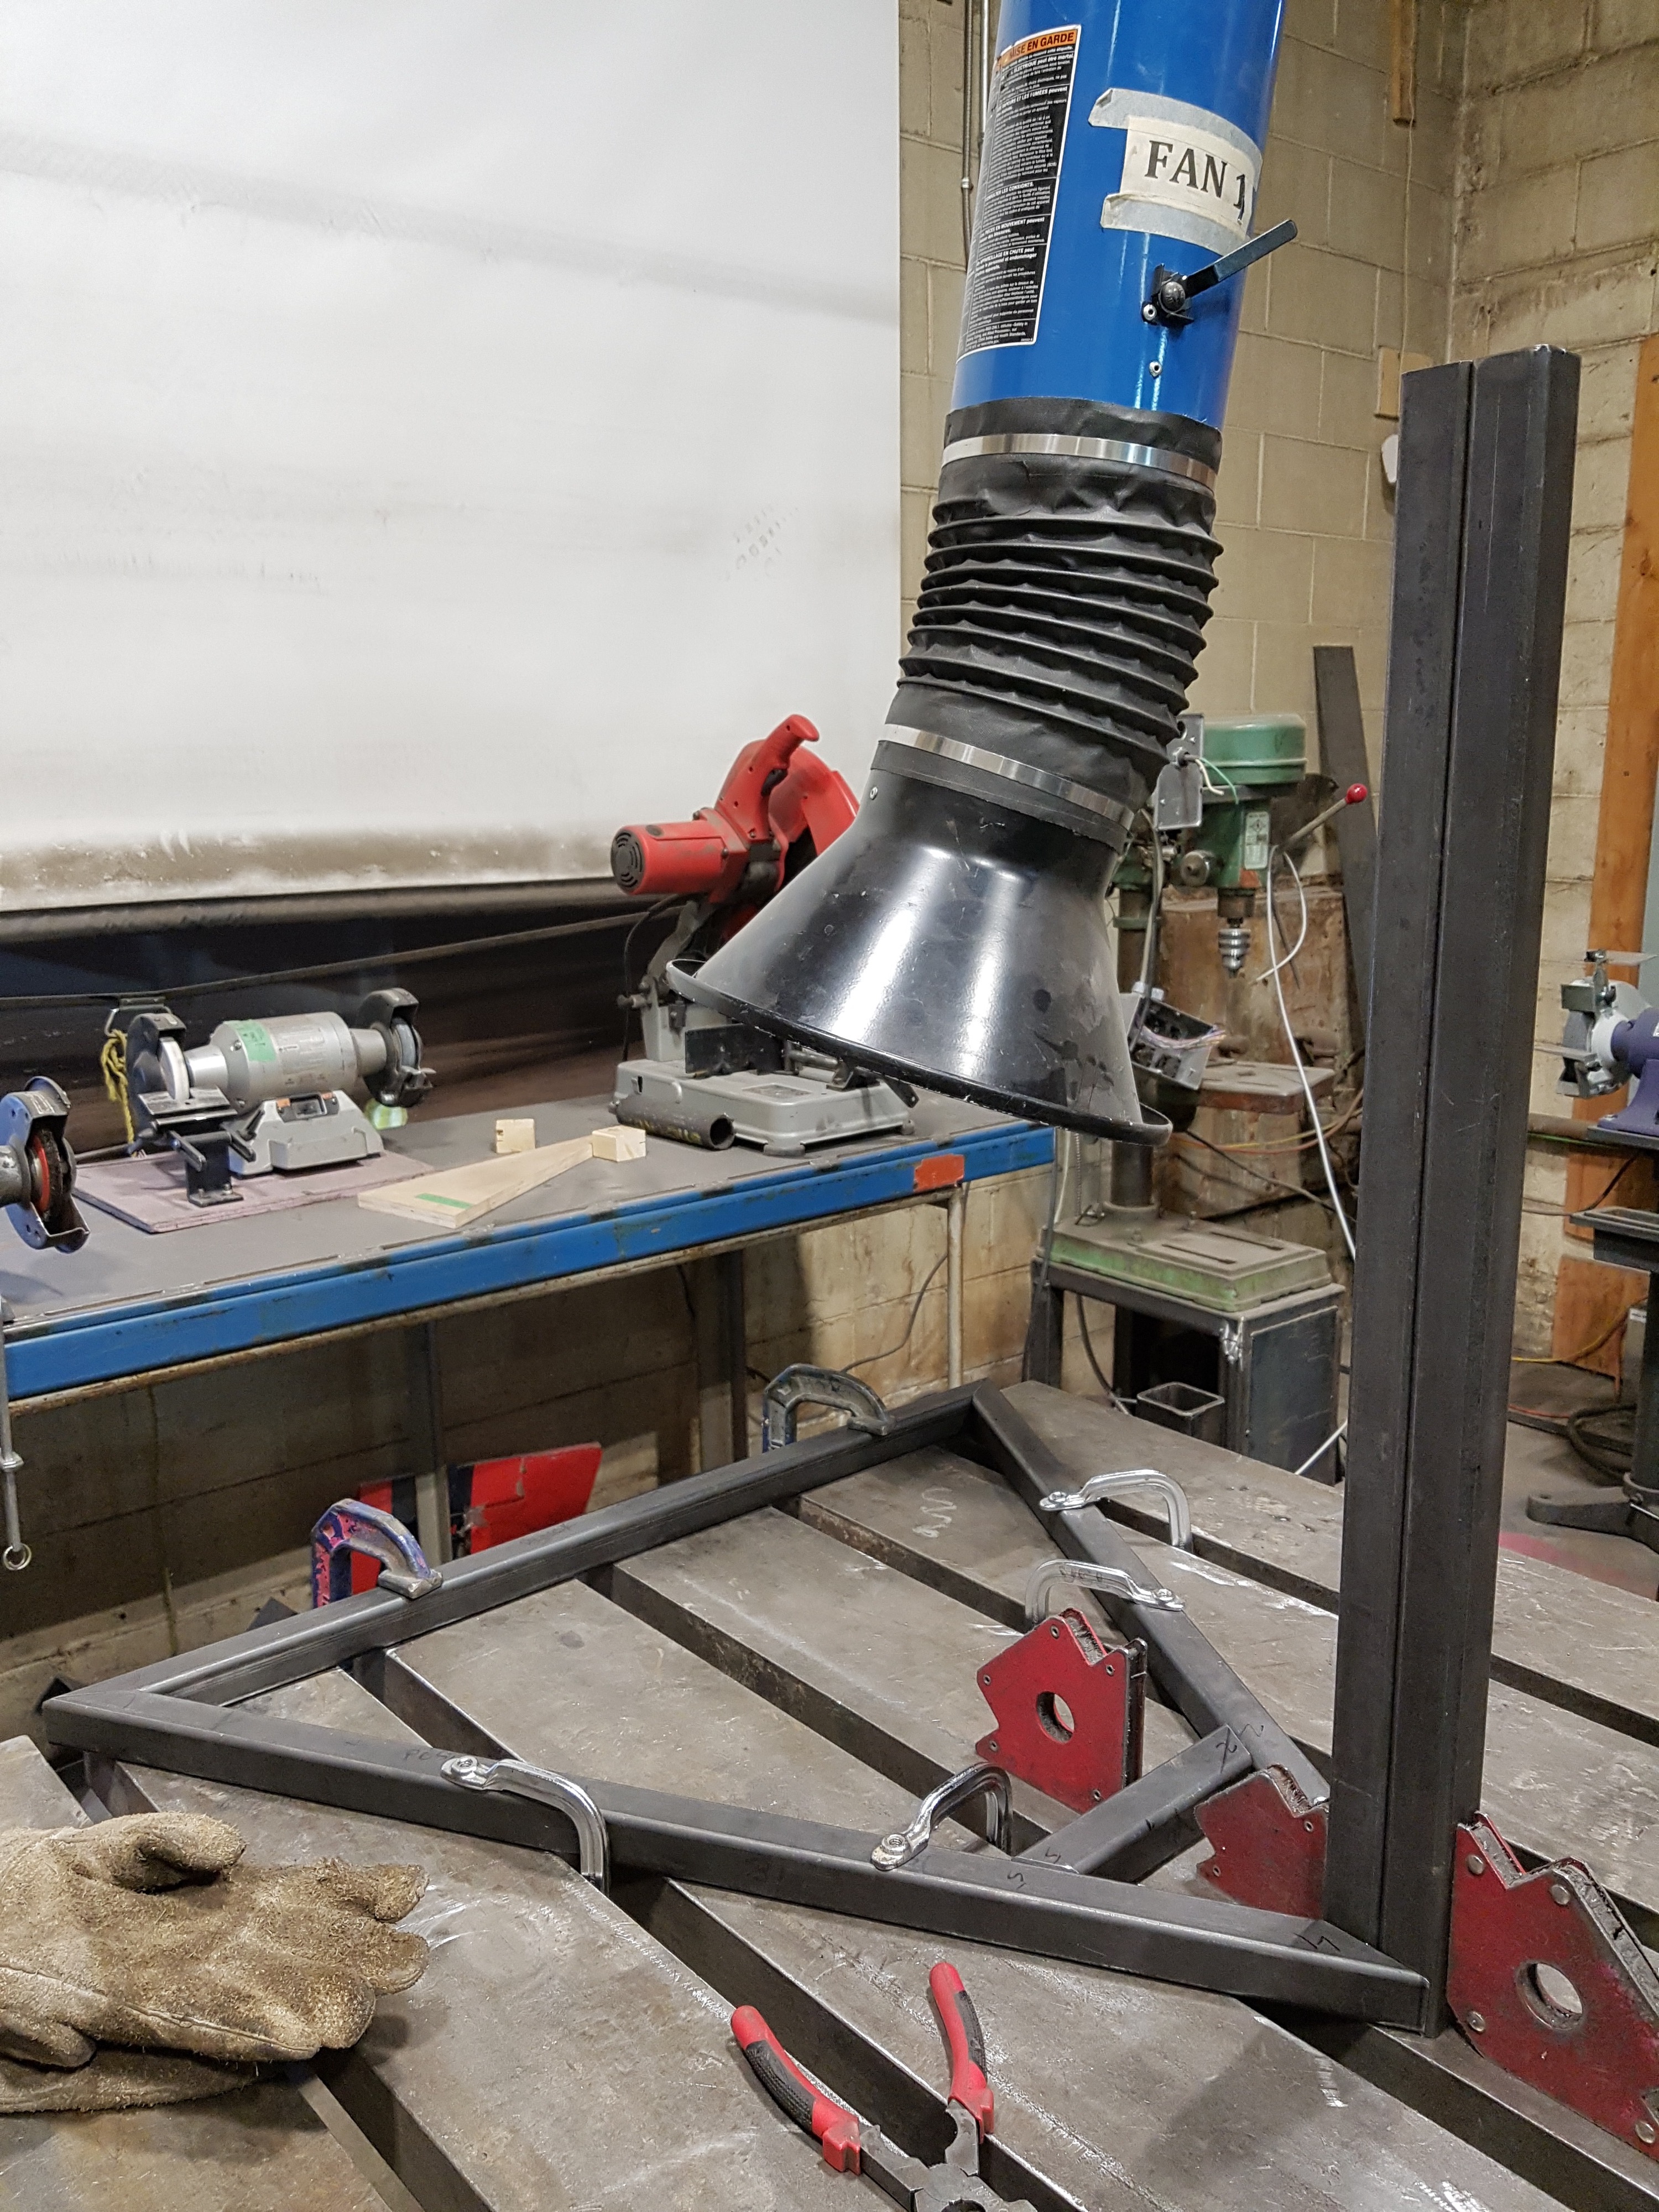
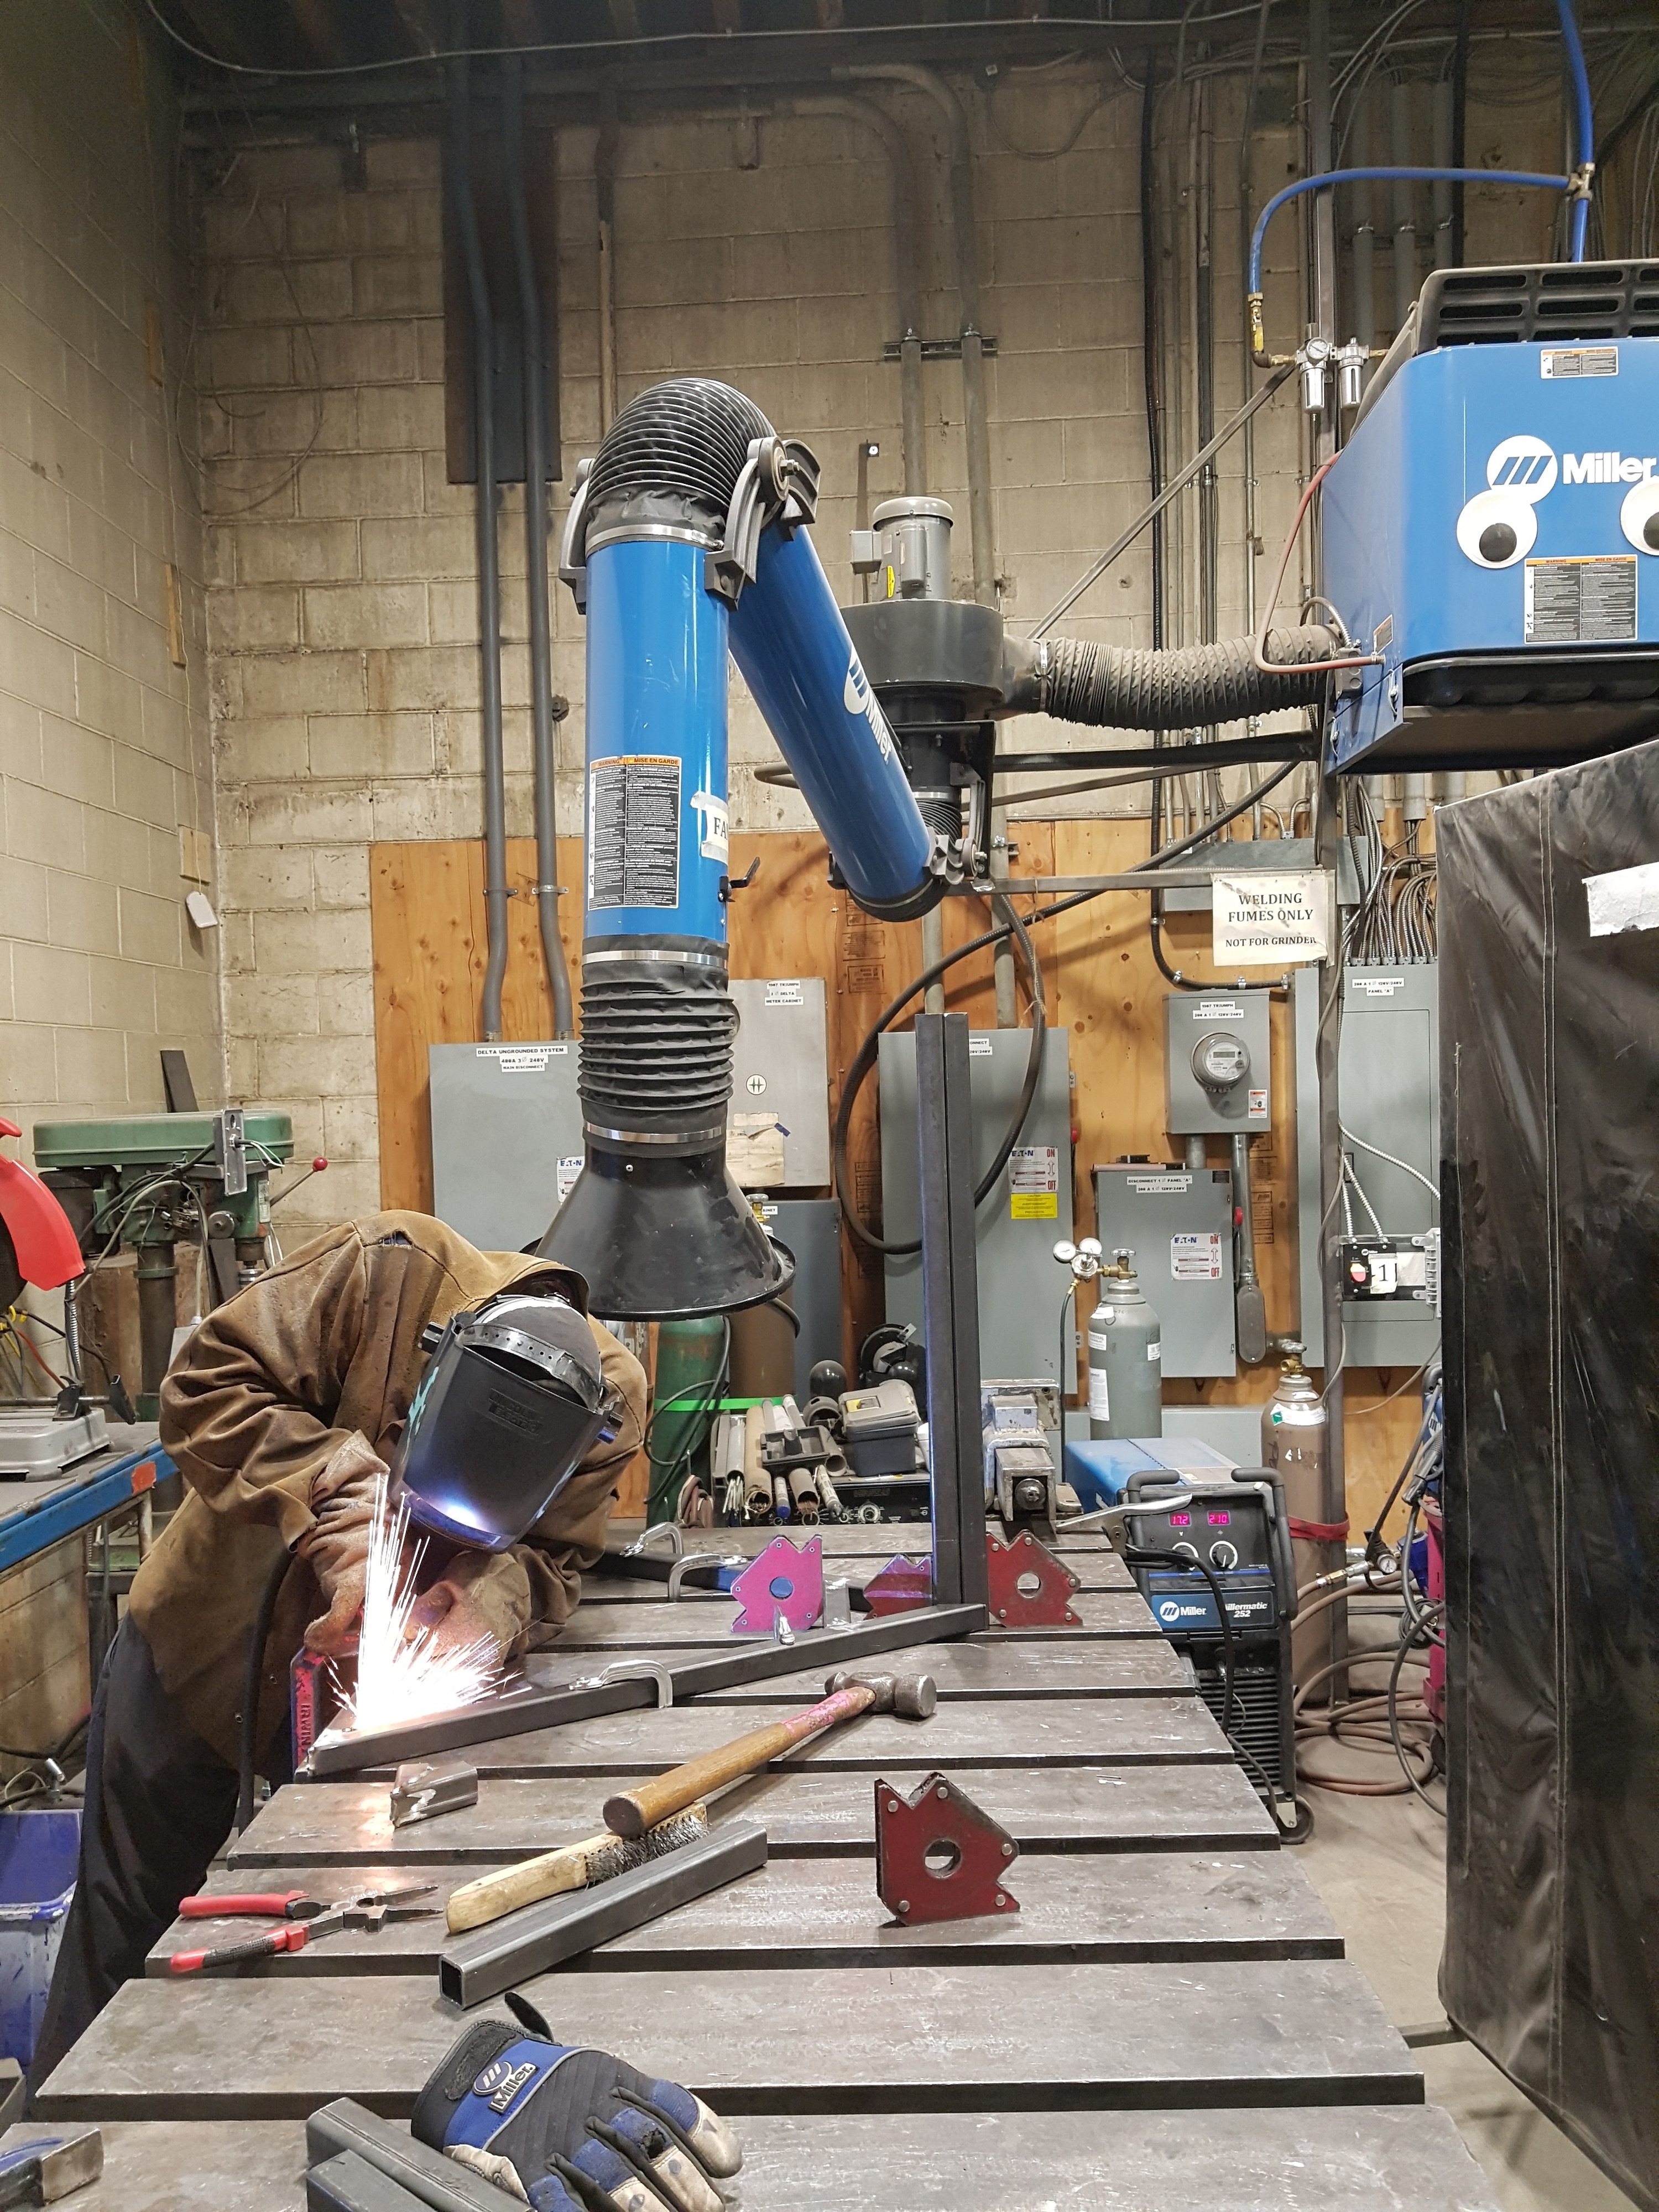
We put it all back together, and we started talking about where in the space we could mount it to a wall. I again asked on Talk and it became clear we’d have to be able to move this to the loading bay because of the potential fumes. That meant we had to build a base.
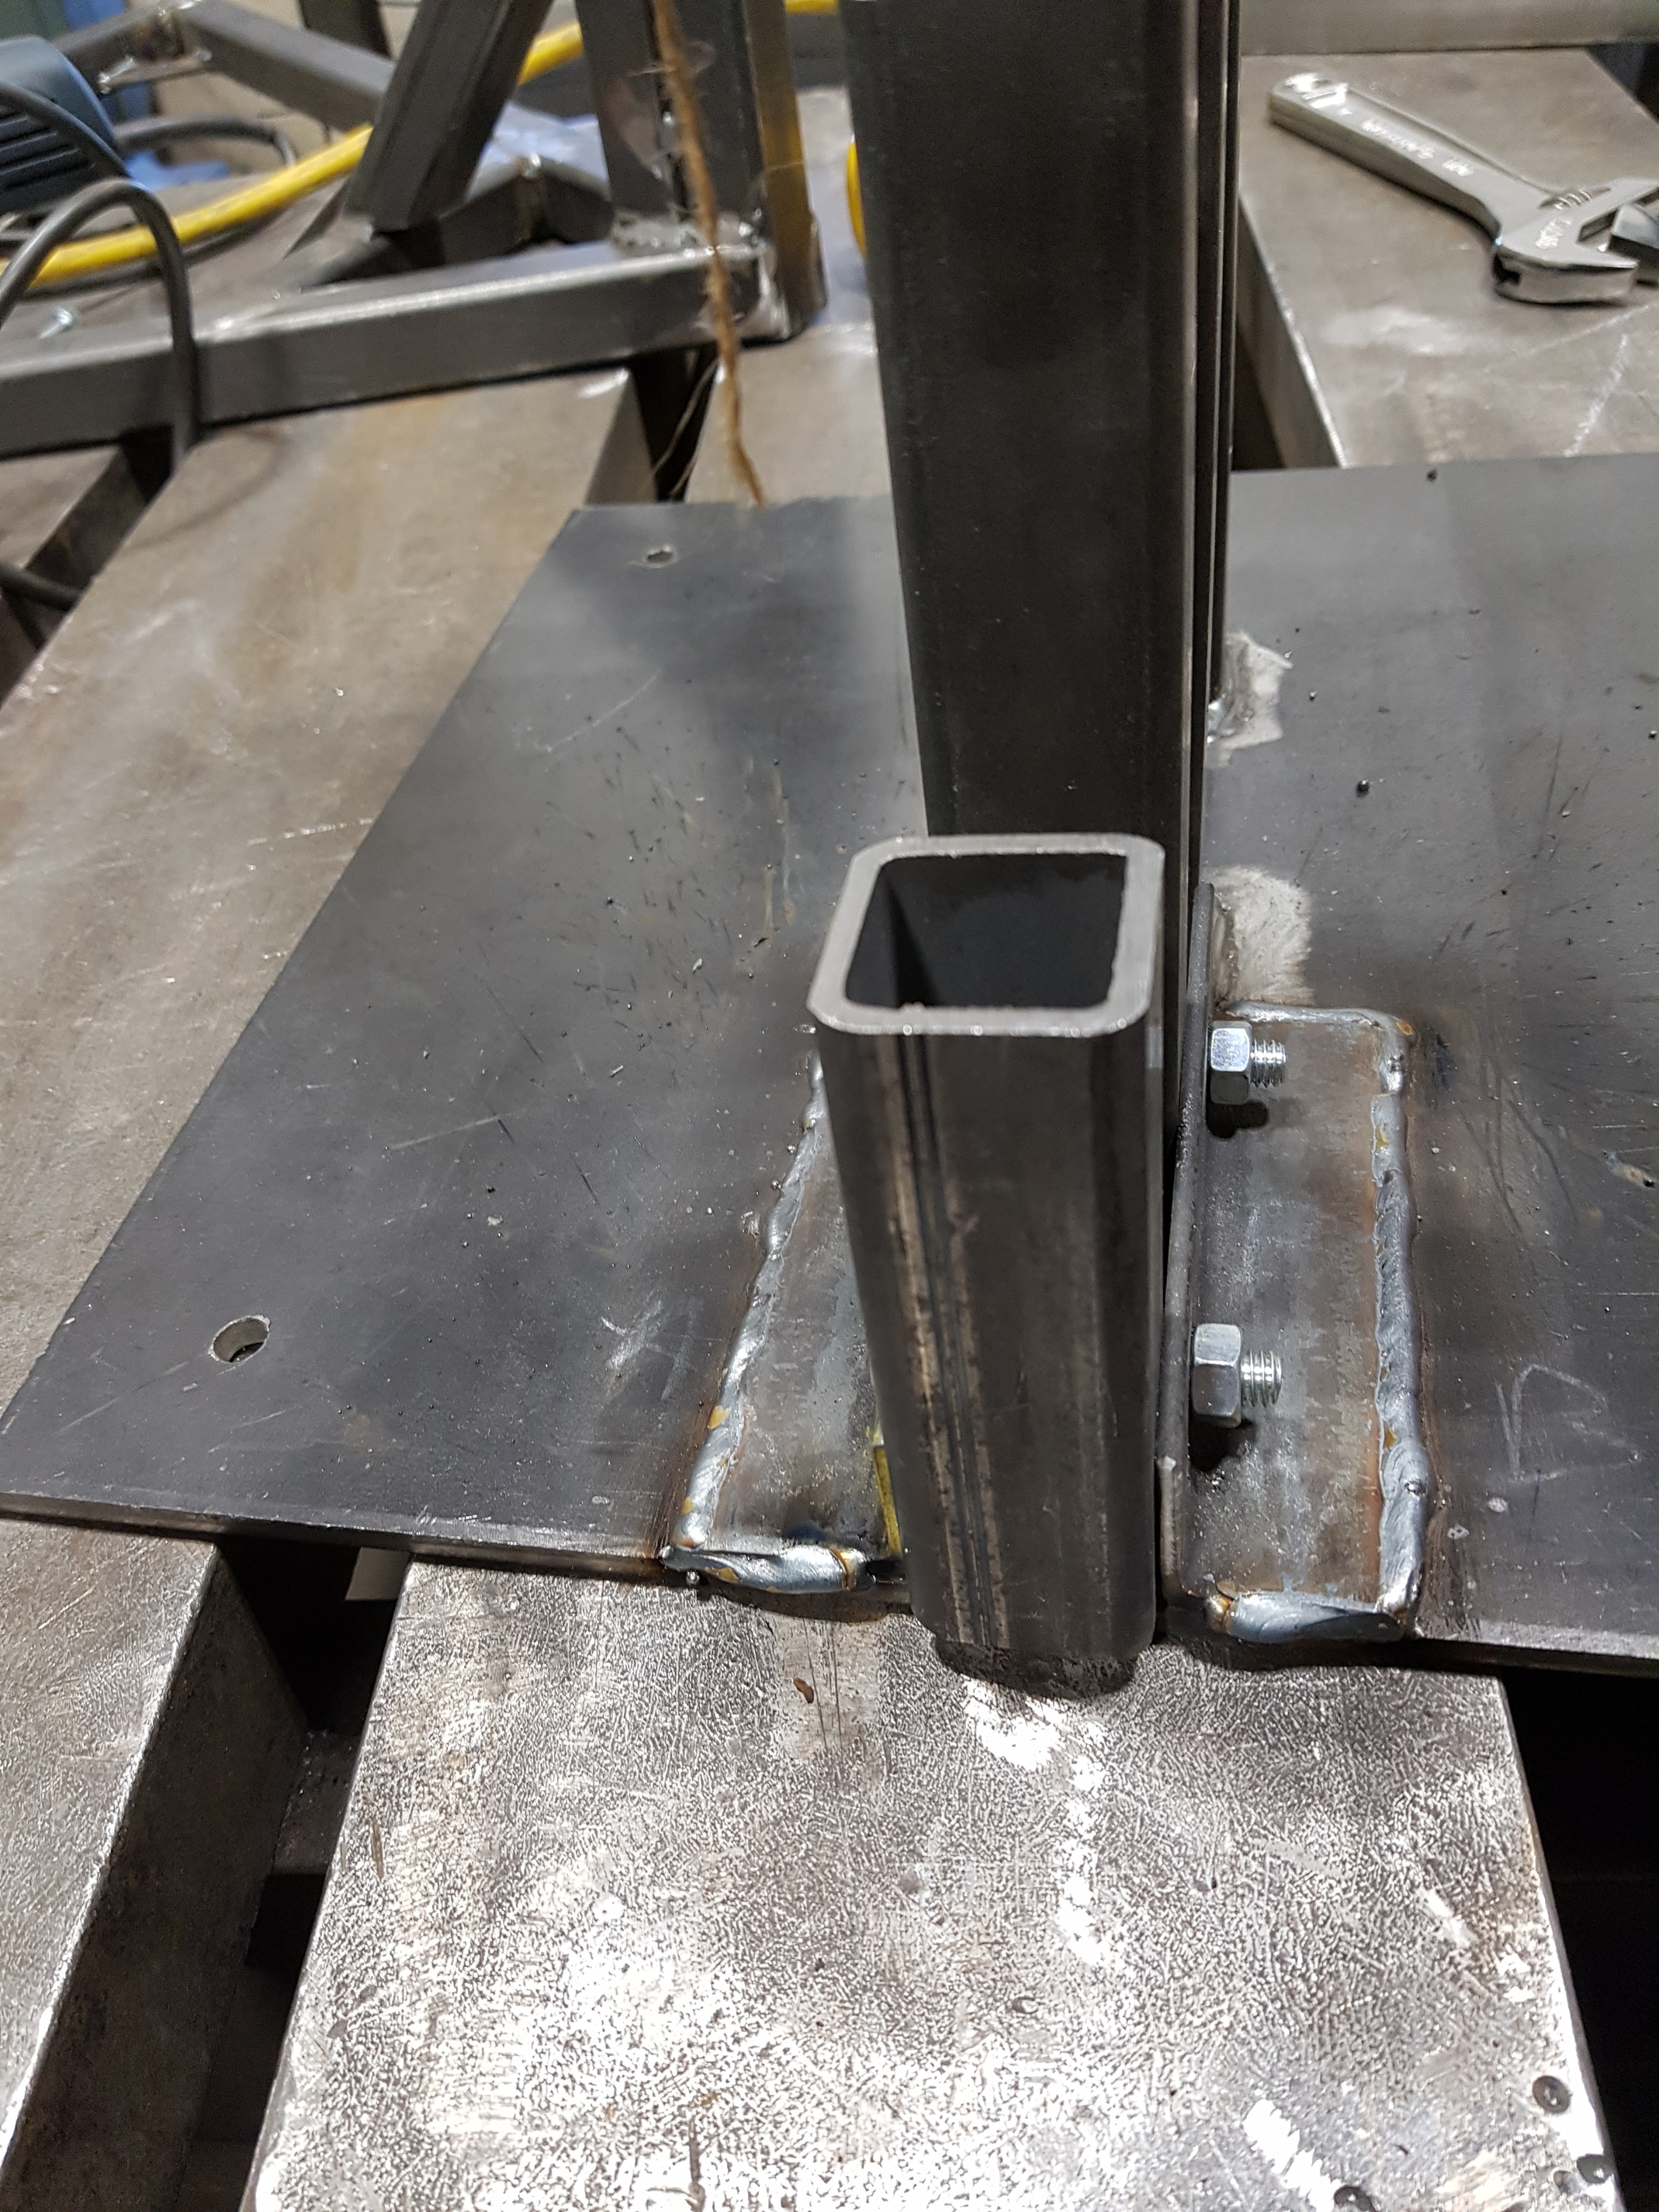
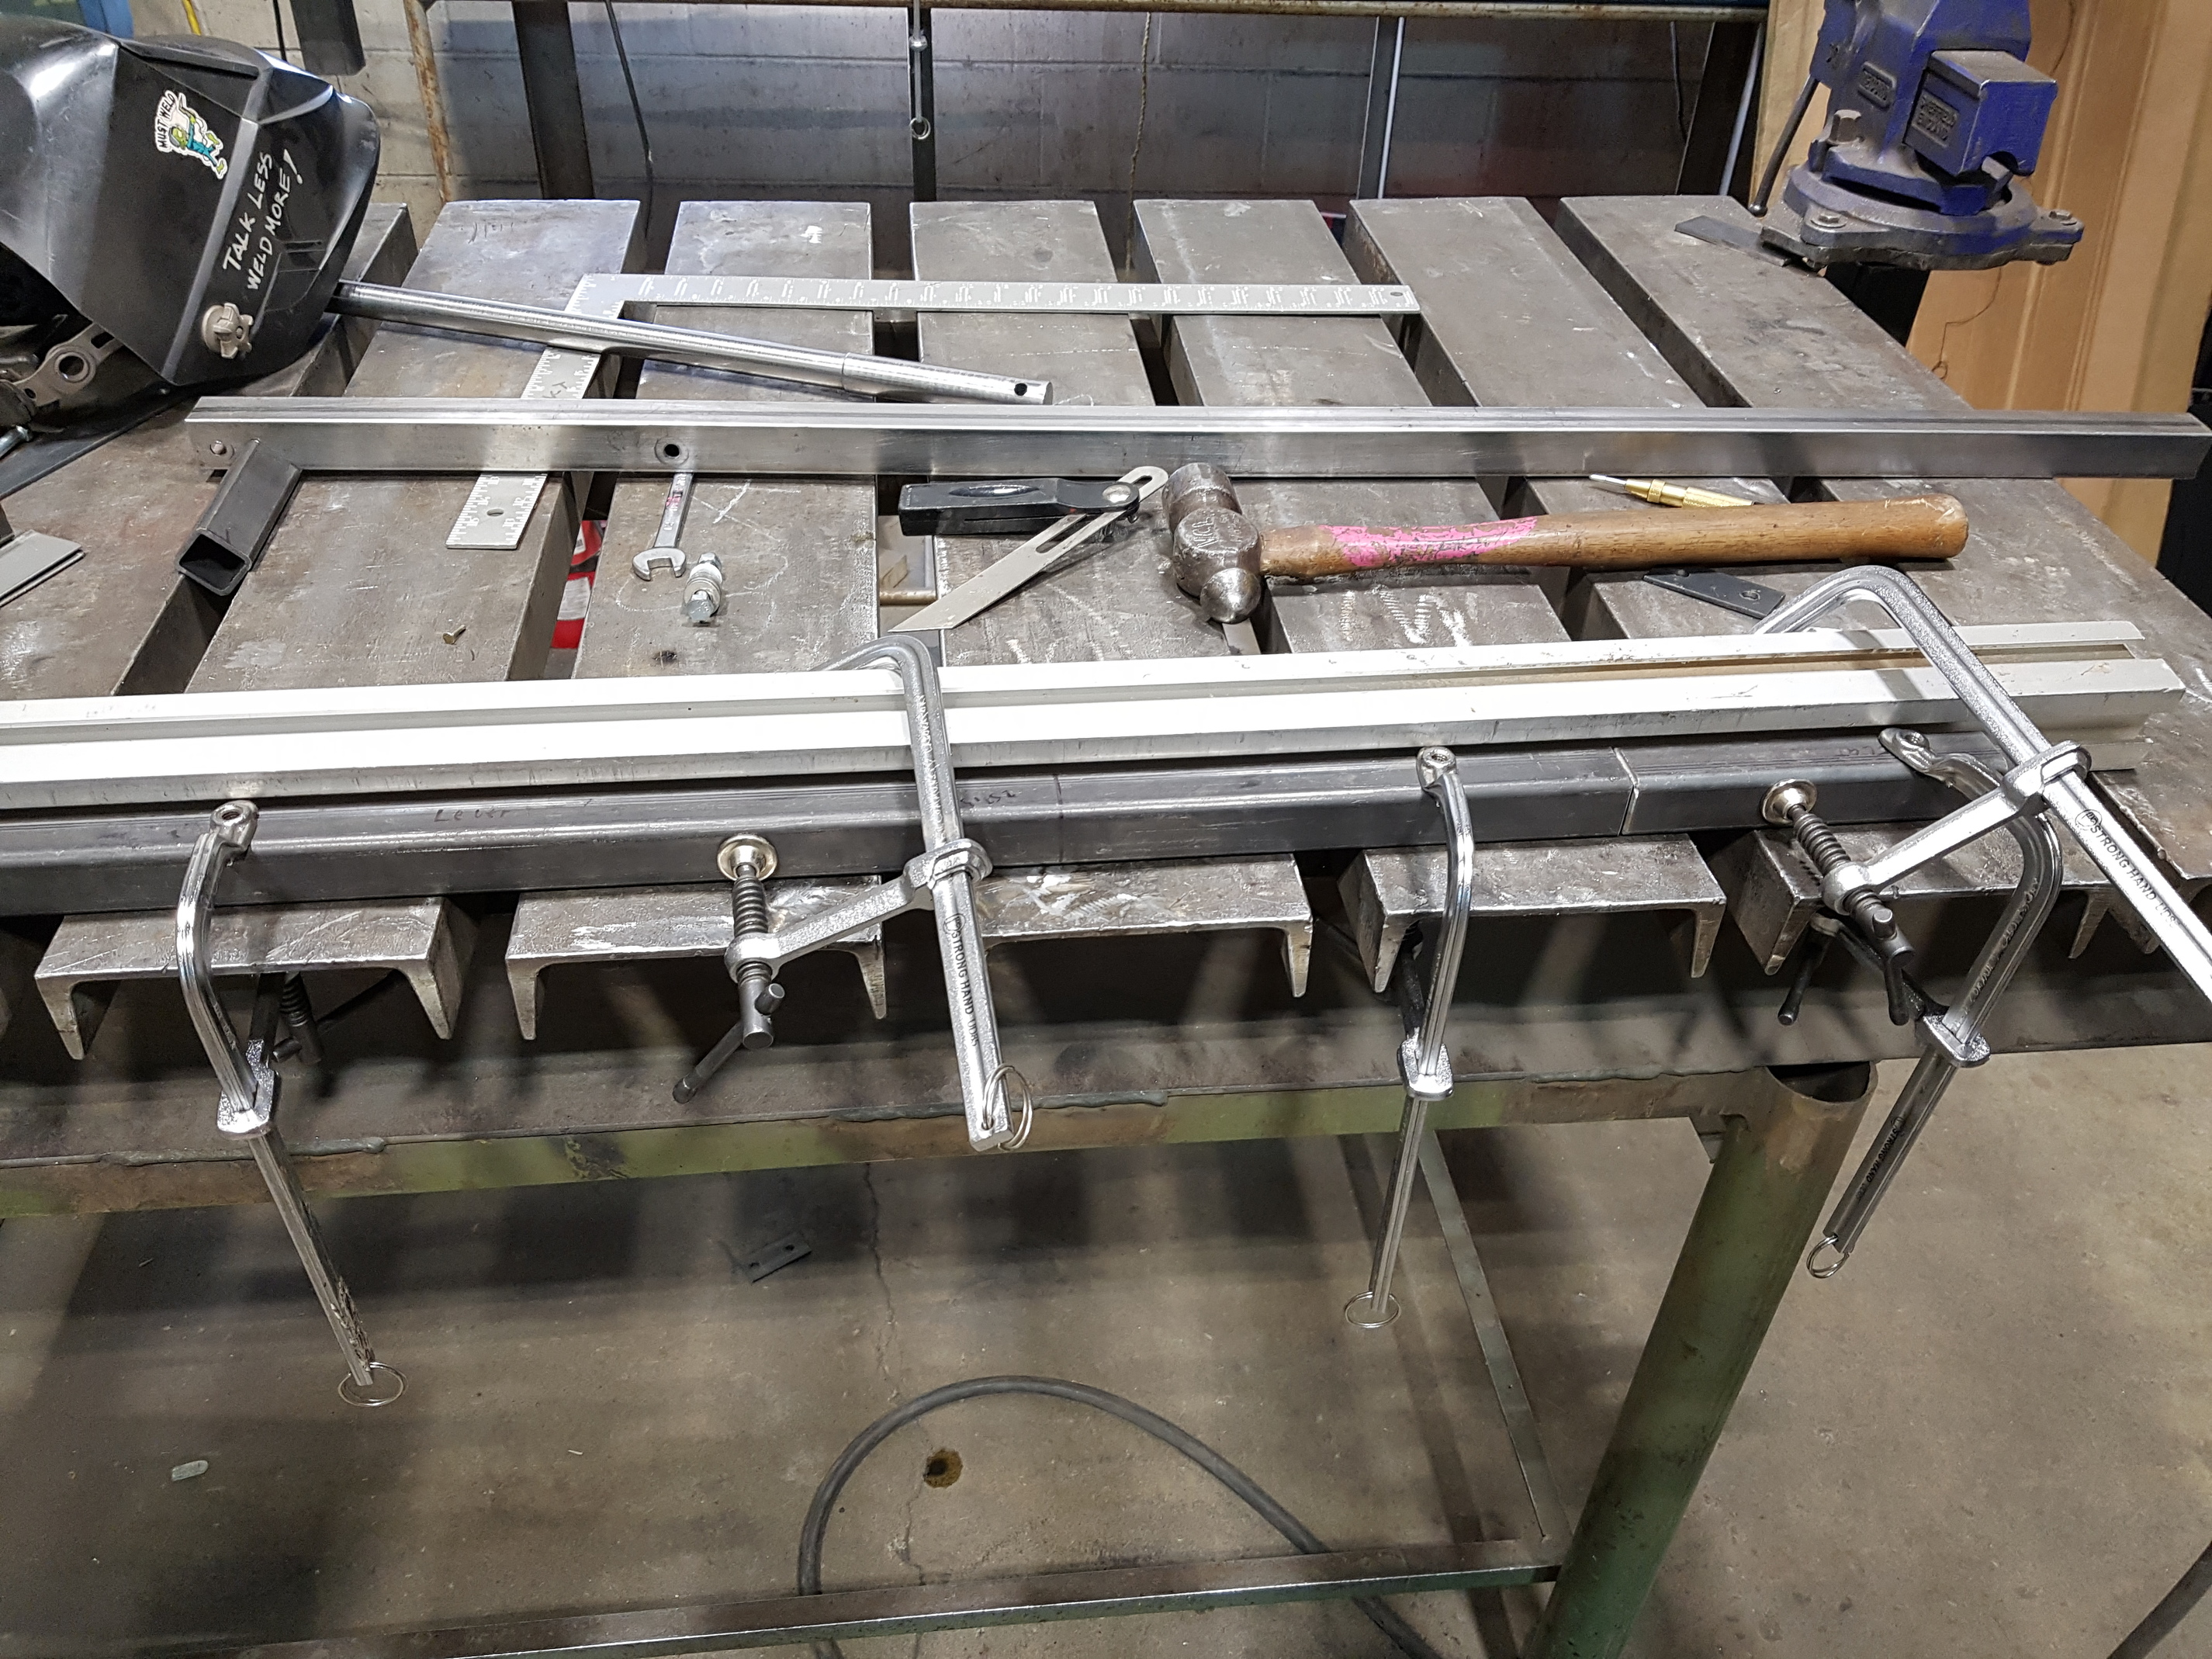
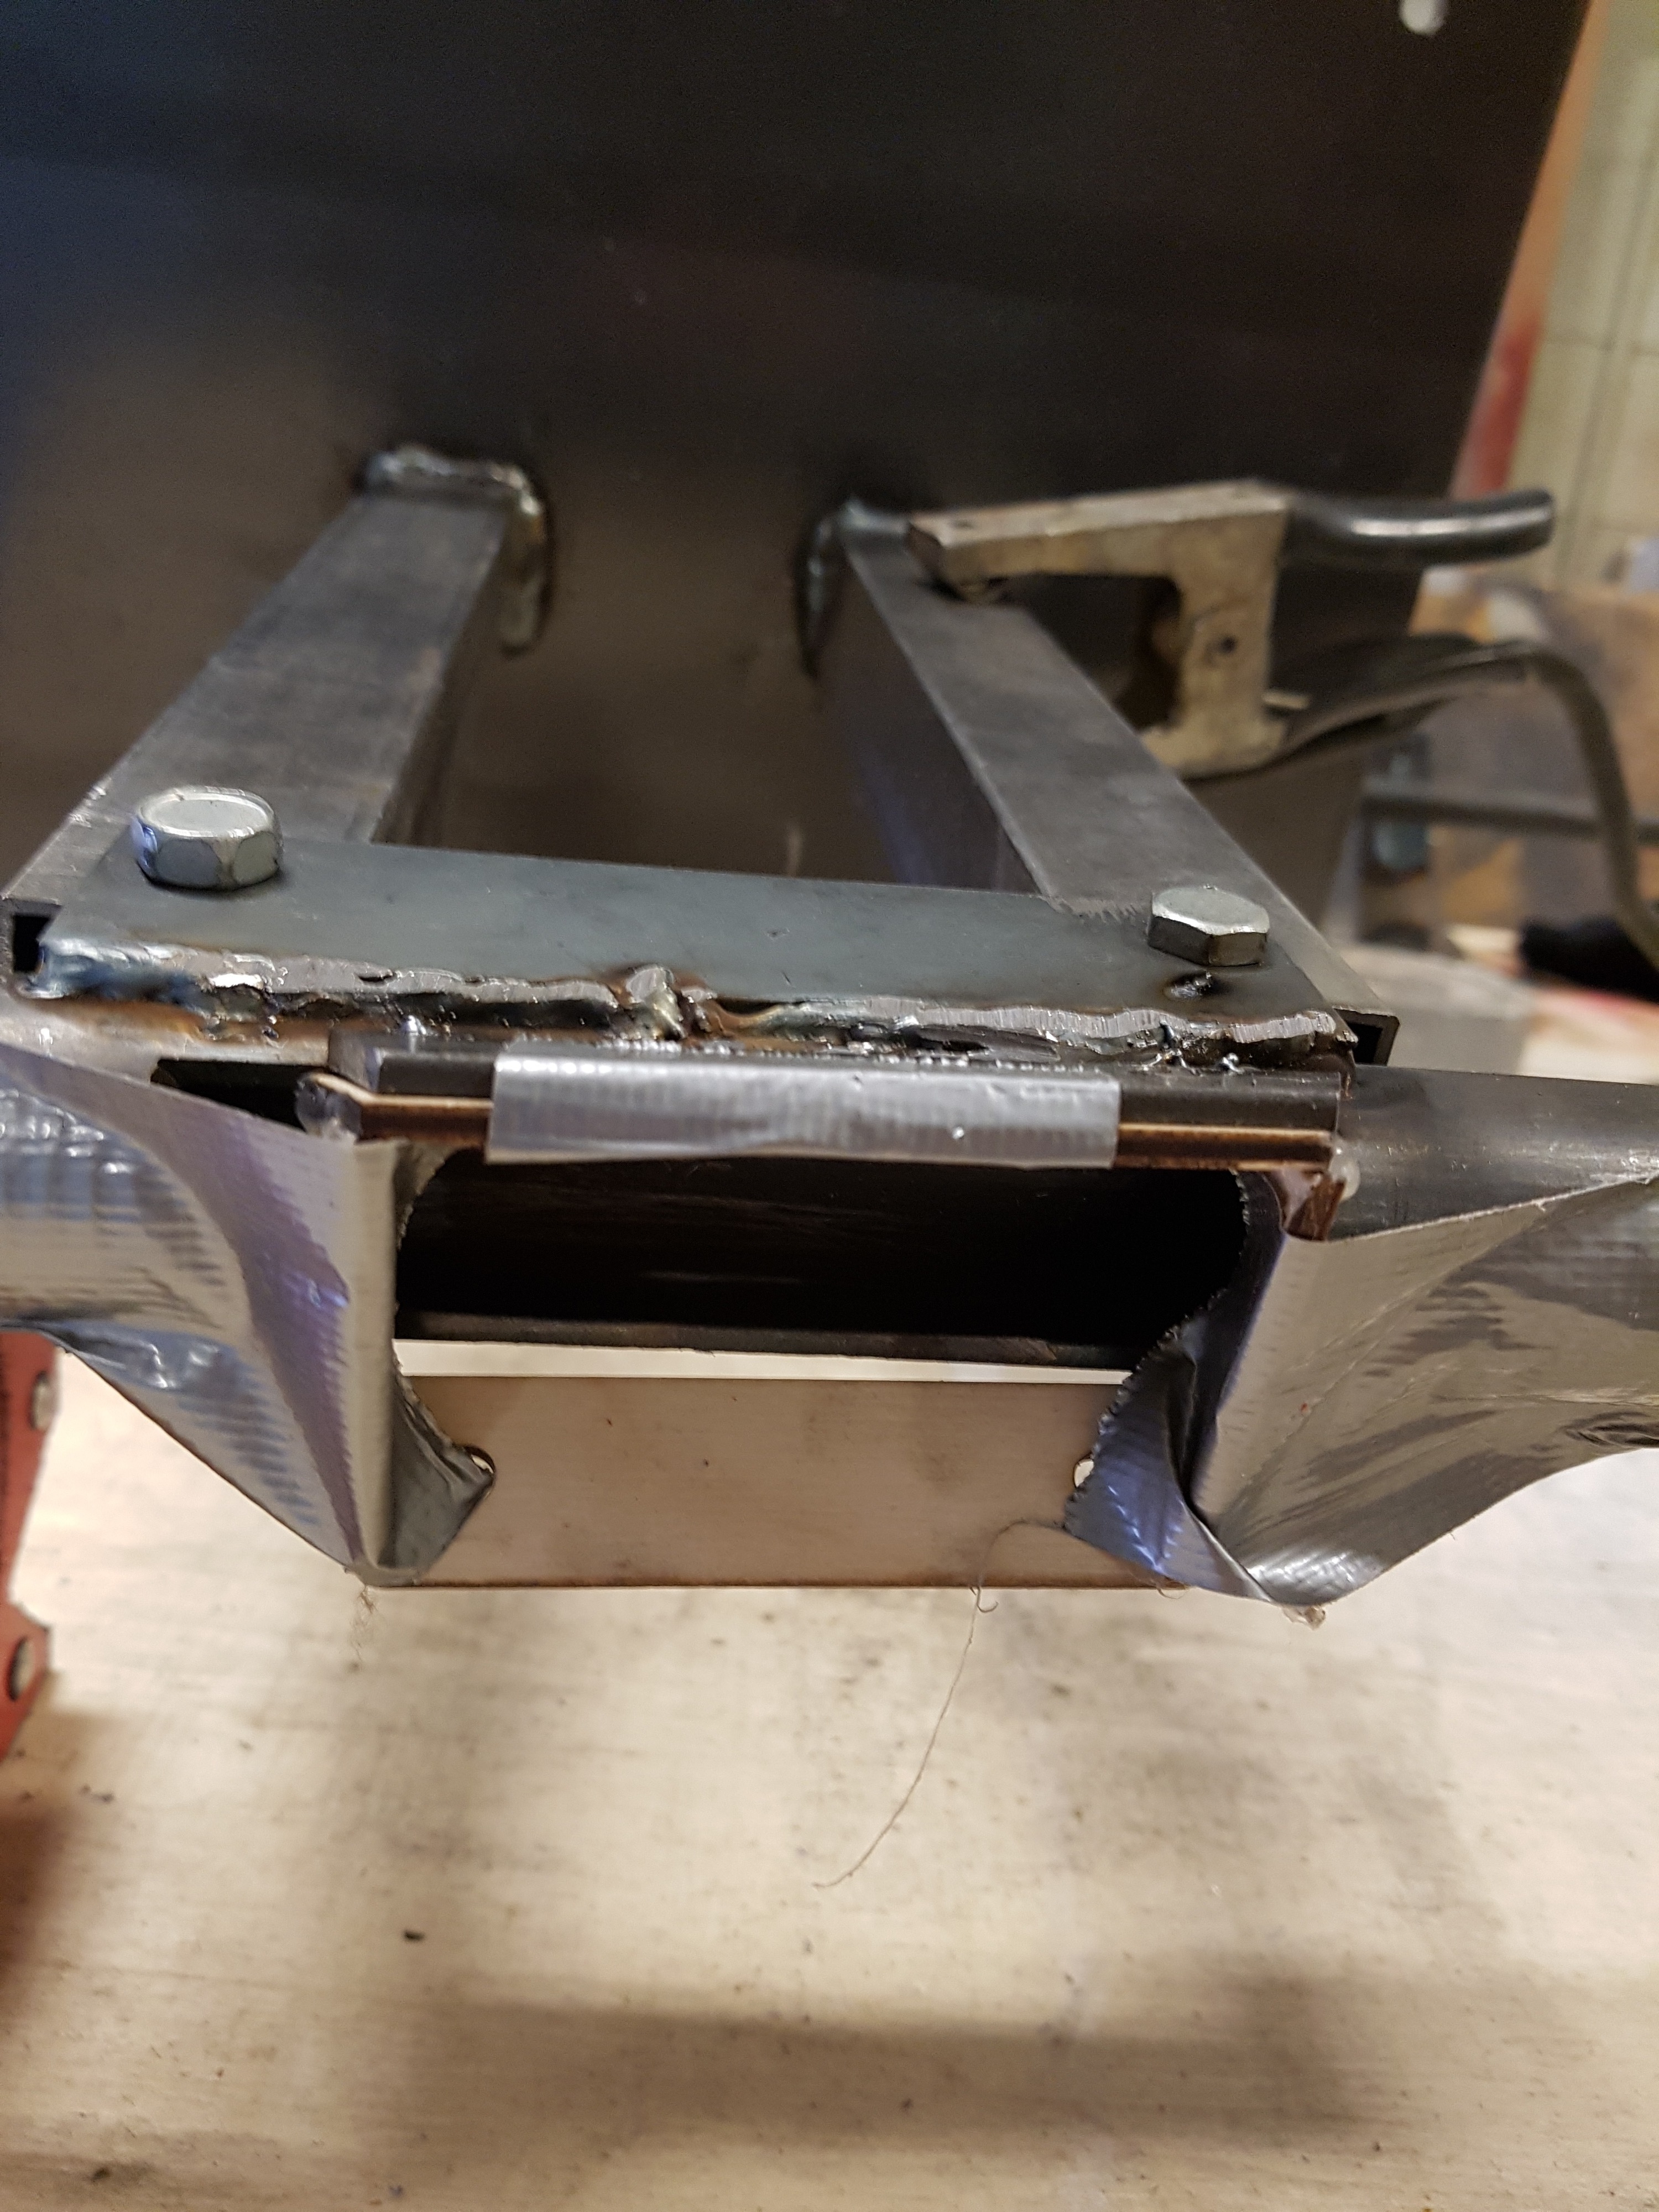
@Majicj again offered to help, this time at the CoLab. We went and picked up the square tubing needed at Metal Supermarket and headed to CoLab. After talking for a bit, we realized that the thin tubing we’d used from NorthStar maybe wasn’t going to be strong enough, and may not weld well enough to be used. So we cut off those bits and replaced them with better tubing. Fixing several of our old mistakes took all day, so we left the actual base for next time.


March 2018
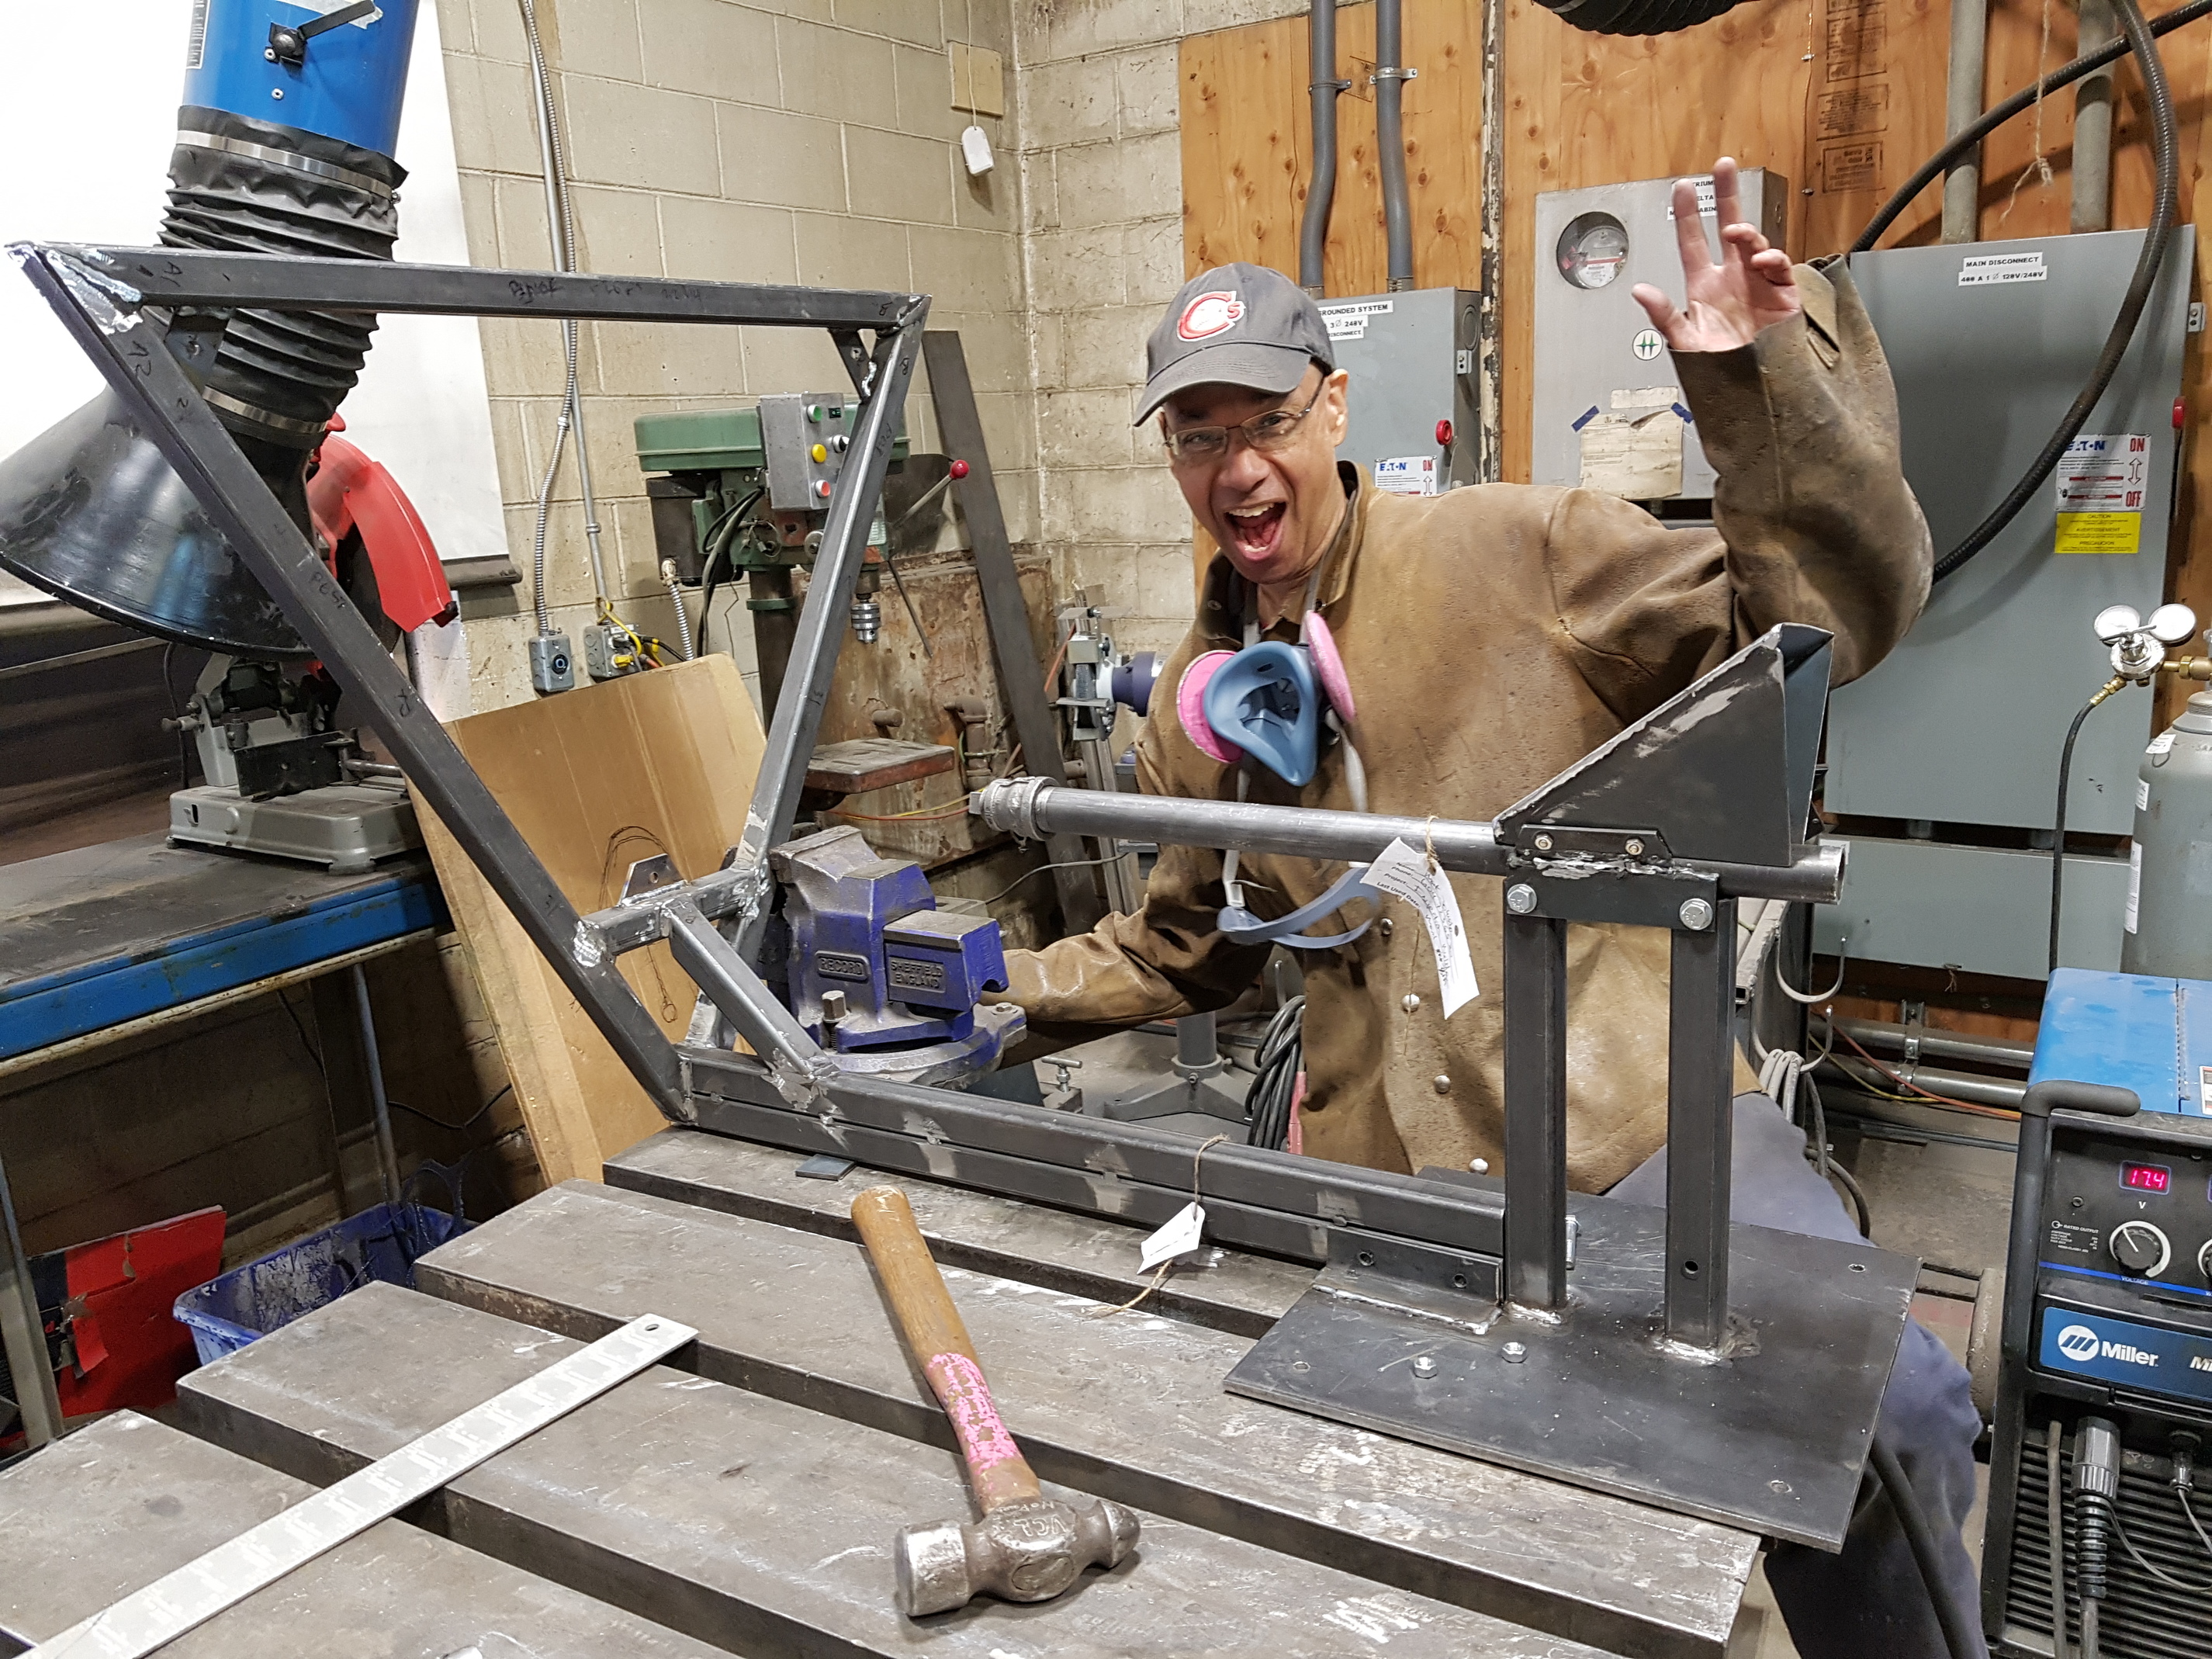
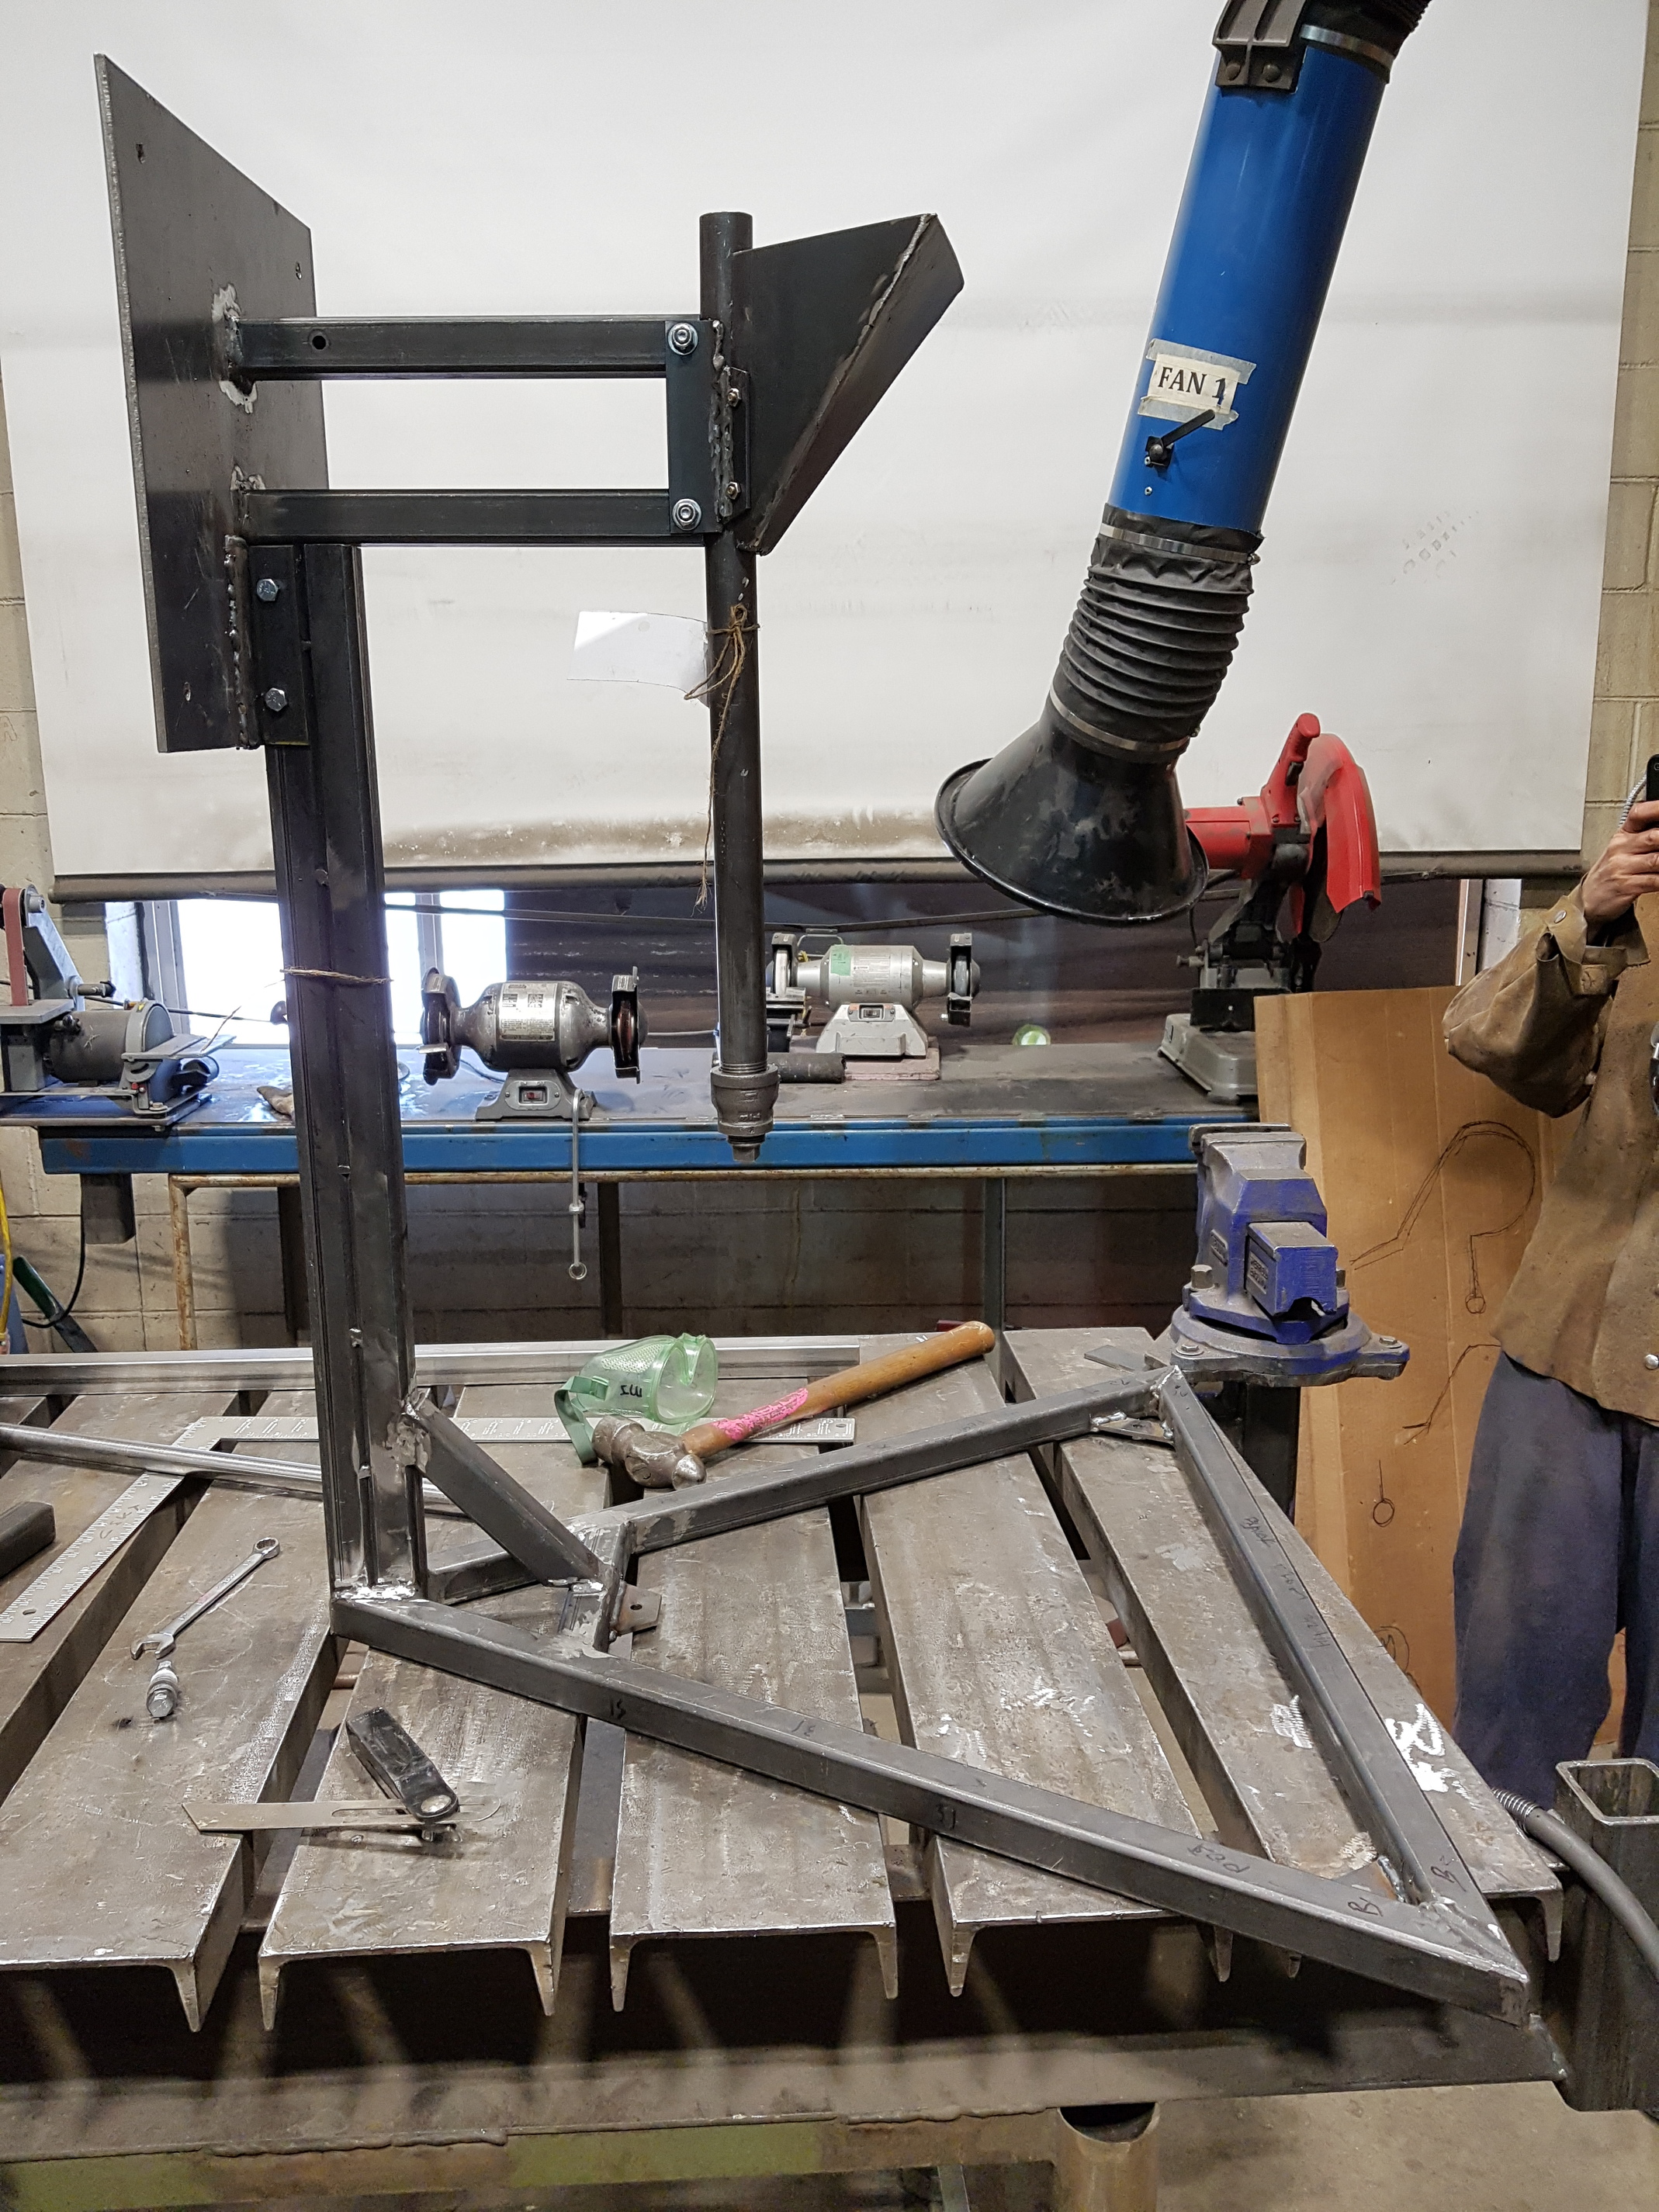
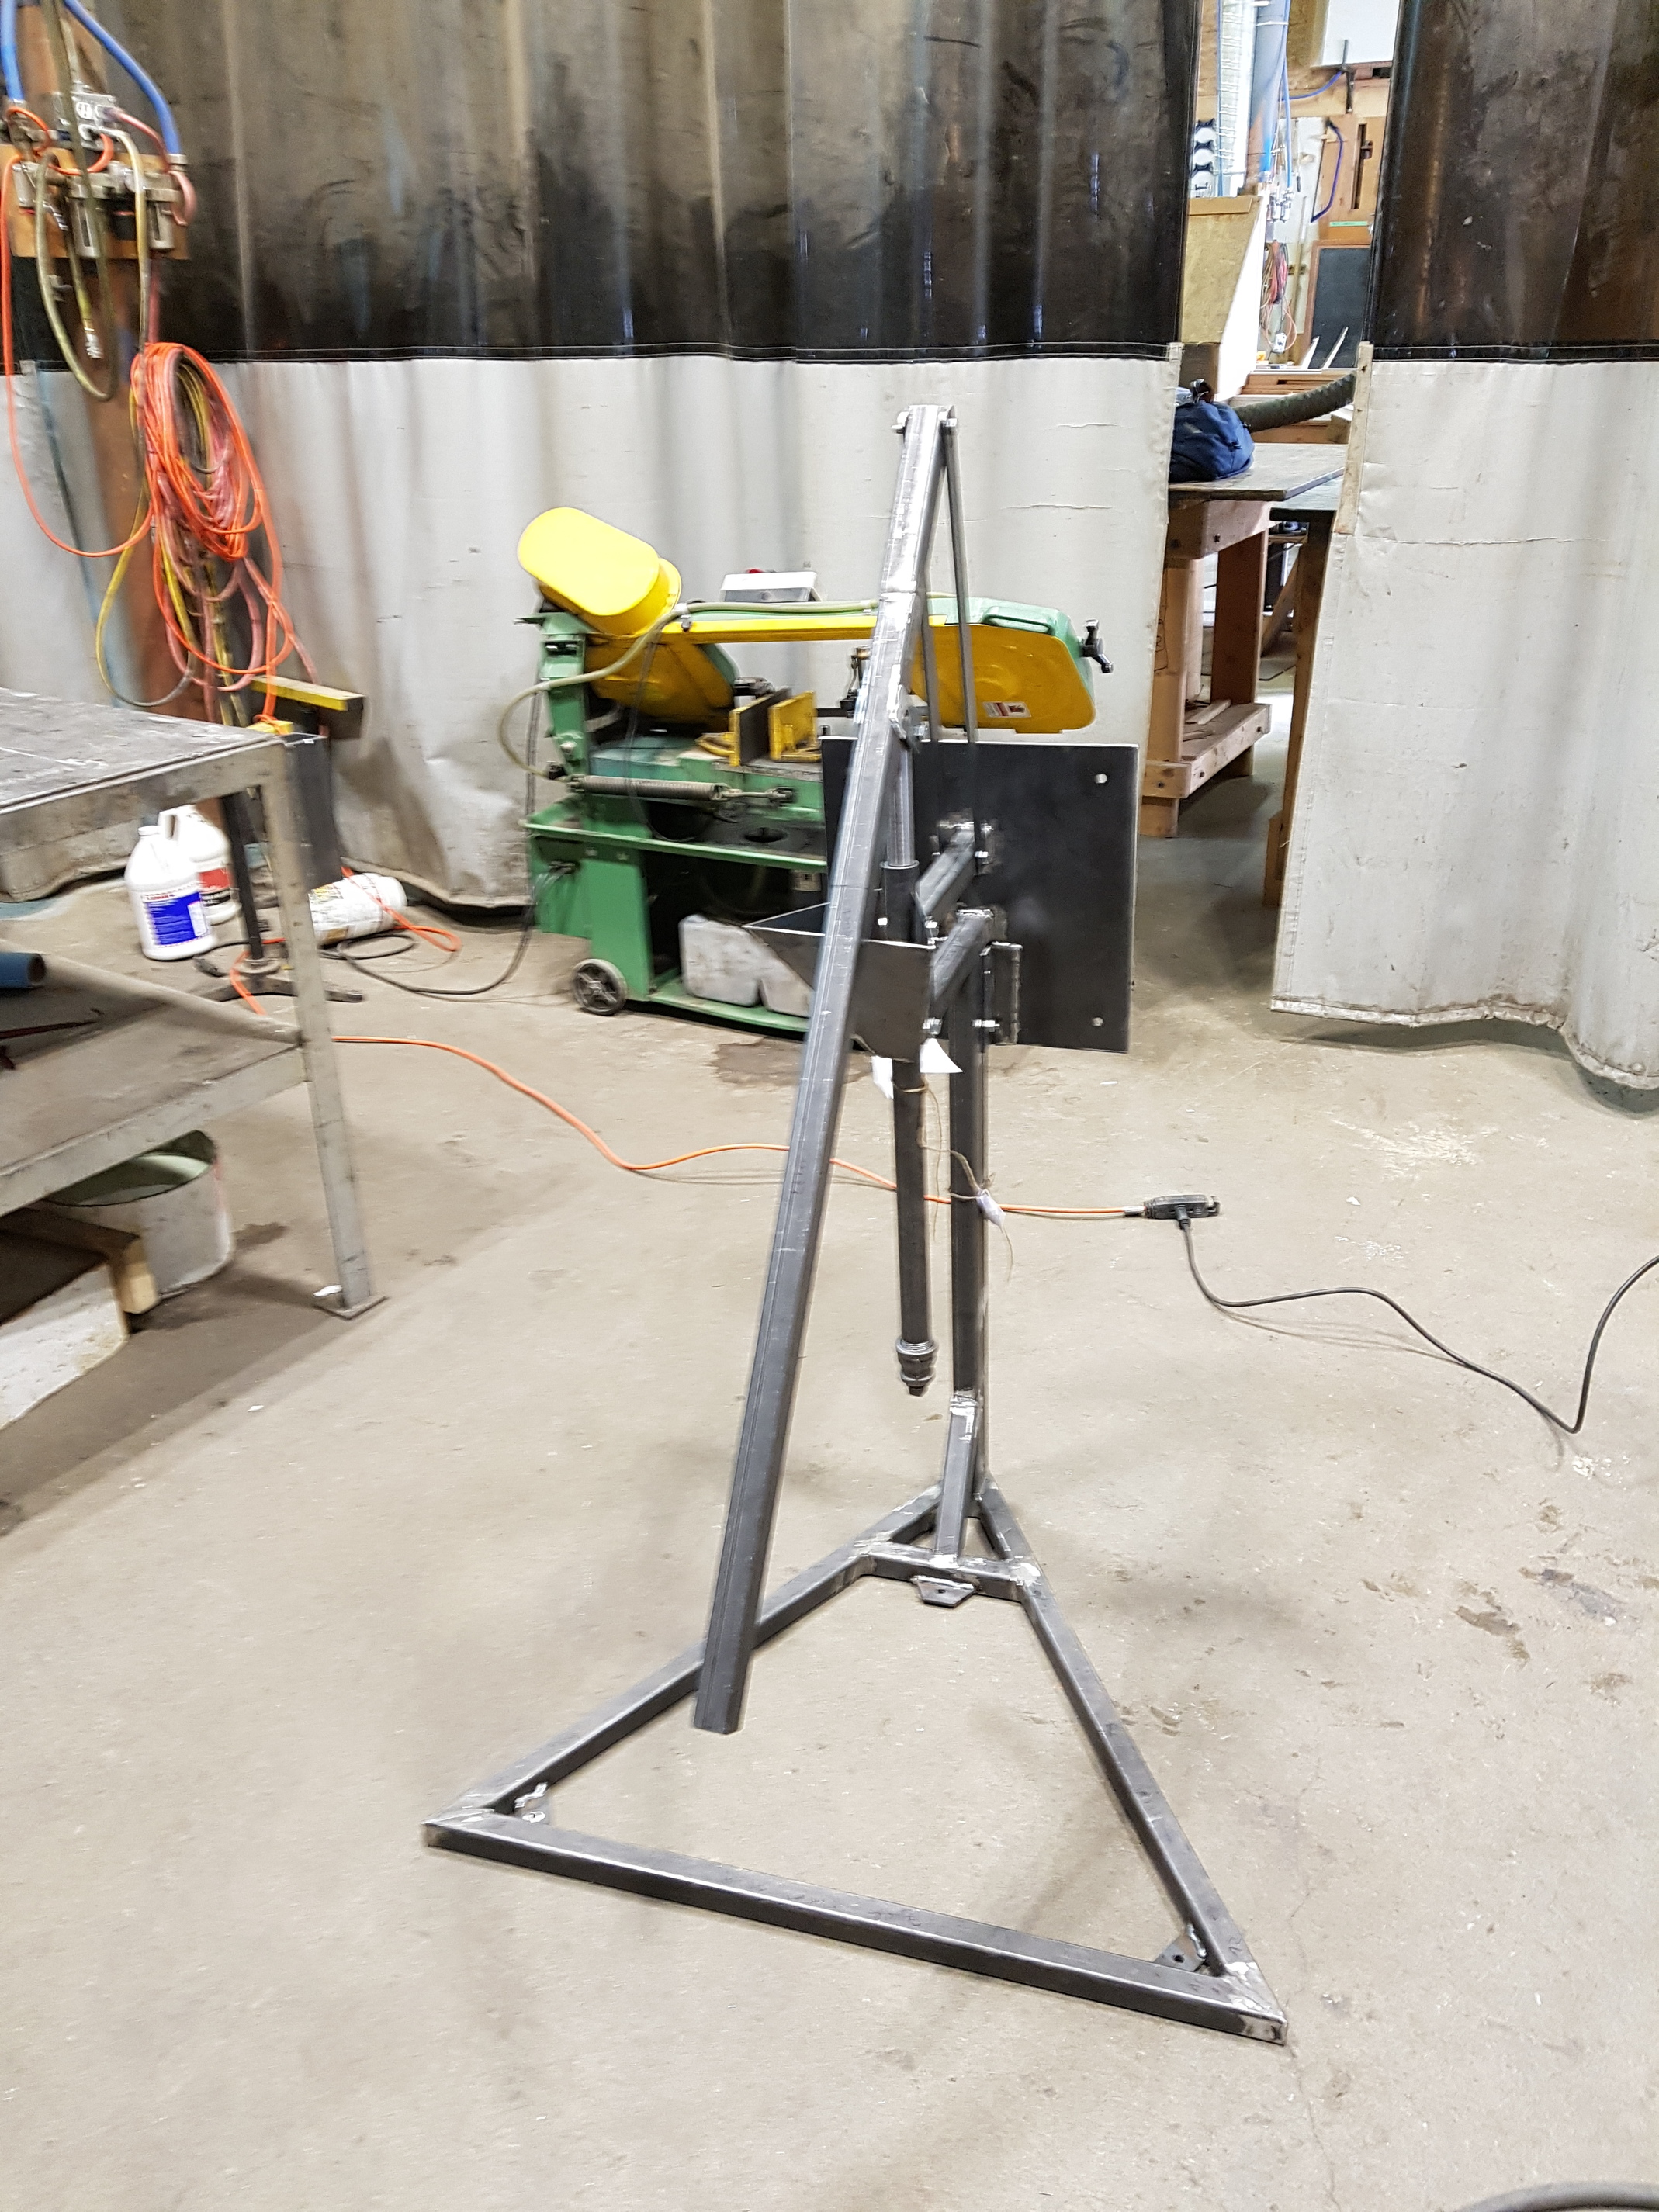
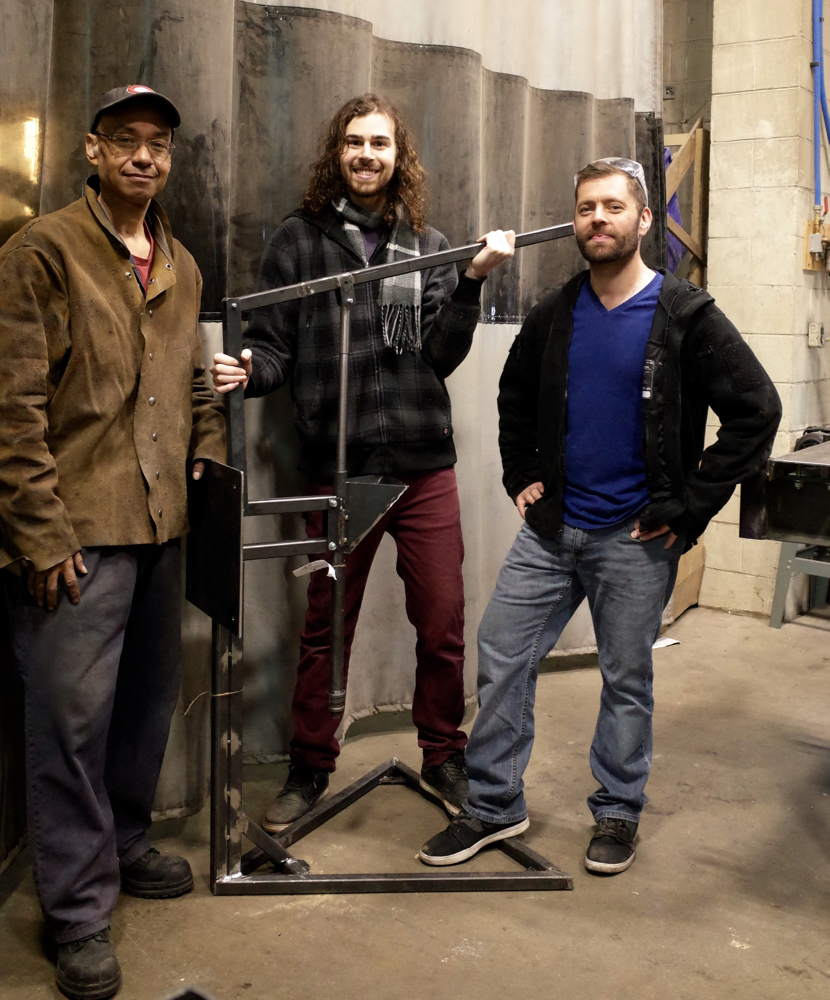
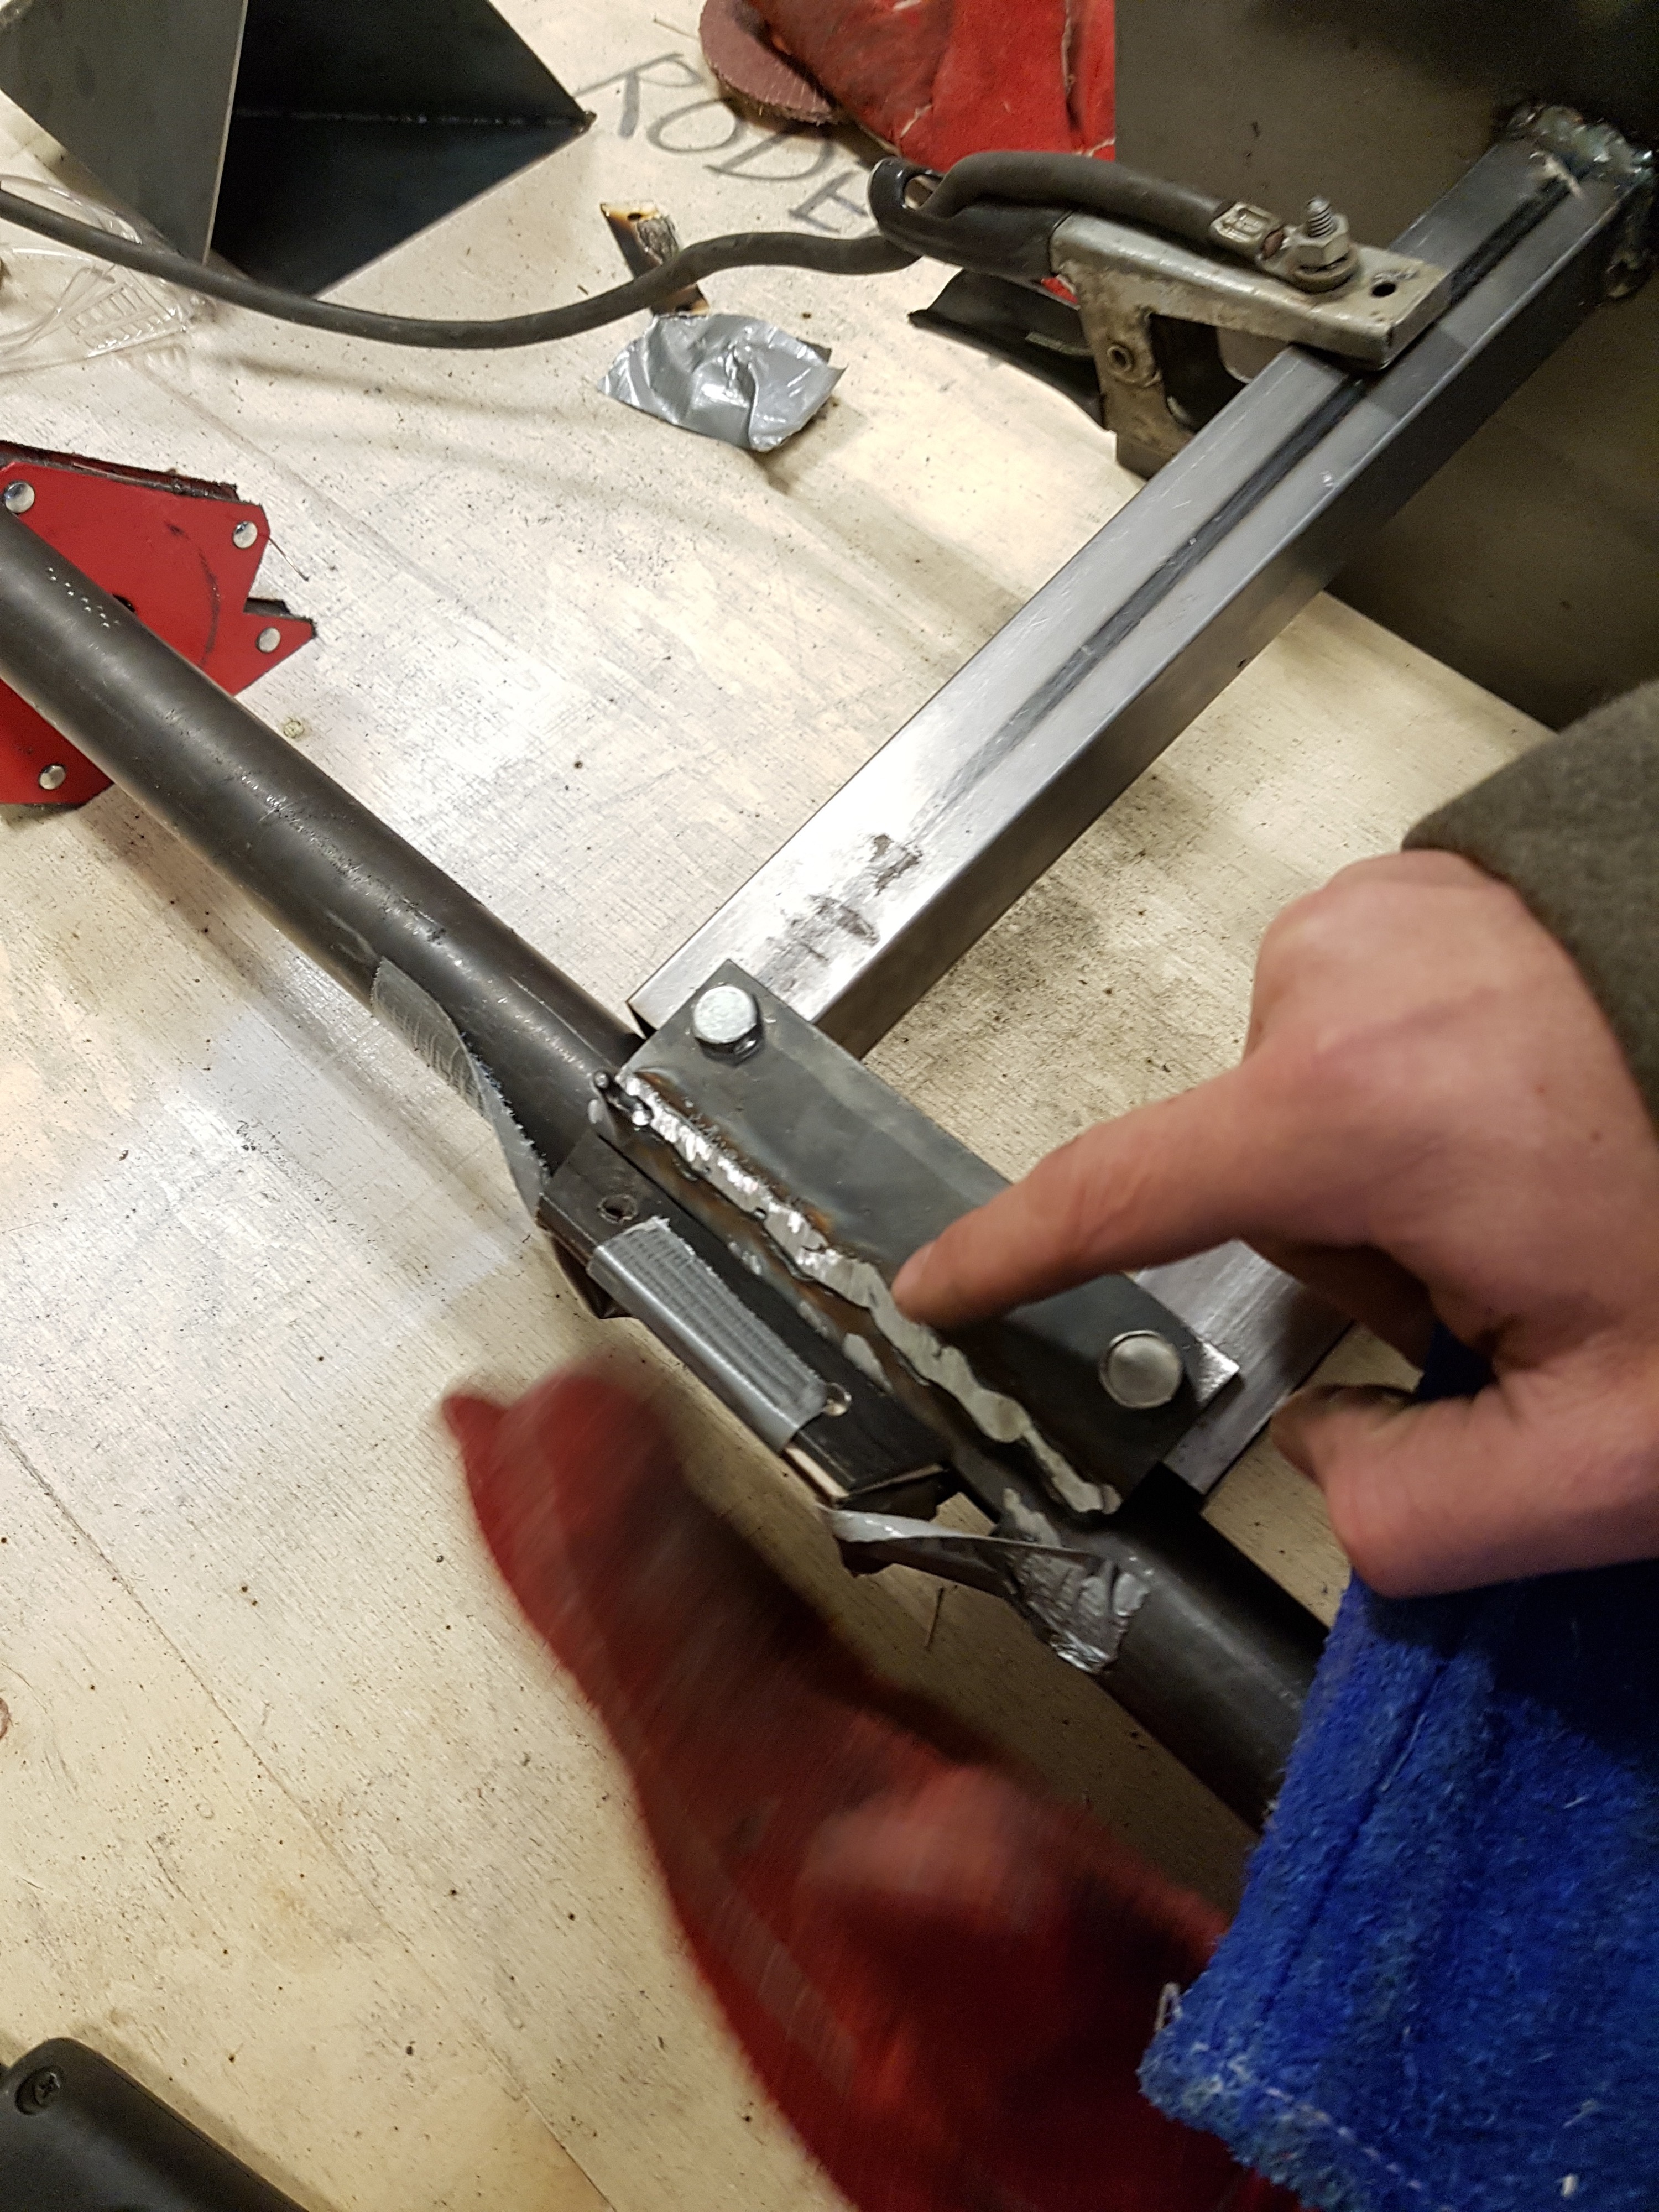
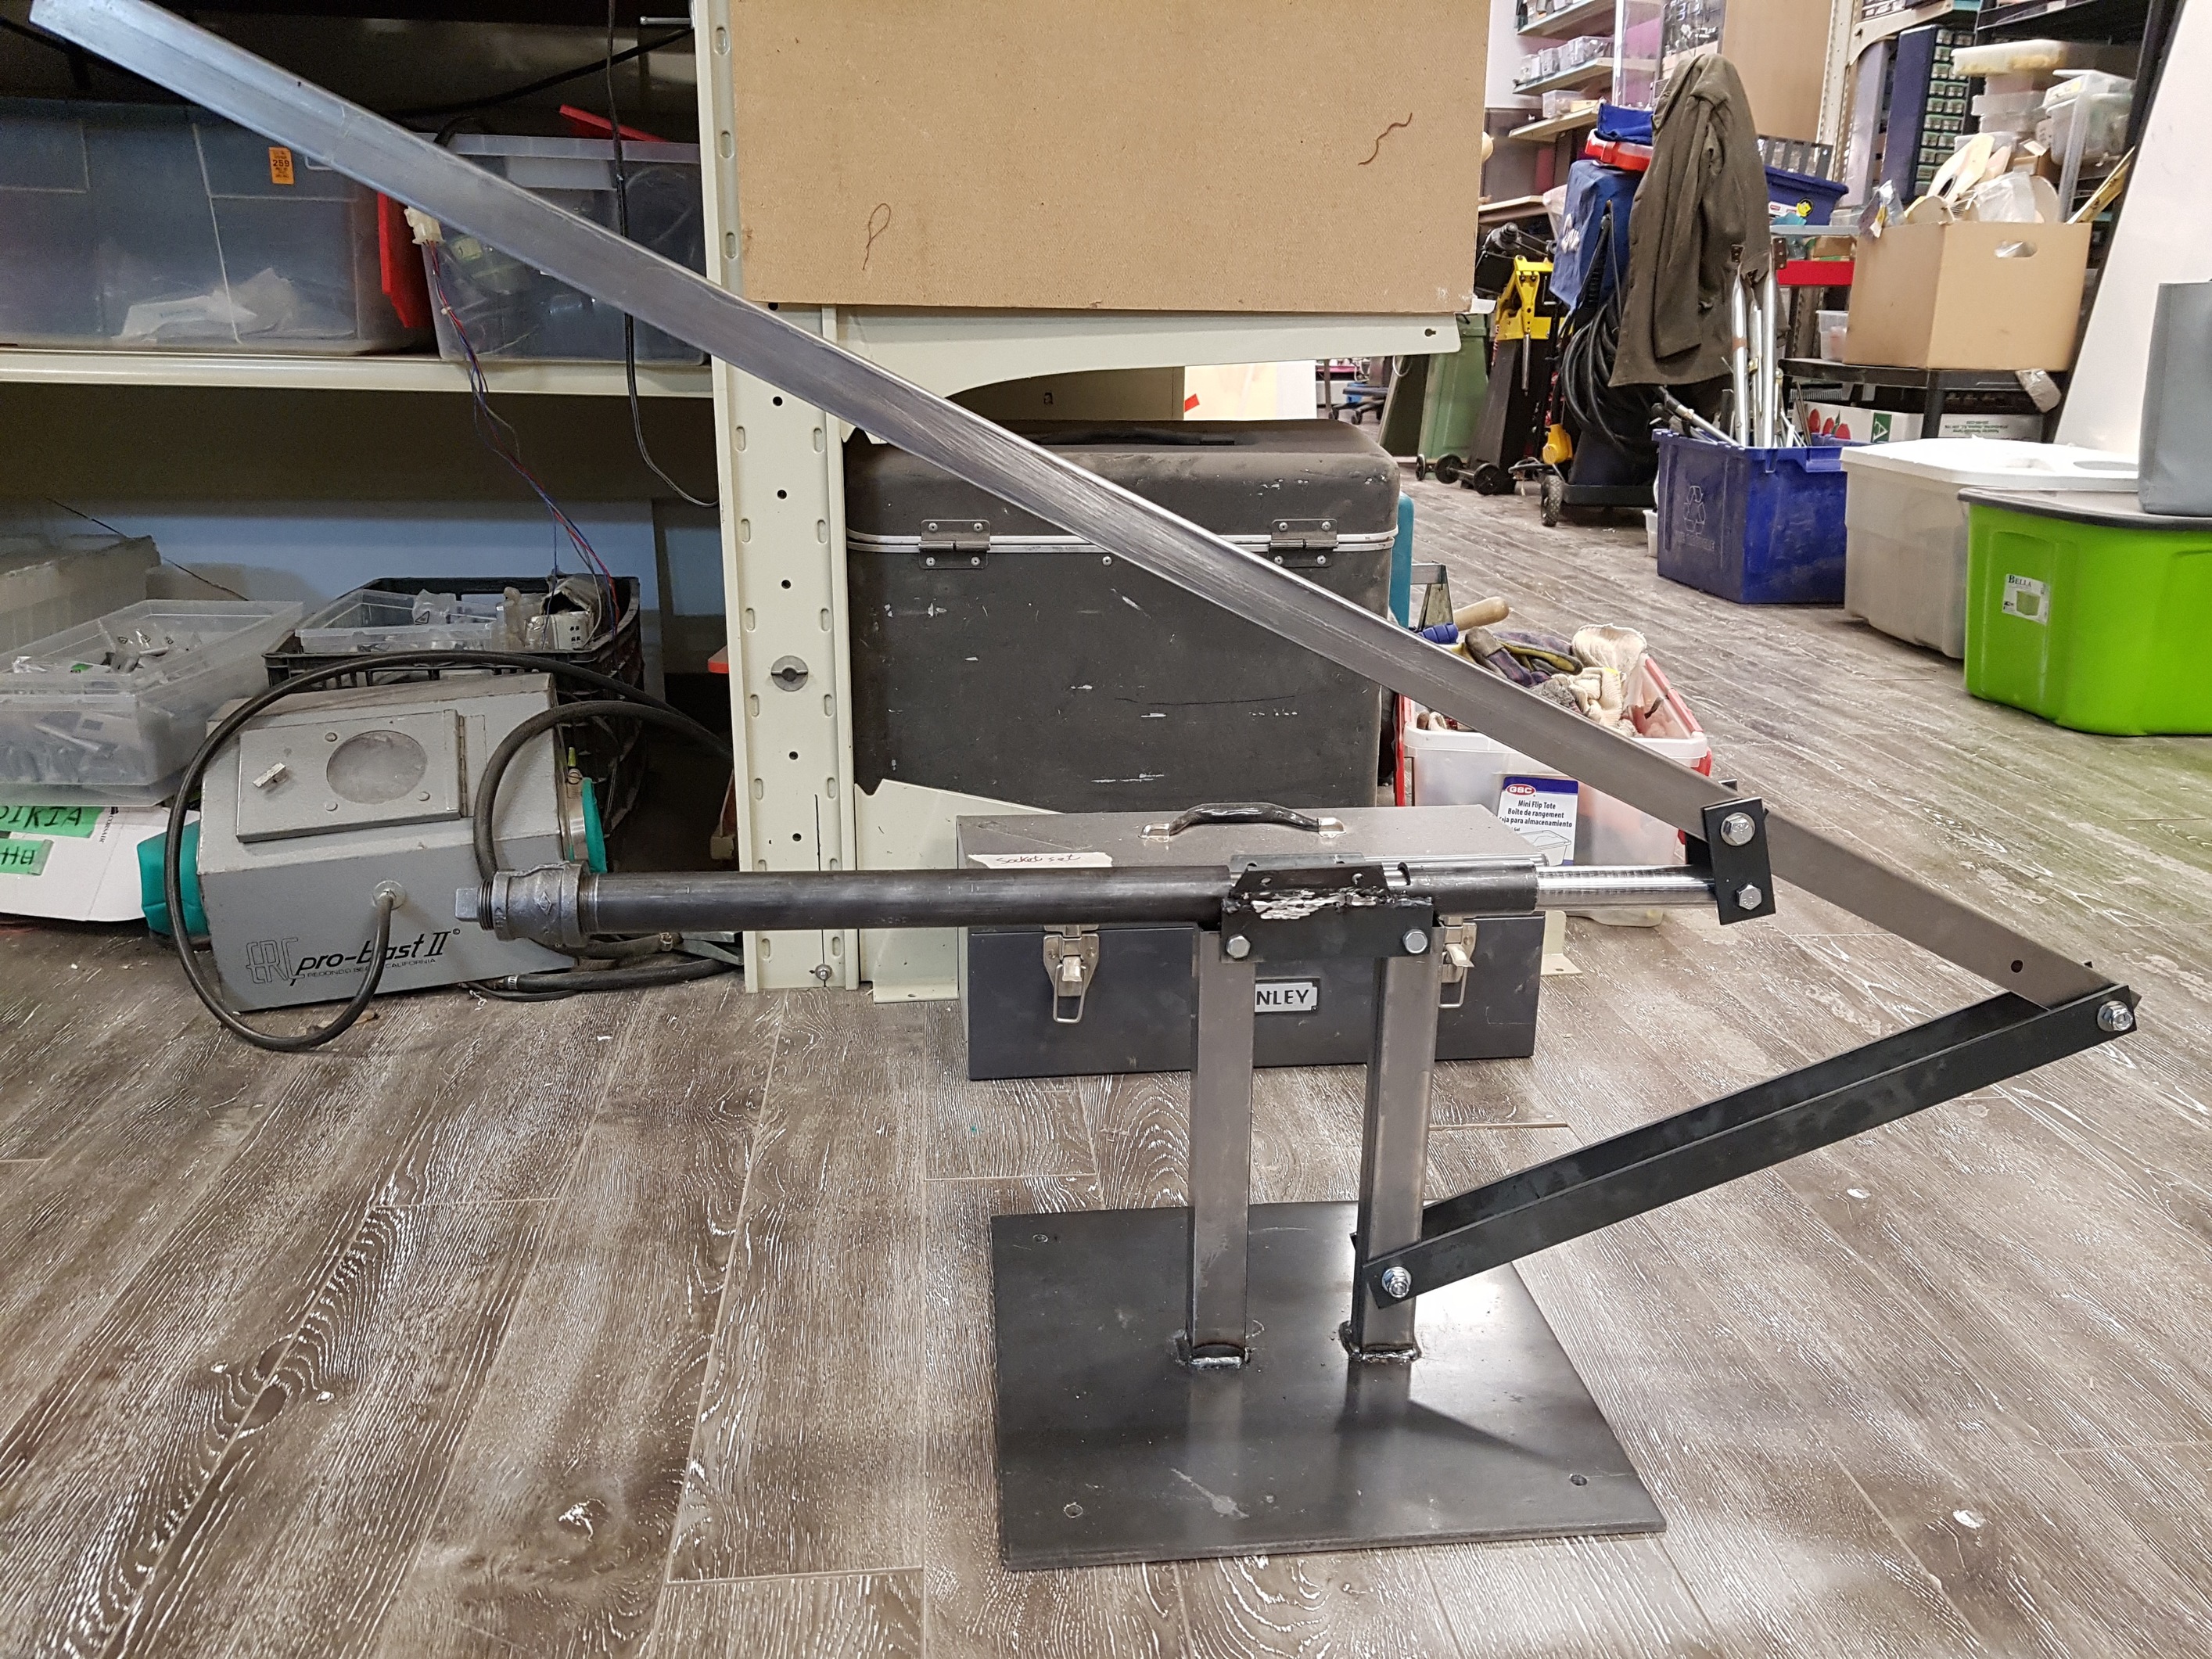
@Majicj was nice enough to go back on his own time to make the cuts needed for the base, then on our next build day we welded it all together. The base is looking fantastic, and we’ve got one more day of work to go on it.


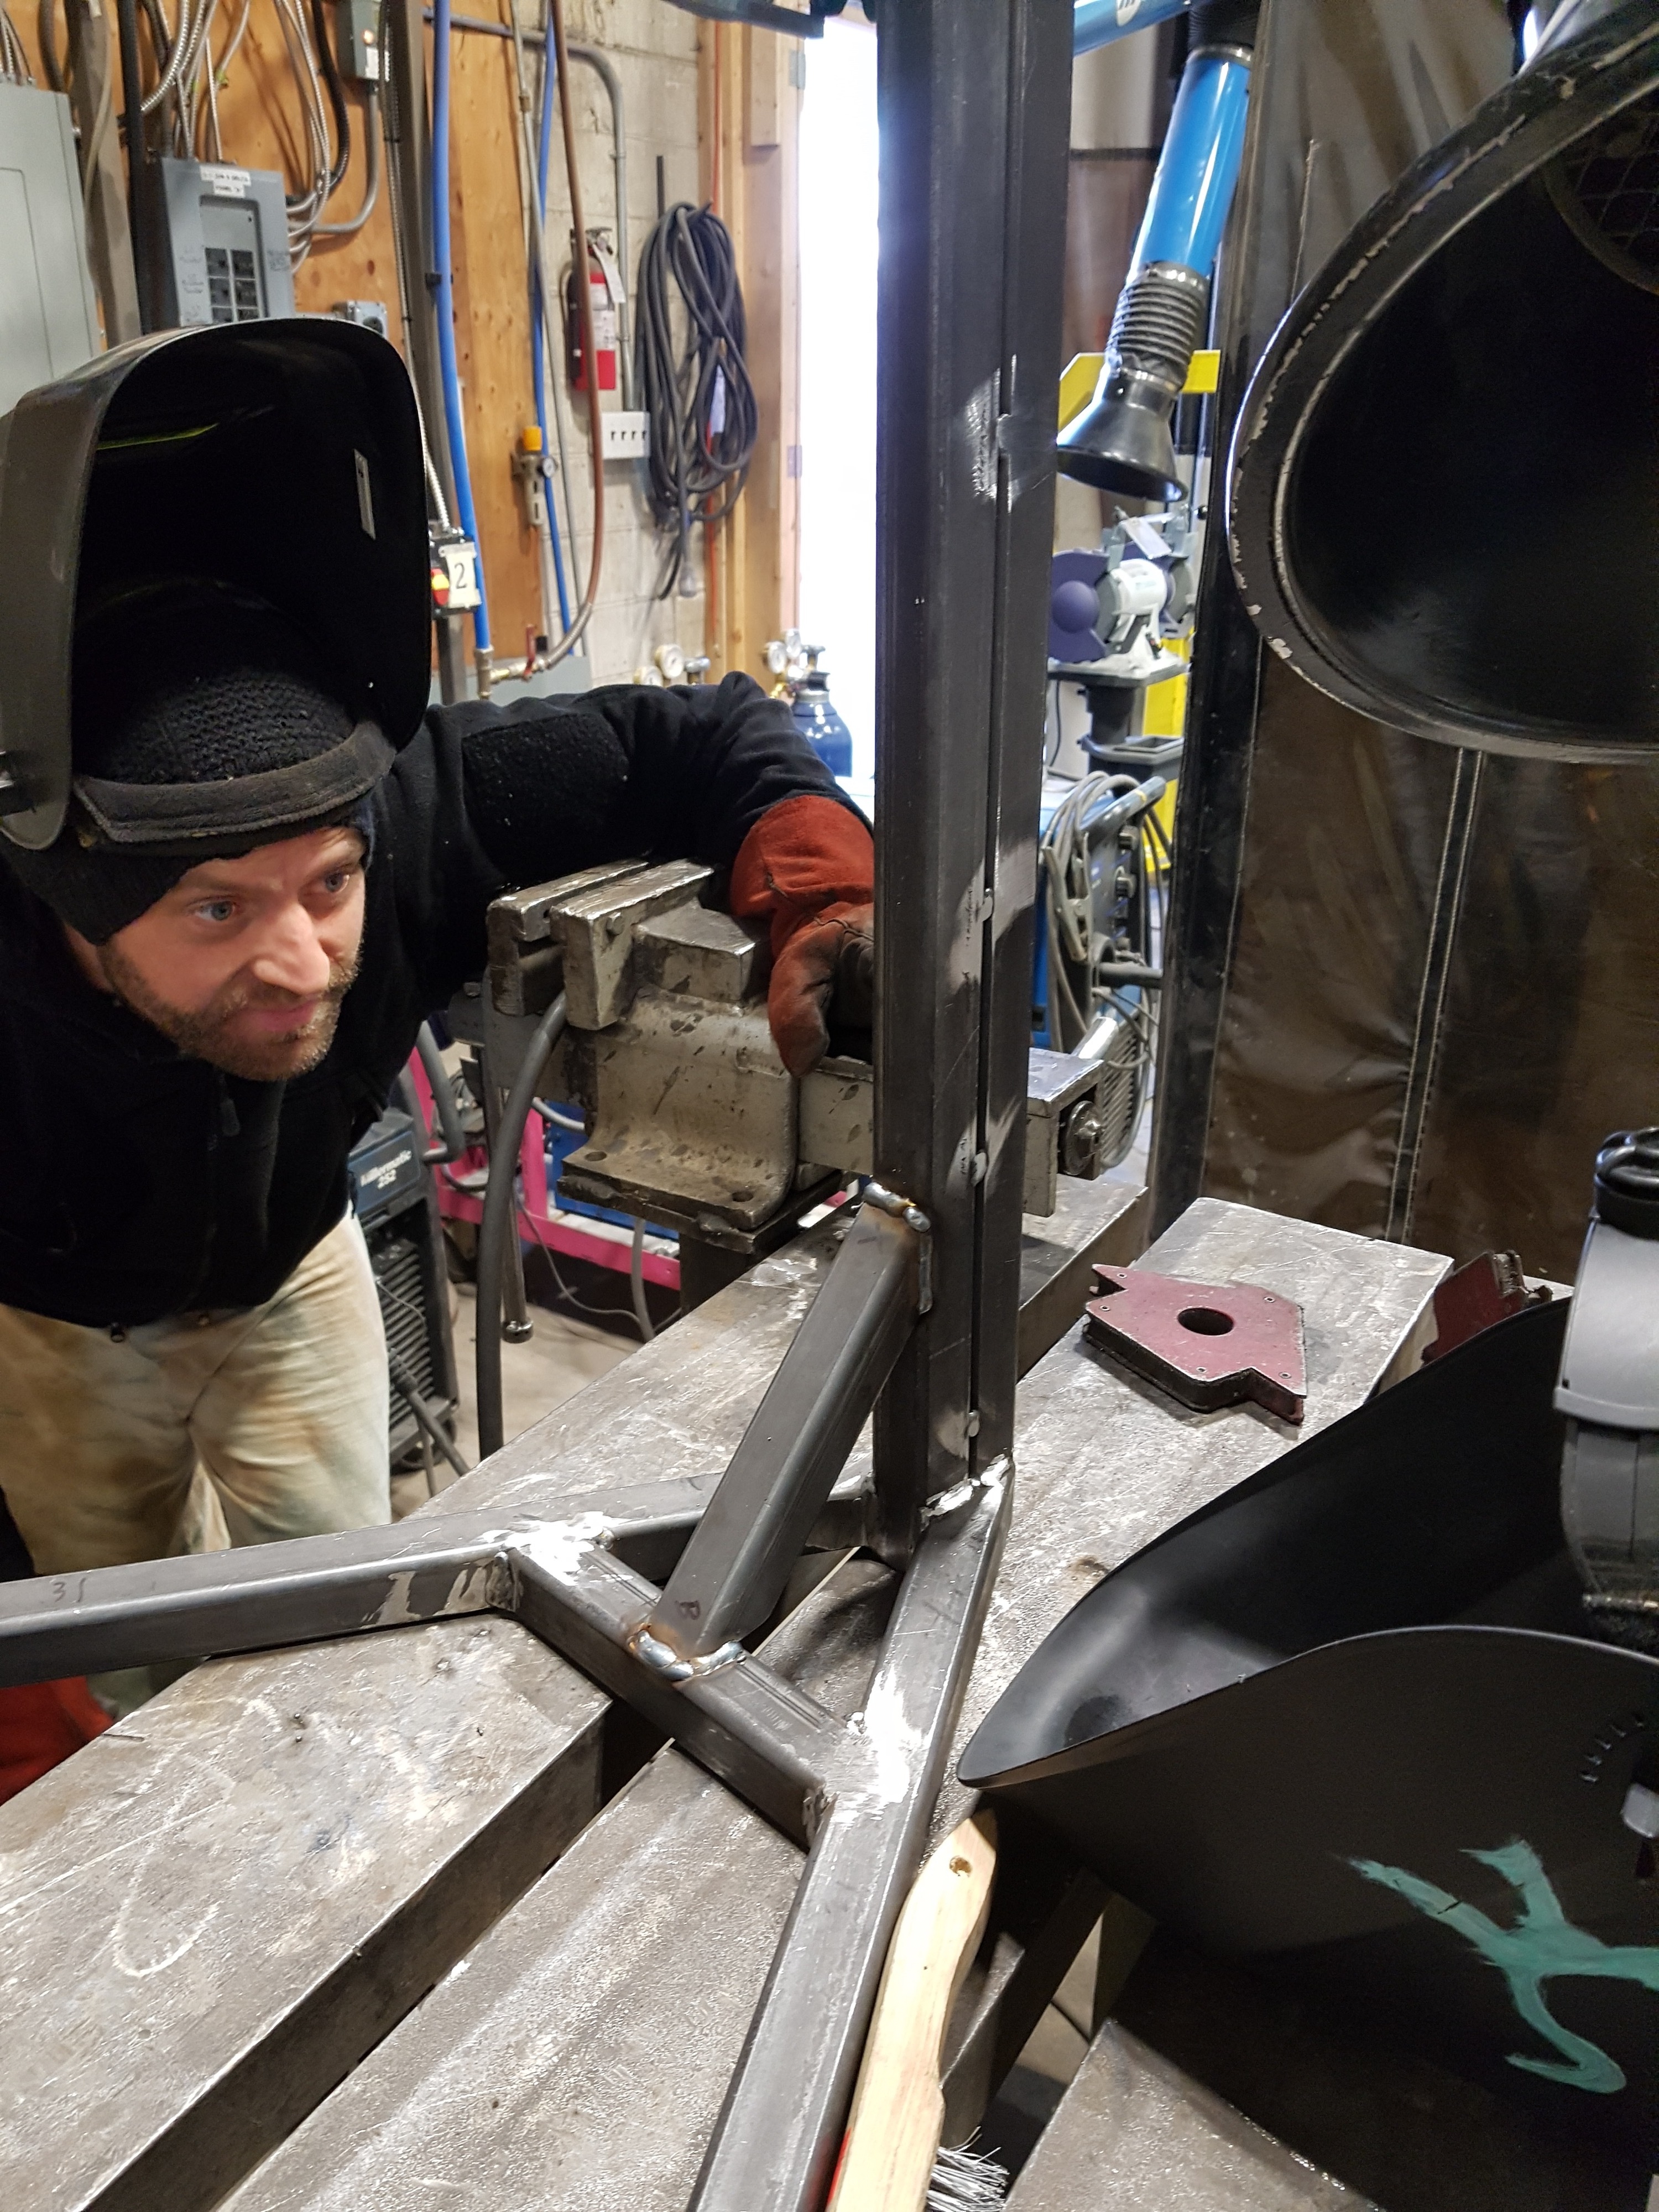

So this has been the build so far. Thanks to everyone mentioned, as well as everyone else involved (especially @Rebel_without_Clause for making 2 separate trips to Metal Supermarket for us!). It’s been a really fun project, and it’s pretty amazing how many different tools and techniques we’ve needed to use thus far. I’ll keep updating this as we go forward with the project, and feel free to join the #injection_molding chat on Slack for more real-time discussion as well.