True Beginner wants to assemble Game Boy carts

Hello! I’m Ziggy, I live in Vancouver and I make original games for the old Game Boy (1989).

My first game received a lovely physical release via a publisher, and that was great. Now, however, I would like to figure out how to do this step myself. I have never soldered anything! But I have some clues…

  1. a video of my publisher assembling carts lead me to discover “smd soldering”
  2. I can use this project on PCB way to order Game Boy cartridge PCBs and the smd uh thing… the metal stencil?
  3. I visited VHS on a Tuesday and they said I should ask here to get myself pointed in the right direction

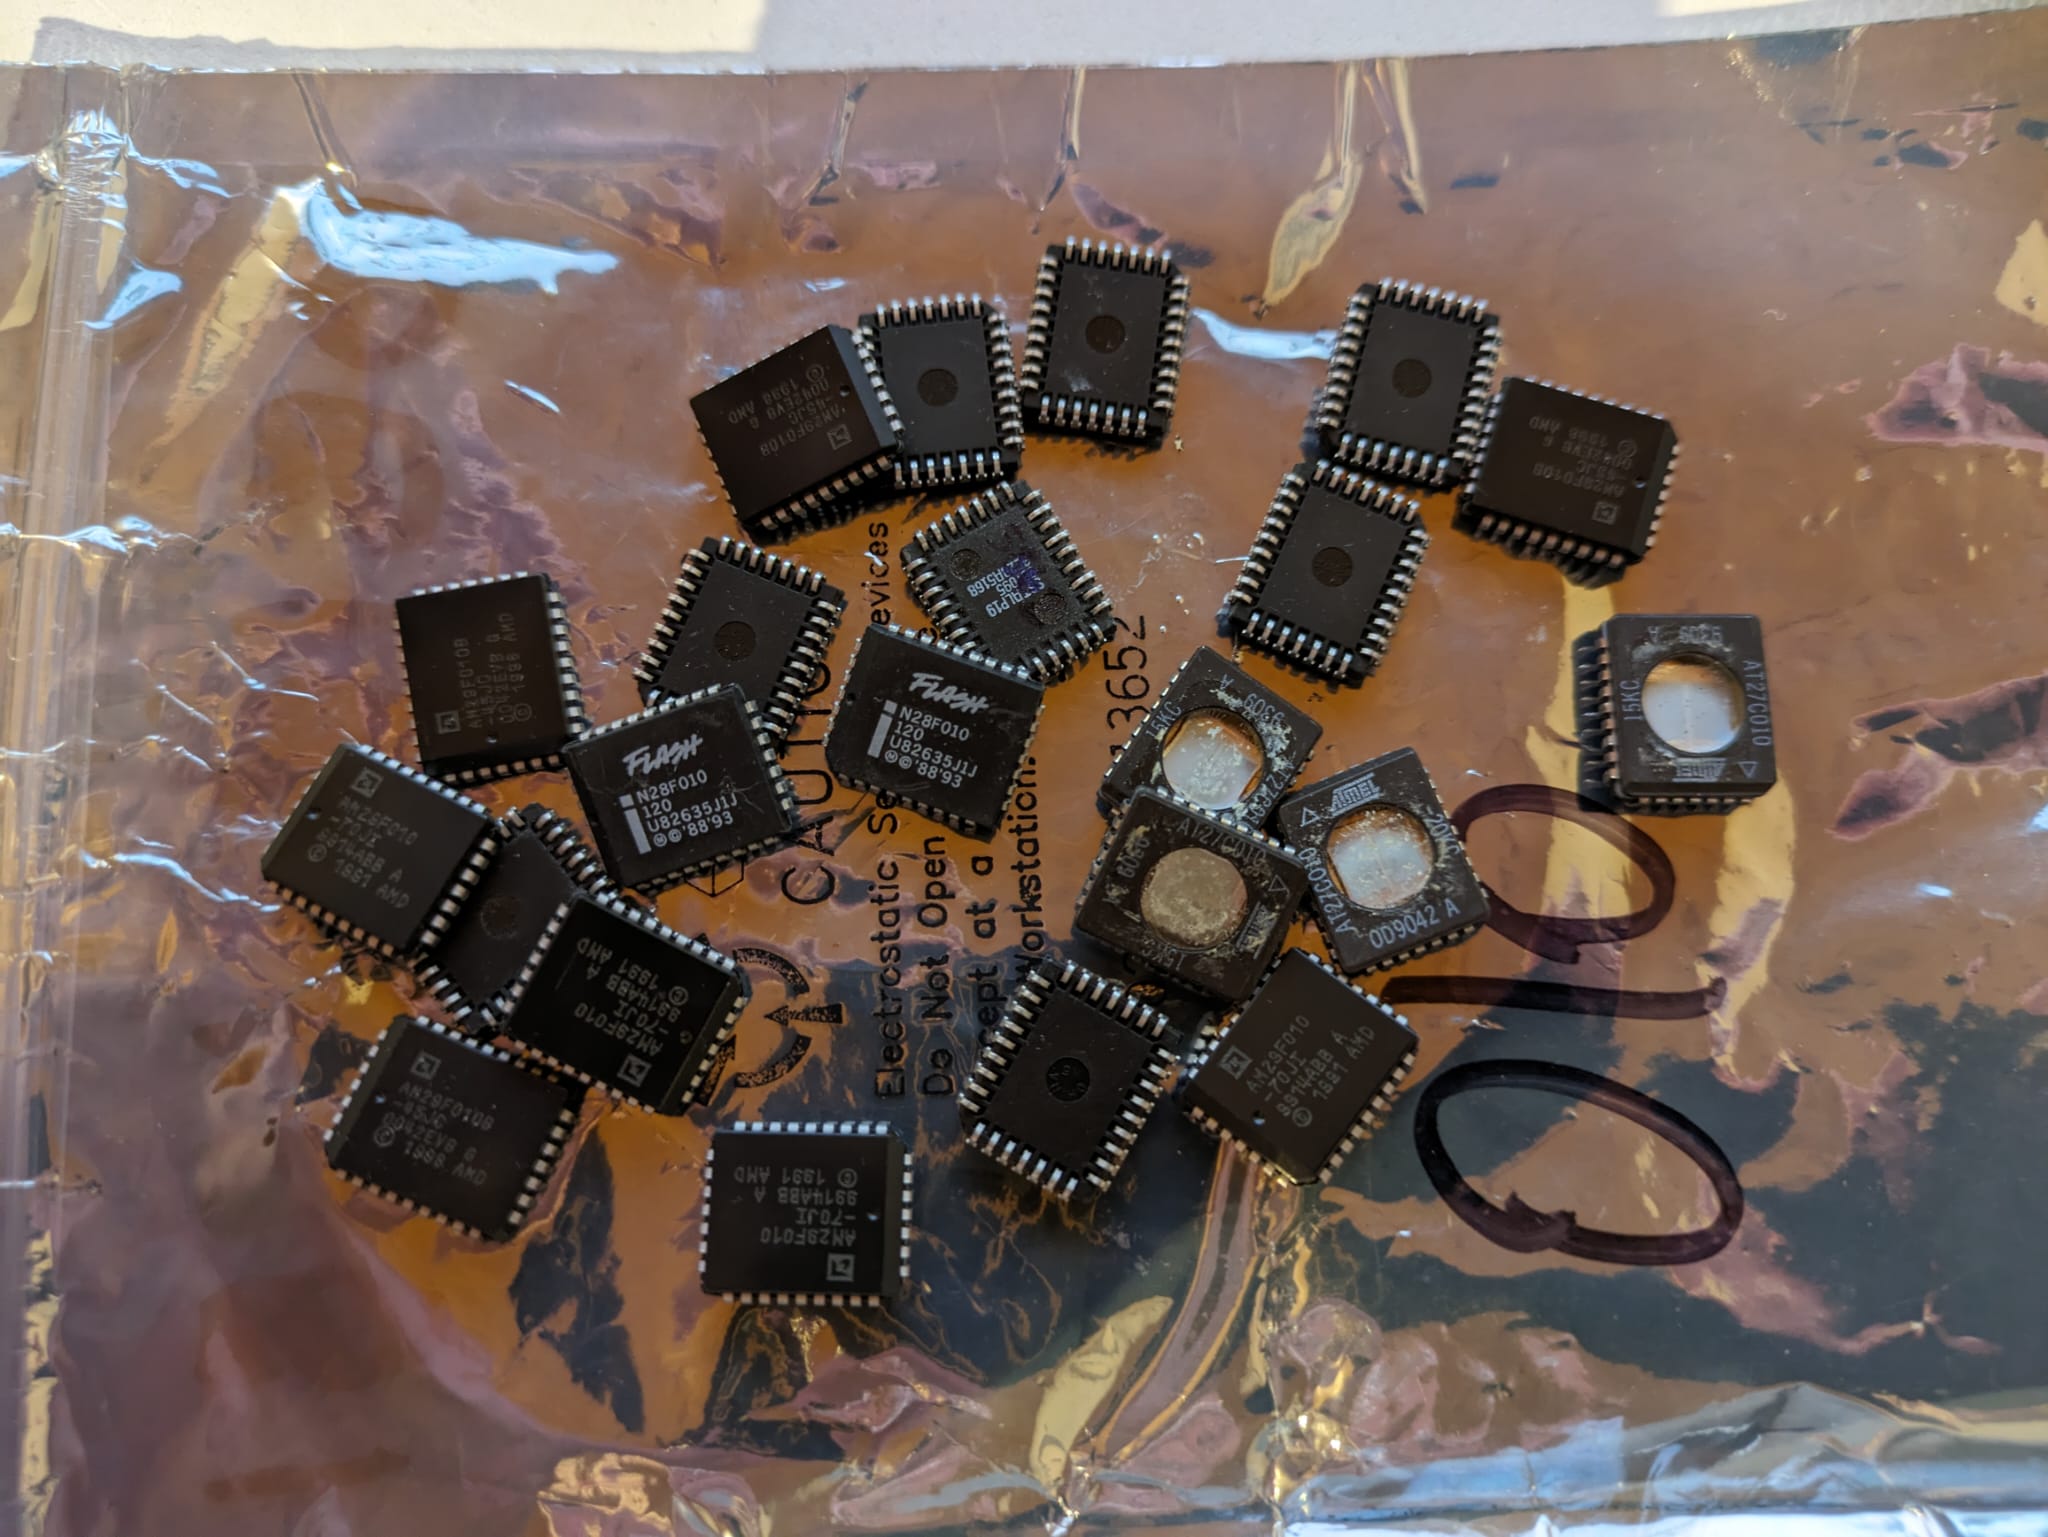
Basically I’m not sure what steps I need to take to get started. I’ve read some “how to solder” guides online. I’ve got some video tutorials to refer to. I was hoping I’d be able to lign up some kind of hands on introduction via VHS (though it seems the space is more for people who know how to do things to do those things rather than for starting from scratch)? I’m also not exactly sure where to order those tiny computer bits, or which bits to order (there is a black ROM chip, and then like another tiny thing? What’s that tiny thing?).

Yeah, true beginner interested in smd soldering some Game Boy carts. My interest has also been piqued with regards to learning how to design PCBs more generally. I have a background in computer science (my games are thousands of lines of hand-rolled assembly :muscle:) but nothing in EE or soldering. I’m looking for tips!

Thanks so much!

z.

P.S. I am not allowed to include links yet, but the video from my publisher’s instagram is basically someone taking a PCB, laying a metal stencil on top, spreading on the GREY GOO, and then heating everything up with a heat gun. That’s what I want to learn to do (safely? in my backyard?)

5 Likes

Should be able to post links now.

Links and photos of the PCB would help.

For designing your own PCBs, go look up some tutorials on KiCad and do a (simple) project to get started on learning

3 Likes

I added a link to the PCB. I wouldn’t be designing these, at least not at first. From my research so far I think what I need to do is…

  1. order the PCB and stencil
  2. order some little chippy computer bits
  3. put the paste on there
  4. put the chippy bits on the paste
  5. apply heat
1 Like

A bit simplified, but that is pretty much the process. I haven’t done much surface mount stuff myself, but I know we have some members who have made some surface mount kits that would be good to practice on. We have tons of surface mount components at VHS.

2 Likes

John is right, I’ve done a few classes on this at the space.

VHS has much better equipment than the heat gun procedure. We have a couple ovens that will do a full heat profile that can make sure you get an even bake.

The grey goo is solder paste, its relatively easy to come by, but don’t buy it ahead of time, it has a limited shelf life.

The stencils are well-worth buying if you are doing small components, but larger components you can just use the solder tube and a tooth pick for adjustments. The process is pretty forgiving for large parts.

The hackspace also has a hot air rework station for fixing problems.

From what I can see from that linked PCB, this should be an easy one. It is two components, and you can probably do it with hand-application; or if you wanted to, you could try to work out a laser cut stencil.

Hell, there’s a group of folk at the space that are really into hand-soldering, these components would totally work with hand soldering (just a solder gun, flux, braid, solder, and some steady hands).

I can guarantee you if you get the PCB and components (BOM seriously just looks like 2 parts from what I can see) it’ll be easy enough to get help. If you can, buy some extra boards just in case…

If you ended up wanting to do production runs, we can talk to you about adjustments on how you’d do it, but I recommend getting a successful first one done.

Cheers and good luck! We are here for you.

4 Likes

That PCB with the two components is definitely hand-solderable, with a bit of practice.

It’s perfectly valid to do it with a paste stencil and oven, although I personally would skip all that and do it by hand to save a bit of faffing.

2 Likes

++ on the hand soldering. I would do the same option as @ddq. I do both oven and SMD. I enjoy the fine handwork and figure if you’re going to go to the effort of placing all the components - might as well hand solder while you’re in there. You can also take breaks whereas a solder stencil requires you to pretty much do it all at once. Another plus is you work with regular solder wire as opposed to paste. This is less messy and less toxic (i.e. you won’t have to wear gloves).

You have to like working with your hands though and using tweezers to pick up components that are very small and then soldering them in place with a hot iron. i.e. it takes a bit of coordination, but if you practice first that will help.

Here’s a great video on hand soldering SMD:

Keep in mind we have everything you need at VHS - soldering irons, wire solder, magnifying visor, tweezers etc. We also have a sweet magnifying USB camera you can check your work on.

Edit: should add if I was doing large production runs I would probably outsource the builds, you can order built boards from China.

3 Likes

How many units do you expect to sell in one year? Have you checked aliexpress for pre-built blank cartridges?

If you need help navigating AliExpress and the world of buying directly from China let me know, I can give you a hand with that.

1 Like

Ah well the thing I’m making is not a flash cart, like the Everdrive, it’s a flashable cart like these ones from Ferrante Crafts.

I’ve looked at having them assembled by PCB Way but the cost per unit is roughly triple or more.

You see, I have a dream… I don’t want to sell my games directly to customers on a website, I want to wholesale them to brick and mortar stores. I’ve actually been successful, my games are on the shelves at two stores… but I sold those games to the stores at a loss.

I want to get the material cost down as low as I can so that I can be as generous as possible in my dealings with stores.

I feel like I can make these myself for less than $5 per unit, just from what I’ve seen so far. So if I could get the carts assembled or get them off aliexpress or something for like for less I might consider it. But the 32kb no SRAM carts are such a particular thing, I kind of doubt there out there!

As for quantity, I’m thinking to get like 100 carts once I have a good workflow set up. That way I can put them together a few at a time and flash them with whatever game I’m working on.

2 Likes

Yeah, this is how I’m thinking about it. I would maybe order enough for 10 or something at first. In the end though I want to be able to make like… ideally hundreds? I mean I have one buyer in Japan who ordered 7 and then 14 carts from me (I sold these to him at a loss, because my reward is that justice has been done). If I had 5 such stores buying each of my games that’s already 100 units per game.

To be clear: this is not my job, and I have no intention of it ever being a stead source of income. I want to get costs as low as I can so that I can offer the carts to stores at a low enough price that they find it attractive and low risk. For every store that caries my games I’ve spoken to 3 more that decided not to.

2 Likes

As a very rough estimate, I think you can probably have these PCBs manufactured by JLCPCB (and probably others, but they are who I’m familiar with) for around $5 at qty 100 and not have to spend your labour doing it manually.

I threw together a Gameboy cartridge-shaped PCB and set up the correct ENIG finish with gold fingers, qty 100 with assembly of 1 component (really you should at least have a bypass capacitor as well, but this would cost basically nothing). It comes to ~$150 for 100 boards with assembly. You will need to order the NOR flash via their parts sourcing department; these will cost you $228 at qty 100 if you get the TSOP-32 variant (not sure JLCPCB assembly service supports PLCC). Shipping and tax (DDP) would be about another $100. All in that’s $480.

Understandable if that’s a lot to bite off on your first go, though.

3 Likes

I think more than just the cost, I want to make these by hand! :smiley: hand-assembled in Vancouver, BC

but I feel like I will prefer the stencil approach. I’m going to go ahead and plan to order stencil, some PCBs and parts.

5 Likes

Welcome to vhs. DIY in the face of all other sensible options is a vhs tradition!

I have some 010 flash and eprom parts you can have.

That pcb will be easy to copy, especially if you have one to measure.

5 Likes