As you know, I’m the dad who can’t keep things simple for Crazy Hair Day at my kids’ school. While my daughter is going to wear a Lighthouse, my son wanted something that moves this year.
His first idea was to make a rocket that takes off, flies around his head and lands again, SpaceX style. While that would have been awesome, I decided there are probably too many safety concerns with bringing something like that into a crowded school. Instead, we ended up settling for making a fountain.
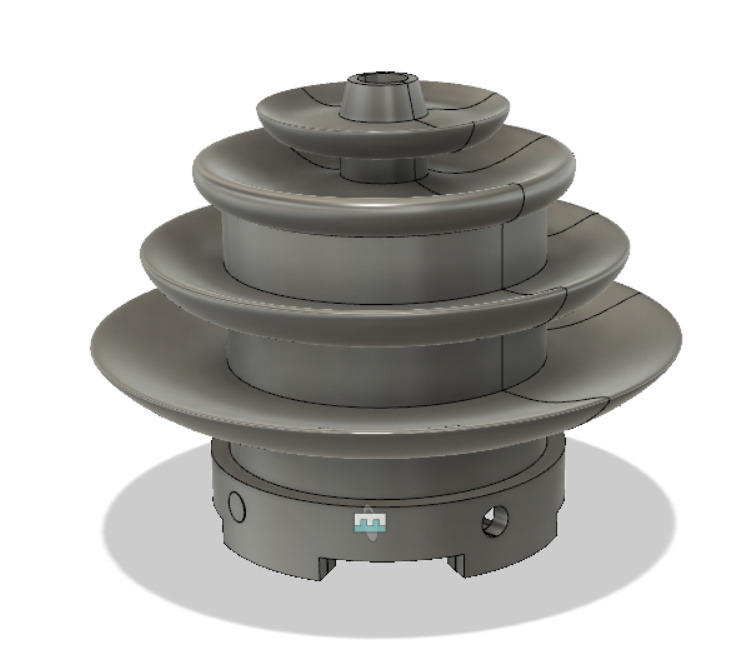
I started by buying a small water pump from AliExpress. We spent a day drawing the thing in Fusion 360:
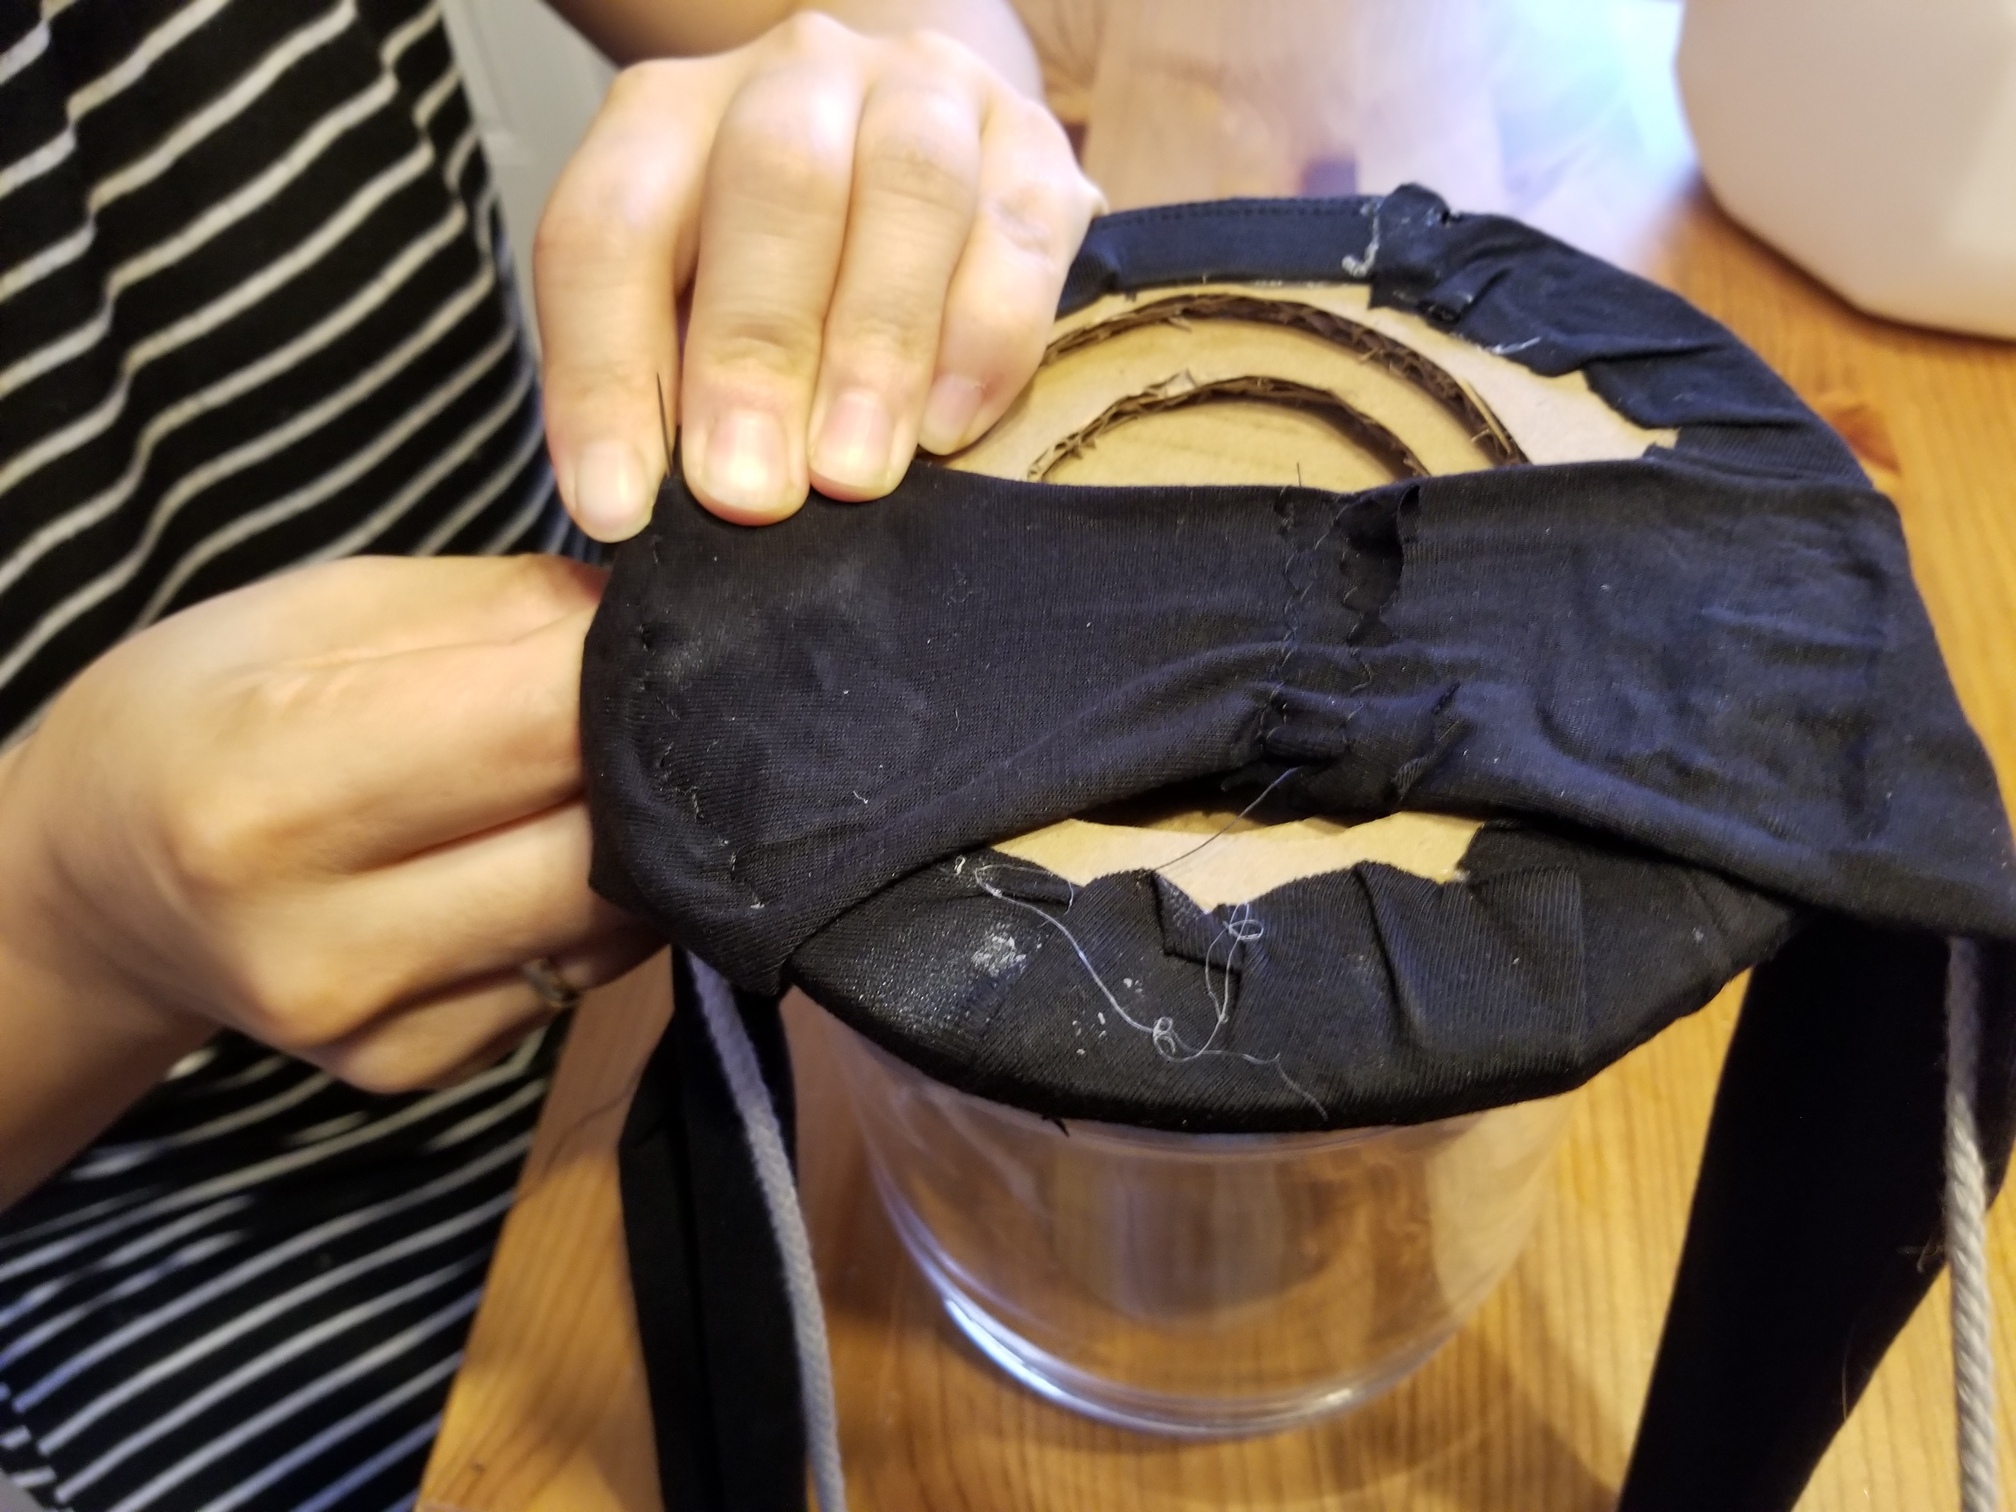
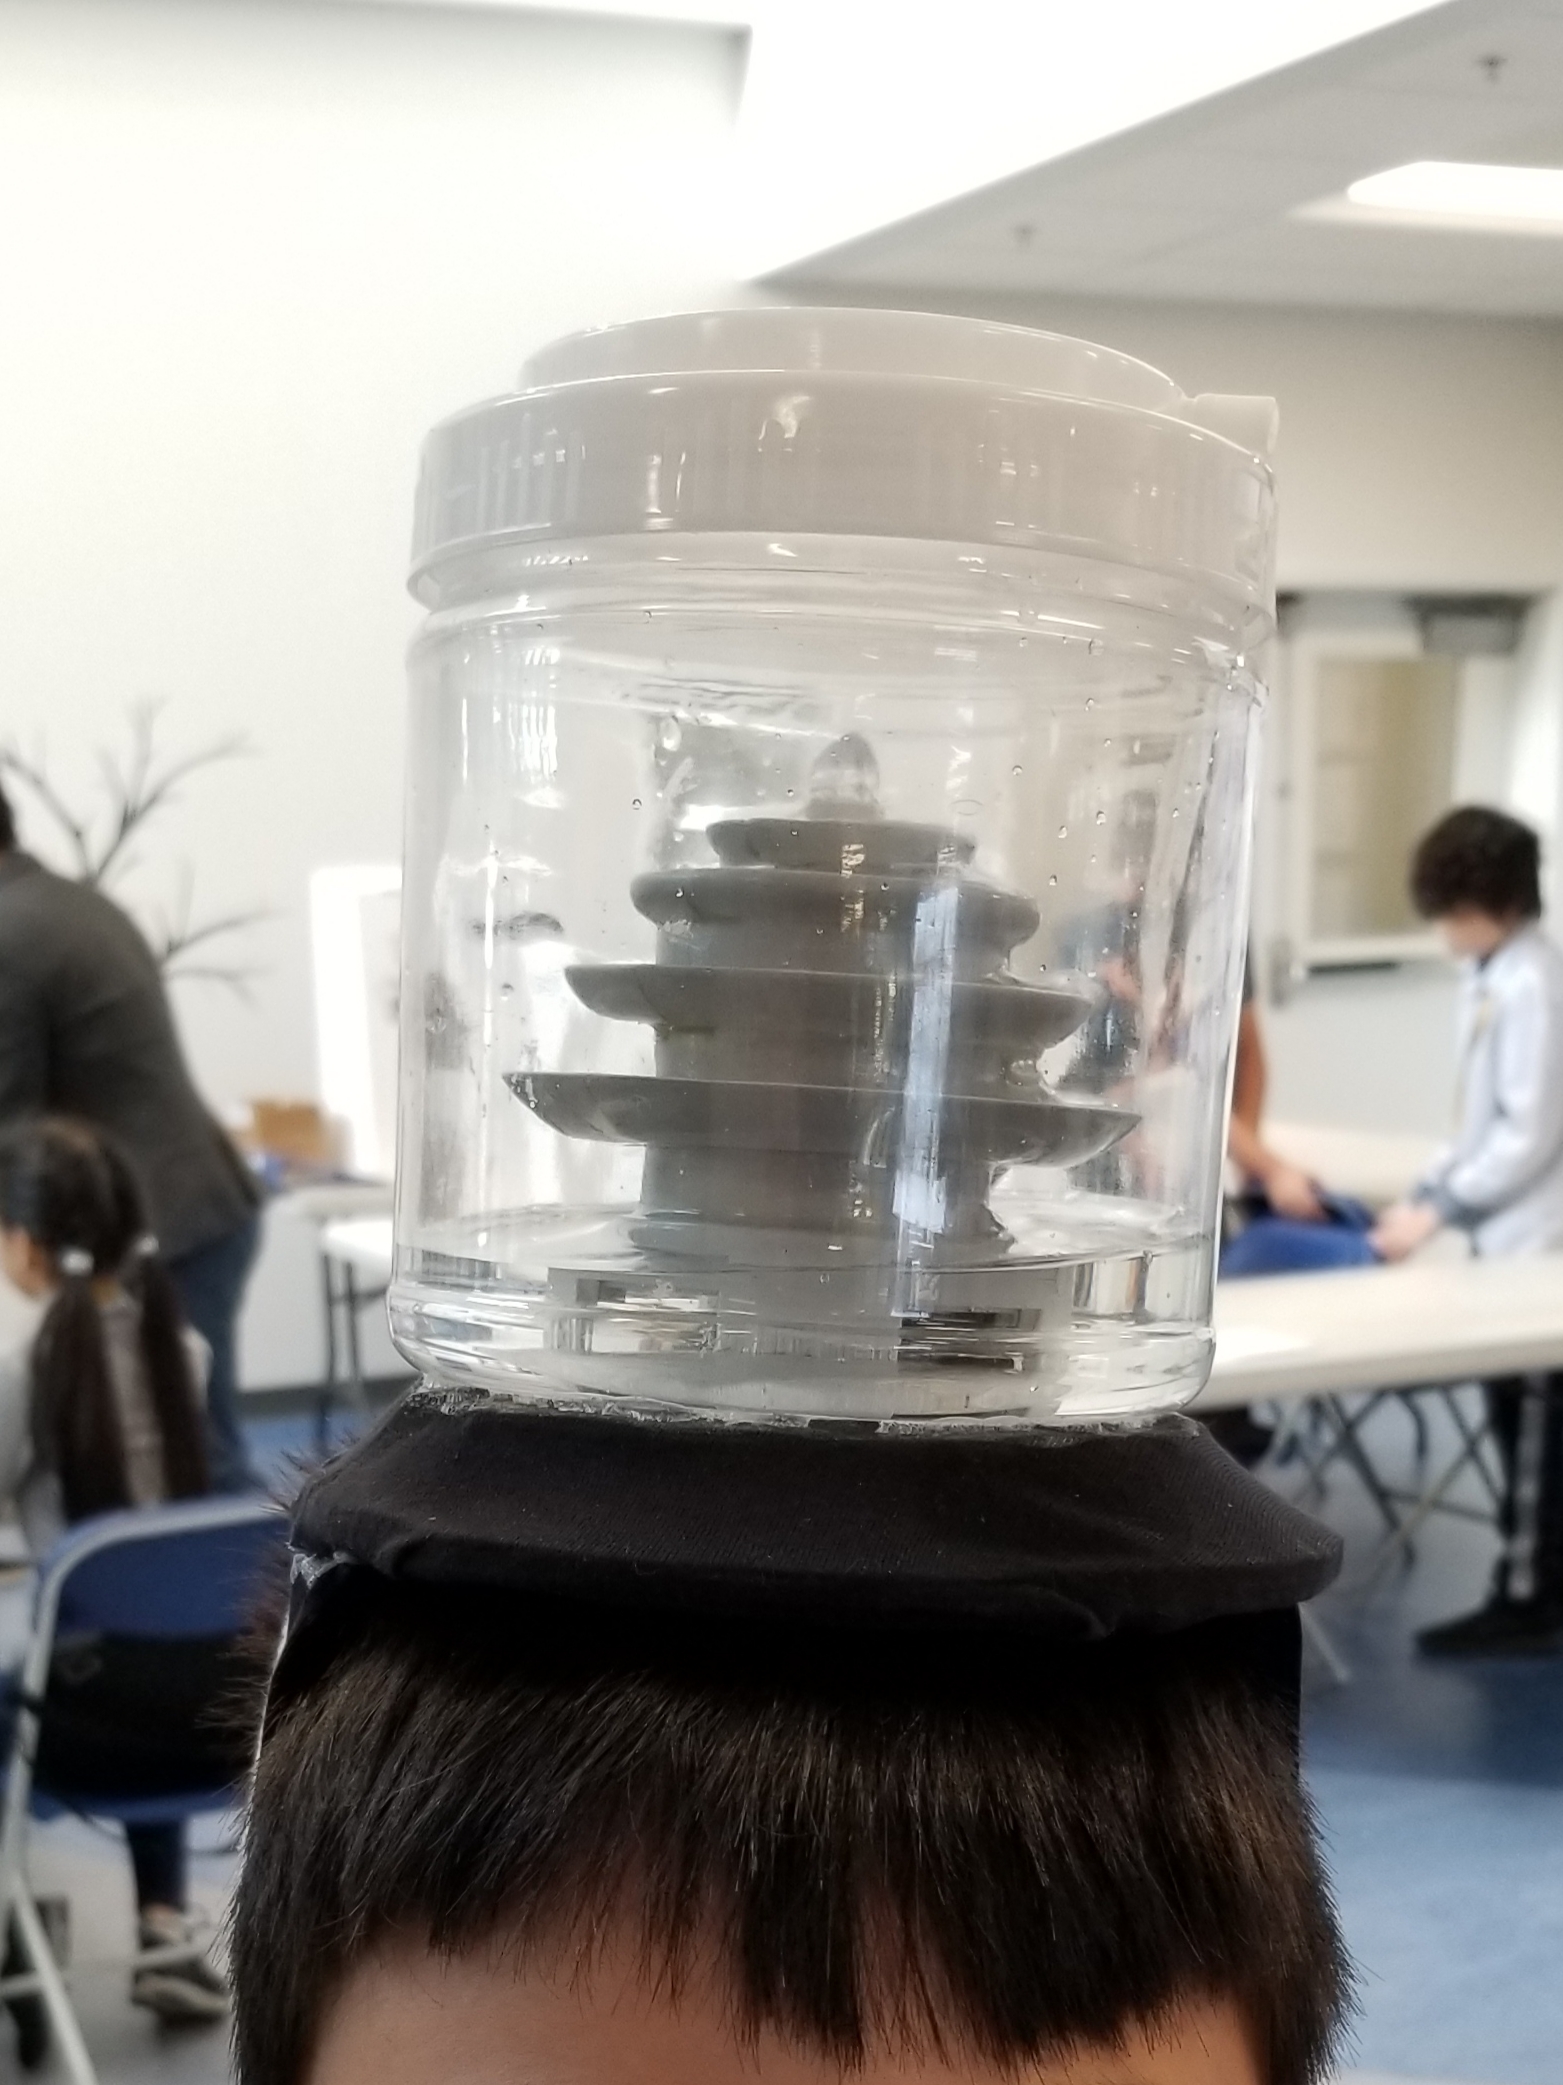
The fountain will sit inside a closed plastic container that we will somehow strap to his head. Inside the fountain, we’ll have the pump. Next to it are the two AAA batteries in a battery holder and a switch, protected from the water by a ZIP lock bag.

The outer ring at the bottom will be hot glued to the bottom of the container. To turn the pump on and off, he’ll take the lid off the container, reach down and turn the fountain counter-clockwise which releases it from the outer ring. he can then flip the switch through the ZIP lock bag.
I 3D-printed the top of the fountain in two halves, then glued them together
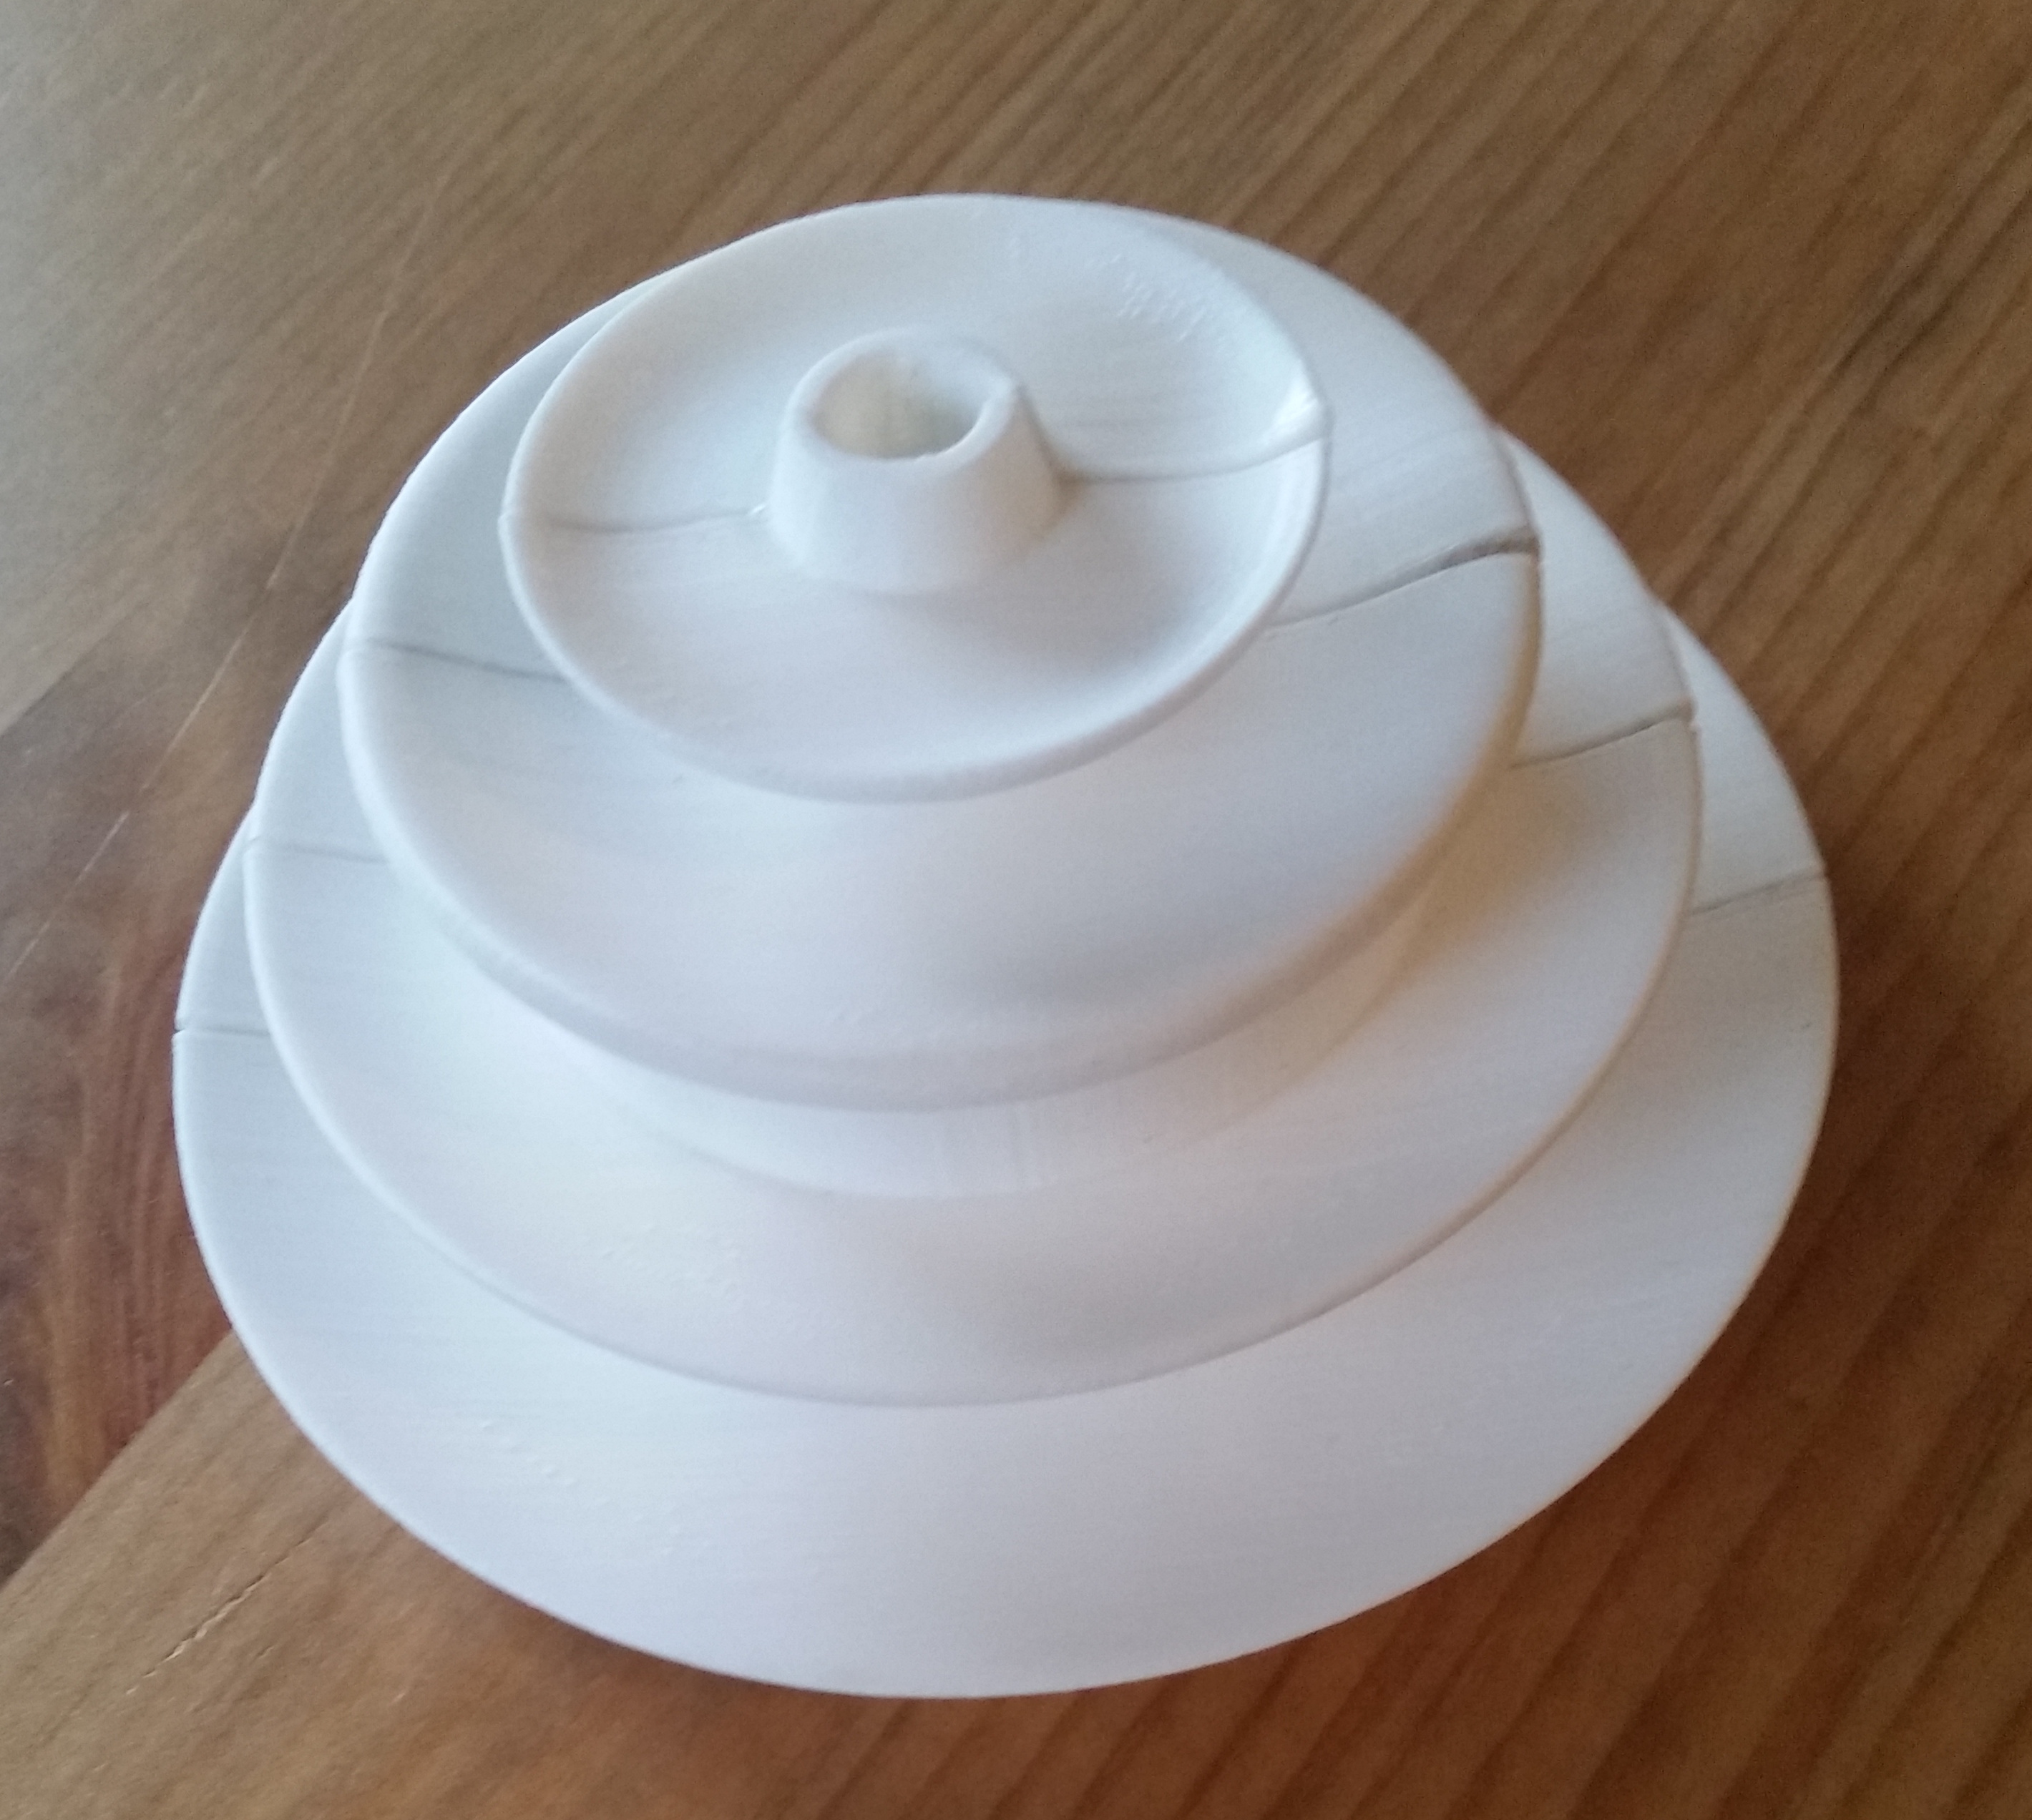
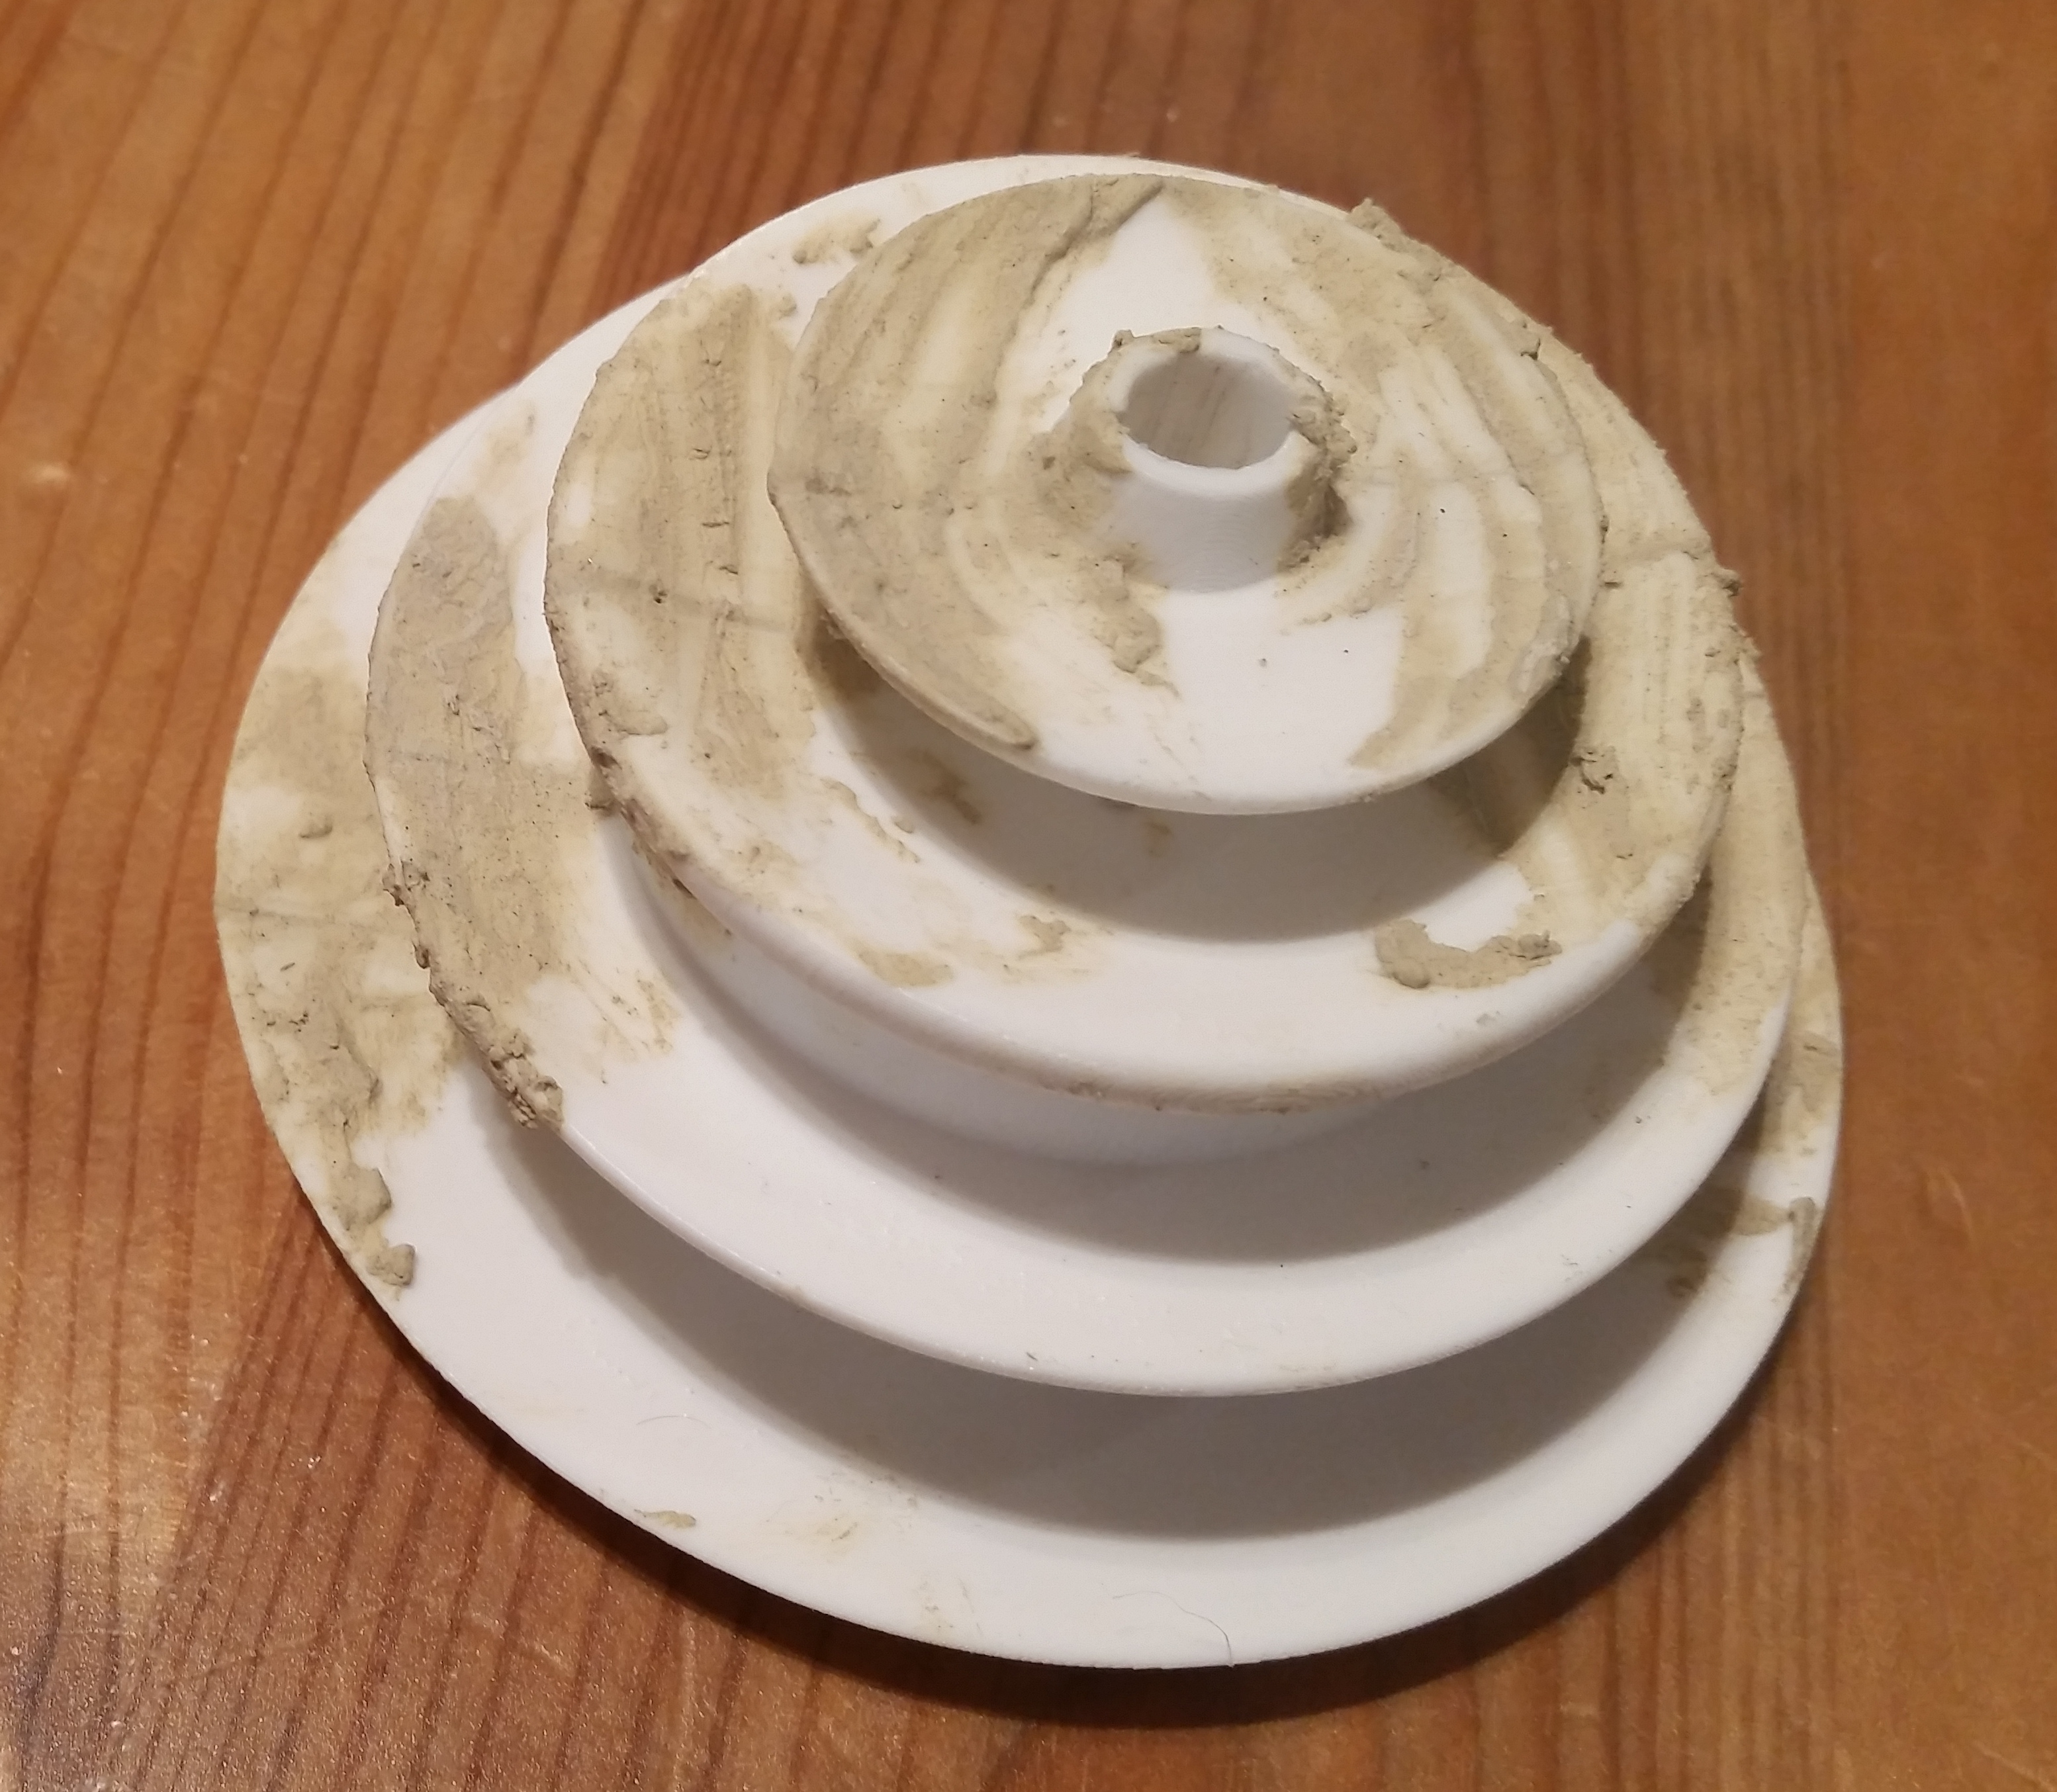
Unfortunately, the hole at the top where the water is supposed to come out did not end up very round and the flexible hose I have does not currently fit. The gaps between the two halves are a bit too obvious, so my son applied some wood filler that we’ll sand off.
The plan is to paint it to make it look like stone. I usually use acrylic paint with my 3D prints, but wasn’t sure how well that withstands being submerged in water, so I did a test with a failed print.
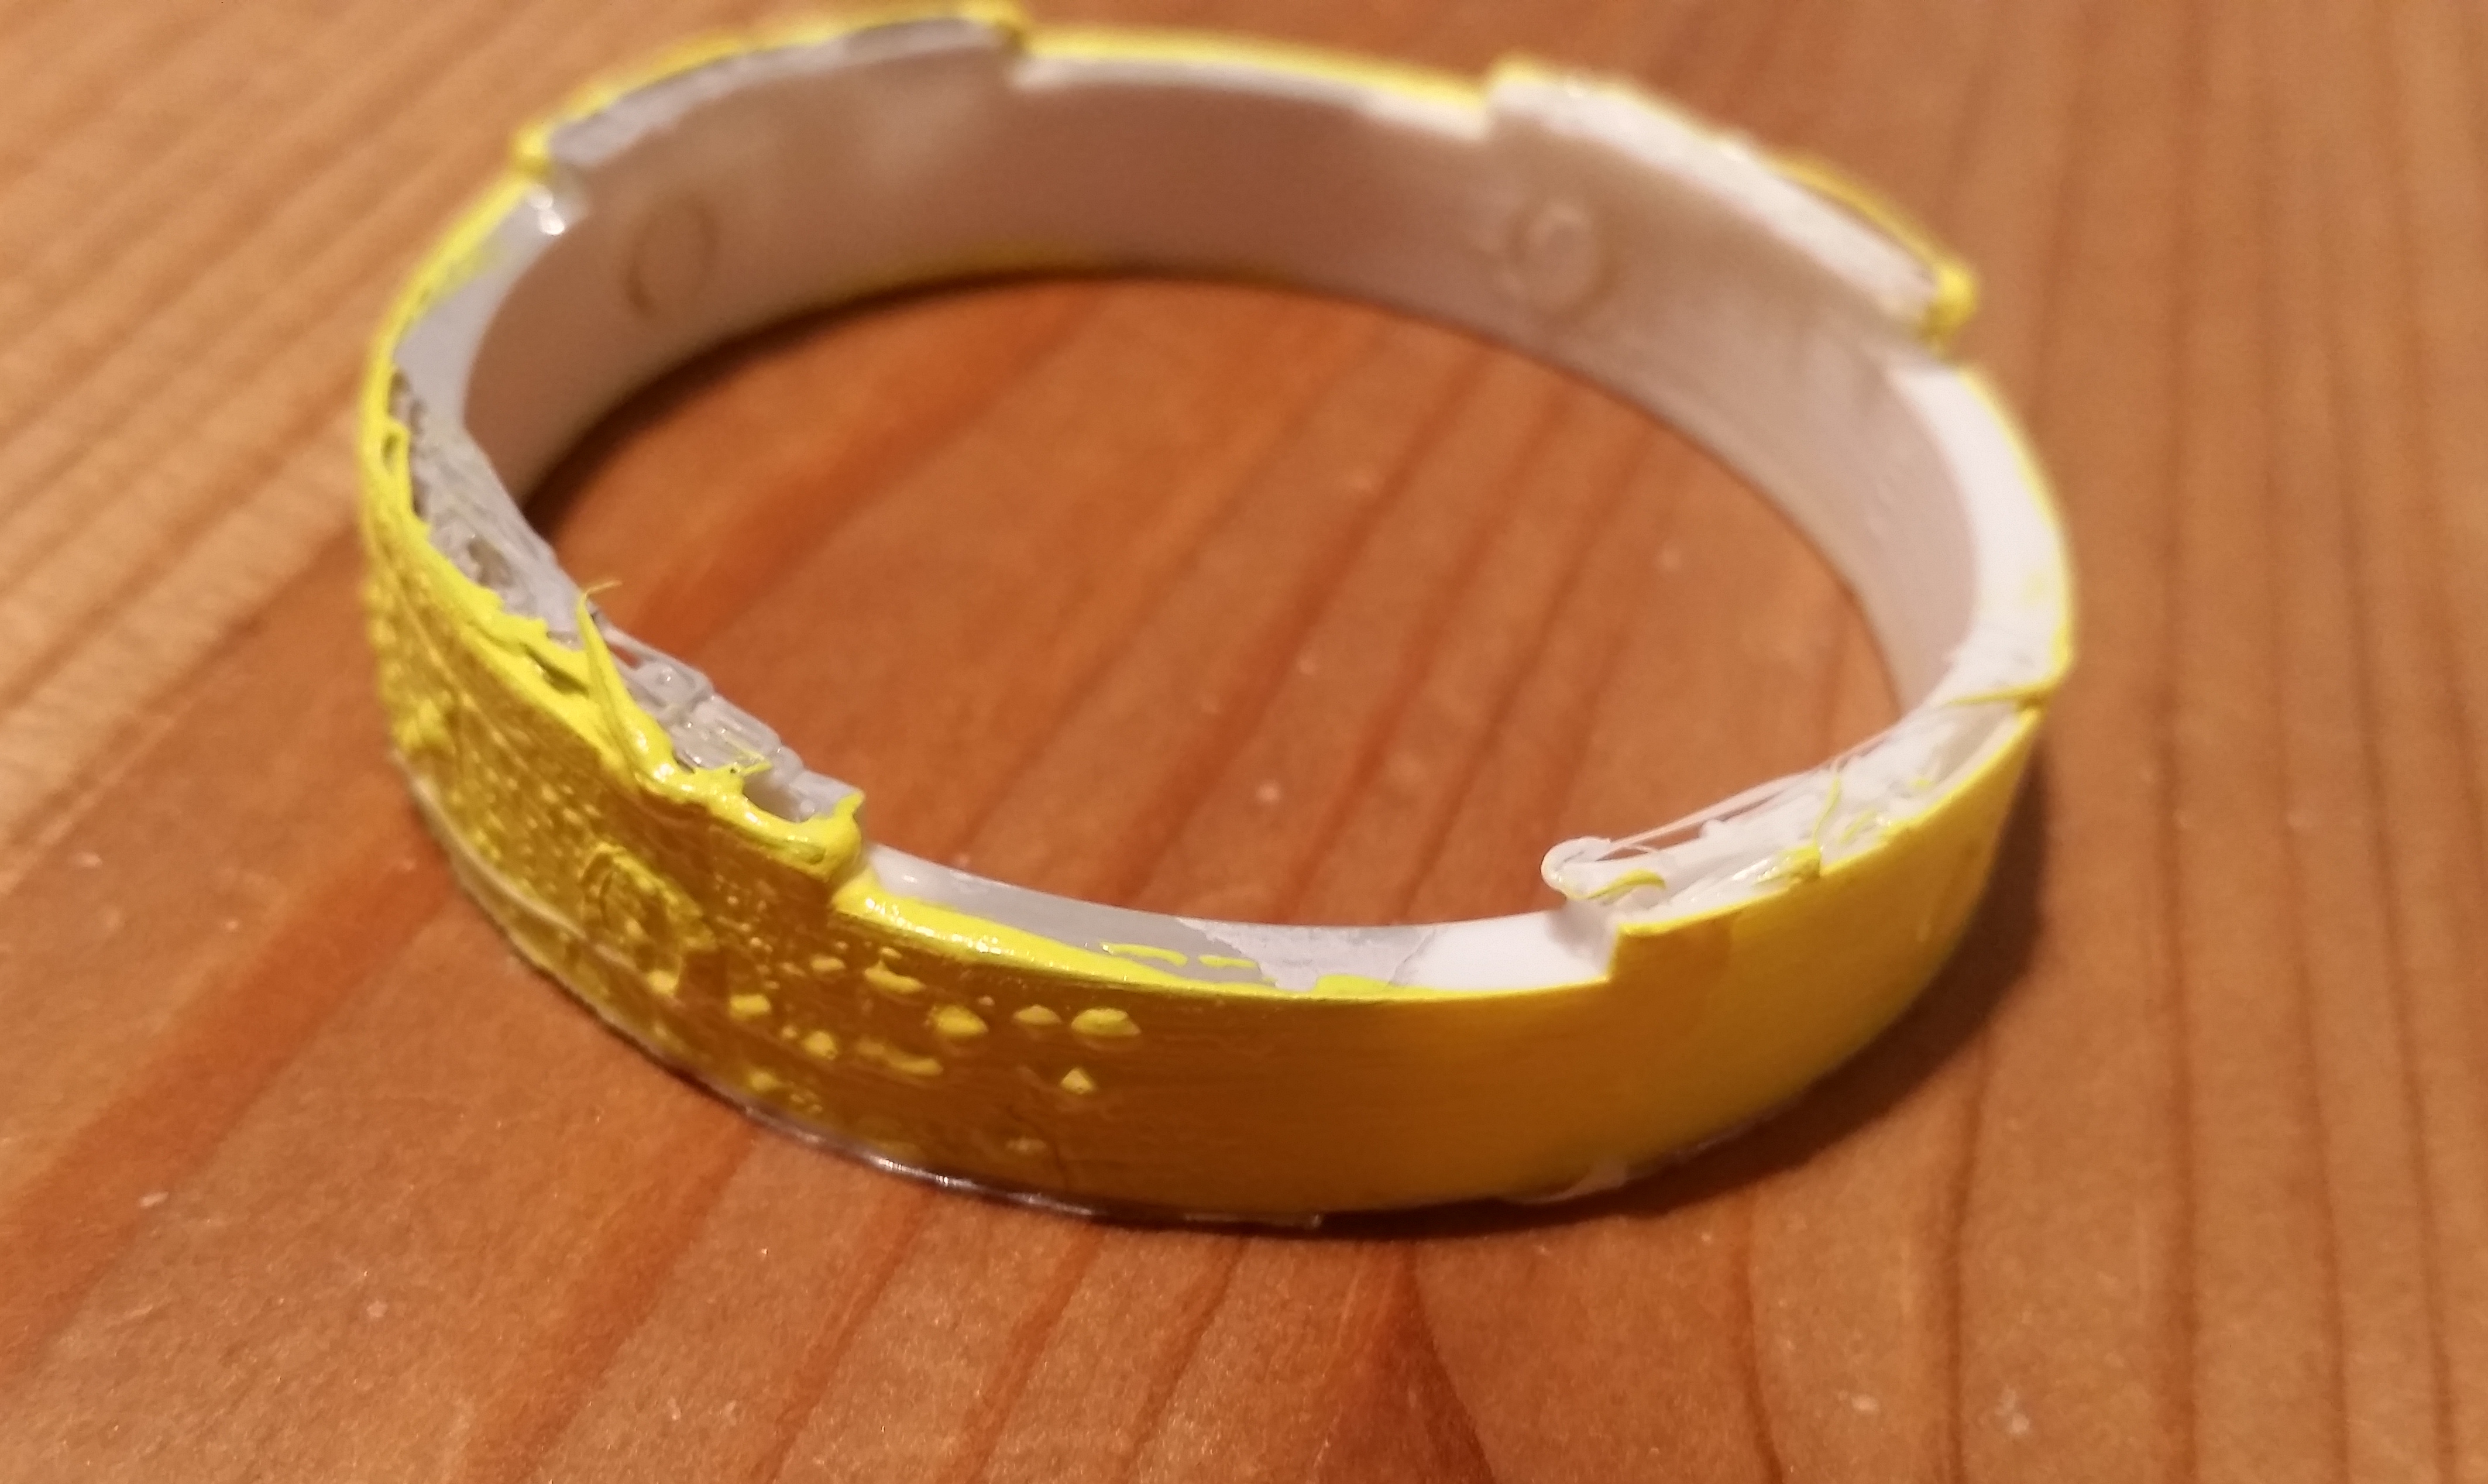
This photo shows what it looks like after 36 hours in water. The left side is naked acrylic paint, the right side was coated with one layer of Polyurethane.
Next up is sanding, painting and finding a way to get the hose attached.