I think that would be @lukecyca ?
1 Like
Updated; sorry; autosuggest wasn’t working last night.
1 Like
It has been much too long since I updated this. Between holiday travel and some illness I haven’t been in the space much, but the few times I went I made some progress.
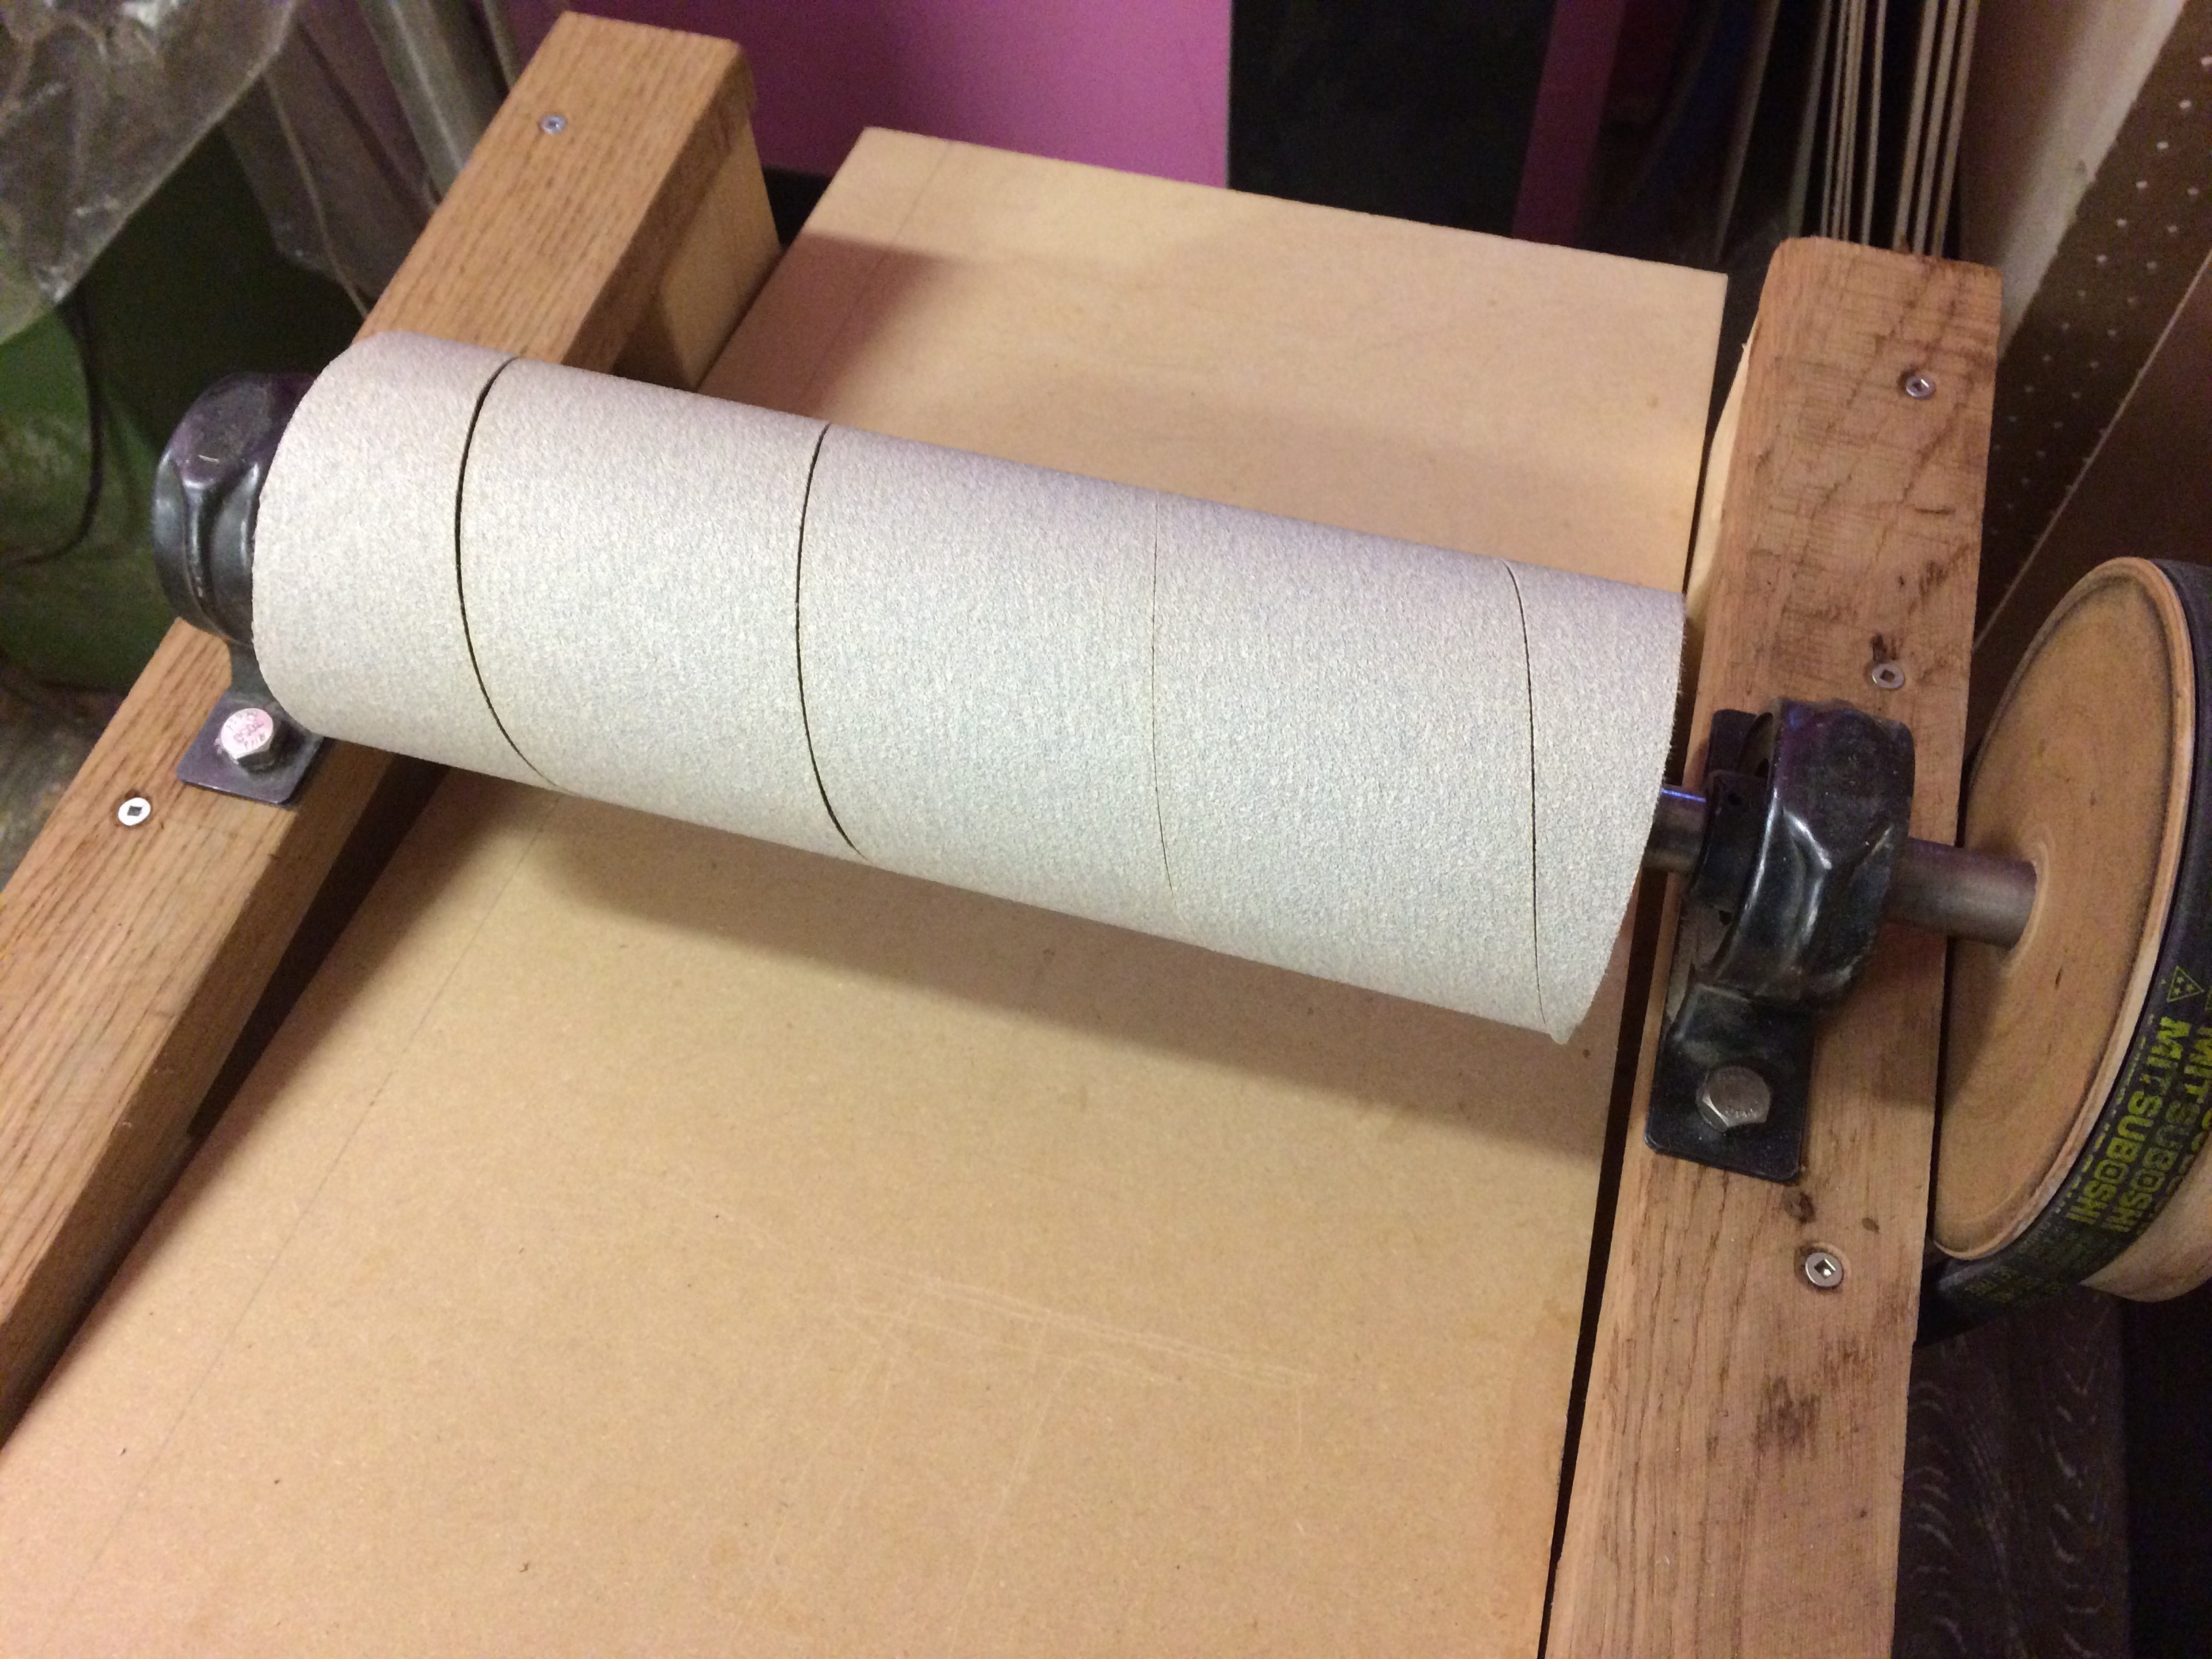
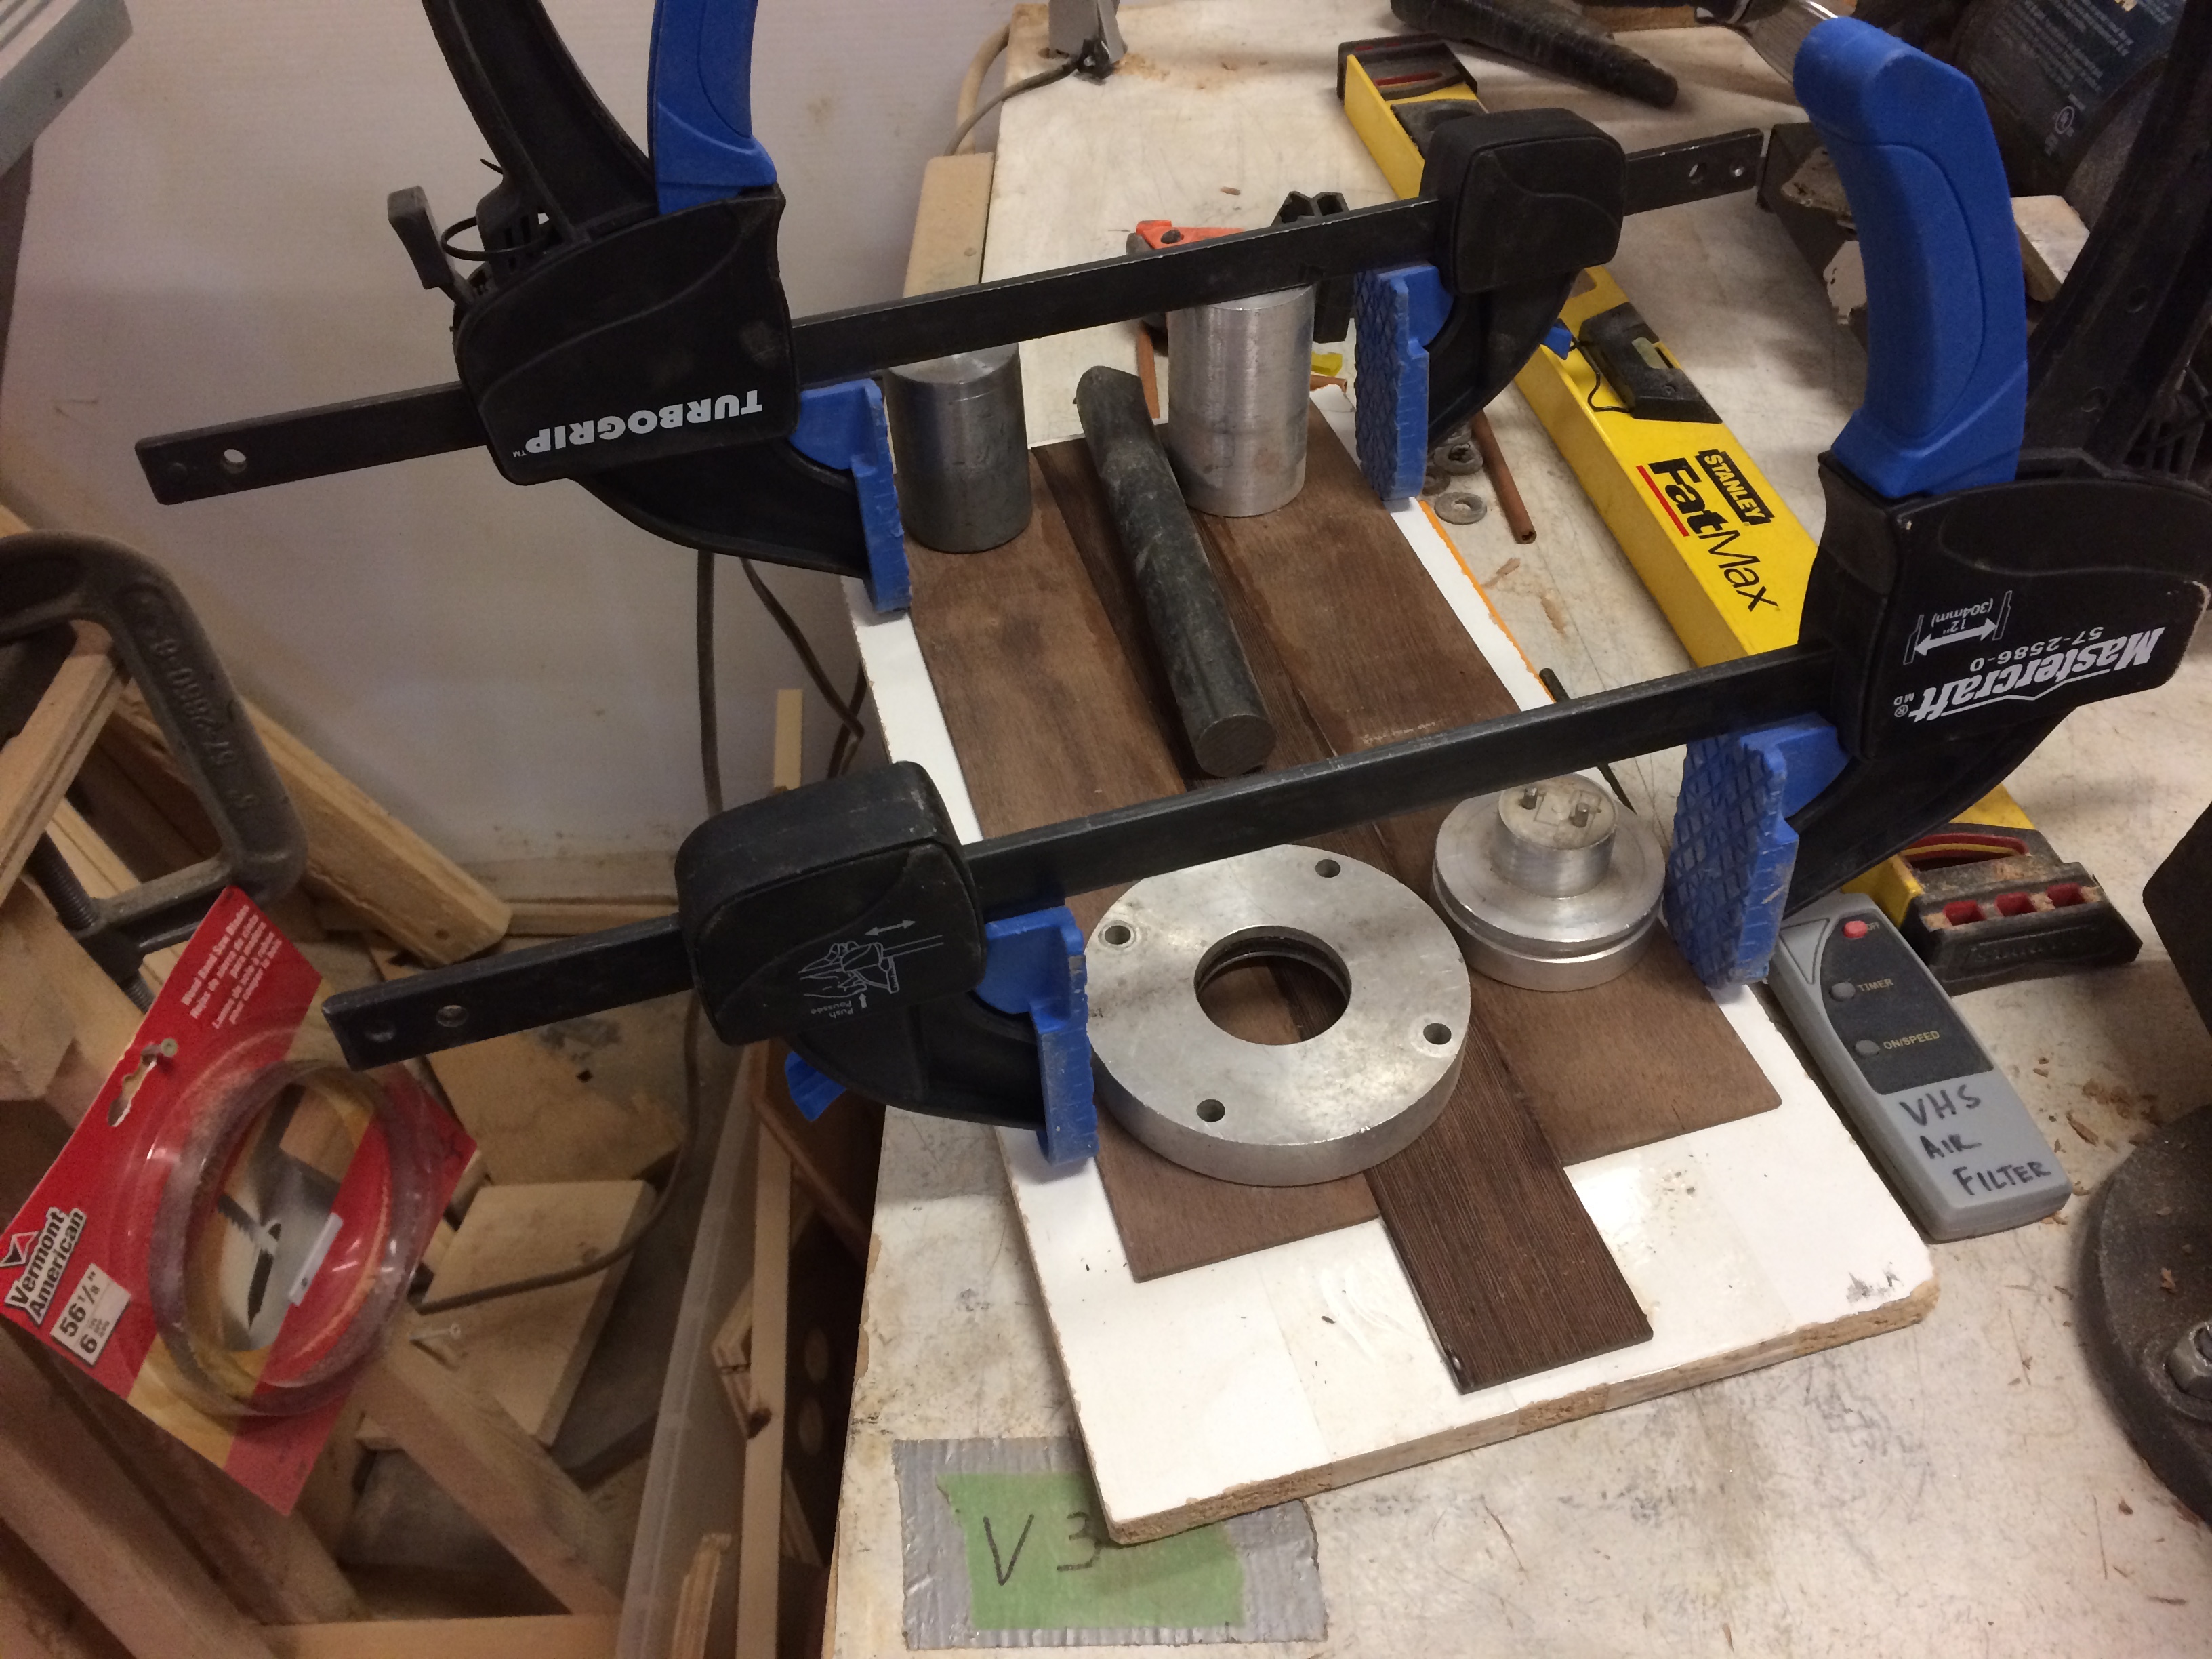
Back in December, I got the sander to the point where I needed to make a belt pulley. I rigged up a temporary lathe by putting the belt over the shaft and using some angled metal clamped down as a tool rest.
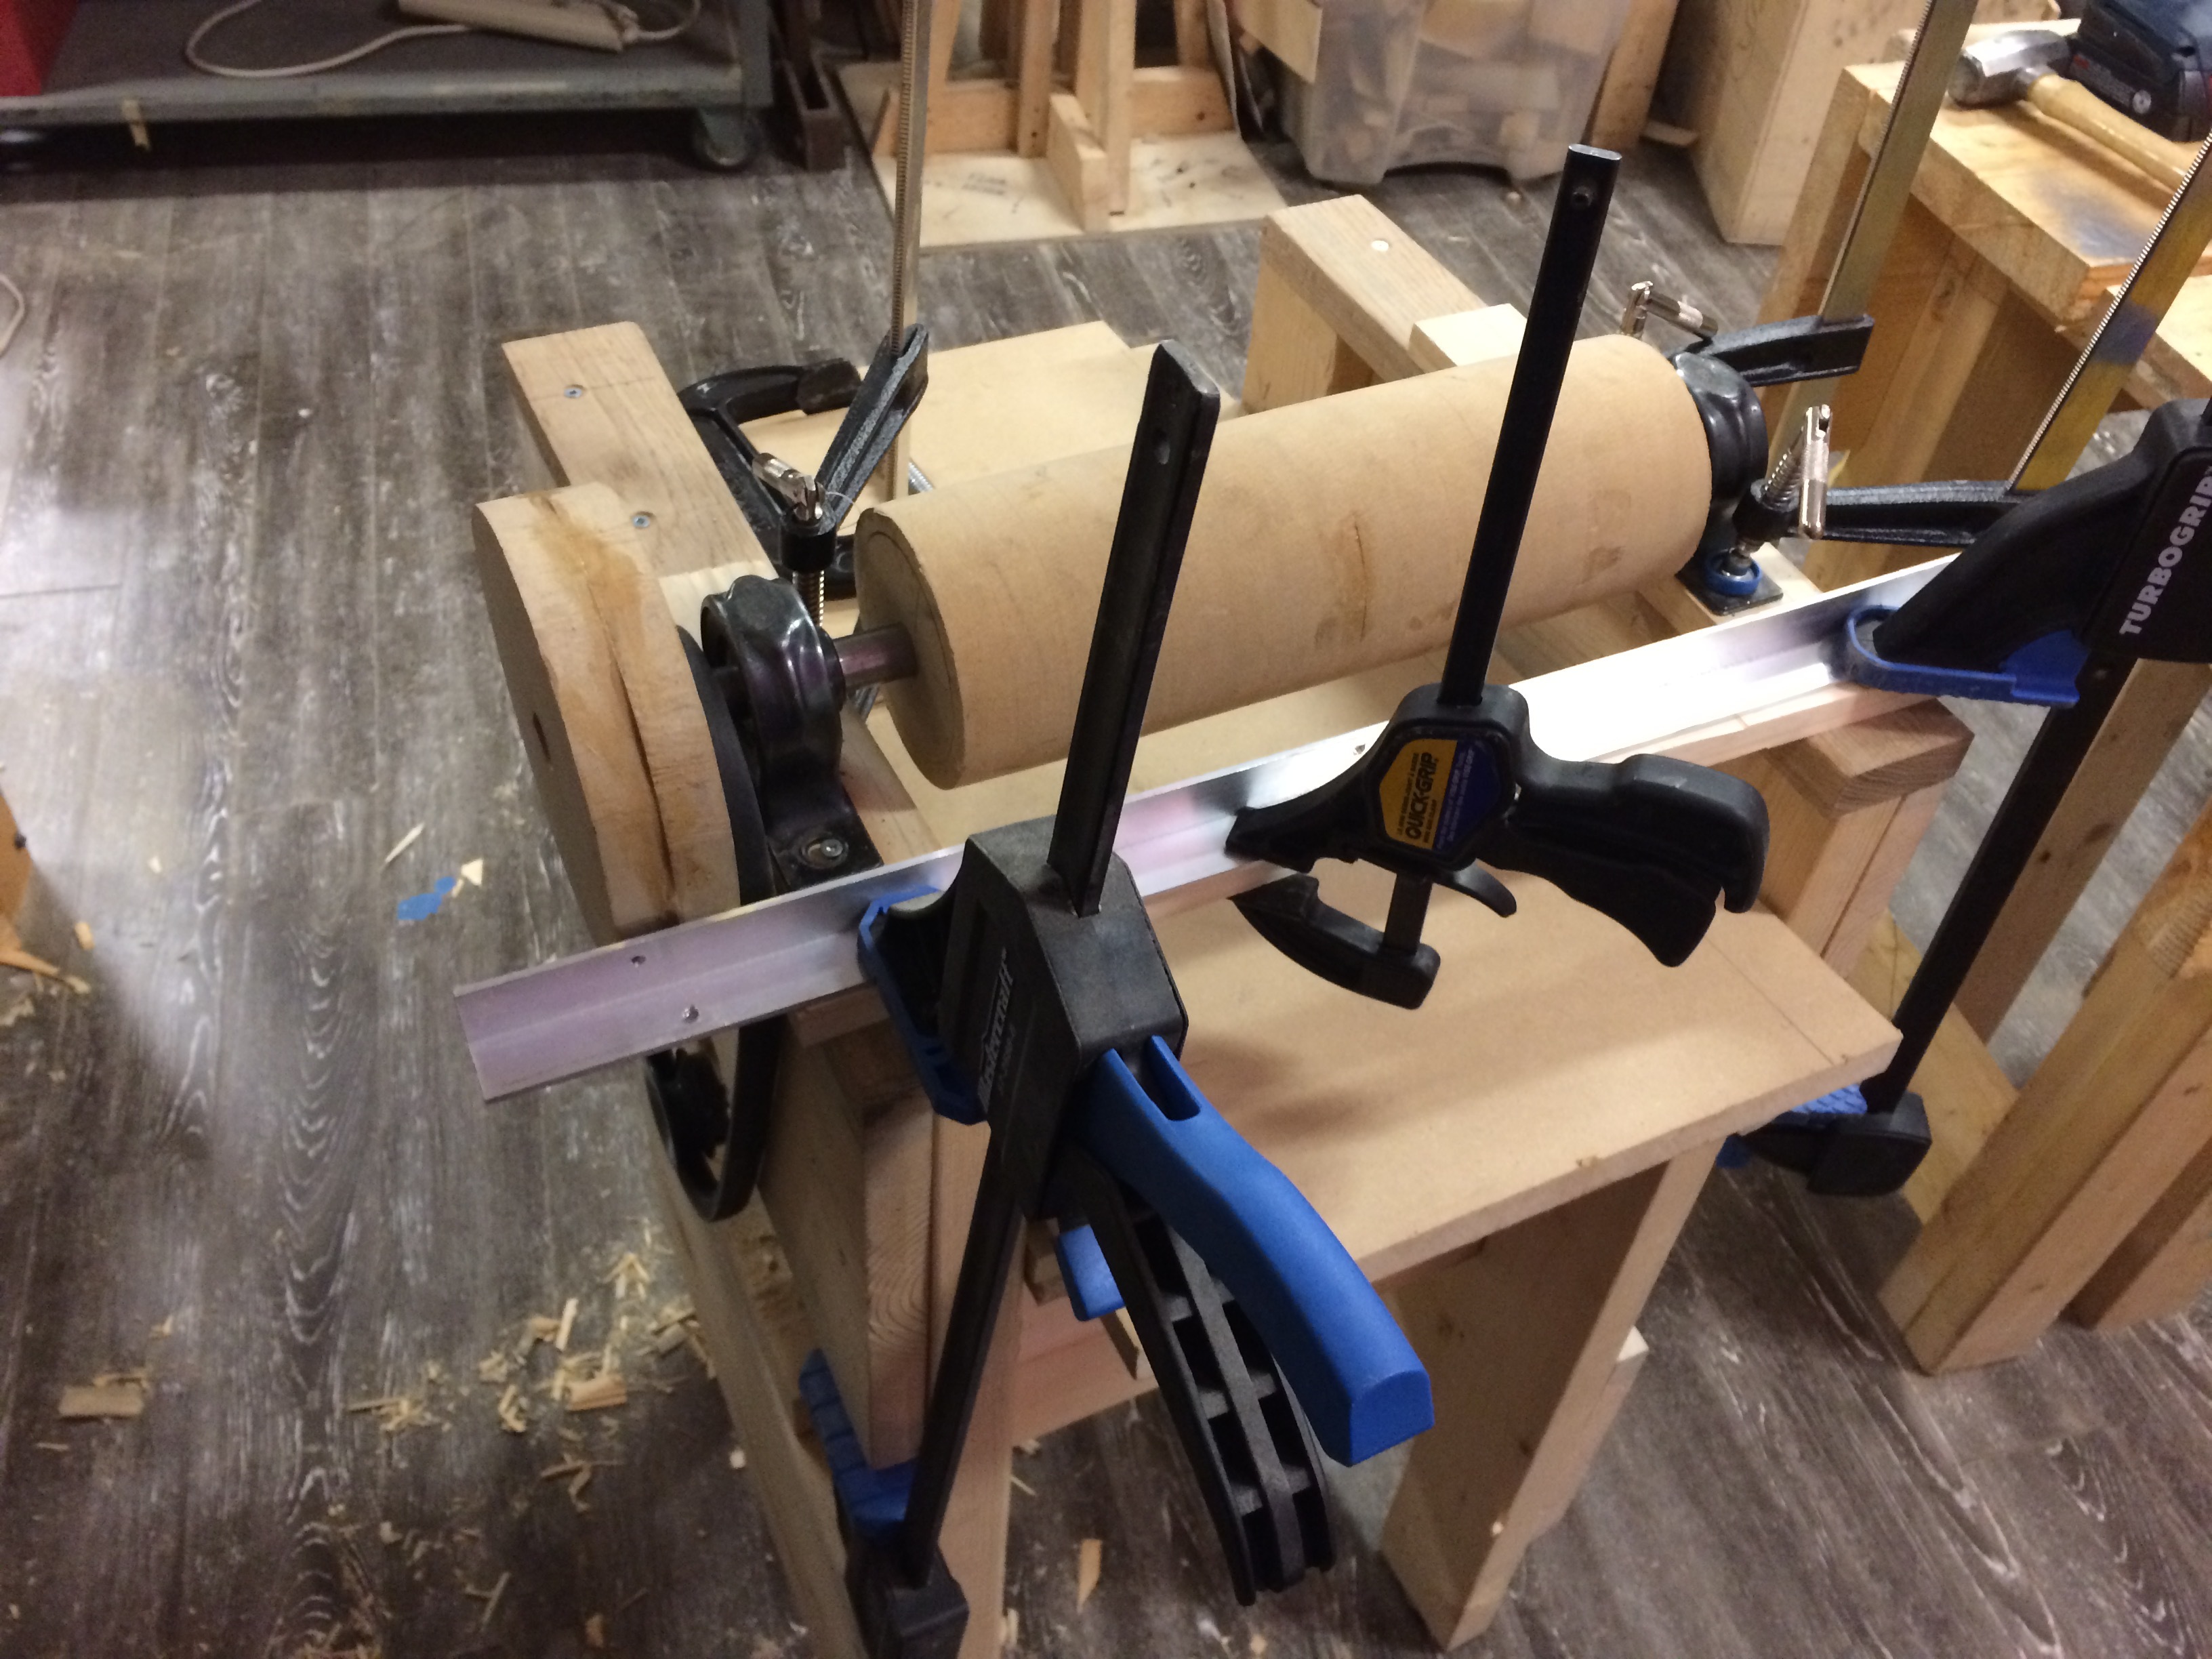
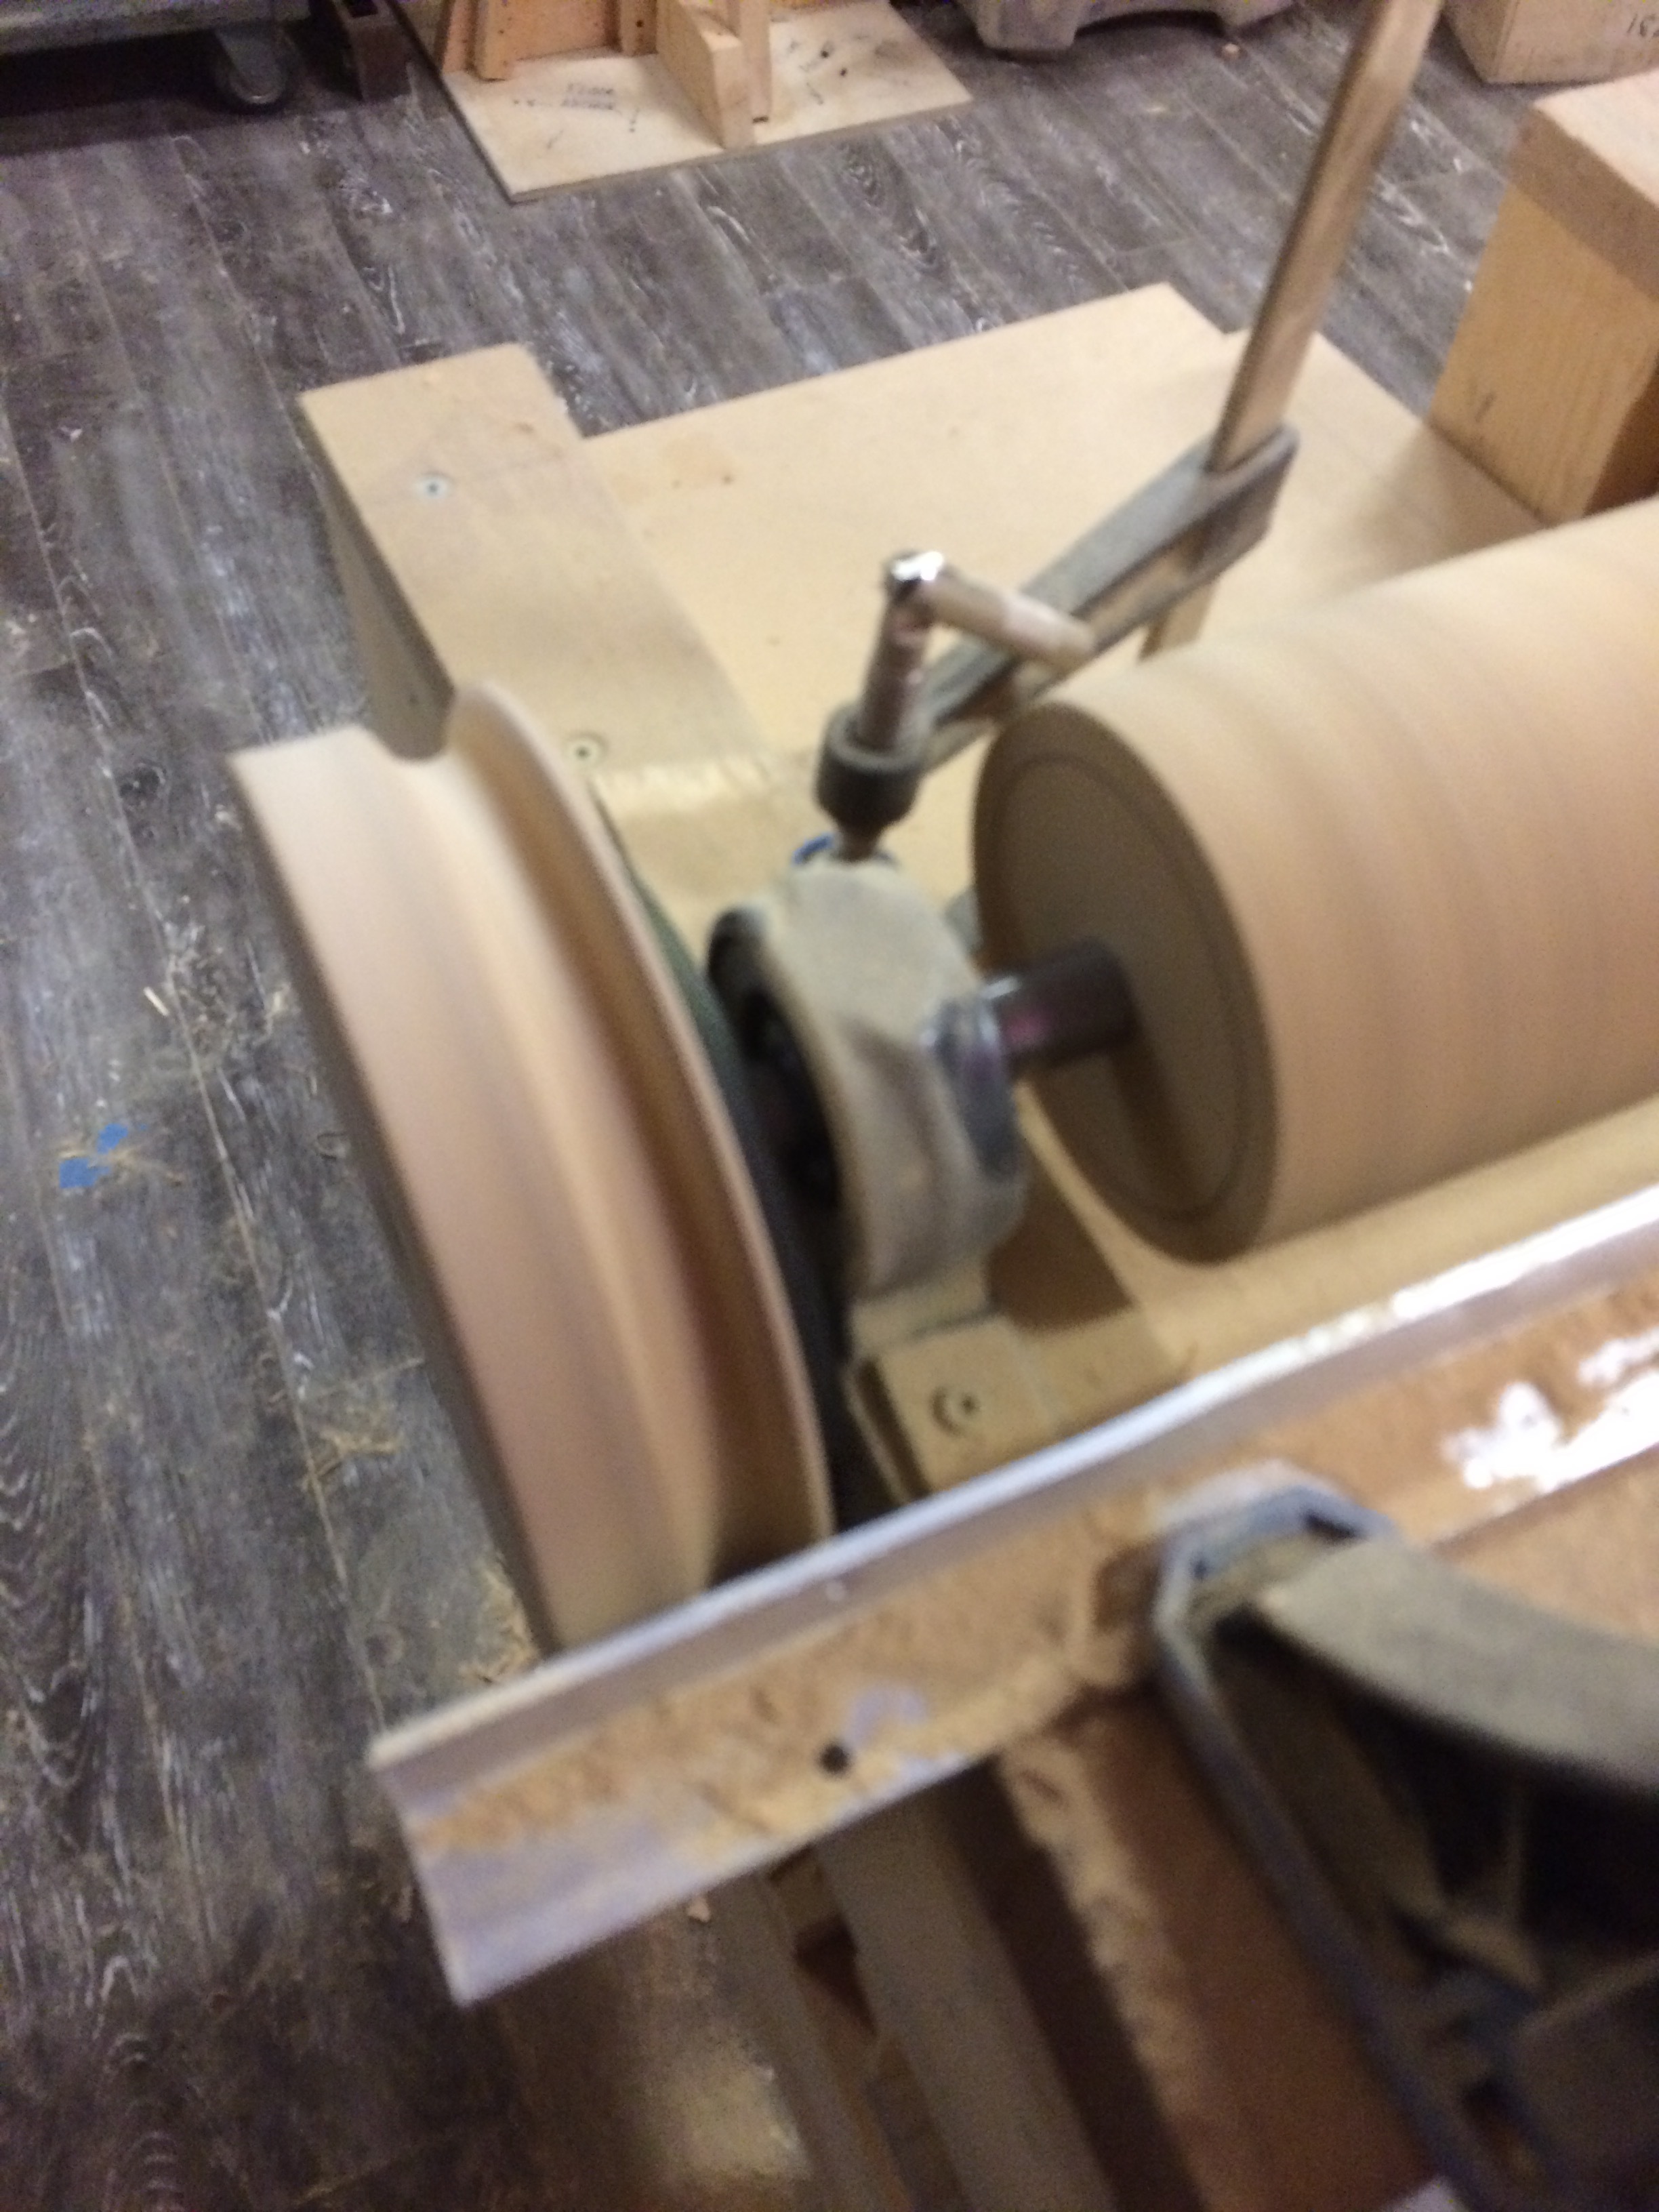
The motor seemed super weak, even for the temp setup I had, turns out it was still set to high voltage. A quick change of a few plugs in the motor, following a guide on the side of the motor and it was fixed. By that point I owned my own lathe tools and finished the pulley in nearly no time.
Today I used sandpaper attached to a board to true the drum.
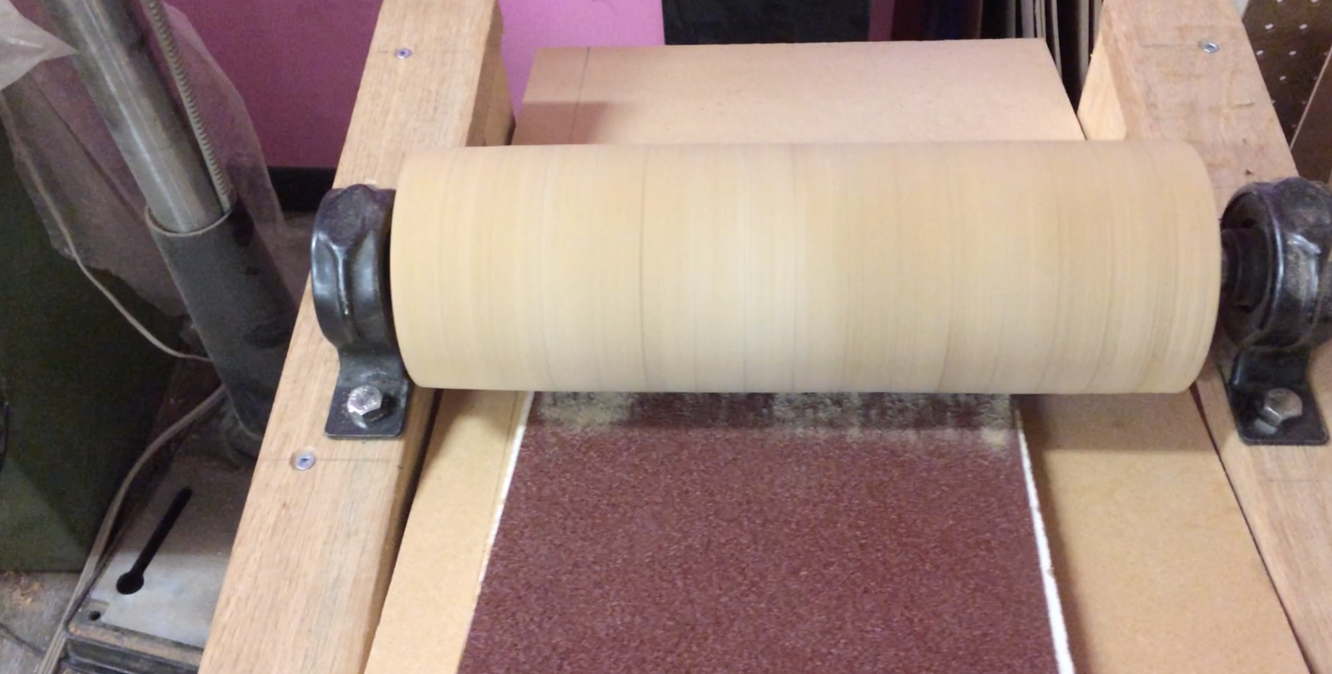
Once it was true and to size, I applied the velcro.
Then I cut the edge taper of the sandpaper and rolled it on (easier said than done)

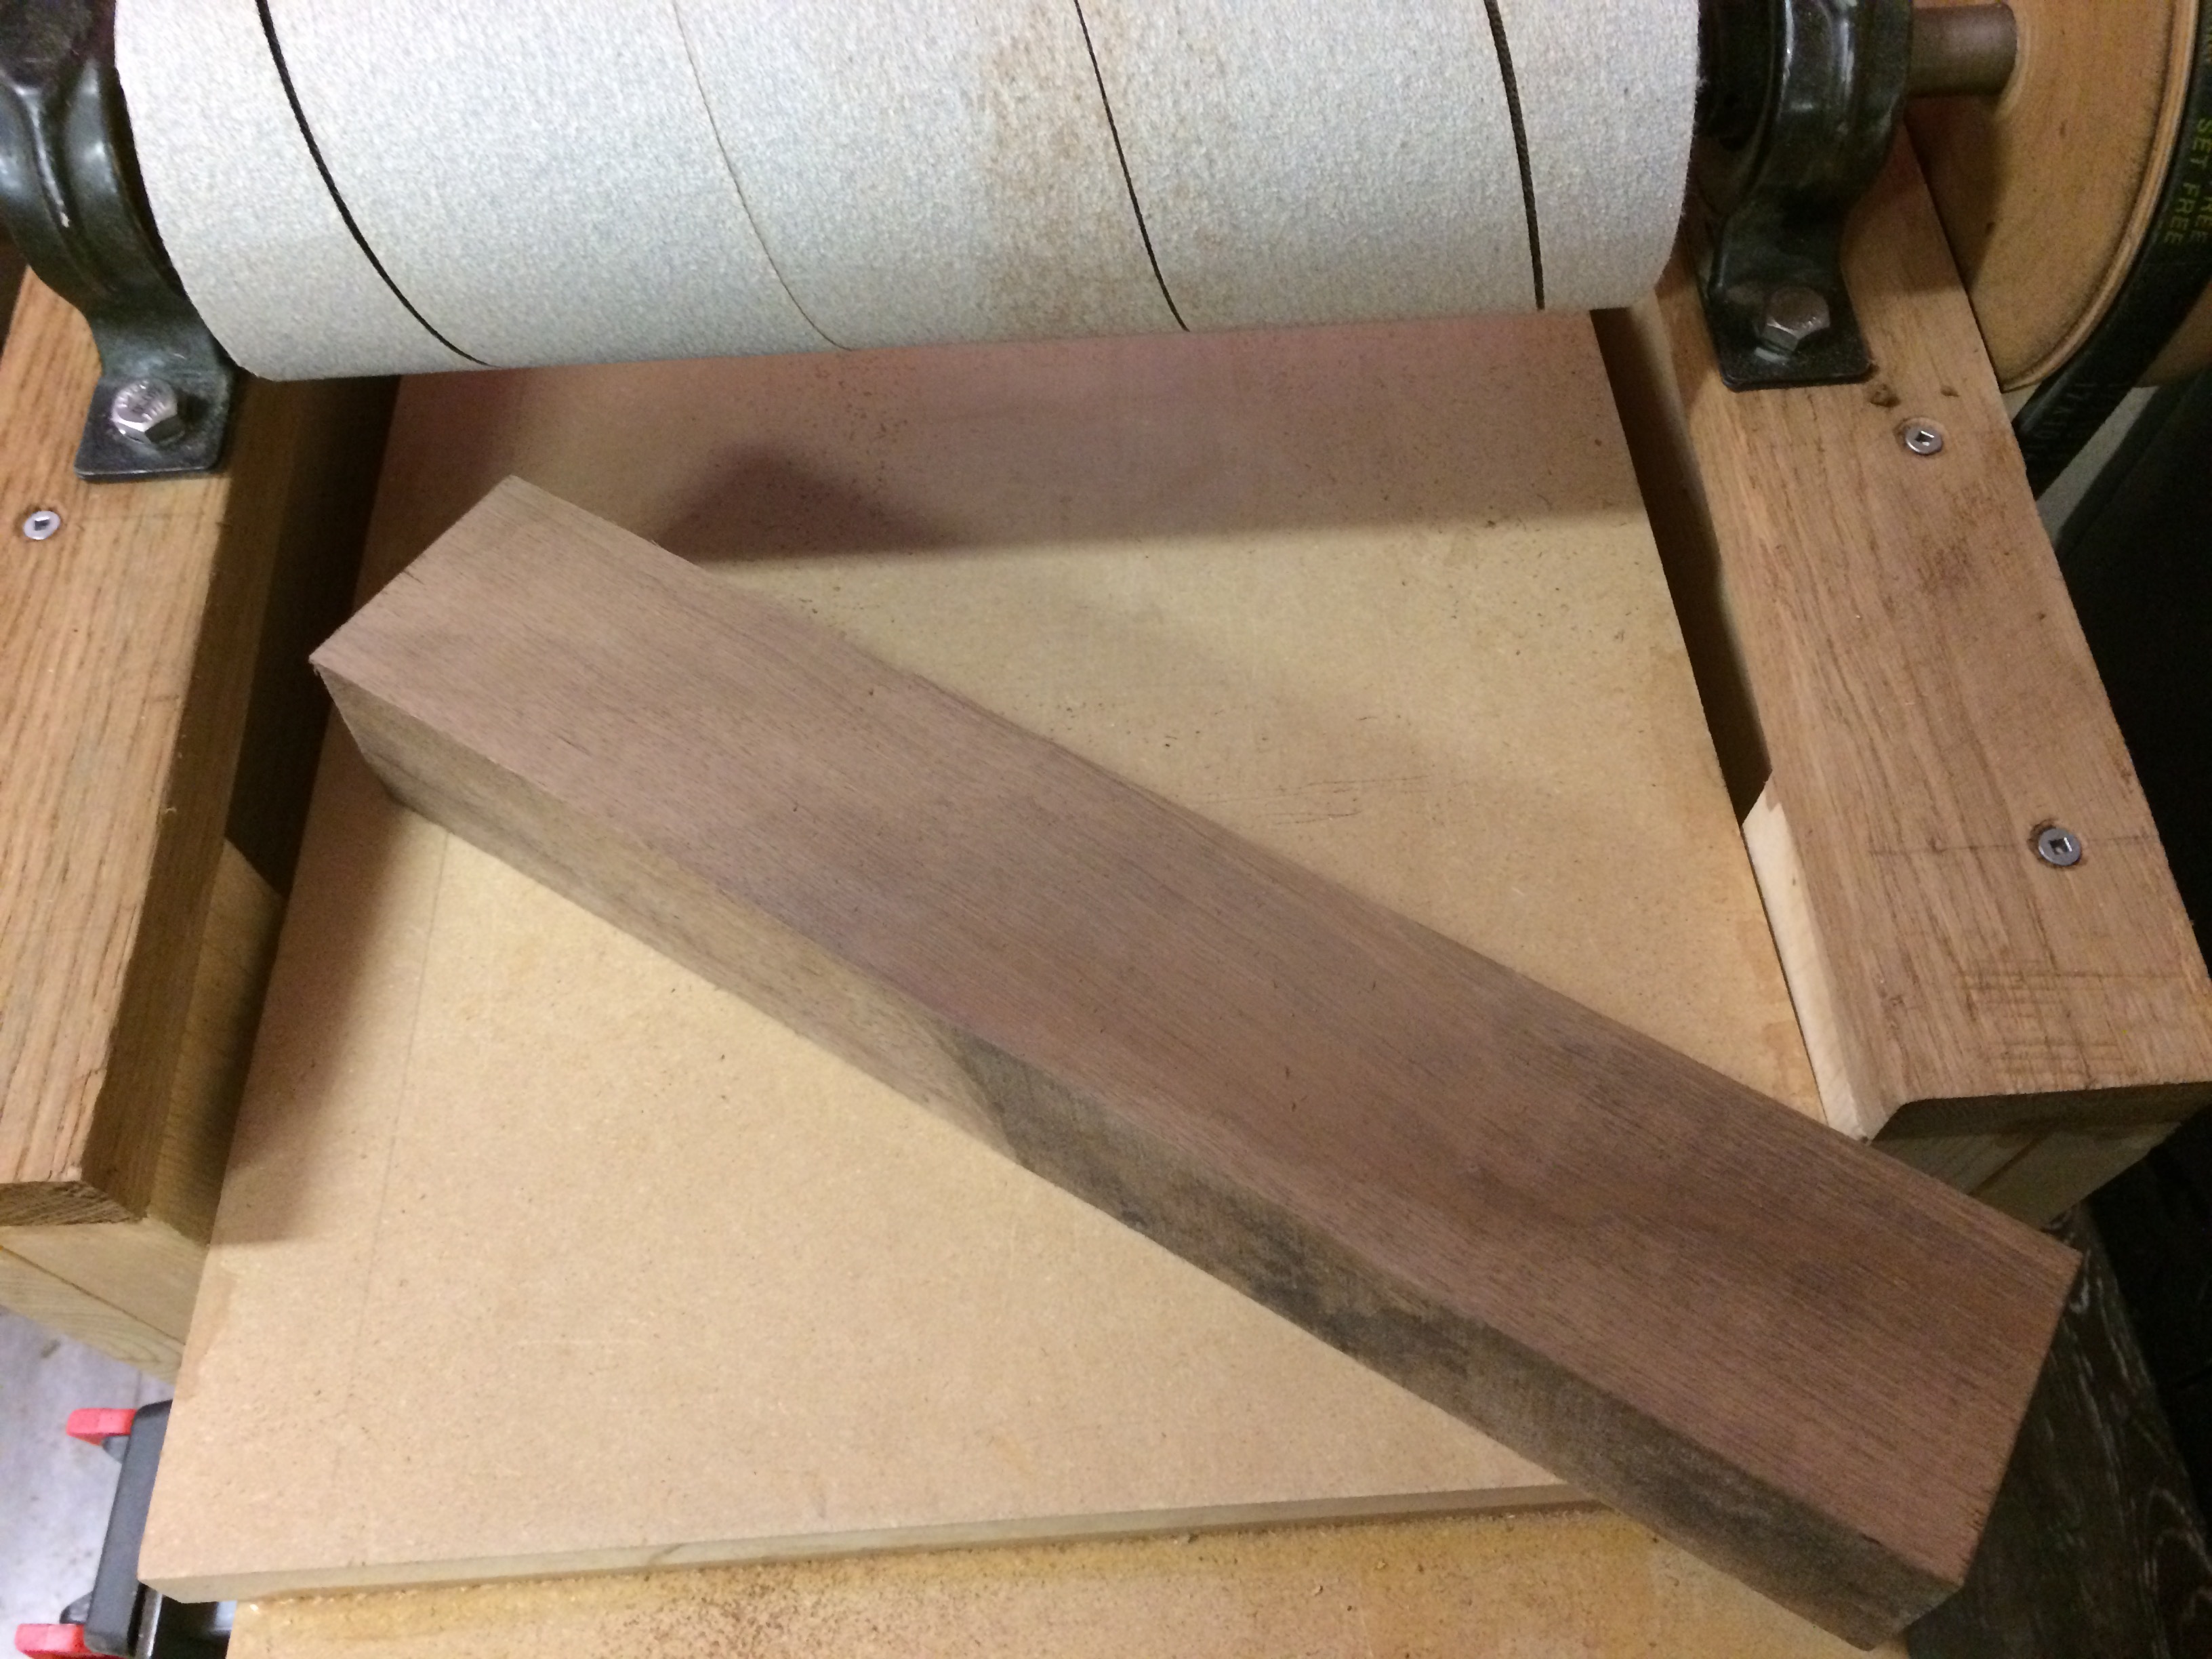
I wanted to cut some thin pieces of my block of walnut for my Ukulele back (yes, this is the Ukulele build log, I do have focus even though the last two months has been about the sander). I planed down the block so I’d have a nice edge to put against the tablesaw fence. This also happened to be the initial test piece of the sander. This block was nice and flat after about 4-5 passes (slightly lowering each time).
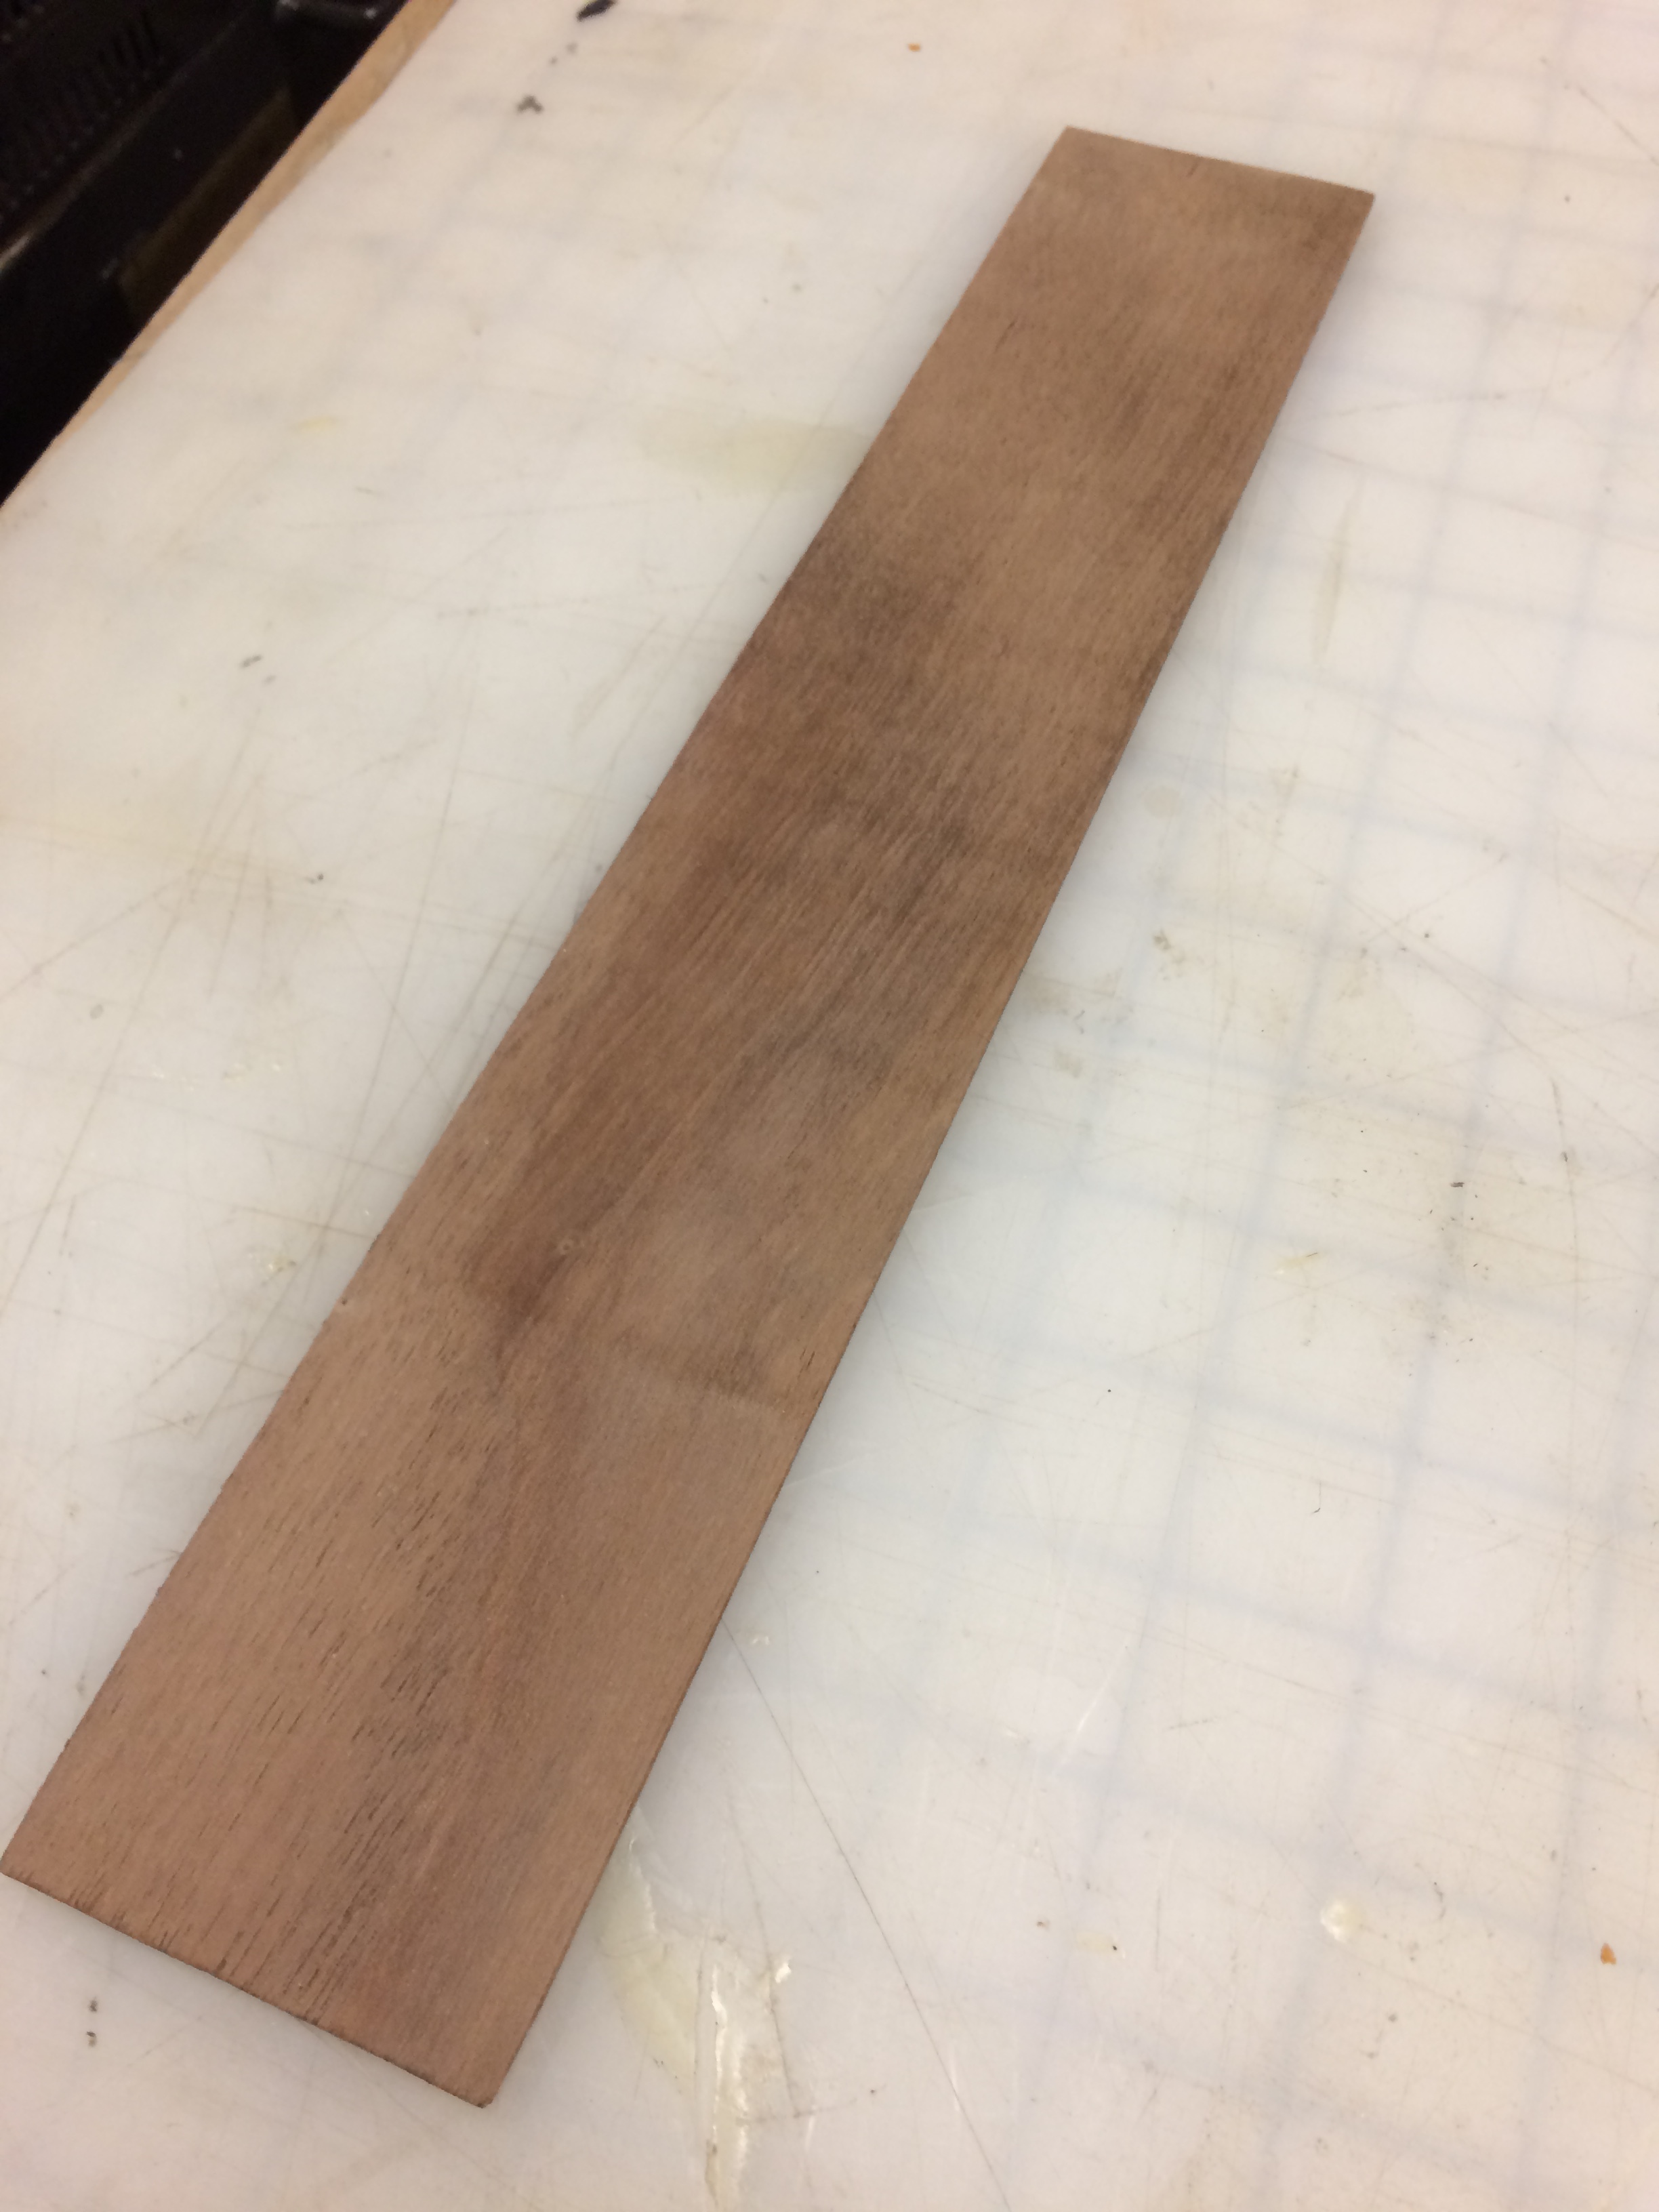
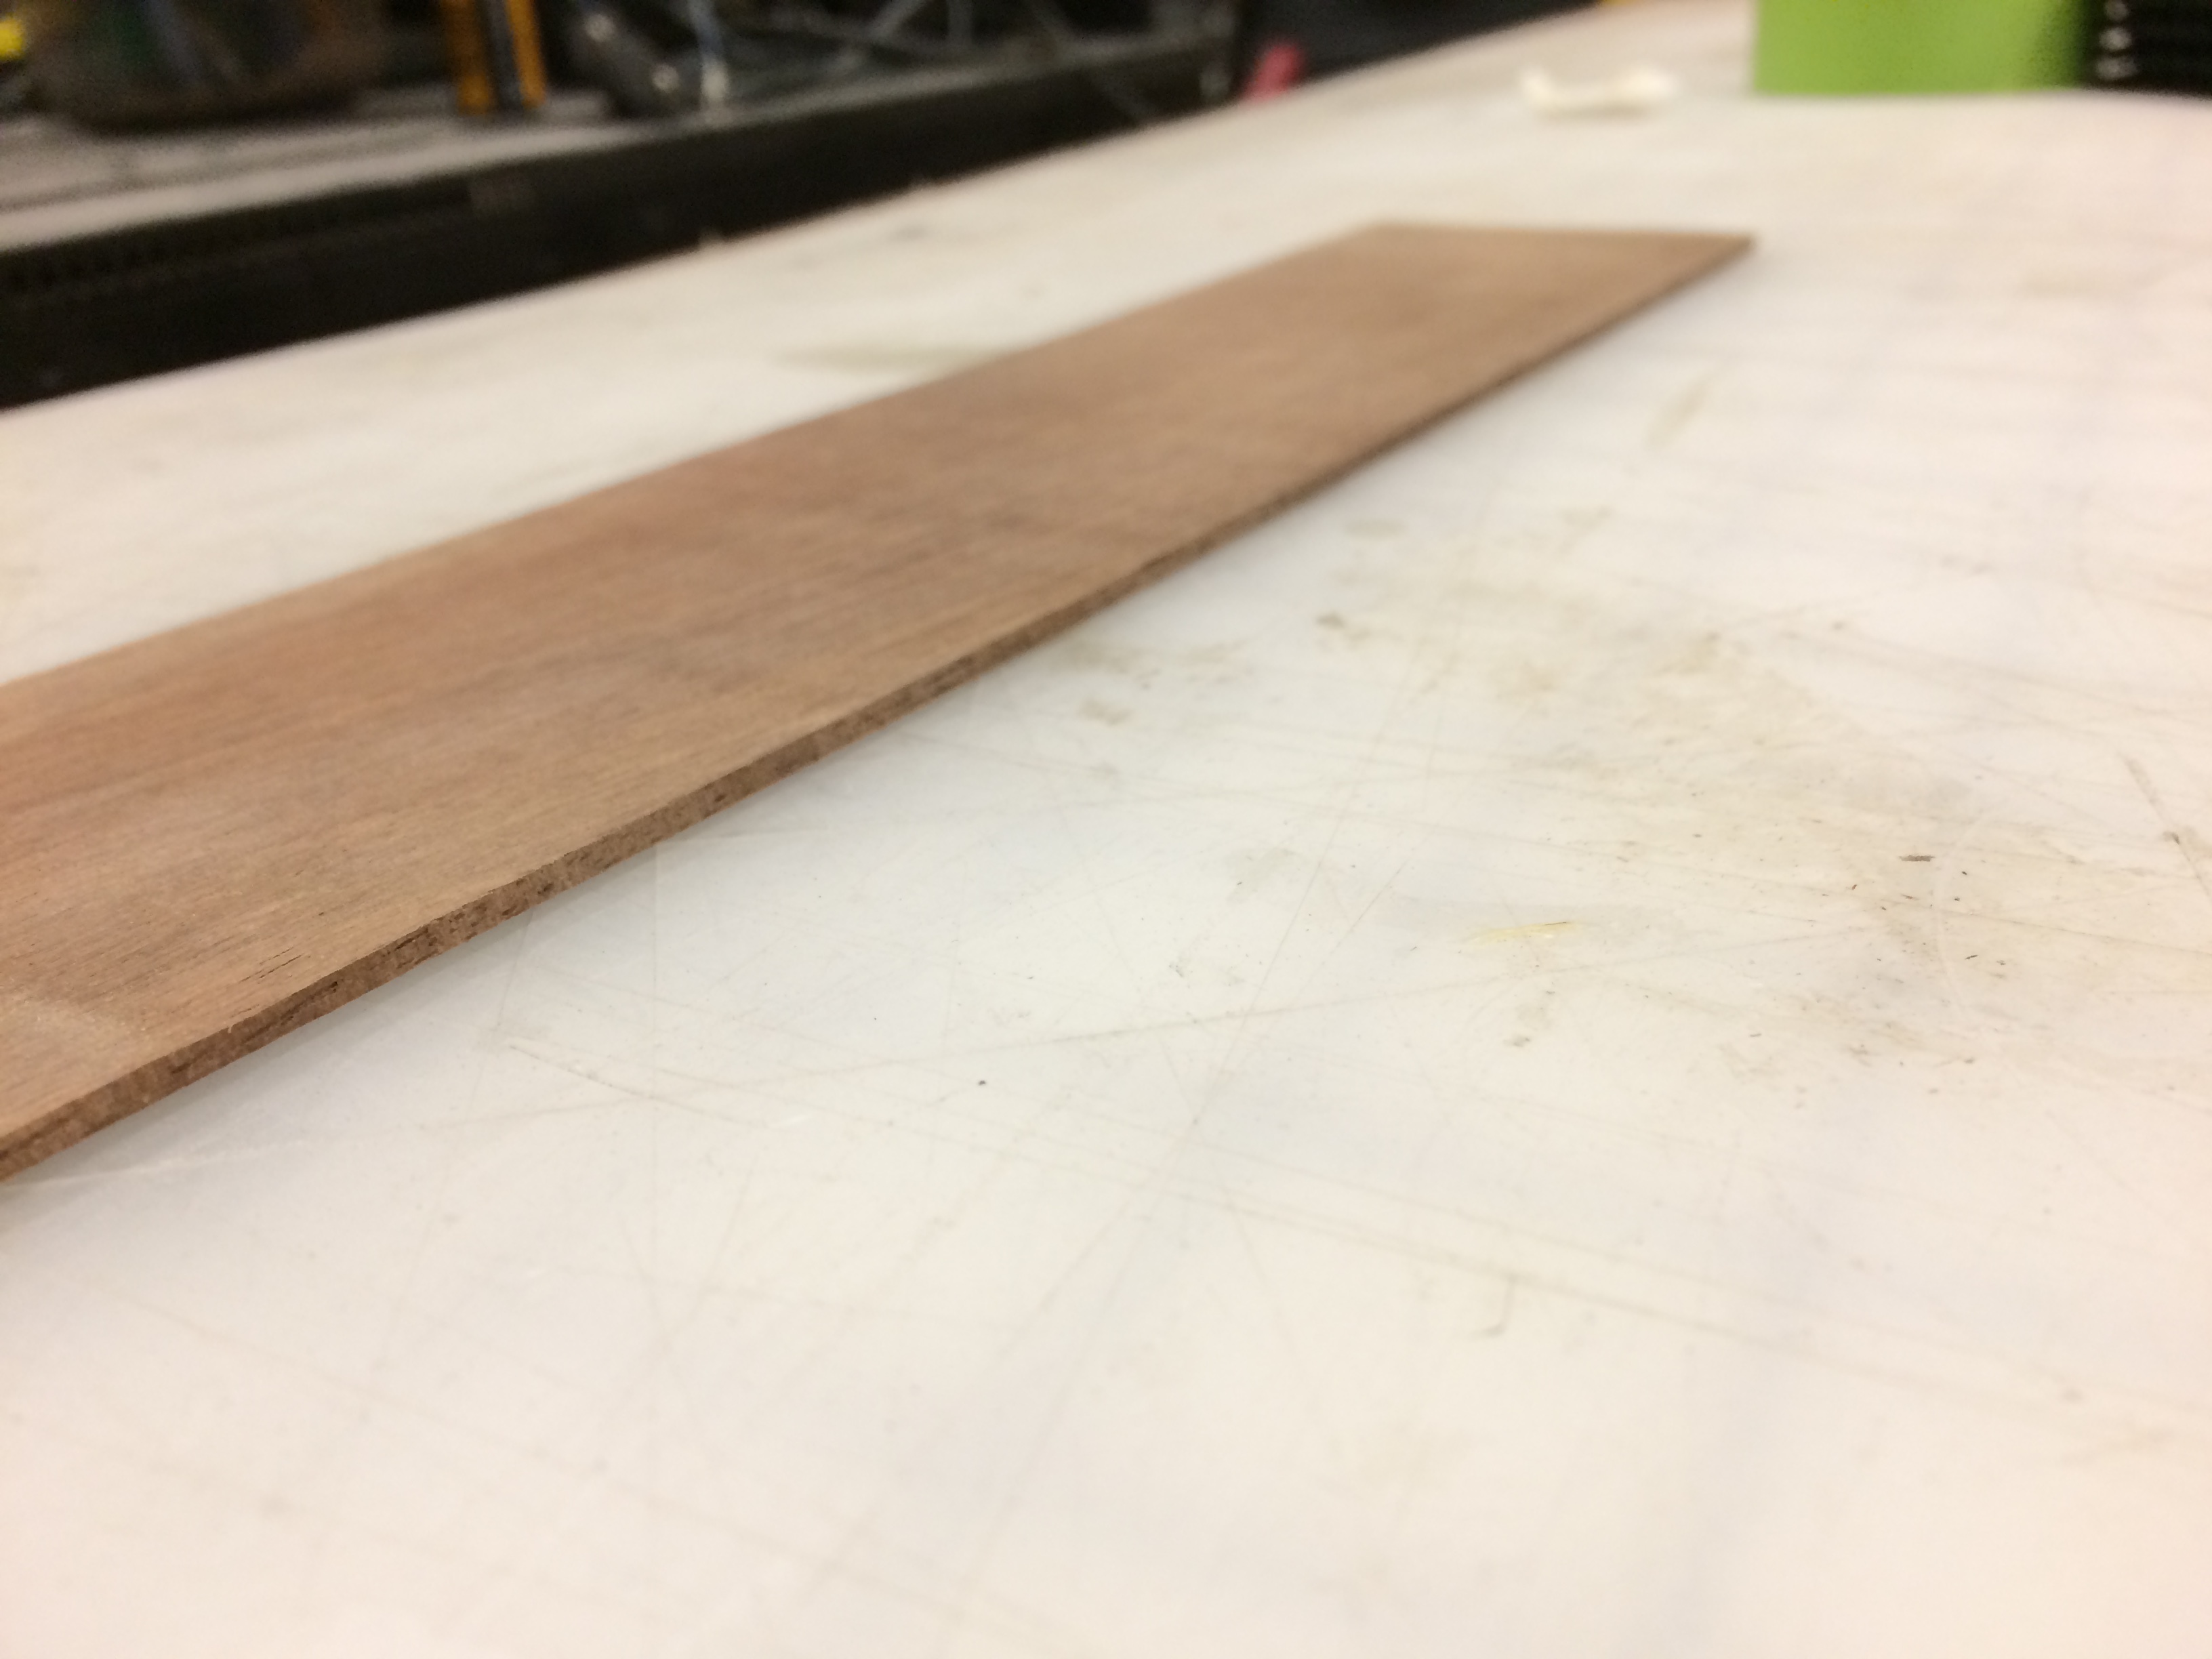
After cutting and sanding I had thin pieces for the back like this:
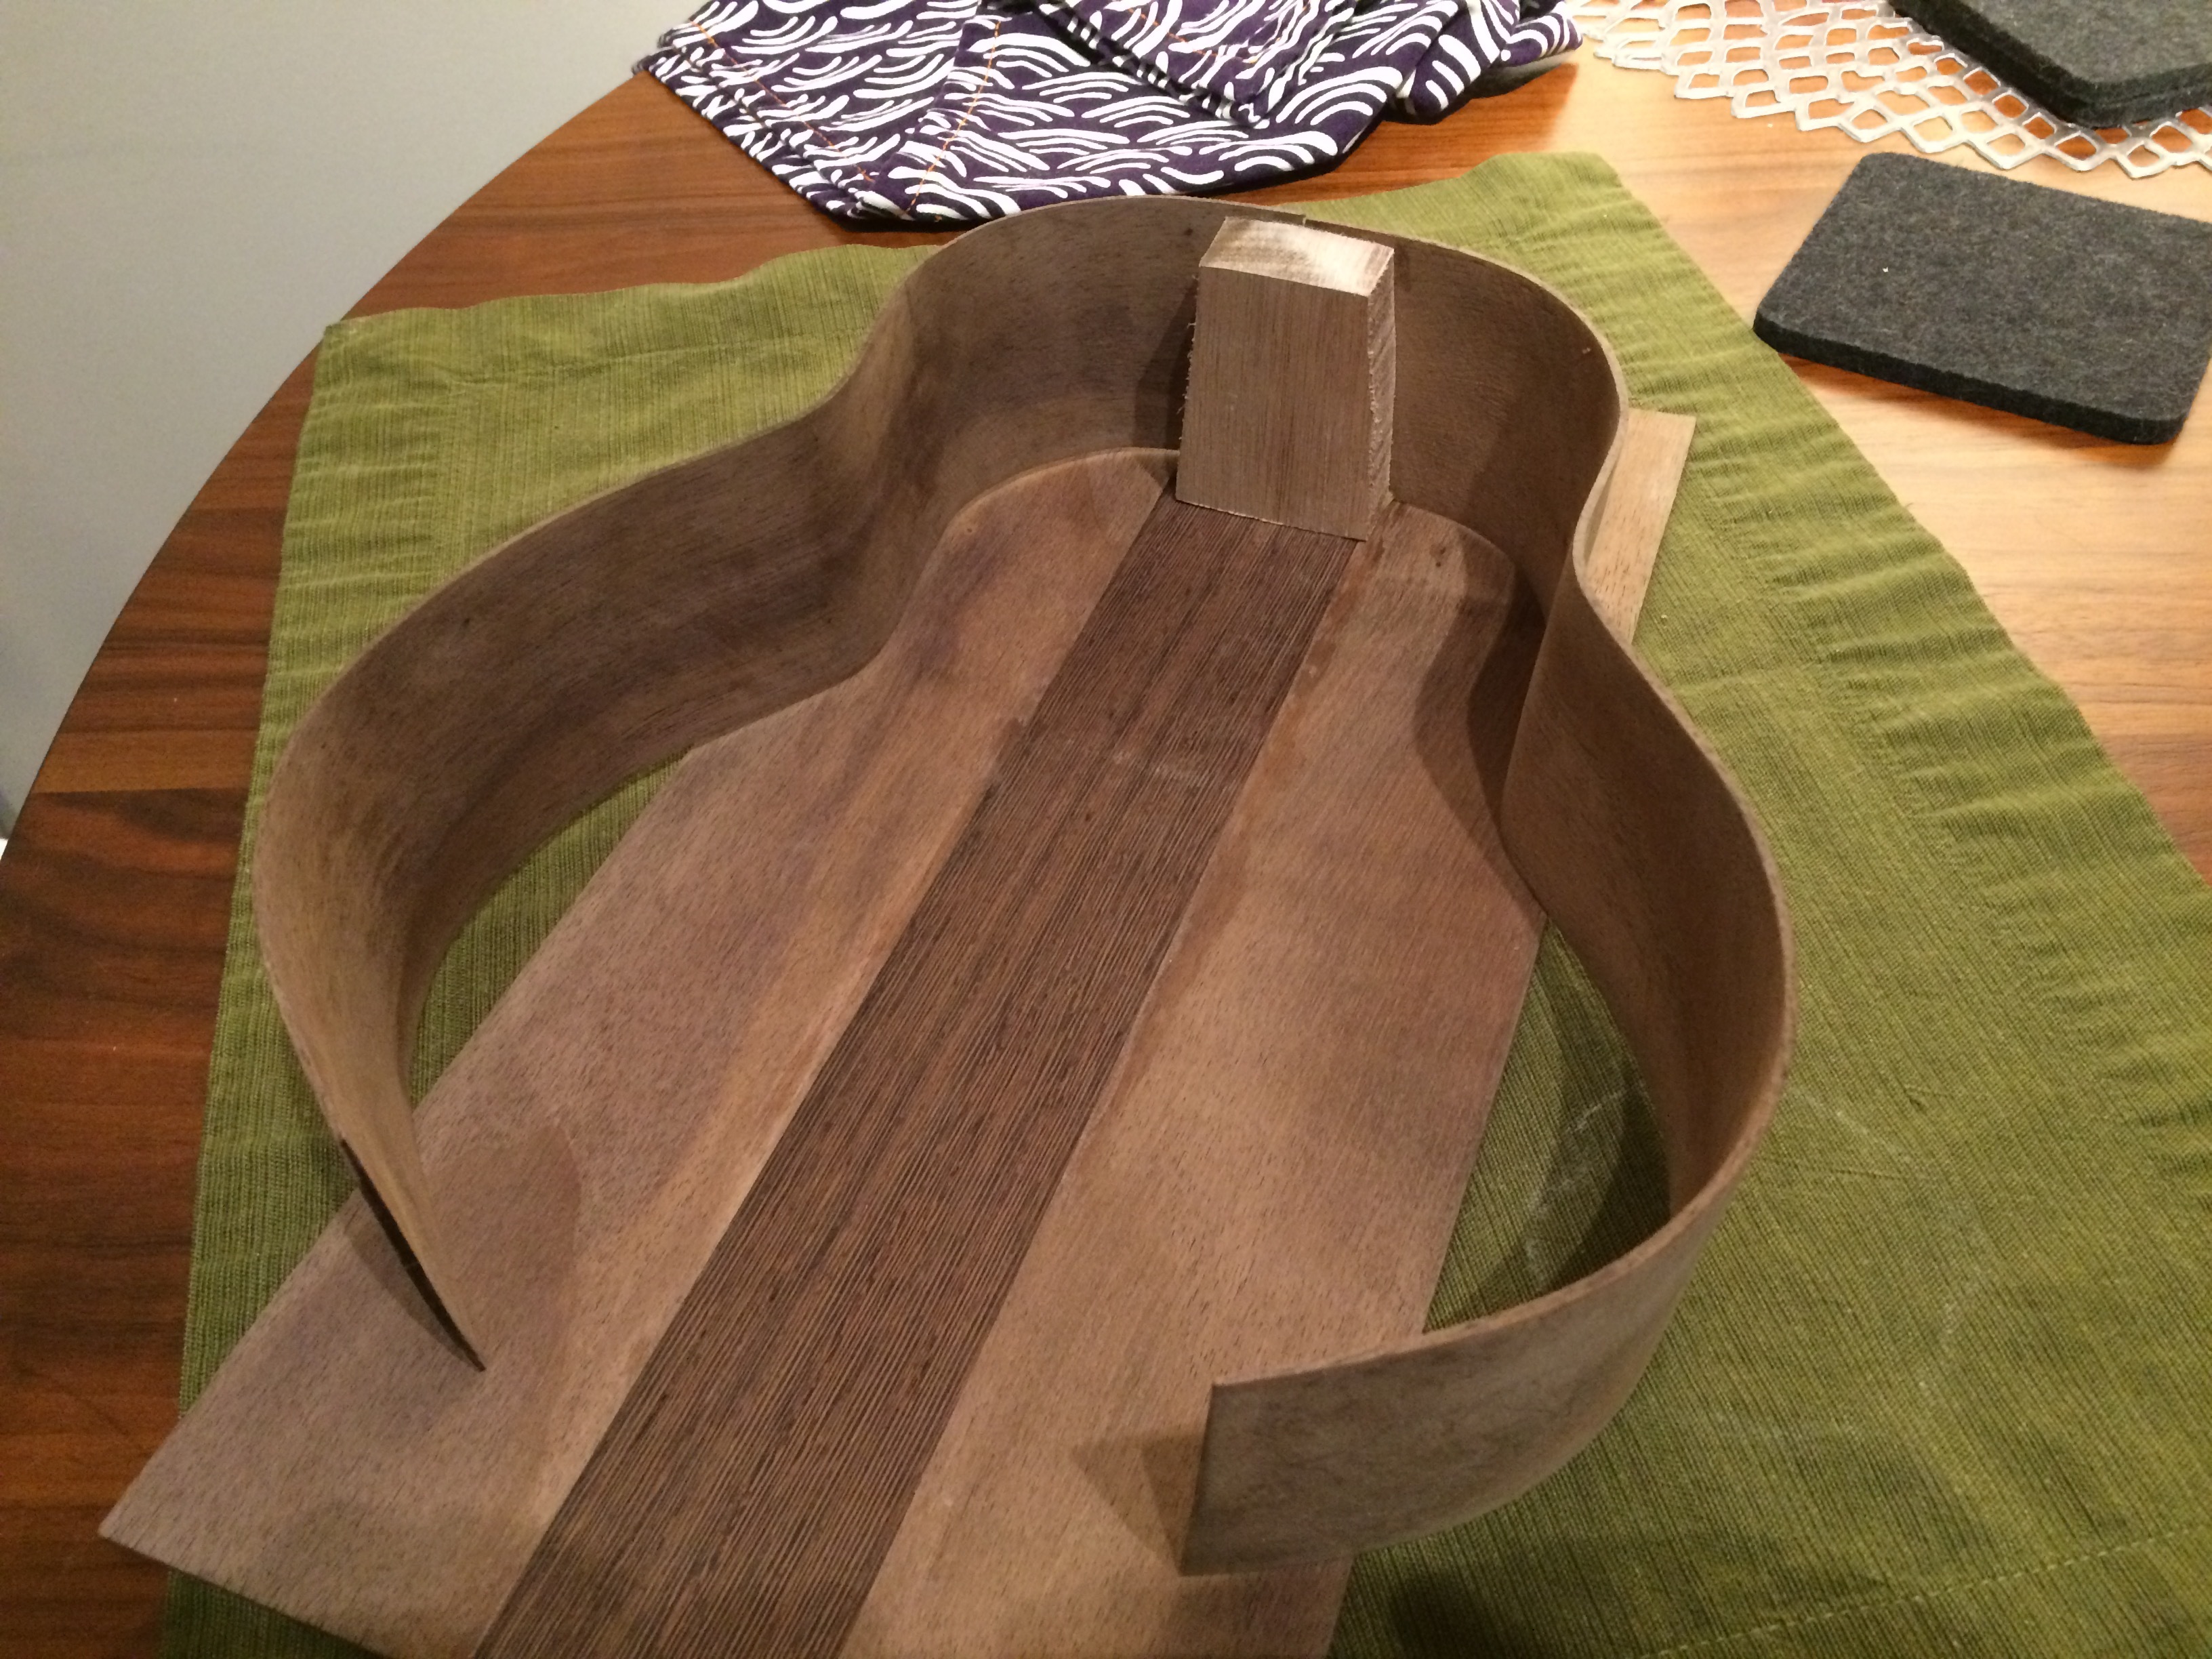
Rinse and repeat, and once on a piece of Wenge, I was able to glue up three pieces to make the back of my Uke body
After it is mostly dry (about 5 hours at this point) I take it out of the clamps and weights. I’m letting it dry some more before I sand the glue off.

I have to be delicate with this piece as it is only butt jointed together. once I get the body in place some ribs will help with the structure.
Progress!!!
5 Likes
Looks good! I bought a small 50ml bottle of Kunos Natural Oil Sealer, Walnut color, for my jewerly box, and I didn’t need it in the end. If you have a need for it, feel free to use it. It’s in the chemical closet.
2 Likes
Excellent, thanks! I’ve got a few scraps; I’ll try it out and see how it plays.
Getting back into the habit of posting each step…
Now that the back has had some time to dry, I sanded it down on the thickness sander.
I figured I’d show the sides on top of the back to start getting an idea of what this thing will look like.
Next up will be to make the top, then I can do some adjustments on the sides and potentially start some assembly.
3 Likes
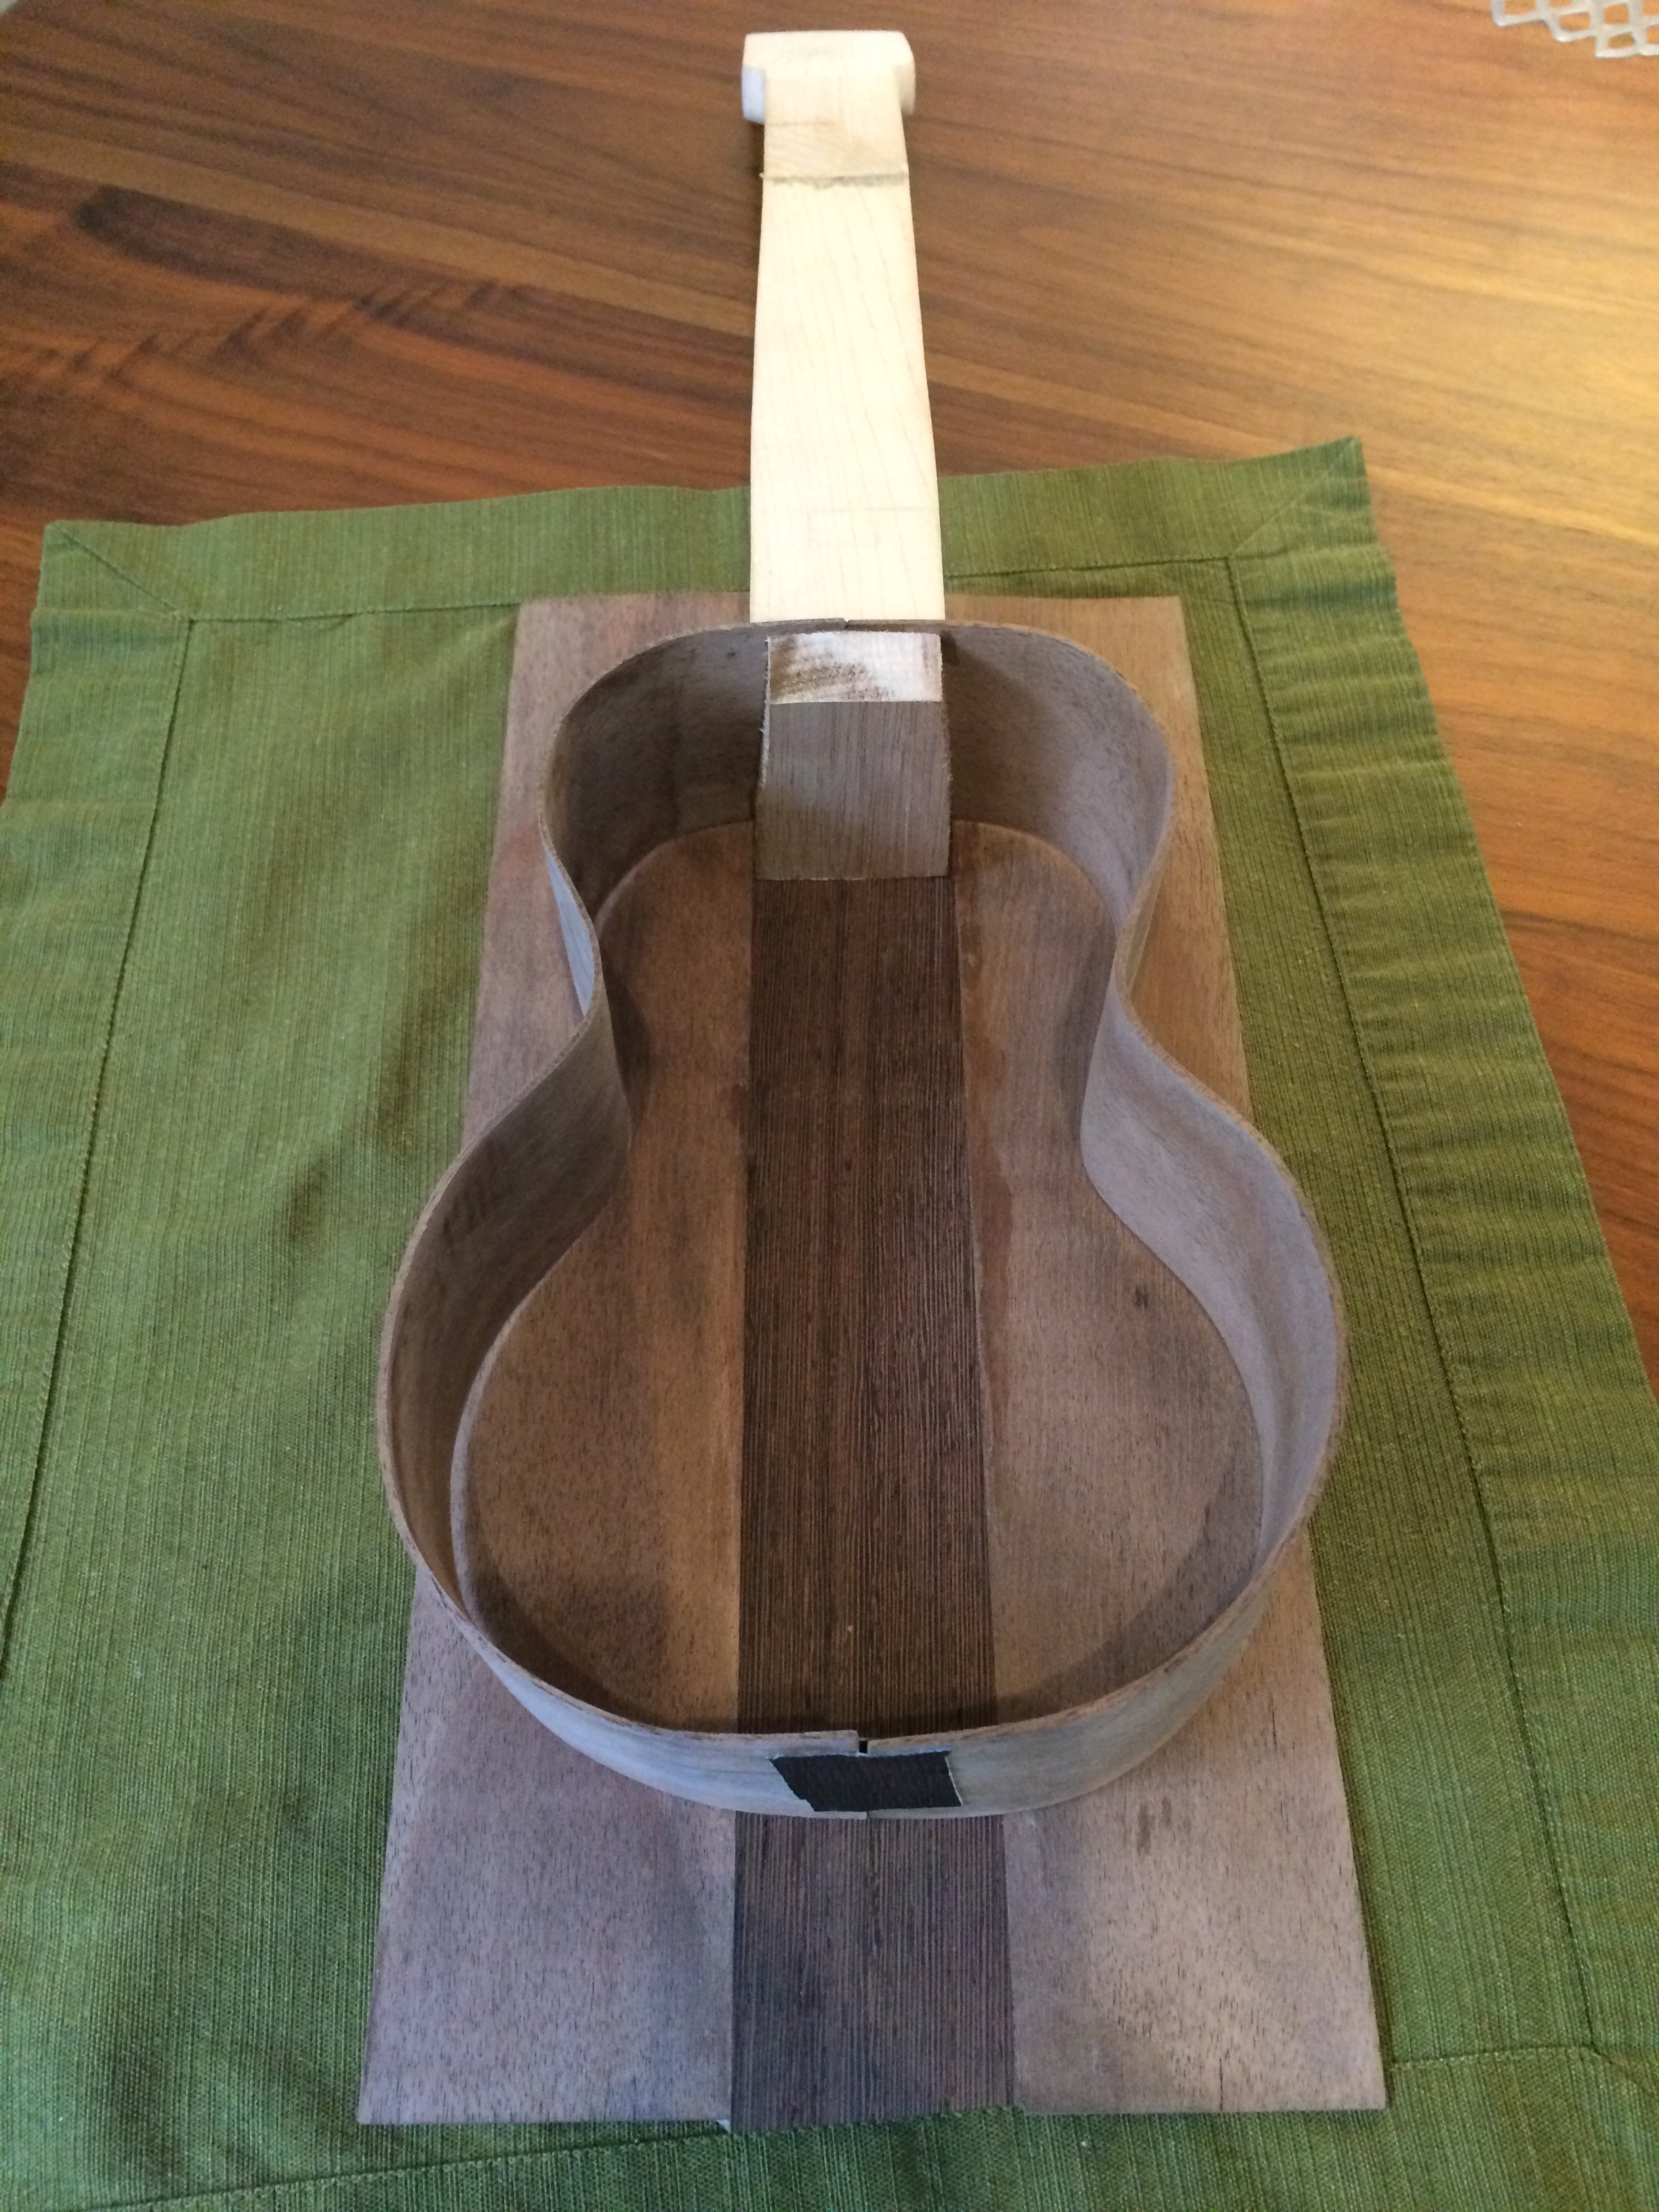
Actually, why not show a better representation, here’s the neck placed…

… color and material-wise its a bit more hodge podgey than I original imagined, but I’m still enjoying it. I expect the wenge from the back and heel cap will end up being a similar color when finished; not entirely sure why the end cap is so much darker right now.
4 Likes
While steam bending was what I used for the initial shape, its pretty obvious that in prior images I had quite a bit of bend back that I needed to adjust for.
Because I don’t have access to a bending iron (which is probably what I should have built instead of the box), I ended up finding great success on some test pieces with a hair curling iron. So much so that I went straight to the piece. While I have a little bit of touching up to do, I feel this worked out quite well.
4 Likes
Yikes, over a month since an update. I’ve been distracted in good ways.
Any way, I resawed some cedar on the bandsaw and started to plane it down using the thickness sander. These will form the soundboard (or the top portion of the body).
You can see both pieces here and how the ‘book matched’ pair will look like. I made sure to only sand flat the surfaces that were close together in the wood so that the grain would match as closely as possible.
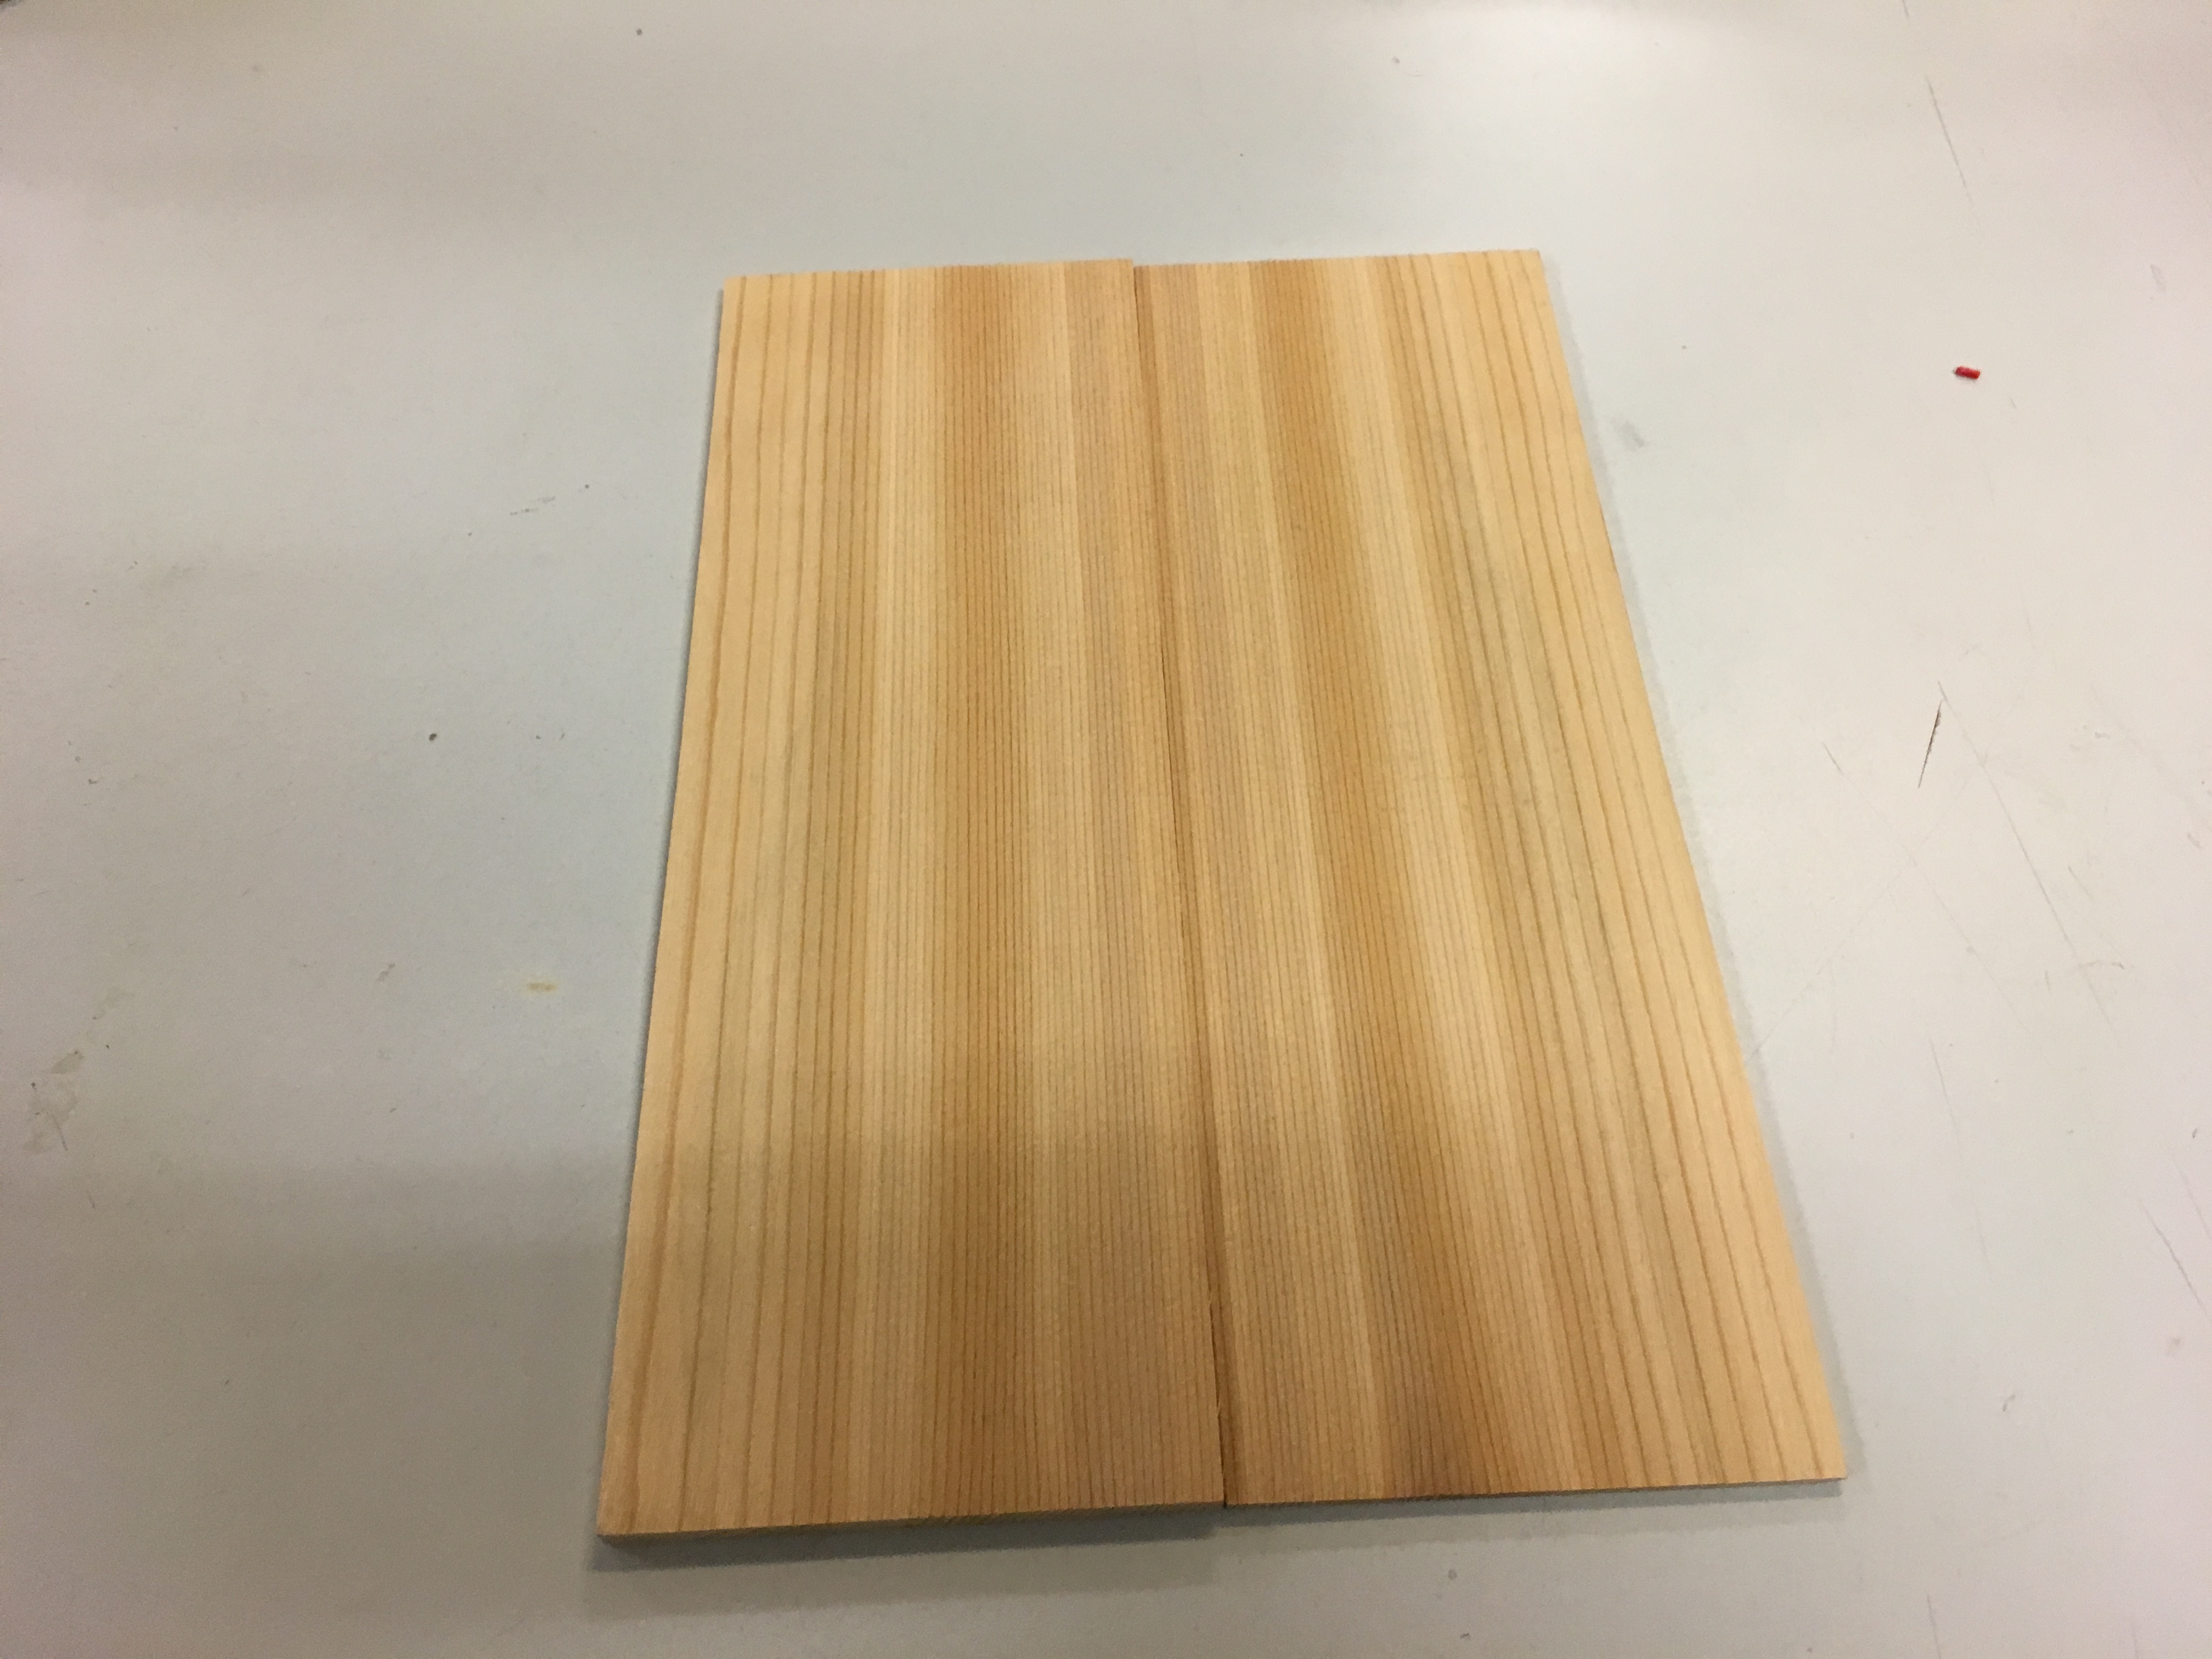
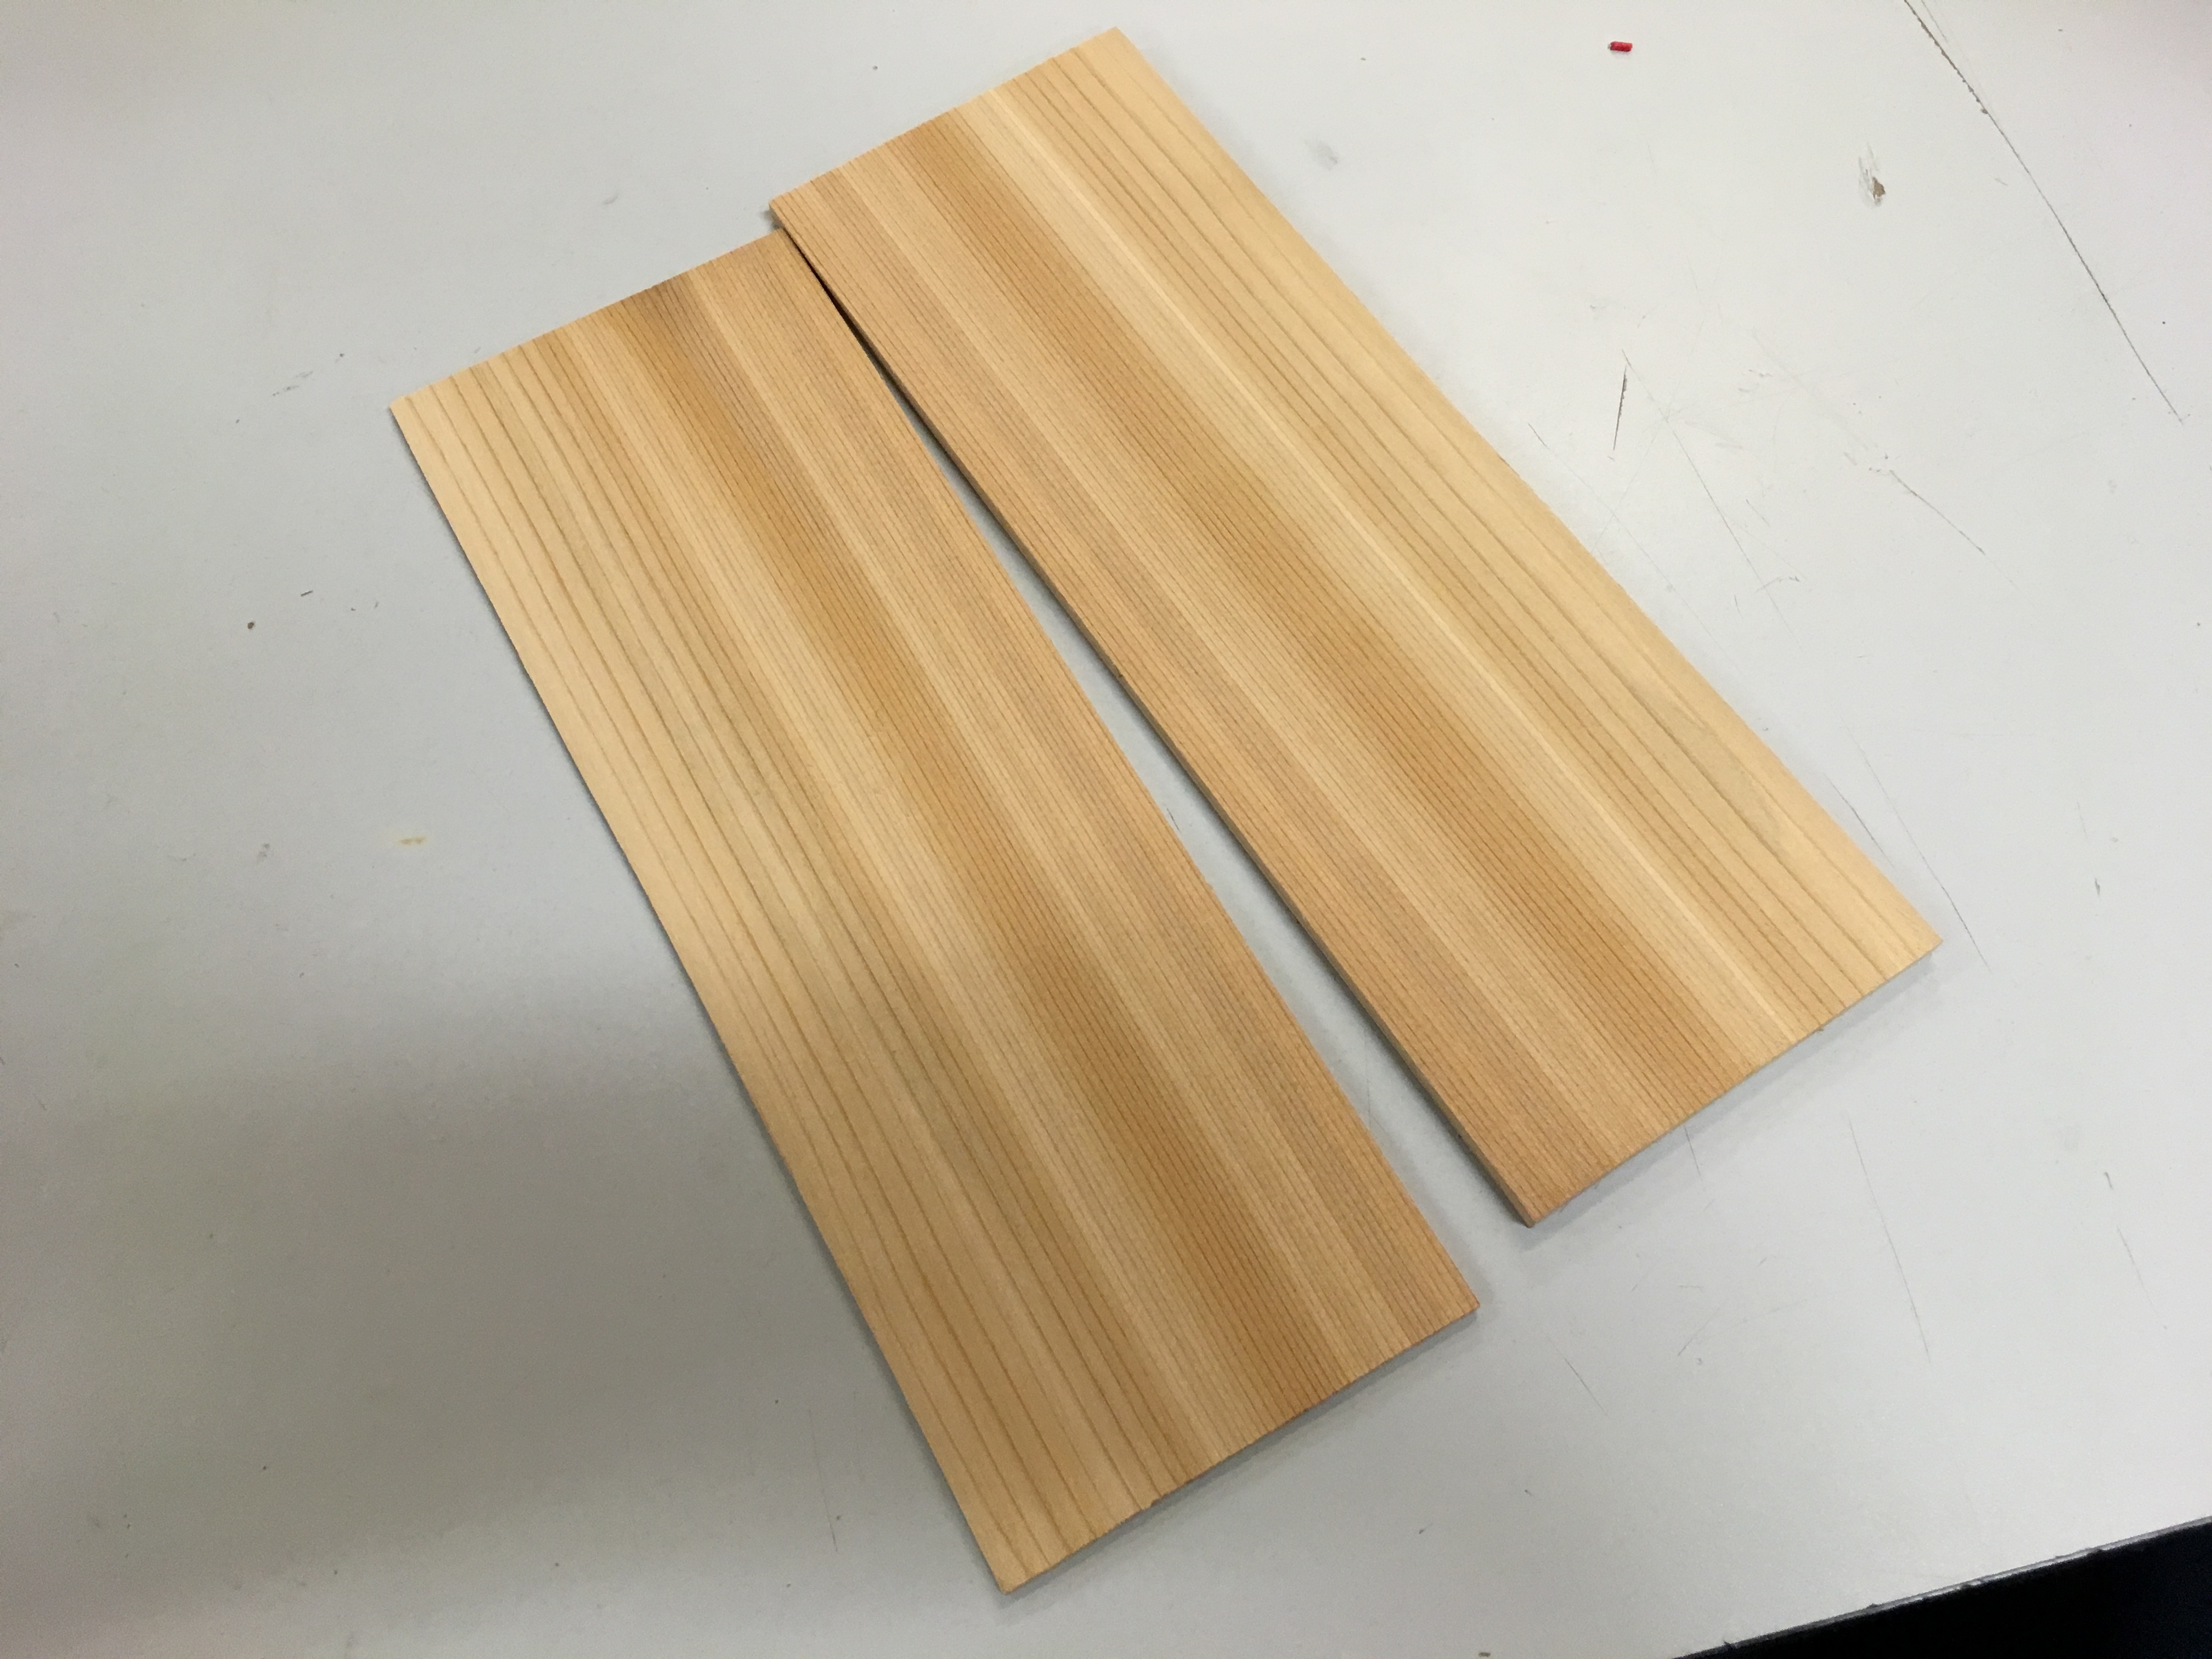
Still more sanding to get to thickness.
4 Likes
This is one of those updates where lots of work happened but it doesn’t look all that different… SANDING NIGHT!
I sanded each down and used the hand plane with a very thin gap to the blade on edge to a nice square edge to glue to. The configuration looked like this:

The shavings were quite small, after 4-5 passes this is what I collected from the plane:

(coin for size, no our plane is not a source of income).
Once both sides were square, I took a flat piece of plywood, put packing tape down and glued the two pieces together. Note, I didn’t wipe the squirt out until after it was mostly dry. This prevents the squirt out from muddying up all the surrounding wood.

And I used a few clamps (VERY lightly):

After it was dry, this is what it looked like:

I passed it through the thickness sander once dry and that got me close to my final thickness, I did some hand-sanding (quite a bit) at high grits to get this nice and smooth.

I’m starting to think about assembly now that I have the major parts.
6 Likes
Well Michael, it looks like your ukulele is really coming to look like an ukulele at this point. I guess I must post this now since you’re probably almost ready to start the fretboard.
I want to recommend that you make your fretboard in Well Temperament, rather than Equal Temperament like every ukulele in existence that I’m aware of. I mentioned it to you on my first night at the new VHS.
Well Temperament is a musical tuning system. (This is the tuning of the individual notes, not just strings.) It generally still has 12 notes per octave, just like the common 12-tone equal temperament (which has been the de-facto standard for about a century). But the pitches are shifted over, although the pattern still repeats every octave. But instead of evenly laying them out in a logarithm of 12√2, the notes are positioned to sound good, to harmonize together. Unlike in equal temperament, each key will sound different. I have read that for each well temperament system, there are 5 keys that sound significantly better, 2 keys that are arguable, and 5 keys that are worse (but supposedly still acceptable); worth it in my opinion.

But this is one of the fancy necks sold by the Swedish company known as True Temperament for over $1000 CAD. They’re made with some fancy method that they invented (hence the curved frets), but yours would probably have separate frets like in the picture below.
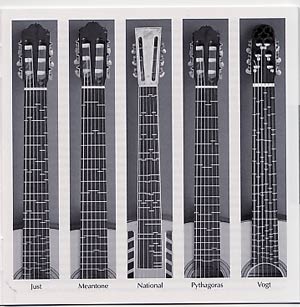
This image actually shows a few different tuning systems. The first fretboard is in Just Intonation. Just intonation is actually what’s “musically ideal”, in which the frequency ratios of the notes are made of small integers (which is what defines “harmonic”). But then, it would have be made to play in only one key.
The reason that I’m recommending Well Temperament instead is because it’s compatible with all the songs and teaching resources made for a regular equal temperament ukulele.
The Wikipedia article on well temperament links to pages on some specific well temperament scales that exist, and some of them have midi sound samples in their respective articles.
This article goes over the 3 temperaments that are available with True Temperament (just a brand name) fretboards. The bottom two are well temperaments. The first is just a gimmick to more accurately represent the inevitably inaccurate equal temperament. The one on the bottom (Die Wohltemperirte) looks like the best to me.
1 Like
I’ve been putting it off, but continued on with the Ukulele yesterday.
I used a pencil in a washer to draw a rough guide for where the soundboard and back profiles and cut the rough shape on the bandsaw (sorry no pics of that).
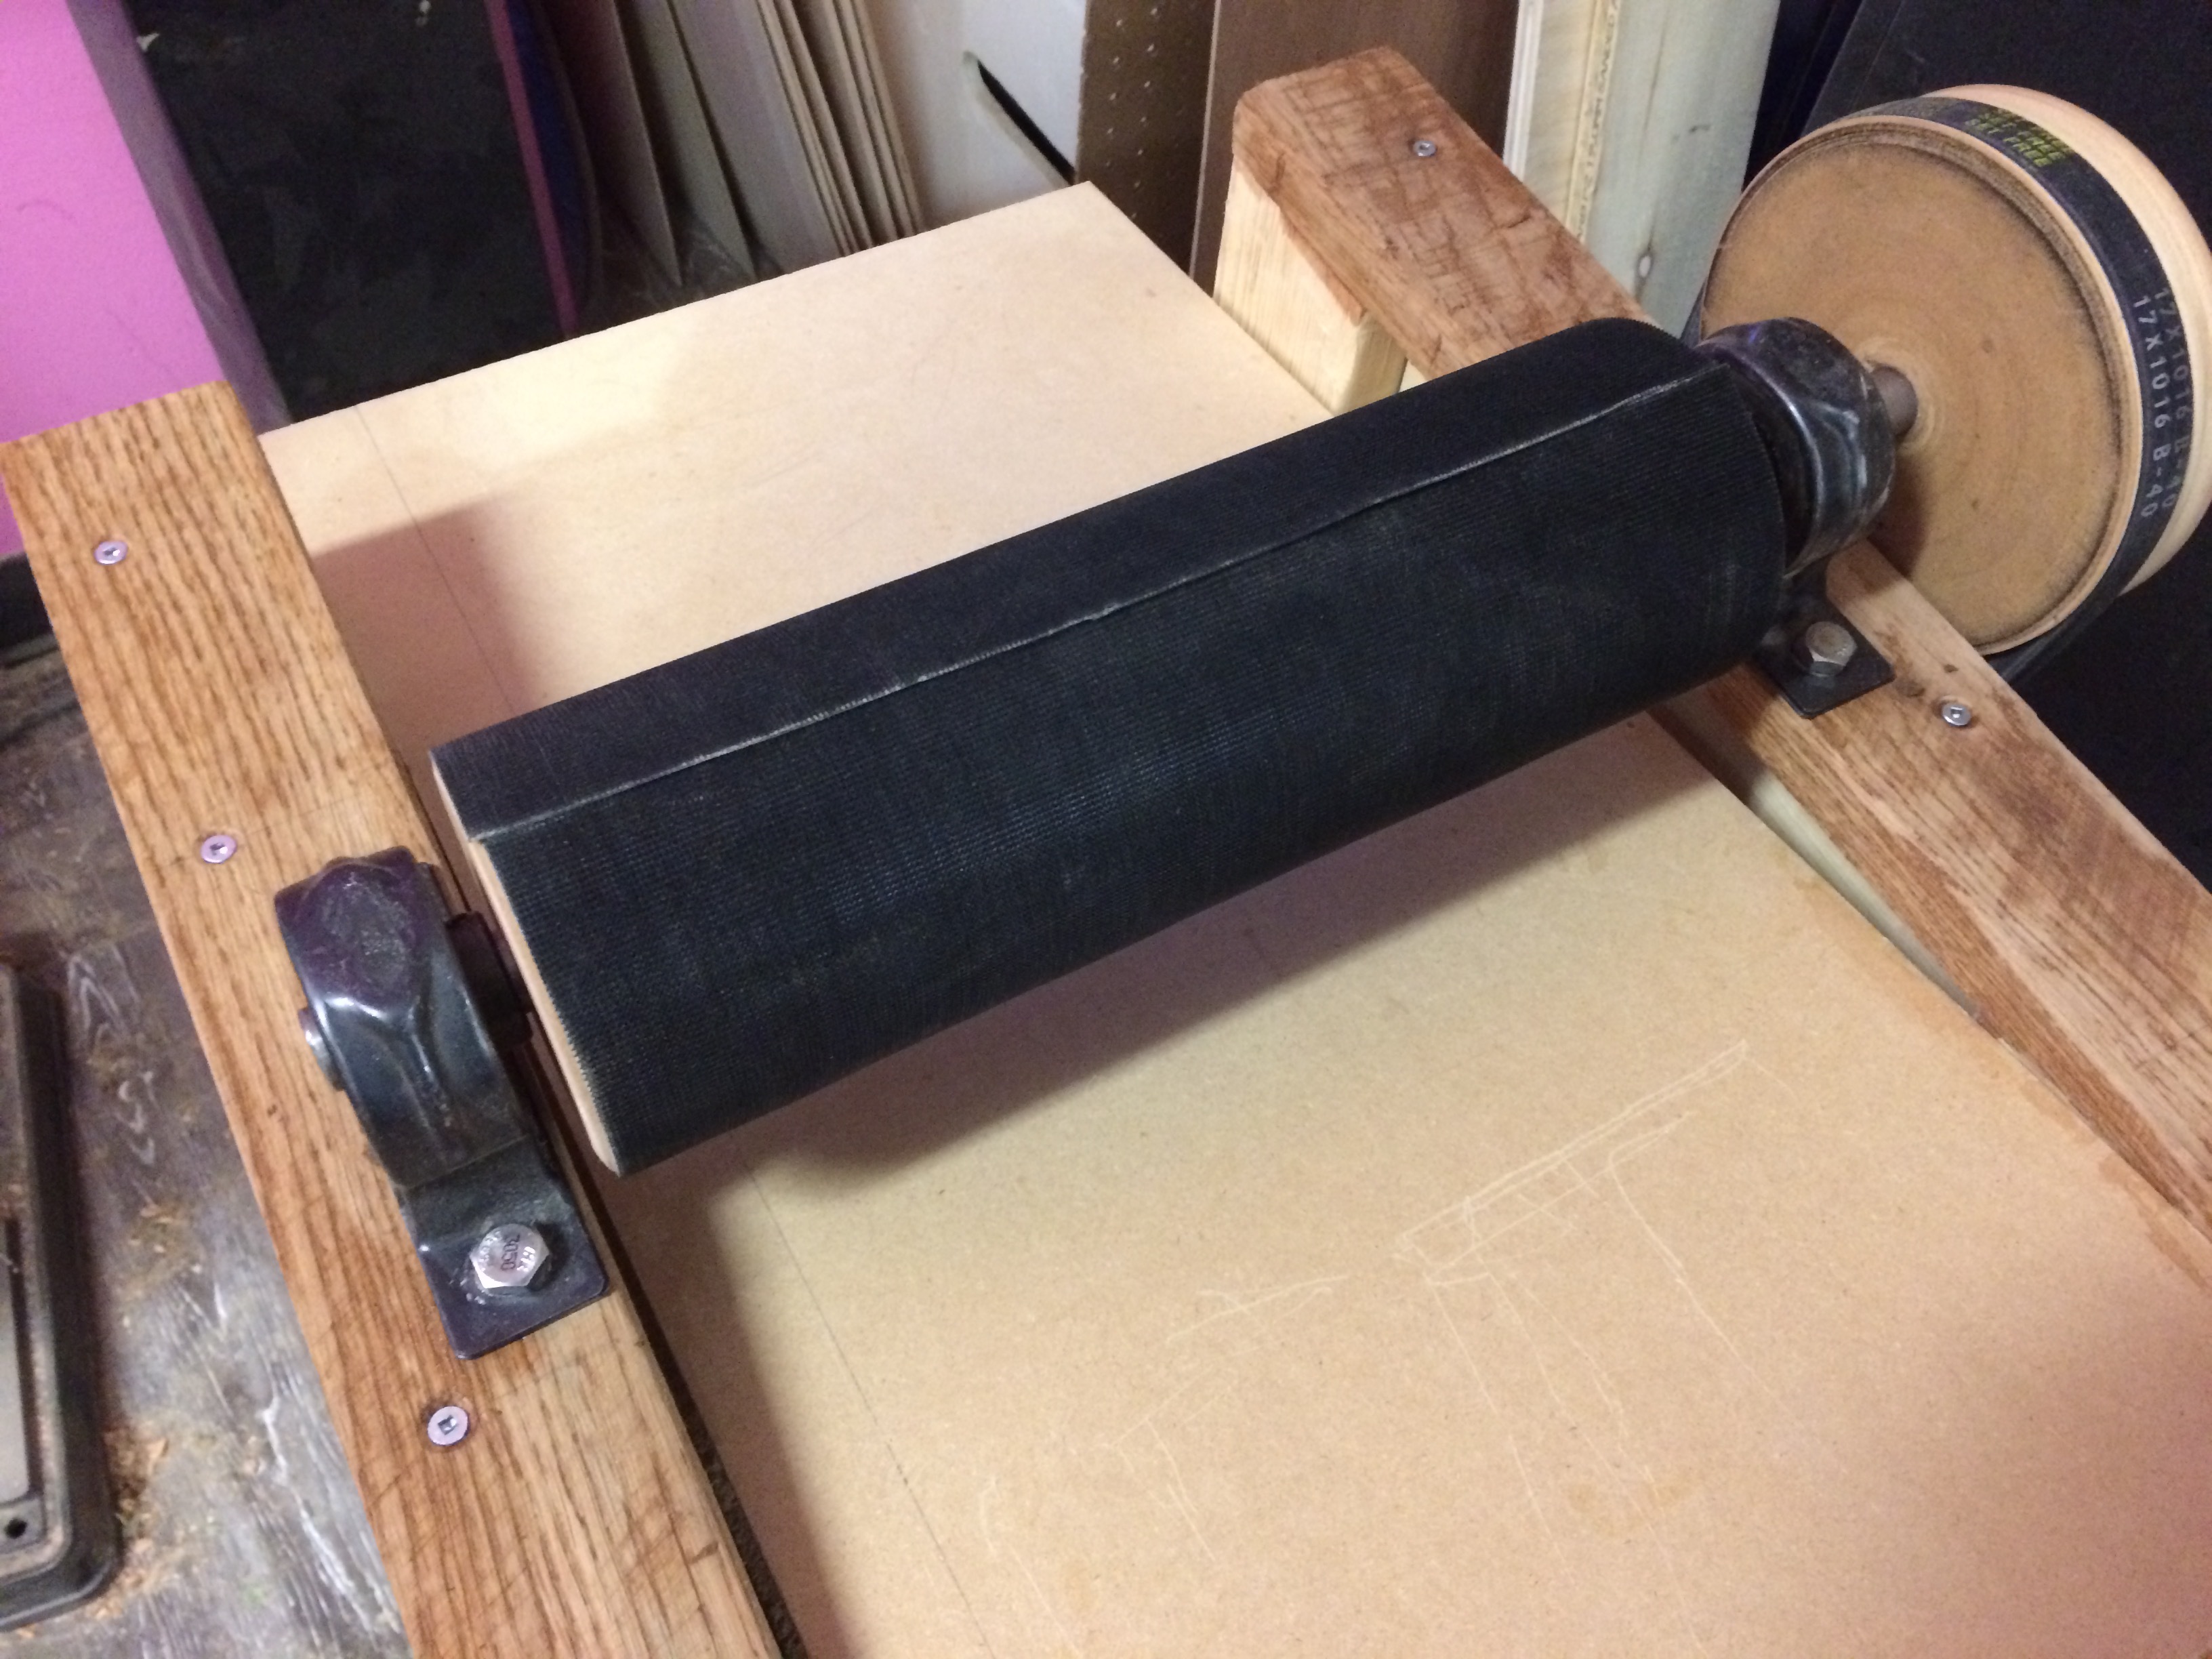
Then I attached a full sheet of sandpaper to some flat plywood so I could sand the top/bottom of the ukulele sides flat.

Once sanded, I mounted the top on with glue and added sawdust to fill any gaps. Once ready, I’ll use a flush-cut router bit to trim the excess.

Next I’m thinking I’ll make a ring as a guide for the sound hole. If the laser weren’t down I’d probably just cut a template, but maybe I’ll 3d print a simple circle… or build a circult cutting jig ![]() .
.
4 Likes
So this is the moment where I realize I just made it harder on myself. I should have cut the sound hole first. My current plan is somehow (maybe gorilla tape) affix the soundhole template to the inside with my pattern cutting bit on the router table…
Here’s my current thought:
3 Likes
Perhaps this is a silly question but, why not laser-cut the sound hole?
1 Like
Not a silly question!
Here are my reasons though:
- Laser is down without an estimate for being back up.
- Not a fan of the char, though that can be sanded off, and I can cover the top with something to reduce surface char.
If I wait, 1 isn’t compelling, and otherwise 2 is easy to be dealt with.
For this particular project, I’d be happy to let you use my laser engraver to cut the hole. A bit of masking paper on the workpiece will eliminate any stains on the surface. On an Epilog laser, the vector cut frequency can be reduced to reduce (but not eliminate) the amount of charring on the side of the cut.
2 Likes
This is a beautiful offer. I might take you up on it, but this problem has driven me to think about the problem in another way. I’m going to explore that solution first; I should have a write up of that exploration soon.
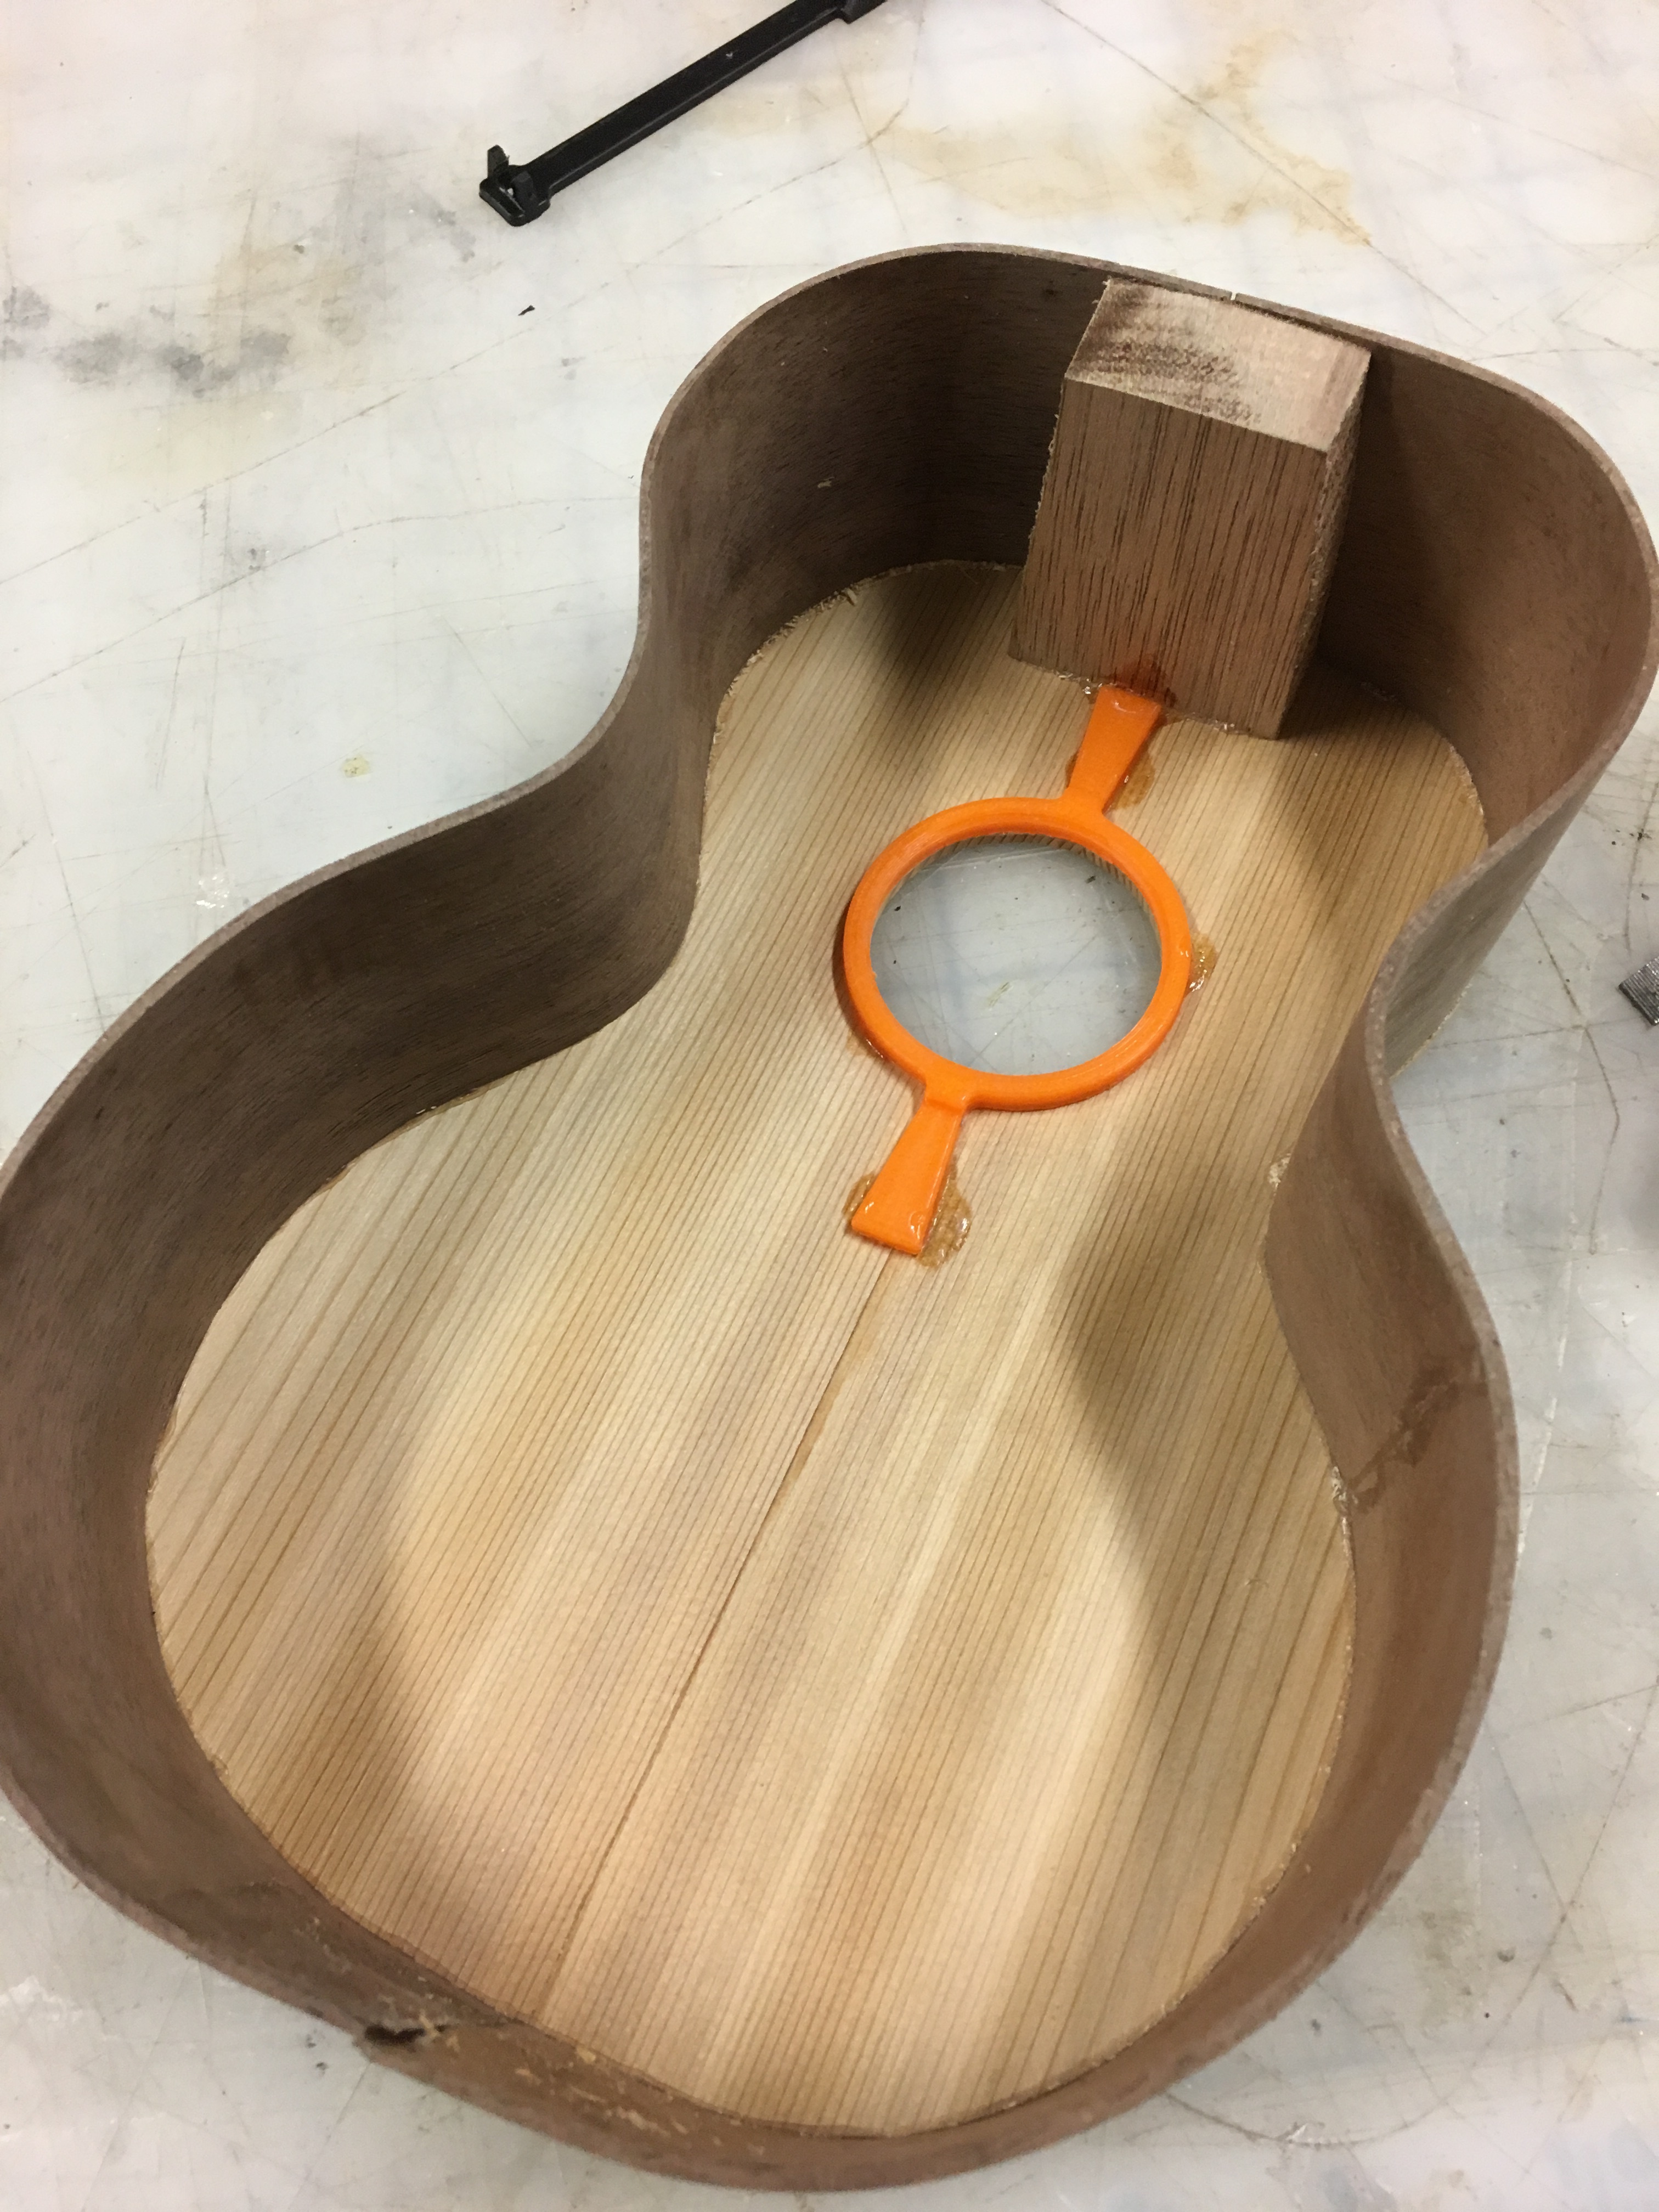
So I had a really cool design planned for a self-centering jig, but I ended up going with my standby jig.
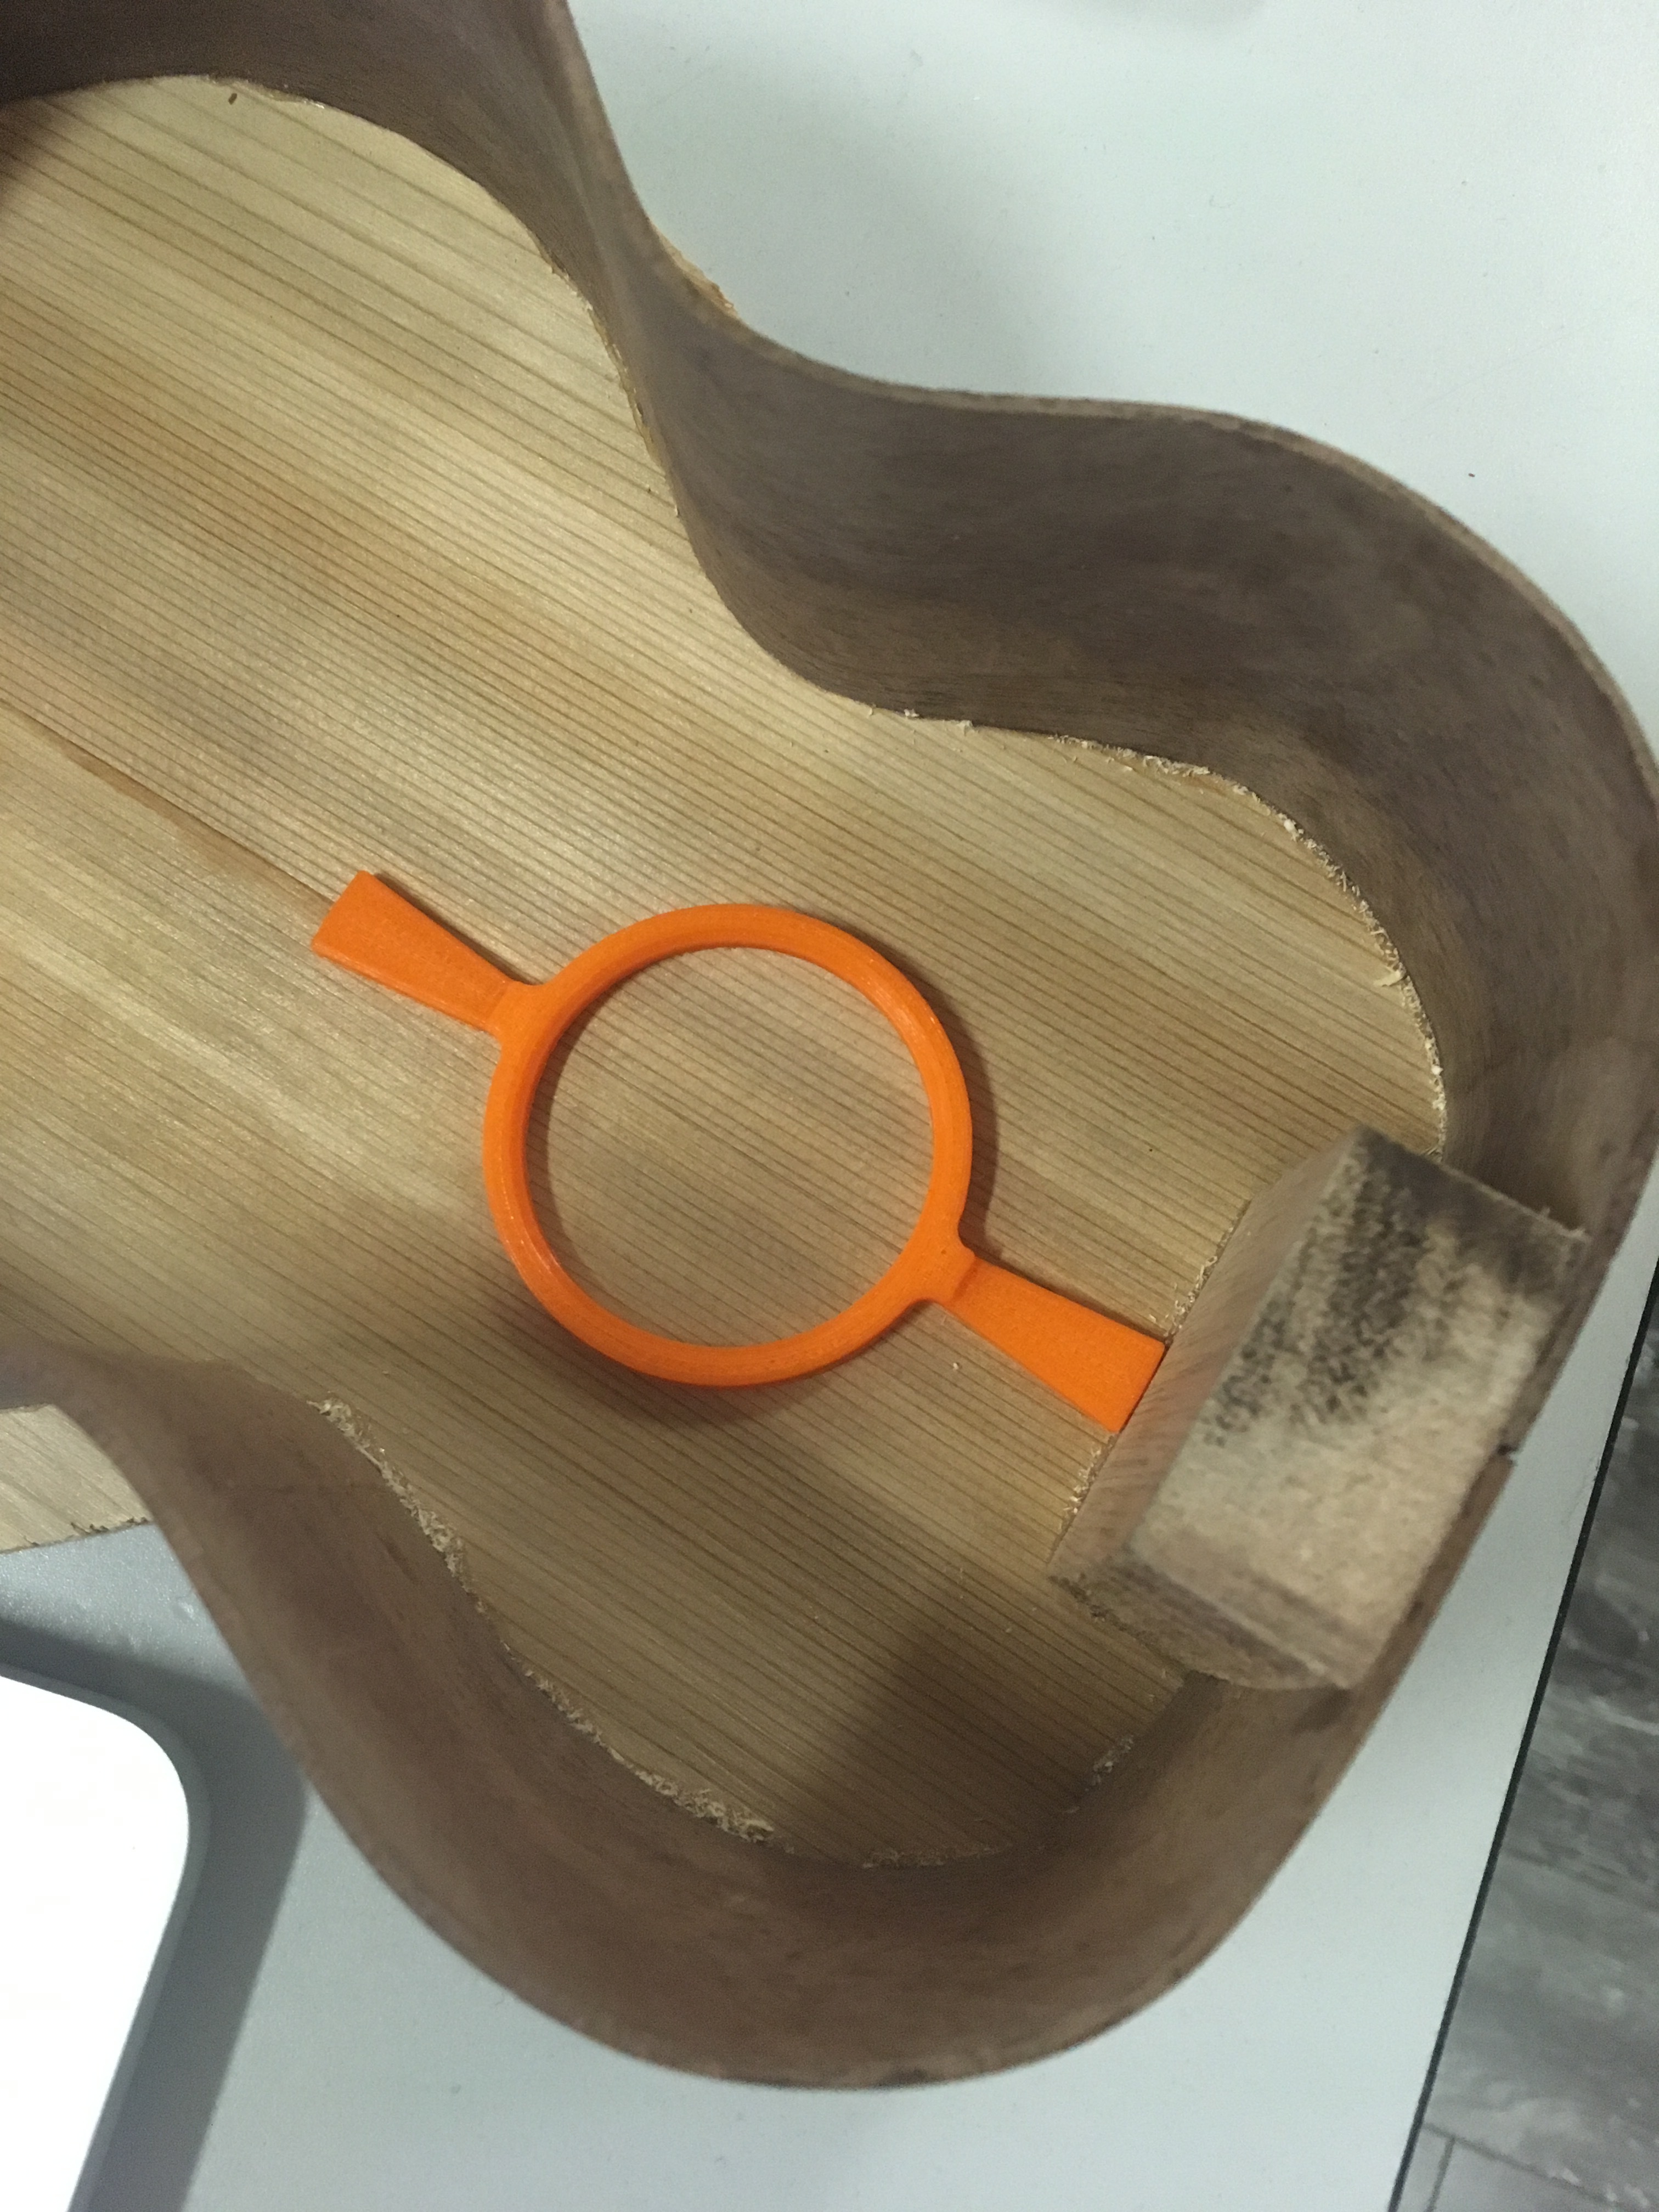
I 3d printed the hole the right size with some wings for leverage on attachment.
I used a couple tiny drops of superglue (after testing it on another piece to make sure I could get rid of it).

I cut a hole large enough for the router bit to slot into for the sound hole cut.
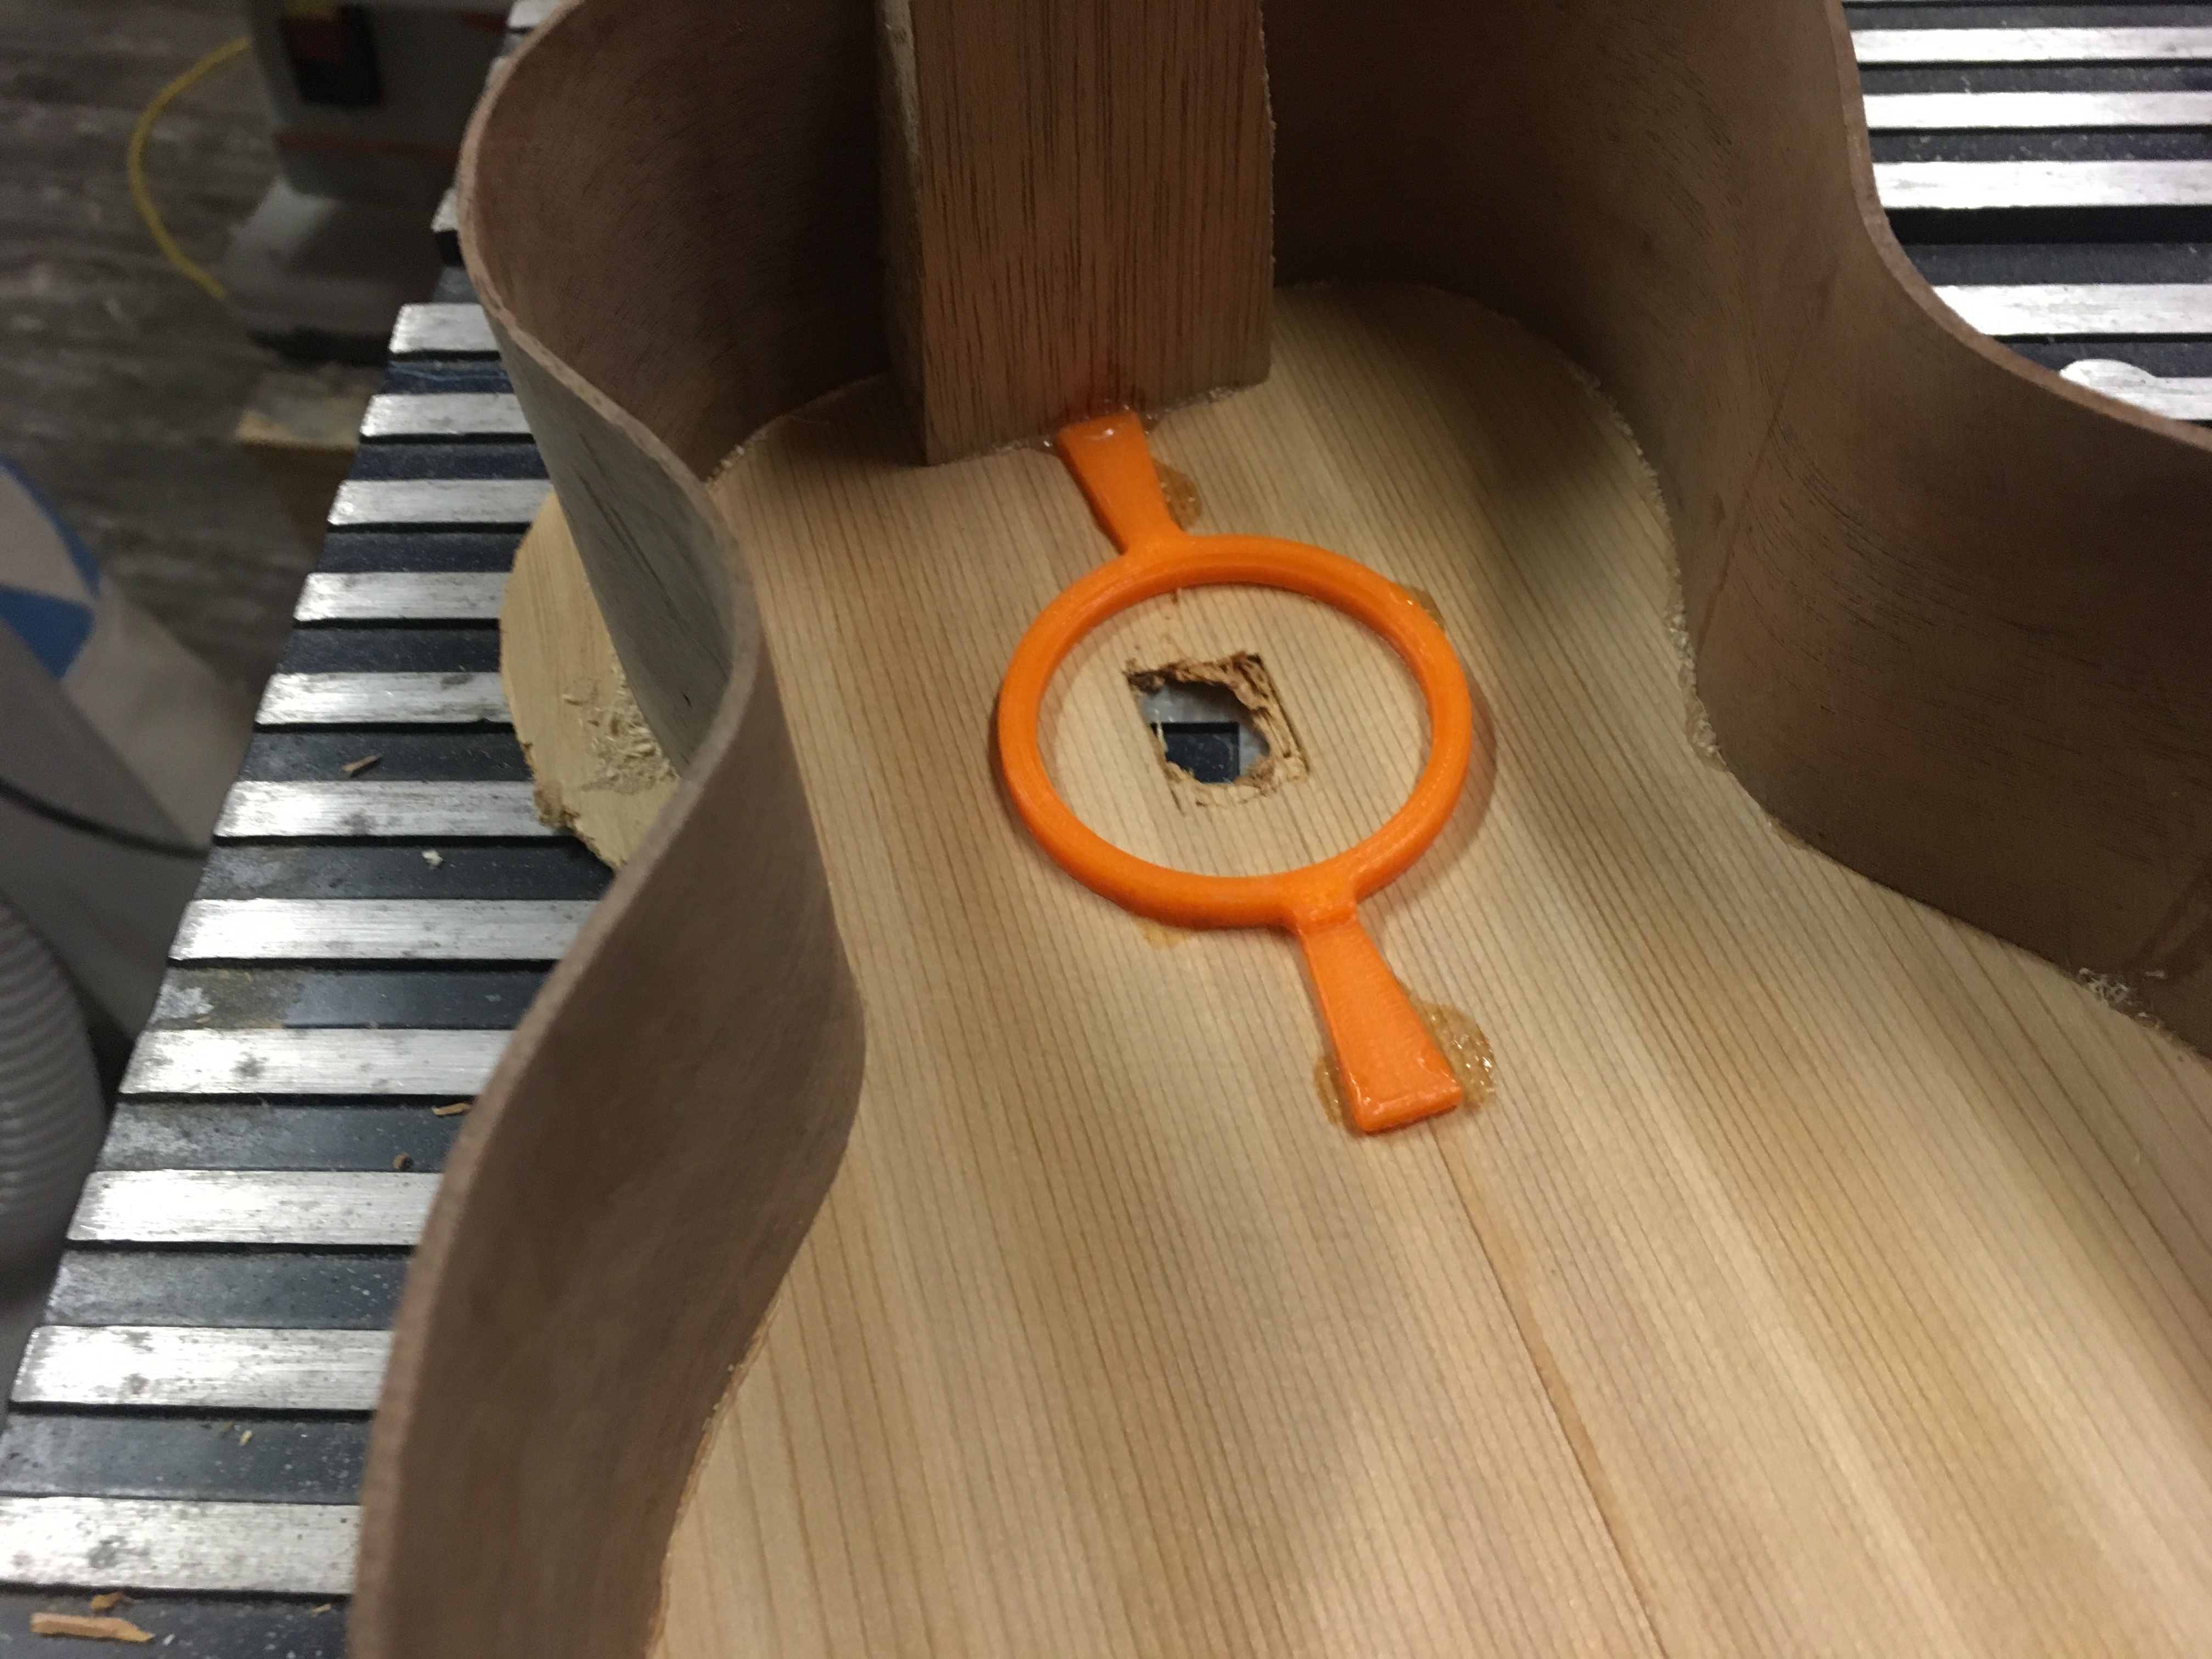
I set up my template cutting bit on the router table and practiced the feel trimming the outside of the ukulele. I’m glad I did, it took a few non-permanent mistakes to find the right amount of cut to give the bit with such thin wood.
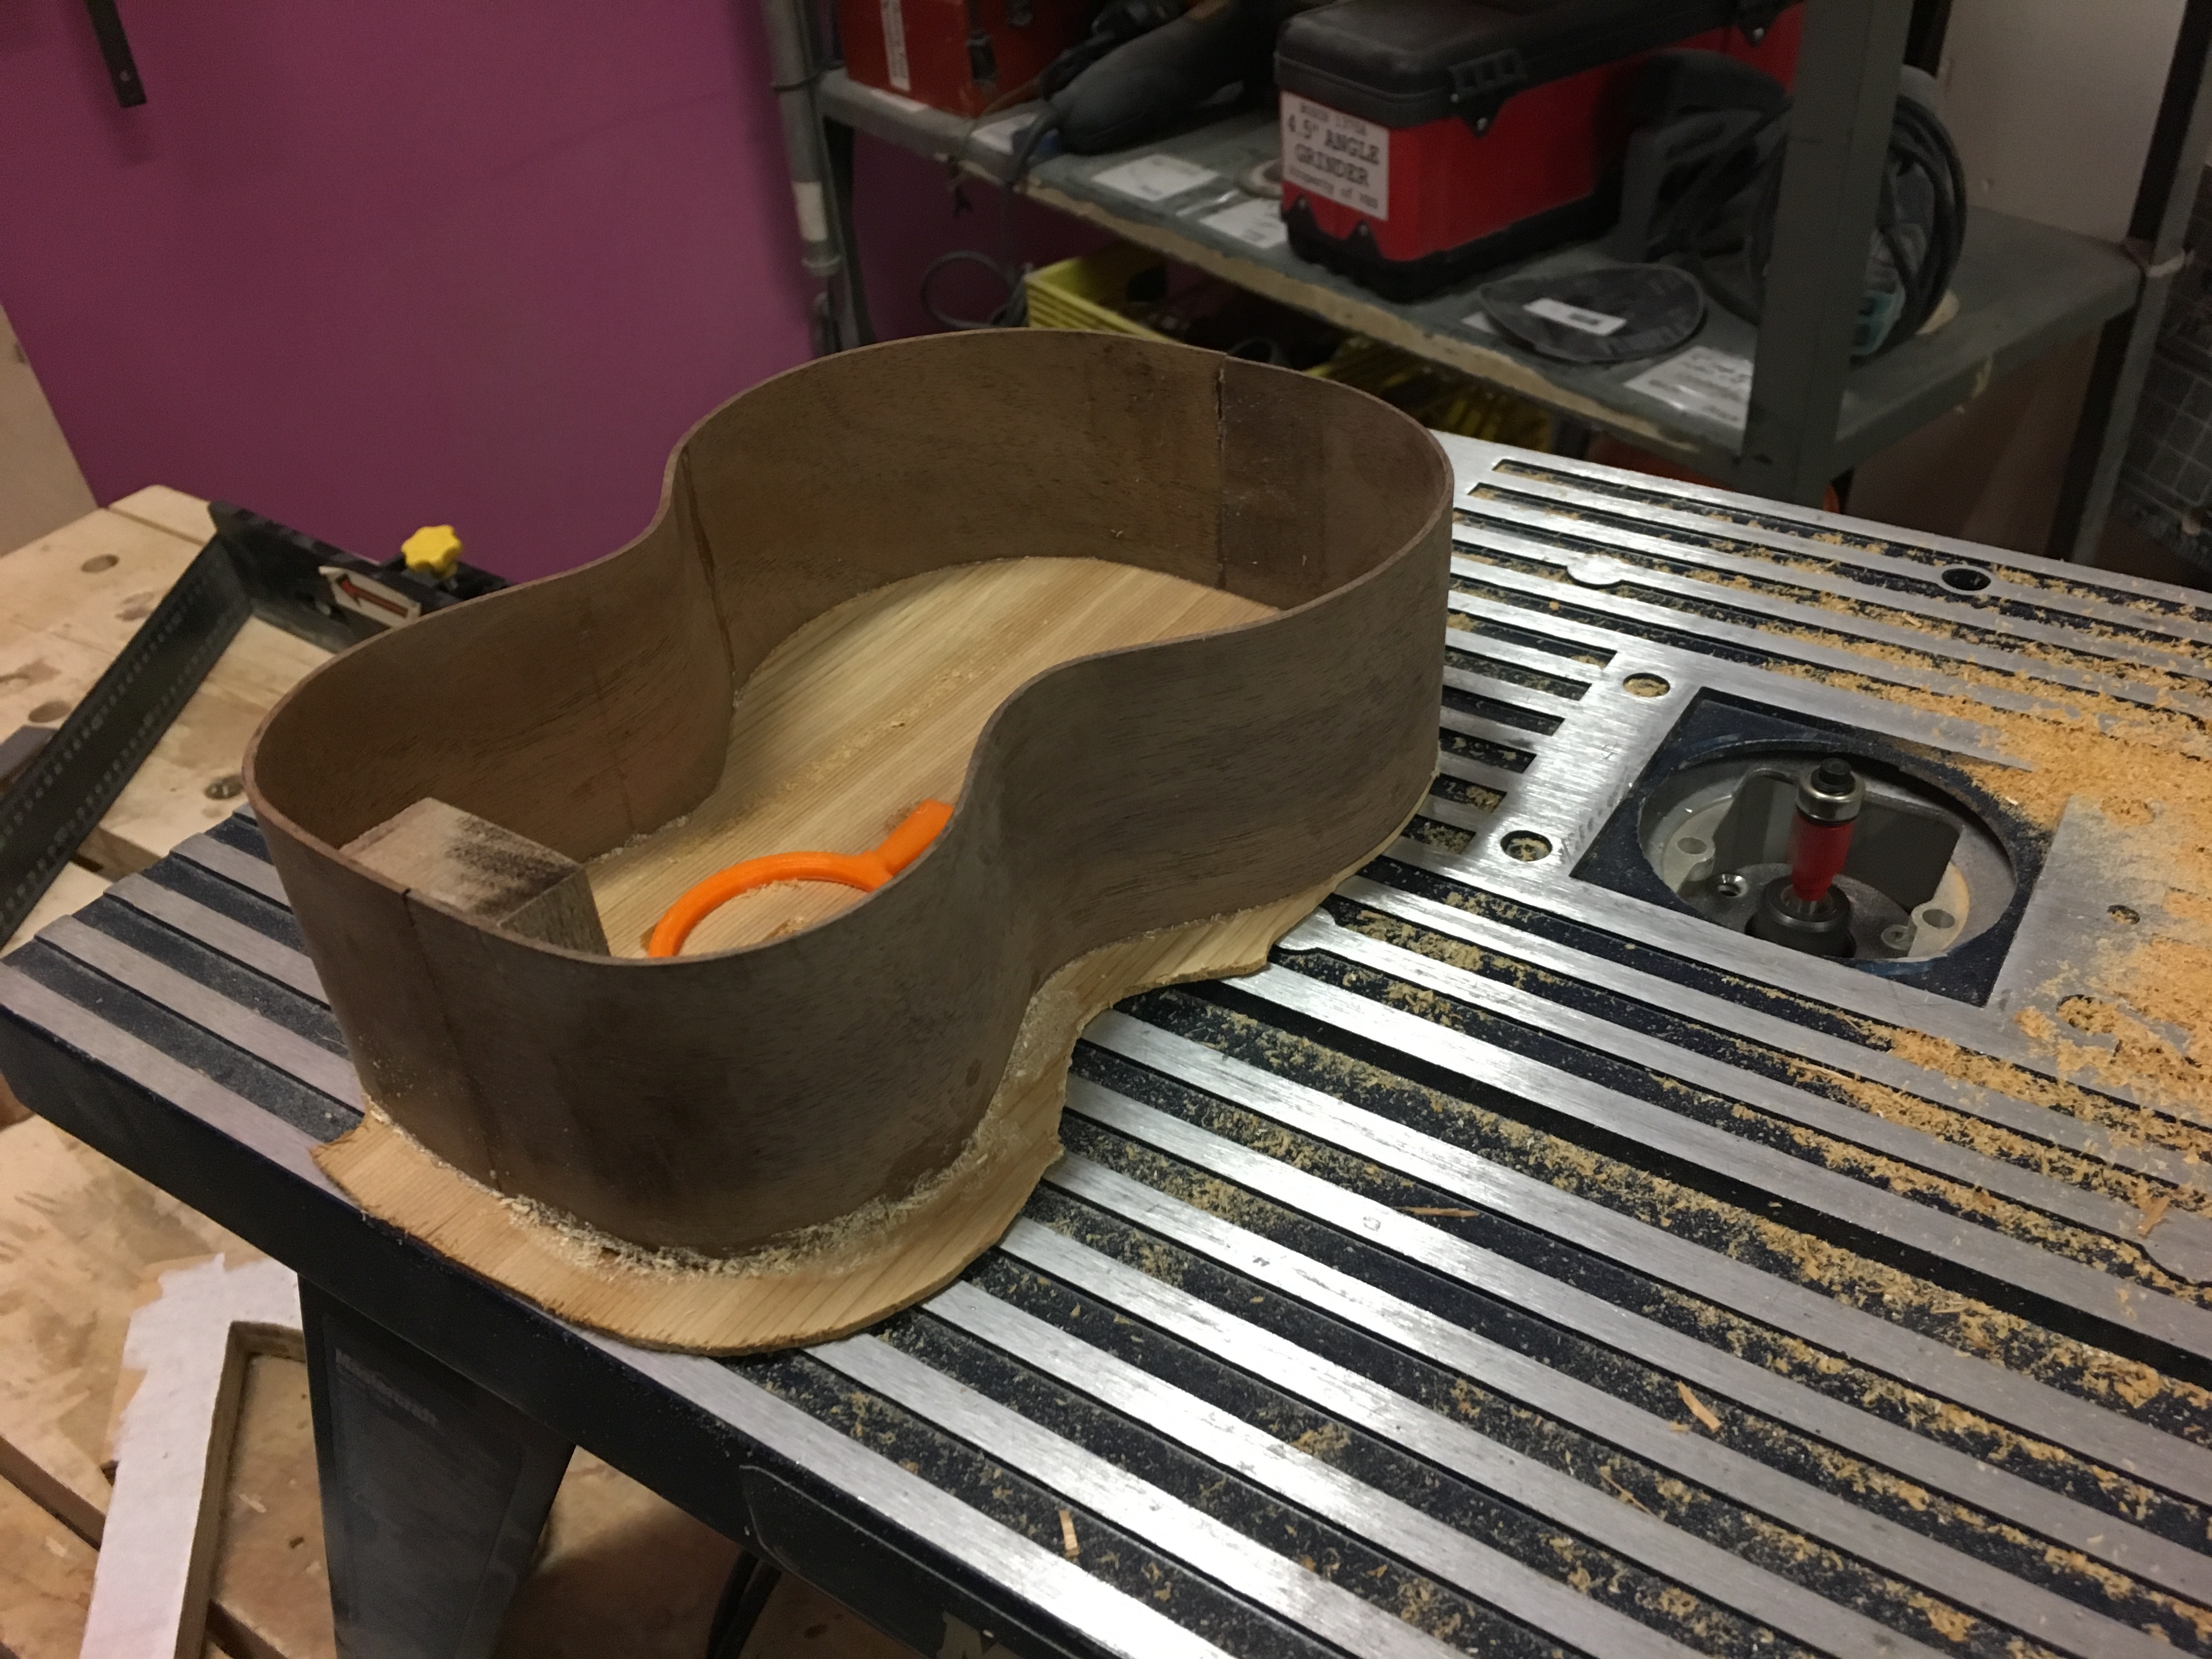
Here’s a shot of all the outside trimmed up and the inside hole completed.
And after a bit of sanding (more to be done)…

Starting to look like an instrument ![]()
10 Likes
Anyone happen to have a rabbet bit set I could use? I’m hoping for a smaller set that can do something close to 1/8th inch.
I’ve decided that I indeed want to do the edge binding.
While buying one would probably be a good long term investment, I’d prefer to buy a 1/2 inch shank for the long term rather than the 1/4th inch shank the VHS routers have.
Thanks!
Binding Bending…
So The first binding I cut too thick (primarily to match the bit that I bought. Turns out that was a bad idea…
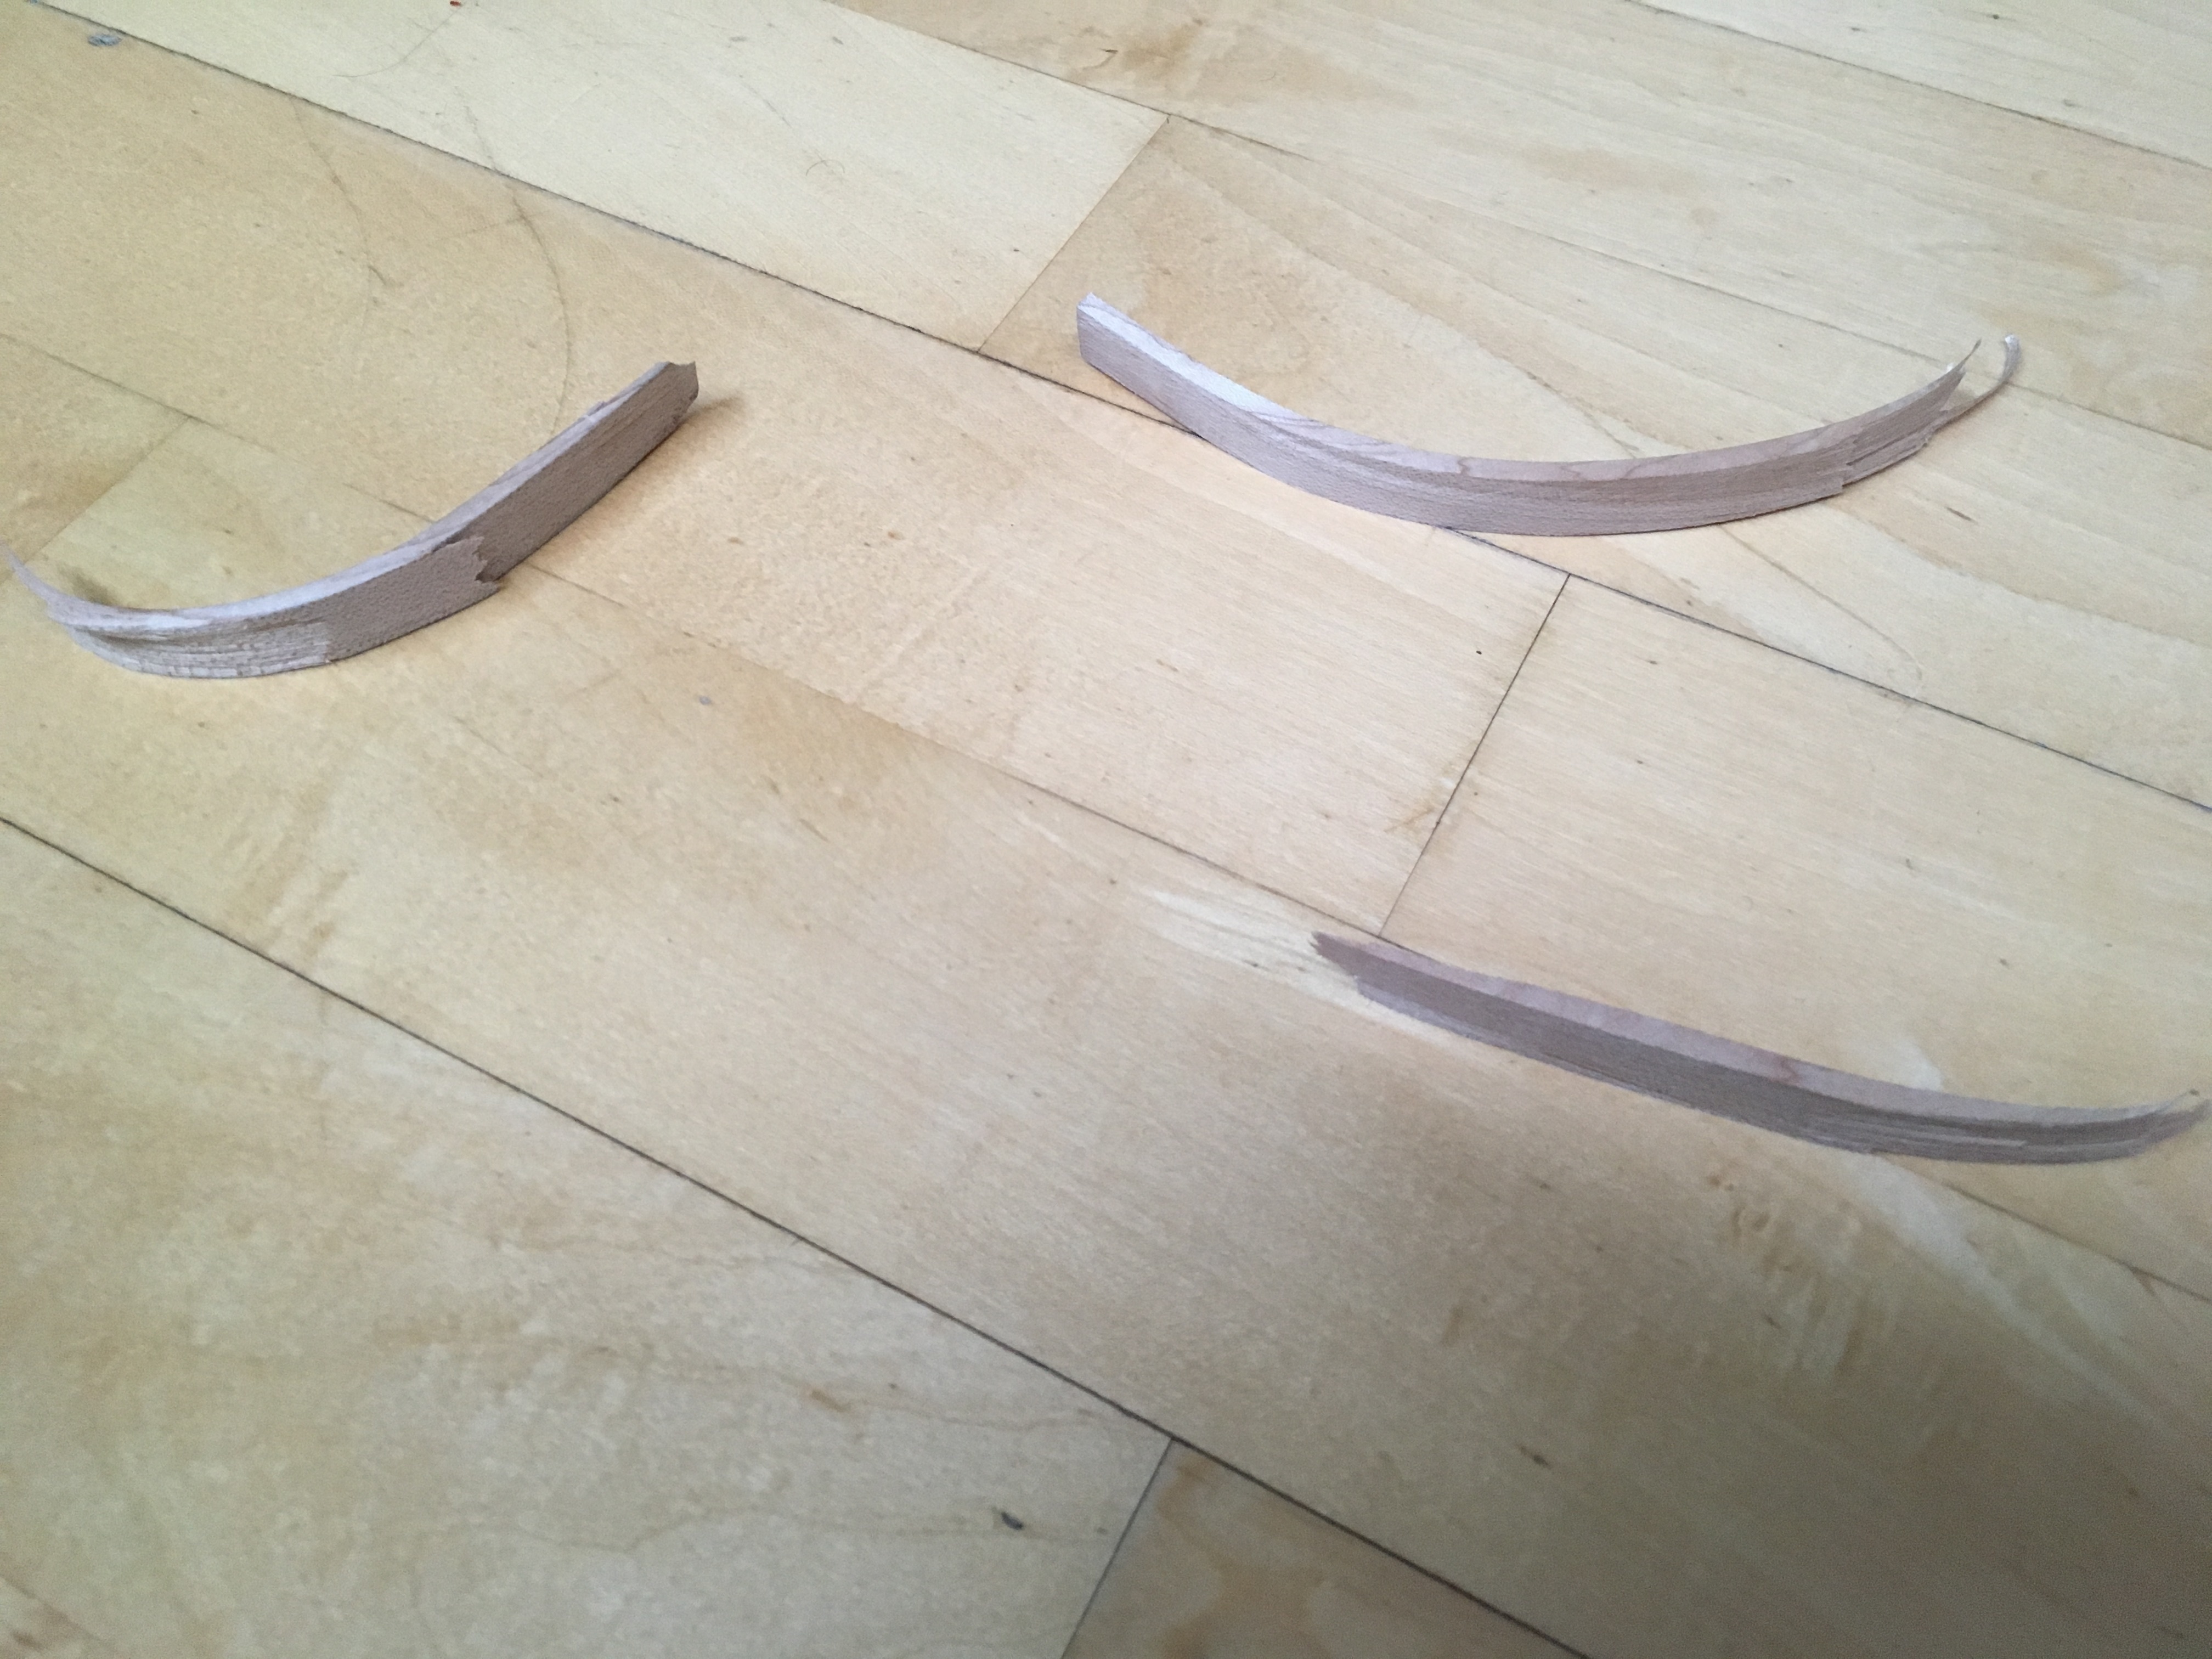
4 hours of bending a 3 snaps later I gave up.
I cut an appropriate size tonight and had a hand at bending my new bindings. I’m doing quite well, but taking a break tonight. Here’s where I stopped.
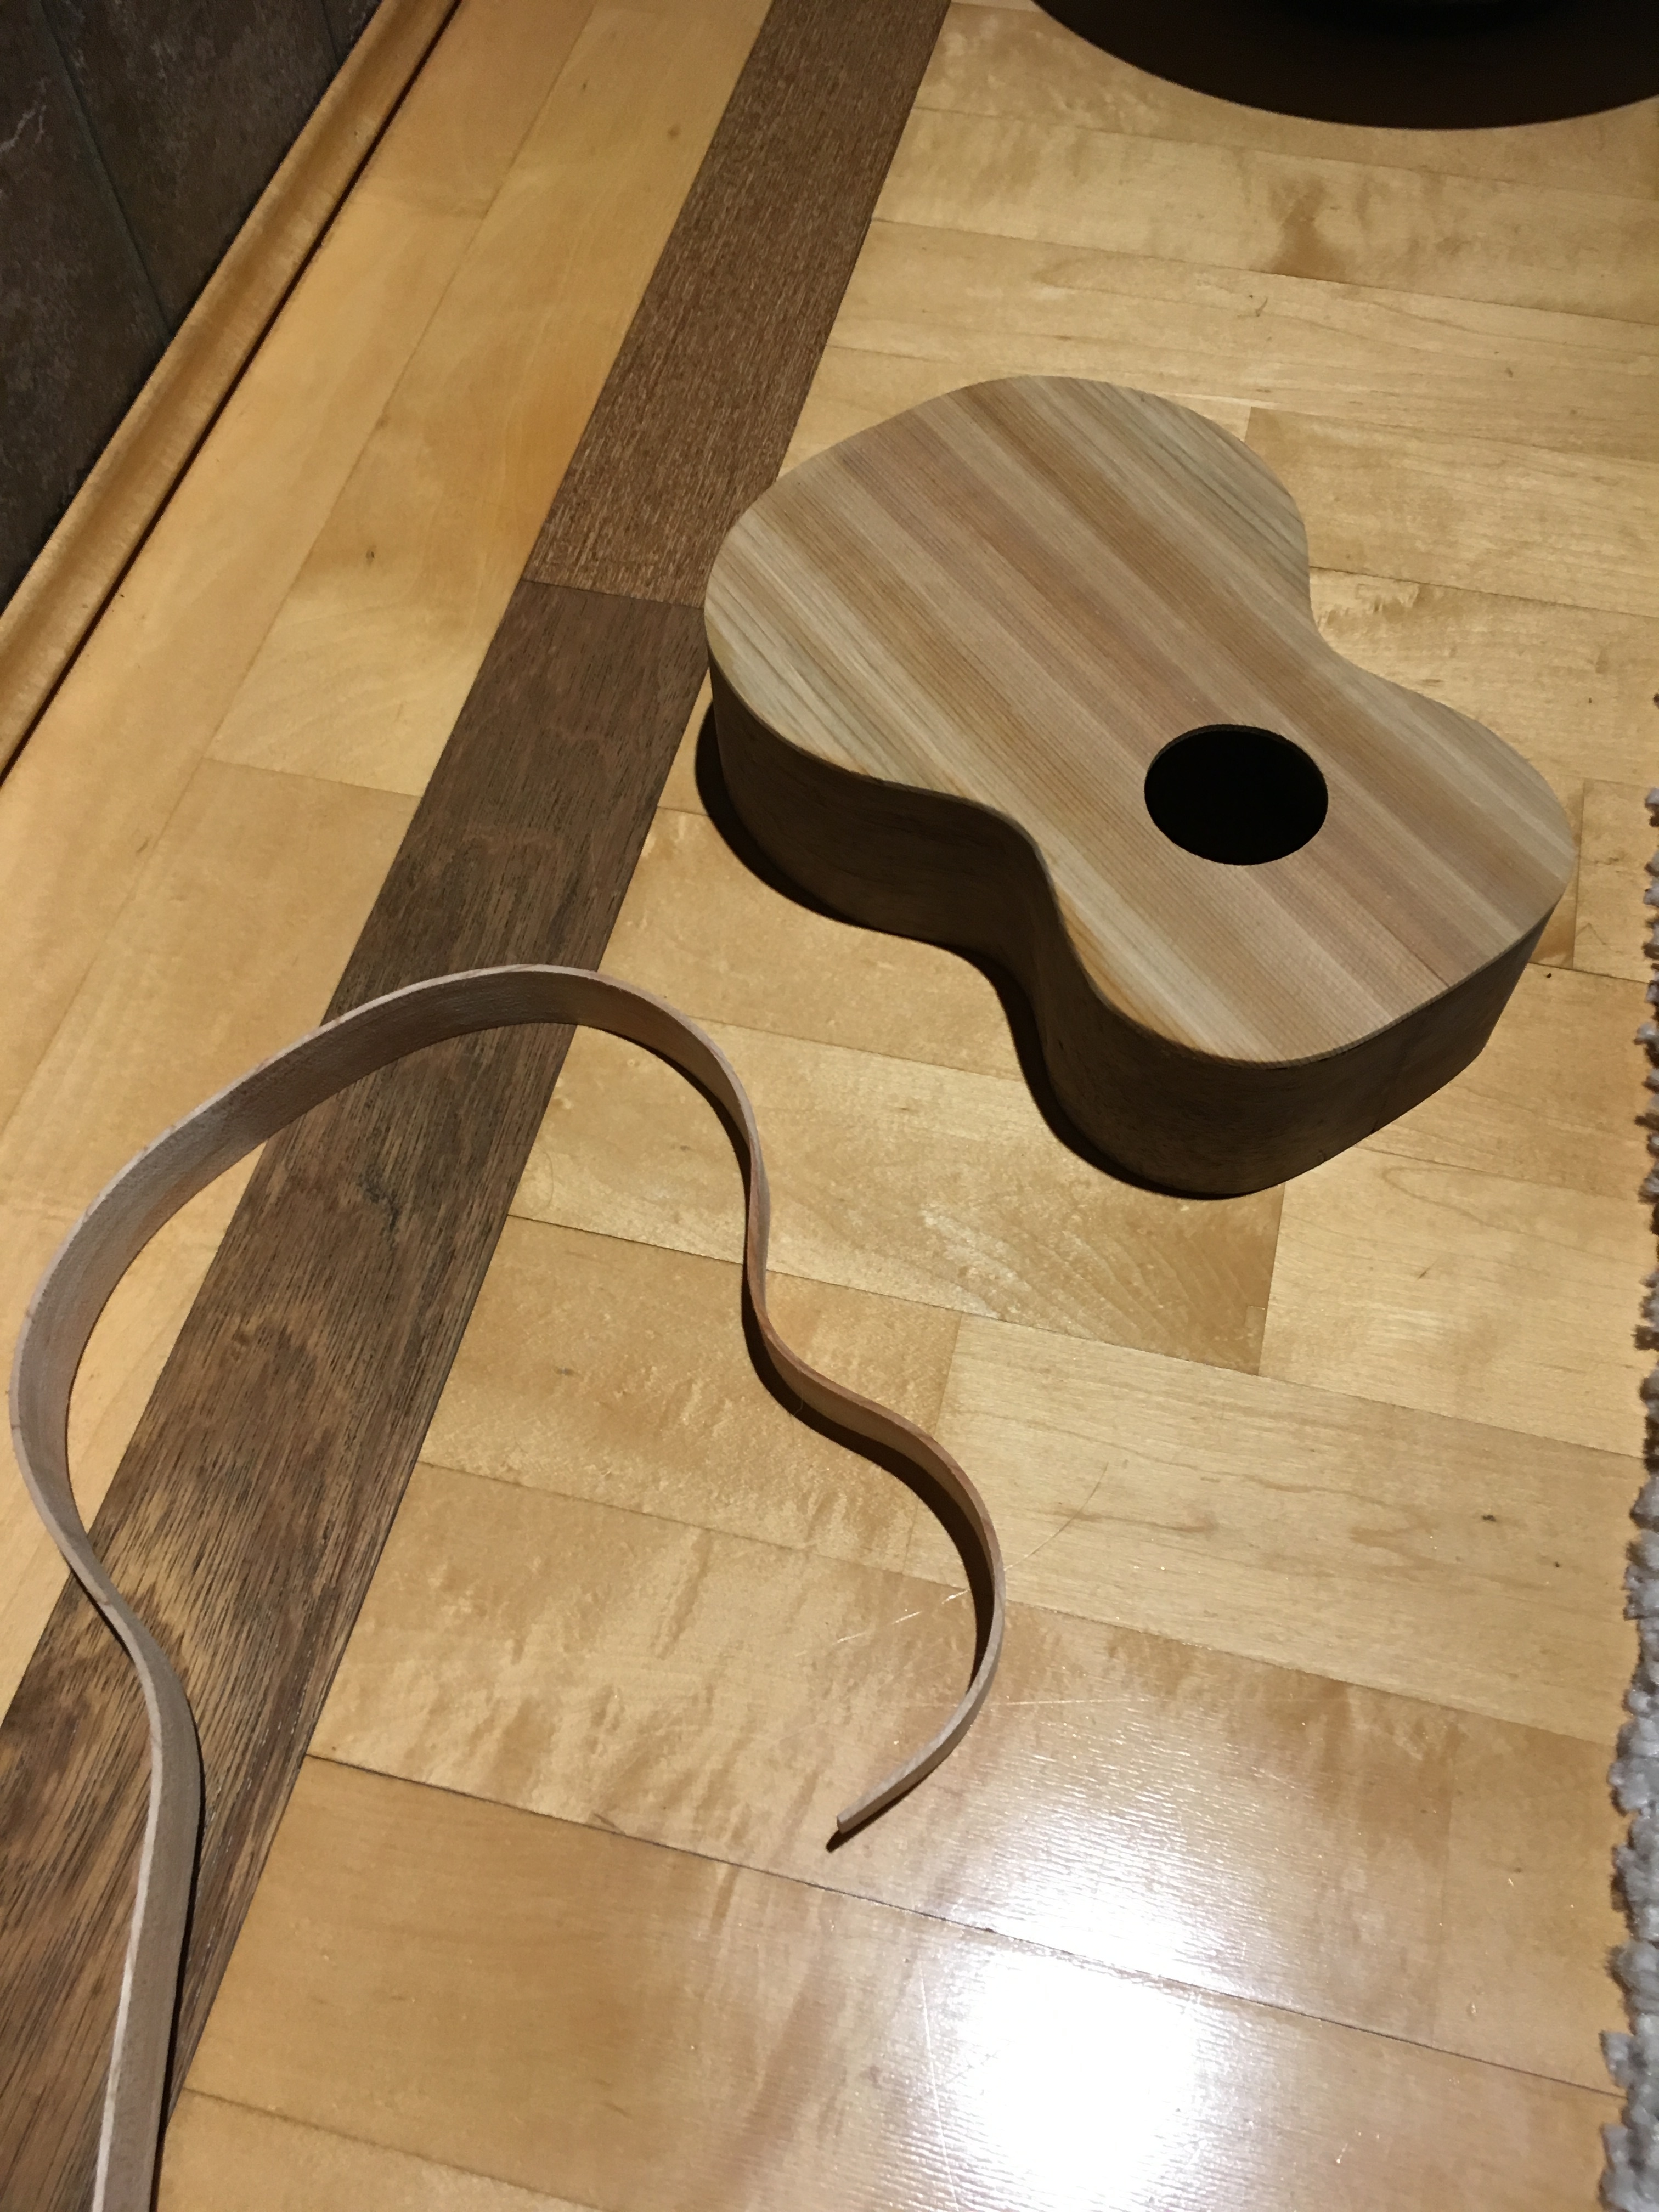
I’ll pick it up again tomorrow.
6 Likes