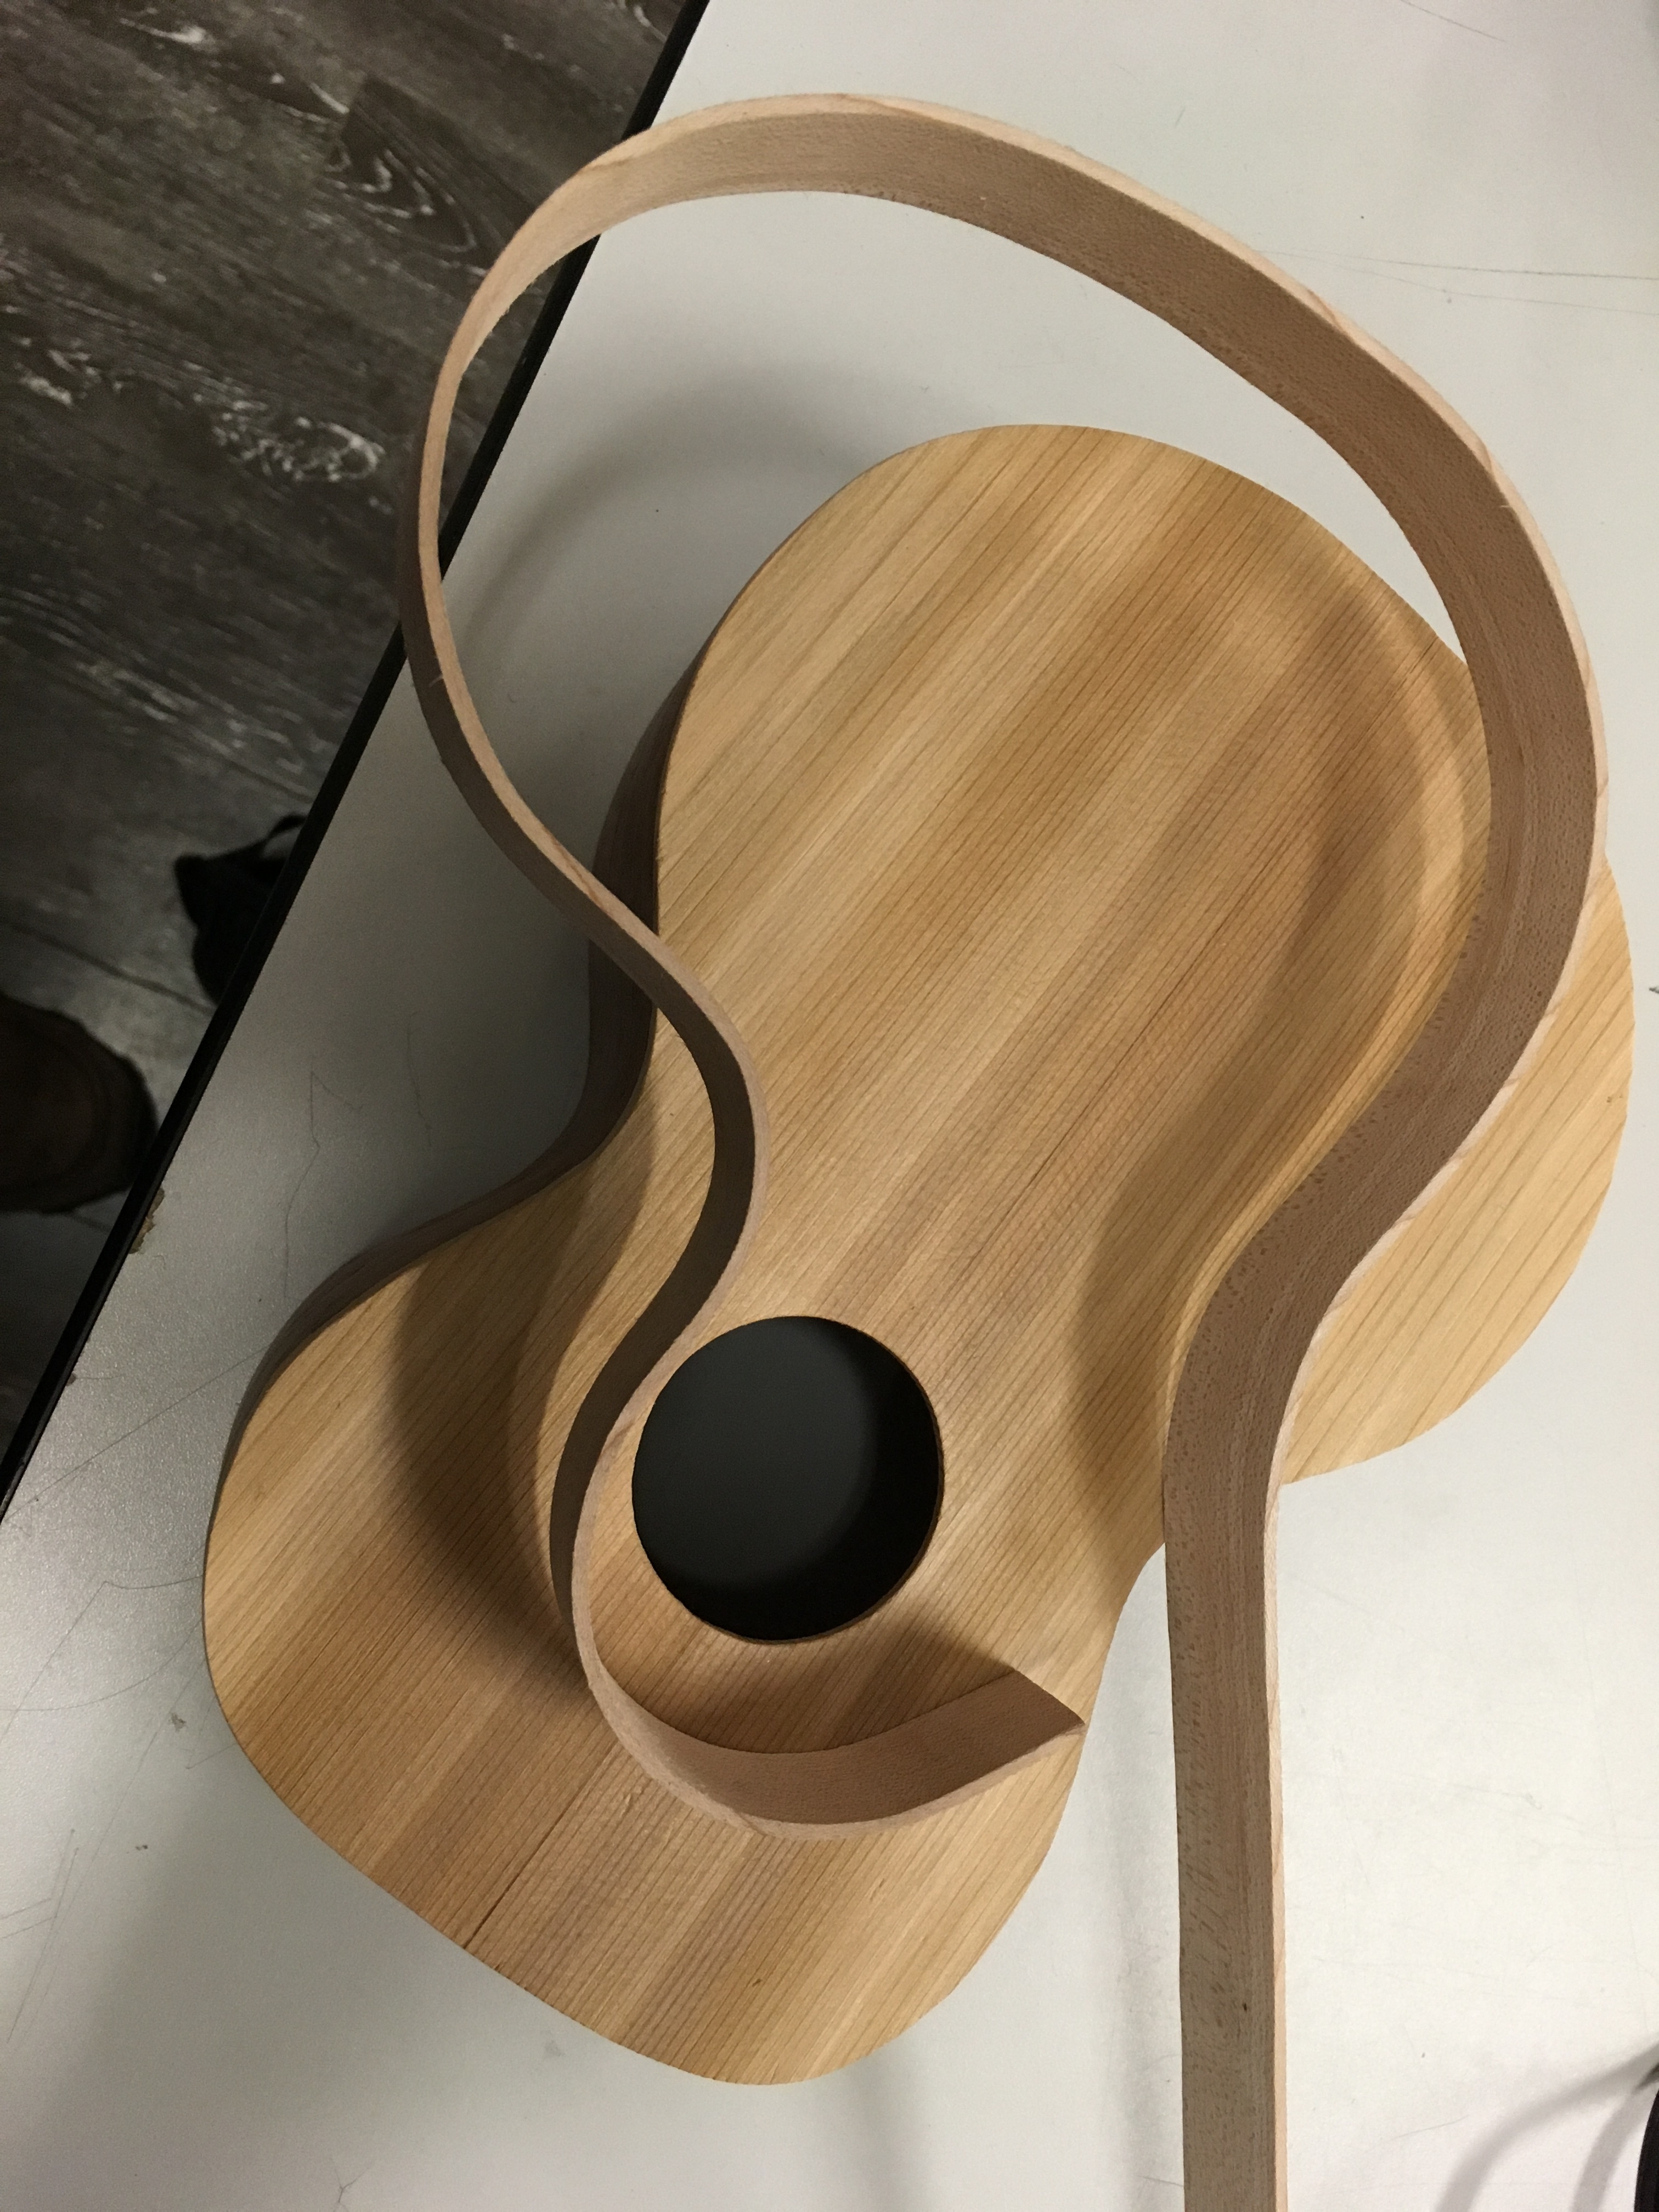
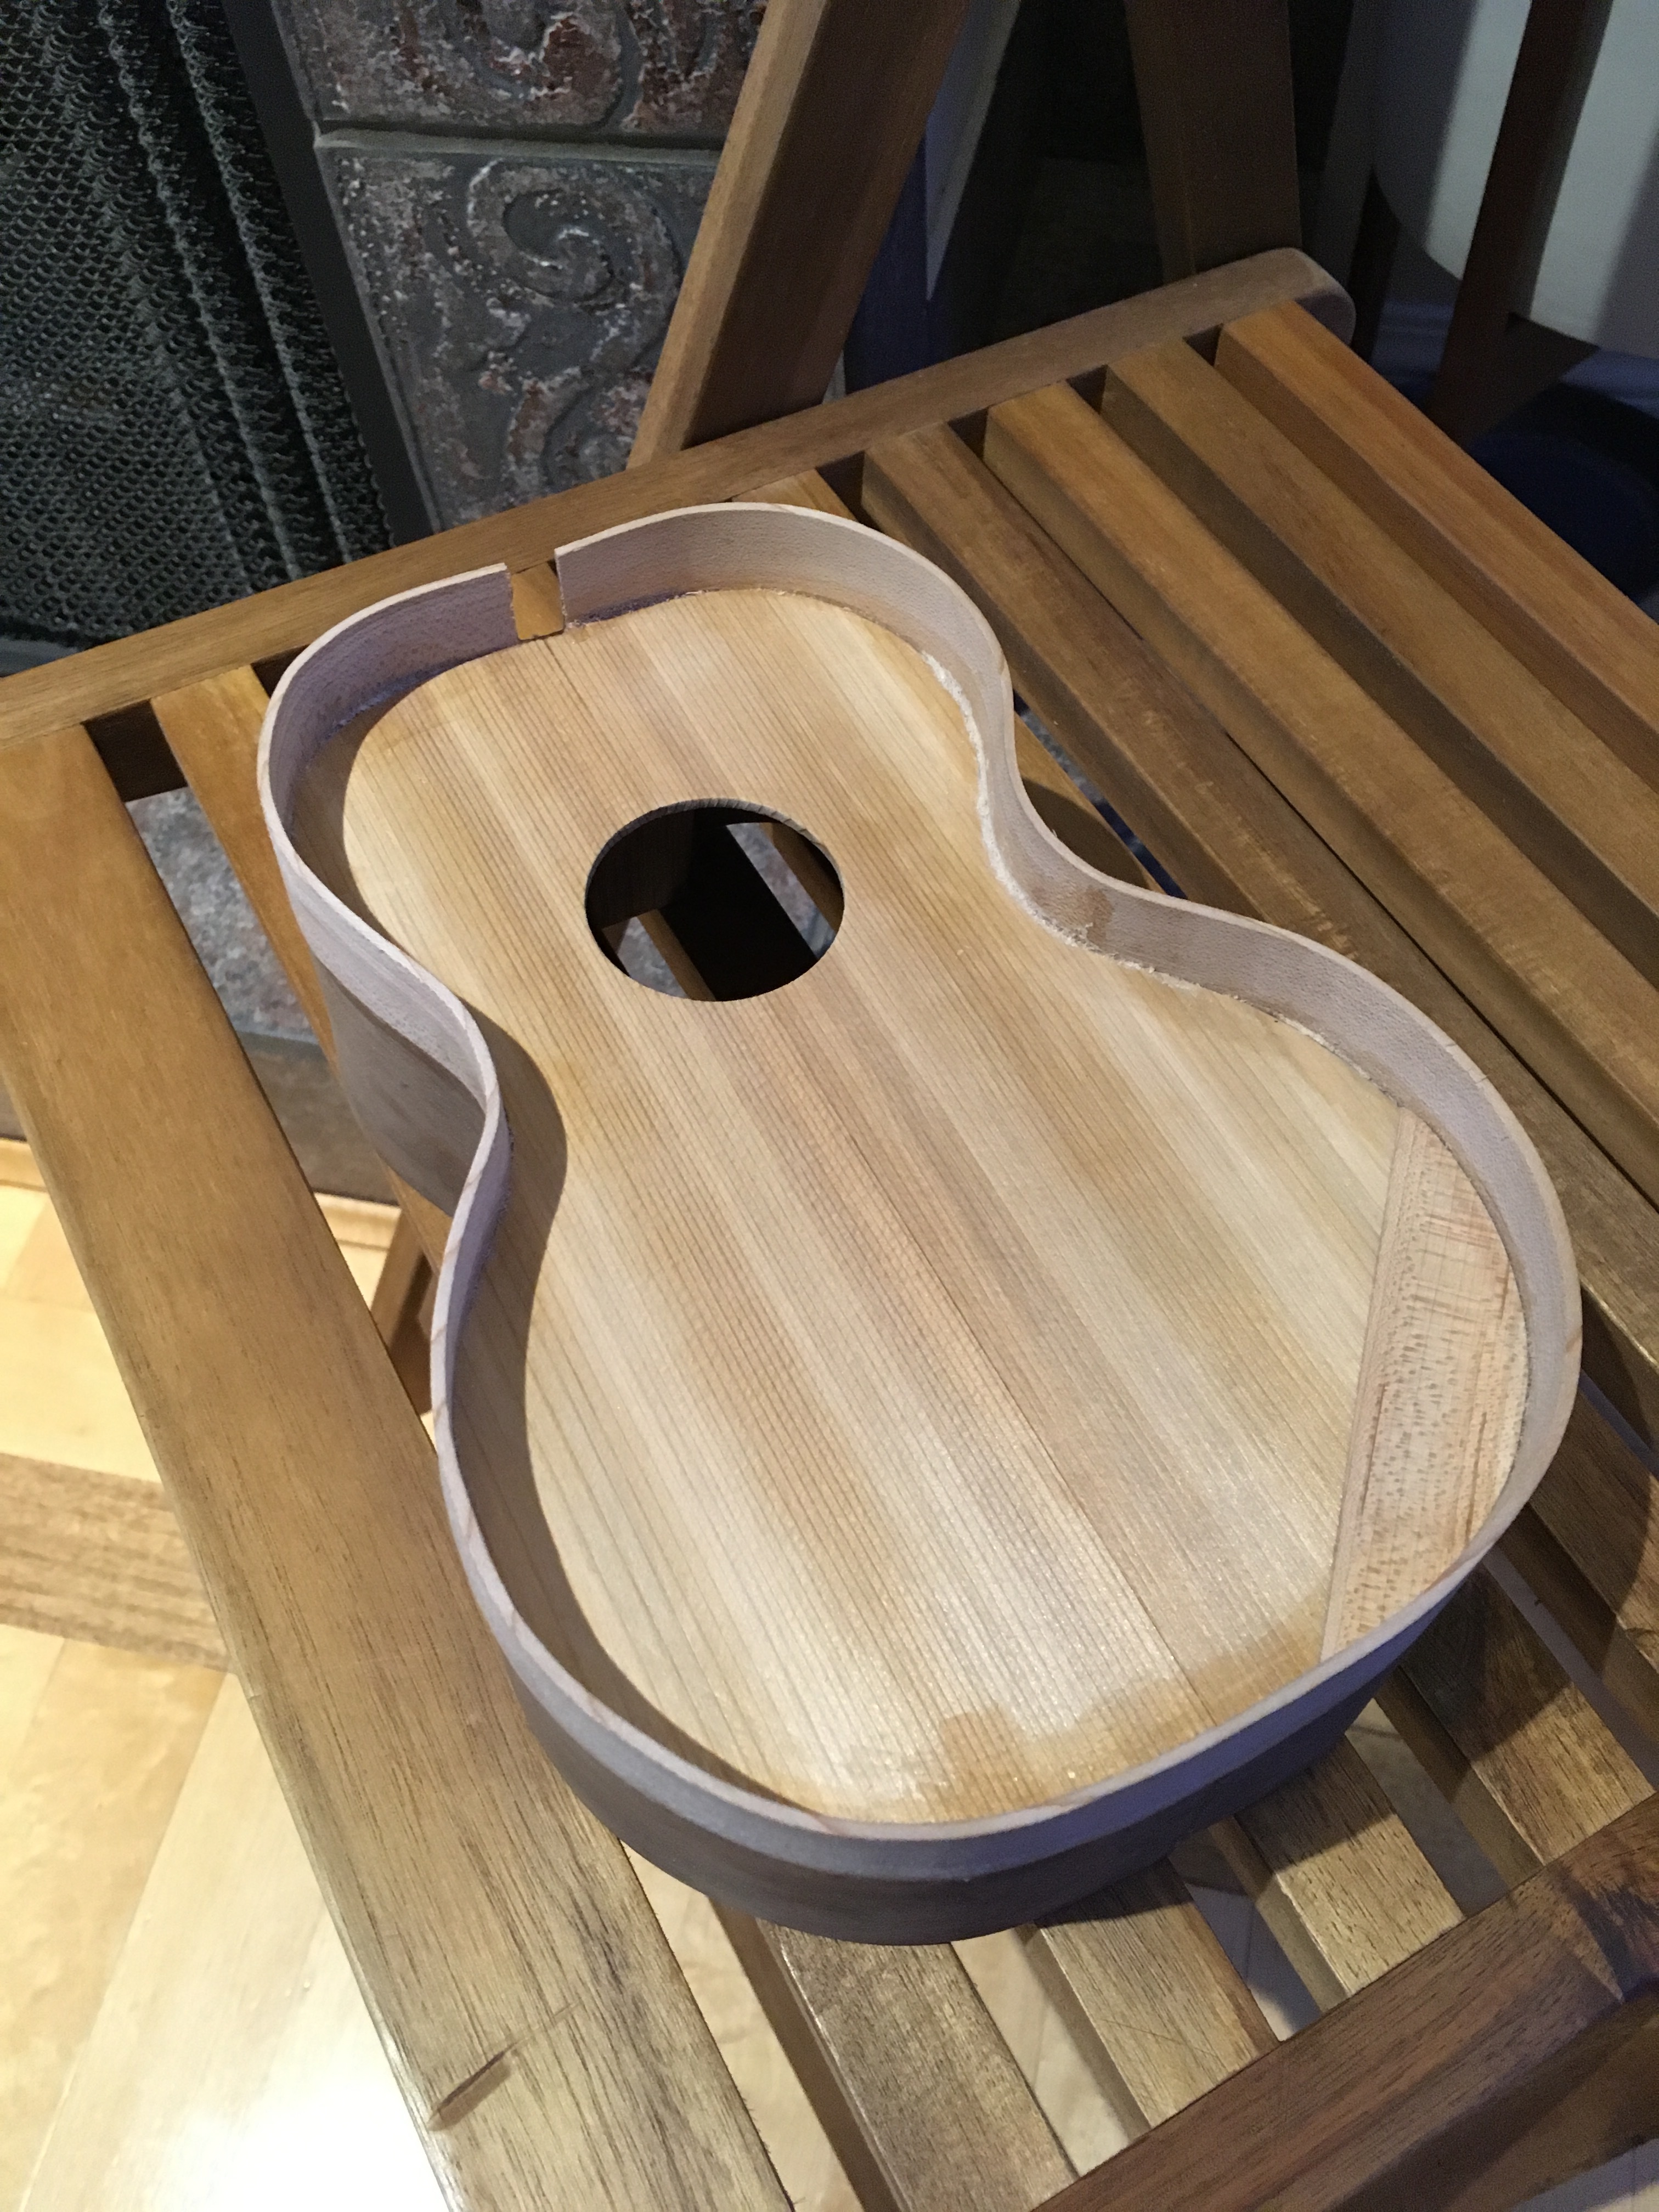
Today was exciting, and heartbreaking, and satisfying. While holding the space open for the VTL lathe classes, I worked on my Ukulele.
When I took all the parts out of my bag, one interesting thing is that overnight most of the bends had actually tightened. I would have expected them to straighten out of anything.
I was frustrated, but recognized I had to go forward, so I gripped a bit harder and finished the cut (after swearing a bit, sorry for those who heard me).
I kept going to finish the edge binding, and decided to cut a little end-cap to cover my mistake.
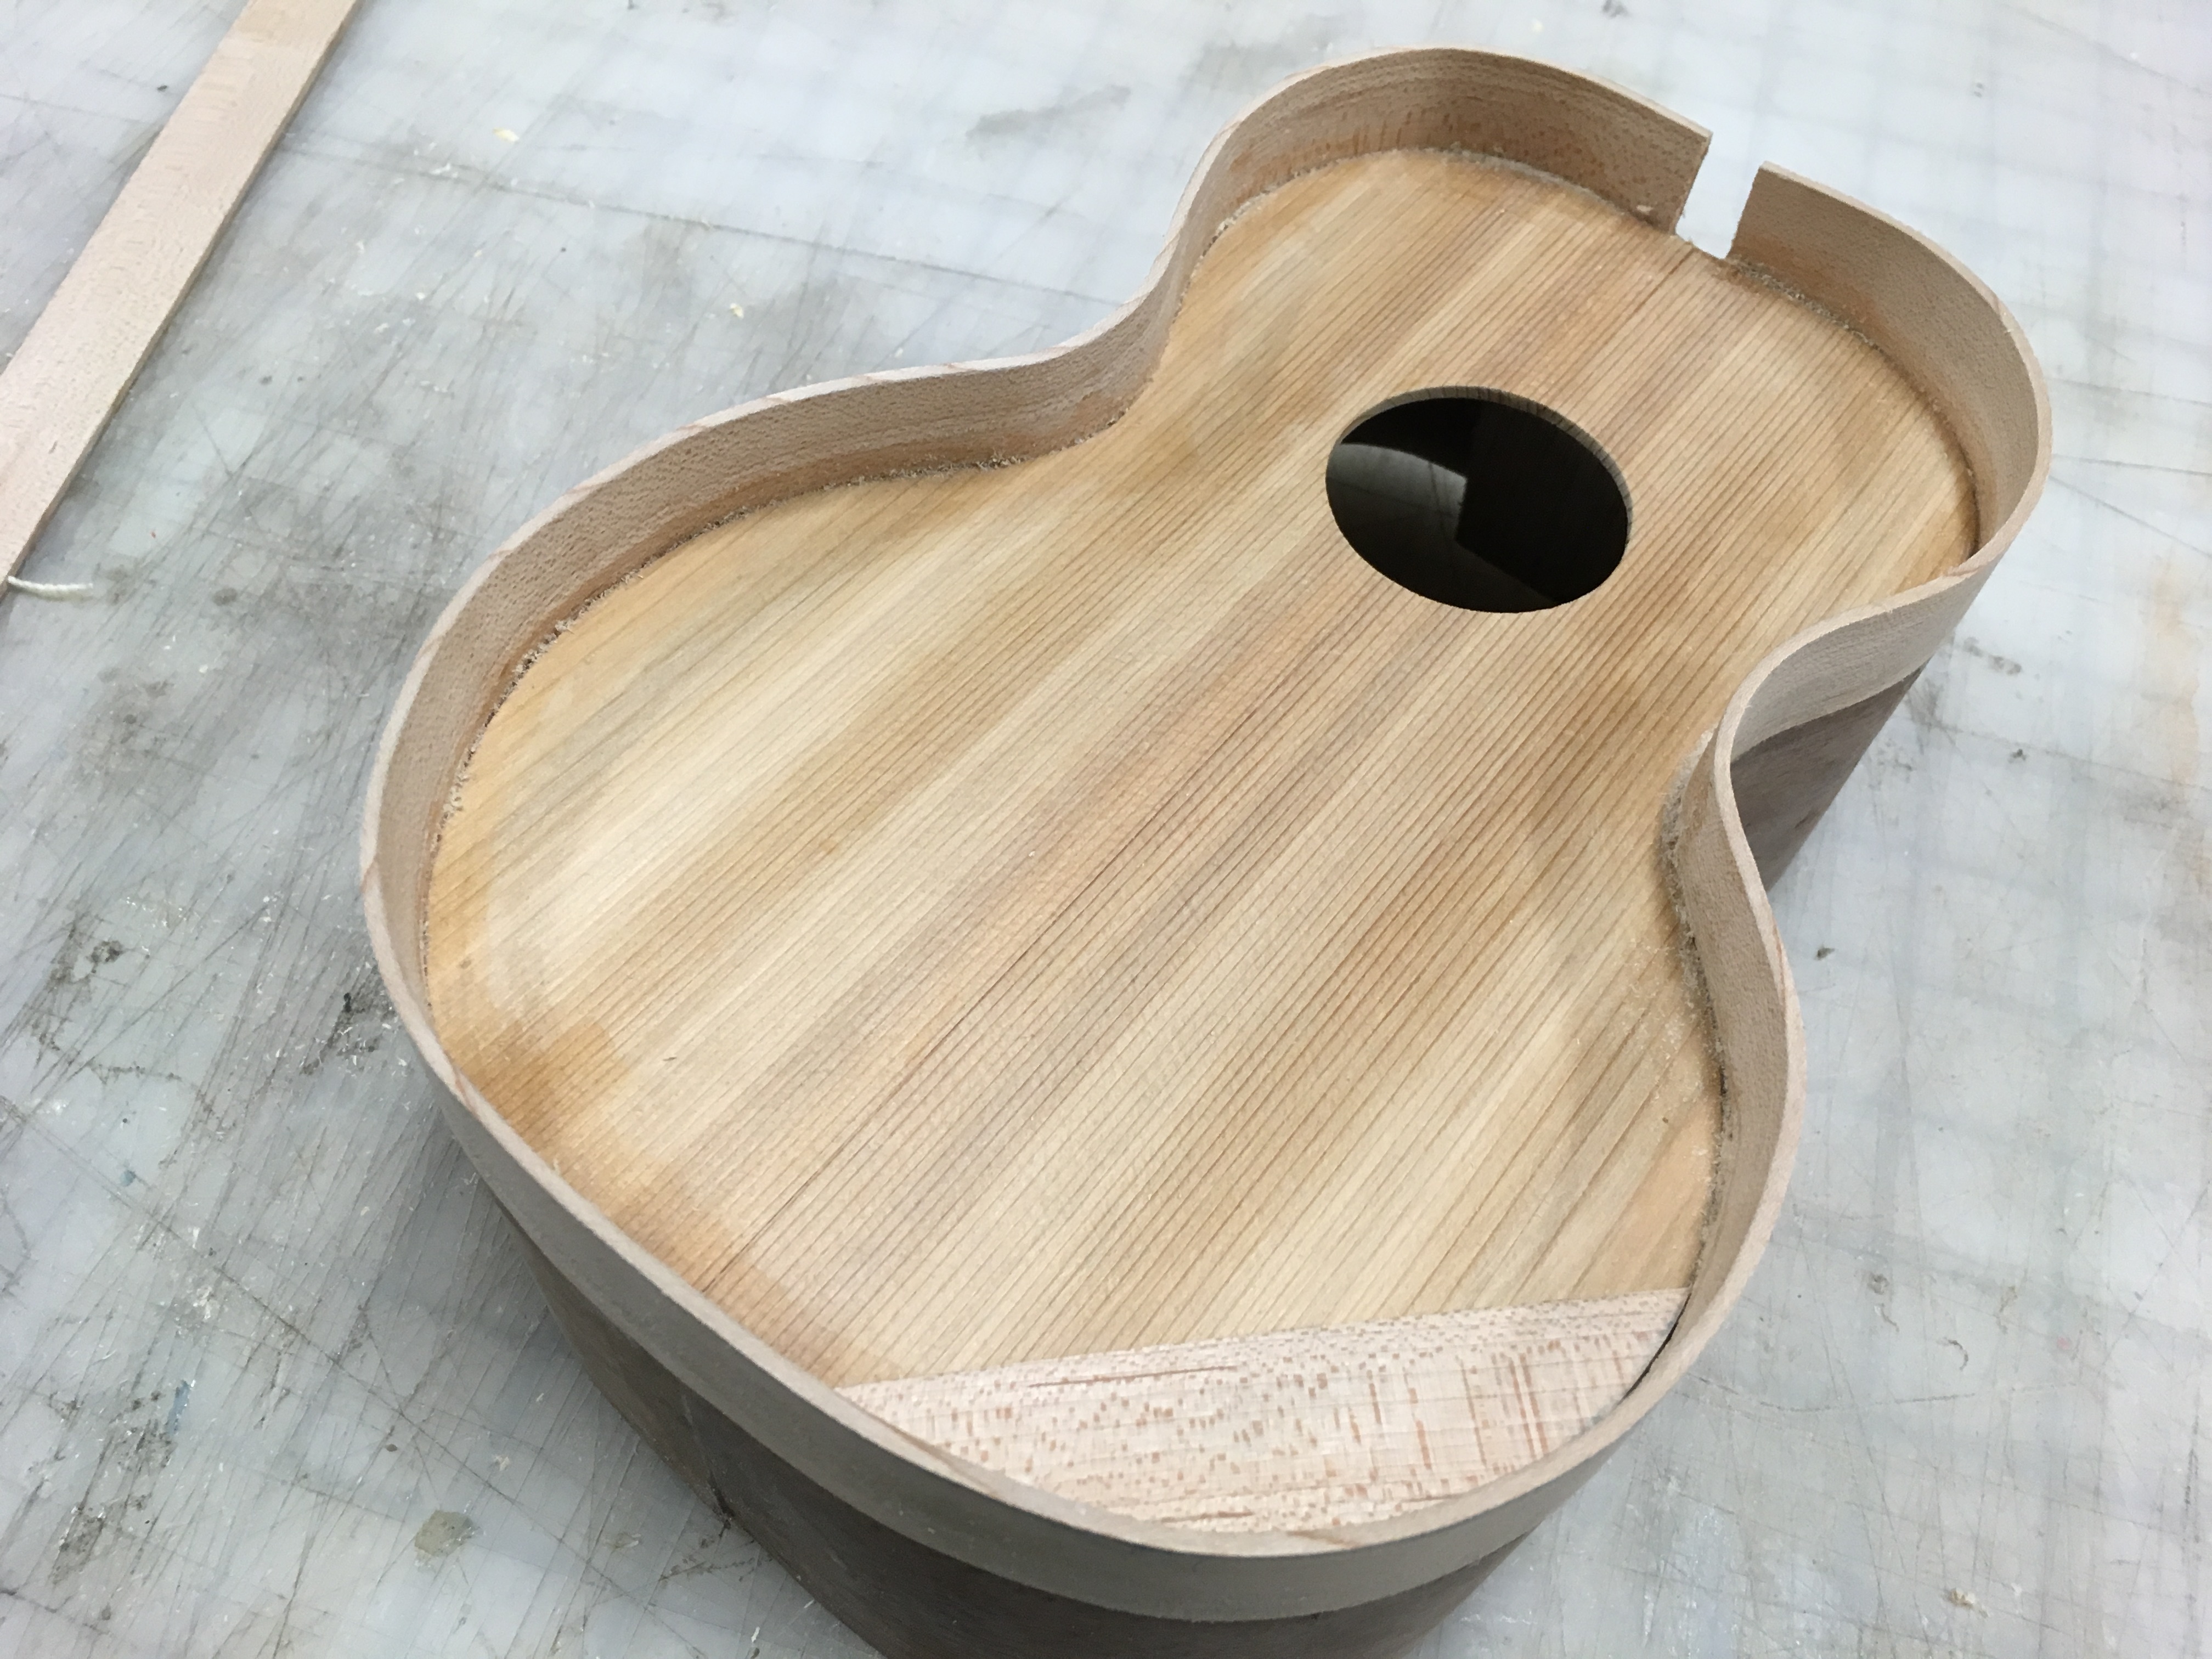
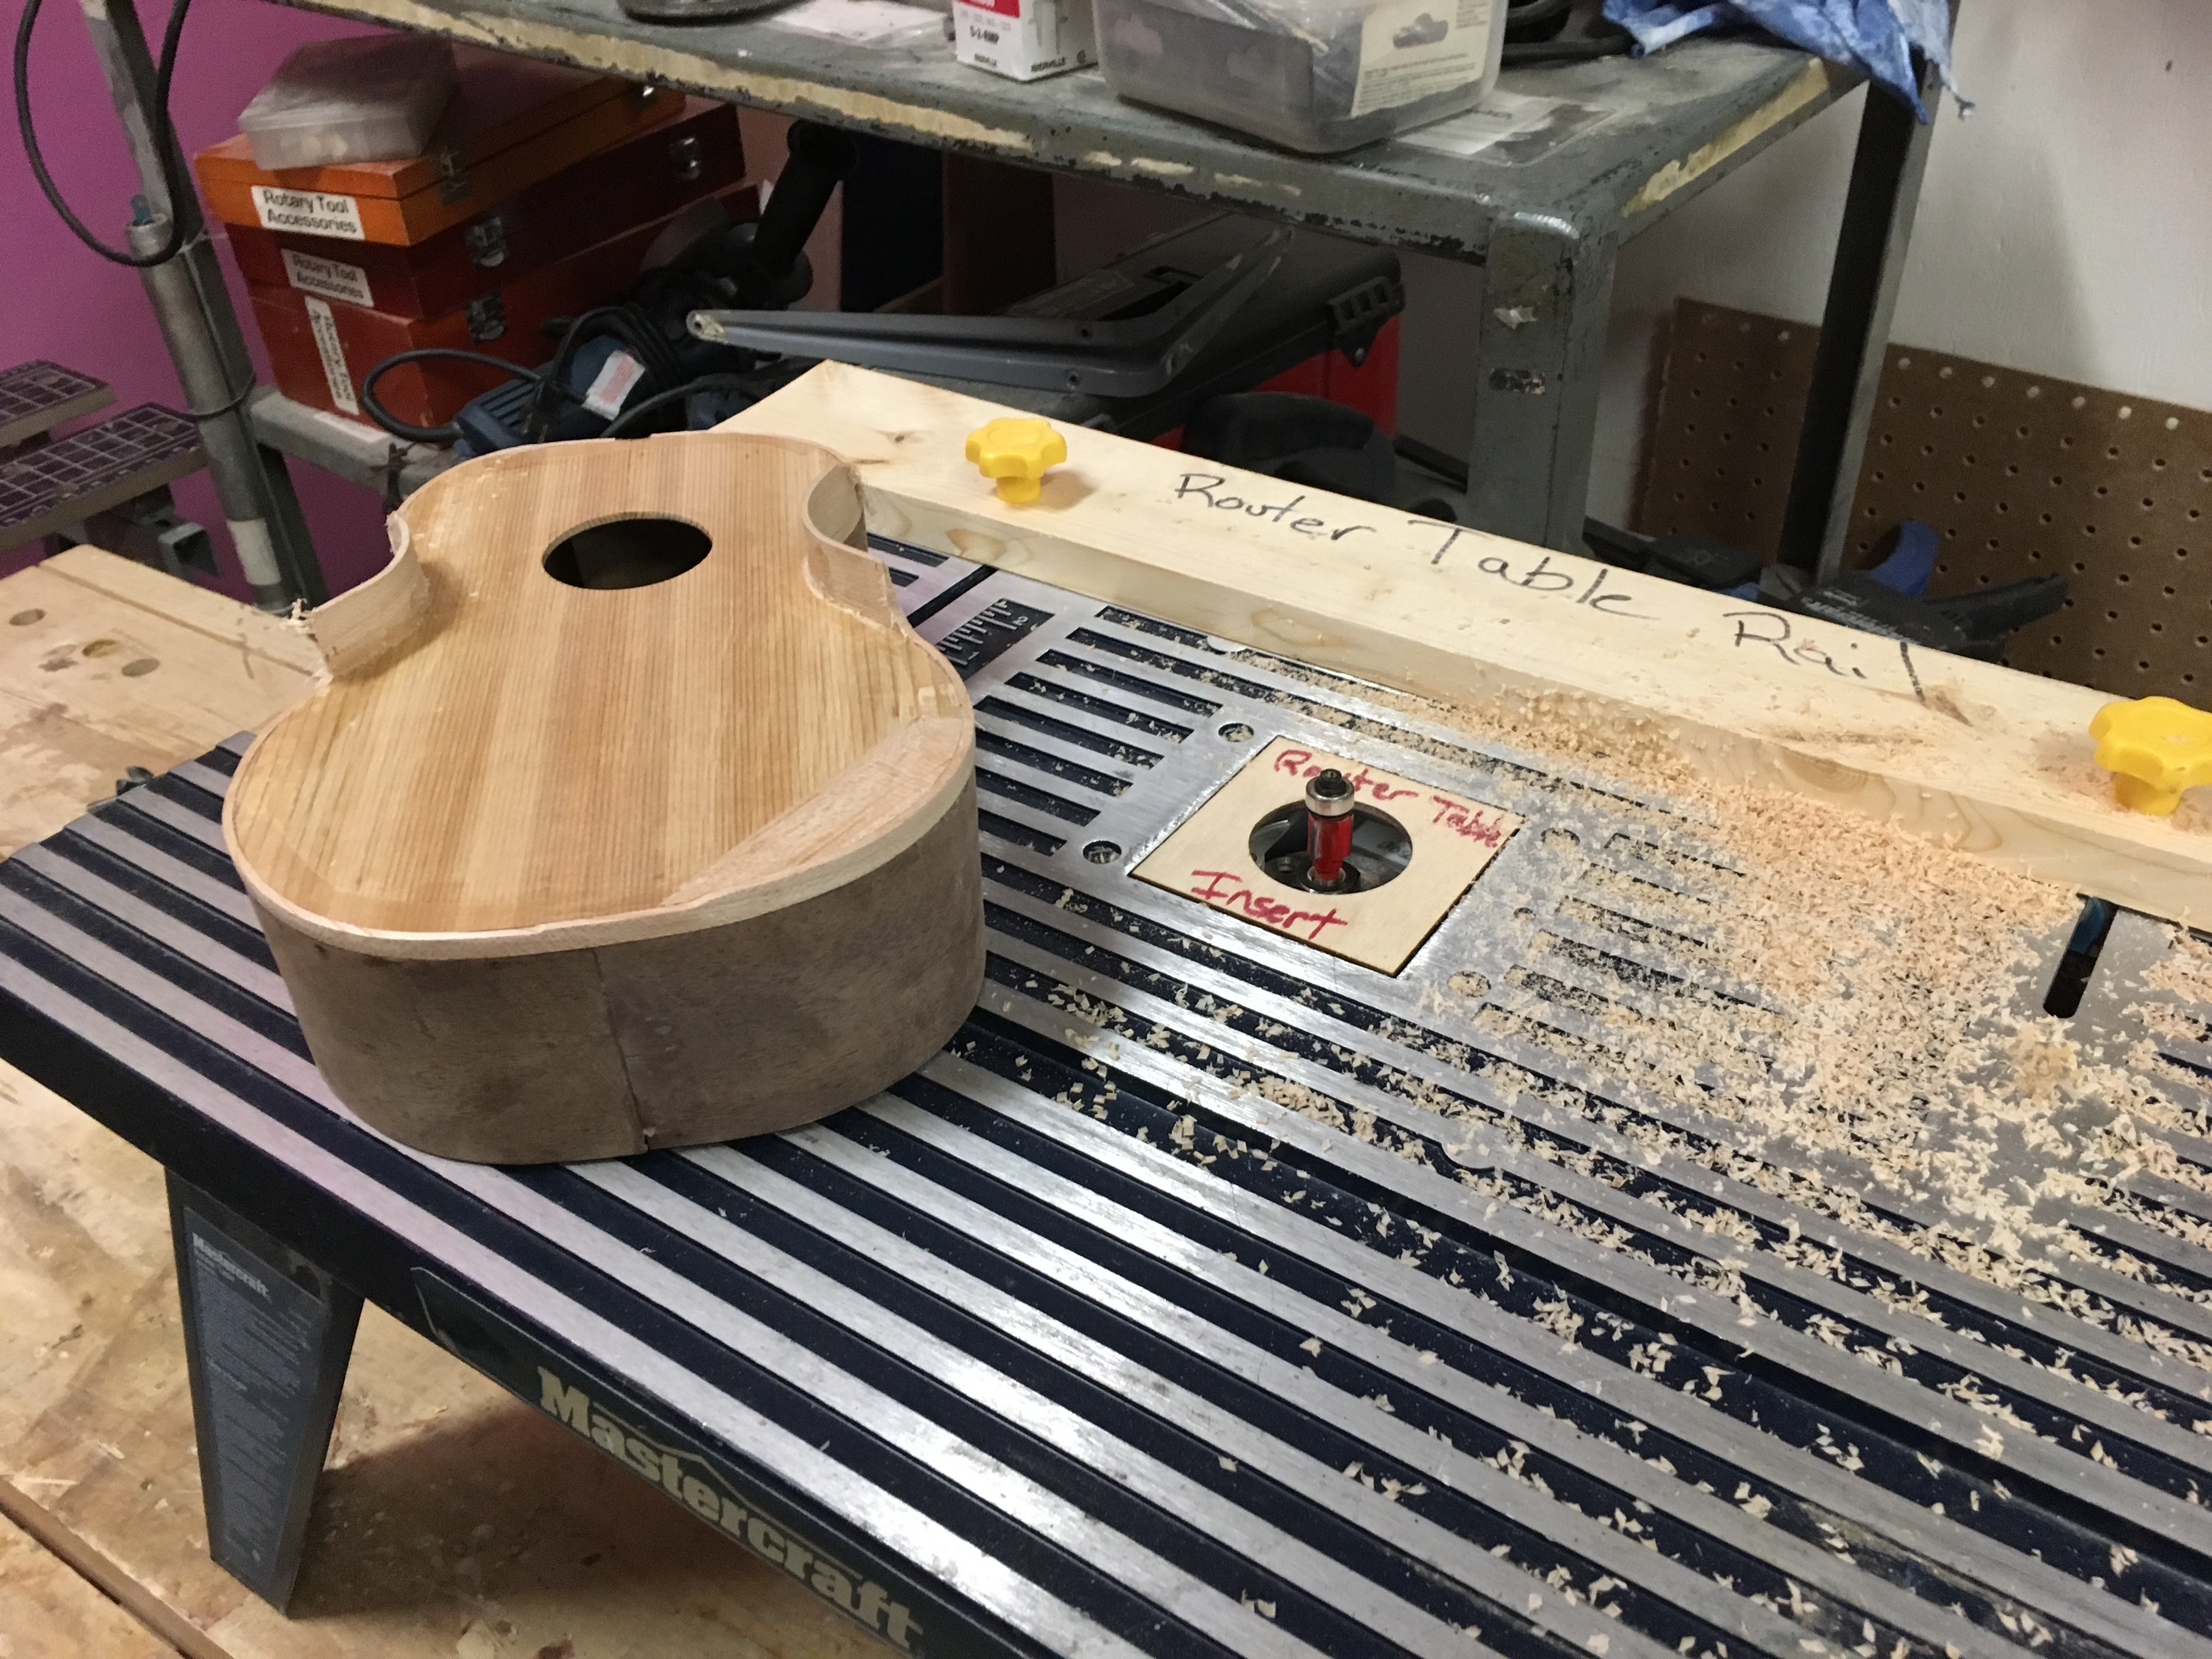
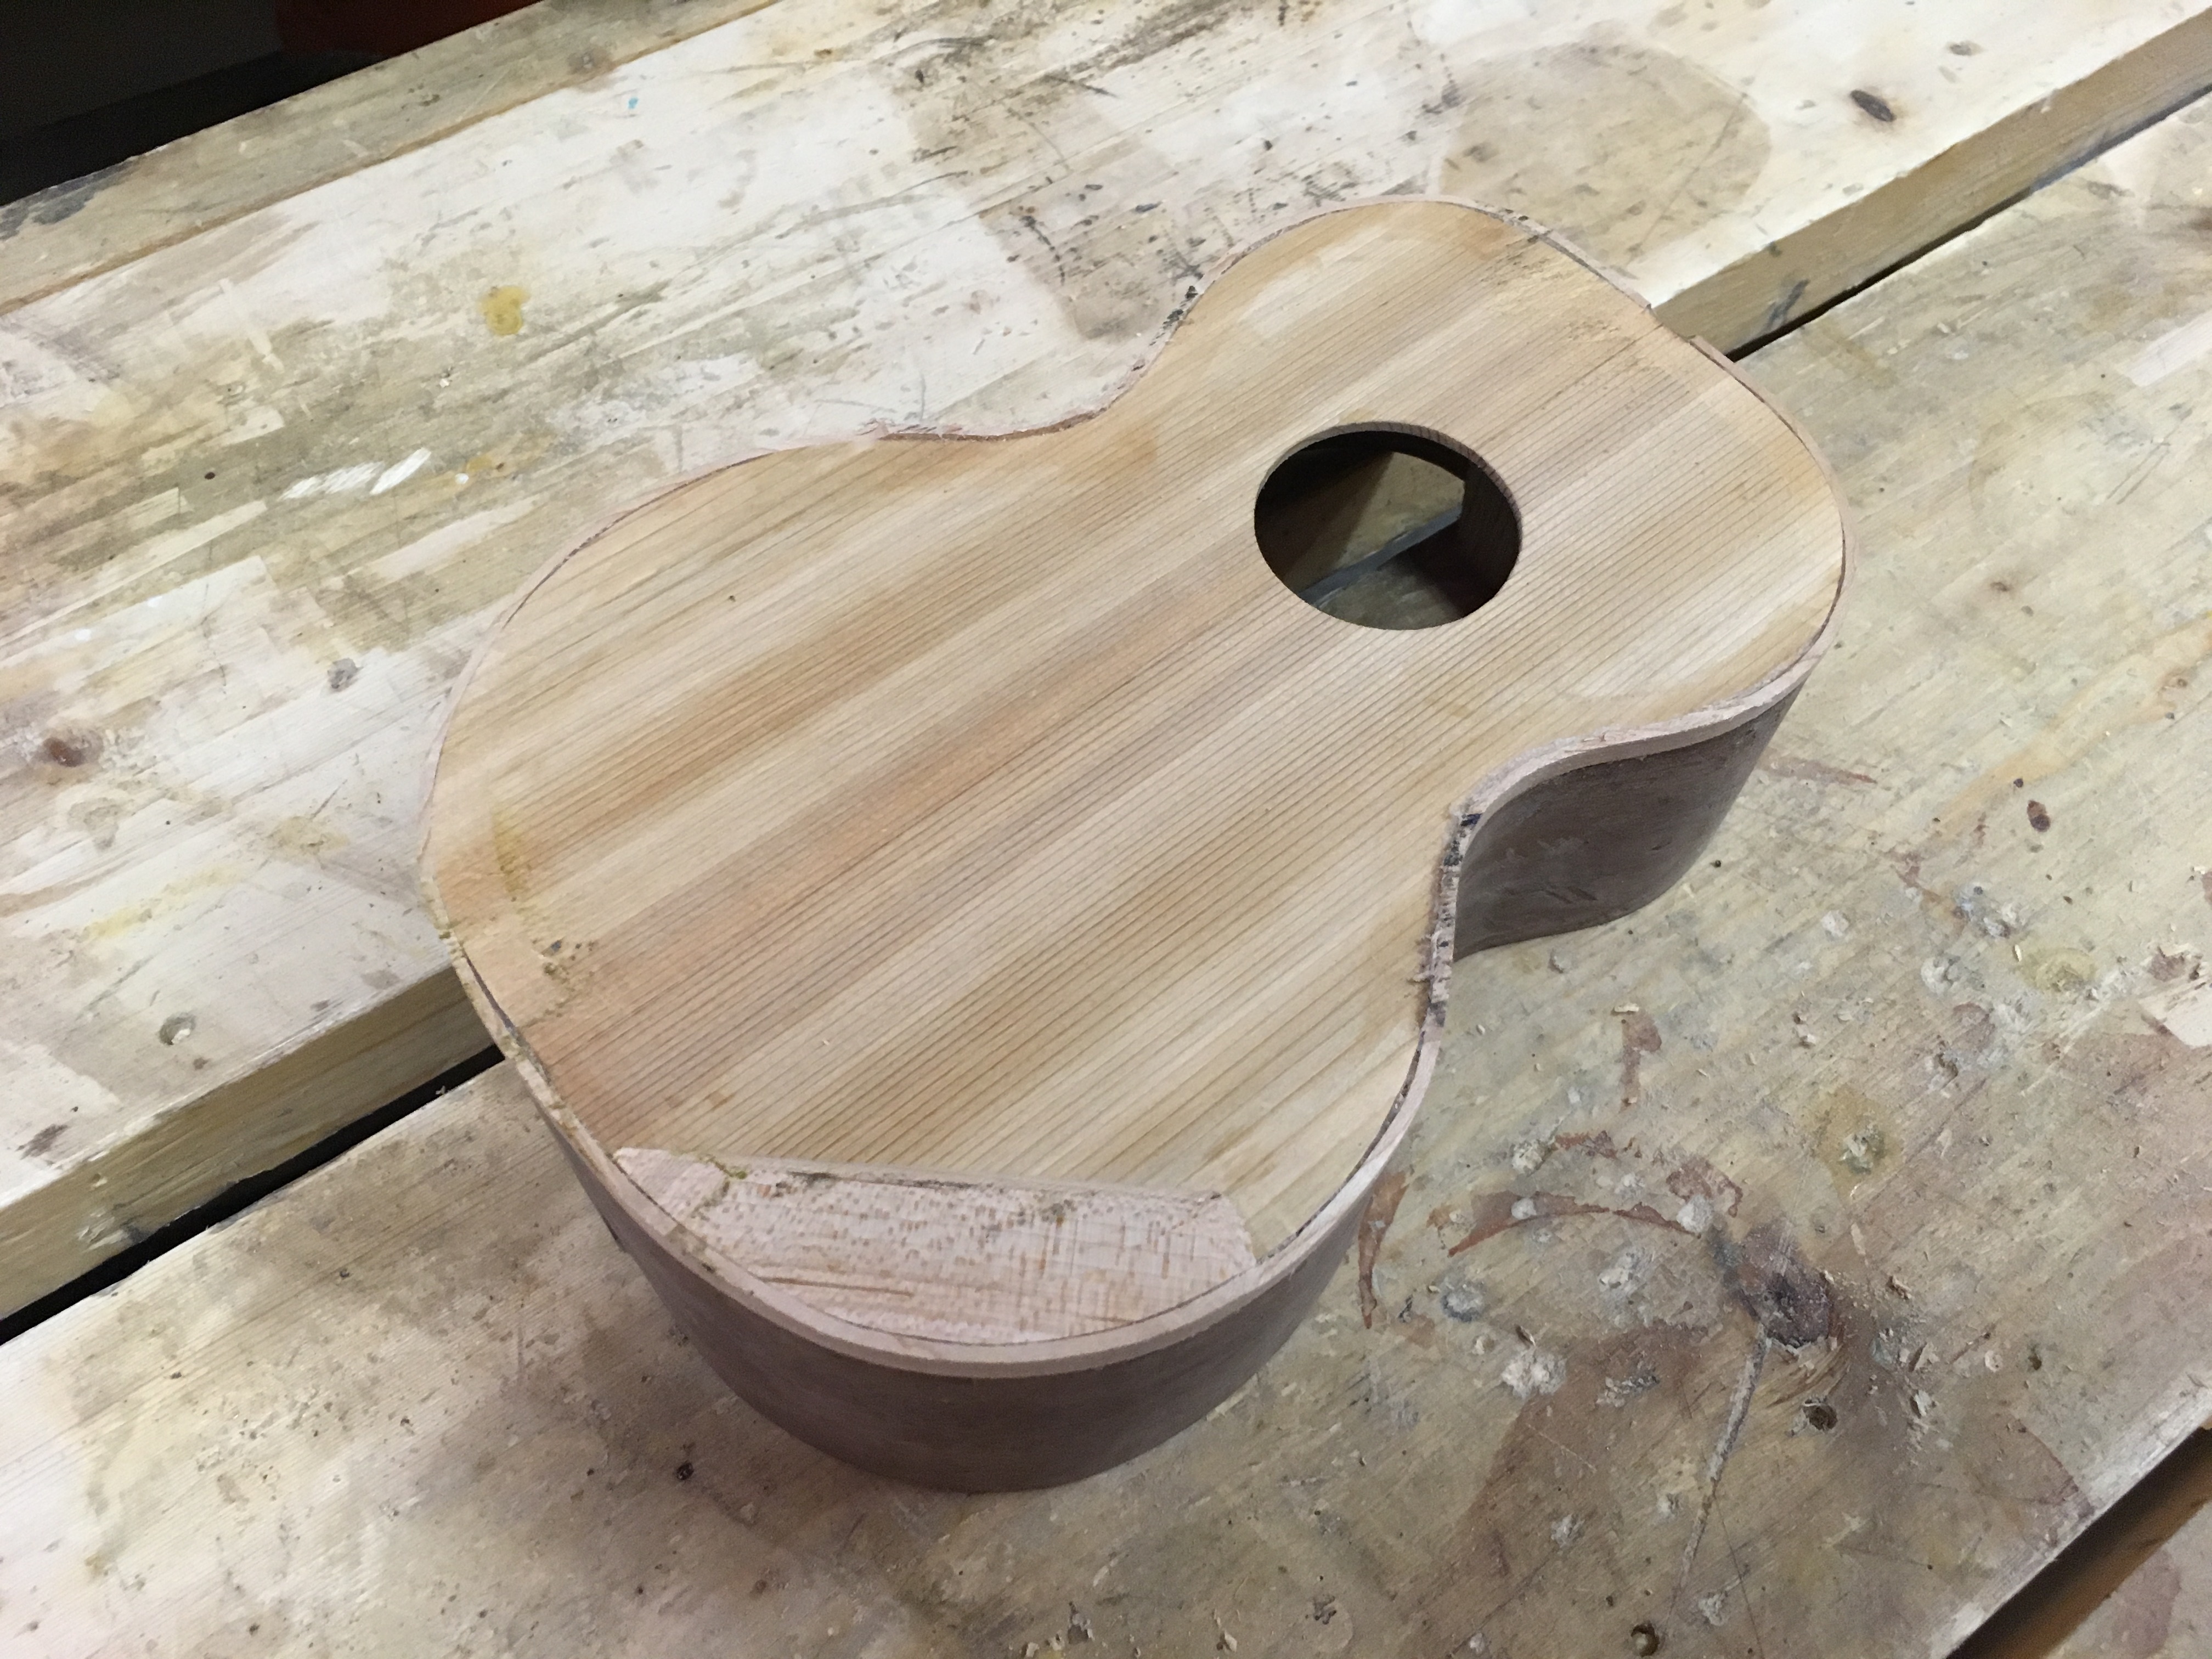
Well, I’m on a roll despite my setback. I spent about an hour and a half at the space today and about half an hour at home and in that time I was able to trim the binding and sand down the top, back, and thin out the neck.
Its been almost 2 months since an update. This is because I had surgery on my wrist that put me in a cast for 6ish weeks. But I’m mostly out of my cast and the pain, well, still sucks but isn’t as bad as it used to be.
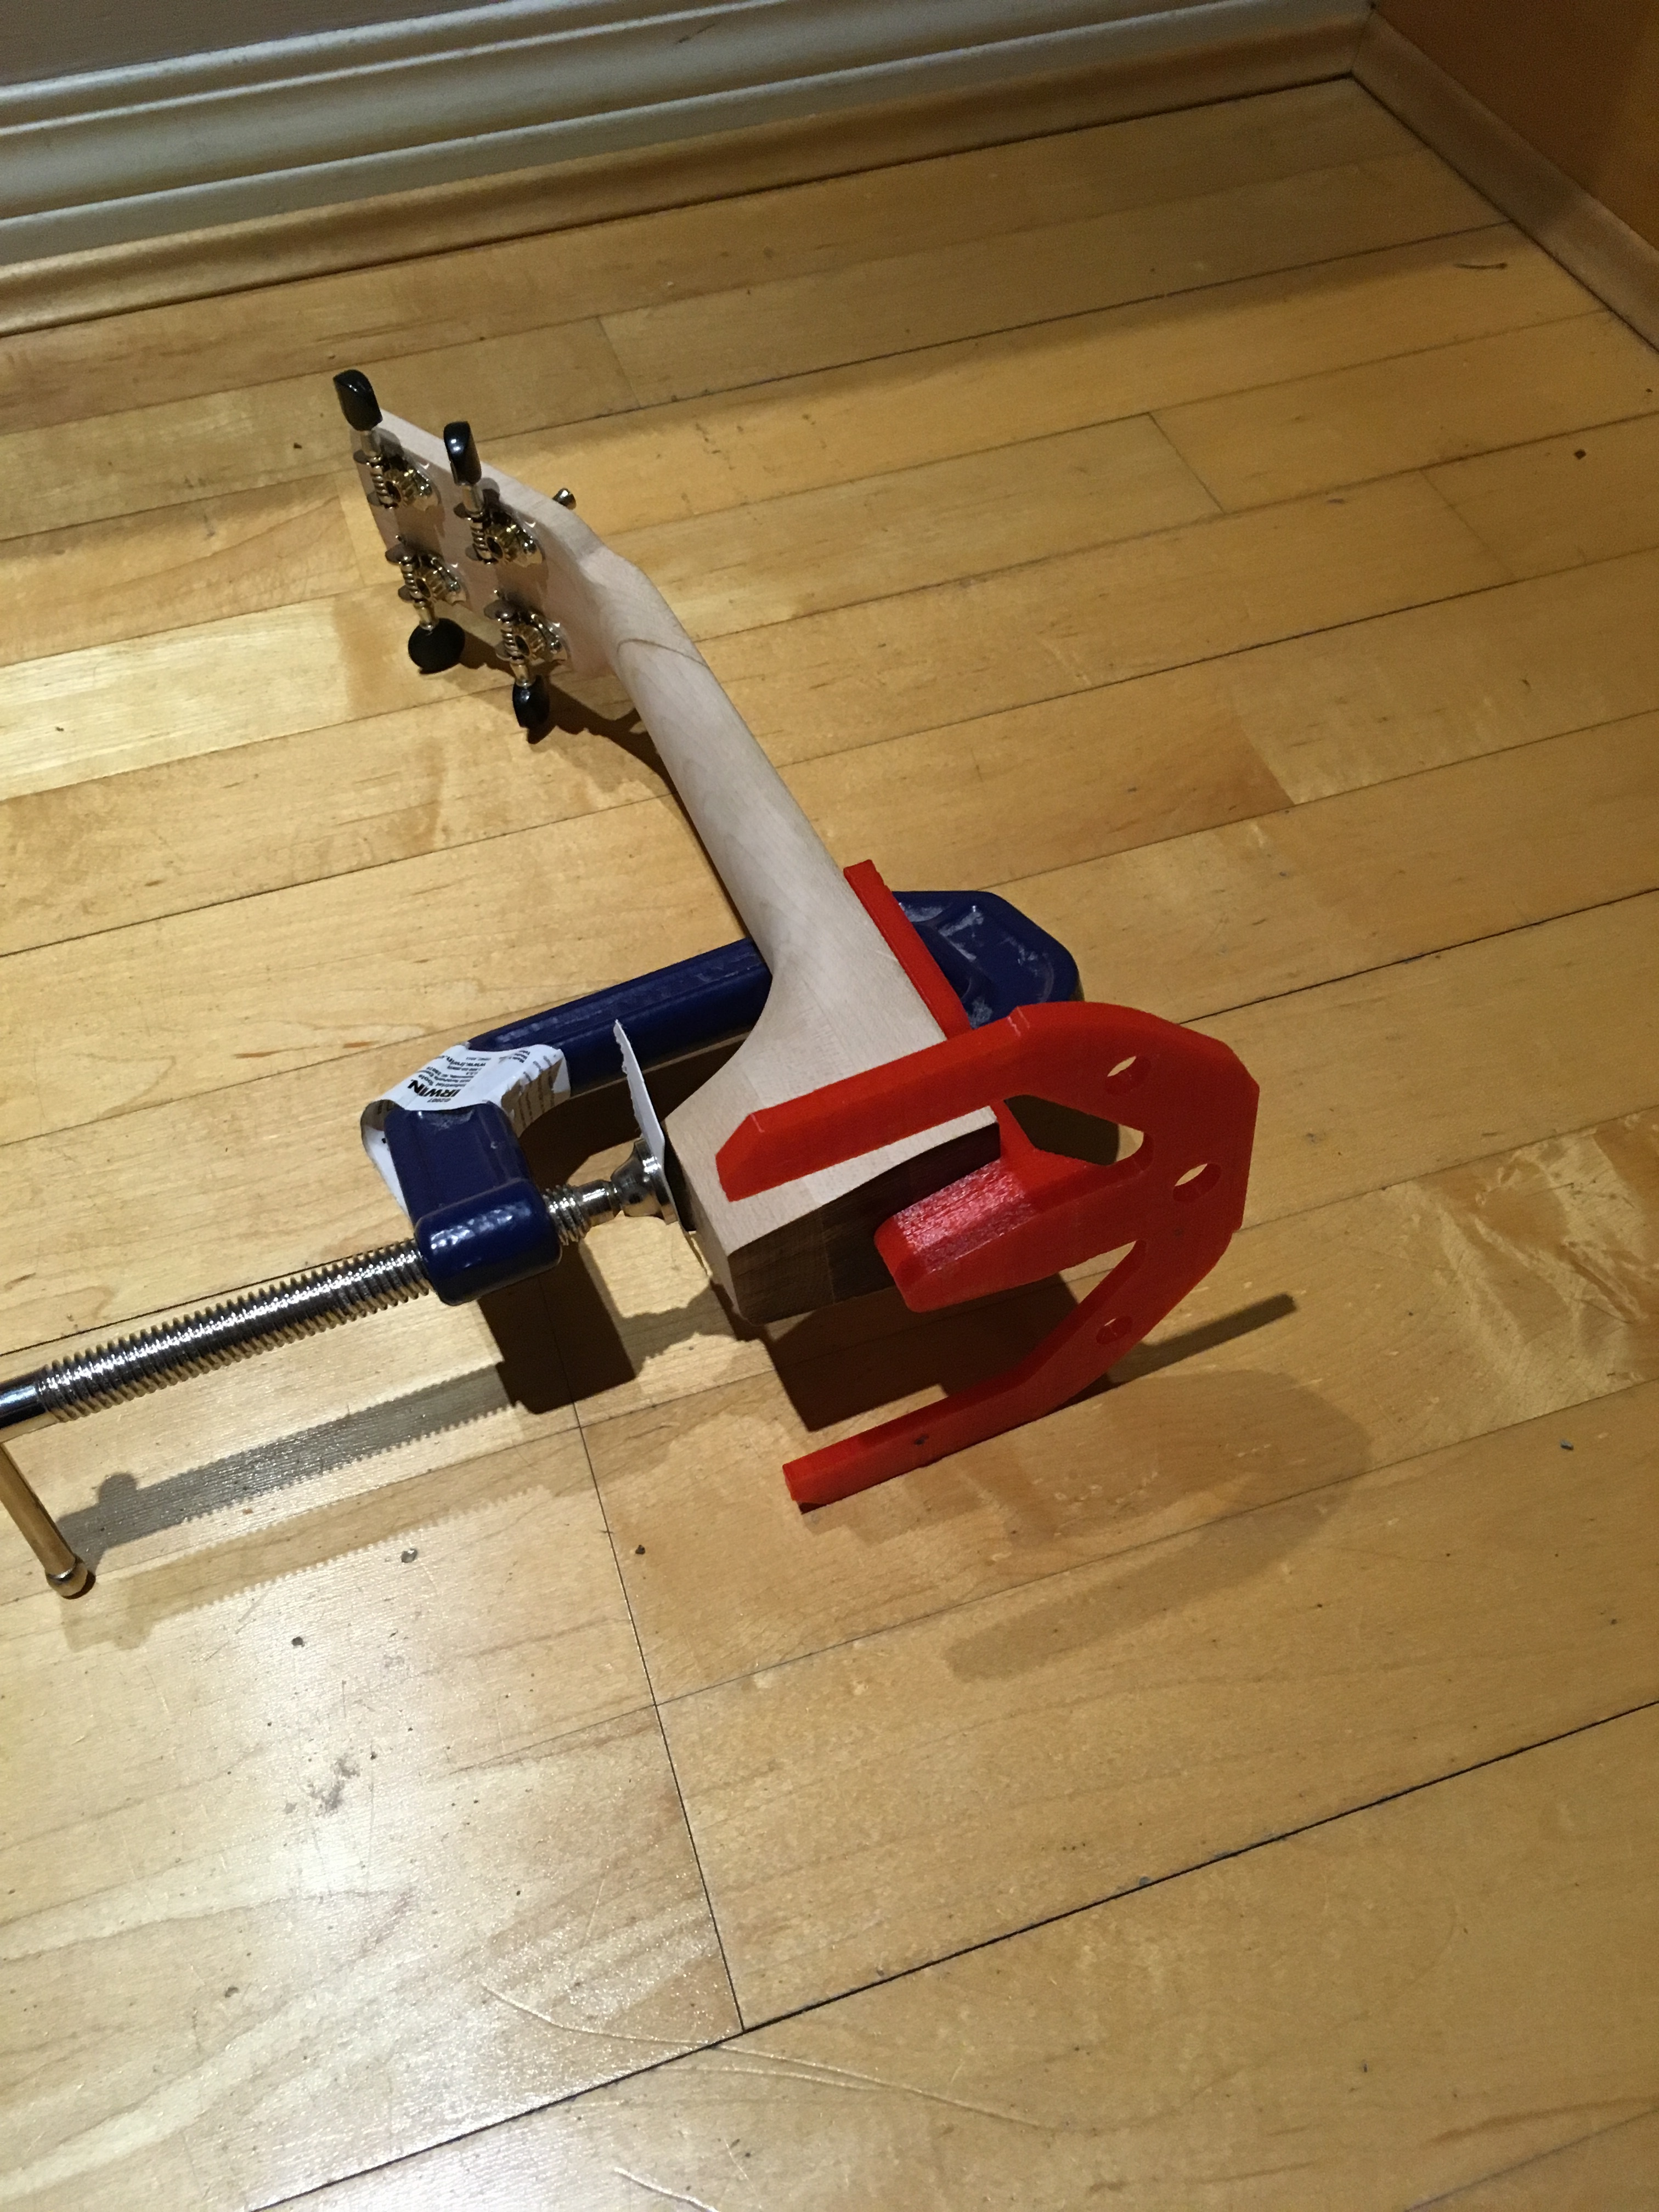
The bigger thing is that I had 6 weeks to figure out how to do my next step.
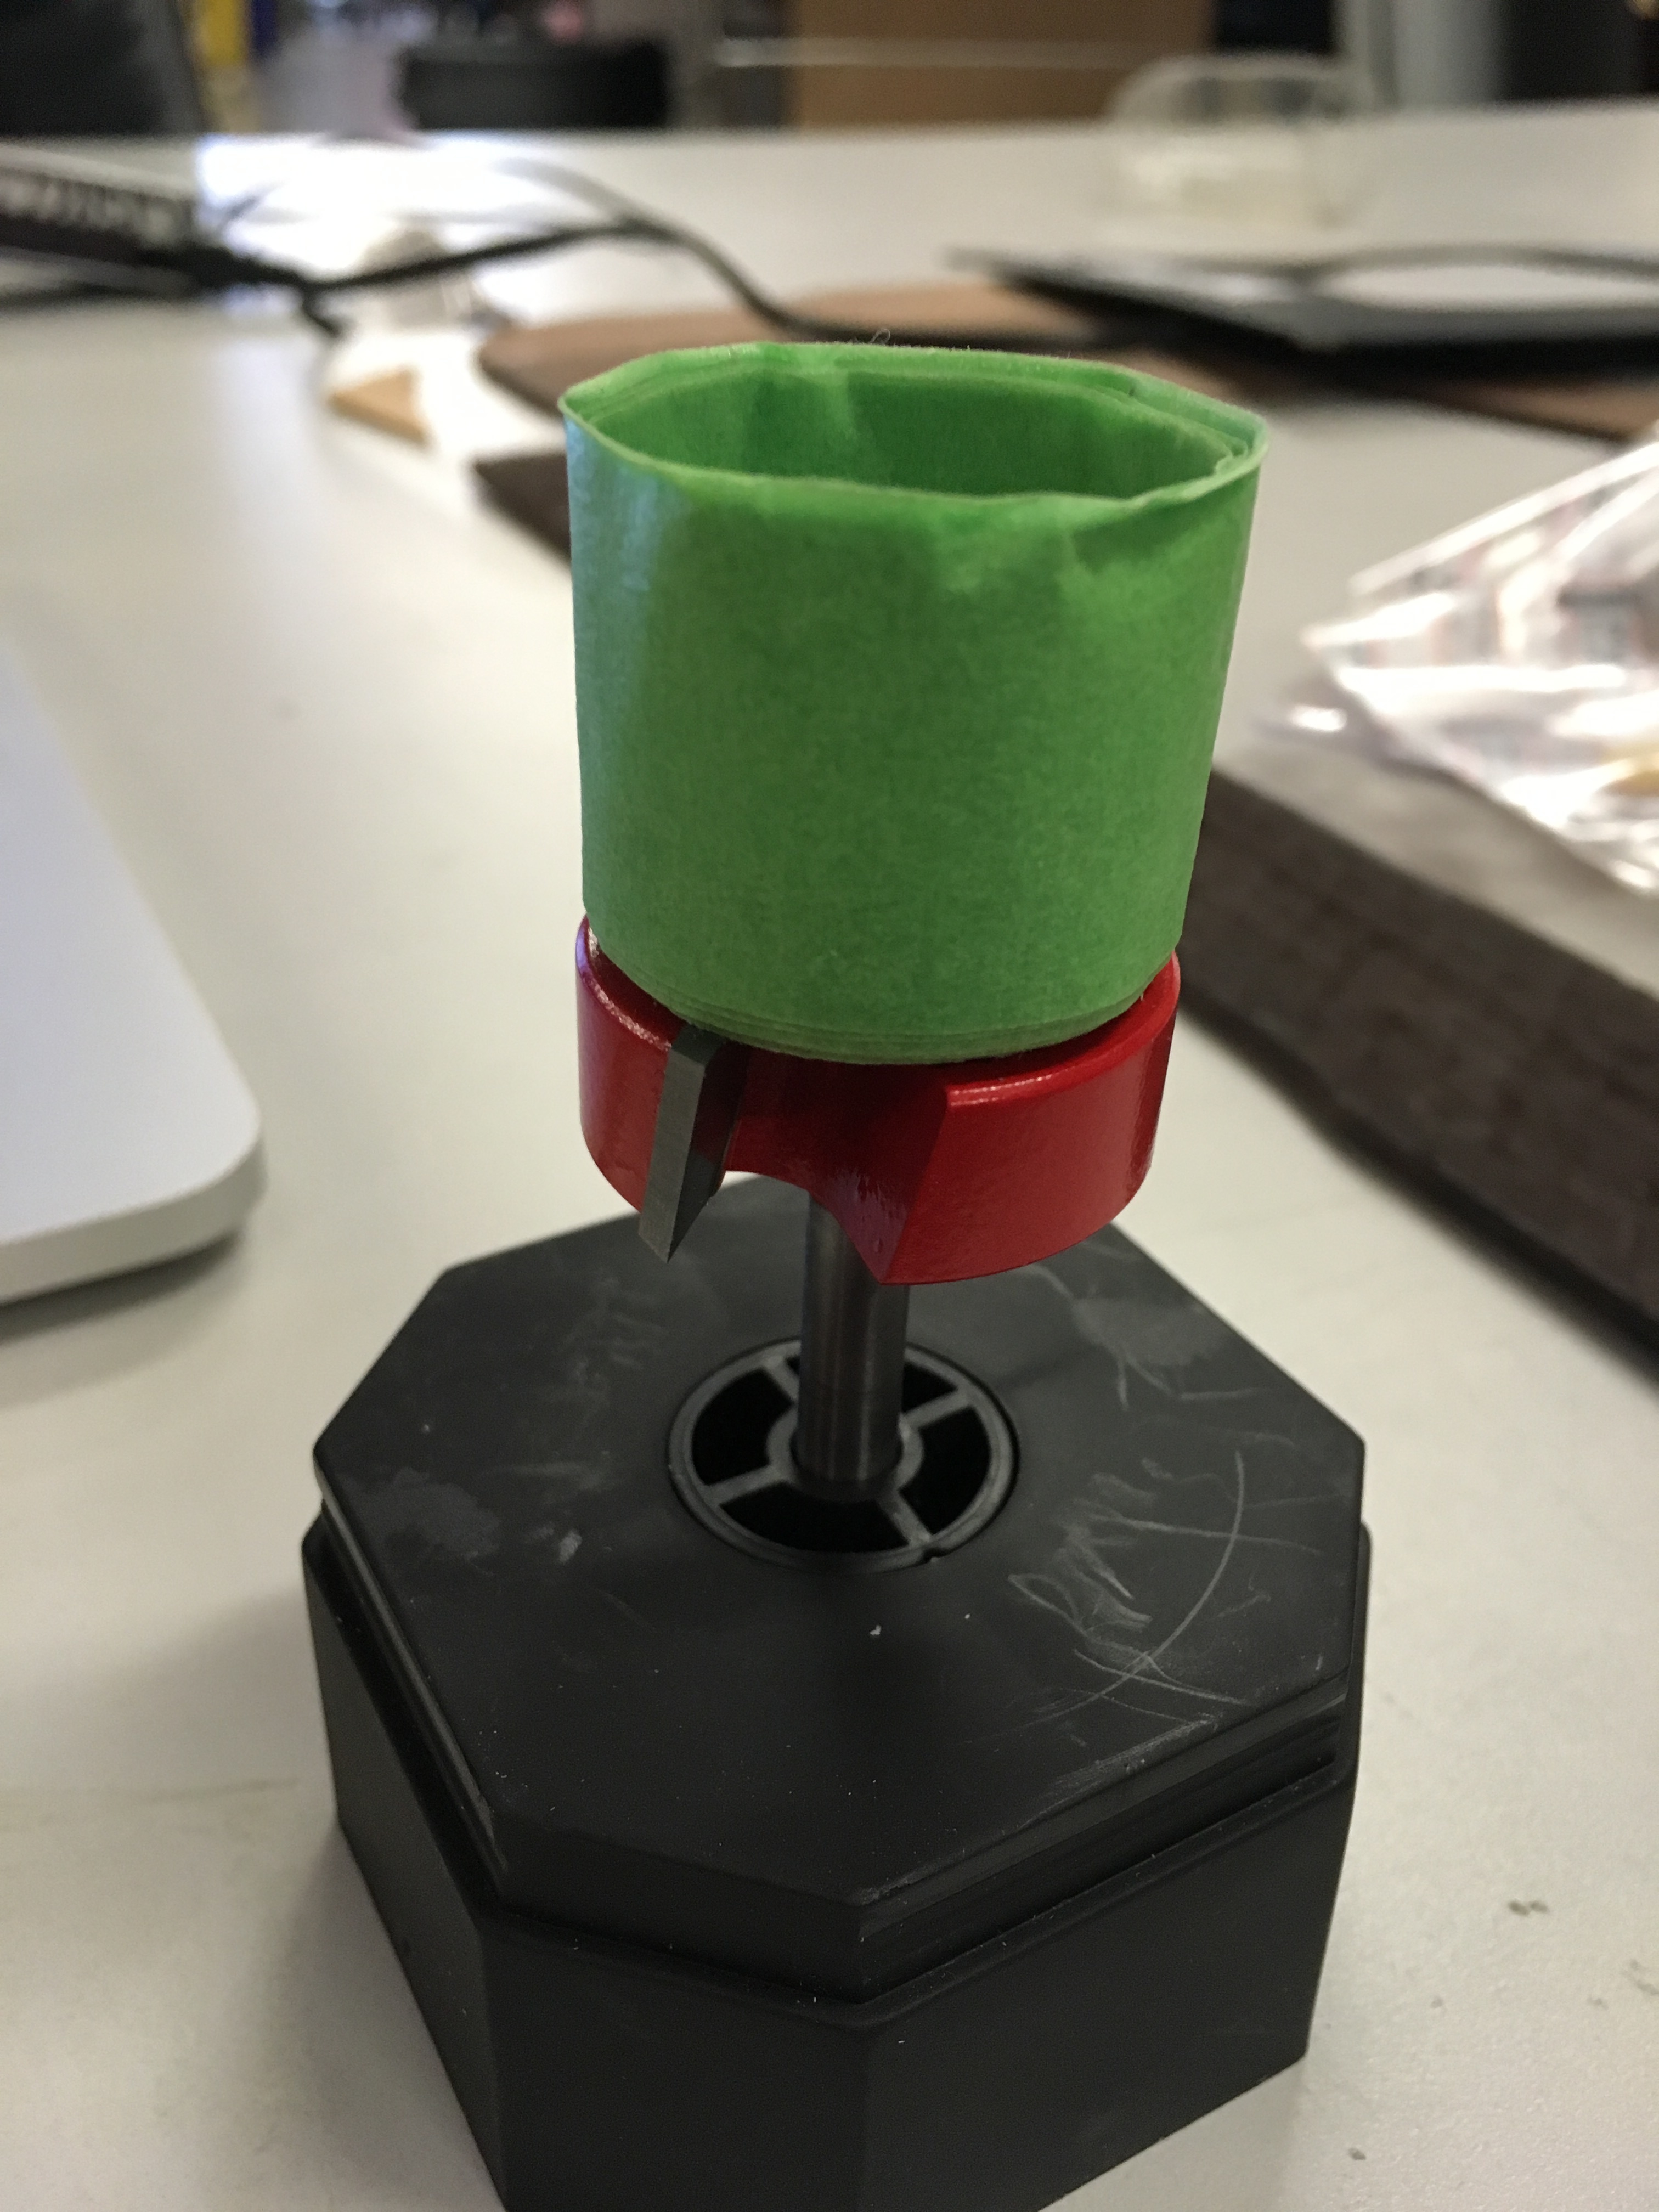
Before the surgery, I was getting ambitious with jigs so that I could cut the tapered mortise and tenon for the neck joint. I printed 4-5 prototypes, each time getting larger as I realized I needed more stabilization.
Unfortunately, the first time I tried one of these 3d printed joints on the router (with a test piece of wood) I destroyed the jig. It turns out that the PLA caught the router bit quite harshly. I wasn’t near the blade but it sure gave me a scare (any catch is scary). I was properly positioned so no injury occurred, but the jig was absolutely shredded. I suspect now that the PLA got hot almost immediately with the friction of the router bit and melted, which caused even more material to bite and then pulled it out of my hand.
But the 6 weeks let me figure out my solution. Just cut the thing off and use a hangar bolt (yes, this is how a lot of Ukuleles are assembled).
I started on the fretboard tests. I’m in-between using a two-part fretboard and cutting a new fretboard (due to an error in mounting the neck one or the other has to be done). Or I could change the neck mounting hole, but I like where this is going, so I’ll roll with the mistake (again).
The surprising part is, all this was done with my left hand (and a little bit of above the wrist right-arm).
More updates soon now that I can move around a bit more.
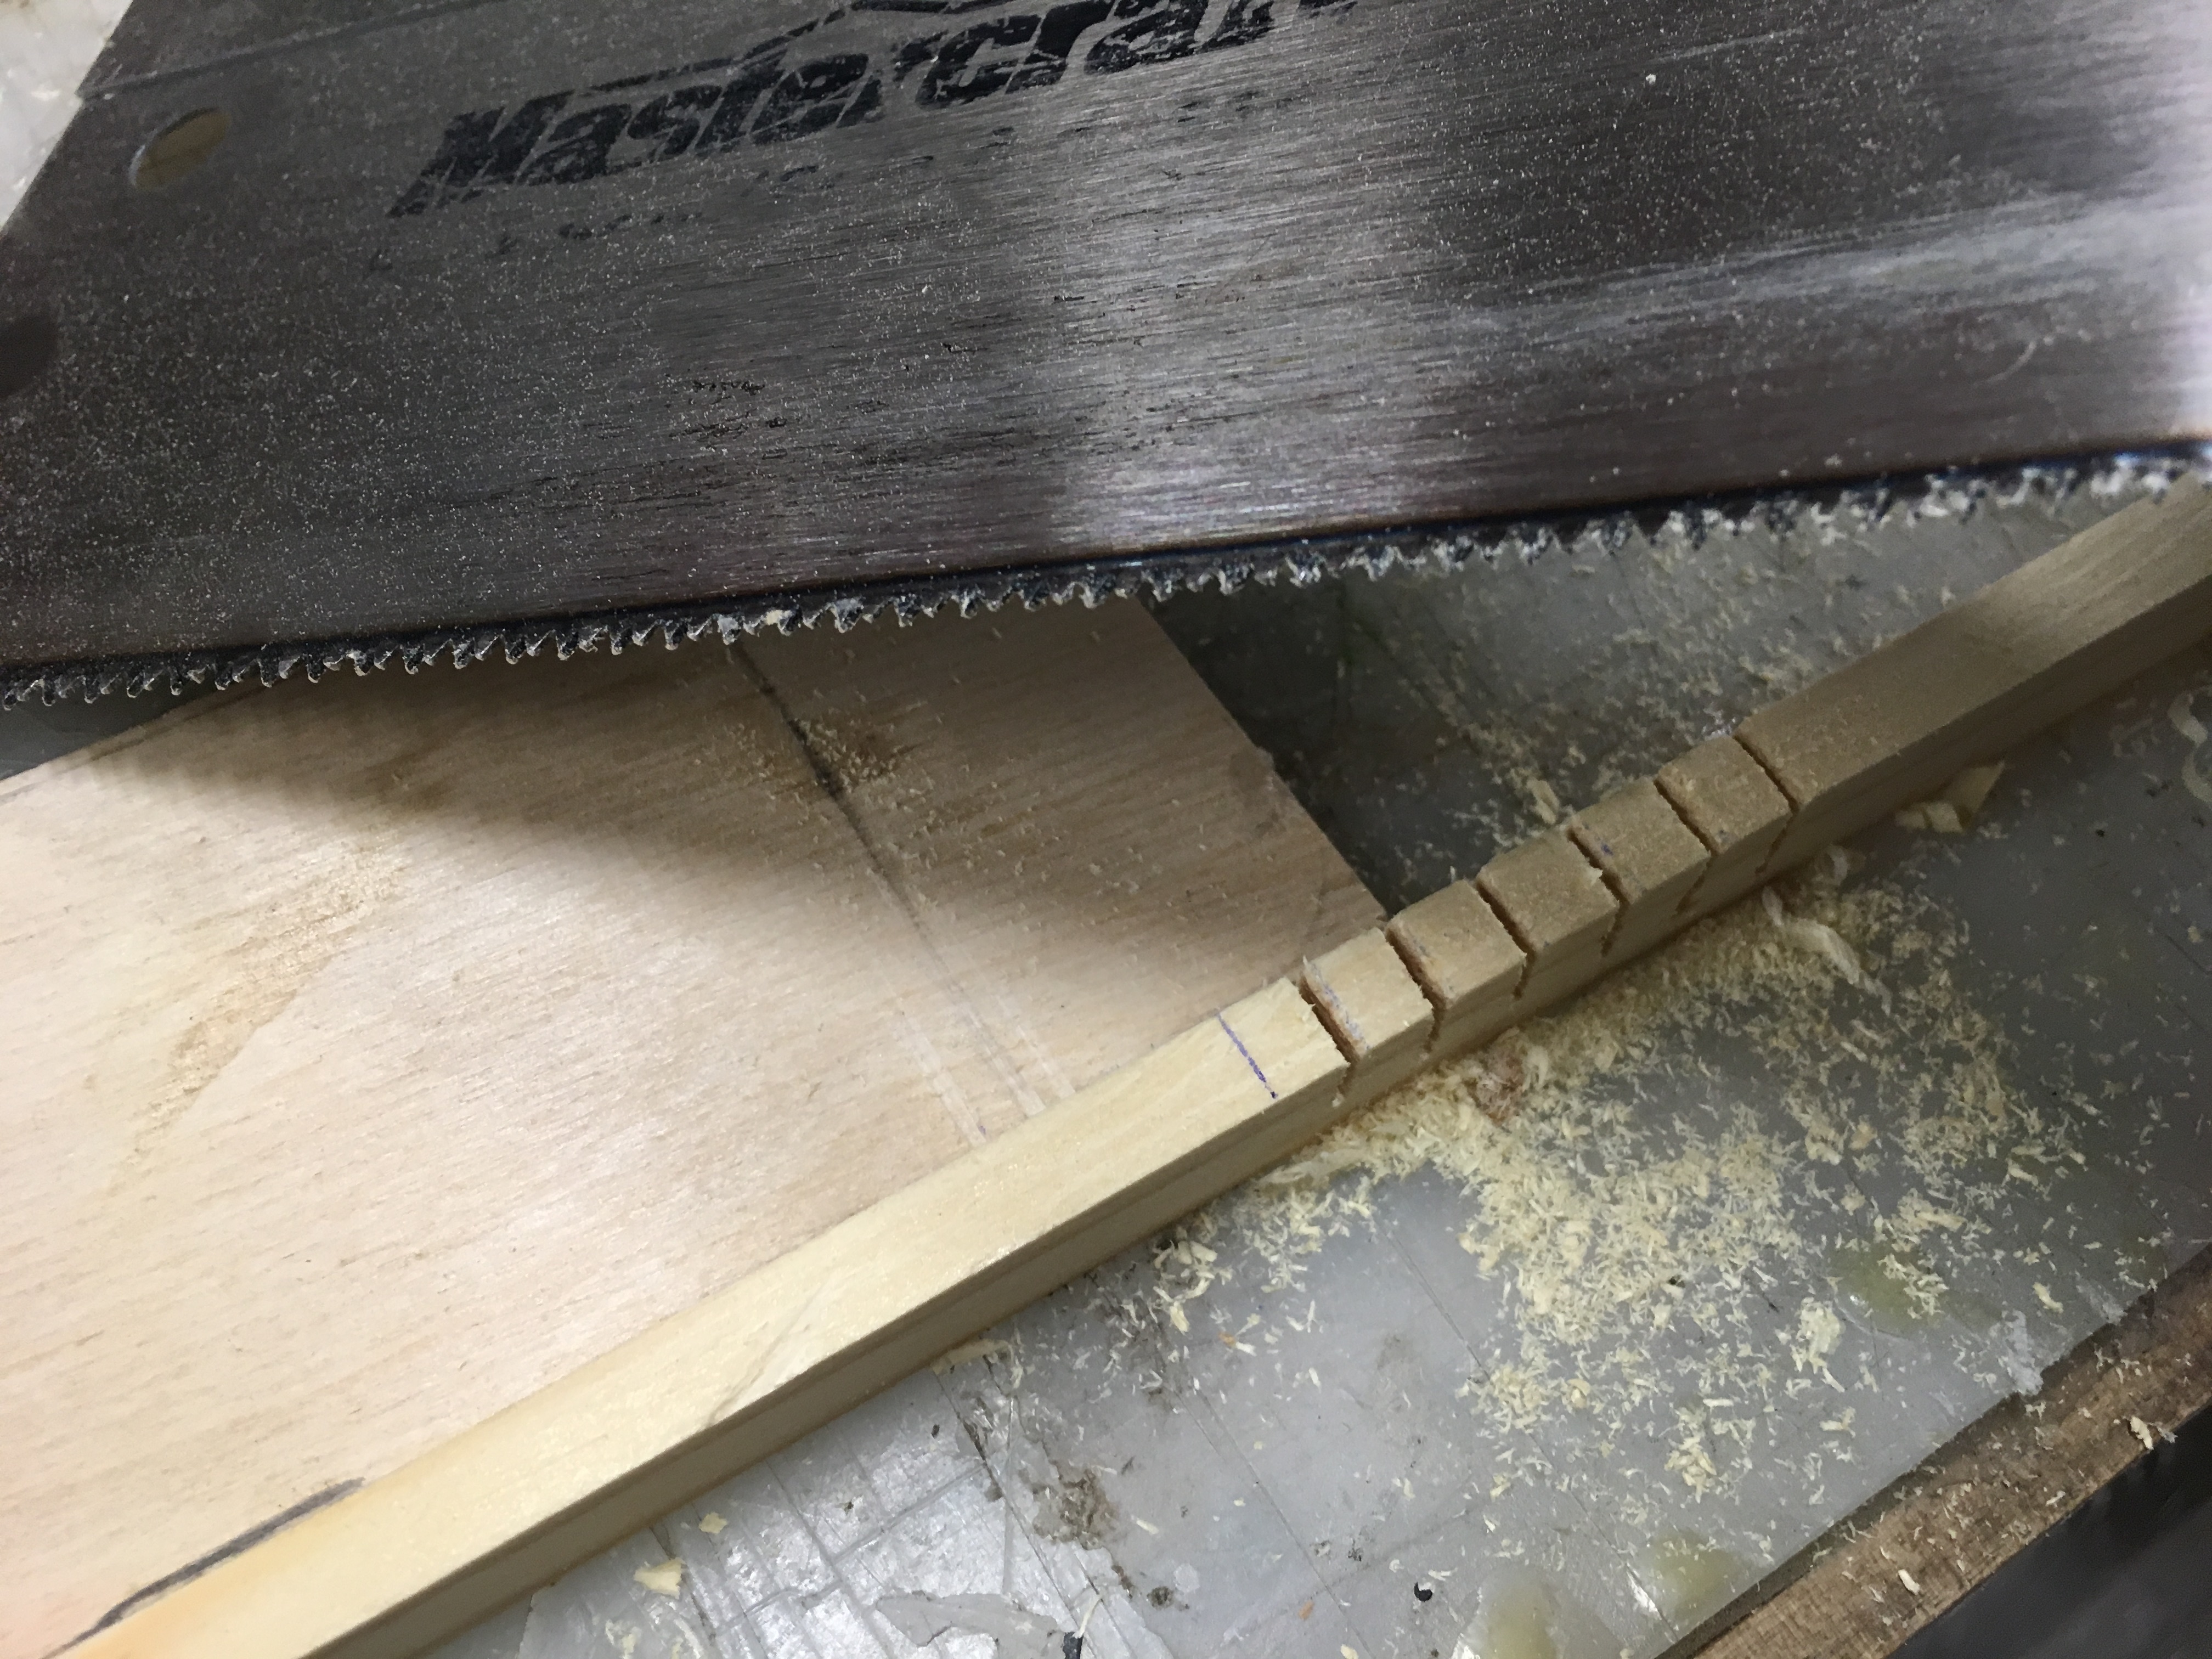
I did some Fretboard tests. I spent a lot of time working out and planing flat the piece that I had given that I could on the plane with one hand so clamping got interesting. on the first cut that I made I must’ve slipped a little bit and the fret was not square.
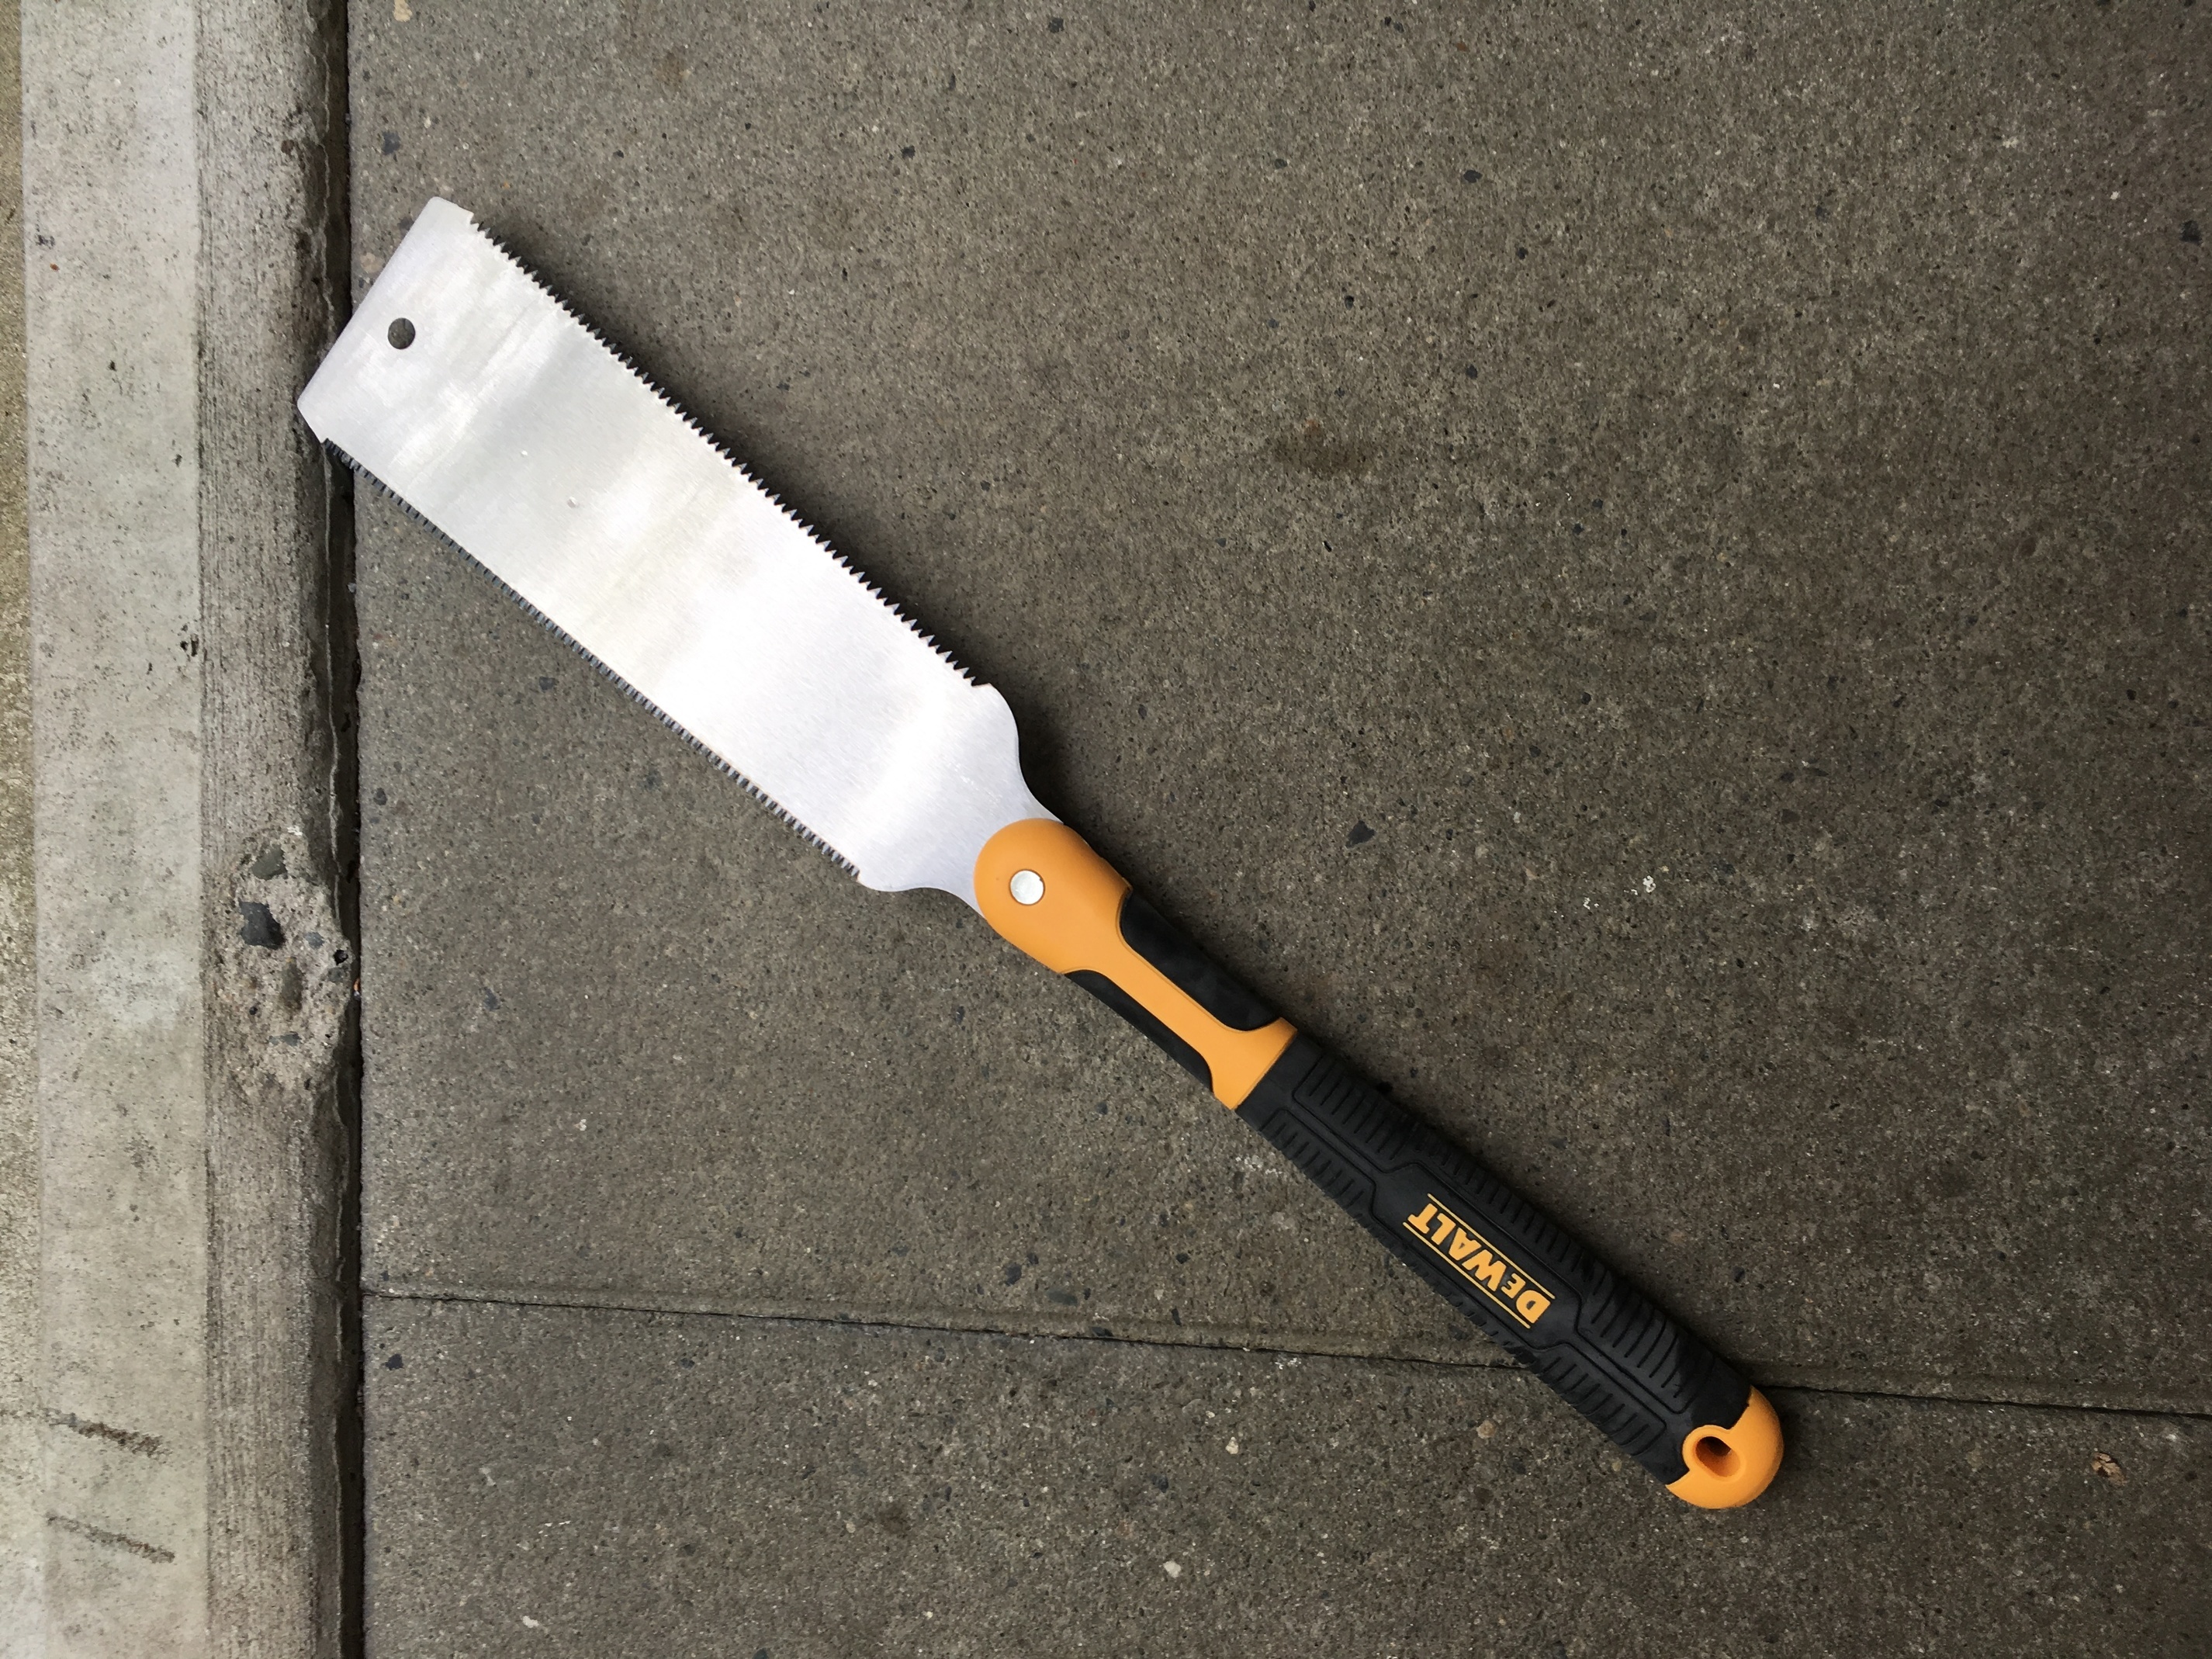
i’m going camping this weekend and will need to make tinder (or really have others make tinder). for that I bought a pull saw. I tried it out on my scrap piece of fretboard and it worked pretty well. The biggest problem is that the curve is slightly too wide so without glue The fronts won’t stay in place but I was planning on glueing them anyway.
Next week I’ll see if I can get somebody more able-bodied to cut a new front board from me from my block of wood. It’s going to be very long before I’m allowed to use the tablesaw.
If I recall the frets should be friction fit into the face of the neck, then tapped down with a hammer, maybe installing a thin slice of pop can as a shim?
Mike I believe you need a special fret saw that has an even thinner kerf than the pullsaw. I used to have one years ago. I’ll look around again. They’re very small.
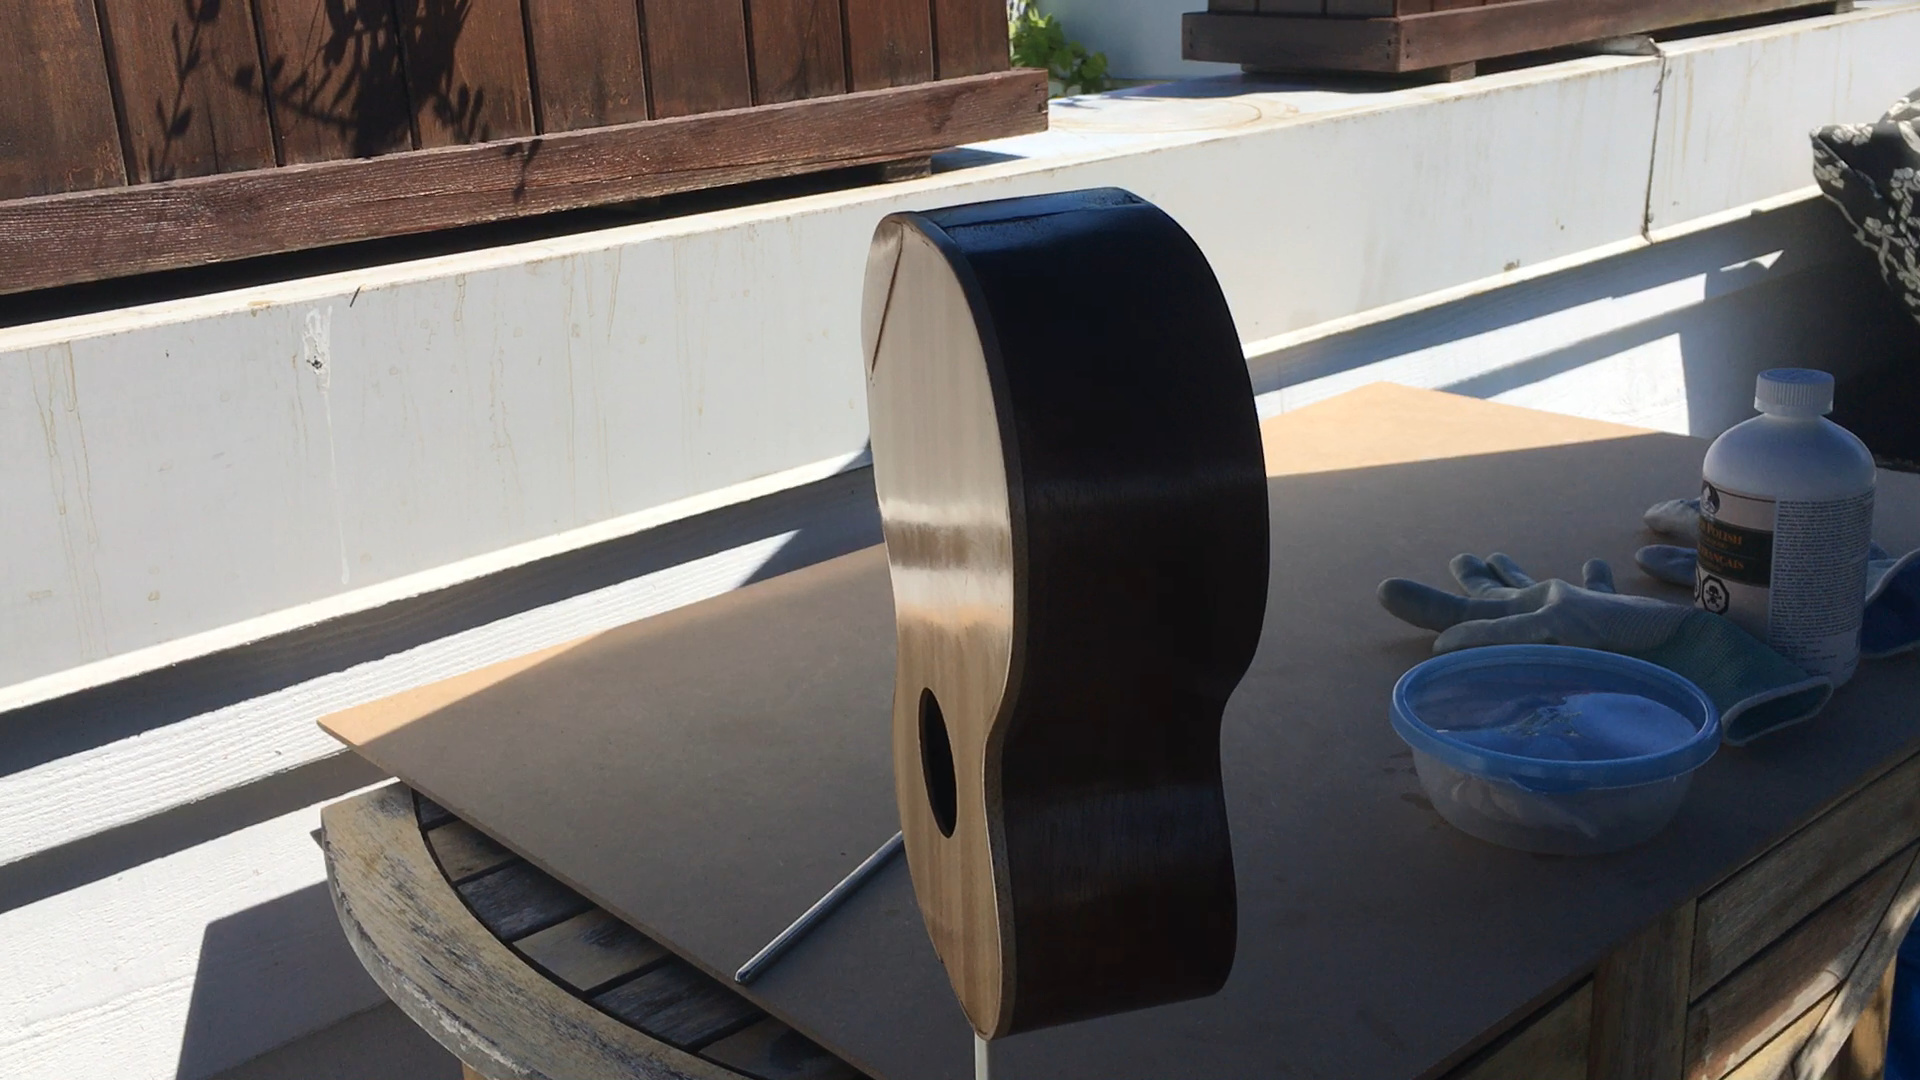
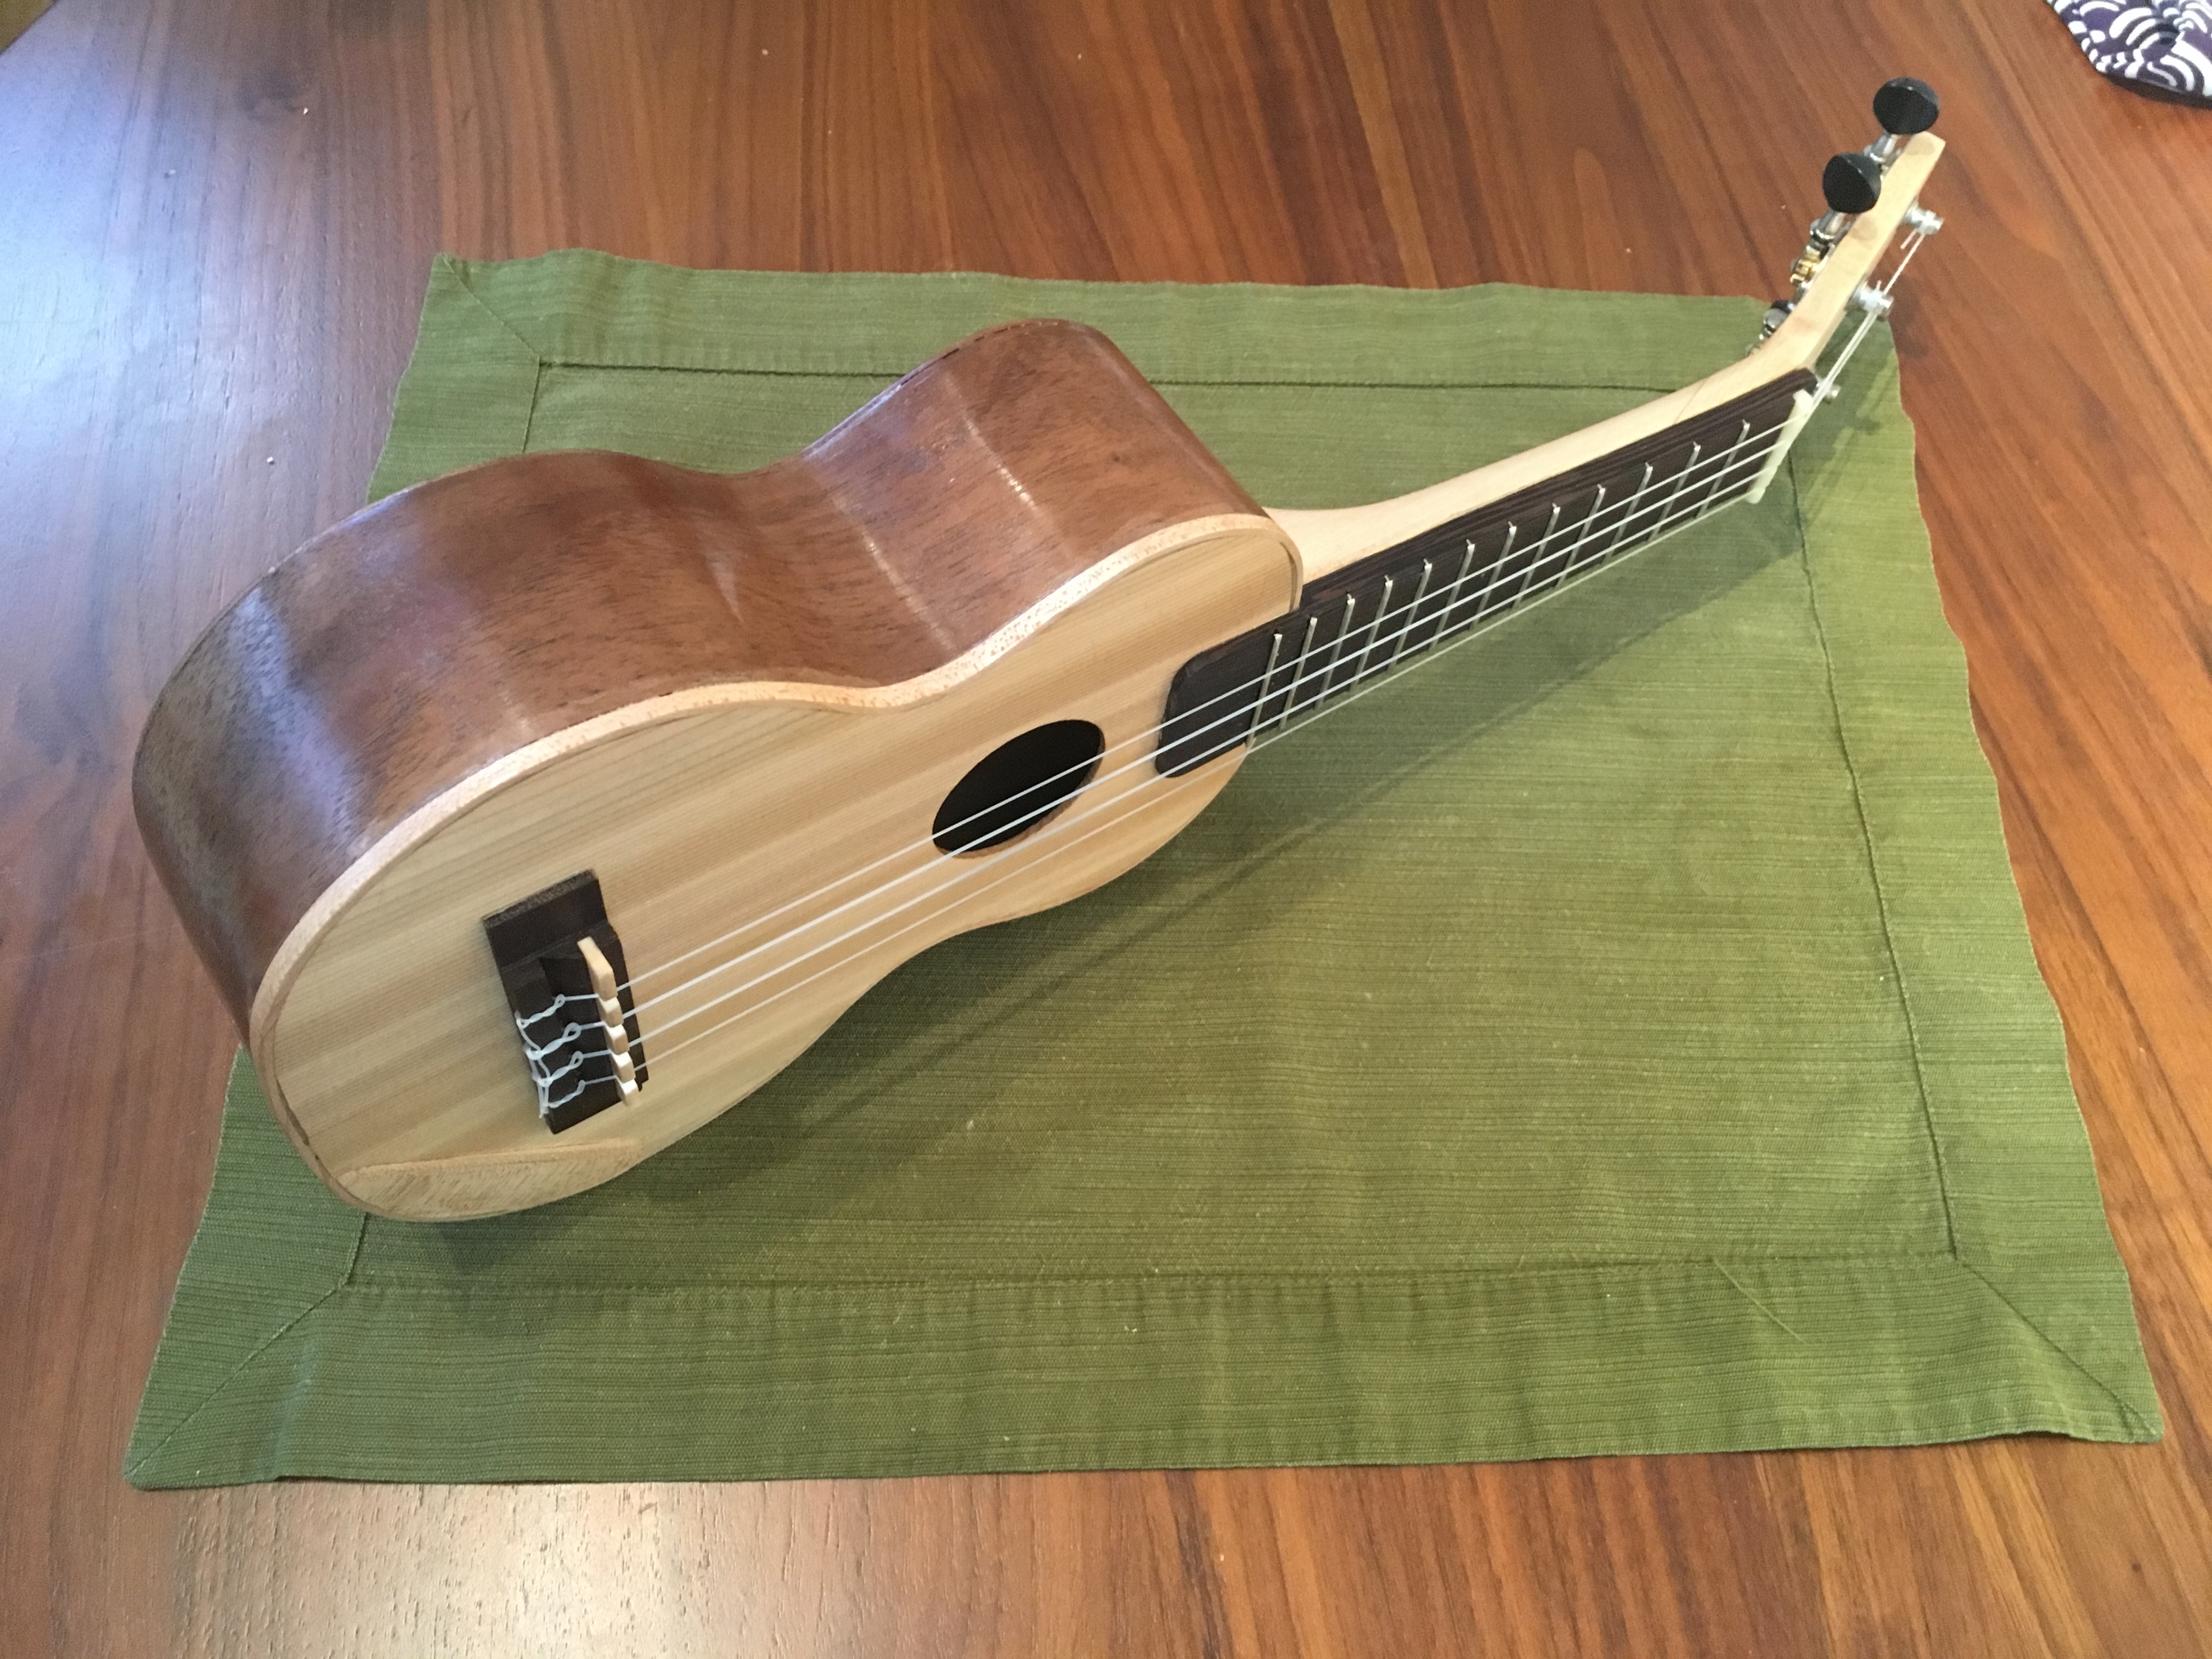
After a final sanding, I started polishing the body with shellac in the style of a french polish. I’m not good at the technique, but everything I have read is that it just takes time to perfect.
Here is the Ukulele body after a few coats from a glancing angle to show off the polish.
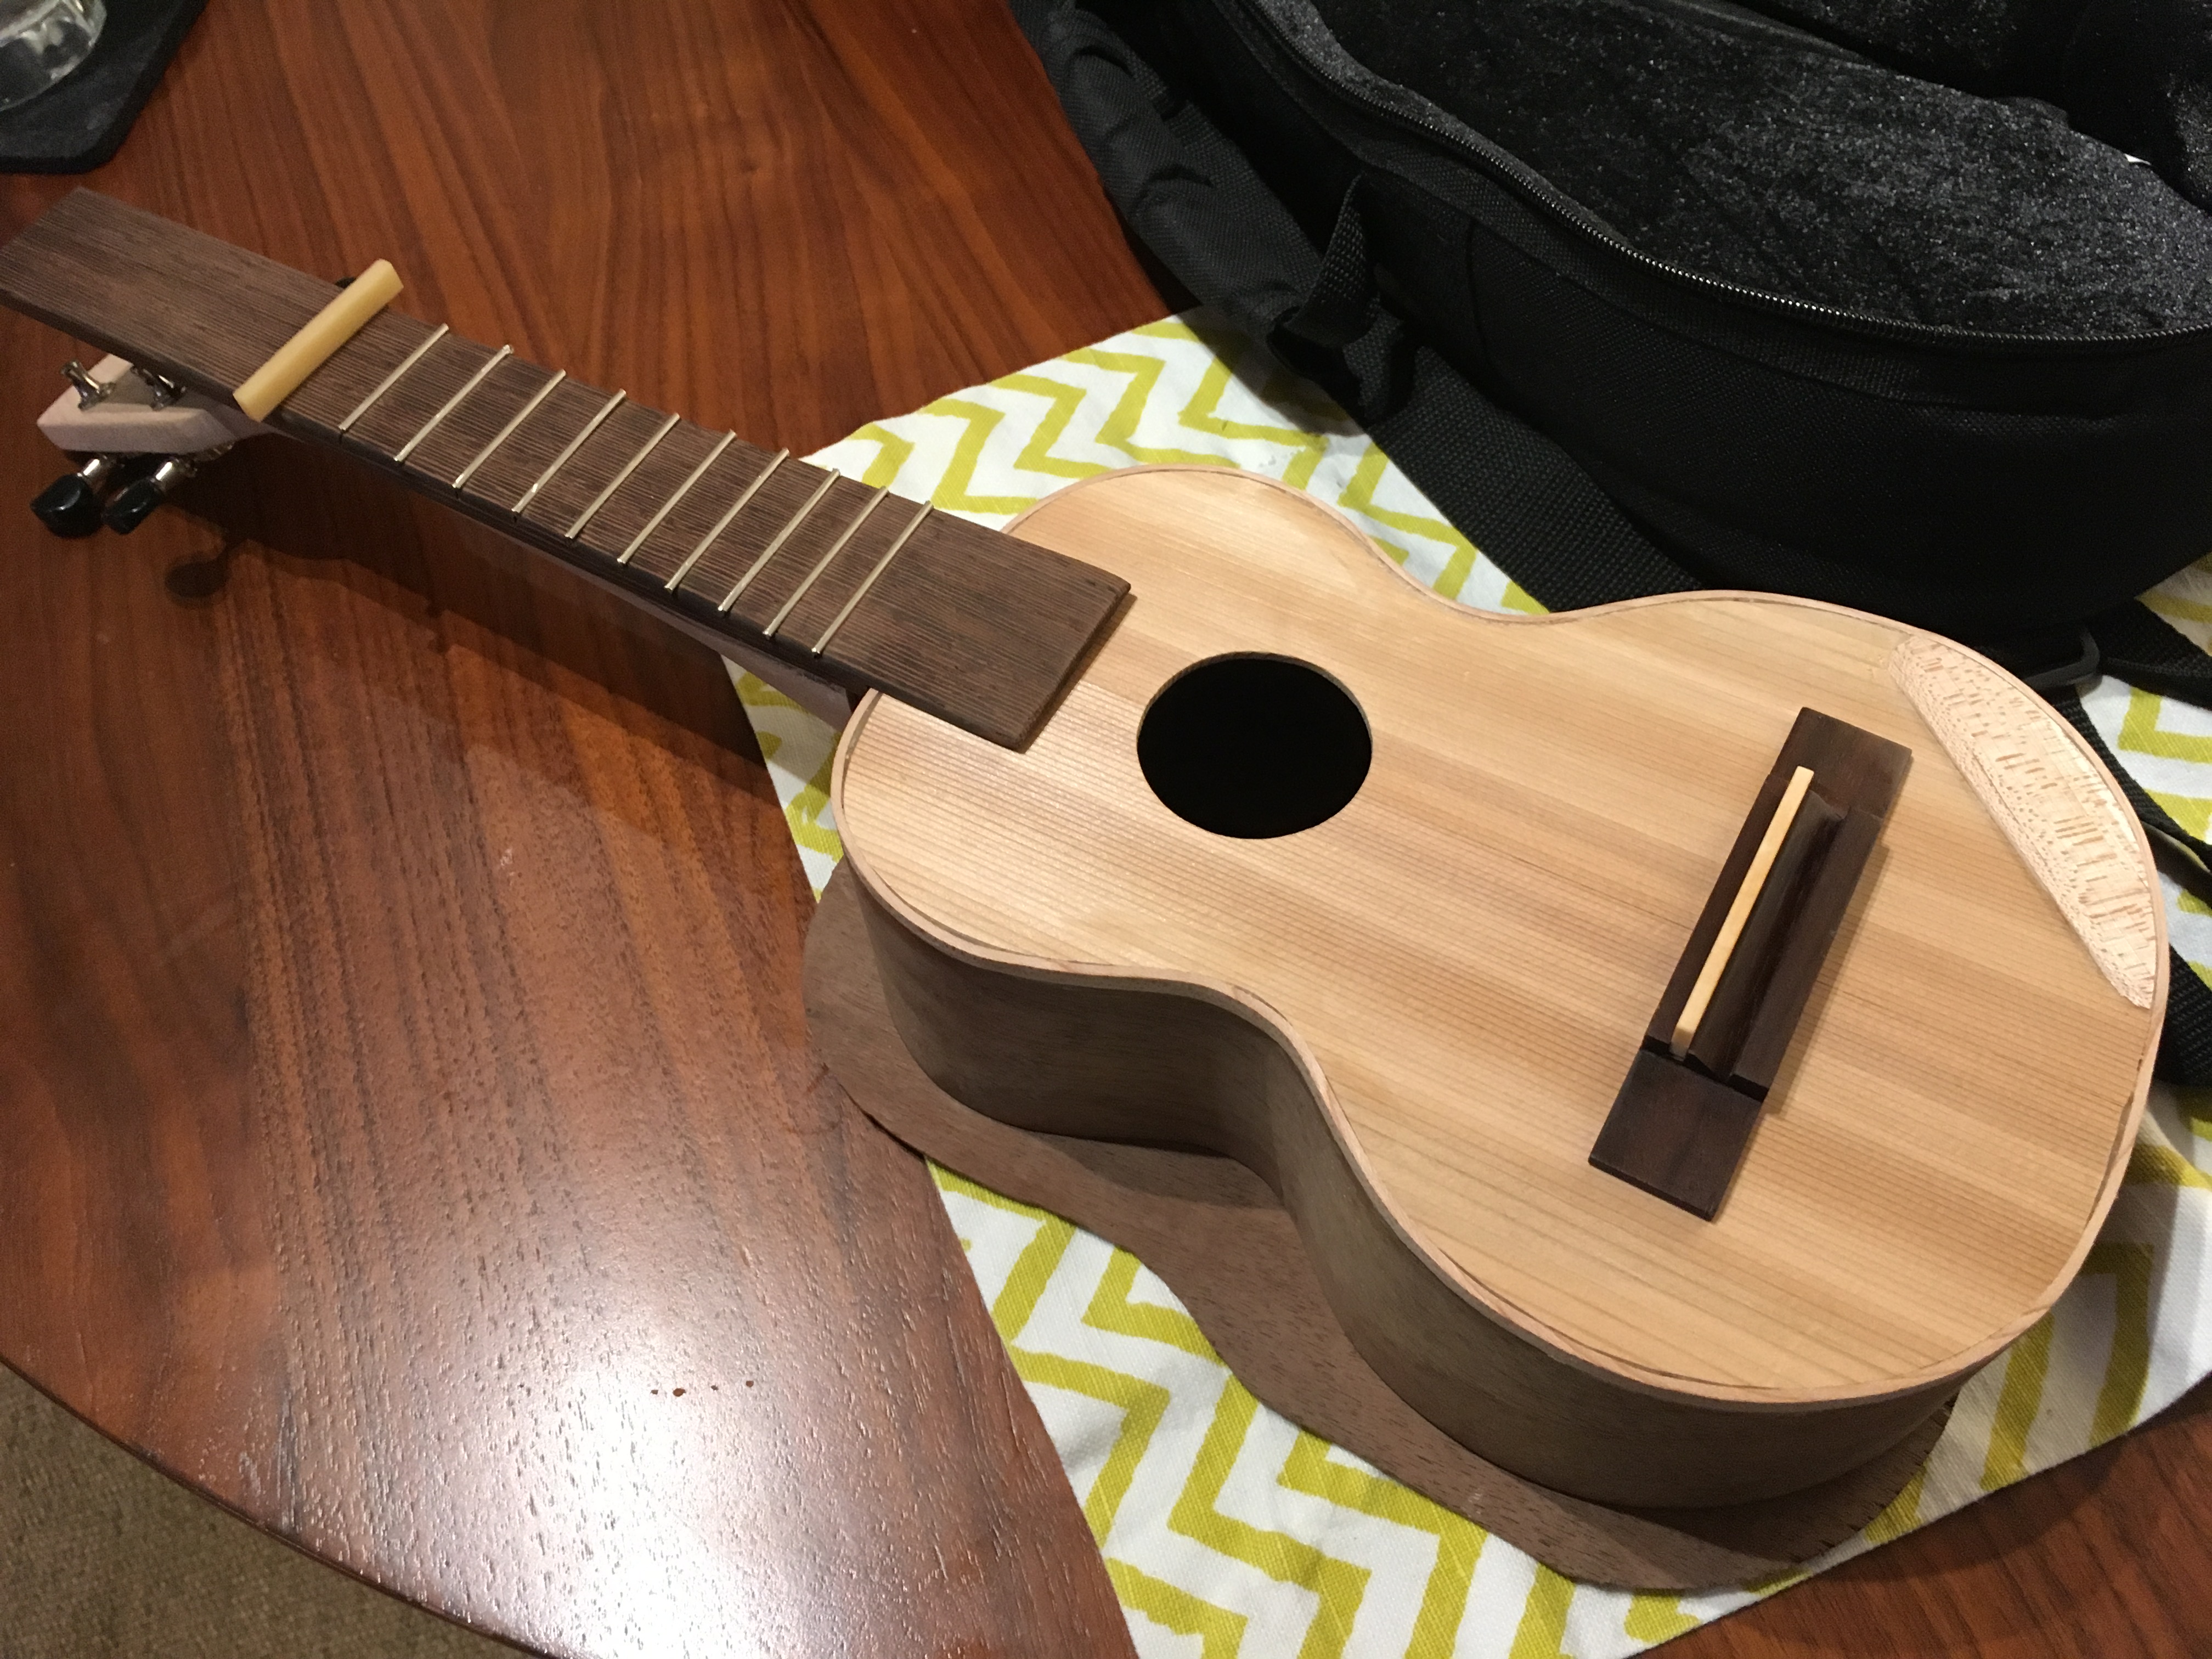
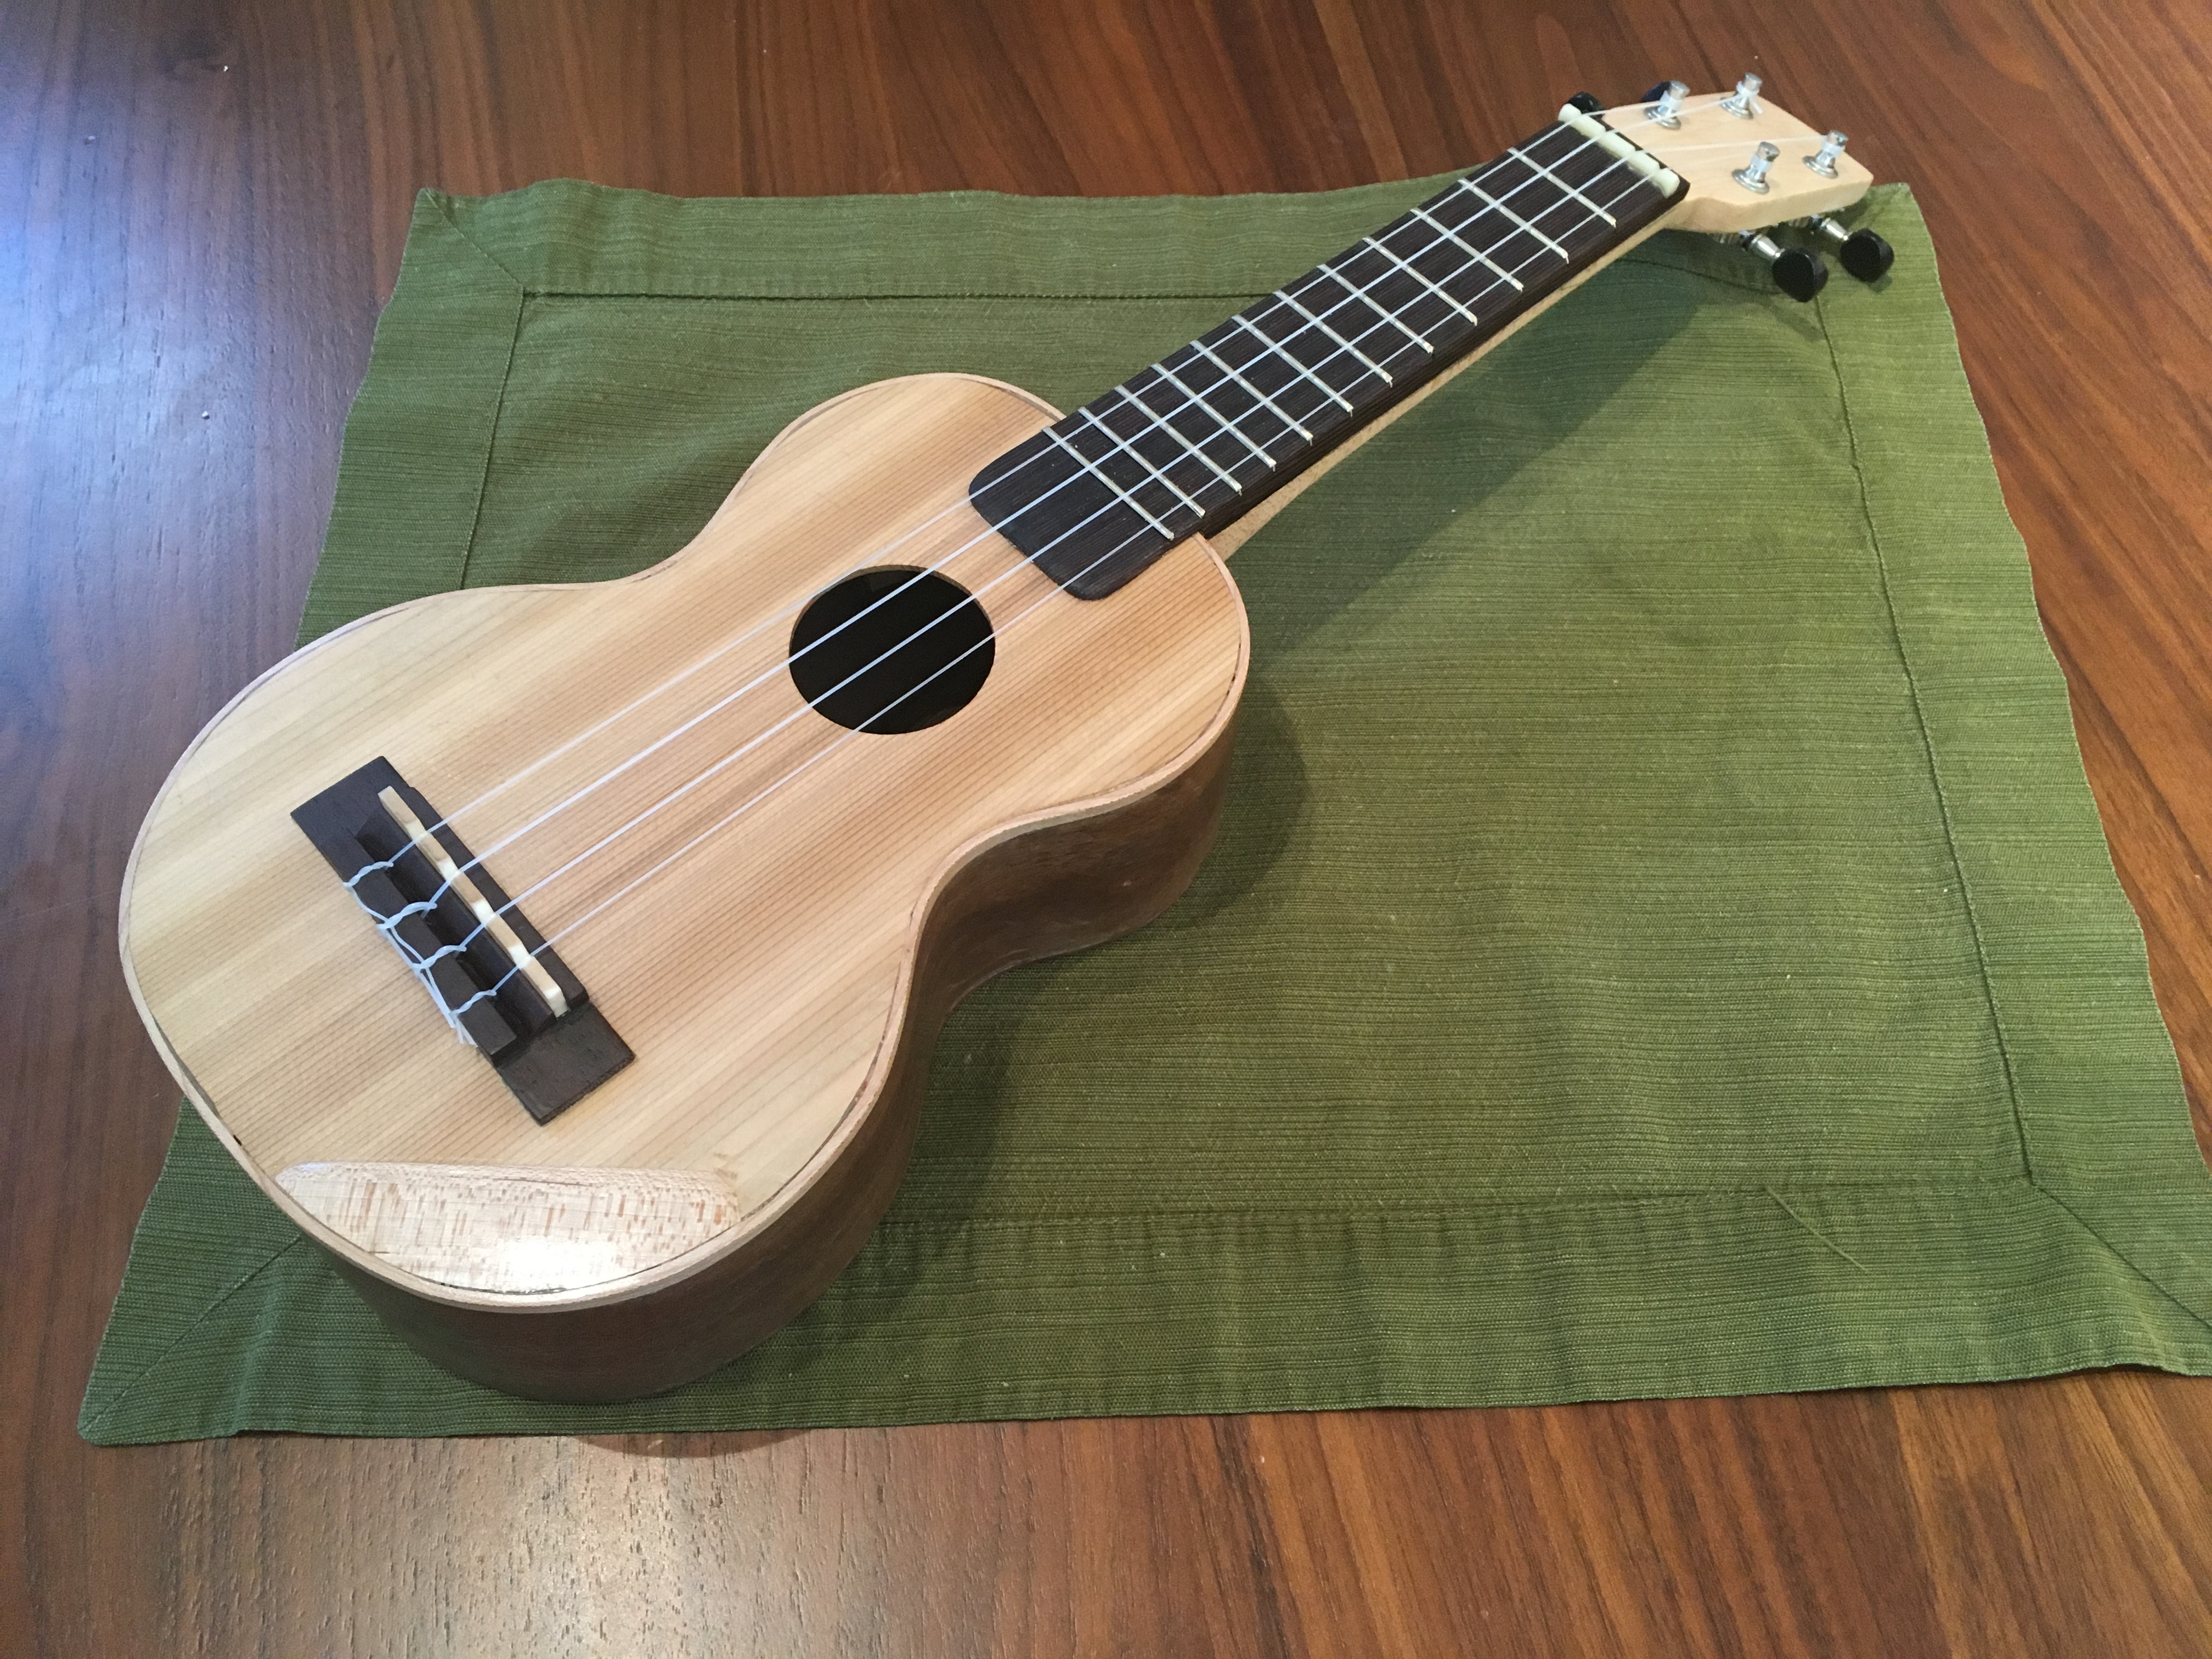
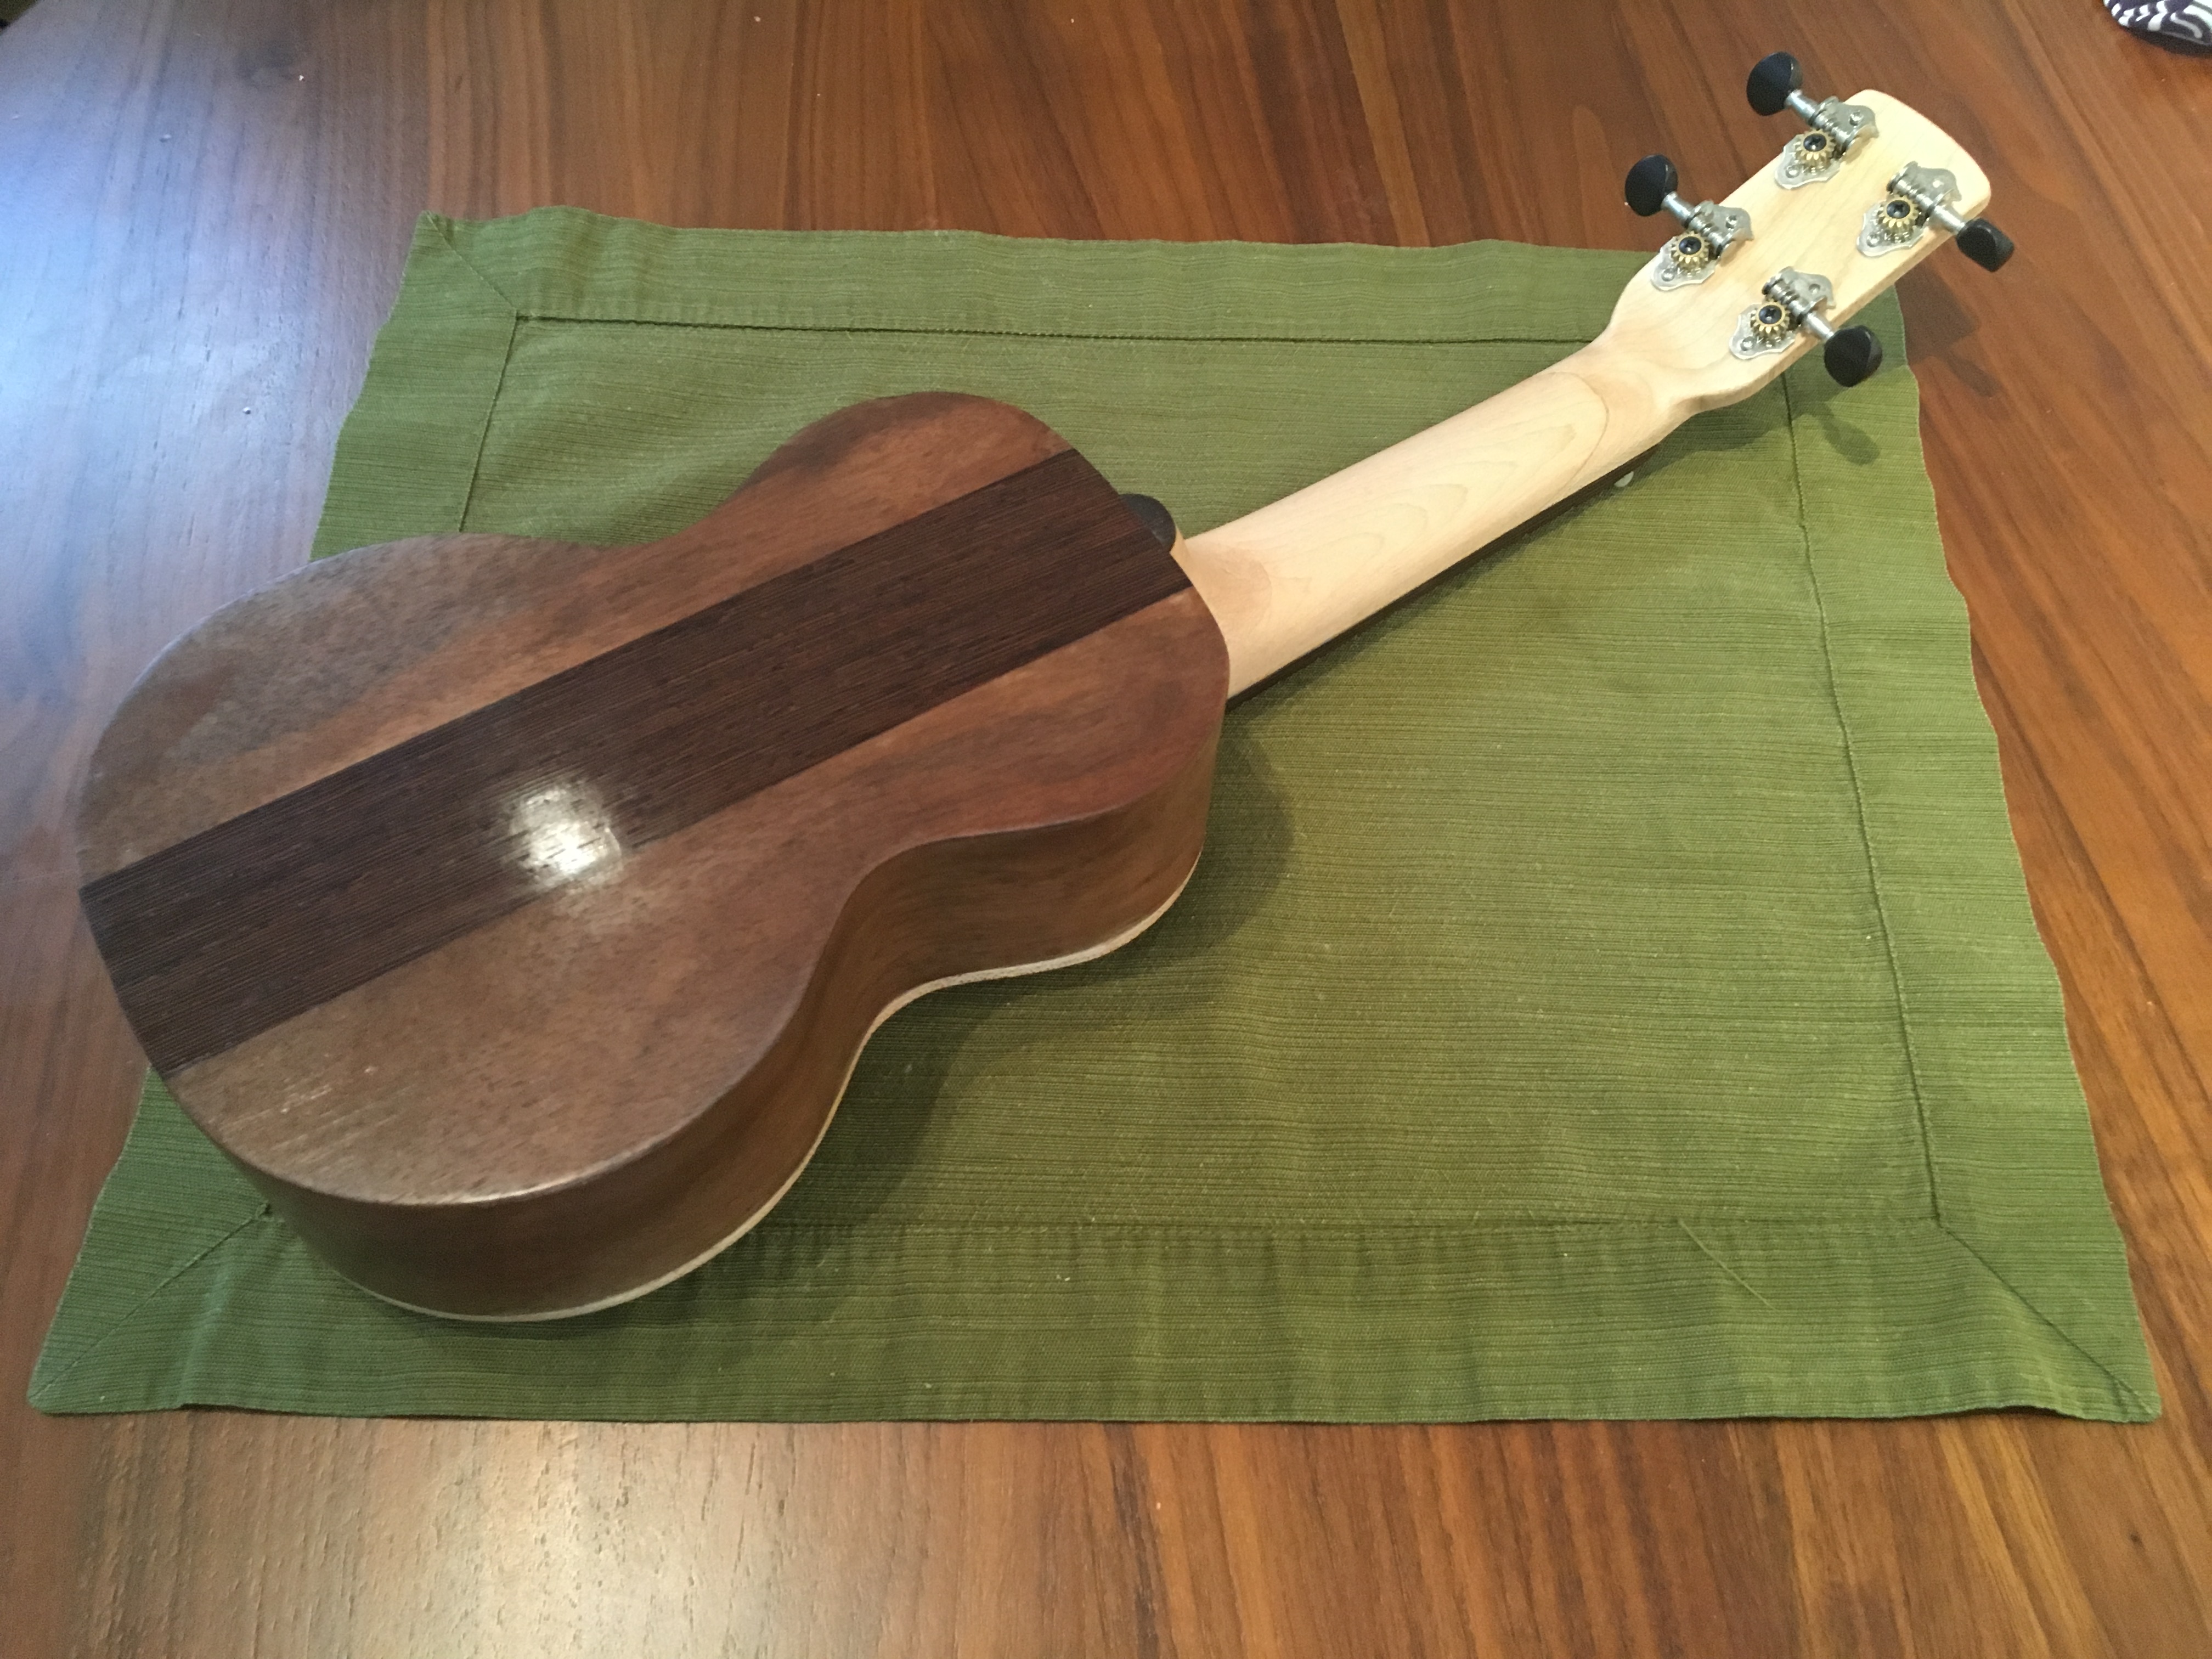
After assembling the body onto the neck, I glued down the bridge, and filed slots in the nut and saddle. Here’s a few shots of it as the first playable form.
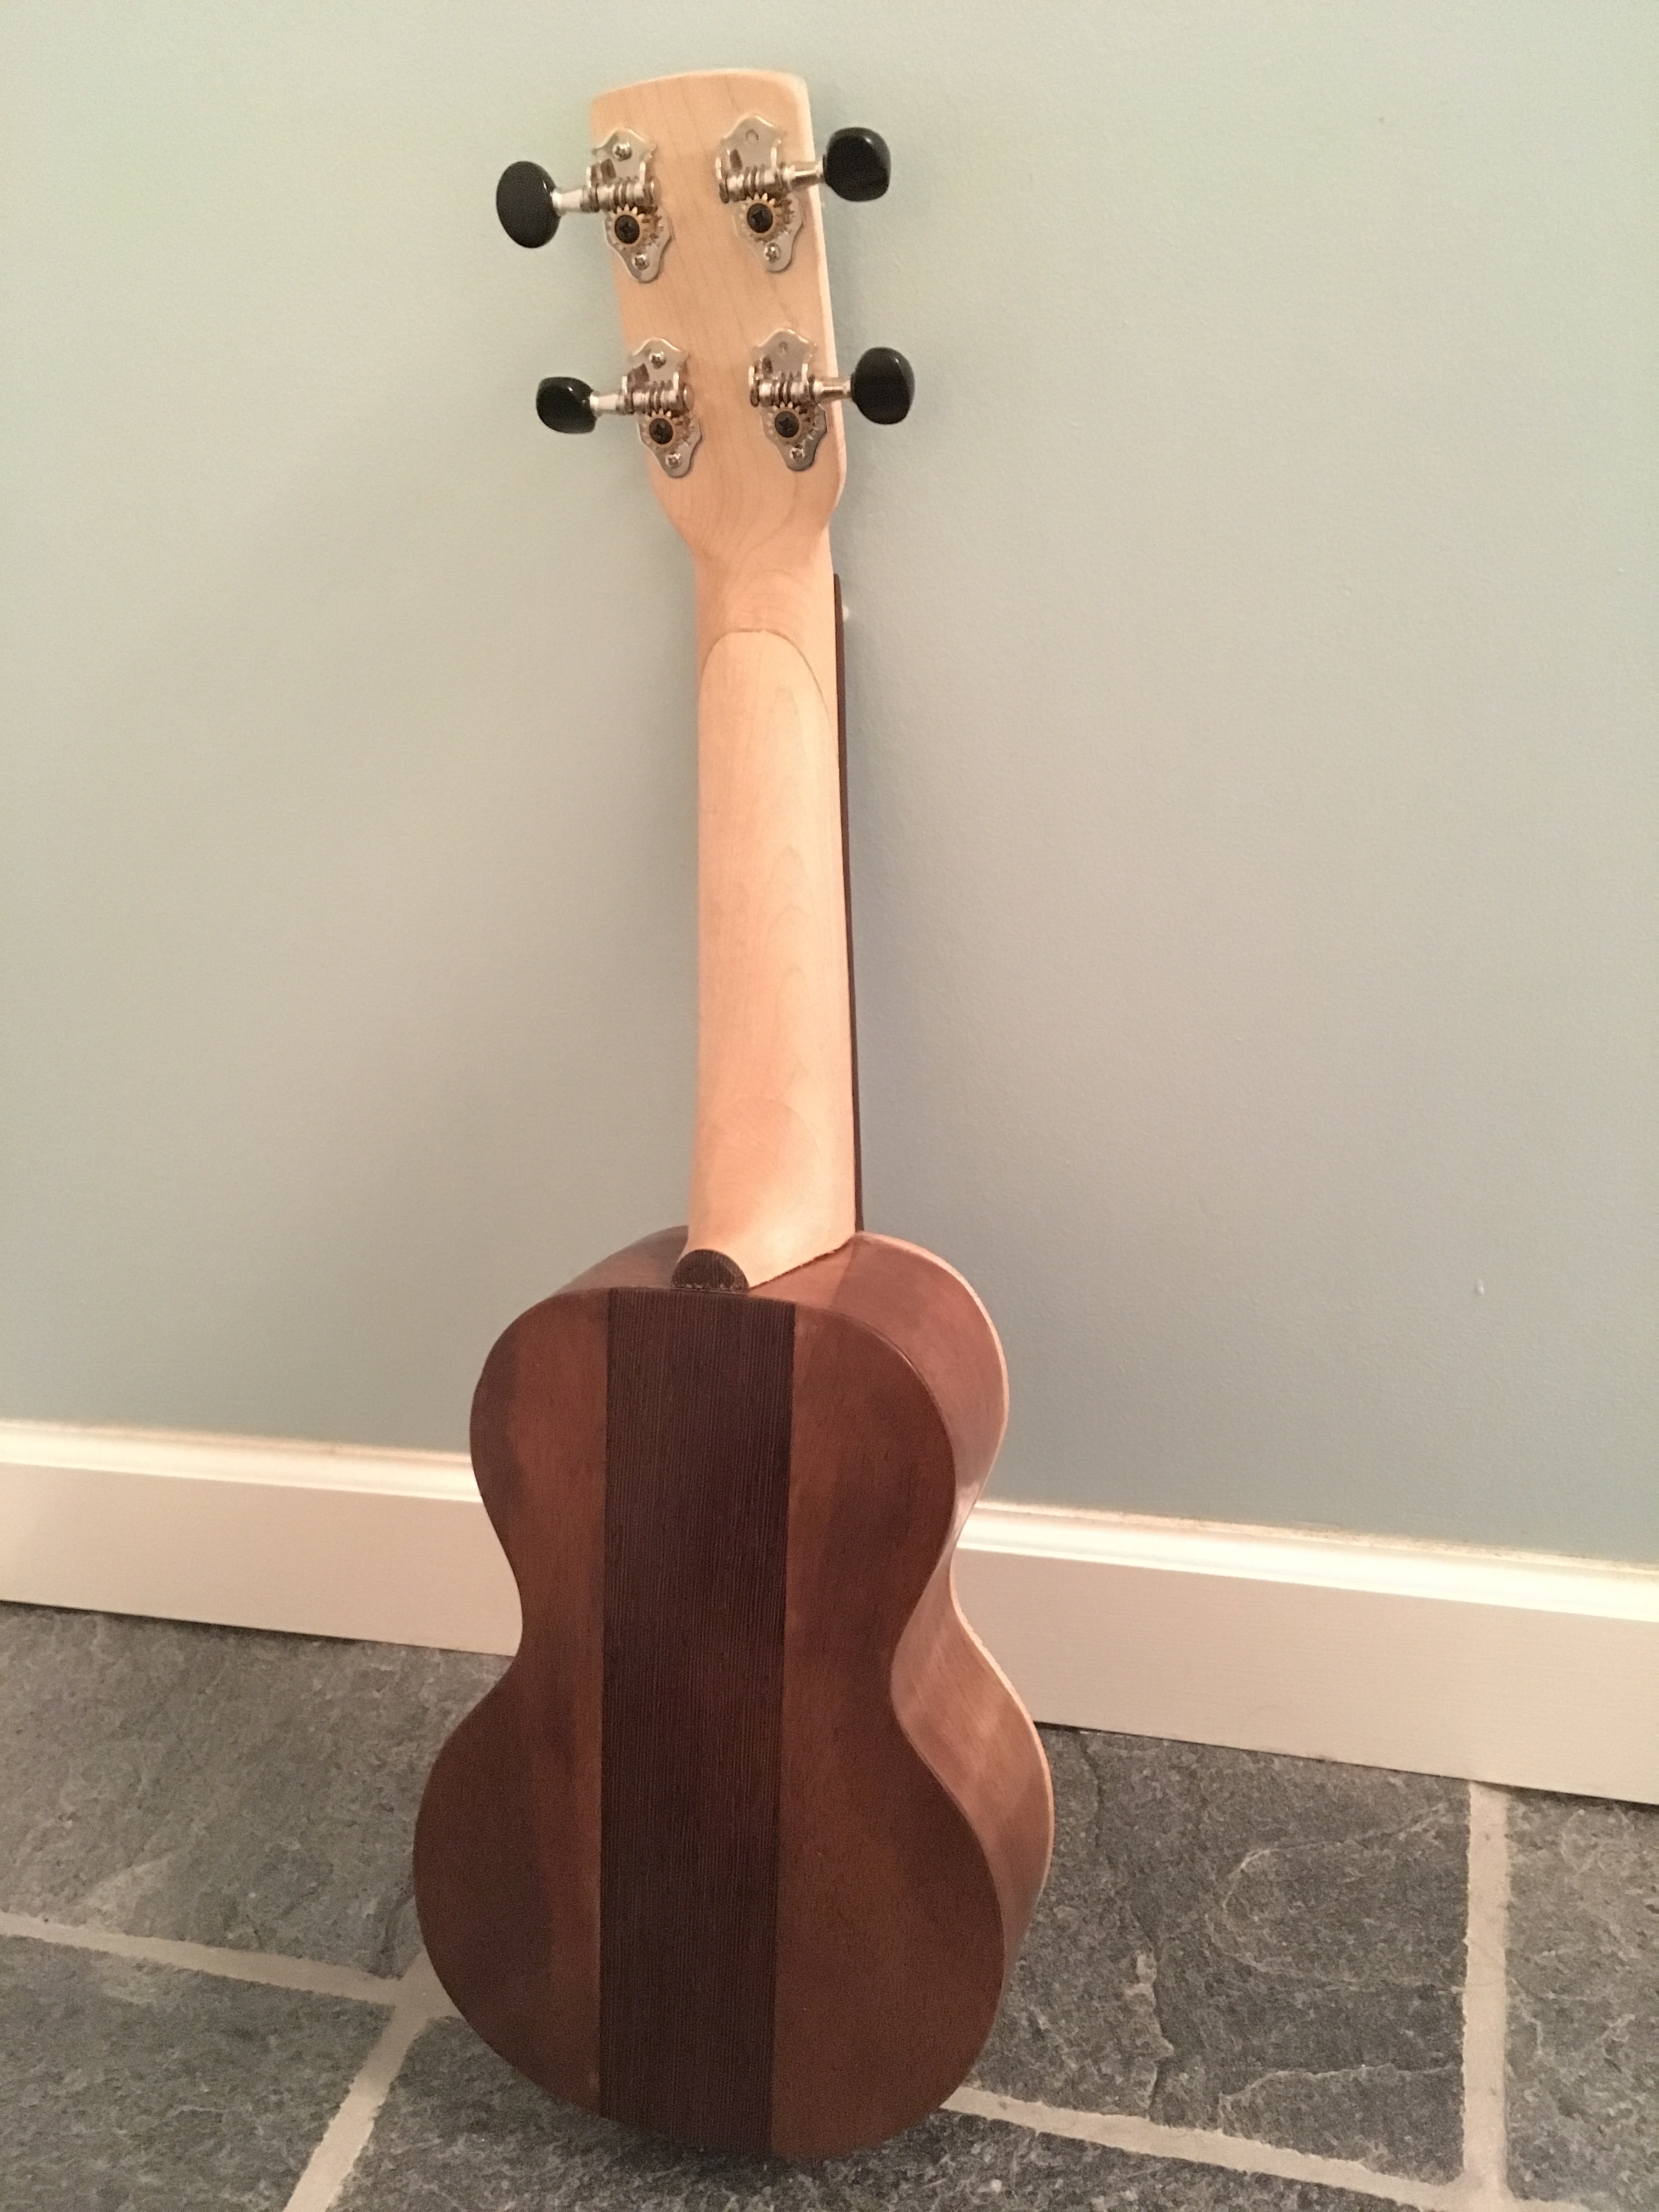
And then after playing with adjusting the intonation and filing the frets to their final feel, I applied a finish onto the neck and fretboard. I installed the label and now call this complete.
Thank you to the Vancouver Hack Space and its members (as well as supportive non-members who visited on open nights). I could have not created this without the tools, knowledge, and support of this community.
I’ll be giving a presentation at the Woodworker’s guild tonight on this build; and I’ll have it with me. If anyone wanted to check this out, be sure to come tonight.
People primarily think steam is needed to bend wood. Actually, It is not the steam, but the heat. Heat alone will cause wood to have plasticity. The moisture helps the heat to transfer through the wood. I have built an ukulele, and in process of building one more. Then I will do another, and then plan to get into building classical guitars. The method is the same. I’d love to get together and share build stories with you. Anyhow, back to bending. What I did to bend my sides with use a tin can. Yes, a soup can. I mounted it in a base with an electrical fitting for a 100 watt light bulb. It takes about 30 minutes for the can to get up to the right temperature. Then I spritzed the wood with water from a spray bottle. No need to soak it. Then held the wood up to the can and pressed it to bend it while sliding it back and forth to keep it from burning. Then I clamped it in shape to let it dry and cool.