Hey people,
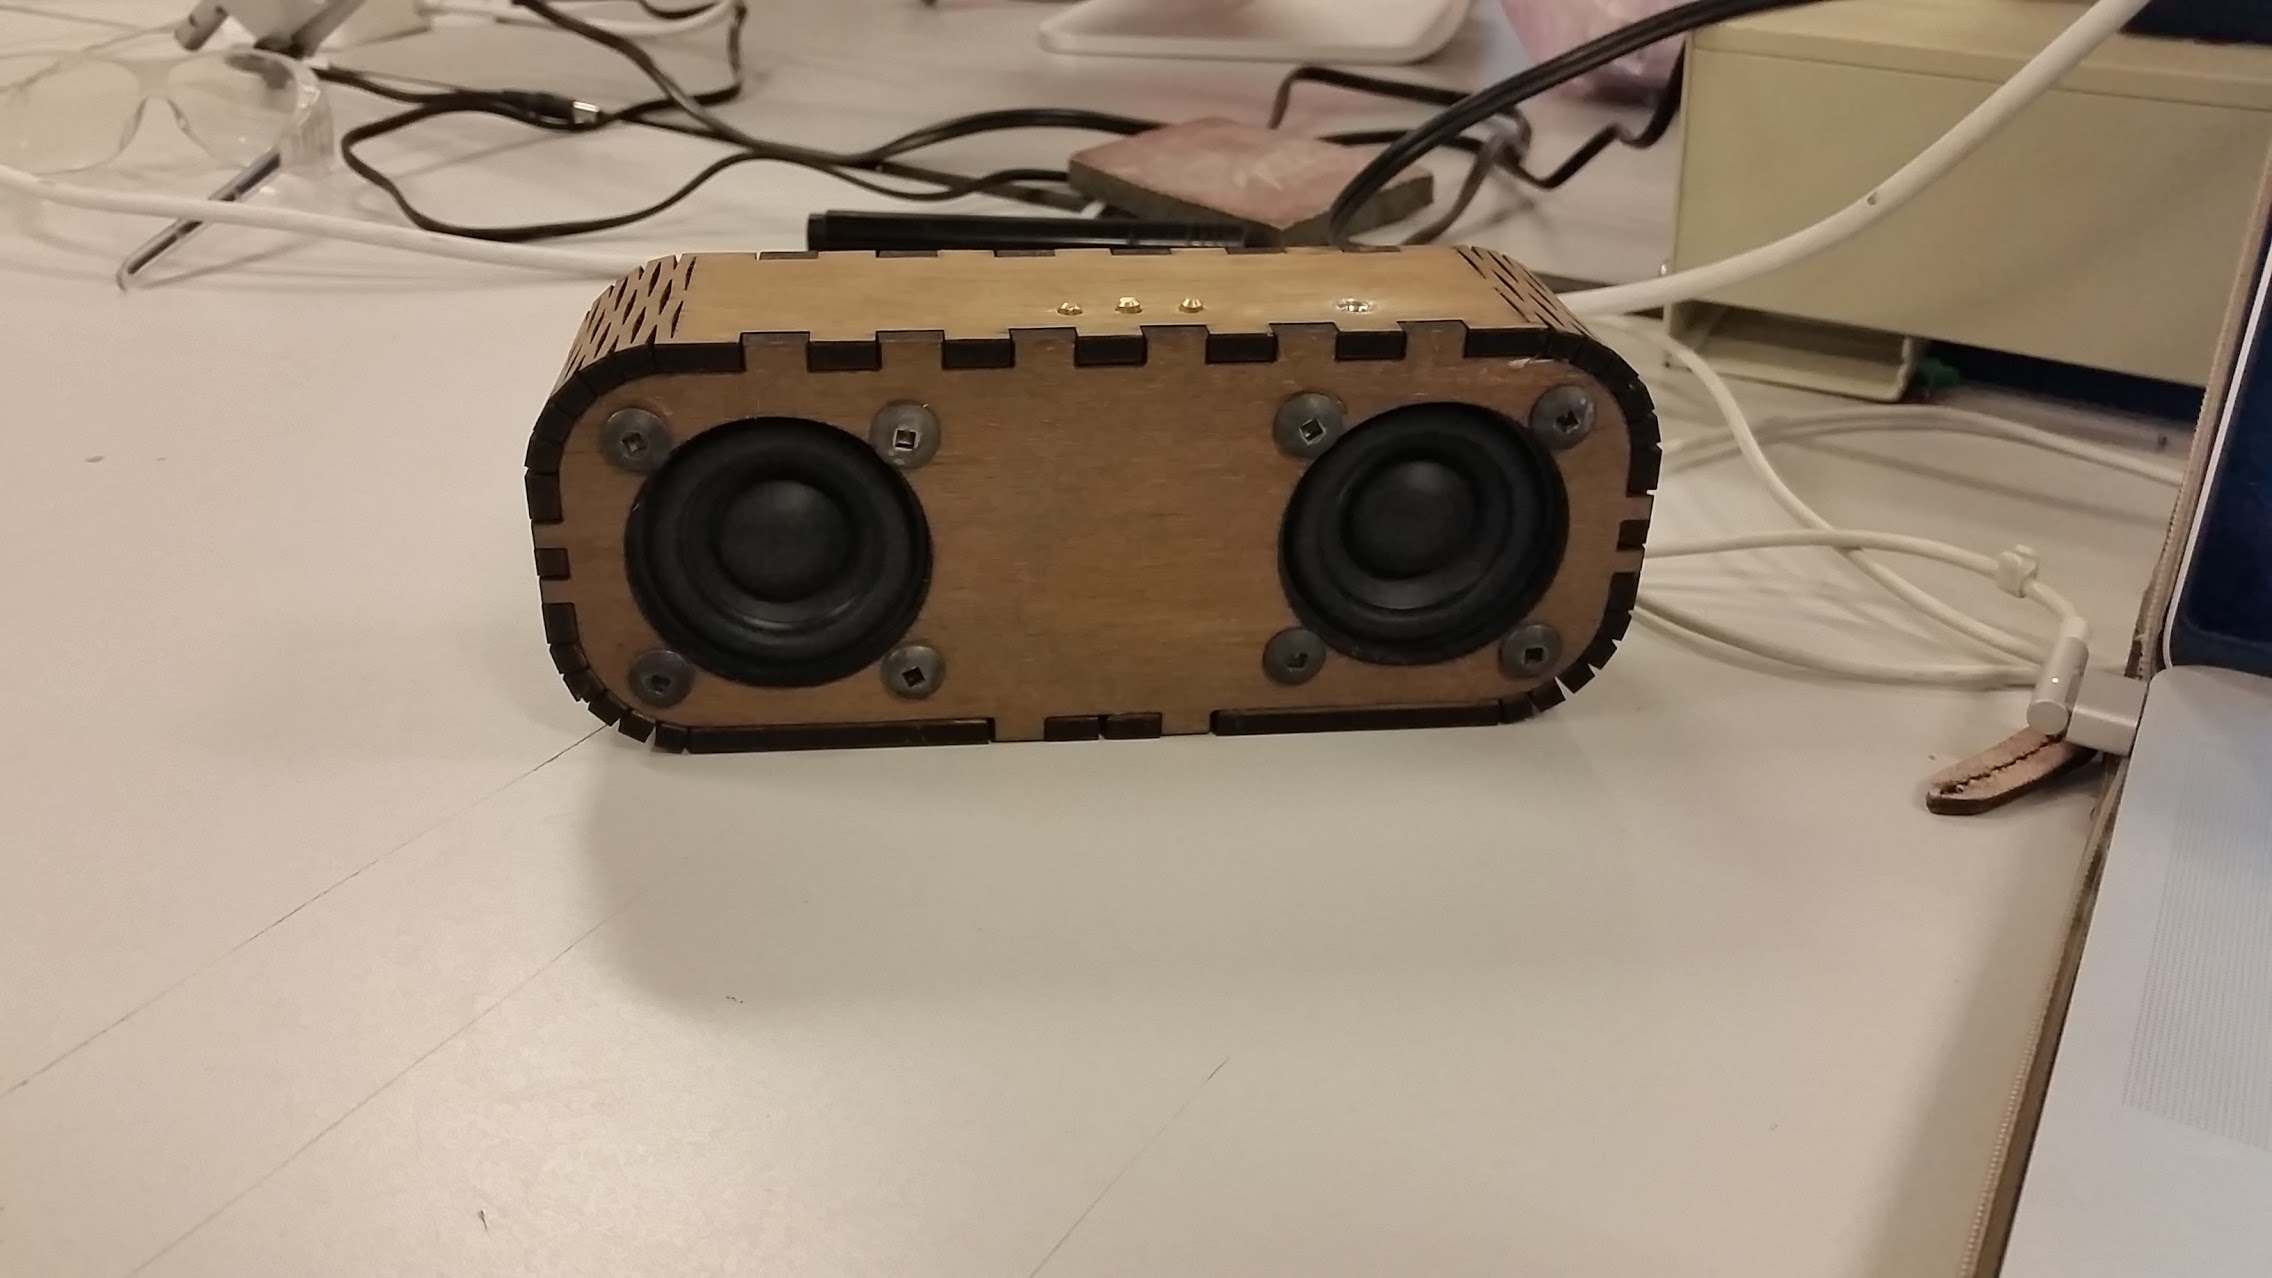
I’ve been playing around with some bluetooth audio modules and finally got my case design finalised and put it all together. It features 10+ hour batter inside a usb charging port at the back. 3.5mm Line input on top and three brass buttons on the top. It was laser cut and kerf bent and stained for effect.

On the inside everything is done with this little bluetooth module with a high efficiency amplifier built in.
[Bluetooth Module][1]
The battery is a single 3.7v 18650 lithium ion and a small charge circuit for it.
[Charger circuit][2]
[1]: Page Not Found - Aliexpress.com
[2]: Page Not Found - Aliexpress.com
I also got some 2" 10W speakers from ali express.
After laser cutting the wood I had to let it soak in hot water before I could bend it into the box, the first time i snapped all the pieces trying with out water to soak it in. I also had some better results making my bend lines a bit bigger then the parametric generator I used to make the box. Trail and error was the best case here.
Flex box script here: http://www.thingiverse.com/thing:17240
Cut and soaked in water and bent, pre stain work.
After the stain had dried I assembled the electronics inside, to make things easier I had to desolder the usb connectors on the bluetooth board so i could then solder directly from the lithium ion charge circuit. That was the most annoying part of the projects for fear of breaking it all but it worked out with some help from @Jarrett.
I also soldered a connector to the bottom side of the bluetooth board so i can quick disconnect the speakers. It had one for the speakers already but could find one that fitted well and was facing the wrong way for me to mount everything.
I then mounted the charge circuit with some drilling, filing and a lot of hot glue to the back. Followed by the battery.

I also found out do not solder connectors with your battery still in place if you have a holder like the one i found take it out first, they tend to smoke and go boom if they get to hot. I smoked out one battery just soldering the wire to the connector near by. Lithium Ions are dangerous be careful! (good thing I ordered some spares)
Top panel has the three buttons, power/sync, volume up, volume down. Because the circuit board had these buttons on it already i just drilled holes where it was mounted and cut some brass rod that drops down into the holes and glued a washer that fitted around the brass to make sure they down slip out again. They press and spring back from the buttons and look and feel nice. There is also a 3.5mm audio jack for line input to the speaker systems which works when the bluetooth is off and the battery is on.
Then after soldering the cables together and the powder from the charger through the switch to make sure i could turn of the power draw from the battery when not in use it is complete. I used some insulation to stop the sound leaking from out the sides when assembling and press fitted it all together.
Works really well and am pretty happy with the results. If people want I am willing to run a workshop and do a bulk buy of parts. Which will probably take a month to get all the parts here. Let me know below.
Thanks, Luke