I recently decided to revisit paper folding.
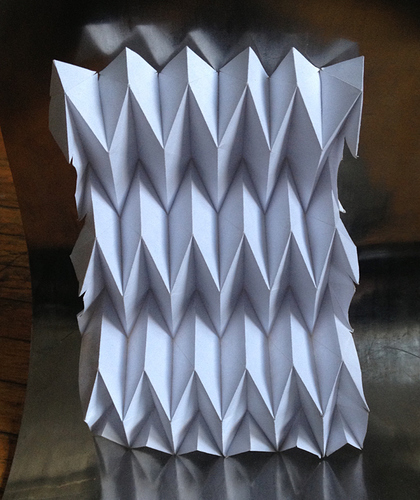
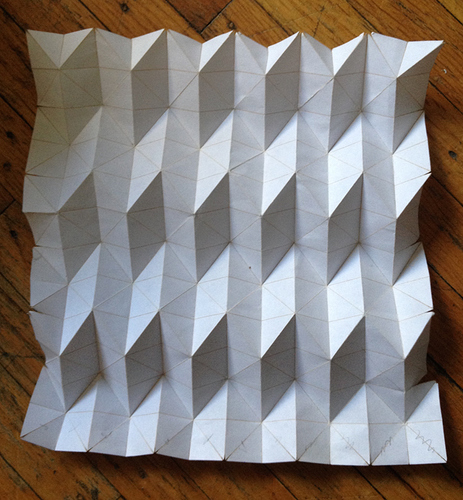
Below is a Multi-V grid paper fold that I made from an 8"x8" sheet of paper.
I was inspired by Paul Jackson and his many books, videos and Facebook page covering the topic of paper folding
Here is a short teaser video on Folding Techniques for Designers by Paul Jackson
If you are interested in paper folding, a great way to start is to checkout Paul’s book Complete Pleats Pleating Techniques for Fashion, Architecture and Design from the Vancouver Public Library.
One of the time consuming parts of doing paper folding is marking or scoring the lines that need to be folded. The three methods are
- Folding by hand
- Using geometry equipment (rulers, protractors, pencil)
- Using a computer
Having previously experimented with the first two methods I decided to explore option 3 above.
Specifically I wanted to create a parametric sketch of the paper fold design in Fusion 360 that I could then etch onto paper using the VHS laser cutter.
A fully fledged 3D modelling tool may seem like overkill for this project but it turns out it is surprisingly useful.
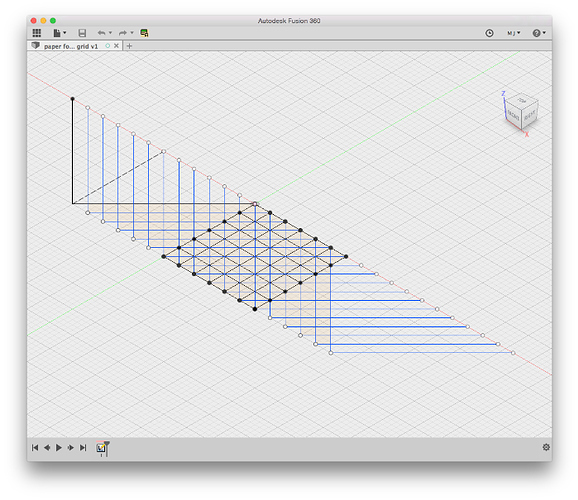
This is the parametric grid created in F360. You can specify the height, width, number of vertical boxes and number of horizontal boxes and the grid will be automagically drawn for you!
One of the reasons I love VHS is that there are many people willing to share their knowledge and help you with your projects. So a big shout out to @iMakeRobots for his help with this F360 model and @Jarrett for his help with my previous F360 pleat model.
Fusion 360 is not without it’s limitations. As you can see from the above model there are lines external to the grid that are not part of the design but are required for the parametric model to function.
The fusion sketch was saved as a DXF file and then edited with Inkscape which was used to draw a rectangle around the grid and then cut it out from the external unwanted lines.
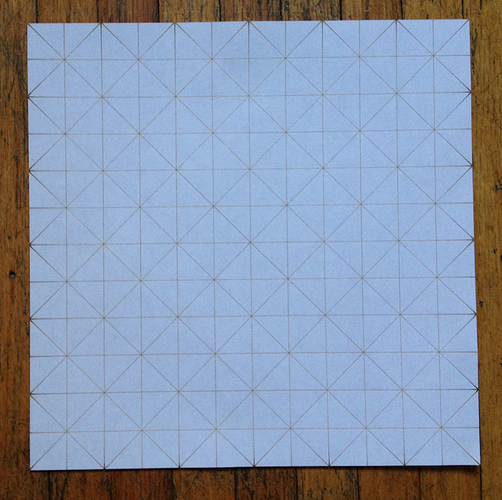
Next it’s off to the laser cutter. Using the awesome new honeycomb workbed it was easy to etch the lines and cut out my design from a sheet of 8 1/2" x 11" printer paper. Laser cutter settings of speed 200 and power 8 gave a beautifully etched line that folds perfectly. Each sheet takes about 1 minute to etch and cut. That is a huge time saving!
The result from the laser.
Now the folding begins. I’m not going to go into any detail on the actual process of folding. Check out the above Paul Jackson links if you want to learn more about this.
I’ll leave you with some pics below.
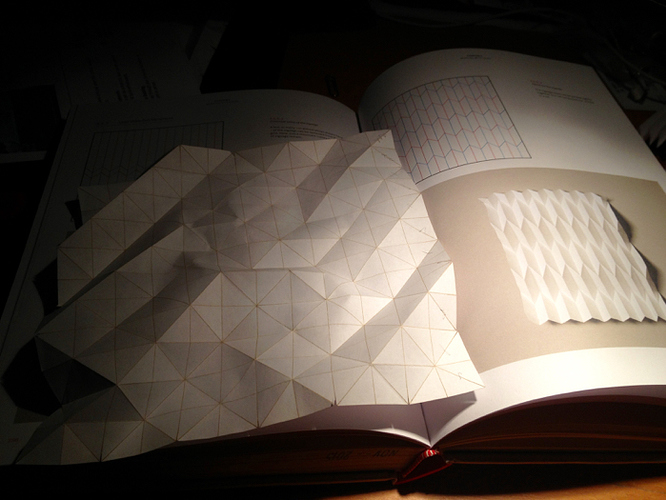
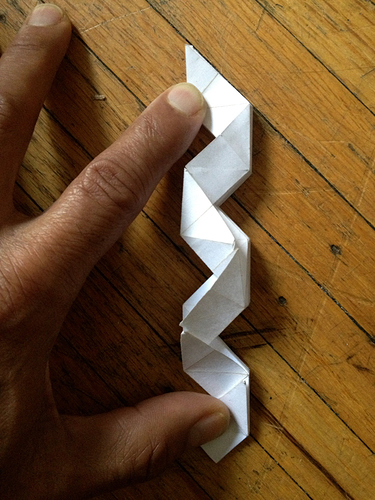
Starting the mountain valley folds is a bit of a challenge at first!
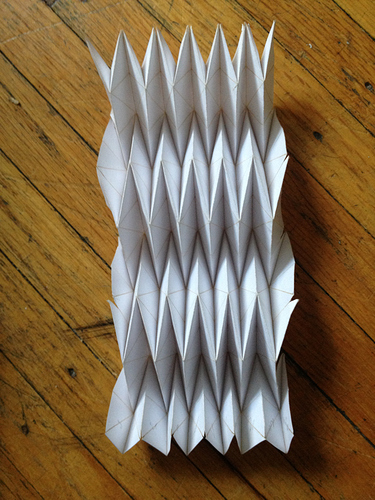
Once the folding is finished it lies completely flat. Pretty cool!
You get interesting light and shadows after the folding is done
