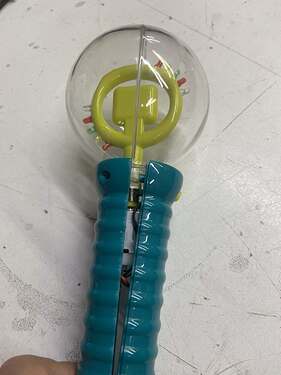
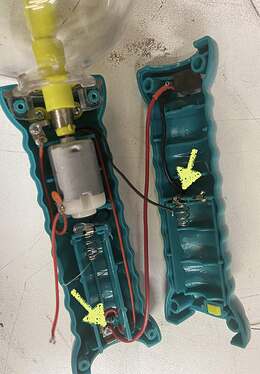
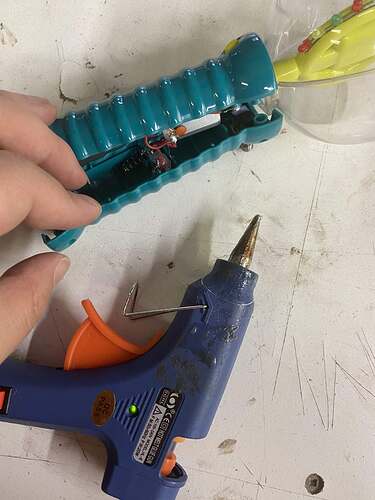
This toy hack is undocumented/new so please post as much as possible about how you hacked it, what worked, what didn’t, and any other suggestions you have for build instructions. Photos as well would be fantastic if you get a chance! Thanks!
running into @chadleaman reminded me to post my process.
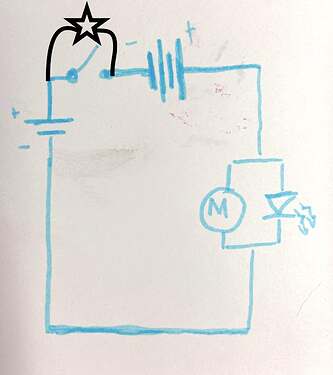
here is a lazy schematic
we want to but the accessibility jack in parallel with the button, as noted by the black star. so both can turn on the toy.
tools needed
- Dremmel / hand held rotary tool
- #1 phillip screw driver
- length of wire (18-22 gauge recommended)
- heat shrink for the wire
- hot glue gun
- optional: epoxy
my process
-
opening the toy up
removing the battery and unscrew the rest of the screw
separate the two half of the handle
-
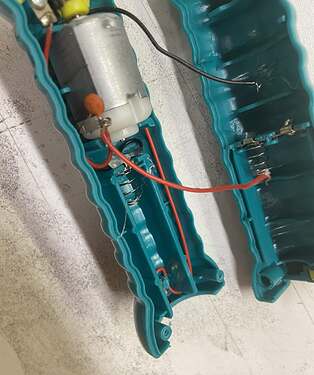
Peel off the hot glue and de-solder the wire connected to the back (non button side)
-
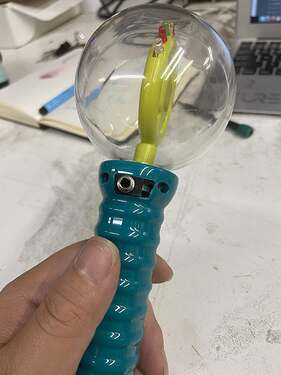
Use a Dremmel to make an opening on the top of the back piece.
-
Solder wires to the jack and cover with heat shrink. Carefully bend the leg back away from the jack.
-
Solder the other end of the wire to the battery clips are shown
-
Re-solder the wired you de-soldered earlier
-
Glue the switch in place using hot glue or epoxy.
-
Hot glue the solder points of the wire on the on the back handle piece to keep them in place.
-
Put the screws back in, careful with wire-management. avoid pinching the wires while closing the shells.
Thanks @xquared for taking time to write up your steps and take pictures!
