A wood working acquaintance of mine asked if I could machine them a branding iron from brass.
I’m always up for doing new things so I said sure.
They sent me a dxf file of their design.
There were a couple of things to fix. First was that letters need to be mirrored when branding as the burnt image is the reverse of the brand. The second issue was that the DXF path segments were not contiguous. I fixed both of these up using Inscape which is a great free vector drawing package.
Below is the fixed up design.

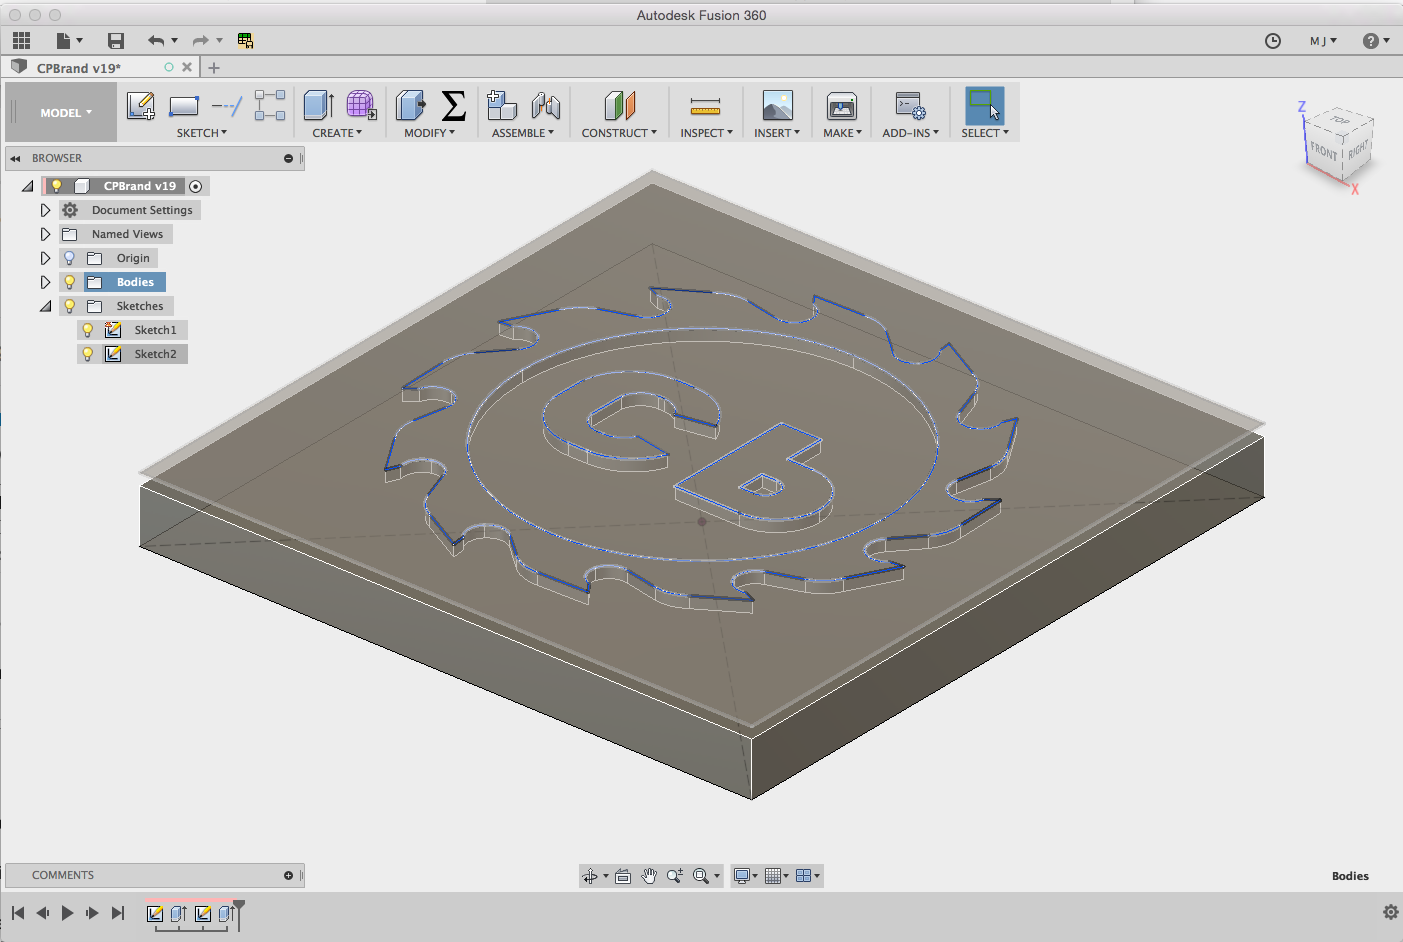
With a good DXF file now it’s time to make a 3D model of the iron. For this task I used Fusion 360 which is a great 3D modelling and machining platform from Autodesk that is free for hobbyist and makers. It is really worth checking out.
I won’t go into too much detail here about the actual modelling except to say that I created an approx 2" square cube that was about 1/4" thick. Then I imported the above design onto the top surface and used that to extrude the design into the base cube. Below is a screen capture of this.
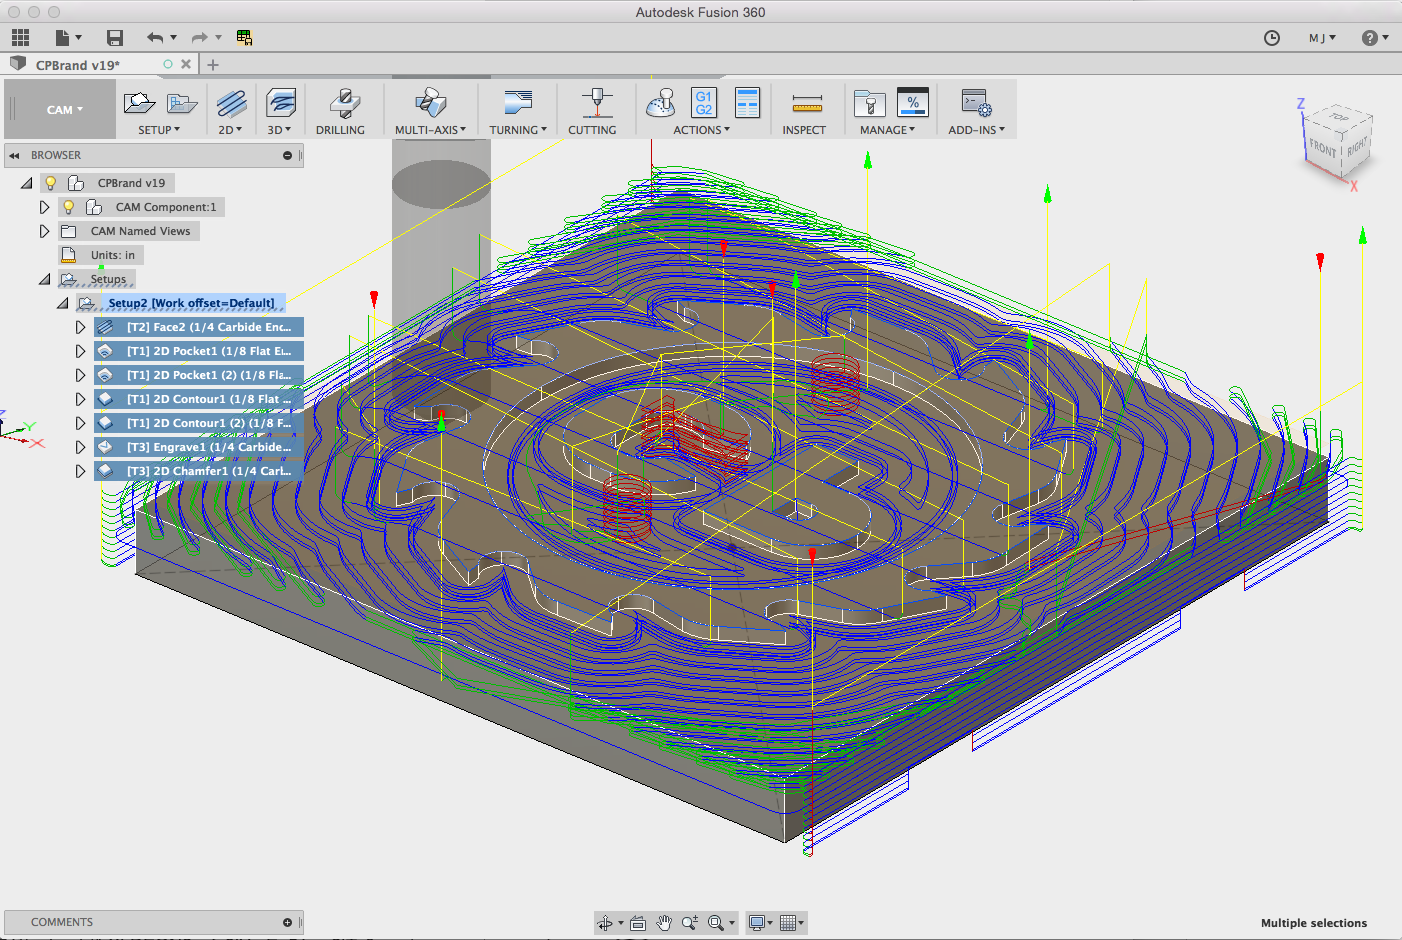
Once the design was complete then it was time create all the steps that are needed to tell the CNC machine how to cut this out. This is known as CAM (Computer Aided Manufacturing) .
Again I won’t go into much detail on the specifics of how this is done but below is a screen capture of all the tool paths used to machine this part.
Now we are ready to machine! So we are going to need some brass stock and some Endmills to cut out our design.
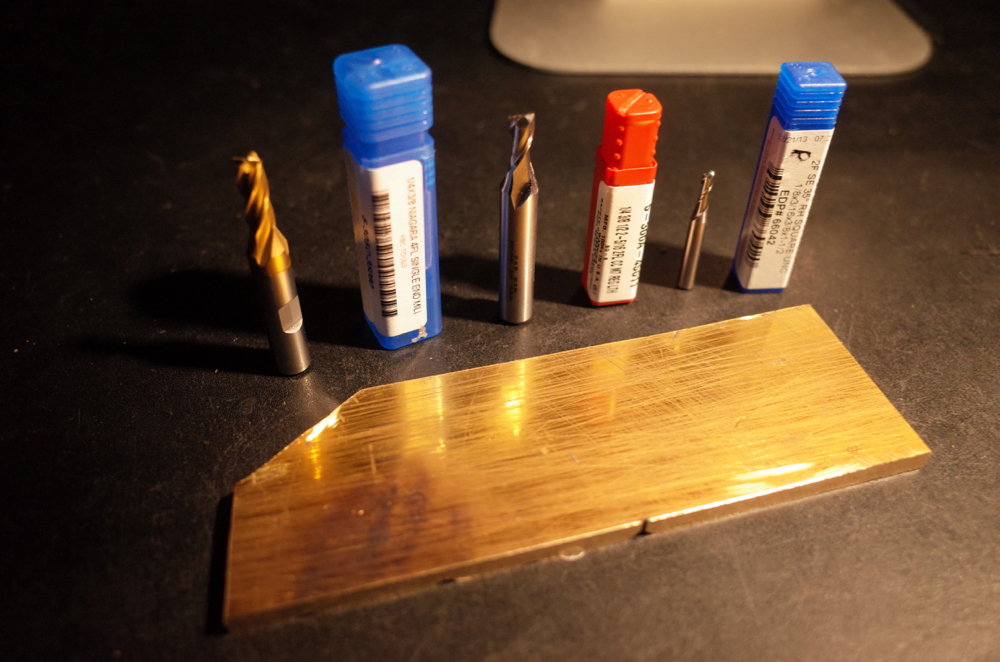
We are really fortunate to have the use of a Taig CNC machine which was donated by a generous member who has also provided training for VHS members on how to use this machine. If you get a chance I highly recommend taking this CNC class.
Anyways here is a photo of the first operation being machine on the Taig
.
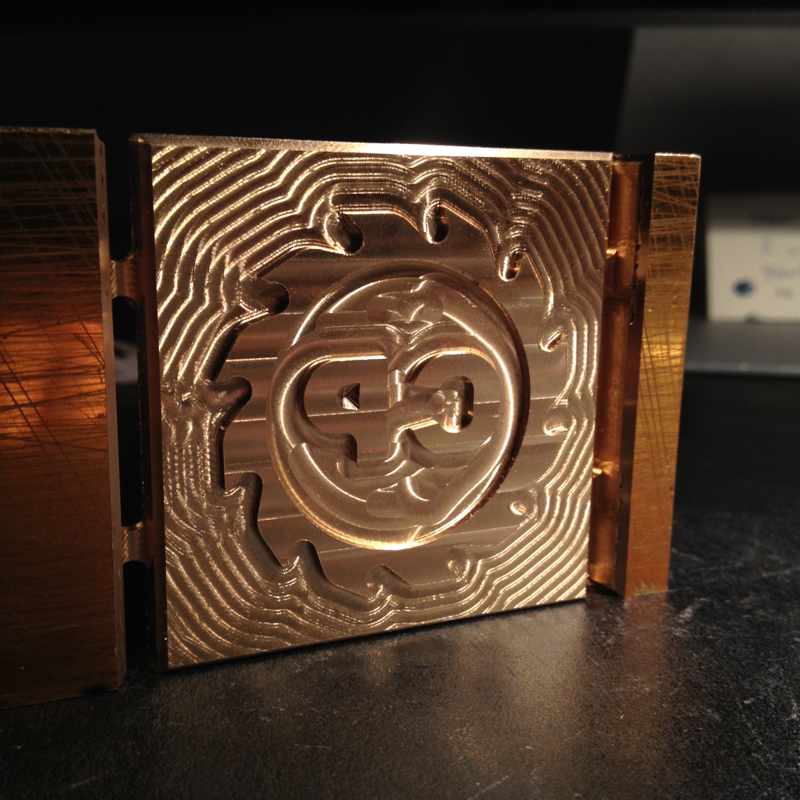
A photo at the end with all of the operations completed
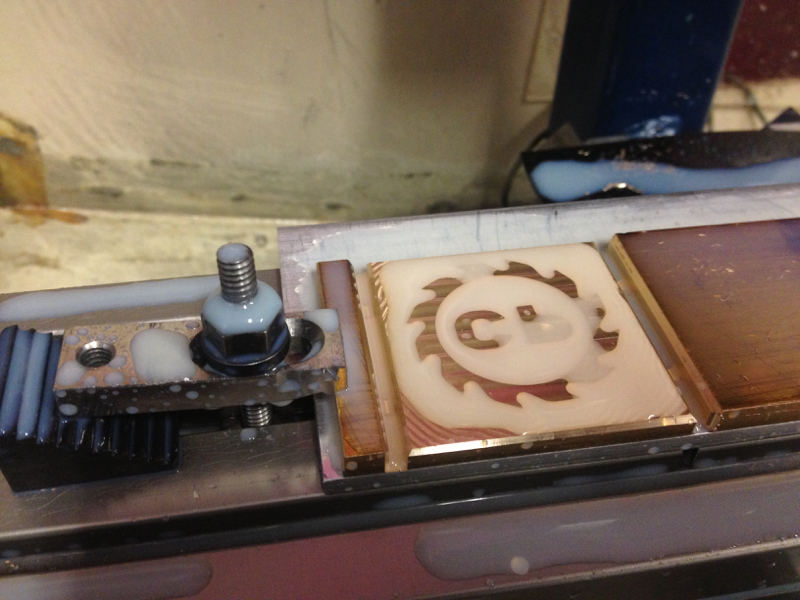
Brass machines beautifully.
Which brings us finally to the test! The brand was heated with a bottle torch and then pressed into wood for about 5 seconds and left a very clear brand! So this was a success!

I’d like to say that this project made possible by the various VHS workshops in Fusion 360 and CNC Machining that were given by volunteers. I knew very little about 3D modelling and machining last year.
It always blows me away that so many amazing people share their knowledge, skills and passion freely at VHS!
I hope this post will inspire you to share what you have “Made At VHS”.
Mark