I have been putting a good chunk of time into figuring this out and figured I would share my trials and tribulations and write up a tutorial for the wiki. I am still working on finishing it, but I wanted to share it here as well and link here for a questions/comments section.
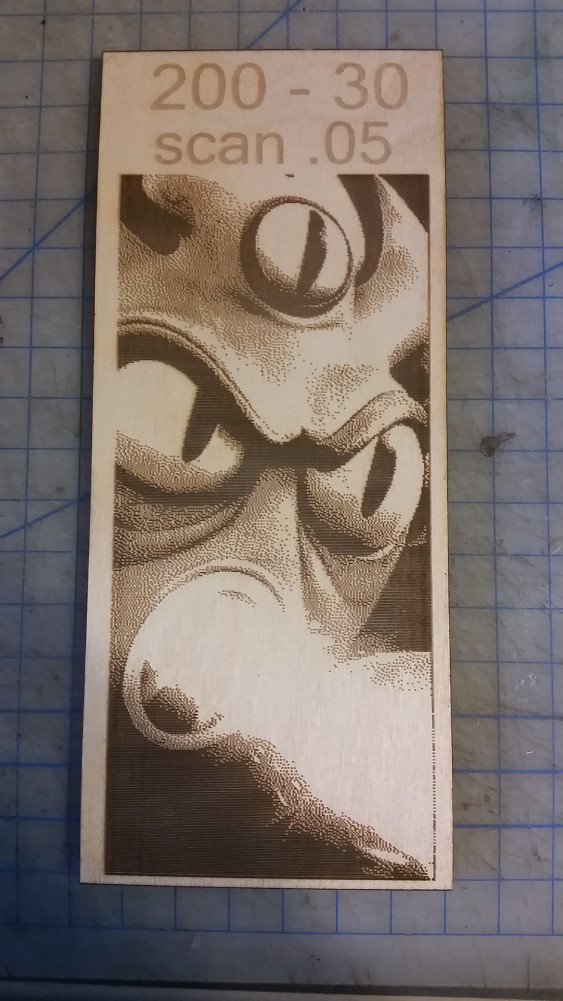
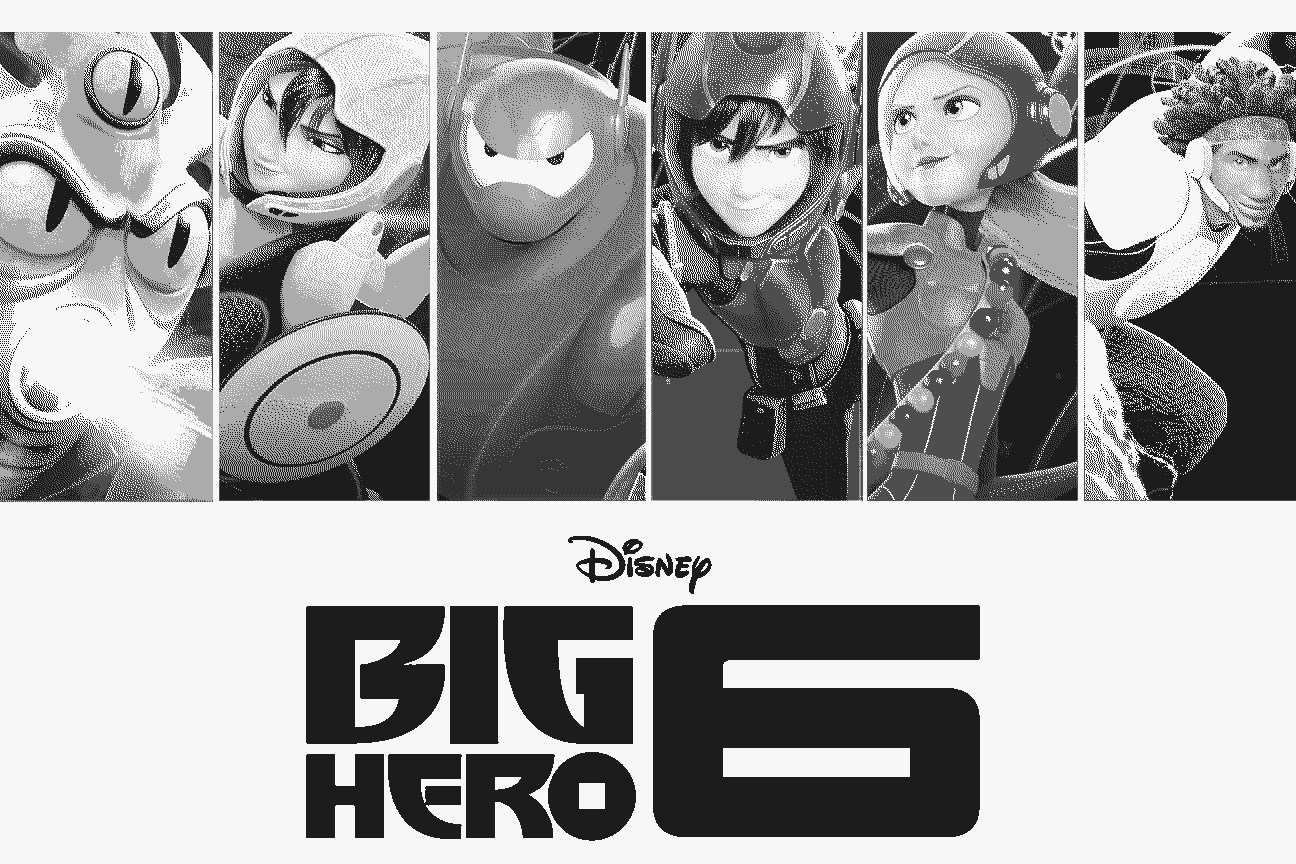
It will walk you through how to convert this:

into this:
3 Likes
I could really use an editor if anyone is up for the task. Proofread, maybe improve the formatting some, I dunno… right now am focusing more on getting it all down “on paper” before worry about making it pretty.
Great tutorial! It is very thorough. Instructables is running a contest to
win an Epilog laser cutter right now, and you should totally enter.
1 Like
And there is an Instructable to match: http://www.instructables.com/id/Prepare-a-color-image-for-laser-engraving
I entered it into the Epilog contest that @Jarrett mentioned; I’ll post a link here to vote if/when it gets accepted.
1 Like
Voting on the contest is now live. If you’d be so inclined to throw a click my way, it would be greatly appreciated! Just open the link above, and in the top right corner there is a link that says “vote” that looks like an orange ribbon. If you choose to vote or not, thanks for checking it out! But you ARE going to vote because… laser! right?
Also, it just got featured on their Technology category.
3 Likes
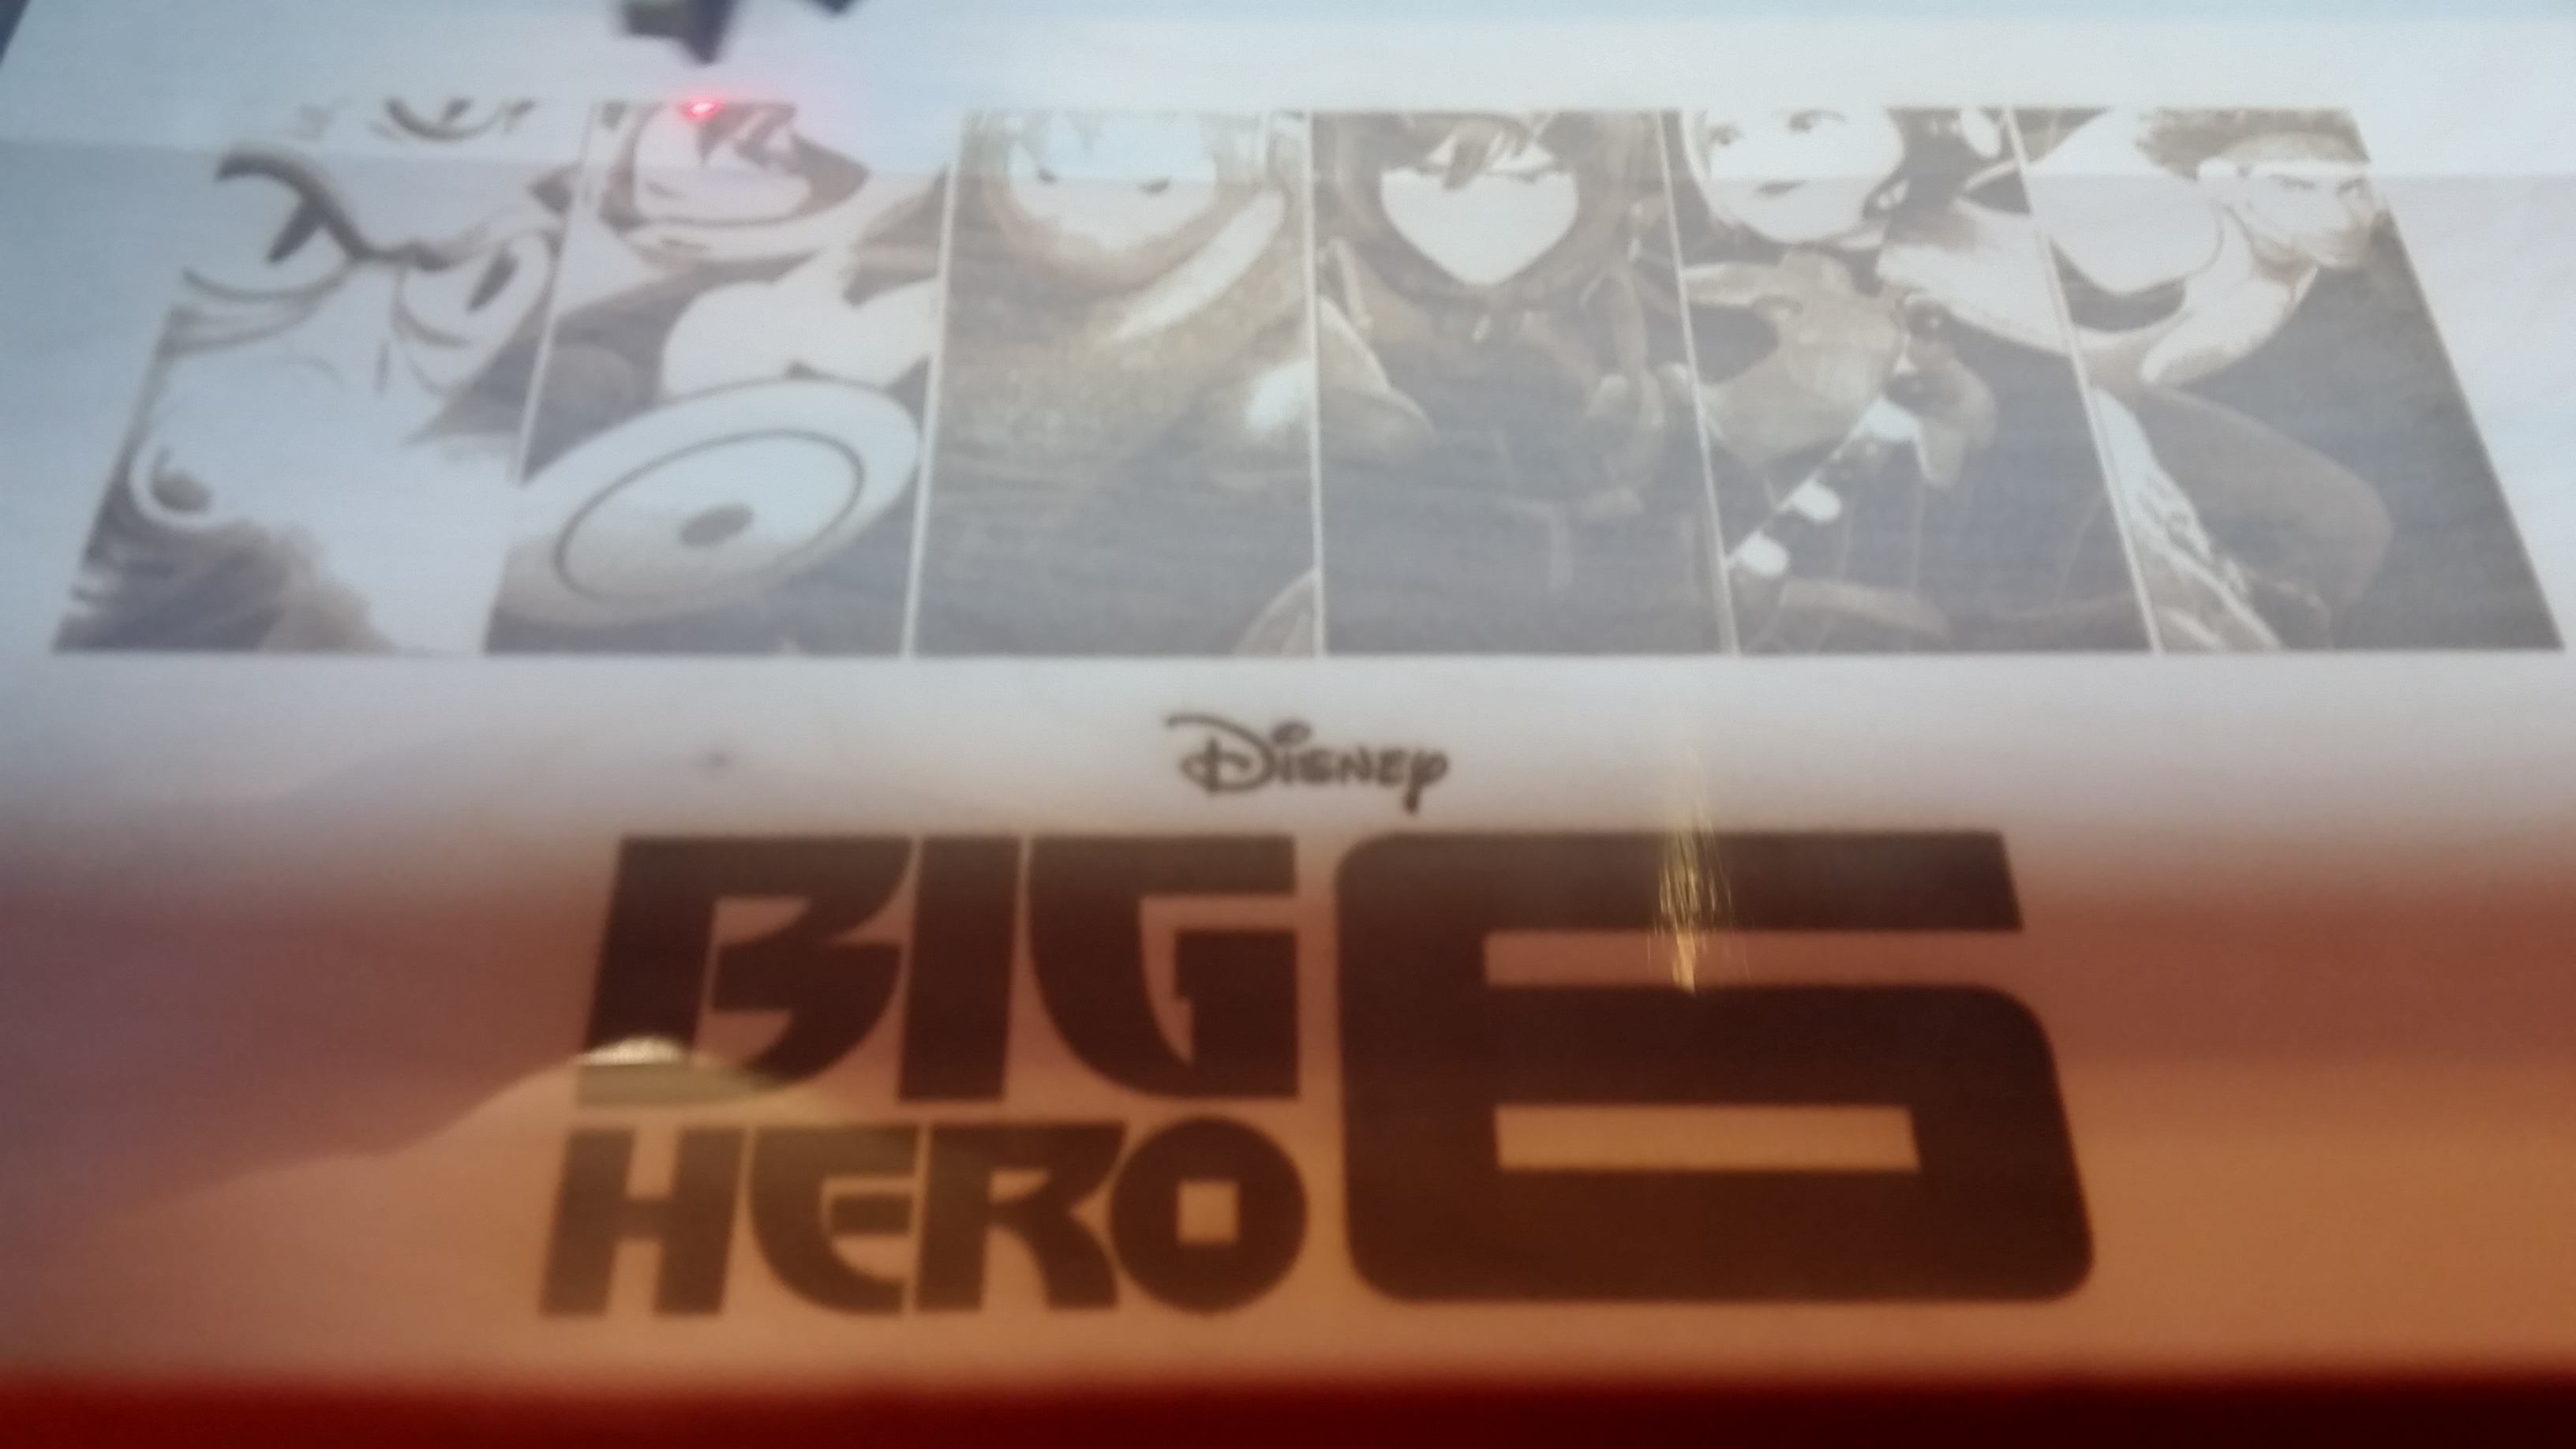
The final image is on the laser right now. When I ended up doing is breaking each character out of the image and processing each one for just the right color contrast to get this final result
It turns out the settings that worked great the other day are lighter than I’d like today so I lost some detail, but overall… it’s passable and it was a fun project.
2 Likes
To steal a page from @funvill’s playbook, here is a post-mortem:
One thing I re-learned in this process is that even though I absolutely loved the result that I got with the settings on the test pieces, those same settings were a bit too low for on the final piece. For example Hiro, the purple character, lost all detail in his face which had previously etched just fine. This could be the fact that the laser itself was at a slightly different focus, or the moisture content in this piece of wood or any number of other variables that could have changed in the almost two weeks since I did the initial test etches. It took almost 7 hours on the laser so I very much doubt I’ll run the full image again at a stronger setting just to add in a little detail.
In the future, I’d suggest making your layout to include a test piece and running it the same day in order to eliminate as many variables as possible before committing to a day of babysiting a project you don’t feel 100% happy with. I am nitpicking, and she is still going to love it, but there are always lessons to be learned and improvements to be made.
The original image as downloaded and the final product:
1 Like