Flooring at Venables

Hi hackers,

@xquared has taken up the coordinator role on flooring at Venables, so I’m documenting where we are at:

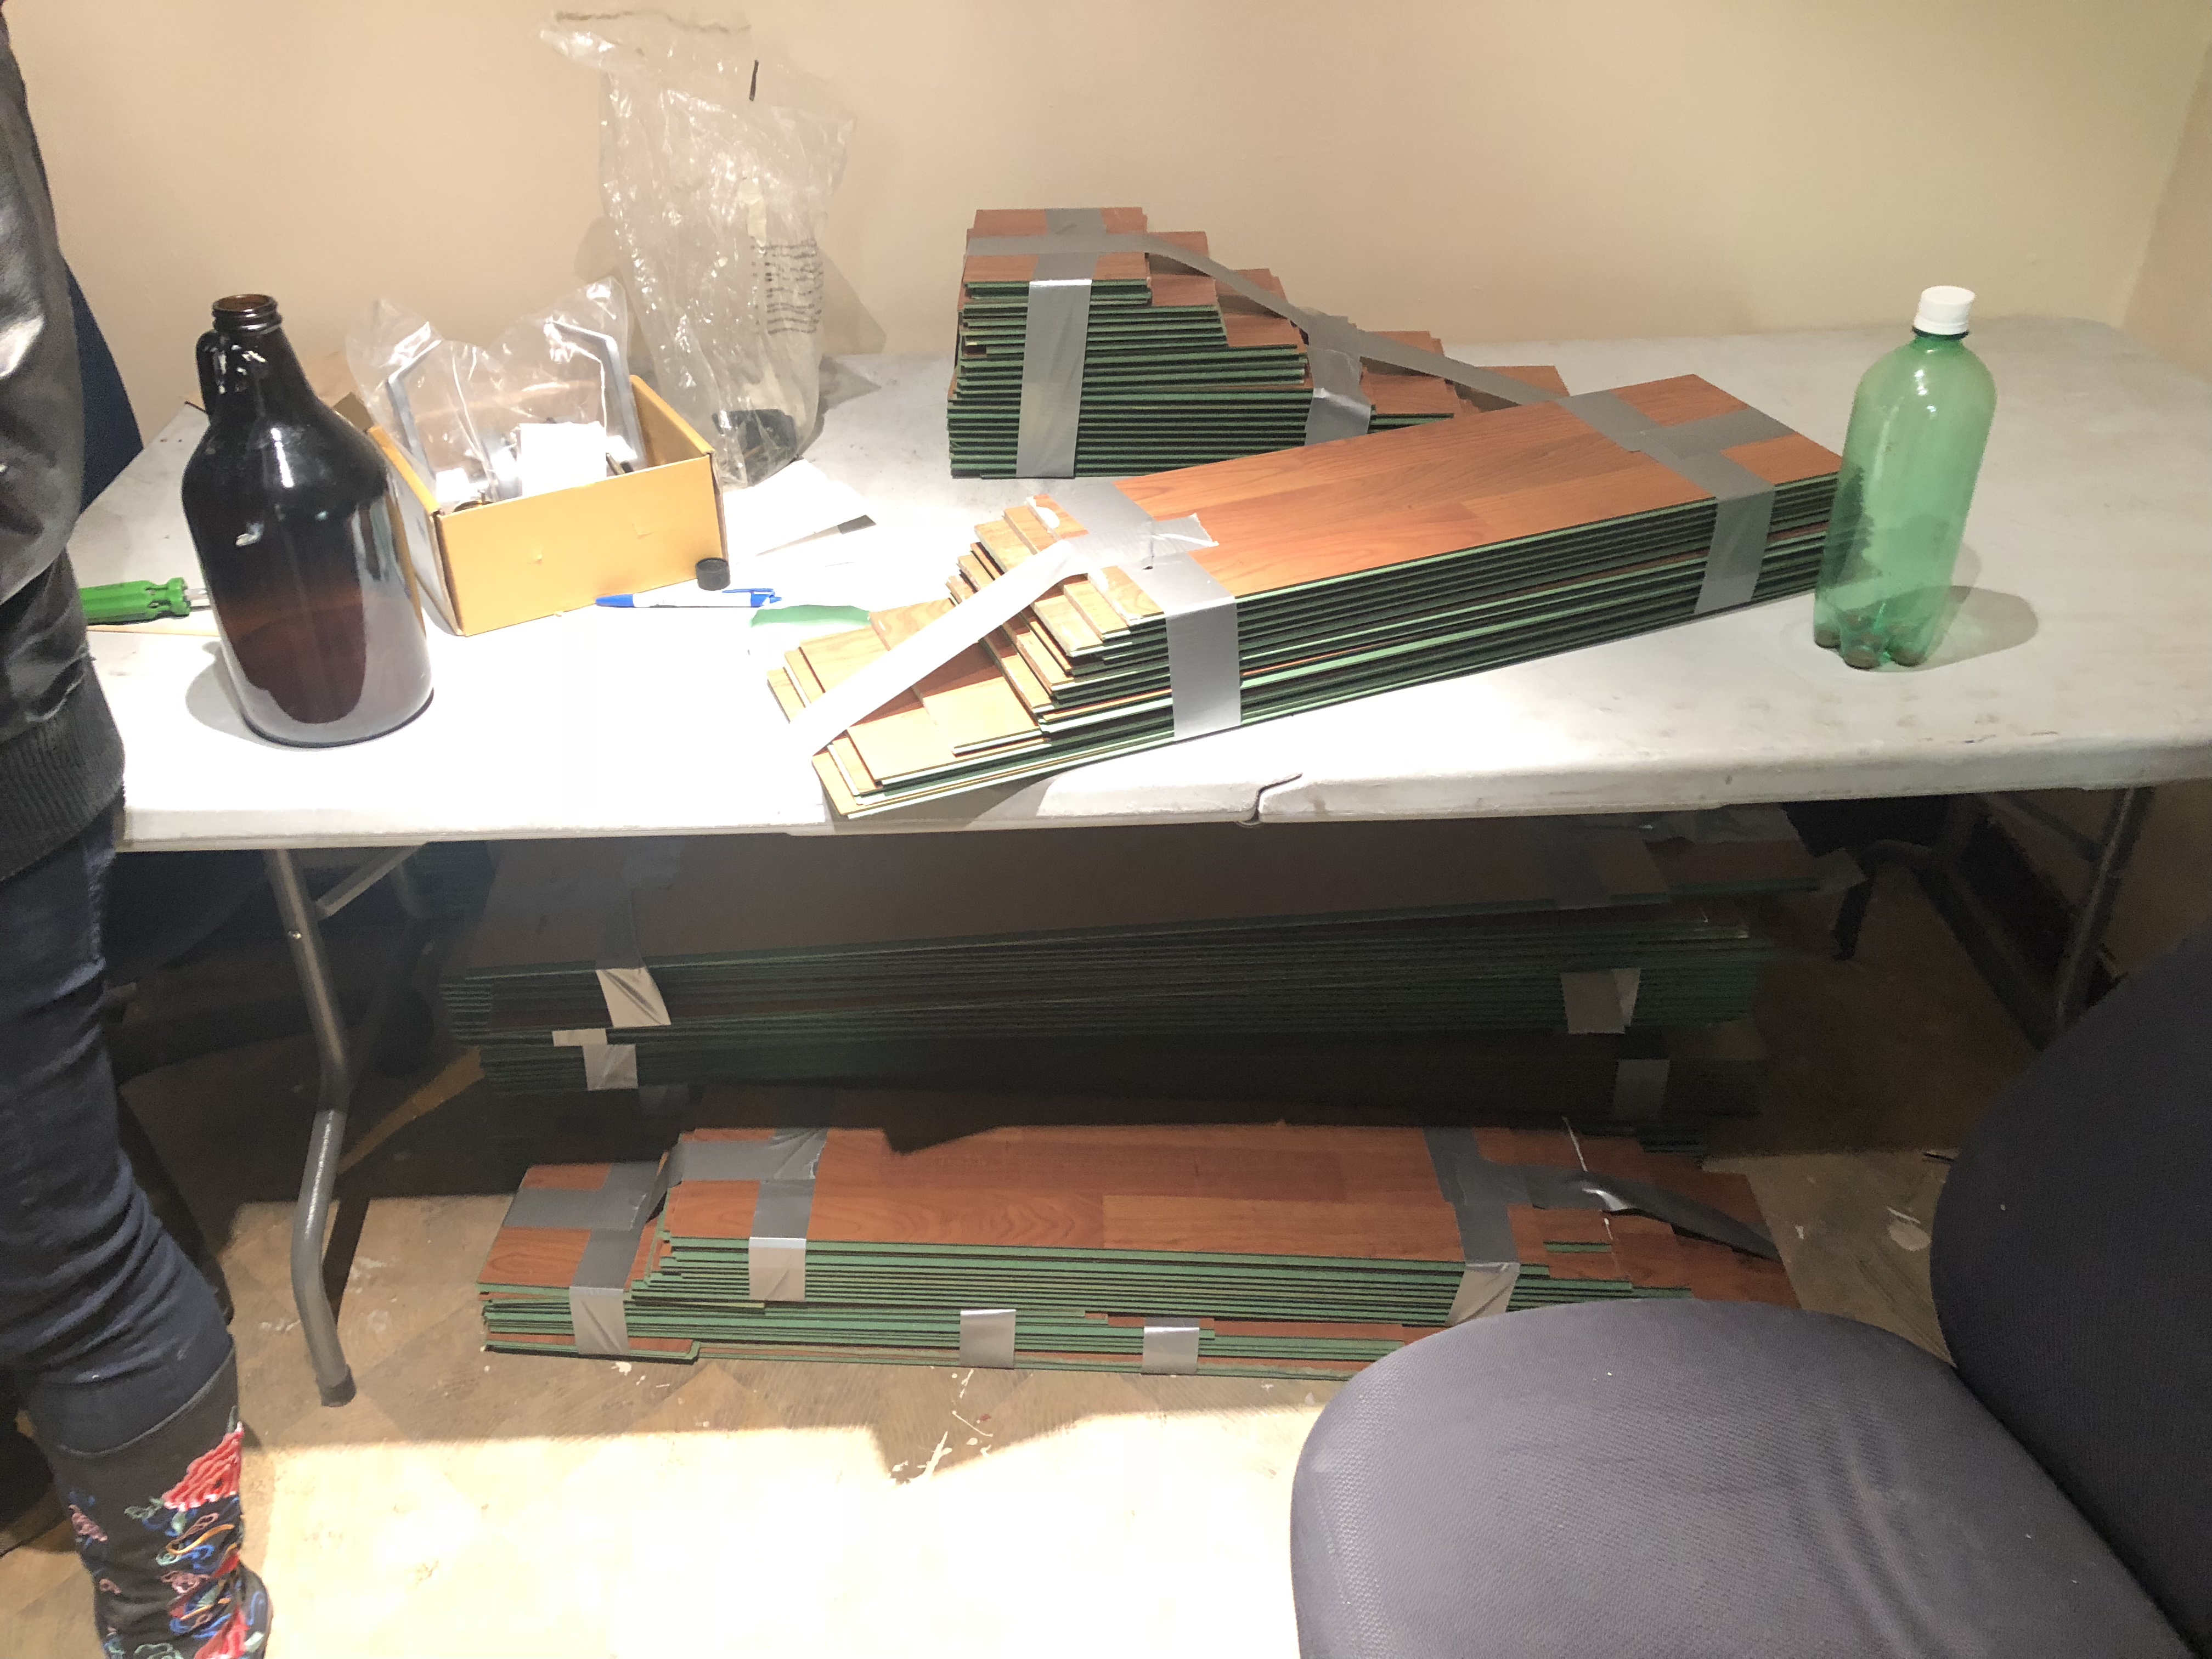
Thanks to a generous donation from @Friso_Kristiansen, we have sufficient flooring to cover the entranceway and both surrounding rooms!

https://talk.vanhack.ca/uploads/default/original/2X/a/a68ce230c4e672fd4814639e6af17f19e9439d57.jpeg

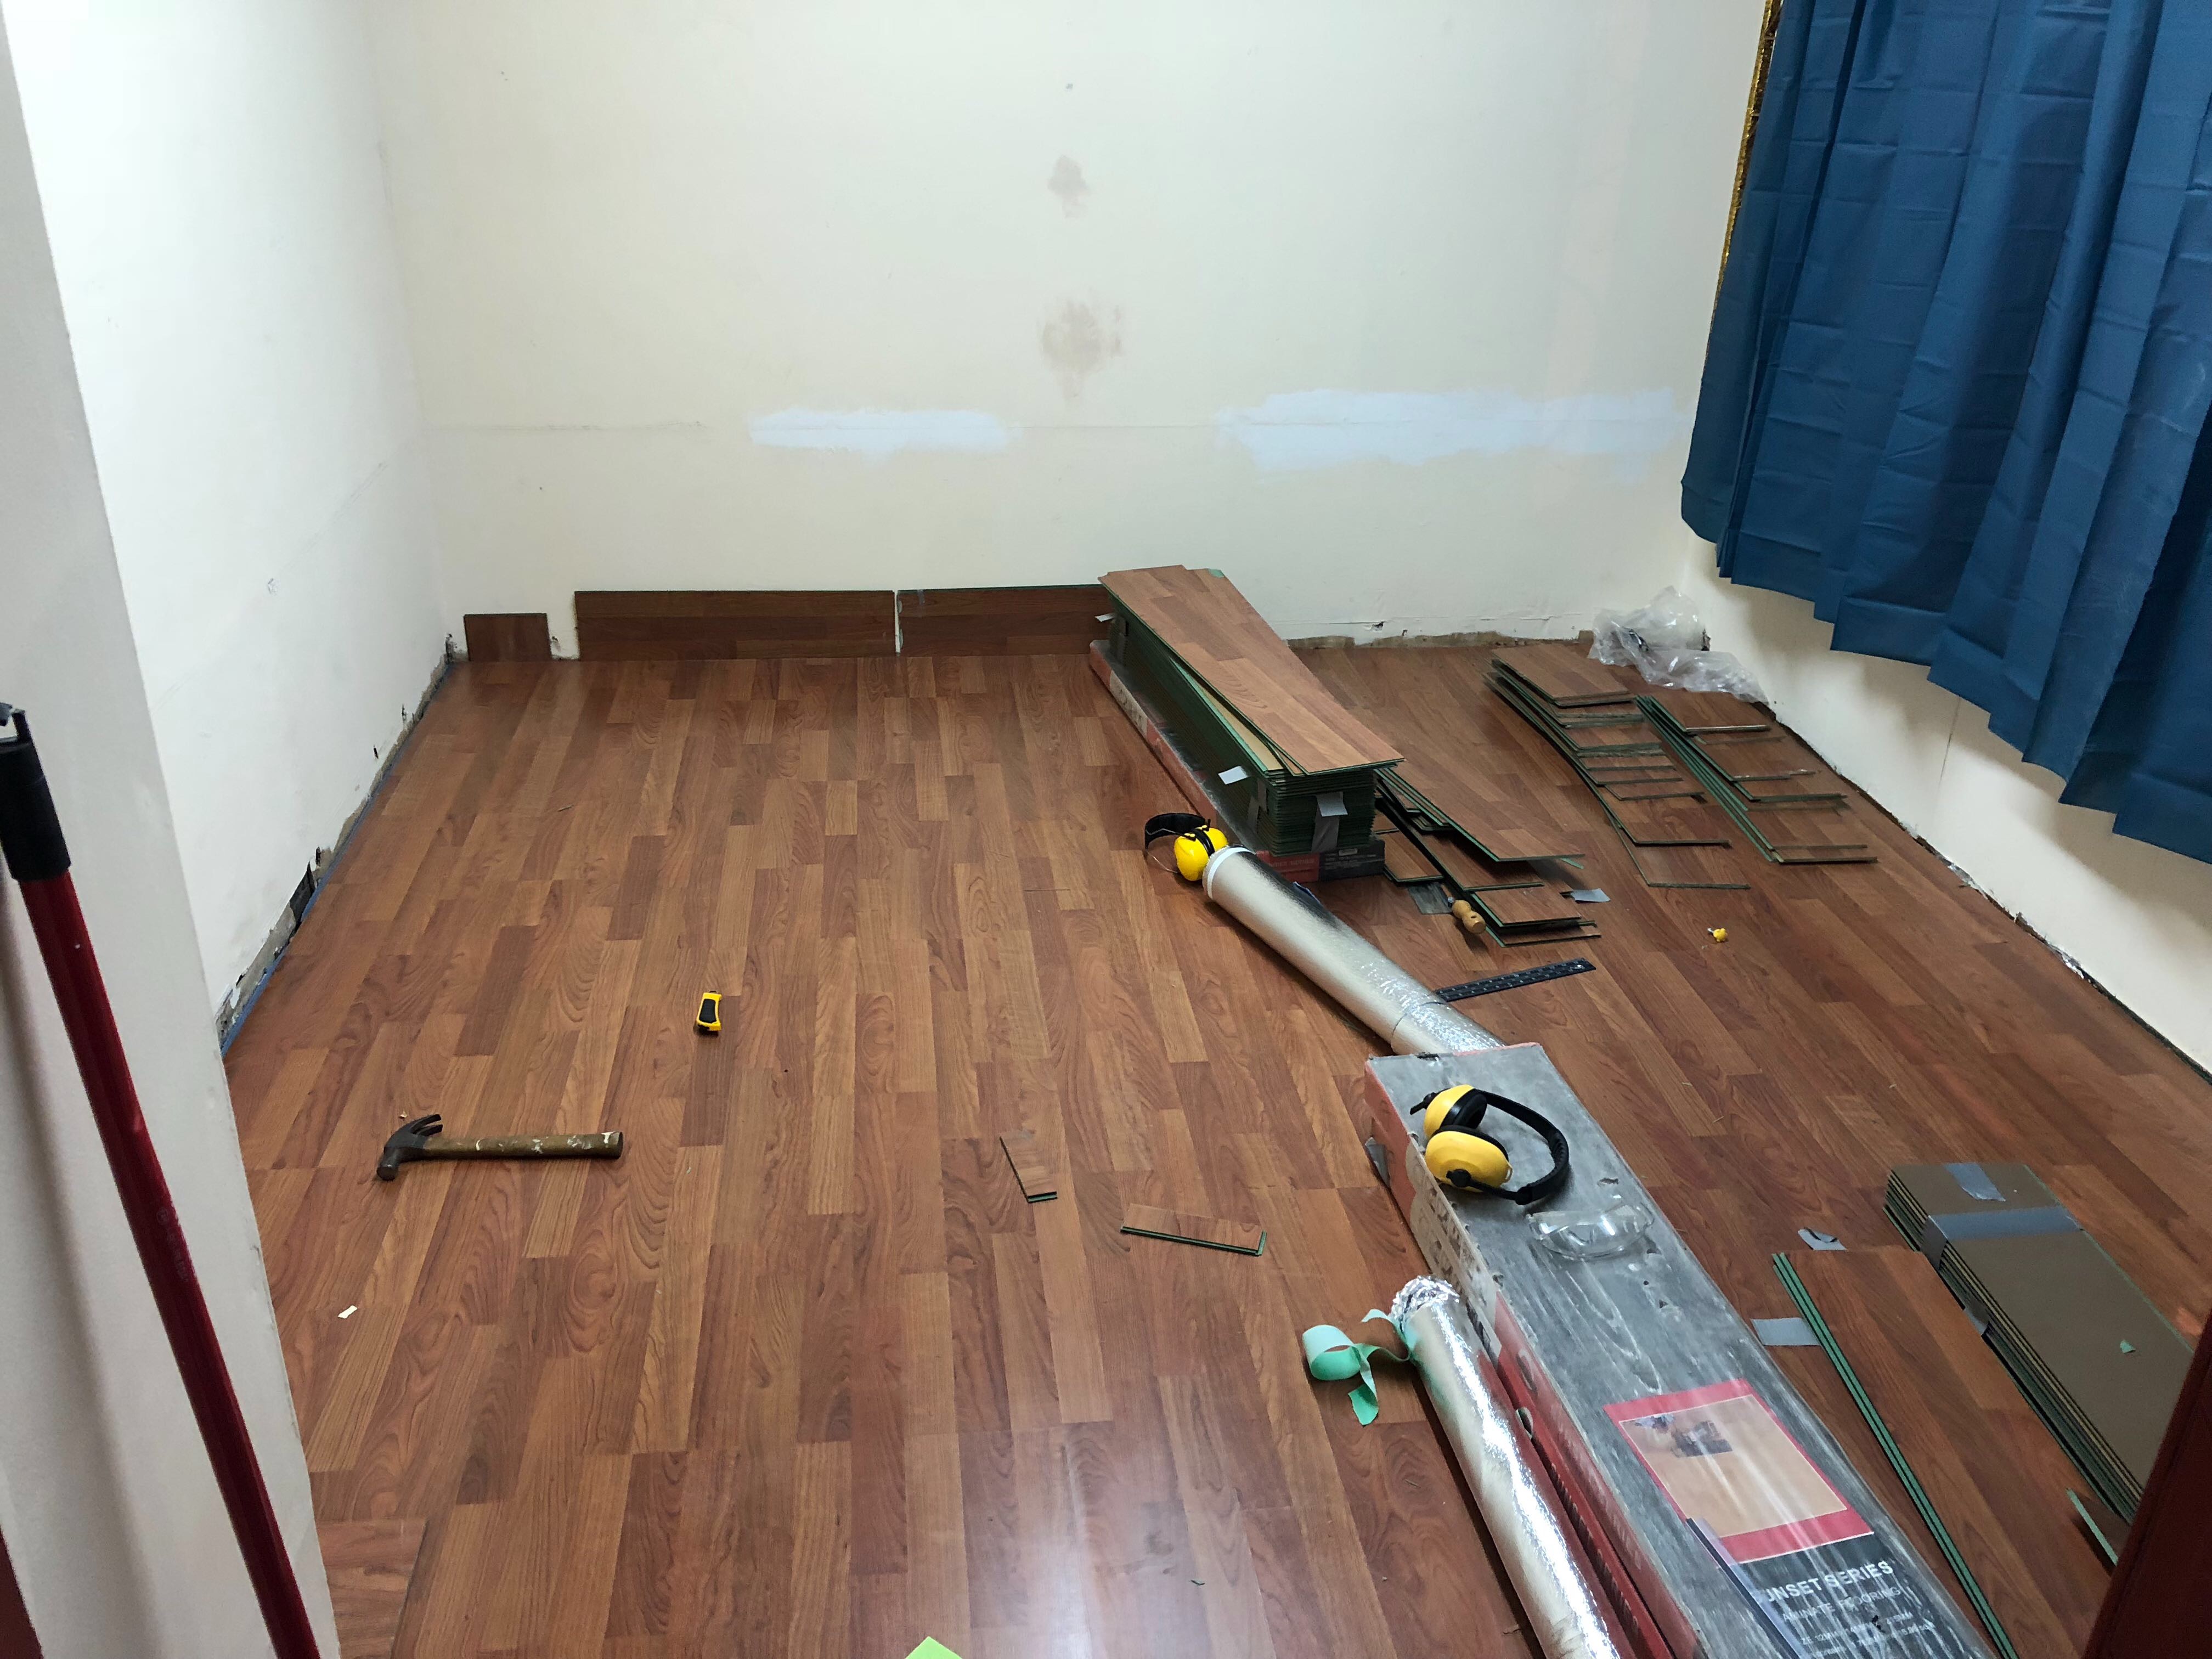
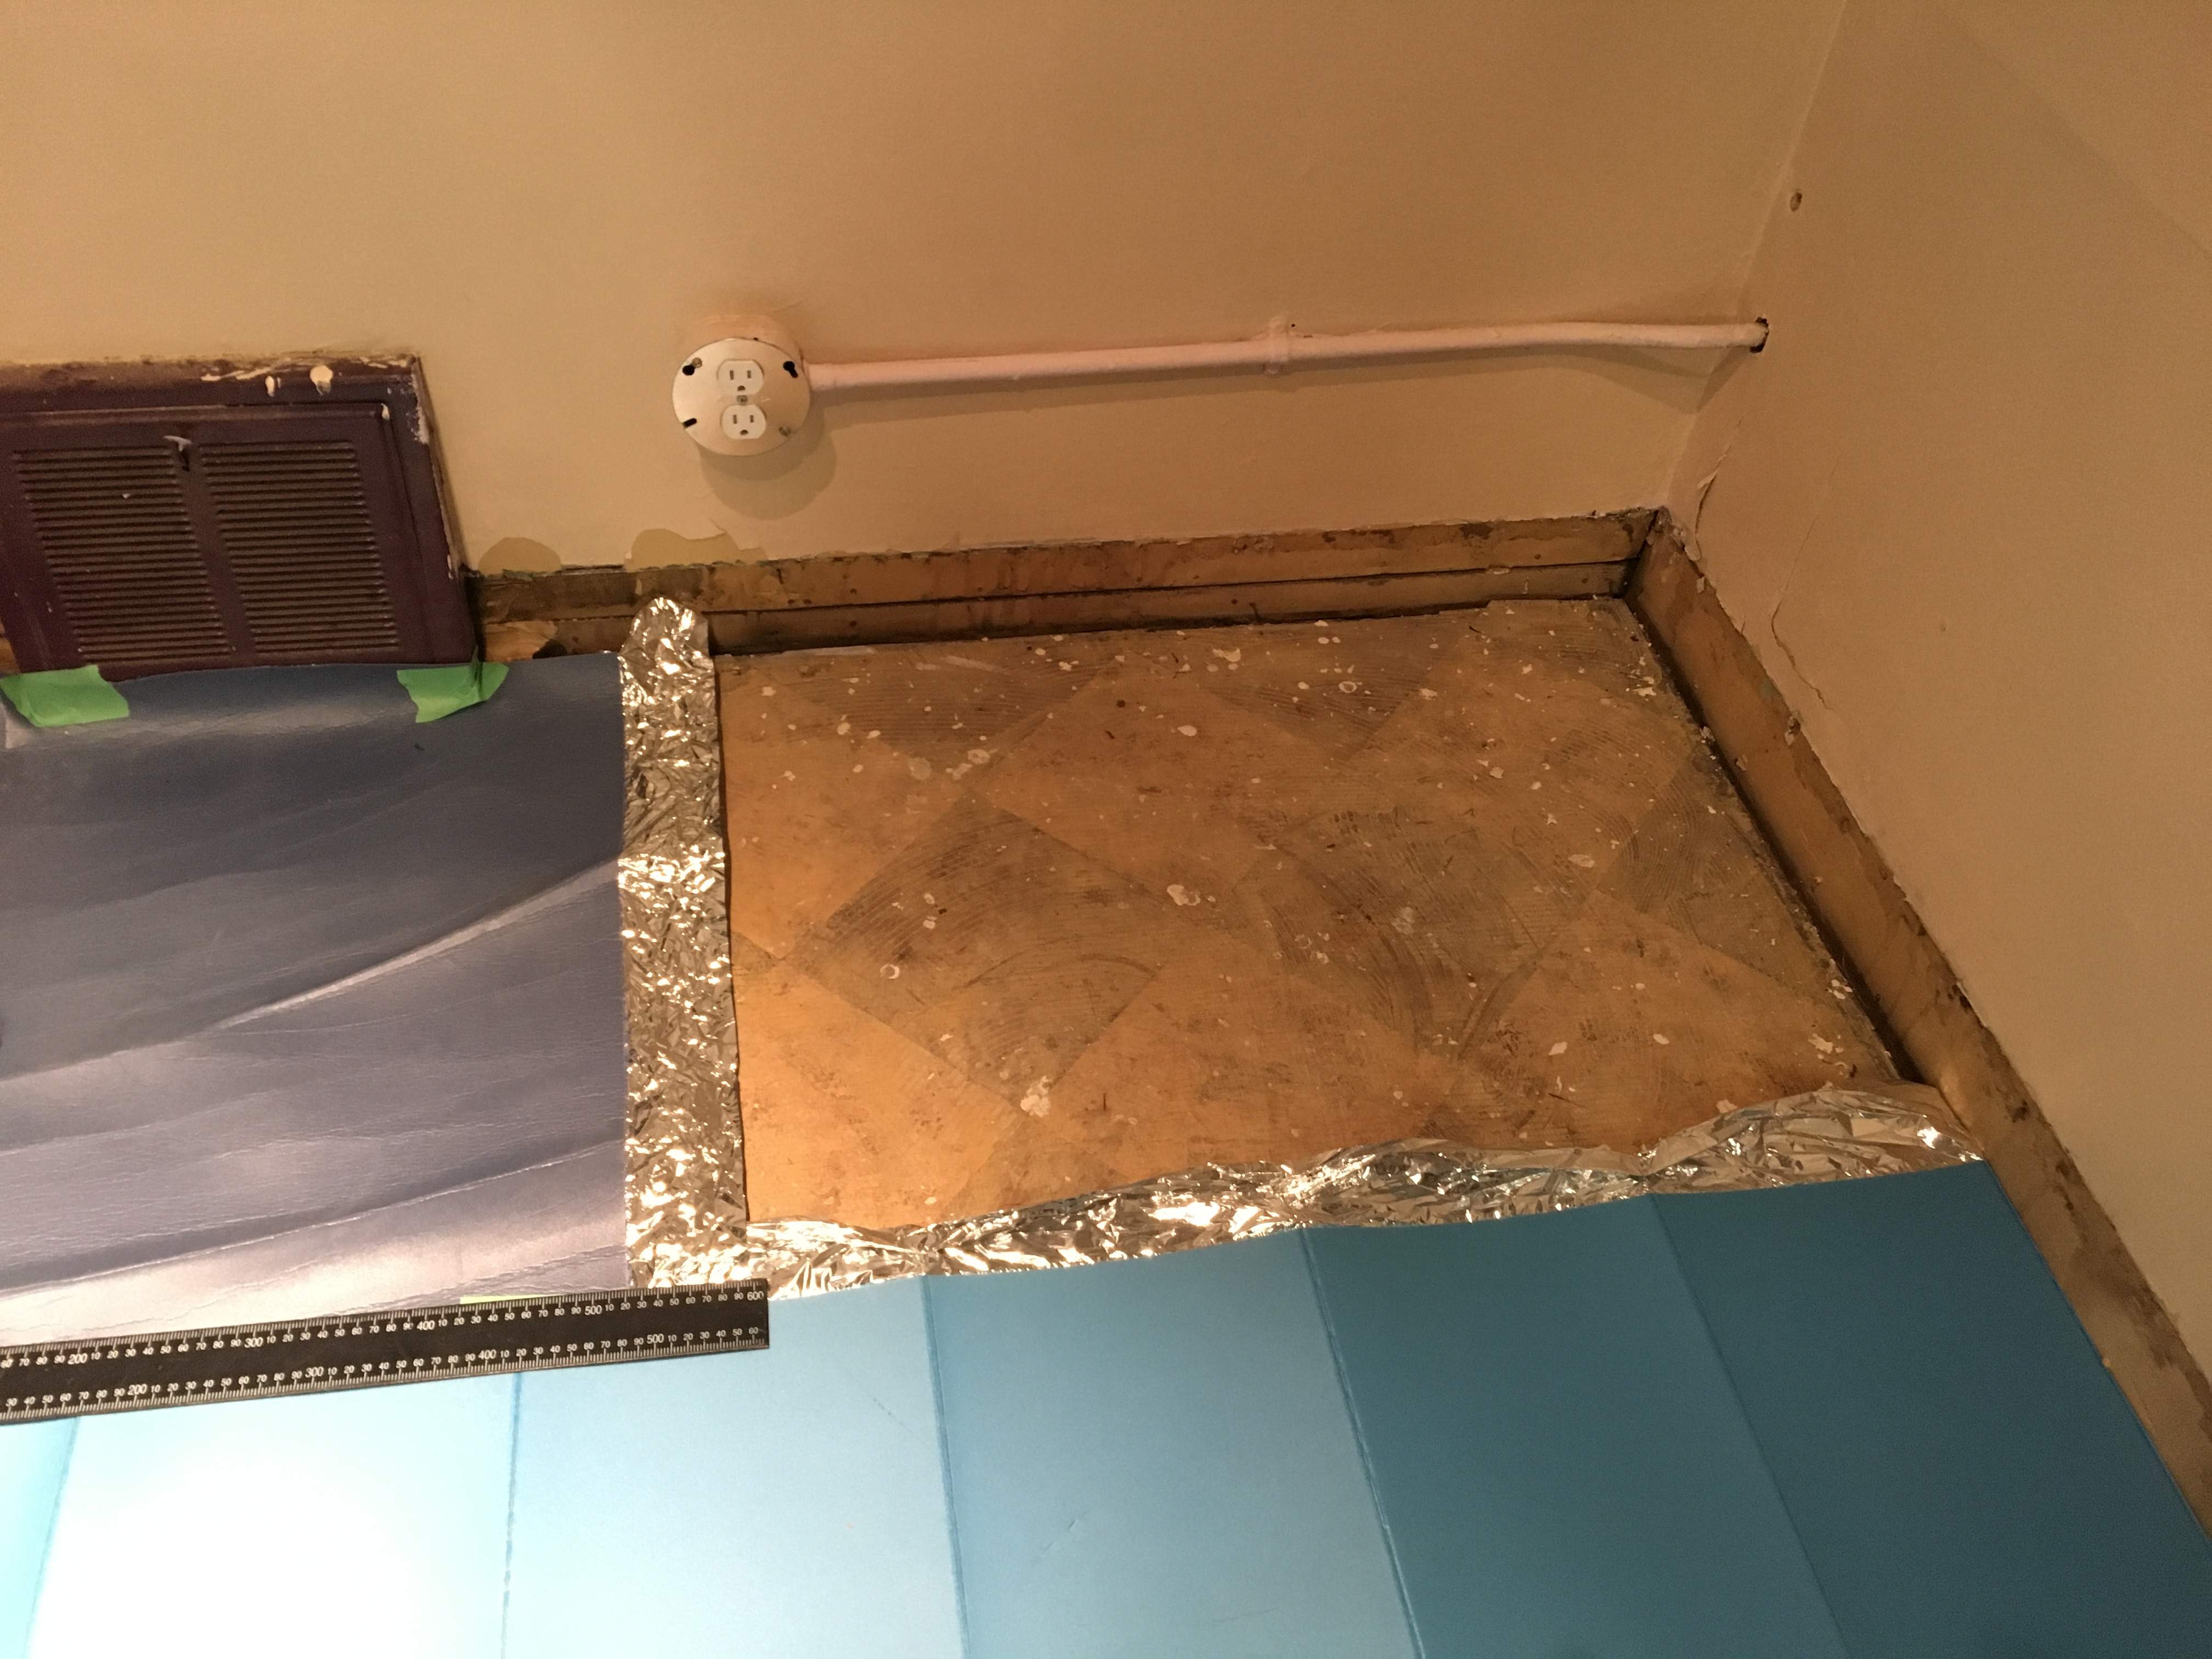
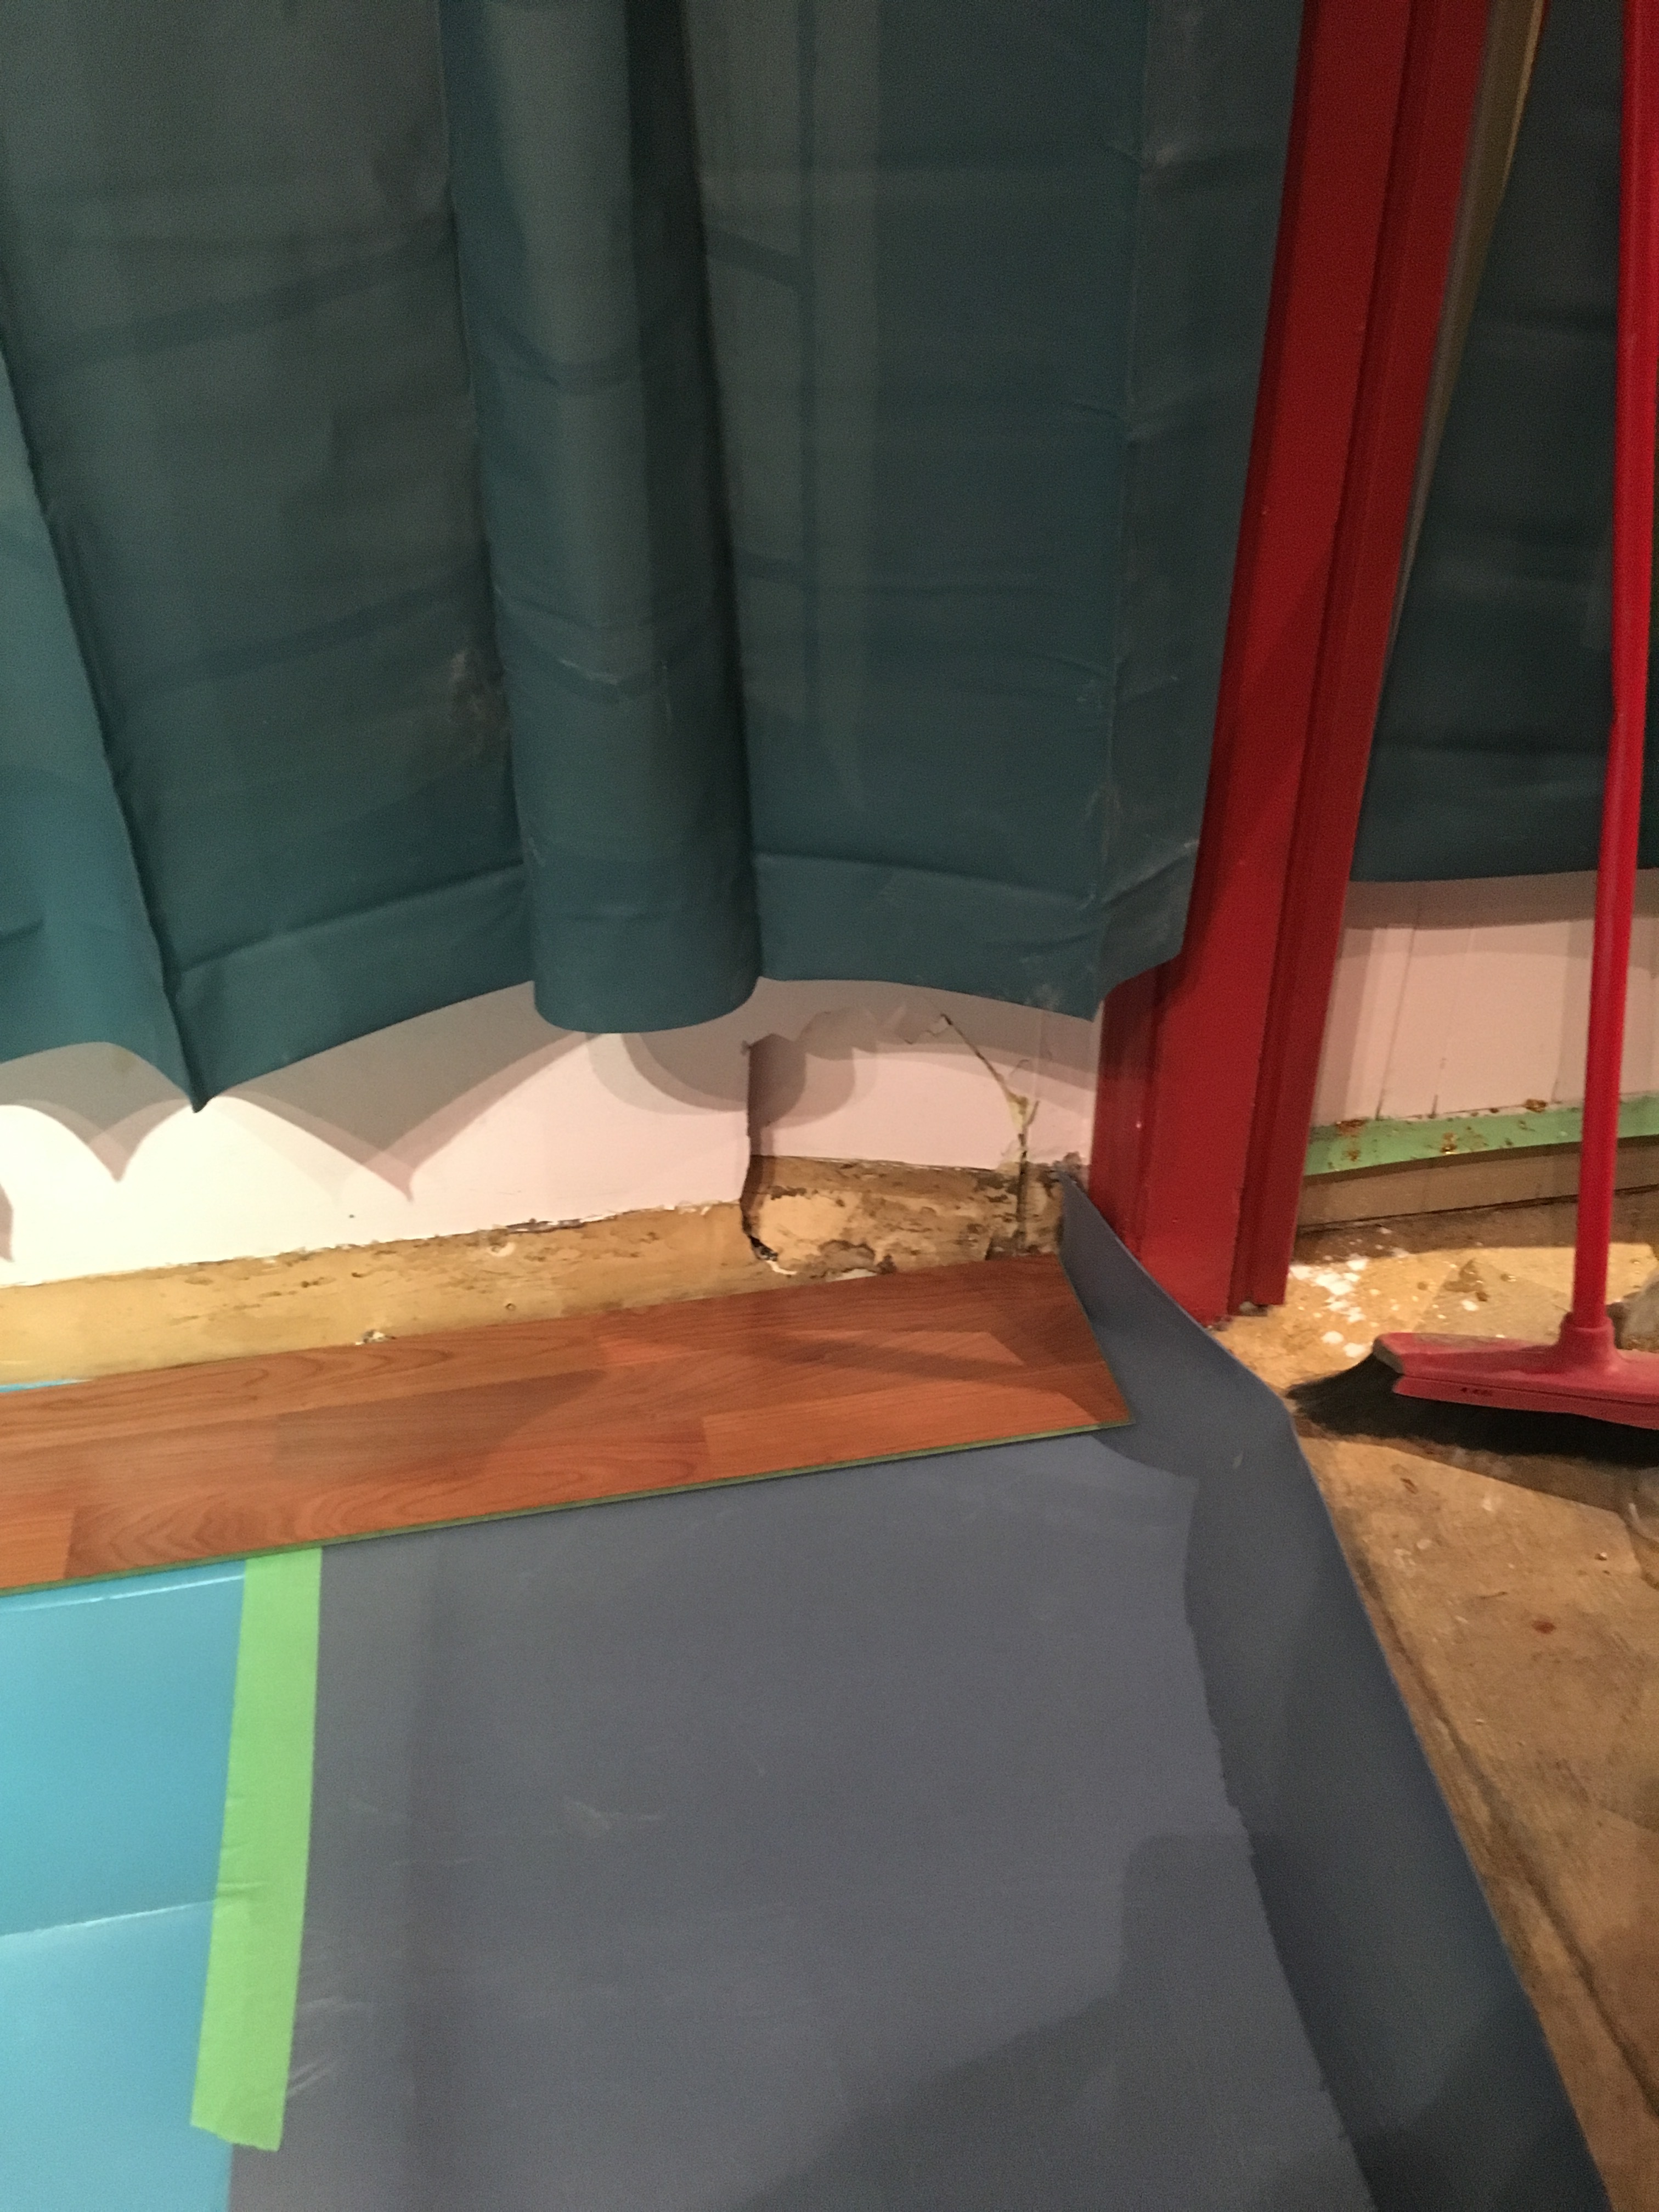
I swept and vacuumed the floor, removing a few tufts of carpet. This is what is left for flooring:

image

image

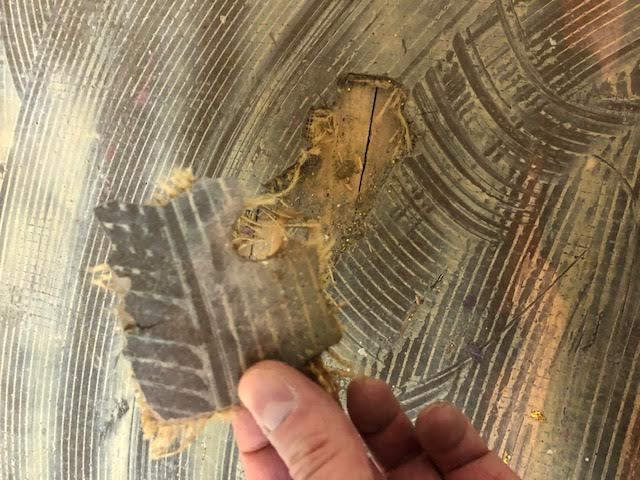
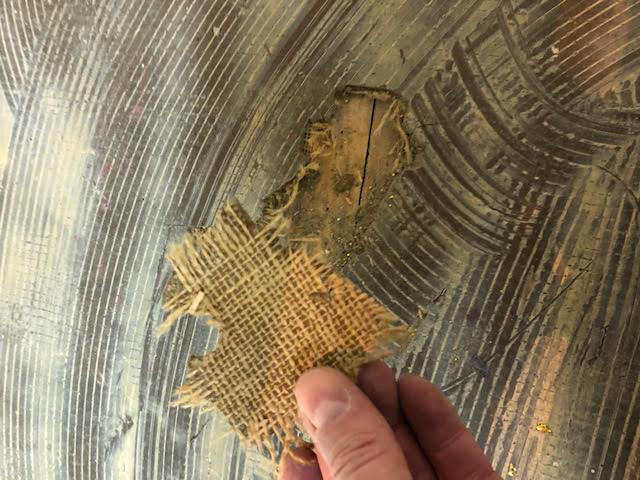
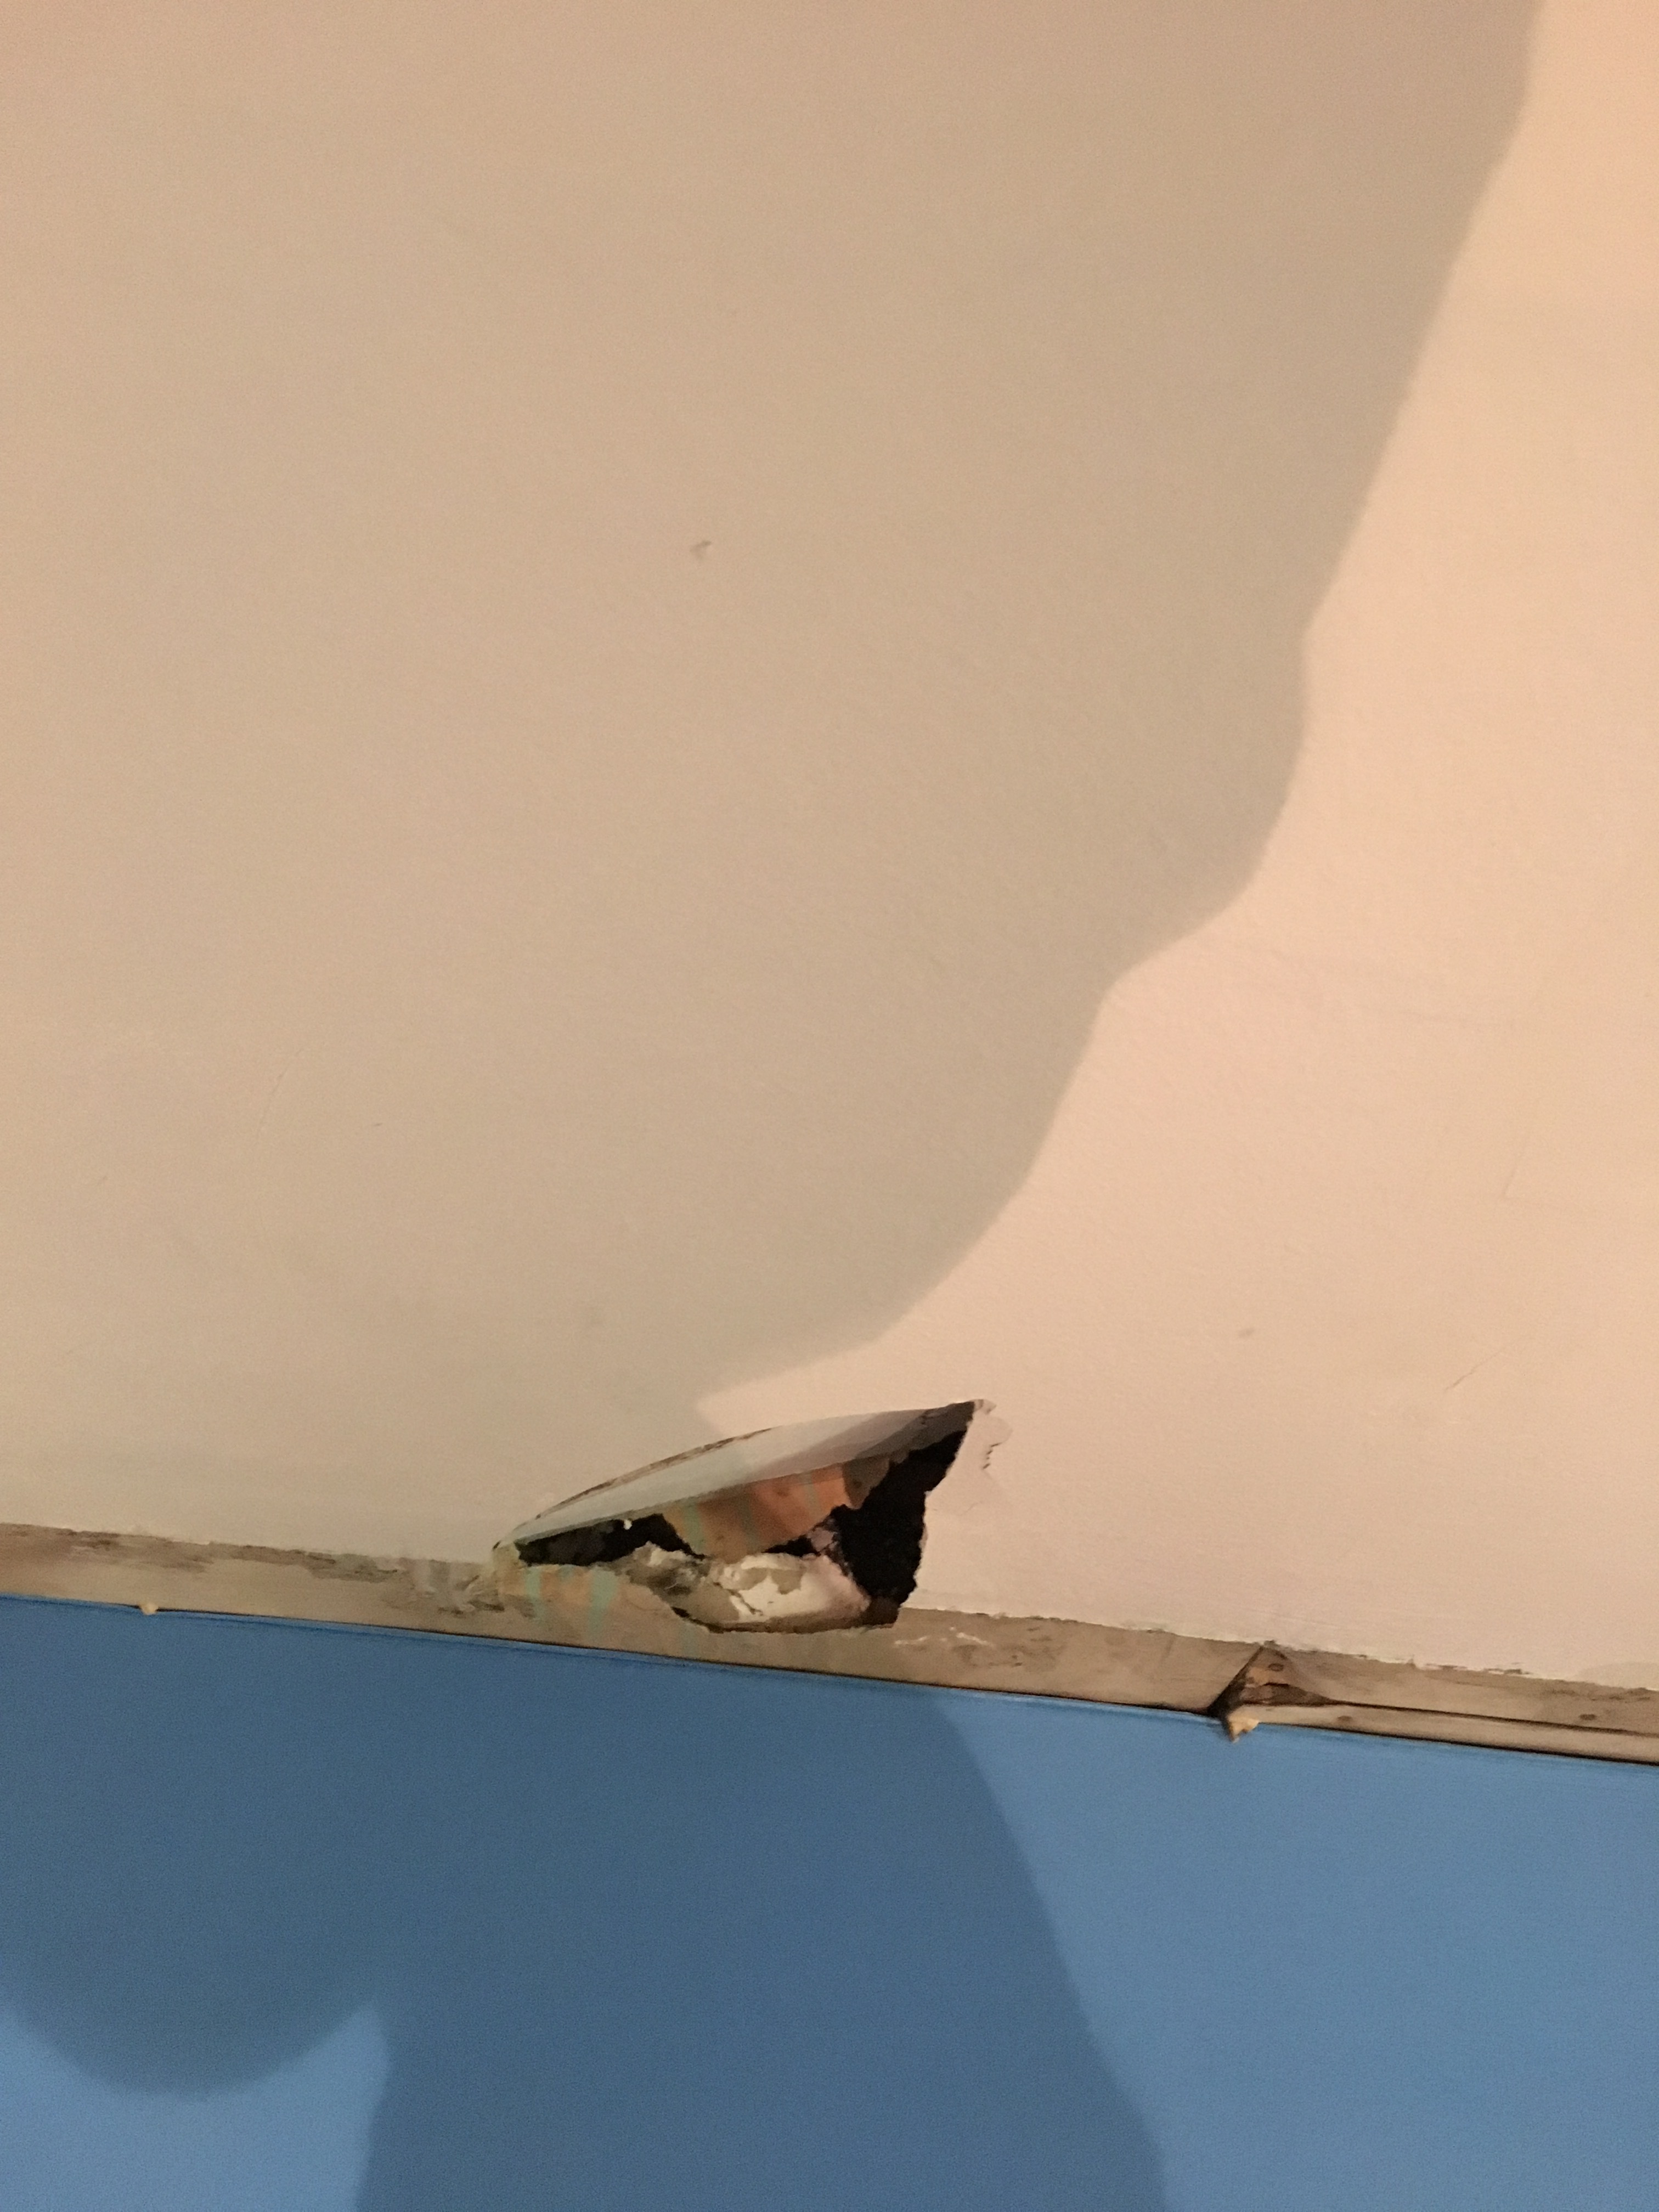
This sits on top of what looks like wood flooring:

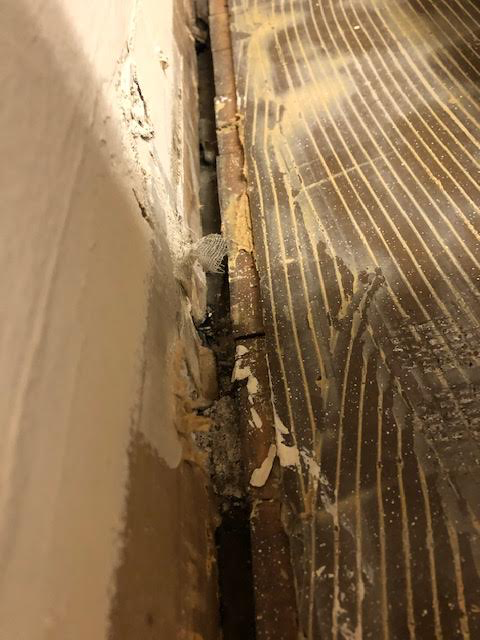
Can we confirm this is suitable to be the base for our existing flooring?

@SteveRoy has advised us as follows:

  1. Clean and sweep the floor.
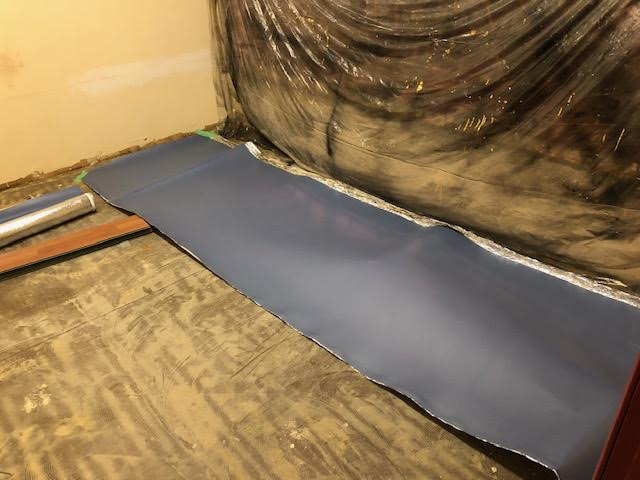
  2. Lay down the silver vapor barrier/underlay one wide of it at a time.
  3. Lay down 1 to 2 rows of the flooring at a time. It has to be laid out in one direction for it to click together.
  4. When a whole piece is too wide to finish the last plank, measure and cut the whole plank on the table saw.
  5. Use the off-cut to start the next row.

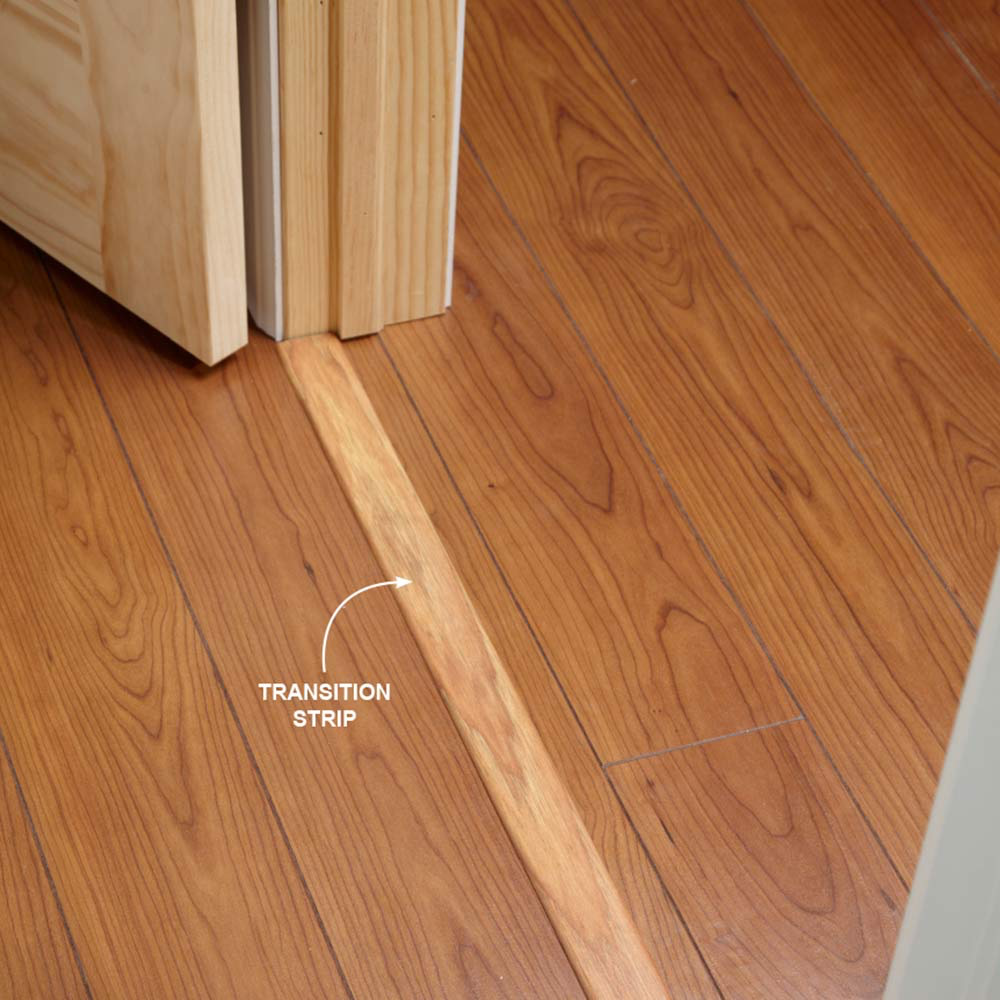
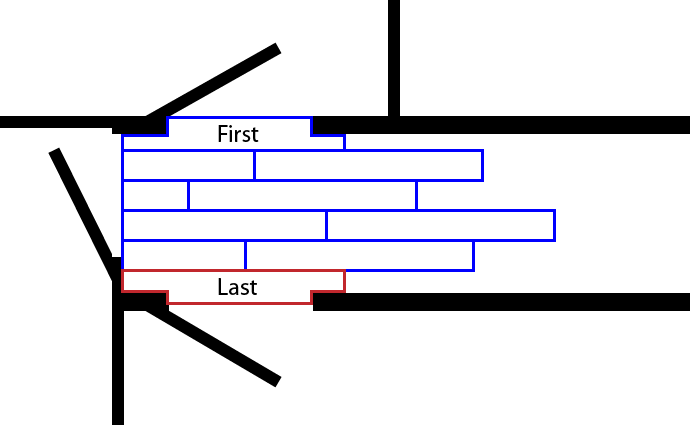
So to lay it out you start with an off-cut, then do whole planks except for the lat plank in the row, which 99% of the time won’t be a whole plank. In a row you can’t use an off-cut piece in the middle of a row as one side won’t click into the next plank. As a row got close to the edge of the underlay you just peel and stick the next piece of that. I left 1/4" at the sides as it’s a floating floor in that it isn’t glued down. Add baseboards after

If I understood @SteveRoy correctly, this type of floor is “floating.” So we put the silver vapour barrier sticky side down, and just lay the interlocking planks on top of it with a 1/4 inch gap from the wall. Is that correct?

I did a quick check, and it looks like we have enough of the silver vapour barrier for the room we’ve started in (thanks to @kleenpwr!) but we’ll need more to do the entrance and the remaining room with the sink.

image

So, first question: What orientation should the planks have?

Perpendicular to the entrance?

or parallel to it?

image

Once we get confirmation on procedure and layout it would be great to have some help working on this. Please coordinate with @xquared to organize work parties!

Also, we also need to clear out the main hallway and surrounding rooms until the flooring is completed.

Thanks all!

1 Like

We gave a transition strip between our kitchen and living area and hate it very much.

Many of our neighbours joined the rooms without a transition strip.

yeah, agreed - perpendicular to the entrance. Does make it a bit harder to do rooms one at a time, but not having a bump in the doorways is worth it!

So, watching some instructional videos I see that there is no floor baseboard moulding; it looks like it’s all been pulled out.

Any thoughts on how that impacts adding flooring to the rooms? Should we try to get baseboards in there first?

No baseboard makes it easier as then you don’t have to remove them first. We can add afterwards to finish up the gap around the edge and make it easier to keep clean. Just keep in mind to not let the gap from the floor to the wall get much more than 1/4" as then the baseboard with have a harder time to cover it. I think standard cheapy MDF baseboard is 1/2" max.

I haven’t taken a close look at the current floor condition yet, but the basic situation is you want it as flat and level as possible without touching the tile that is apparently there… In most houses/condos they would either put self levelling compound over concrete or shim and lay a new wood subfloor overtop, but both are probably overkill for us if we aren’t overly concerned with perfection and want to keep the cost and time down. The underlay will help a bit, and as long as the floor is relatively sturdy/flat, probably just filling any large gouges/gaps like the hole in the photo above before putting the underlay down would be ok. Not 100% sure on what to use for that on a wood subfloor. HD or the flooring store down the street should know. Depending on the exact flooring we have, we could also forego the underlay and glue it down directly, but have never done that myself. Glue available at HD in large buckets. Again, probably not necessary in our case.

Everything else above looks correct as far as I know. The only thing I would add is that given that we want no thresholds, it’s important to try and keep the floor straight as you go across the room. The first row is the most important as you can set the proper “grid” to work from. Depending on widths/squareness etc, you may want to cut the first strip as well so you don’t end up with a tiny gap left on the opposite side of the room. Once the first piece is in and squared up, lay as per above, and check the squareness as you get closer to the other side and adjust the micro gap between each row to compensate as required to straighten everything up.

I do have some small shims, laser level, and flooring tools I can loan the space for the project, but they aren’t 100% needed.

1 Like

If you are wanting a look where there is no transition piece between rooms and the planks flow from one room to the next - then you may have to have to start all 3 rooms together and make sure the rows meet exactly across the door ways. I am not sure if you can work the planks “backward” from the doorway to start the second room.

@Majicj @rsim Do you have LL permission?

Below is the Venables lease: We do need written consent. I think it would be good to get it as it will show the LL that we are following their wishes as outlined in the lease.

@rsim is the main point of Contact with LL BM

Alterations

  1. 4.27 The Tenant will not make, install, affix, erect, or put up any alterations, improvements, fixtures, or floor coverings in the Premises without the prior written consent of the Landlord, such consent not to be unreasonably withheld. All alterations, improvements, fixtures, and floor coverings will be new or completely reconditioned, and will comply with and meet the standards of all applicable statutes, regulations, or by-laws of all and any authority having jurisdiction. The Landlord may remove at any time without notice and at the cost of the Tenant any such alterations, improvements, fixtures, and floor coverings made, installed, affixed, erected, or put up without the Landlord’s consent.

  2. 4.28 The Tenant will not make, install, affix, erect, or put up any lighting or plumbing fixtures, shades, awnings, or decorations in the Premises without the prior written consent of the Landlord, such consent not to be unreasonably withheld. All fixtures, shades, awnings or decorations will be of a design and quality of material as may be approved by the Landlord from time to time, and will comply with and meet the standards of all applicable statutes, regulations, or by-laws of all and any authority having jurisdiction. The Landlord may remove at any time without notice and at the cost of the Tenant any such lighting or plumbing fixtures, shades, awnings or decorations made, installed, affixed, erected, put up, or applied without the Landlord’s consent.

  3. 4.29 The Tenant shall not drill or drive nails or screws into, mark, cut, or in any way deface the walls, ceiling, partitions or floors of the Premises, or suffer or permit the same to be done by anyone without first obtaining the Landlord’s prior written consent in each instance.

Okay, folks with landlord contact info, can we send a quick courtesy email to let them know we’re planning to put down non-permanent laminate flooring just to be safe?

Just found out that’s been asked for and we hope to hear a reply shortly. Please do not floor until we have this confirmation.

We’ve now got the permission from the landlord to put down new flooring in the front offices and entranceway, and to remove the carpet from the laser room and refloor it too.

5 Likes

Wooo. Thanks a bunch @rsim.

Doh!

I should have asked you to clear my machine shop plans. I’m going to use self leveling compound to even out the floor, then garage tiles. The tiles are removable, not glued down.

Next time you contact him? I’ll hold off on leveling until I hear from you.

Thanks!

1 Like

Awesome, I’ll put the request in - but won’t hear back until next week obviously.

1 Like

Great, thanks. I don’t think there’s a huge rush to get the shop set up yet, not without power in there (which we should probably also ask him about).

Floor update:
@wander had finished the east office flooring.

I ripped up baseboards and laid down the insulation foam for the entrance hall way. We will need more of that foam rolls.

I am bad at removing baseboard with crowbar, left two holes that need to be patched


Will patch tmr

7 Likes

If you put a thin layer of something (1/8" plywood?) behind the crowbar it will help spread the load and reduce the chance of punching through.

I did that. Which left a bigger hole :woman_shrugging:t2:

There is that risk. :frowning:
I’m getting the idea that Jade would suggest fire…

Looks amazing! Thank you @wander and @xquared for doing that.