Background
So I posted a few months ago asking for advice re: casting an iron ring for a friend:
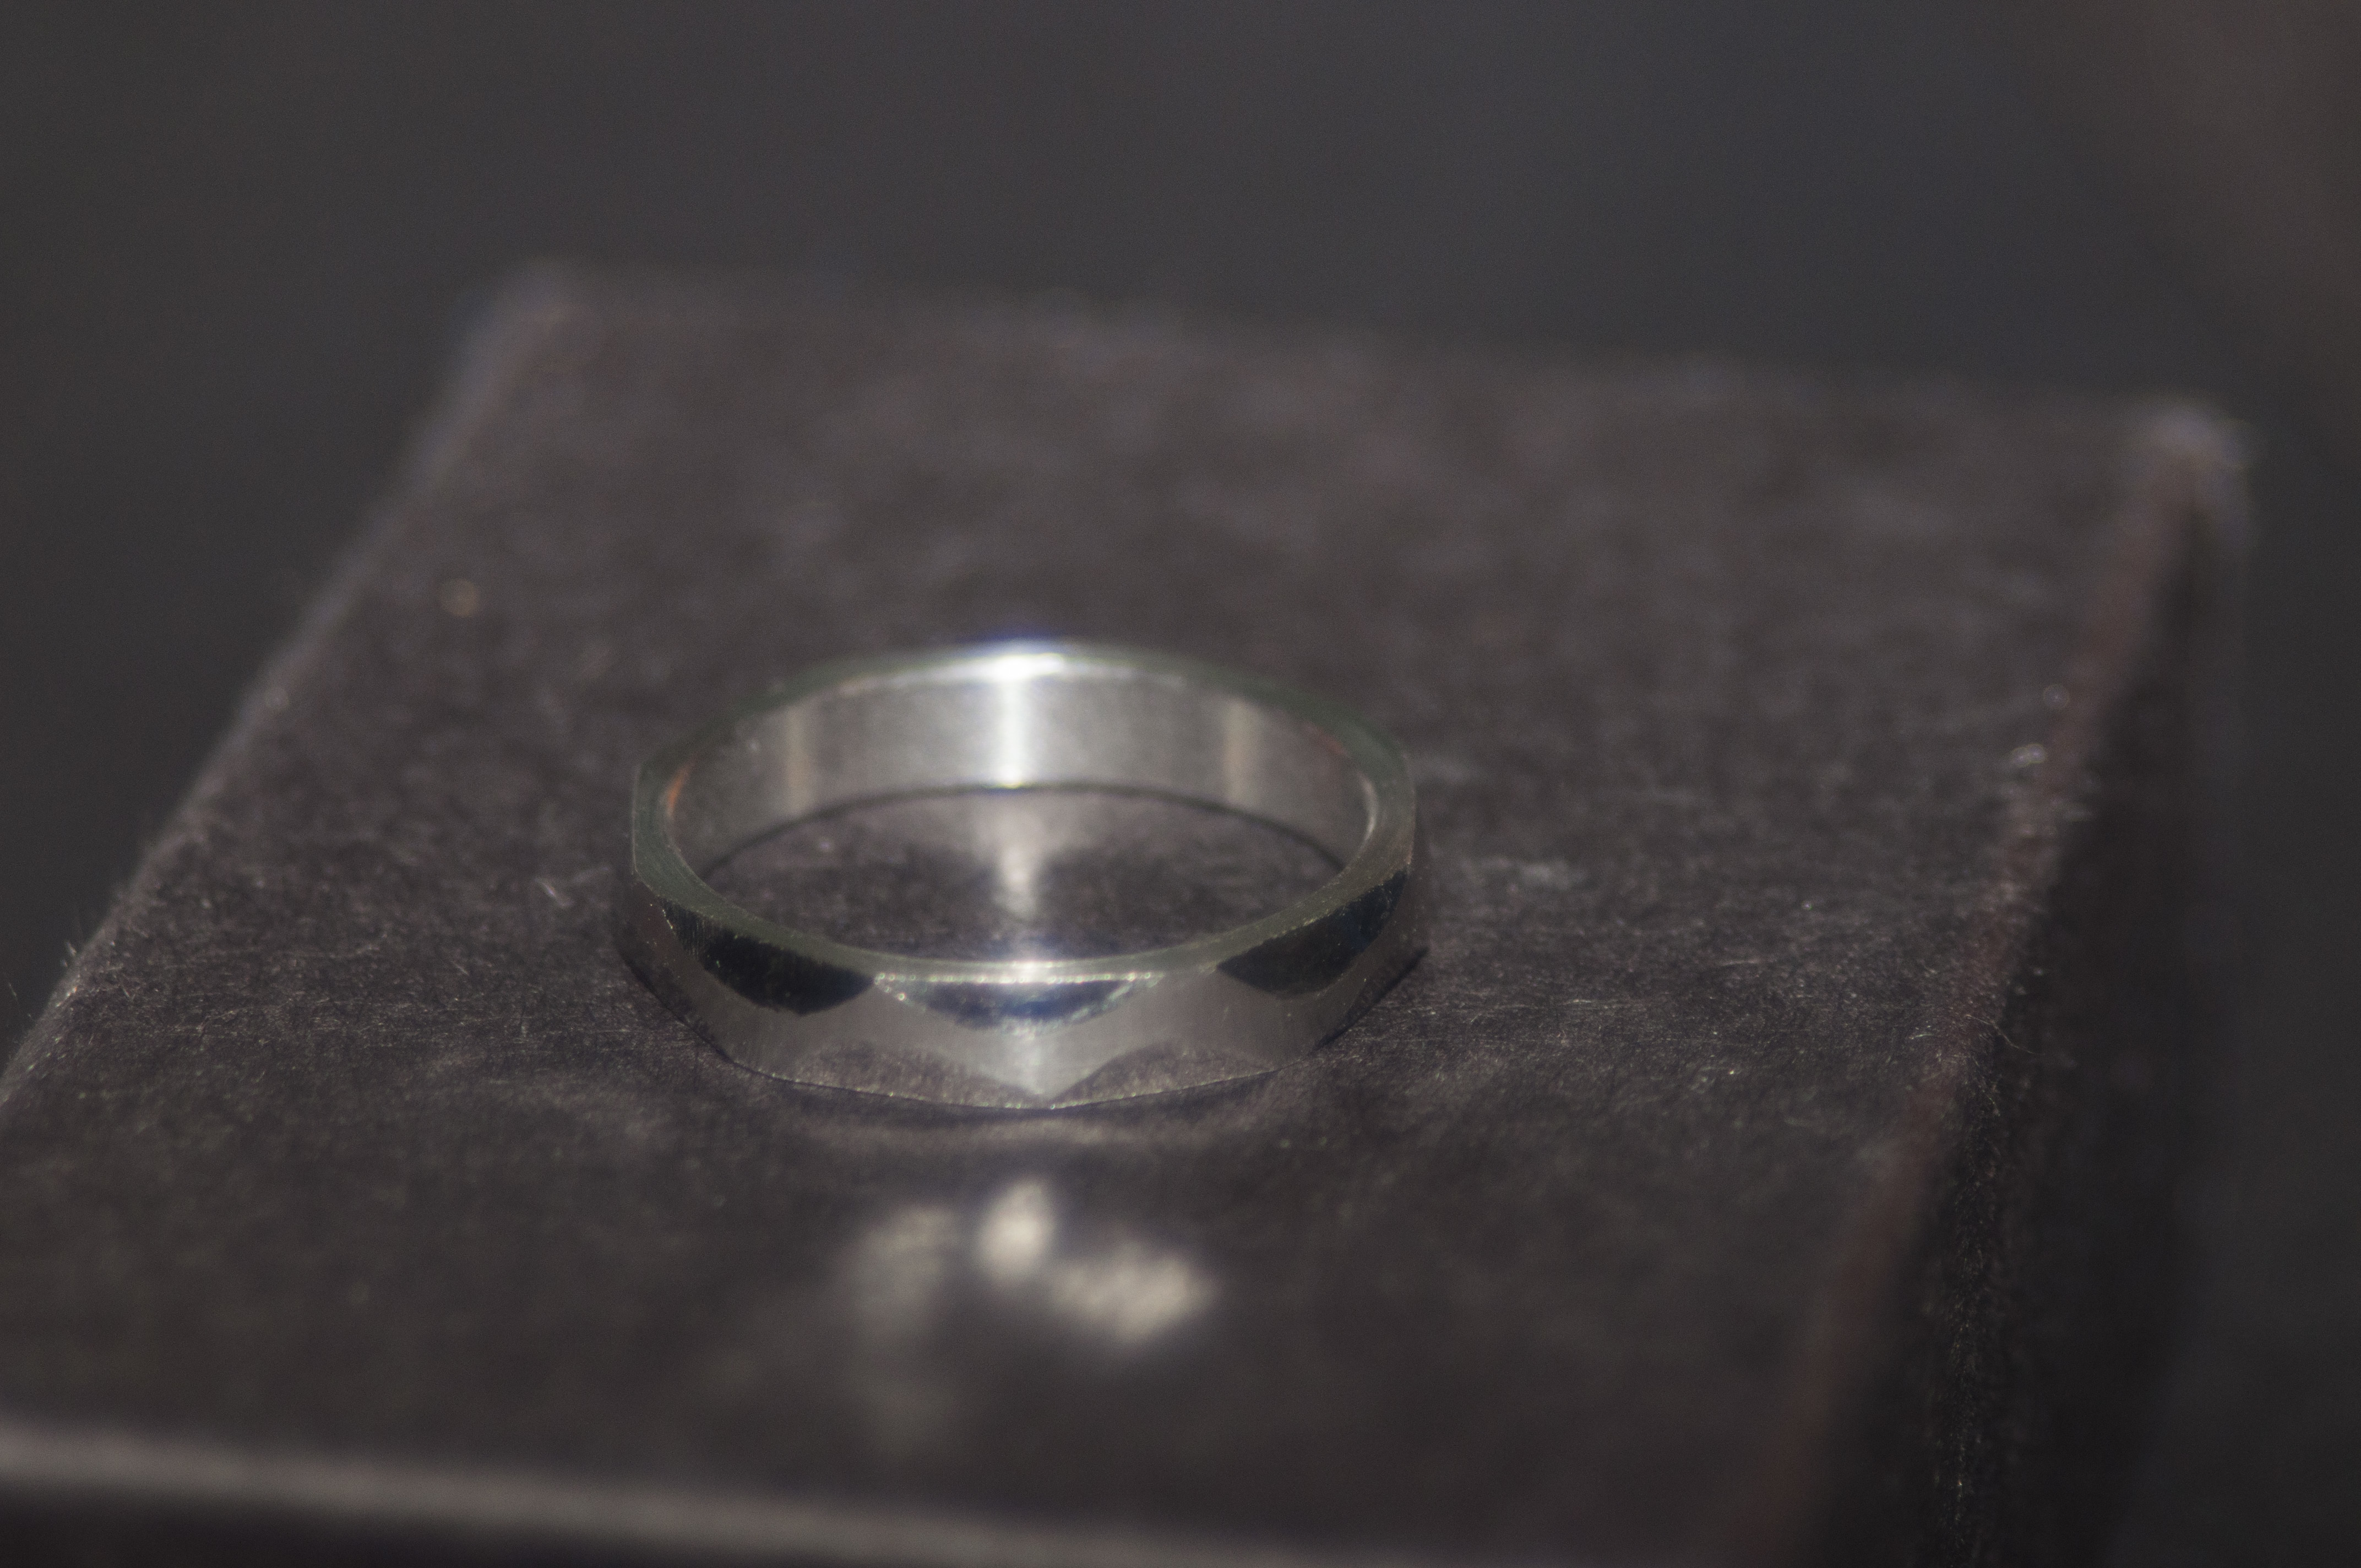
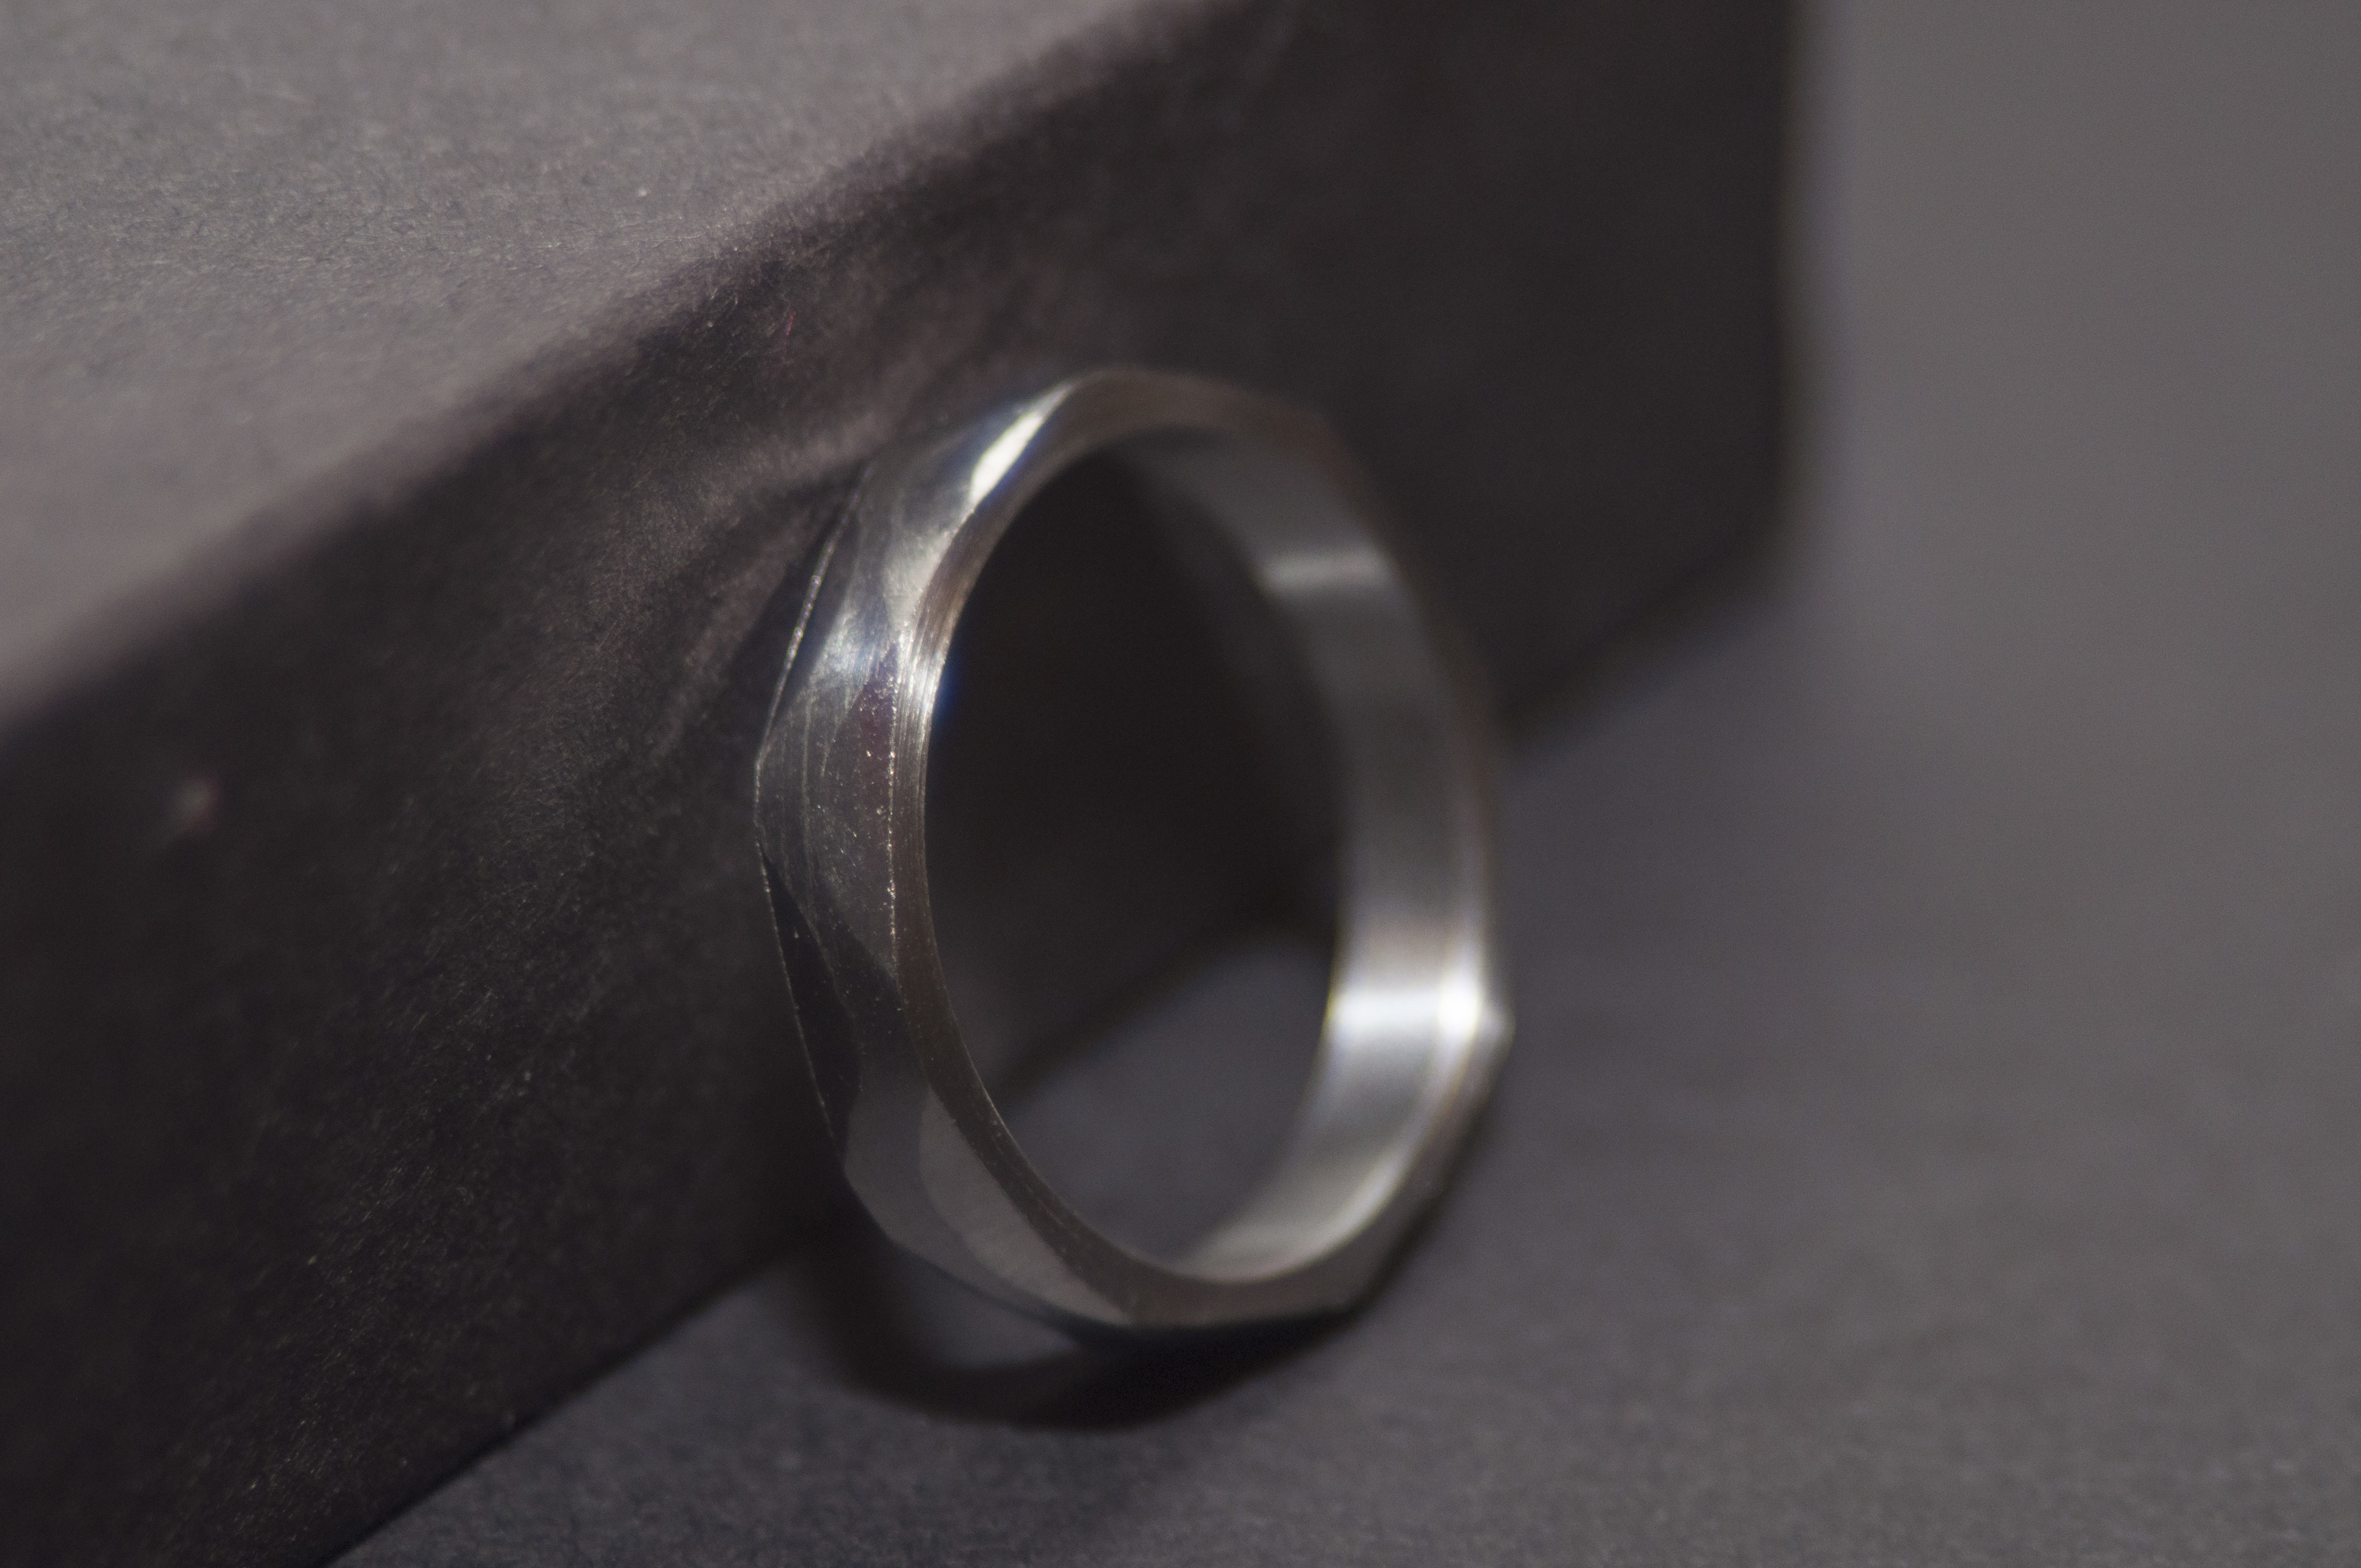
You guys had some great advice, and I finally finished the project! I ended up using 304 stainless steel bar stock on a lathe and I used a hammer to get the ring pattern since that was part of the original design.
Here’s the final result:
Prototypye 1: It had been a few years since I last used a lathe, so for my first attempt I went 2mm wide on each of the dimensions intending to file it down to specs later. I used a very fast (too fast!!) autofeed speed. When a tech showed me how nice the finish is with a nice slow feed speed, I decided to make the ring to spec on the lathe.
Prototype 2: Most of the pics in the walkthrough below are from my second attempt. You’ll note that I reduced the diameter around the “ring” part before bringing outer diameter of the ring to spec and realizing I needed to reduce the diameter around the ring a bunch more. It would have been more efficient to bring everything to the ring OD then reduce the diameter around the ring futher.
The critical mistake I made, however, was parting the ring when it was still a disc. The thin outer edge of the disc didn’t have the capacity to stand up to the cutting force needed to drill out the ID. Also, I didn’t realize how much drills drift - I chose a drill bit that was too close to the desired ID. The resulting hole was slightly too big, and not perfectly circular.
That’s when a tech introduced me to collets (for holding the ring) and the boring tool (small and thin - perfec for taking off material from the inside of the ring). I practiced using them on this prototype, in order to get a nice ID on the final ring.
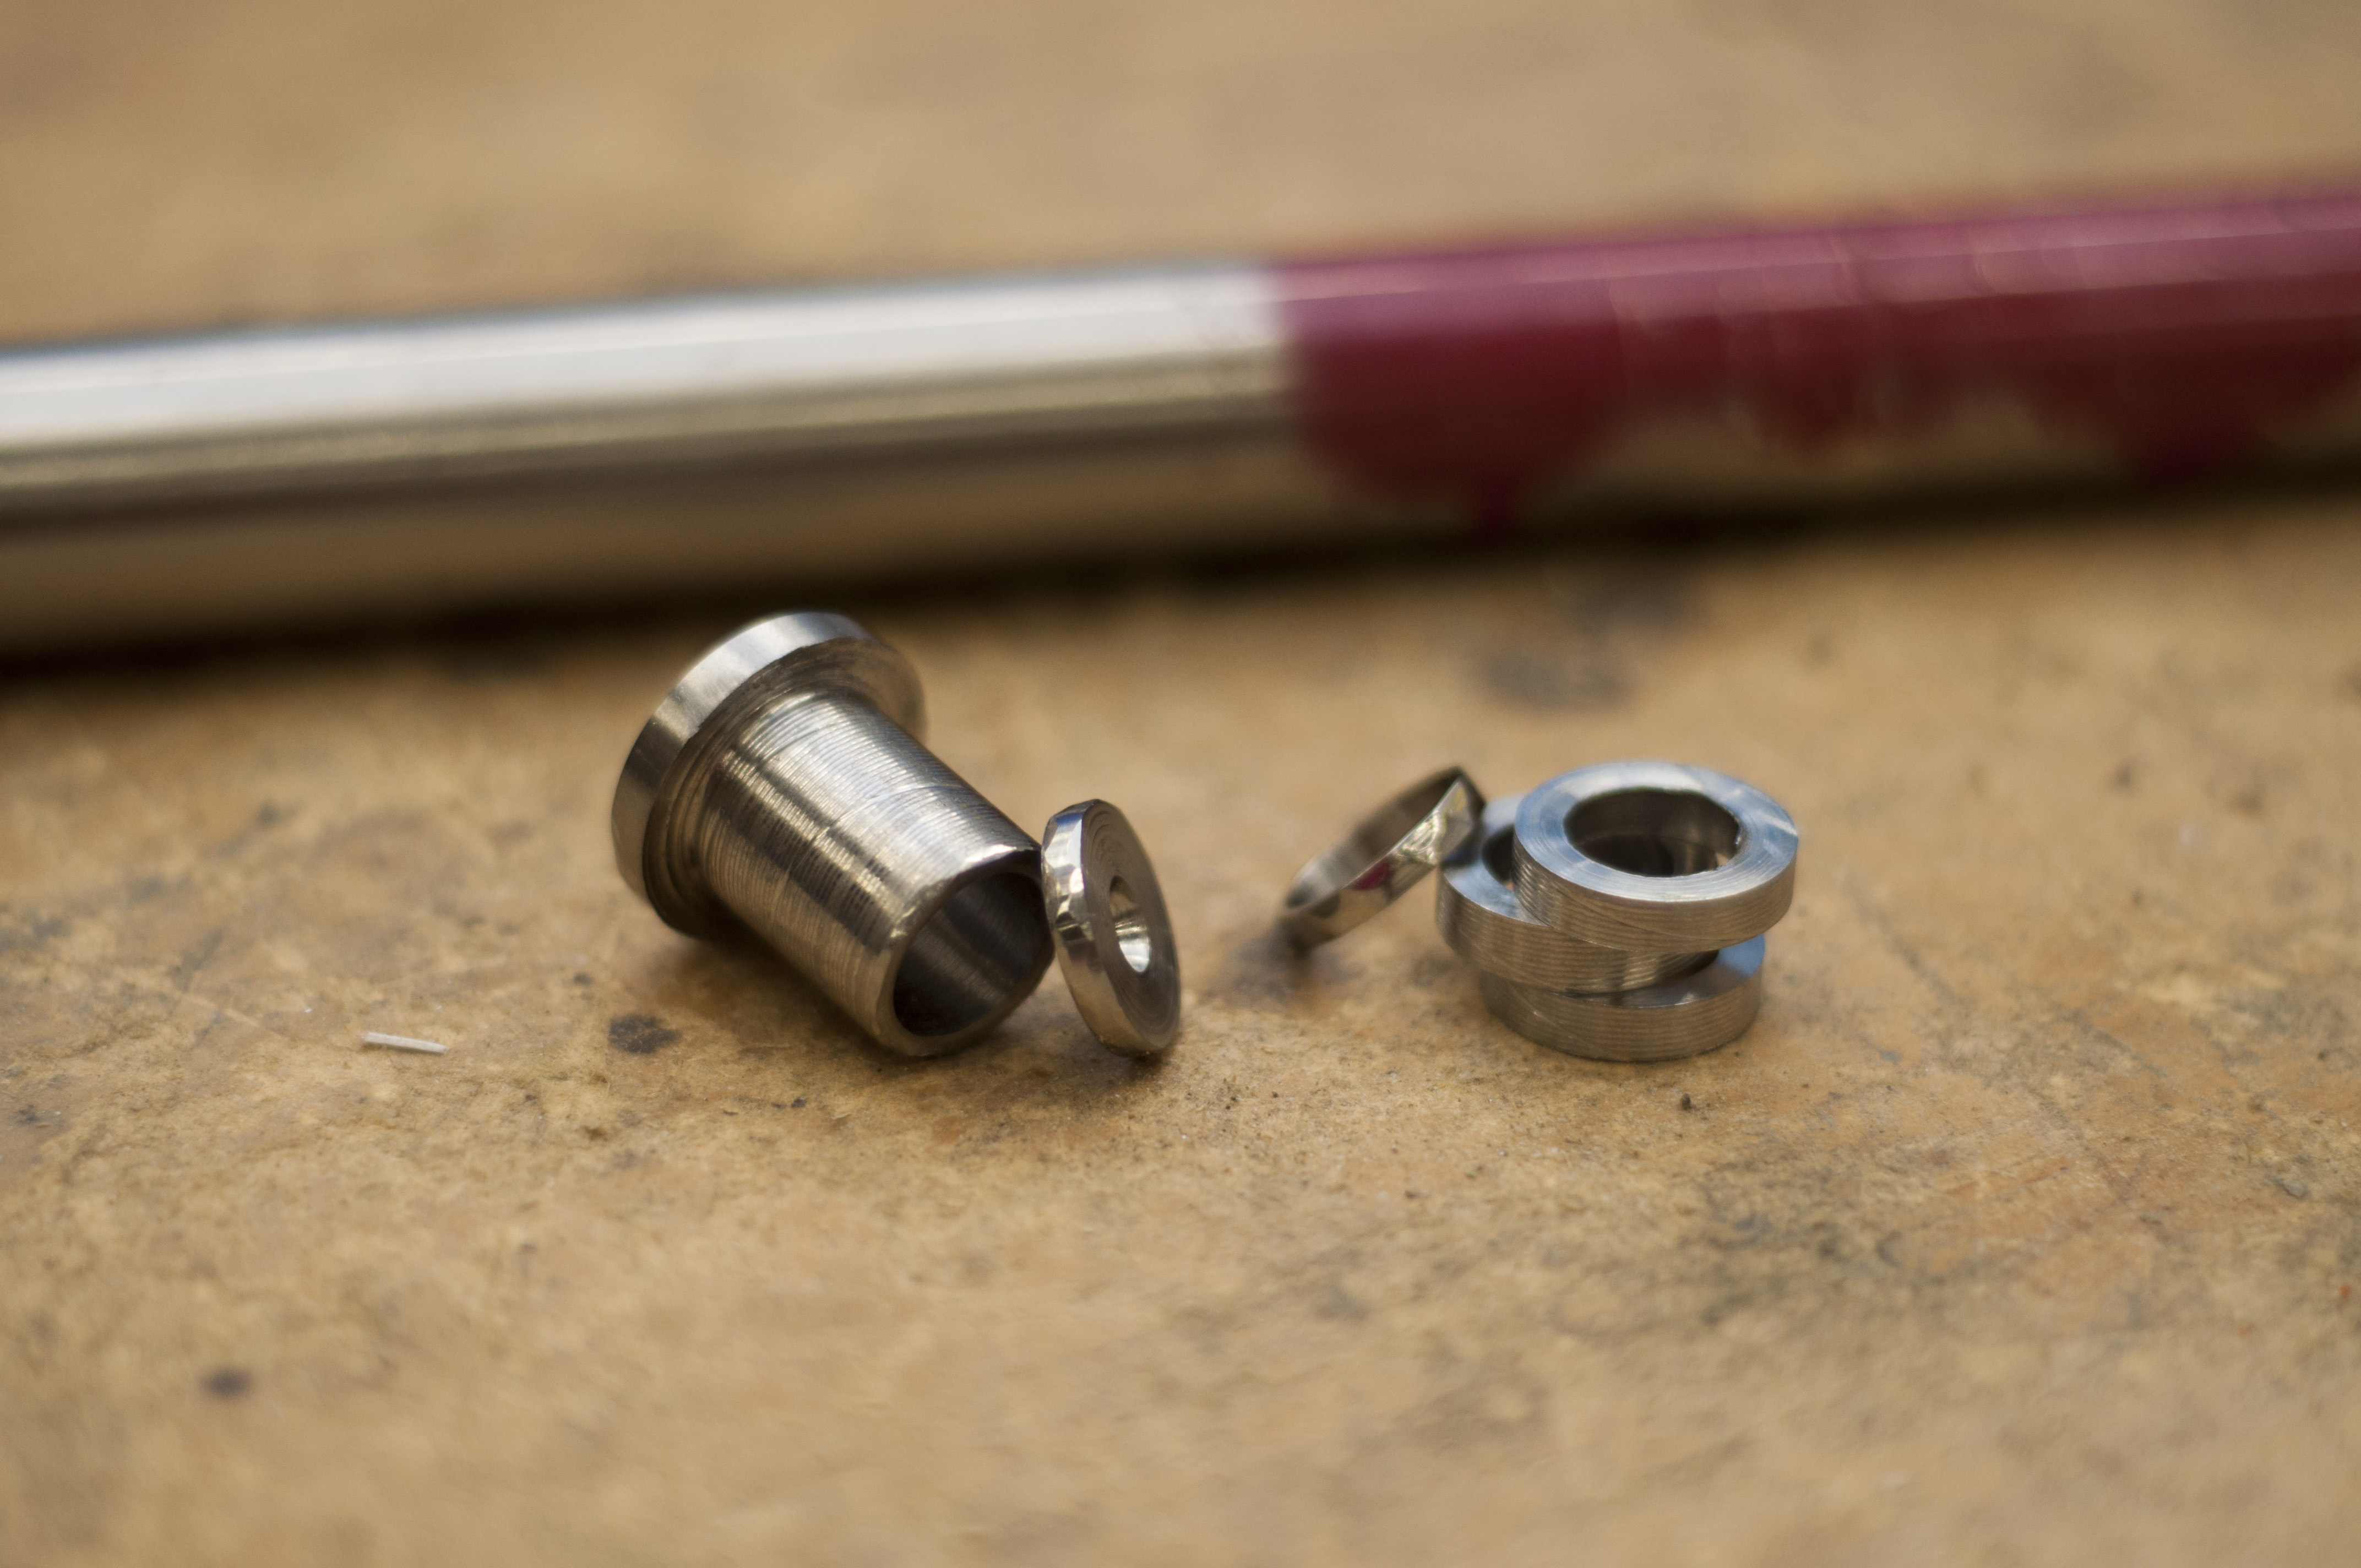
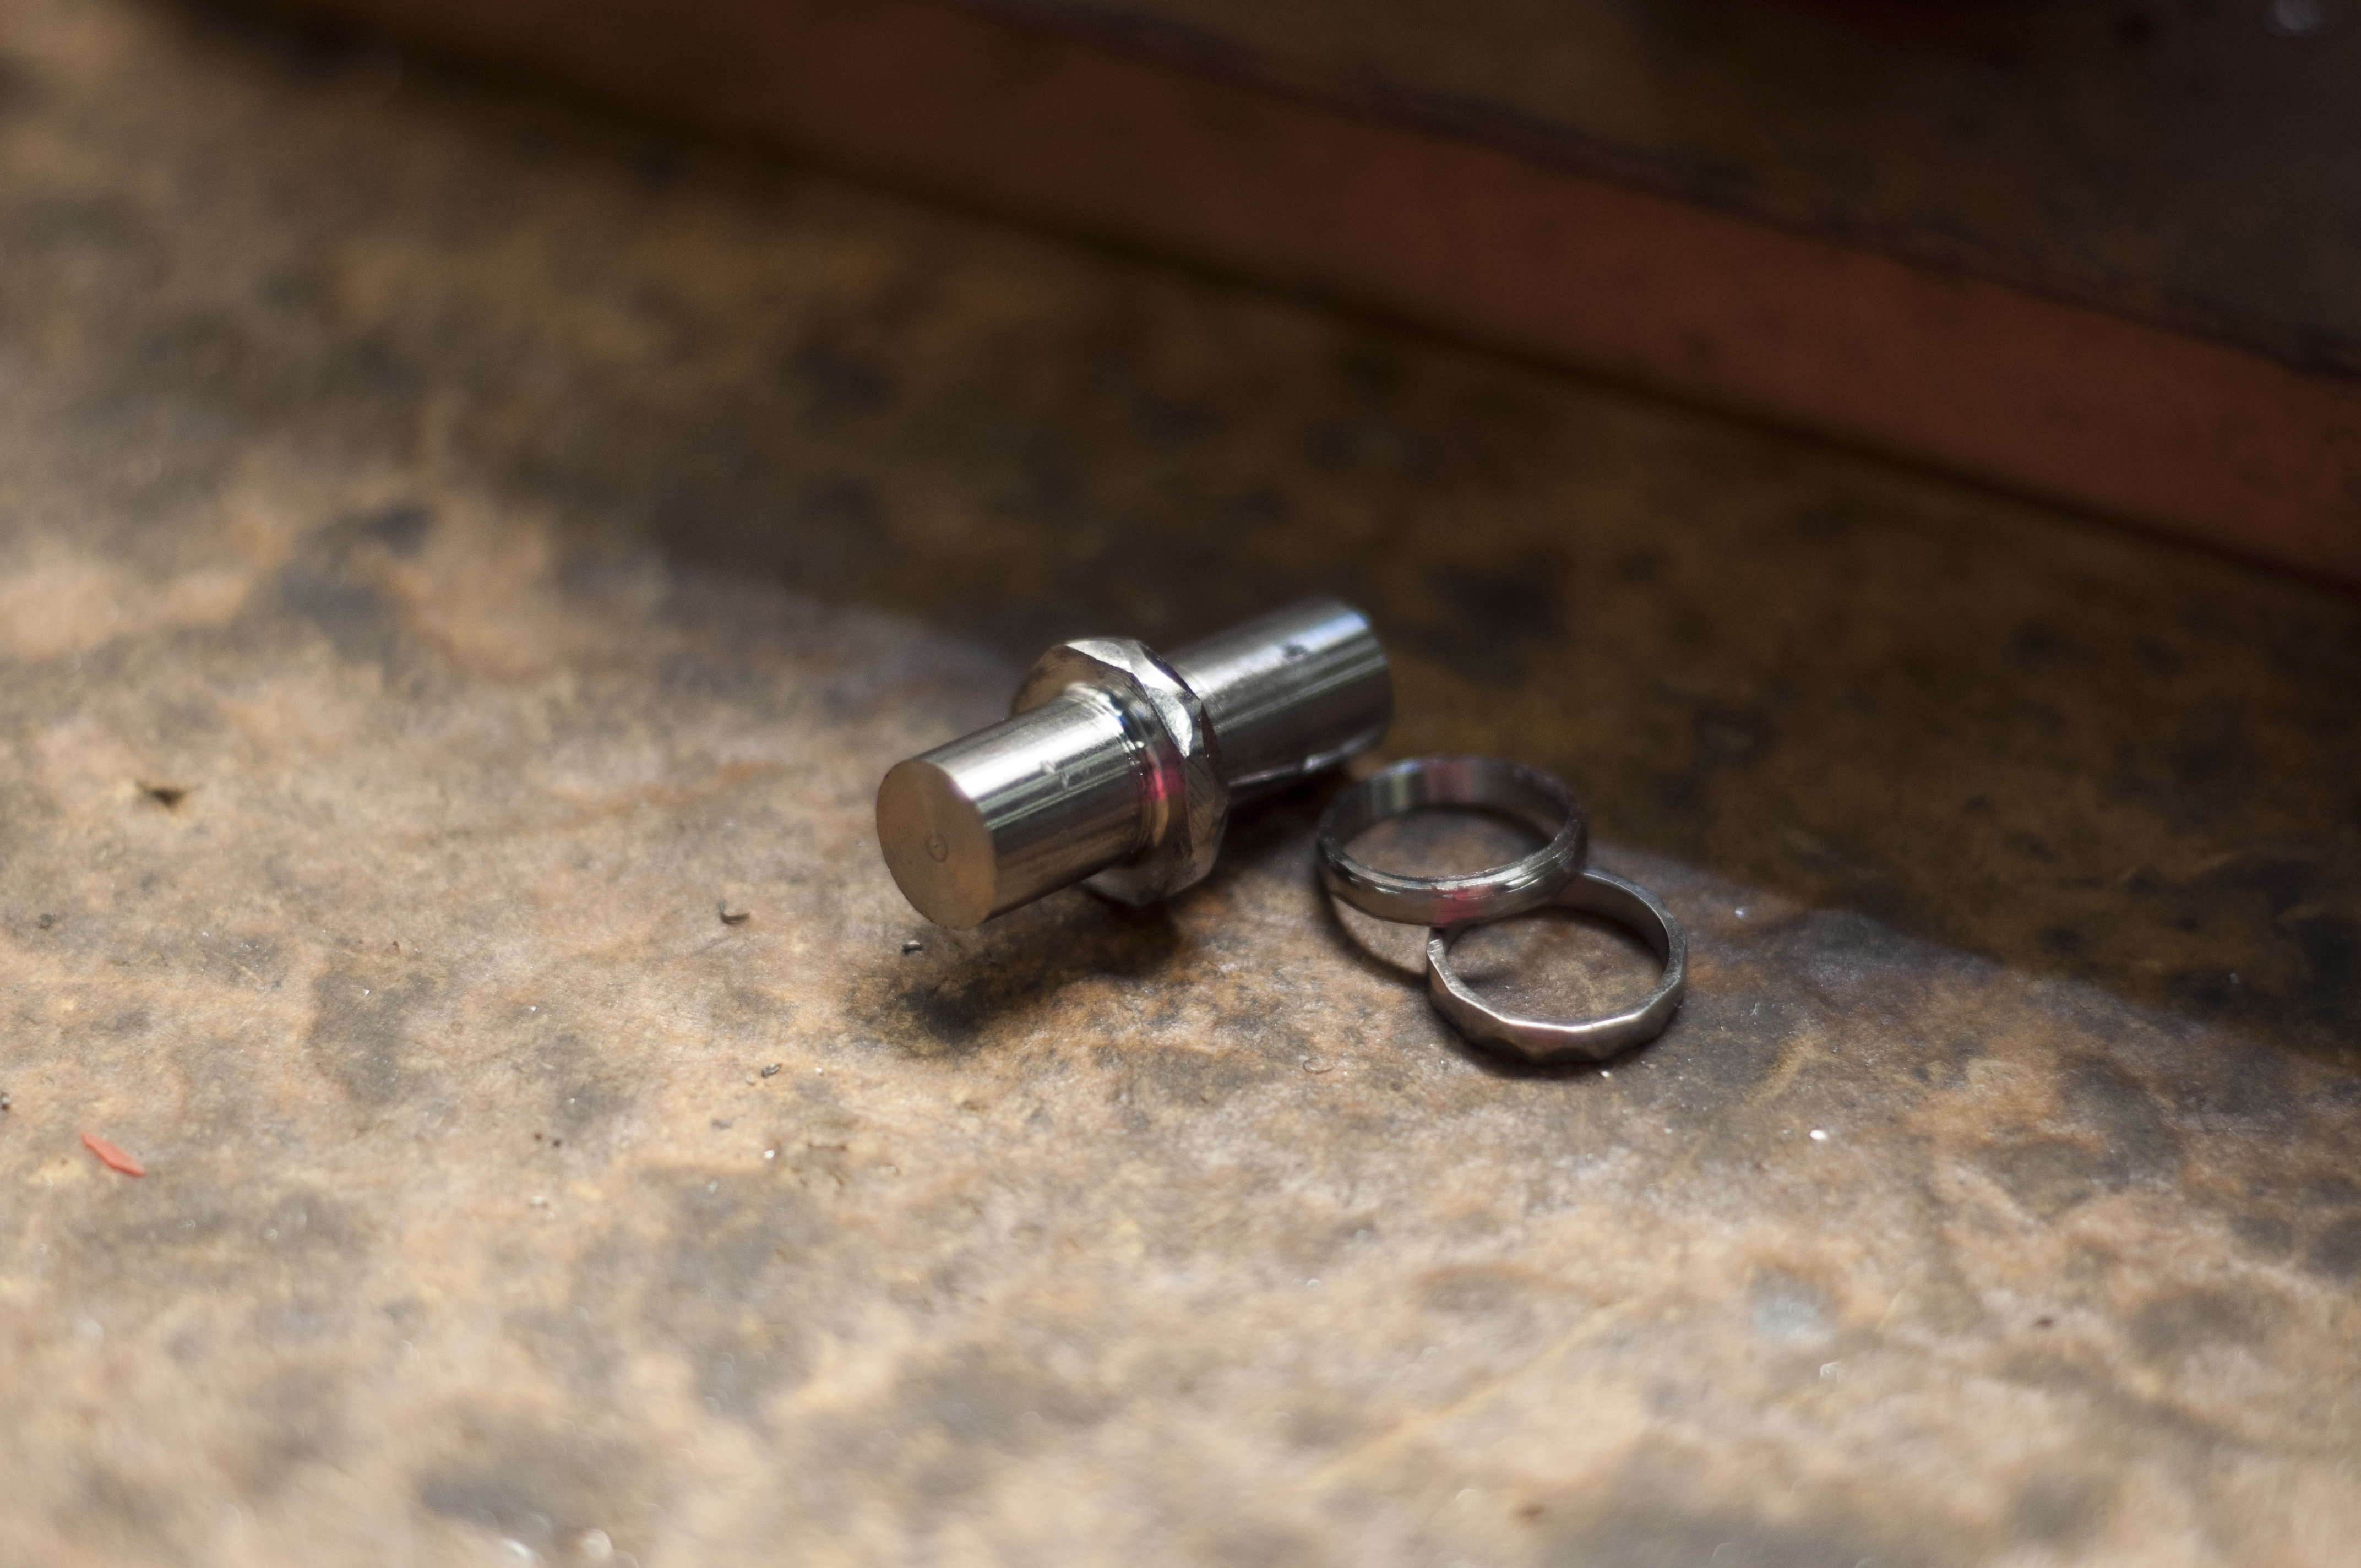
Here’s a pic of all the prototypes with my iron ring from APEGBC for reference (the final ring isn’t shown here)
Walkthrough
From some sleuthing I knew this needed to be a size 5 ring: 15.7mm ID, I think 1.3mm ring width, and 1.something mm wall thickness. I’ll update with the actual number if I can find some calipers…
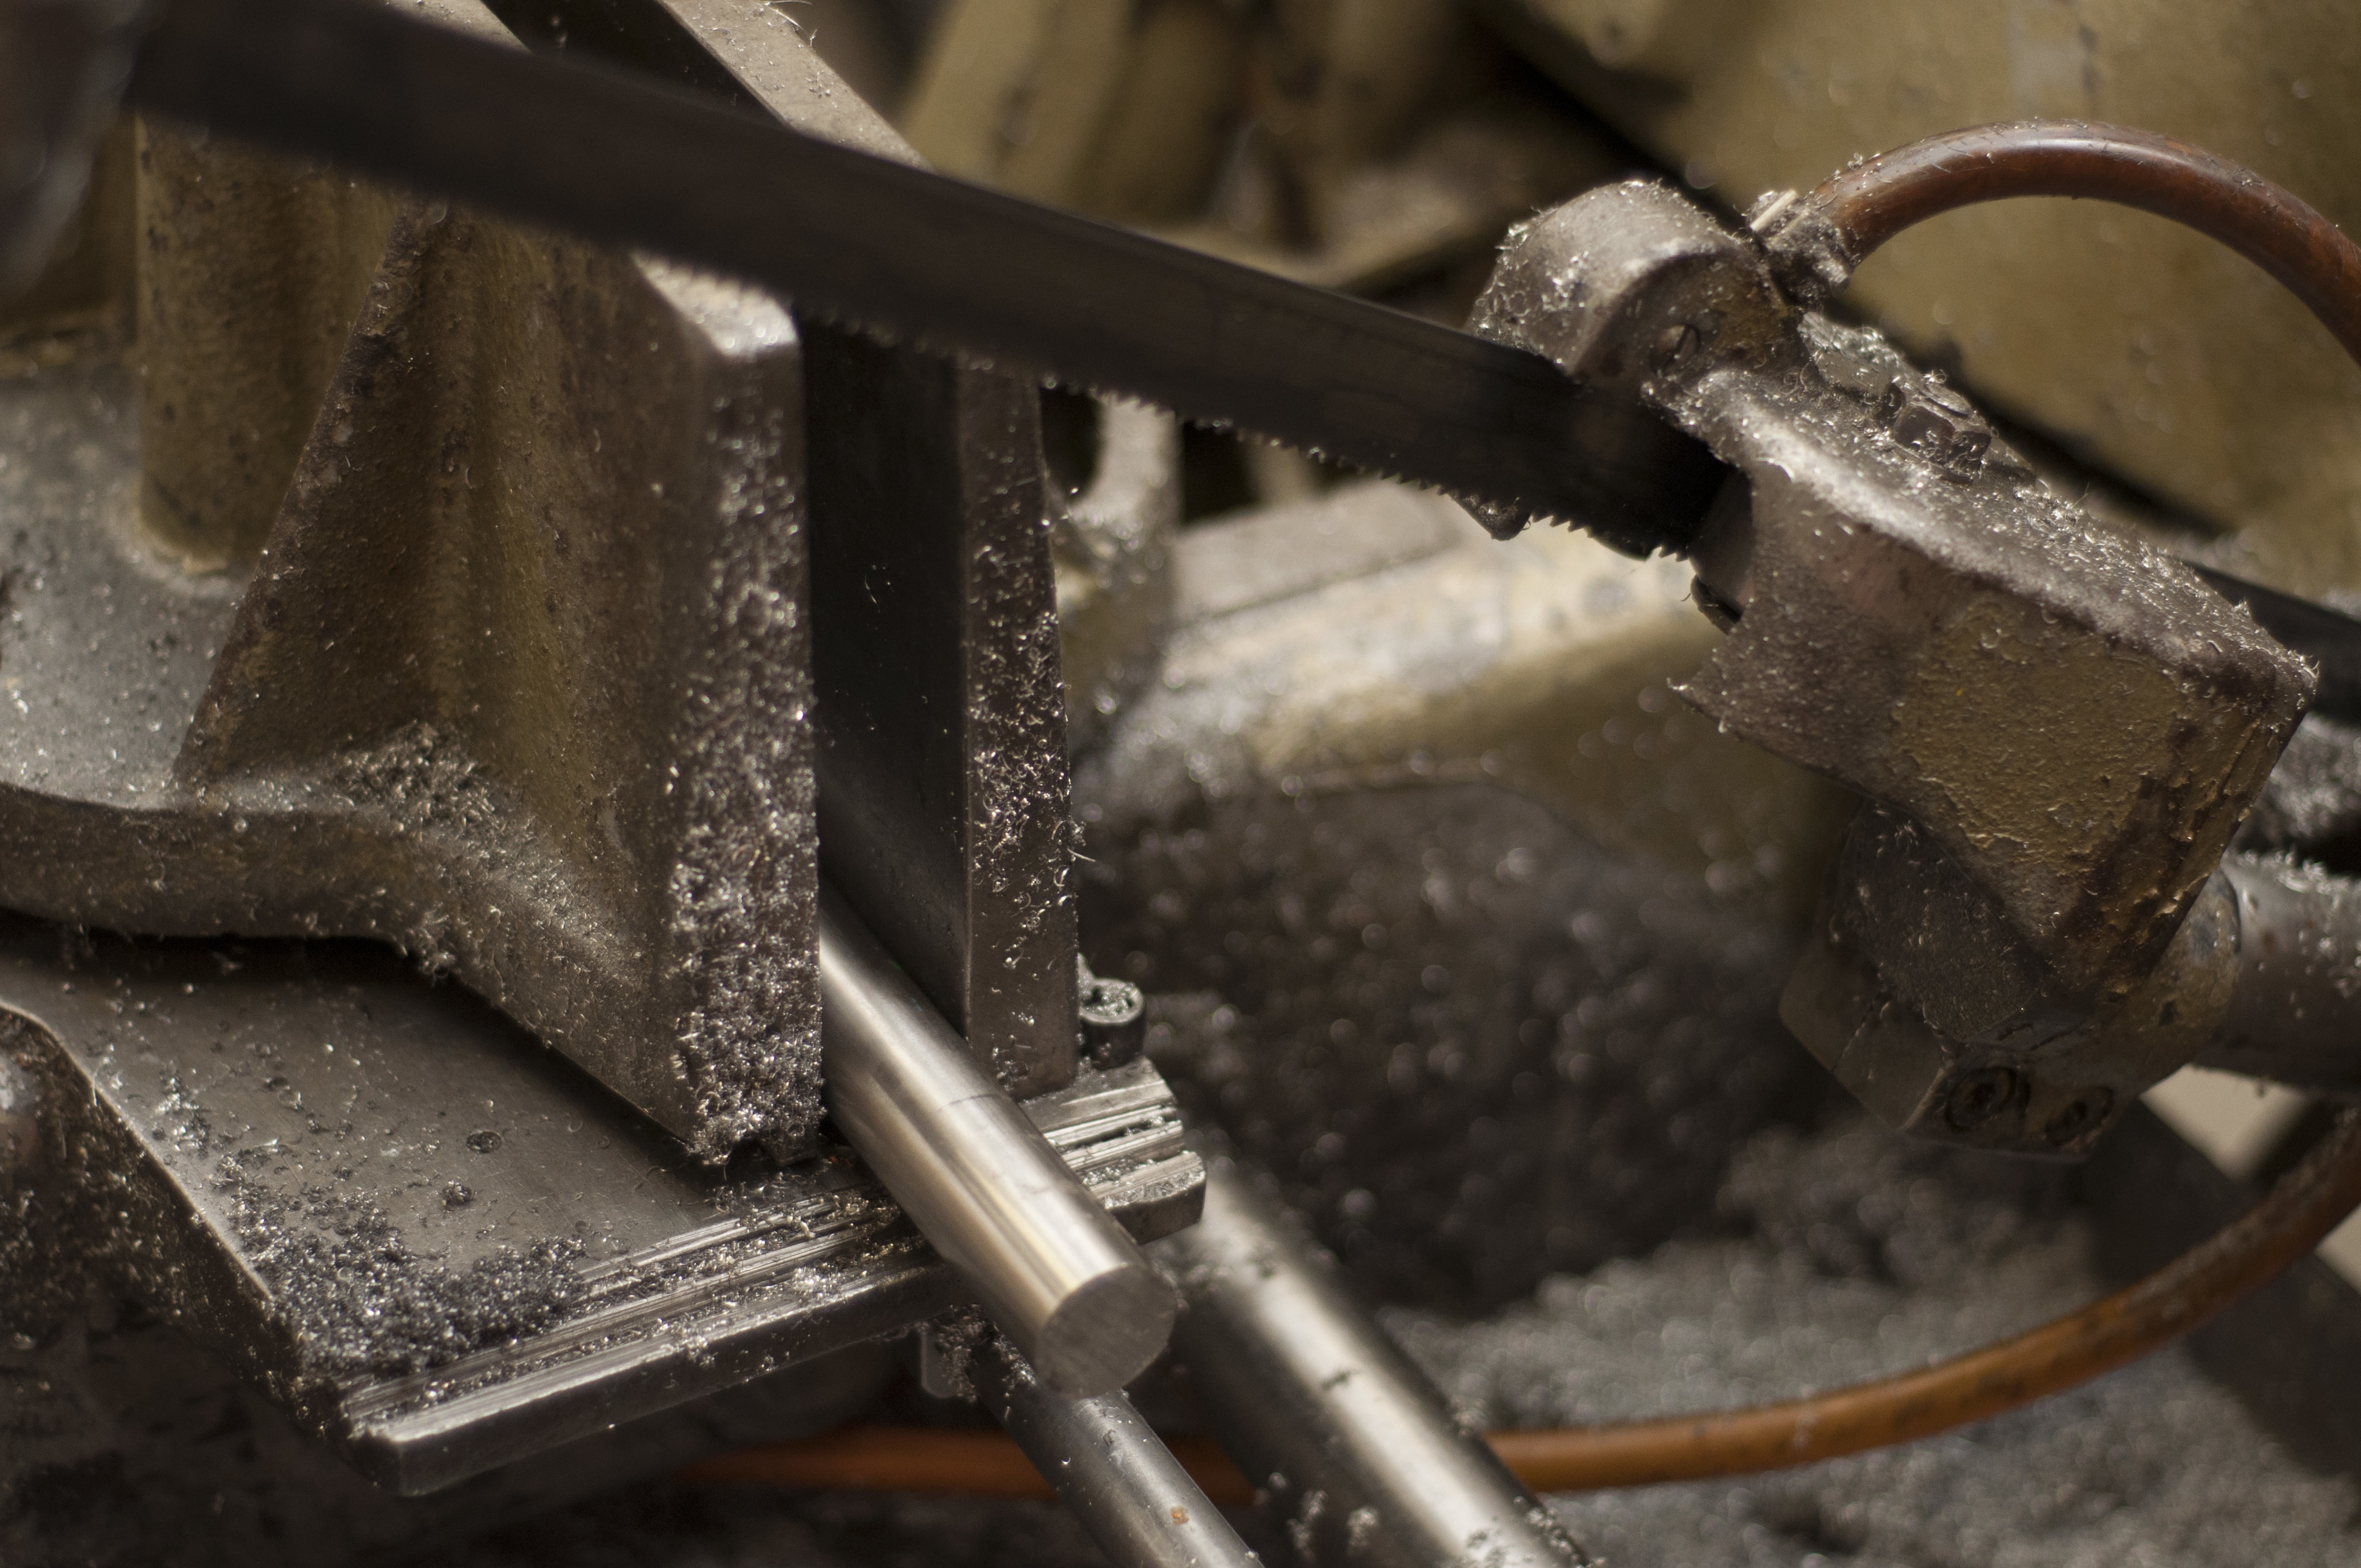
I started with a 1" bar of 304 stainless steel, bought it for maybe $20 from the Metal Supermarket in Richmond. Pro tip: they have student discounts!
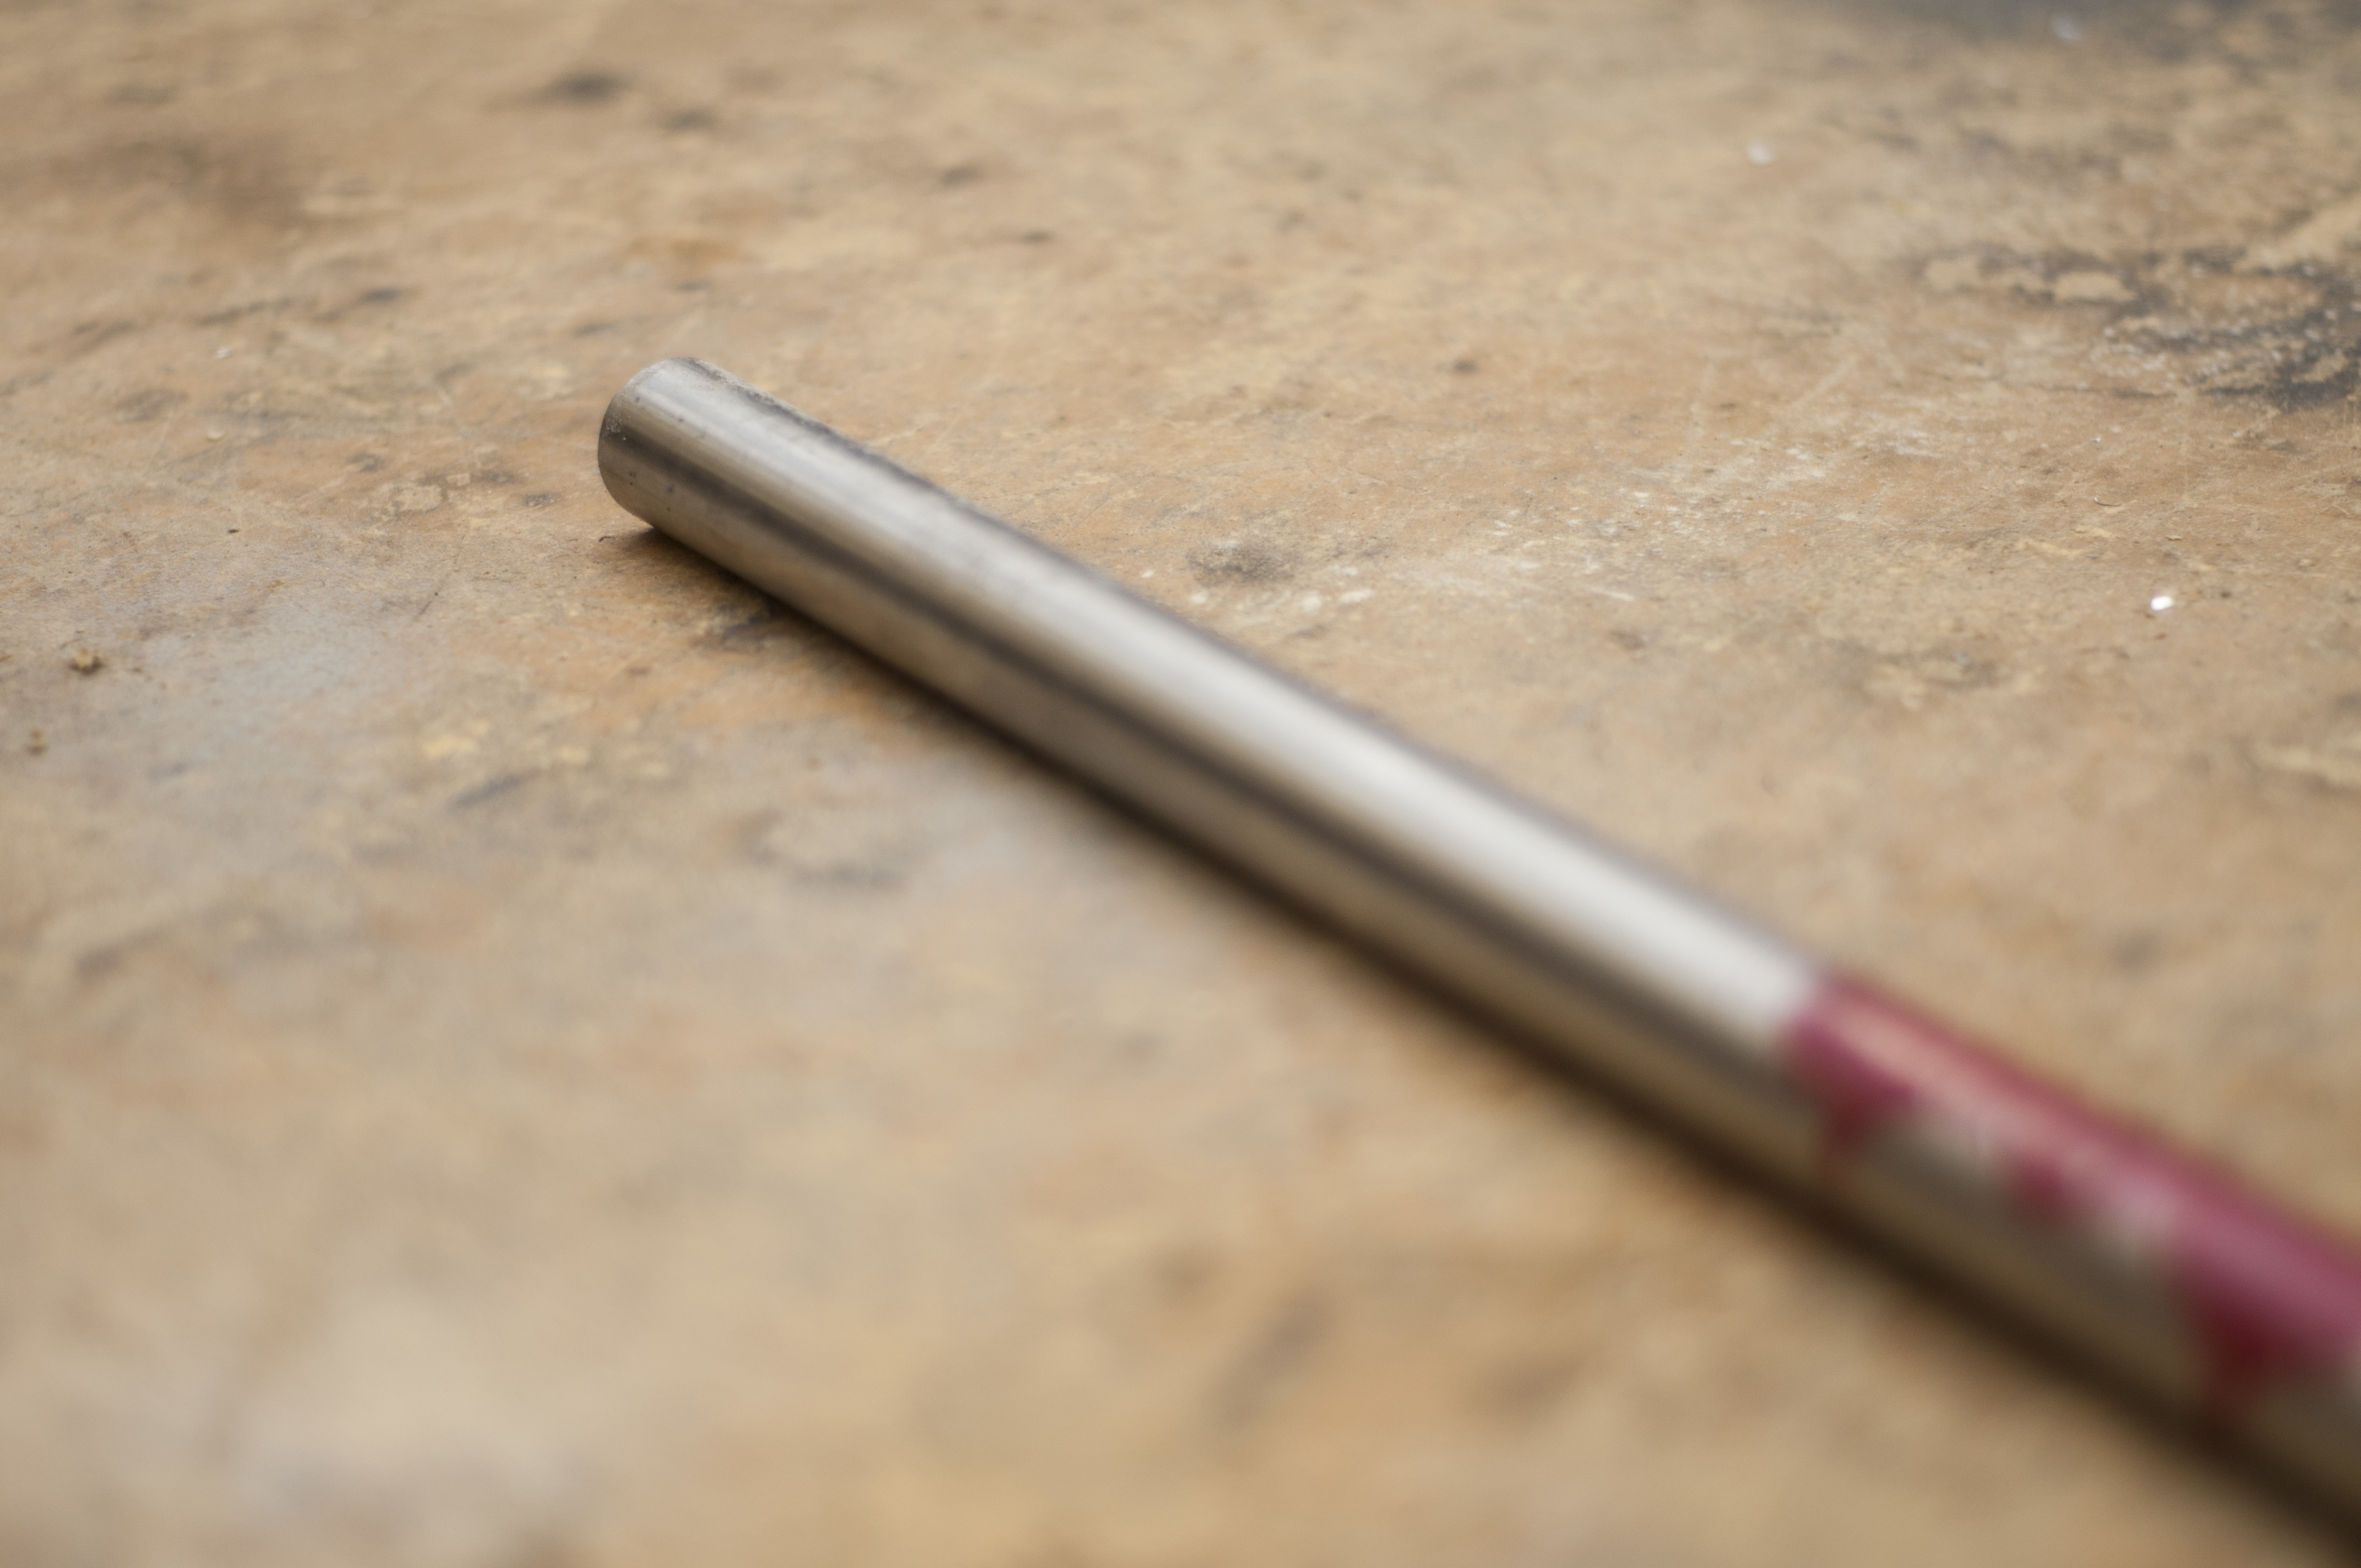
First step was to cut off a shorter piece using the bandsaw. Need enough length for the ring, as well as something to clamp in the chuck on either side.
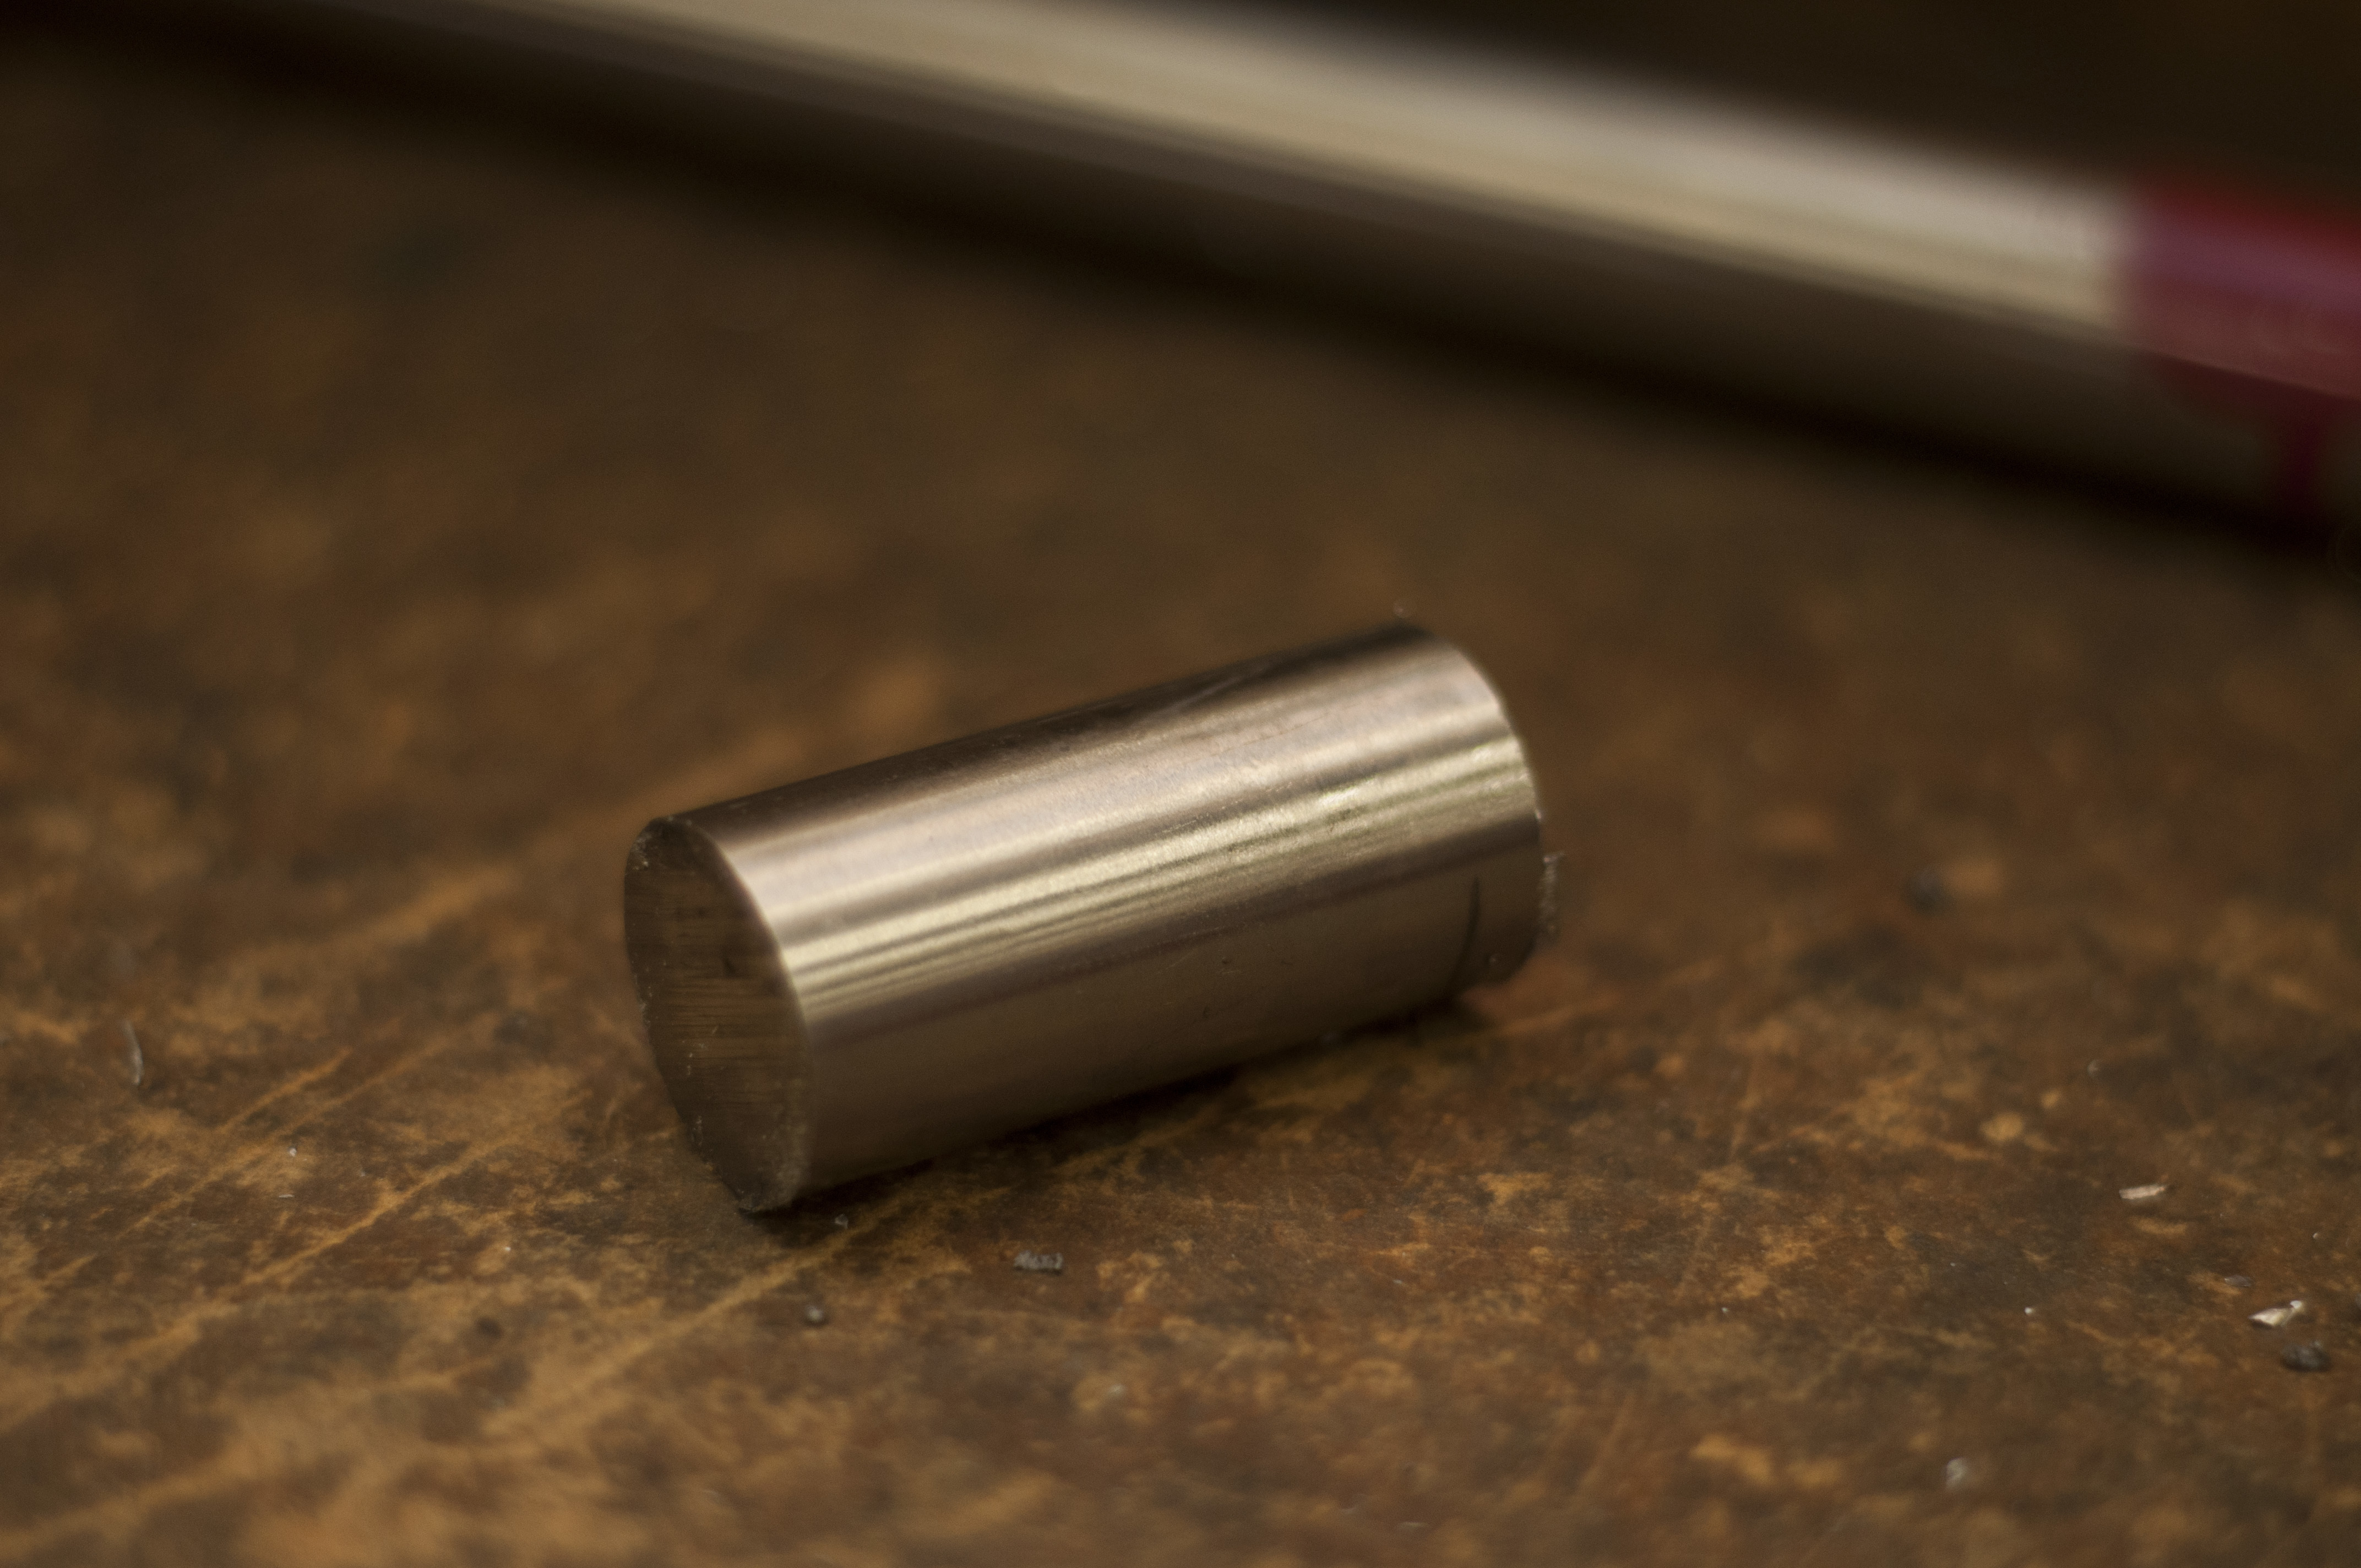
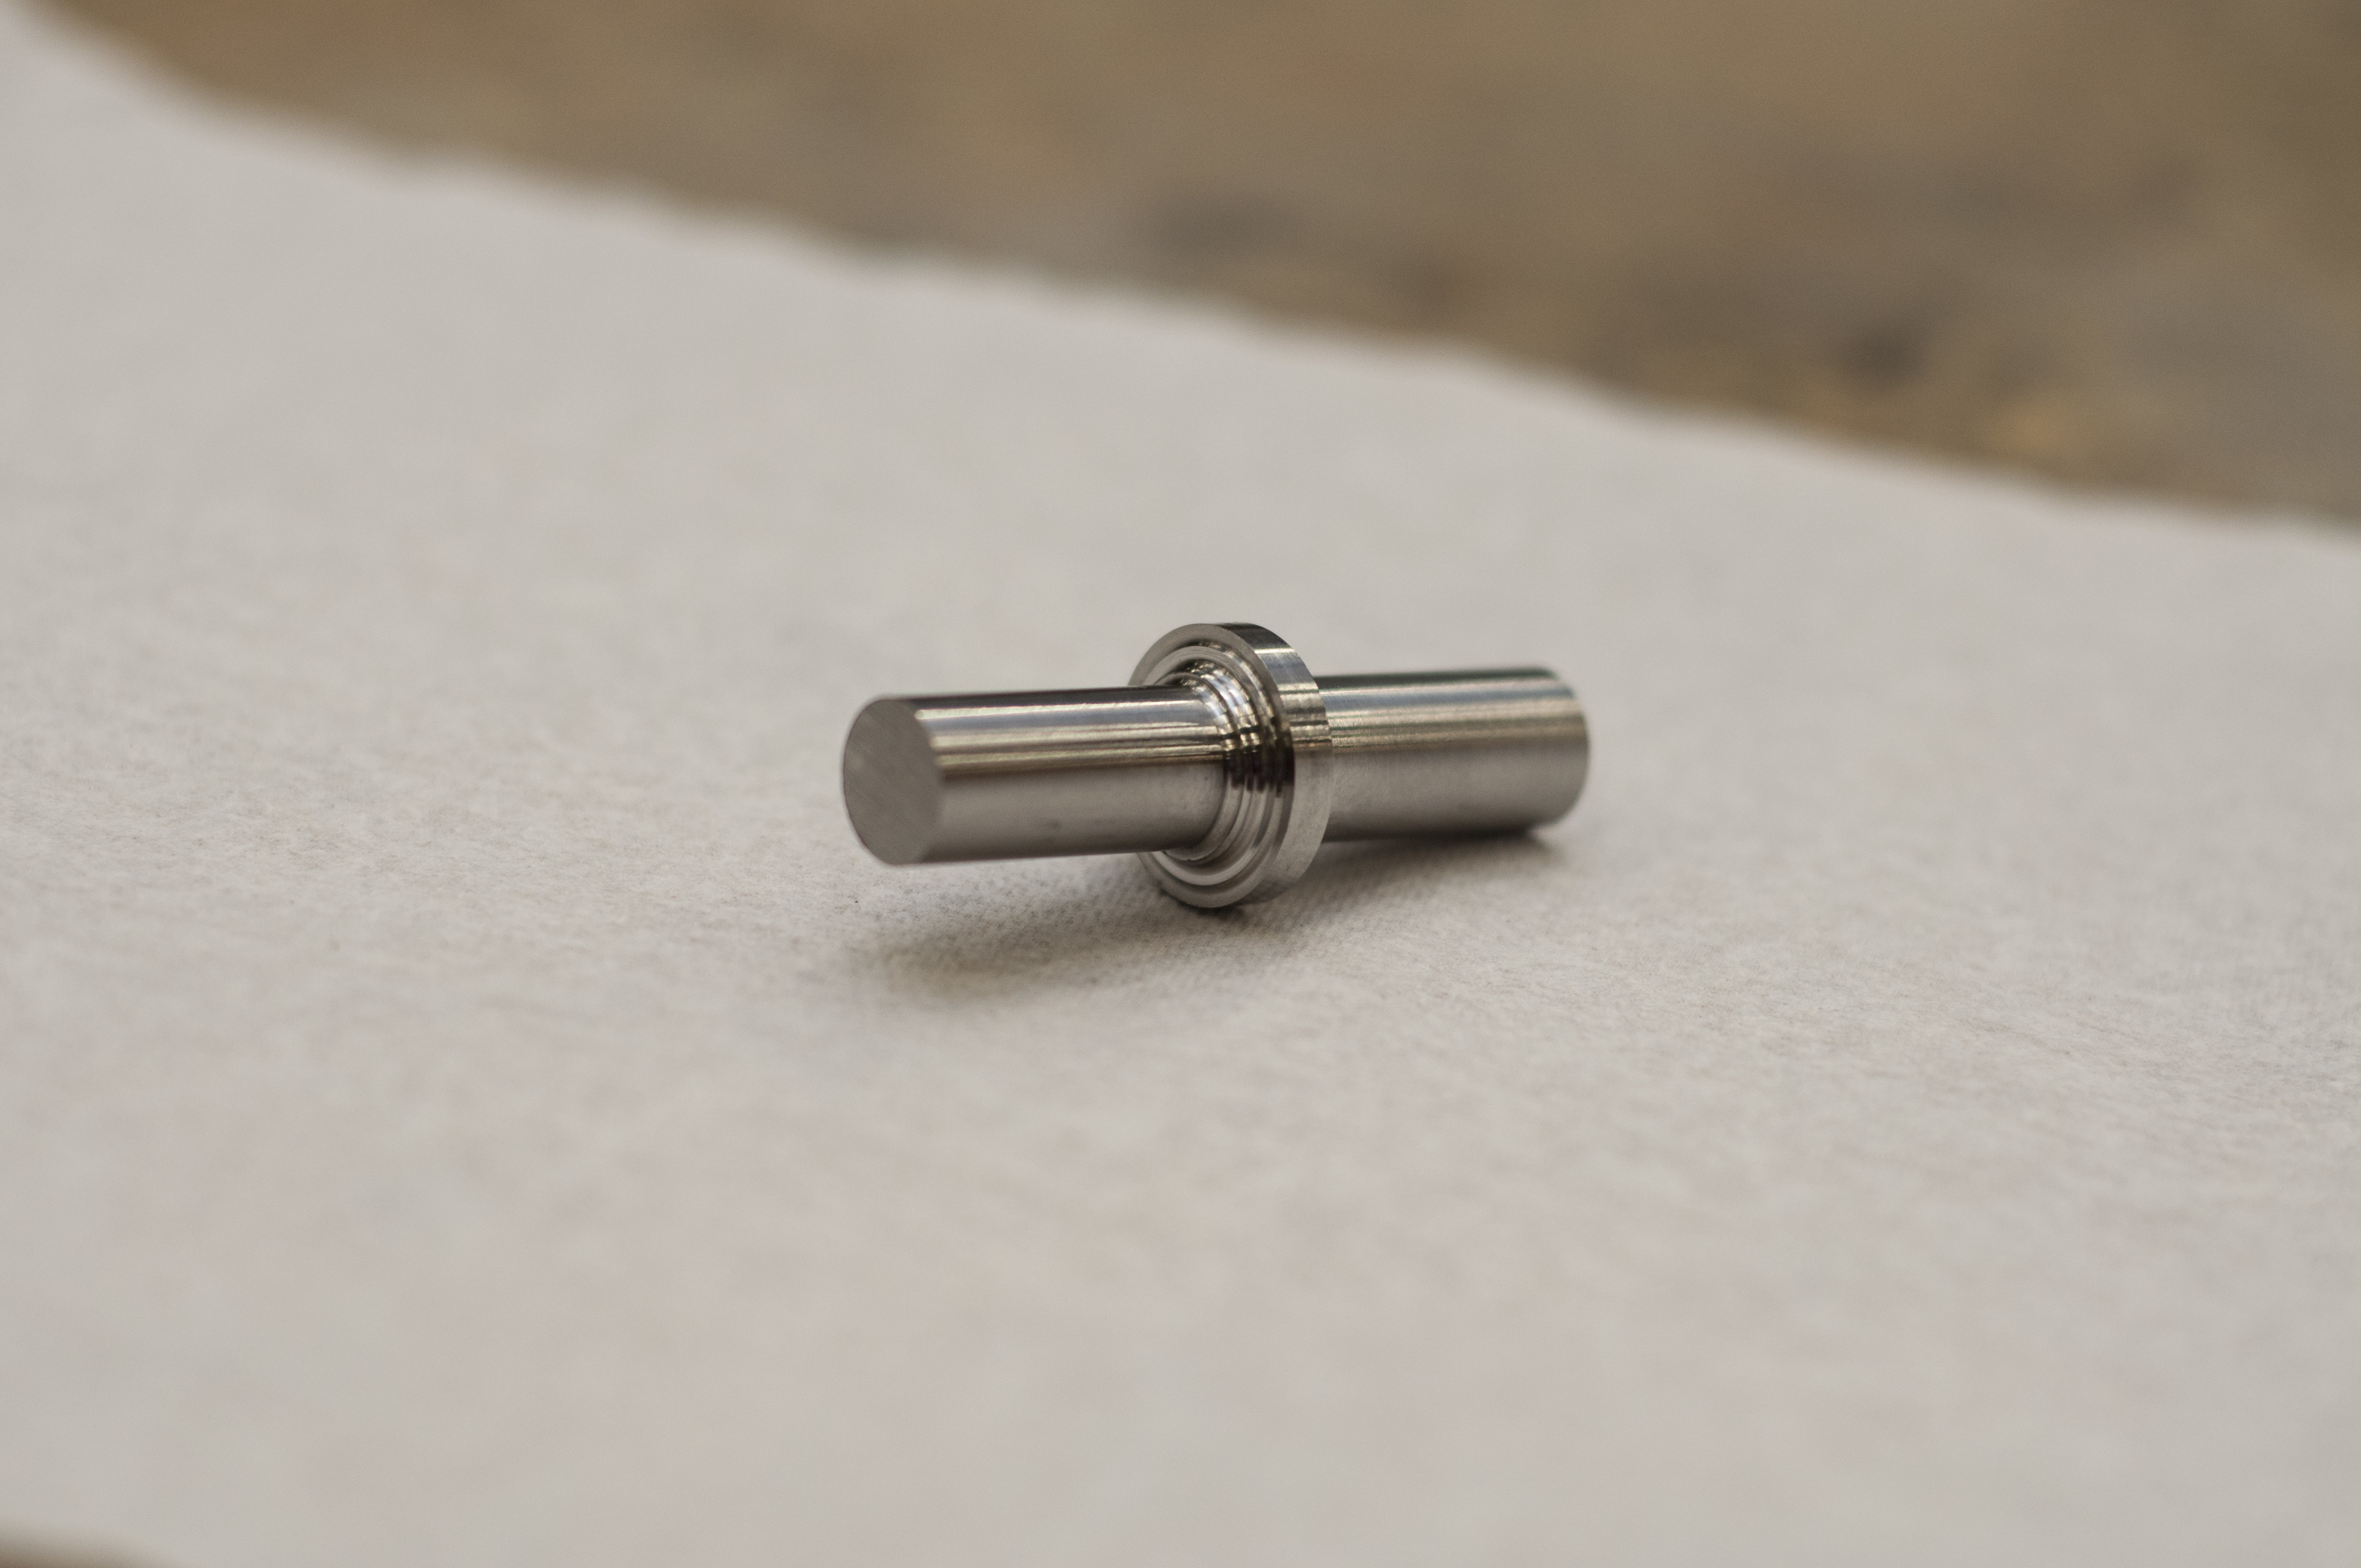
Voila: the starting point!
Mounted in the lathe and ready to go!
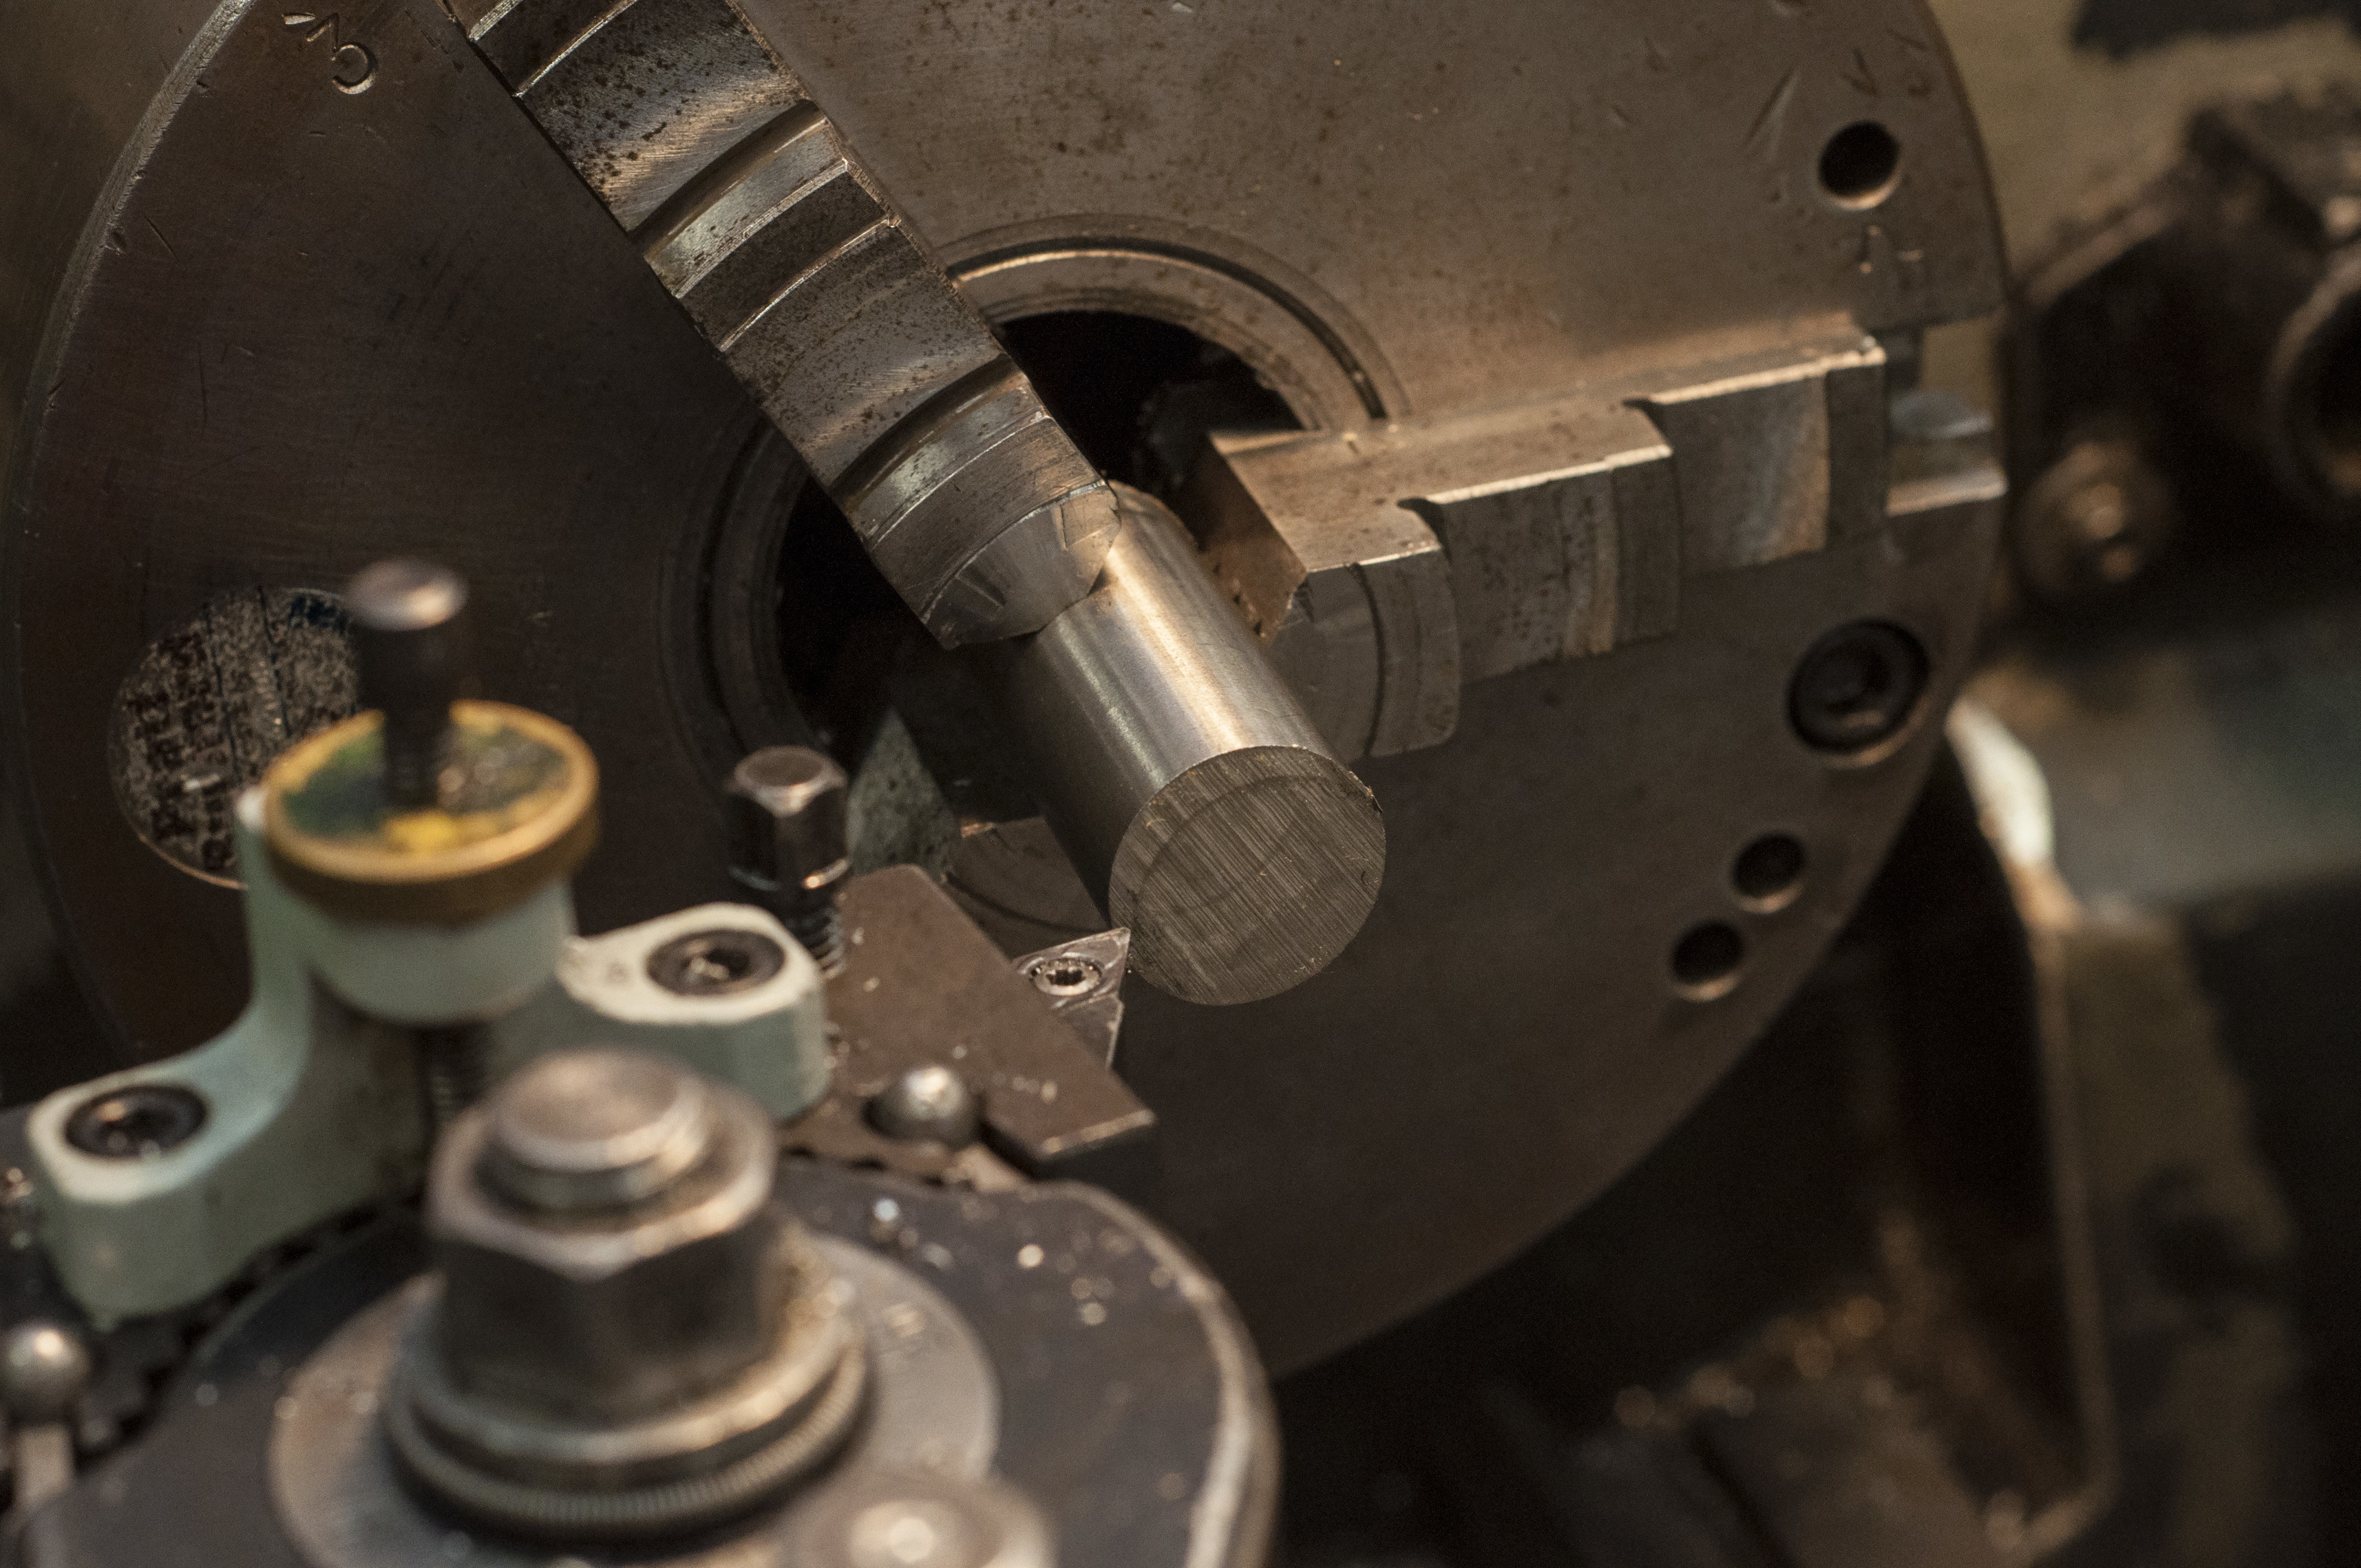
I started off by facing the end, so the jagged bits wouldn’t affect how it sits in the chuck when I flip it around.

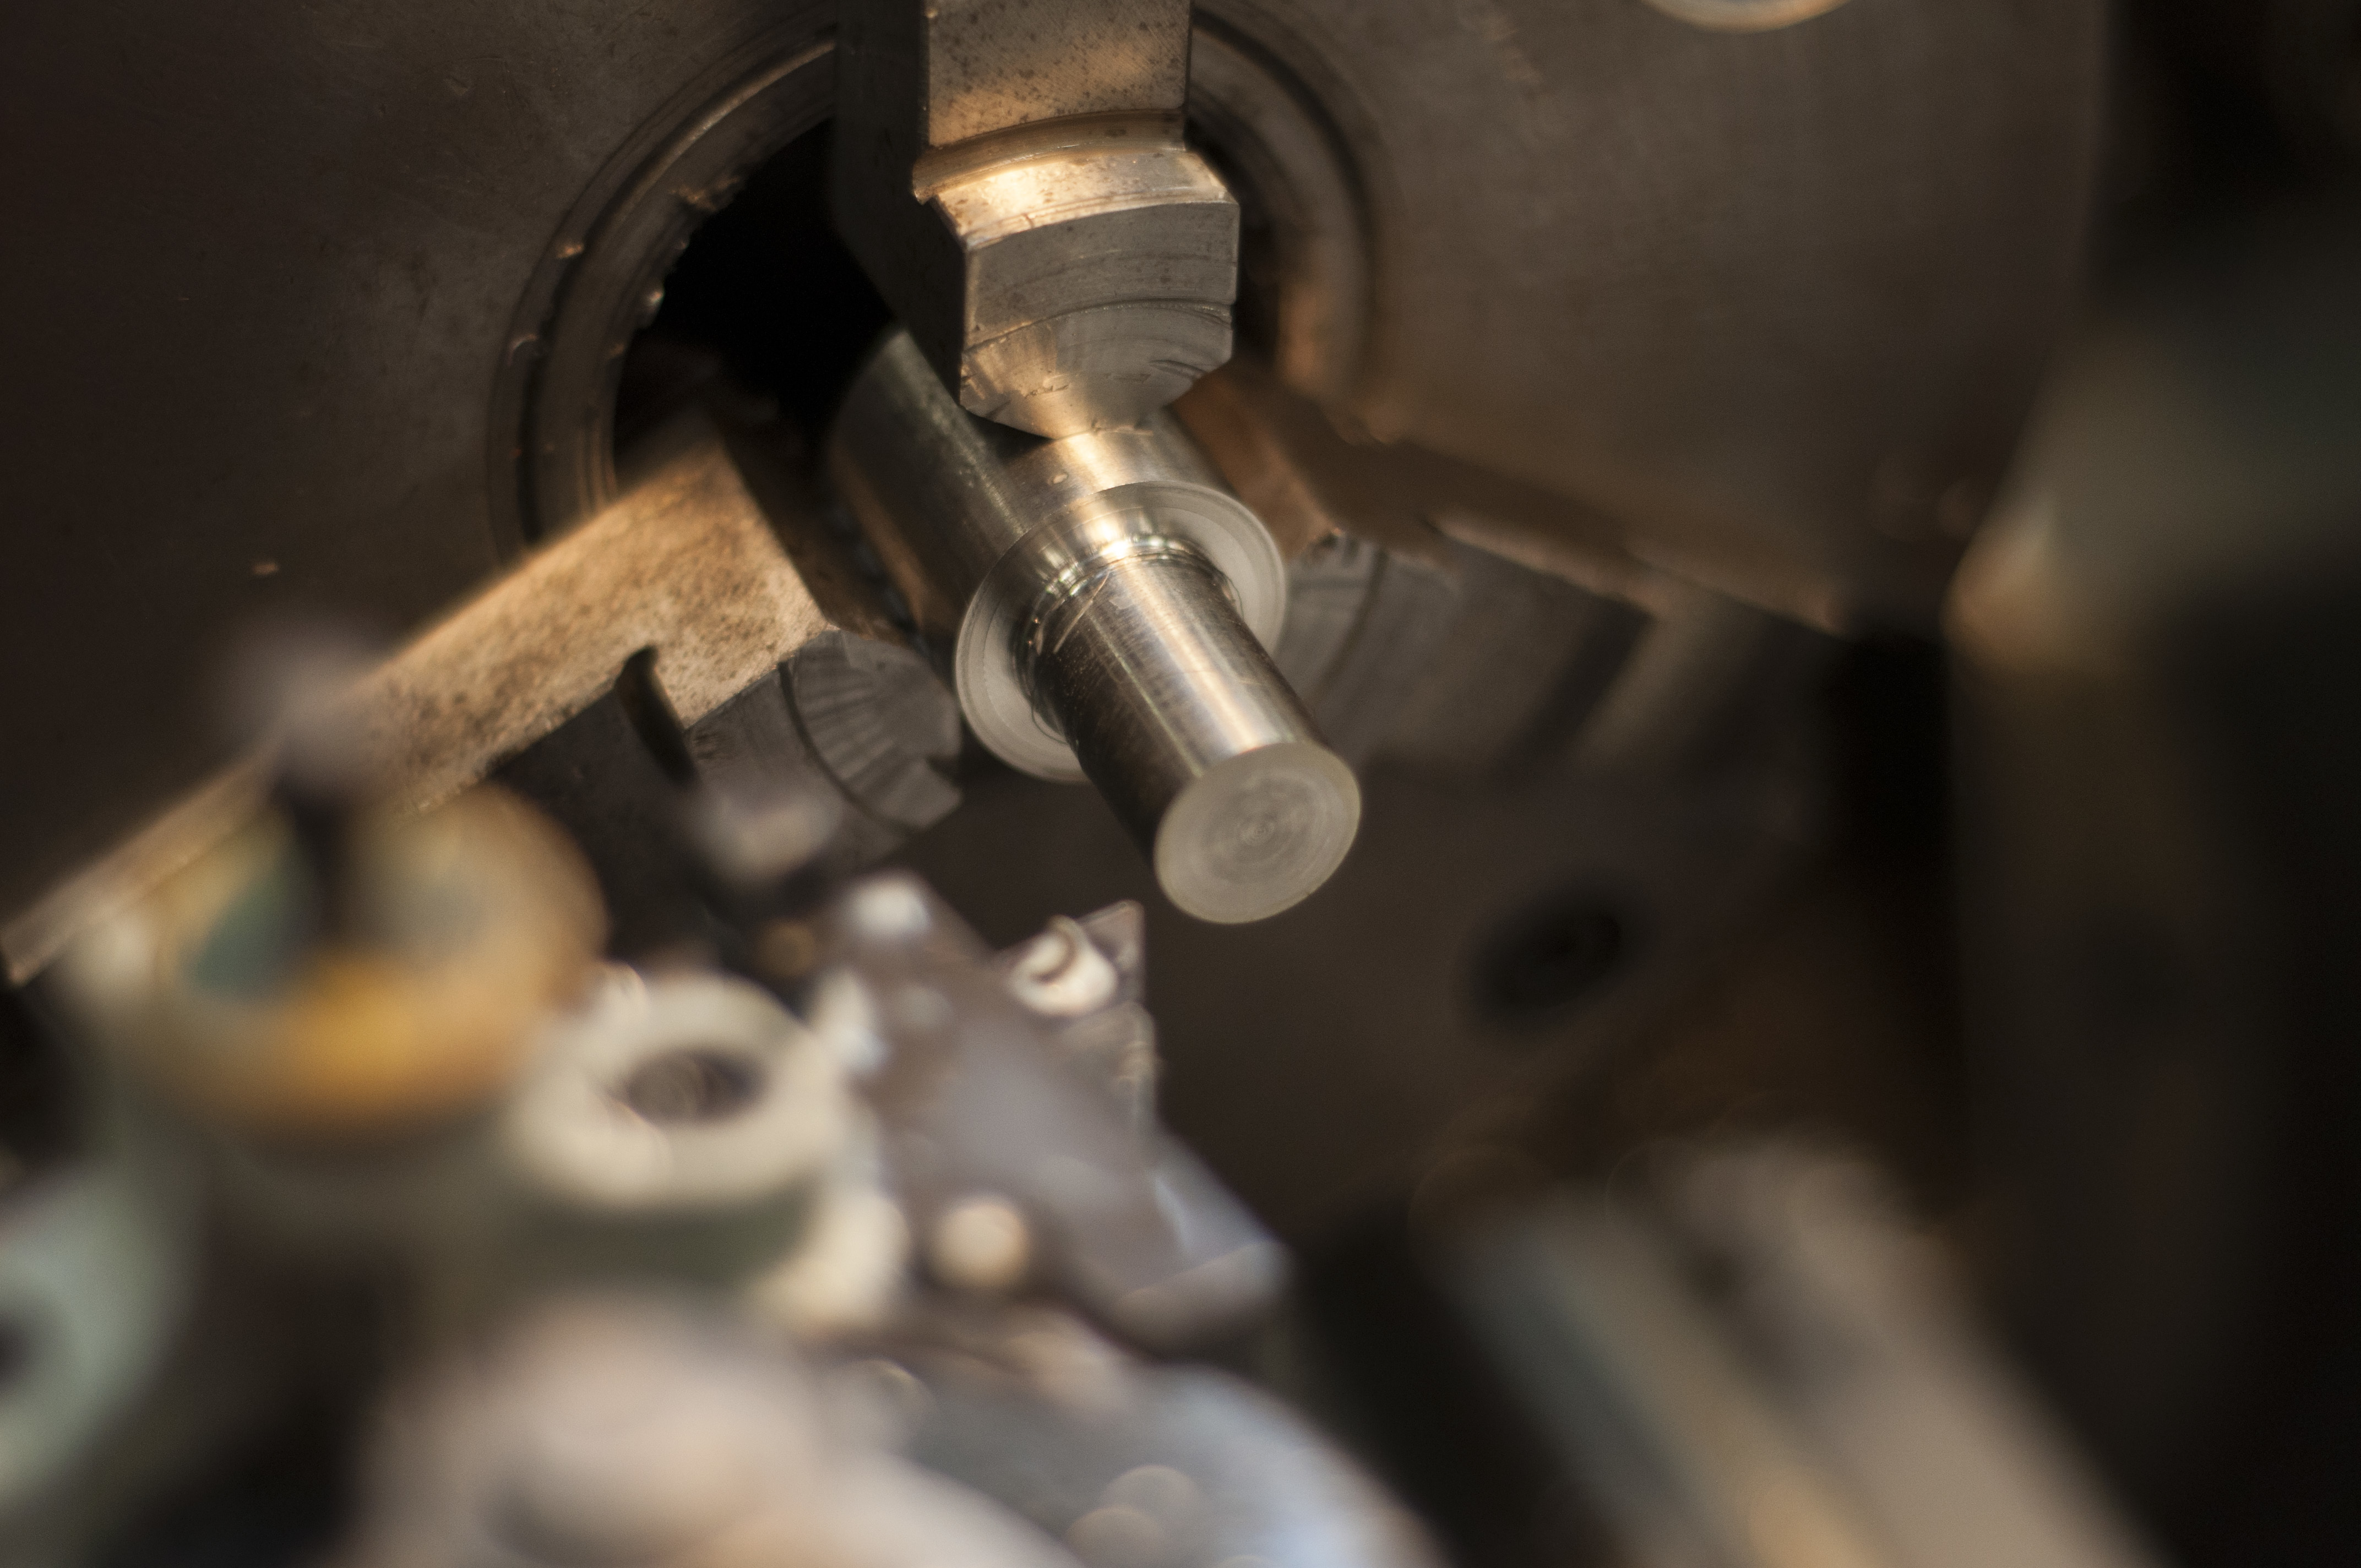
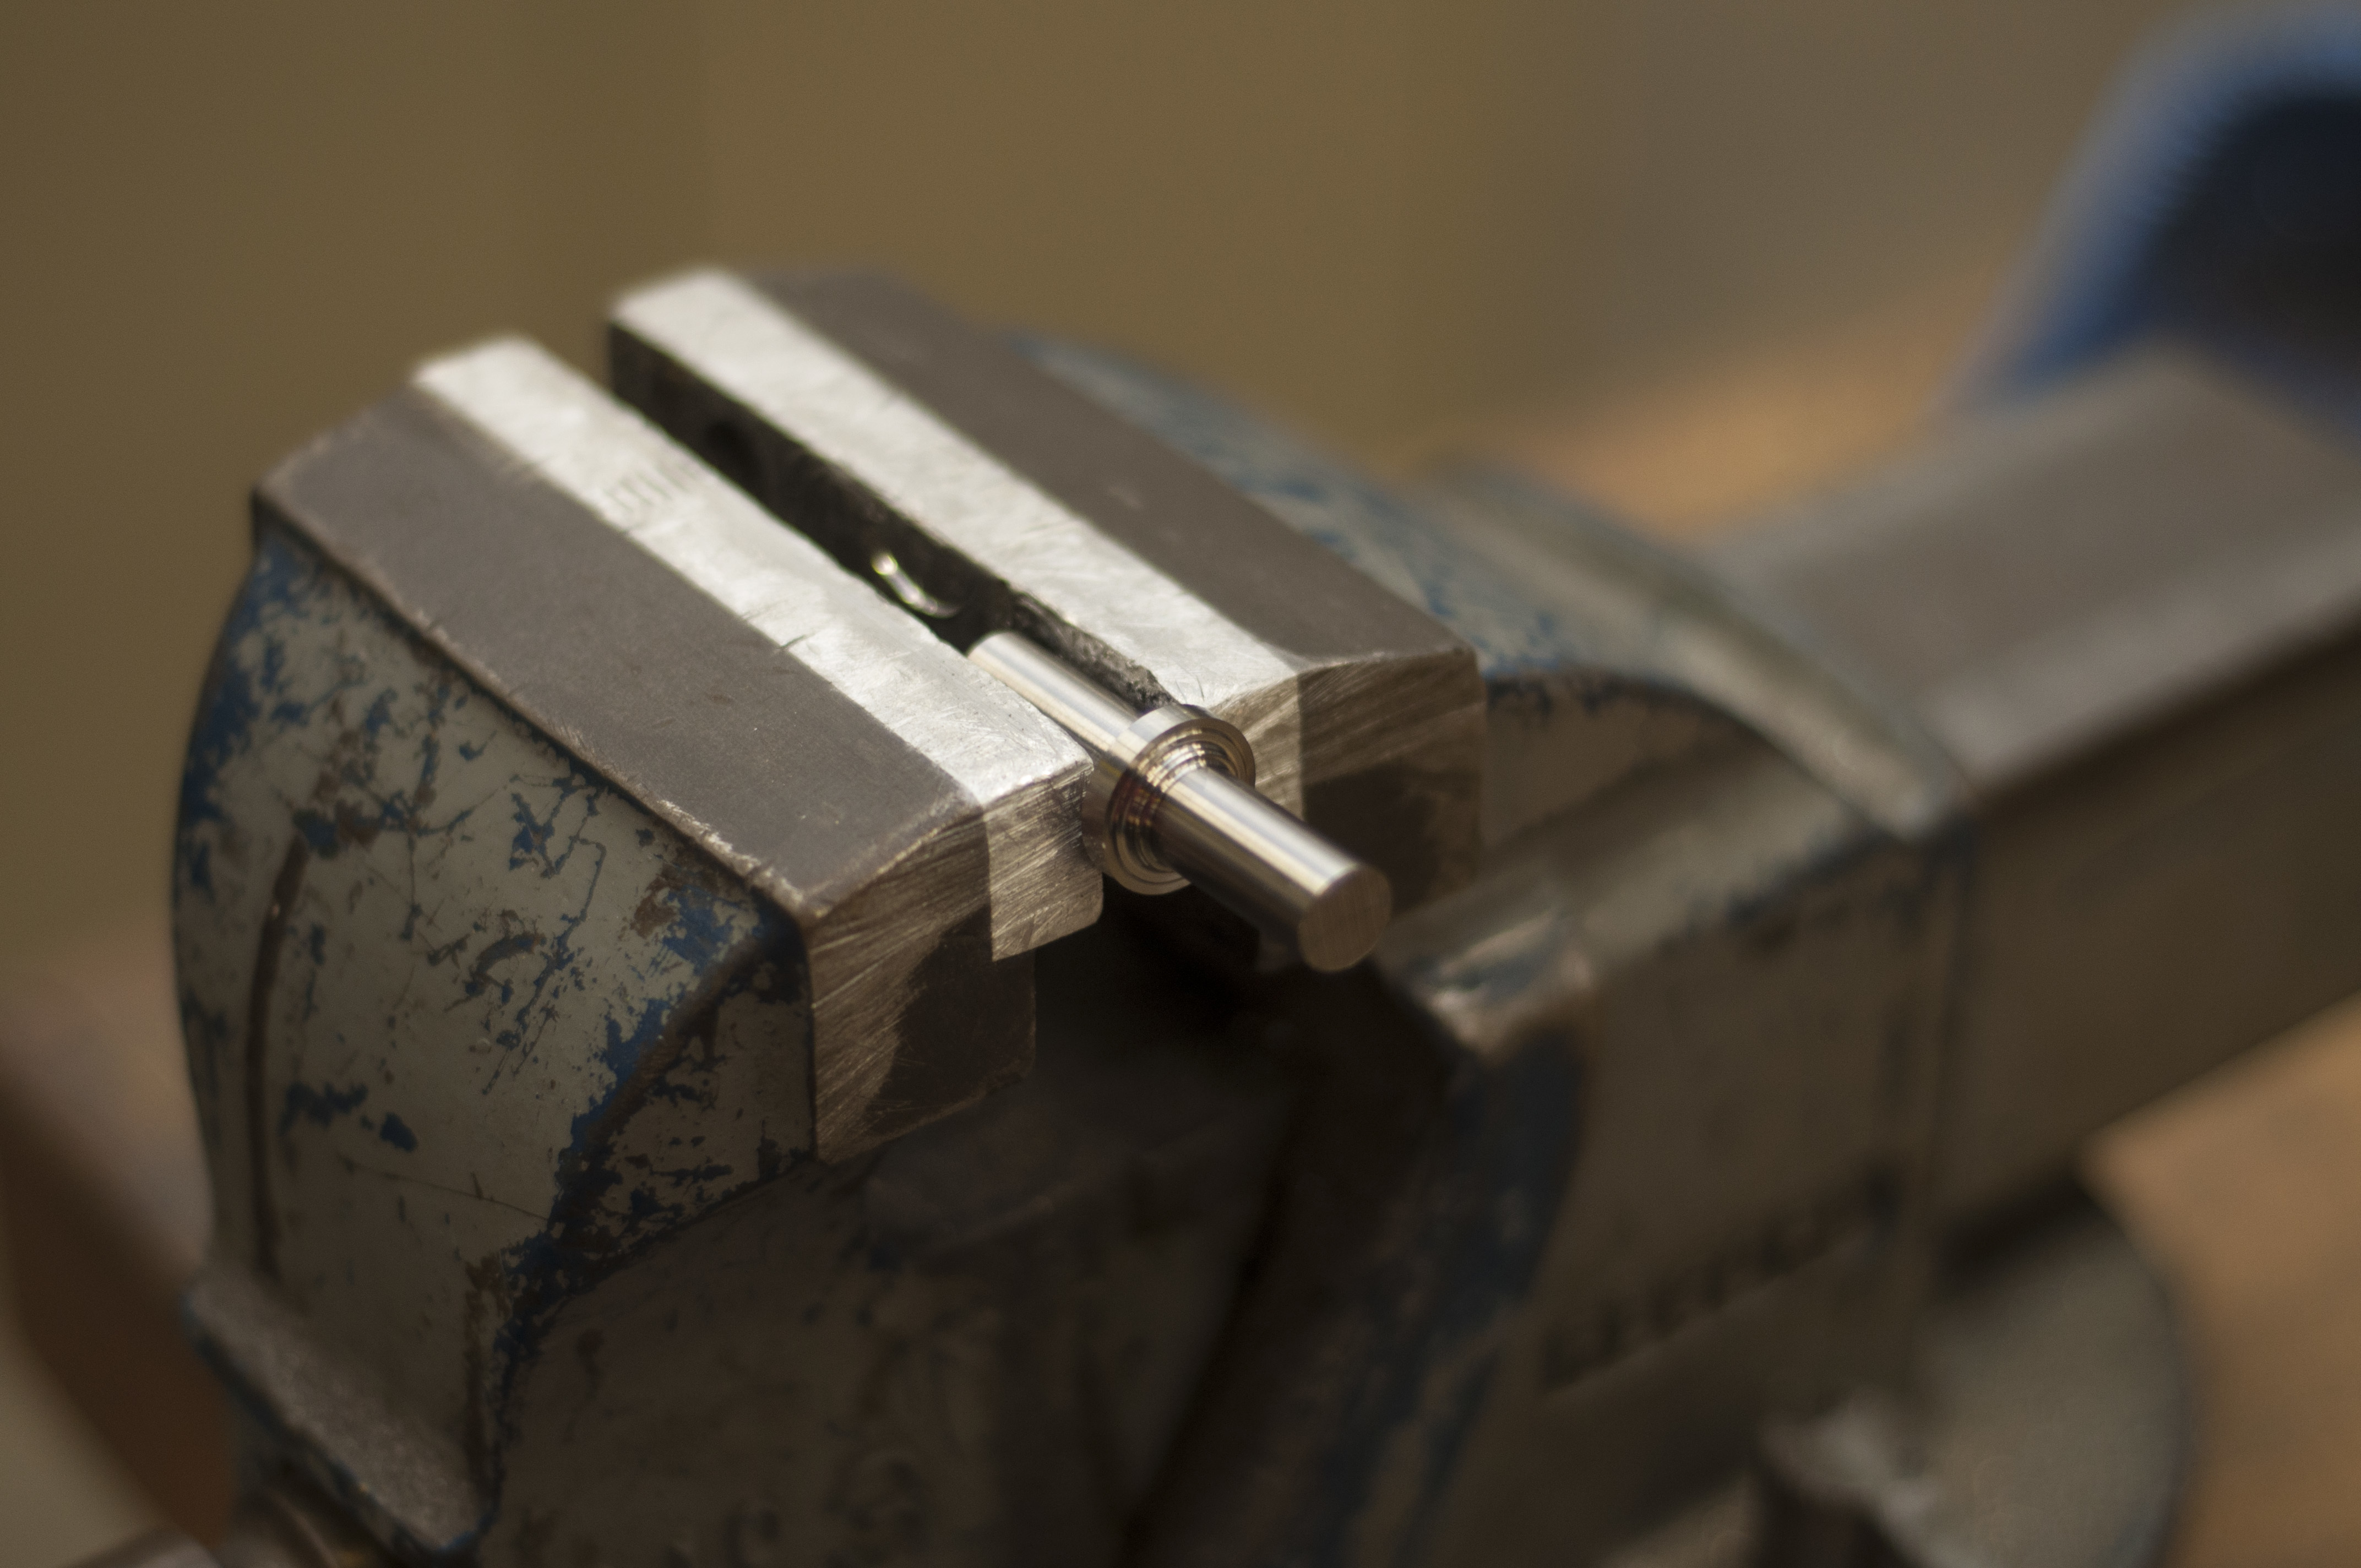
As per the intro, this is where I brought the diameter of the bit around the ring to the ID, where I should have just brought the whole reachable length to the OD.
Ah well, I flipped it around…
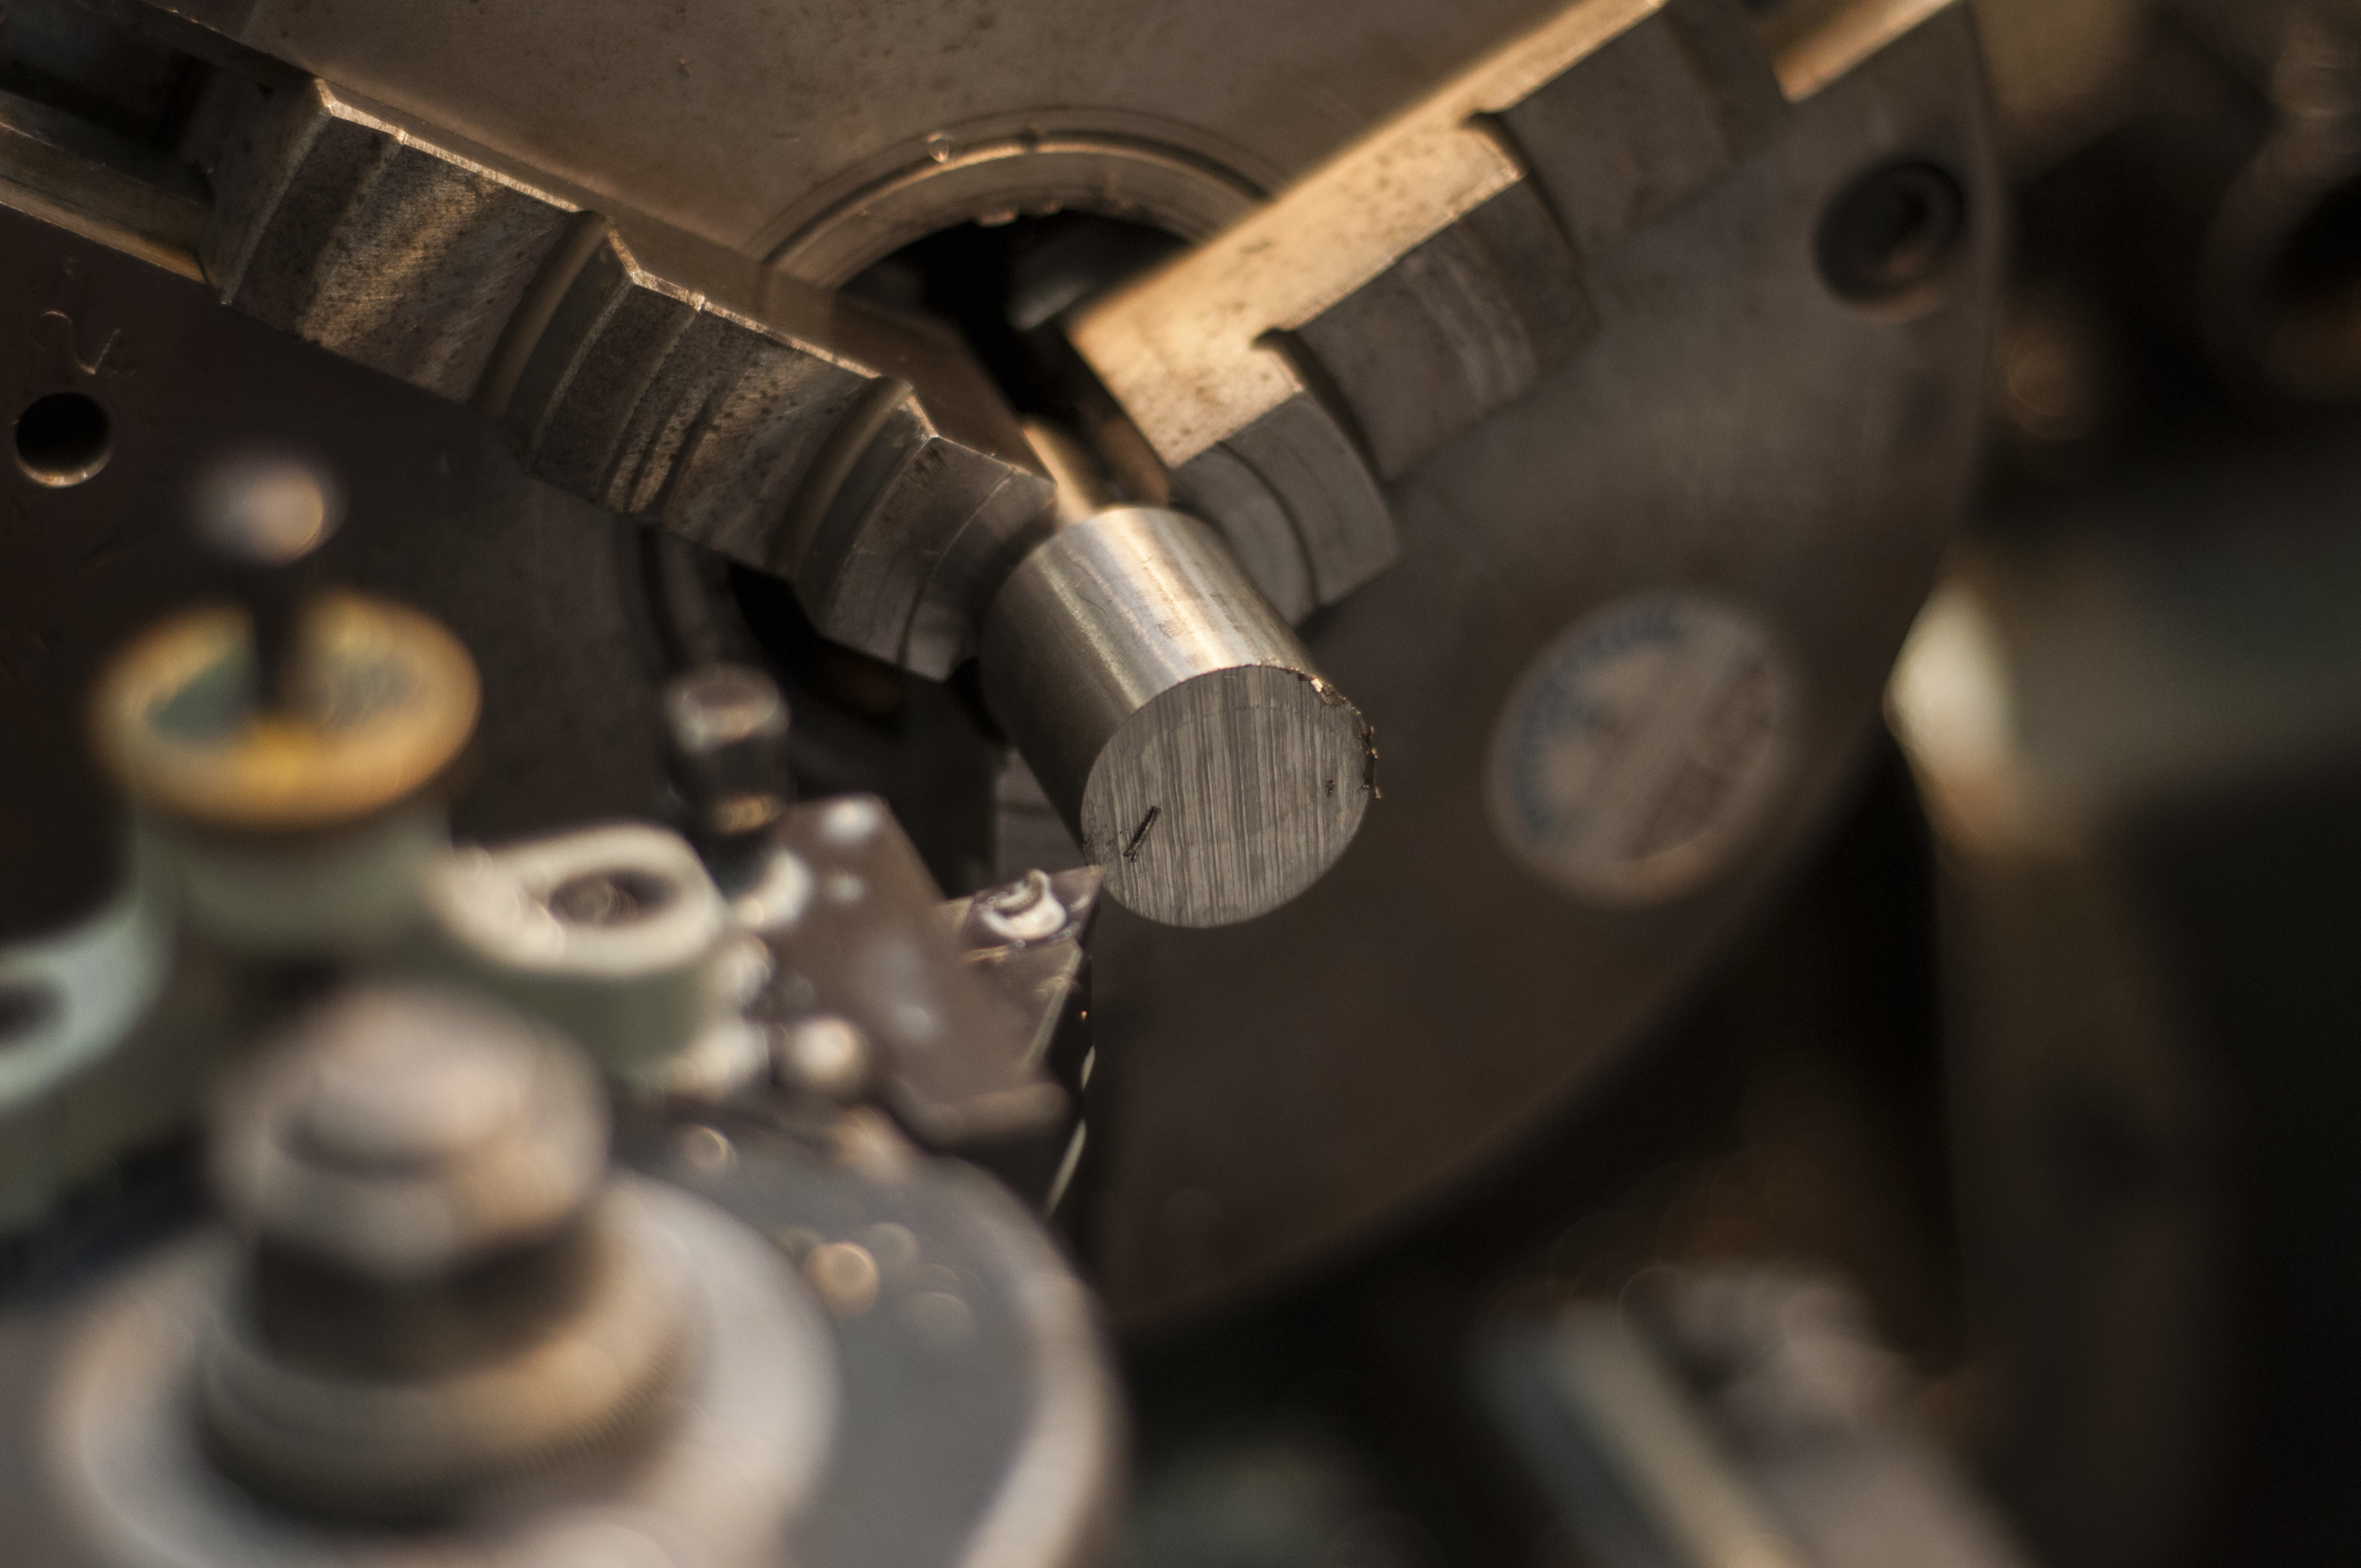
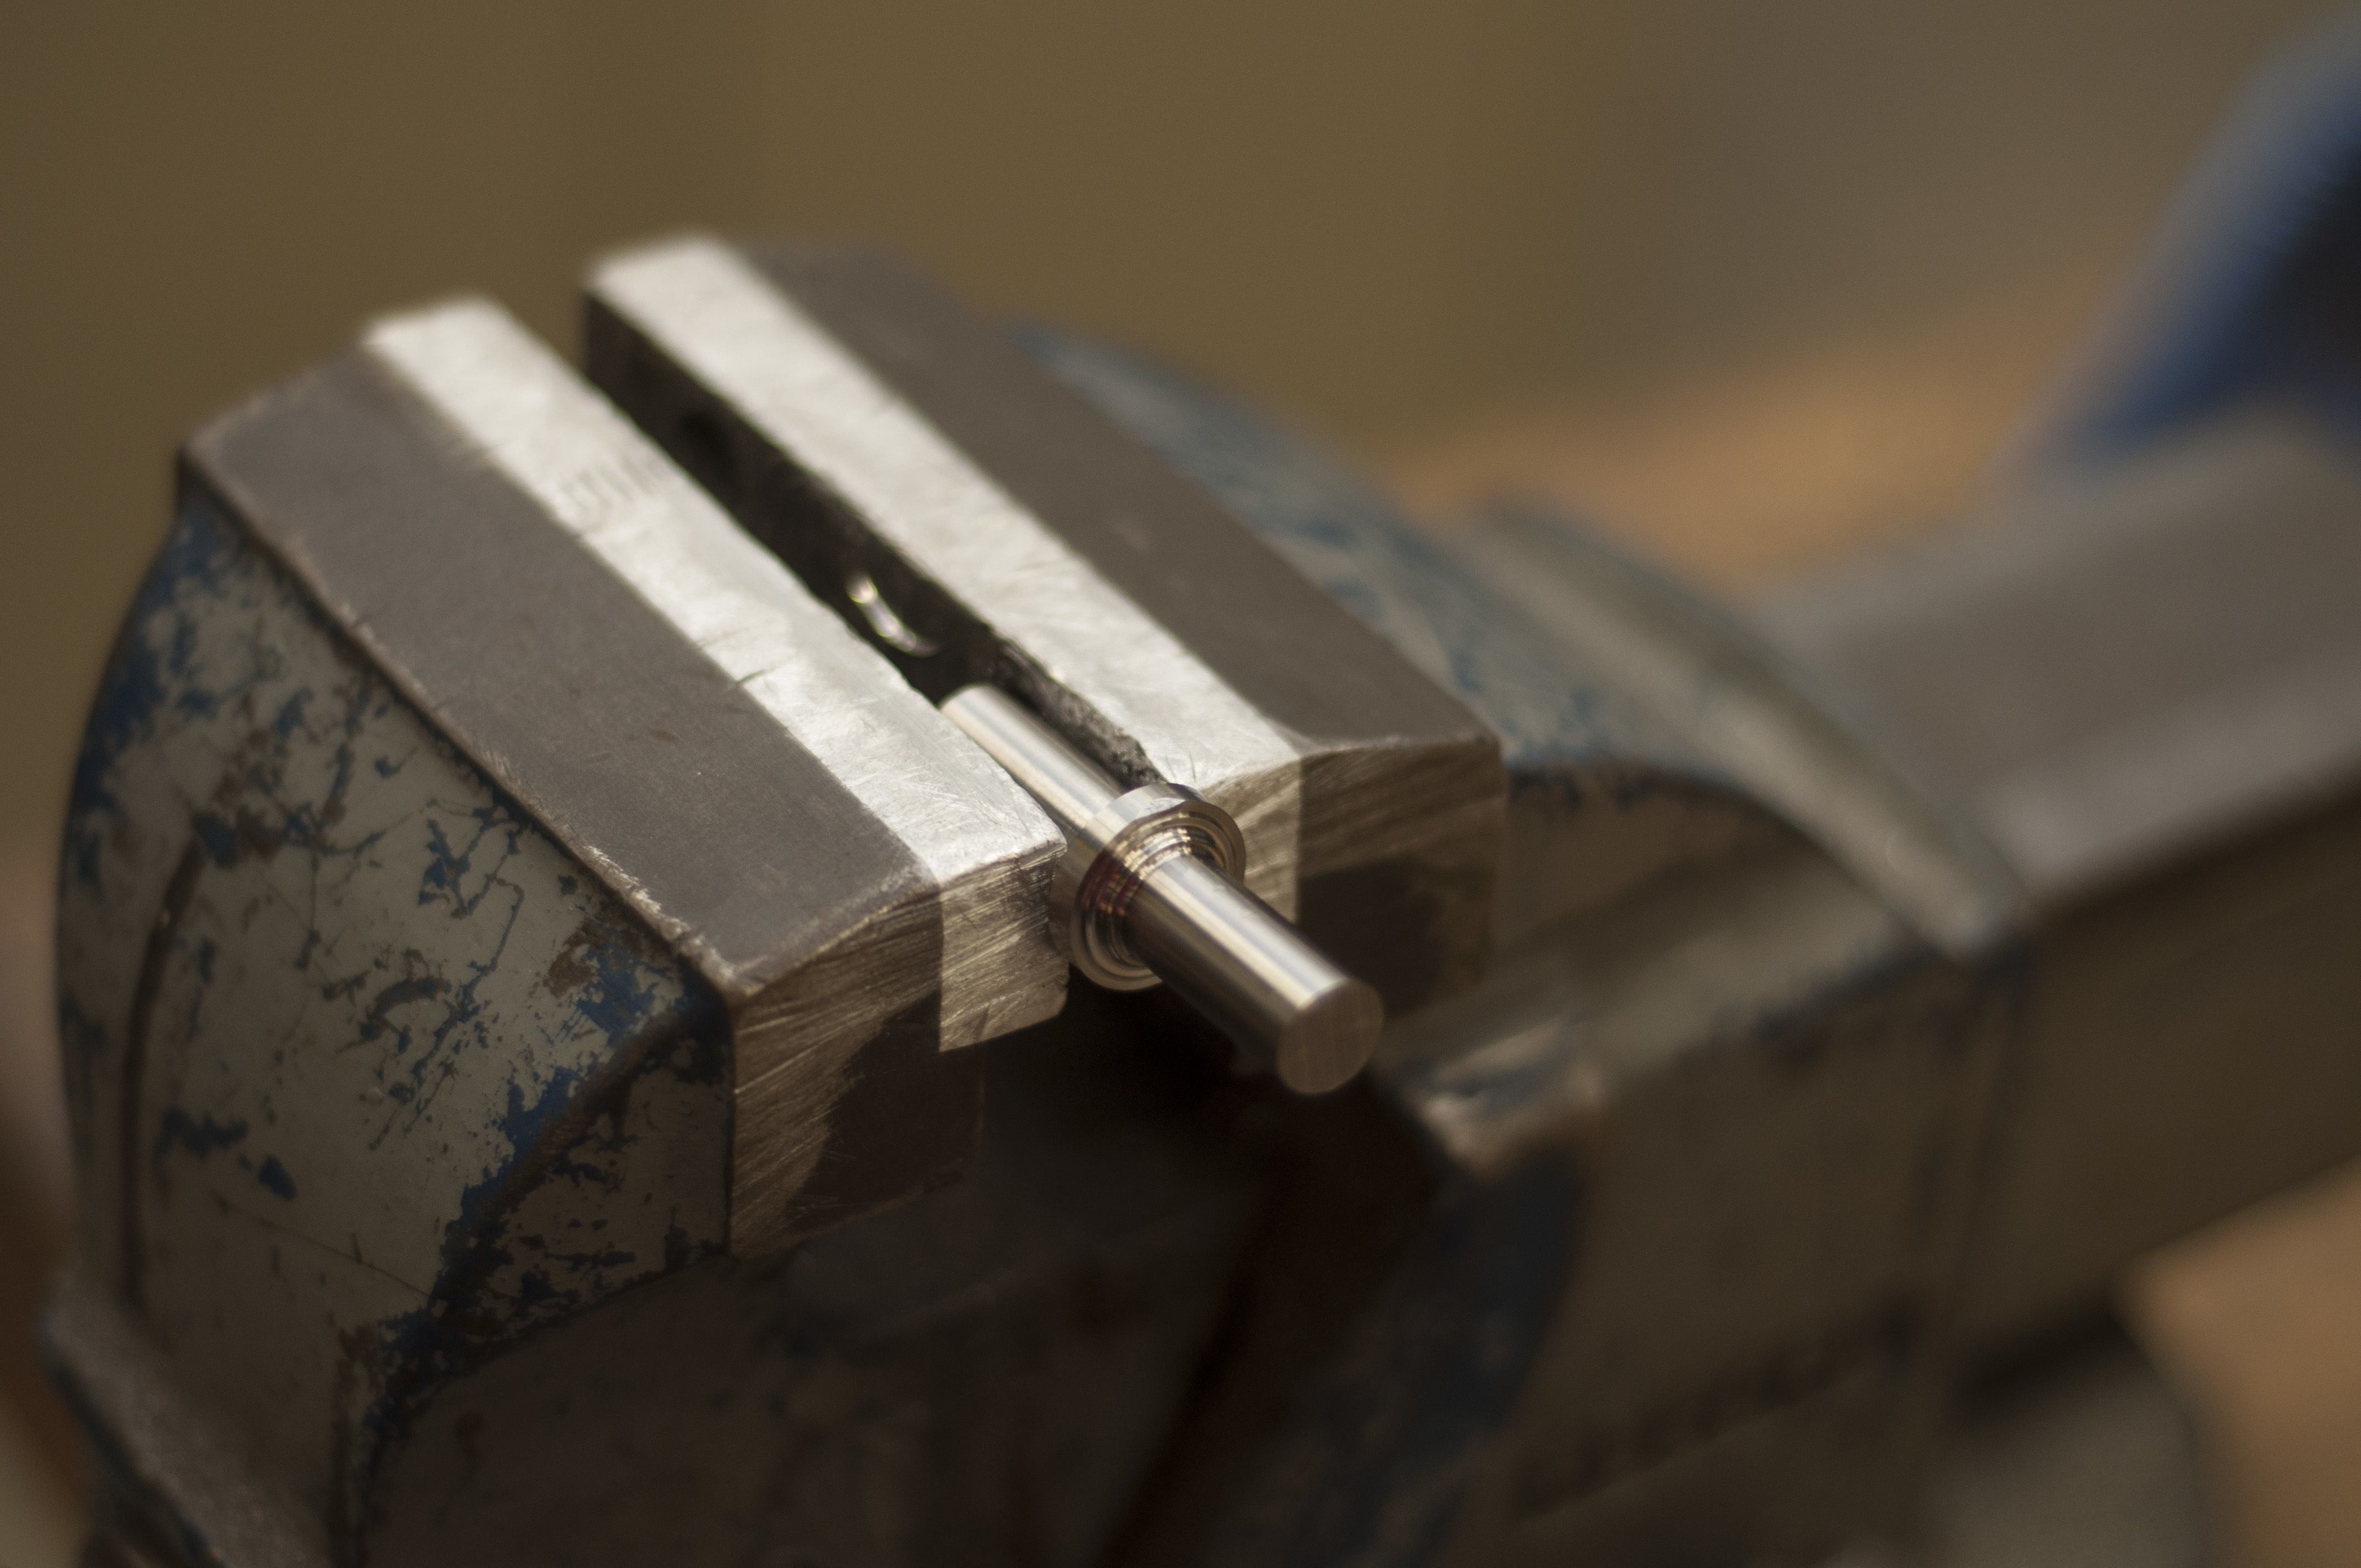
And cut the extended width to the ID again.
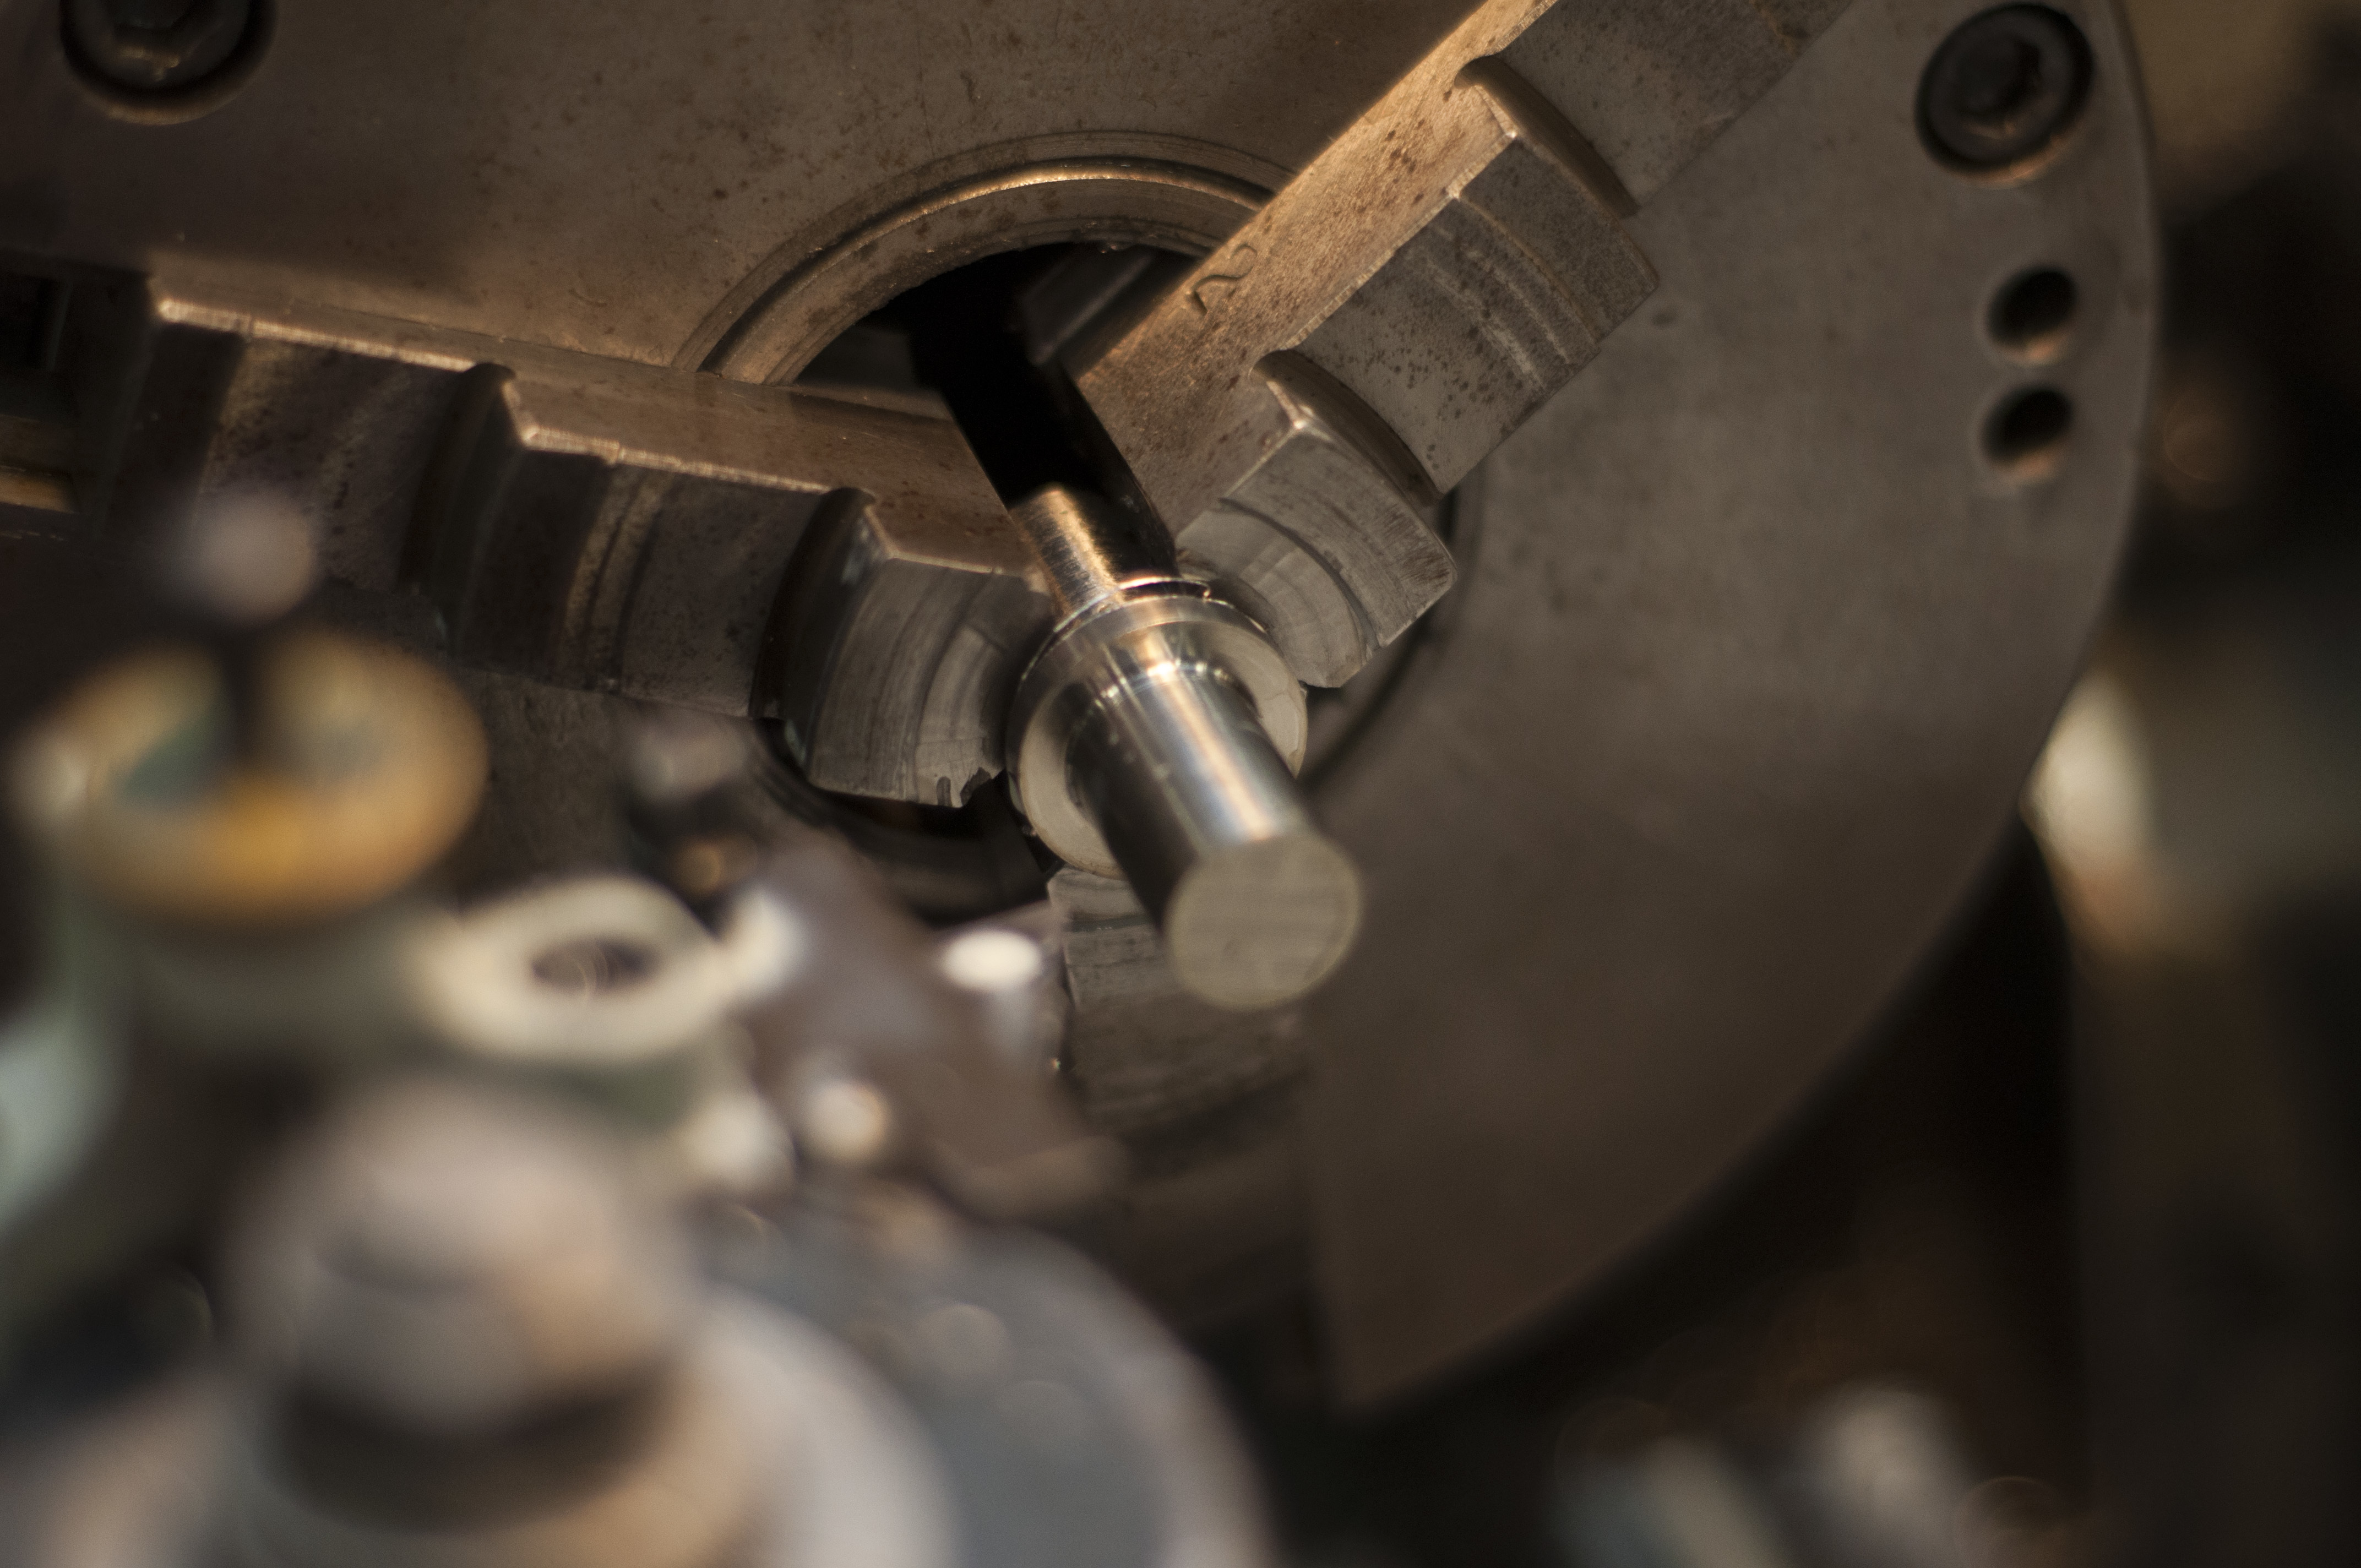
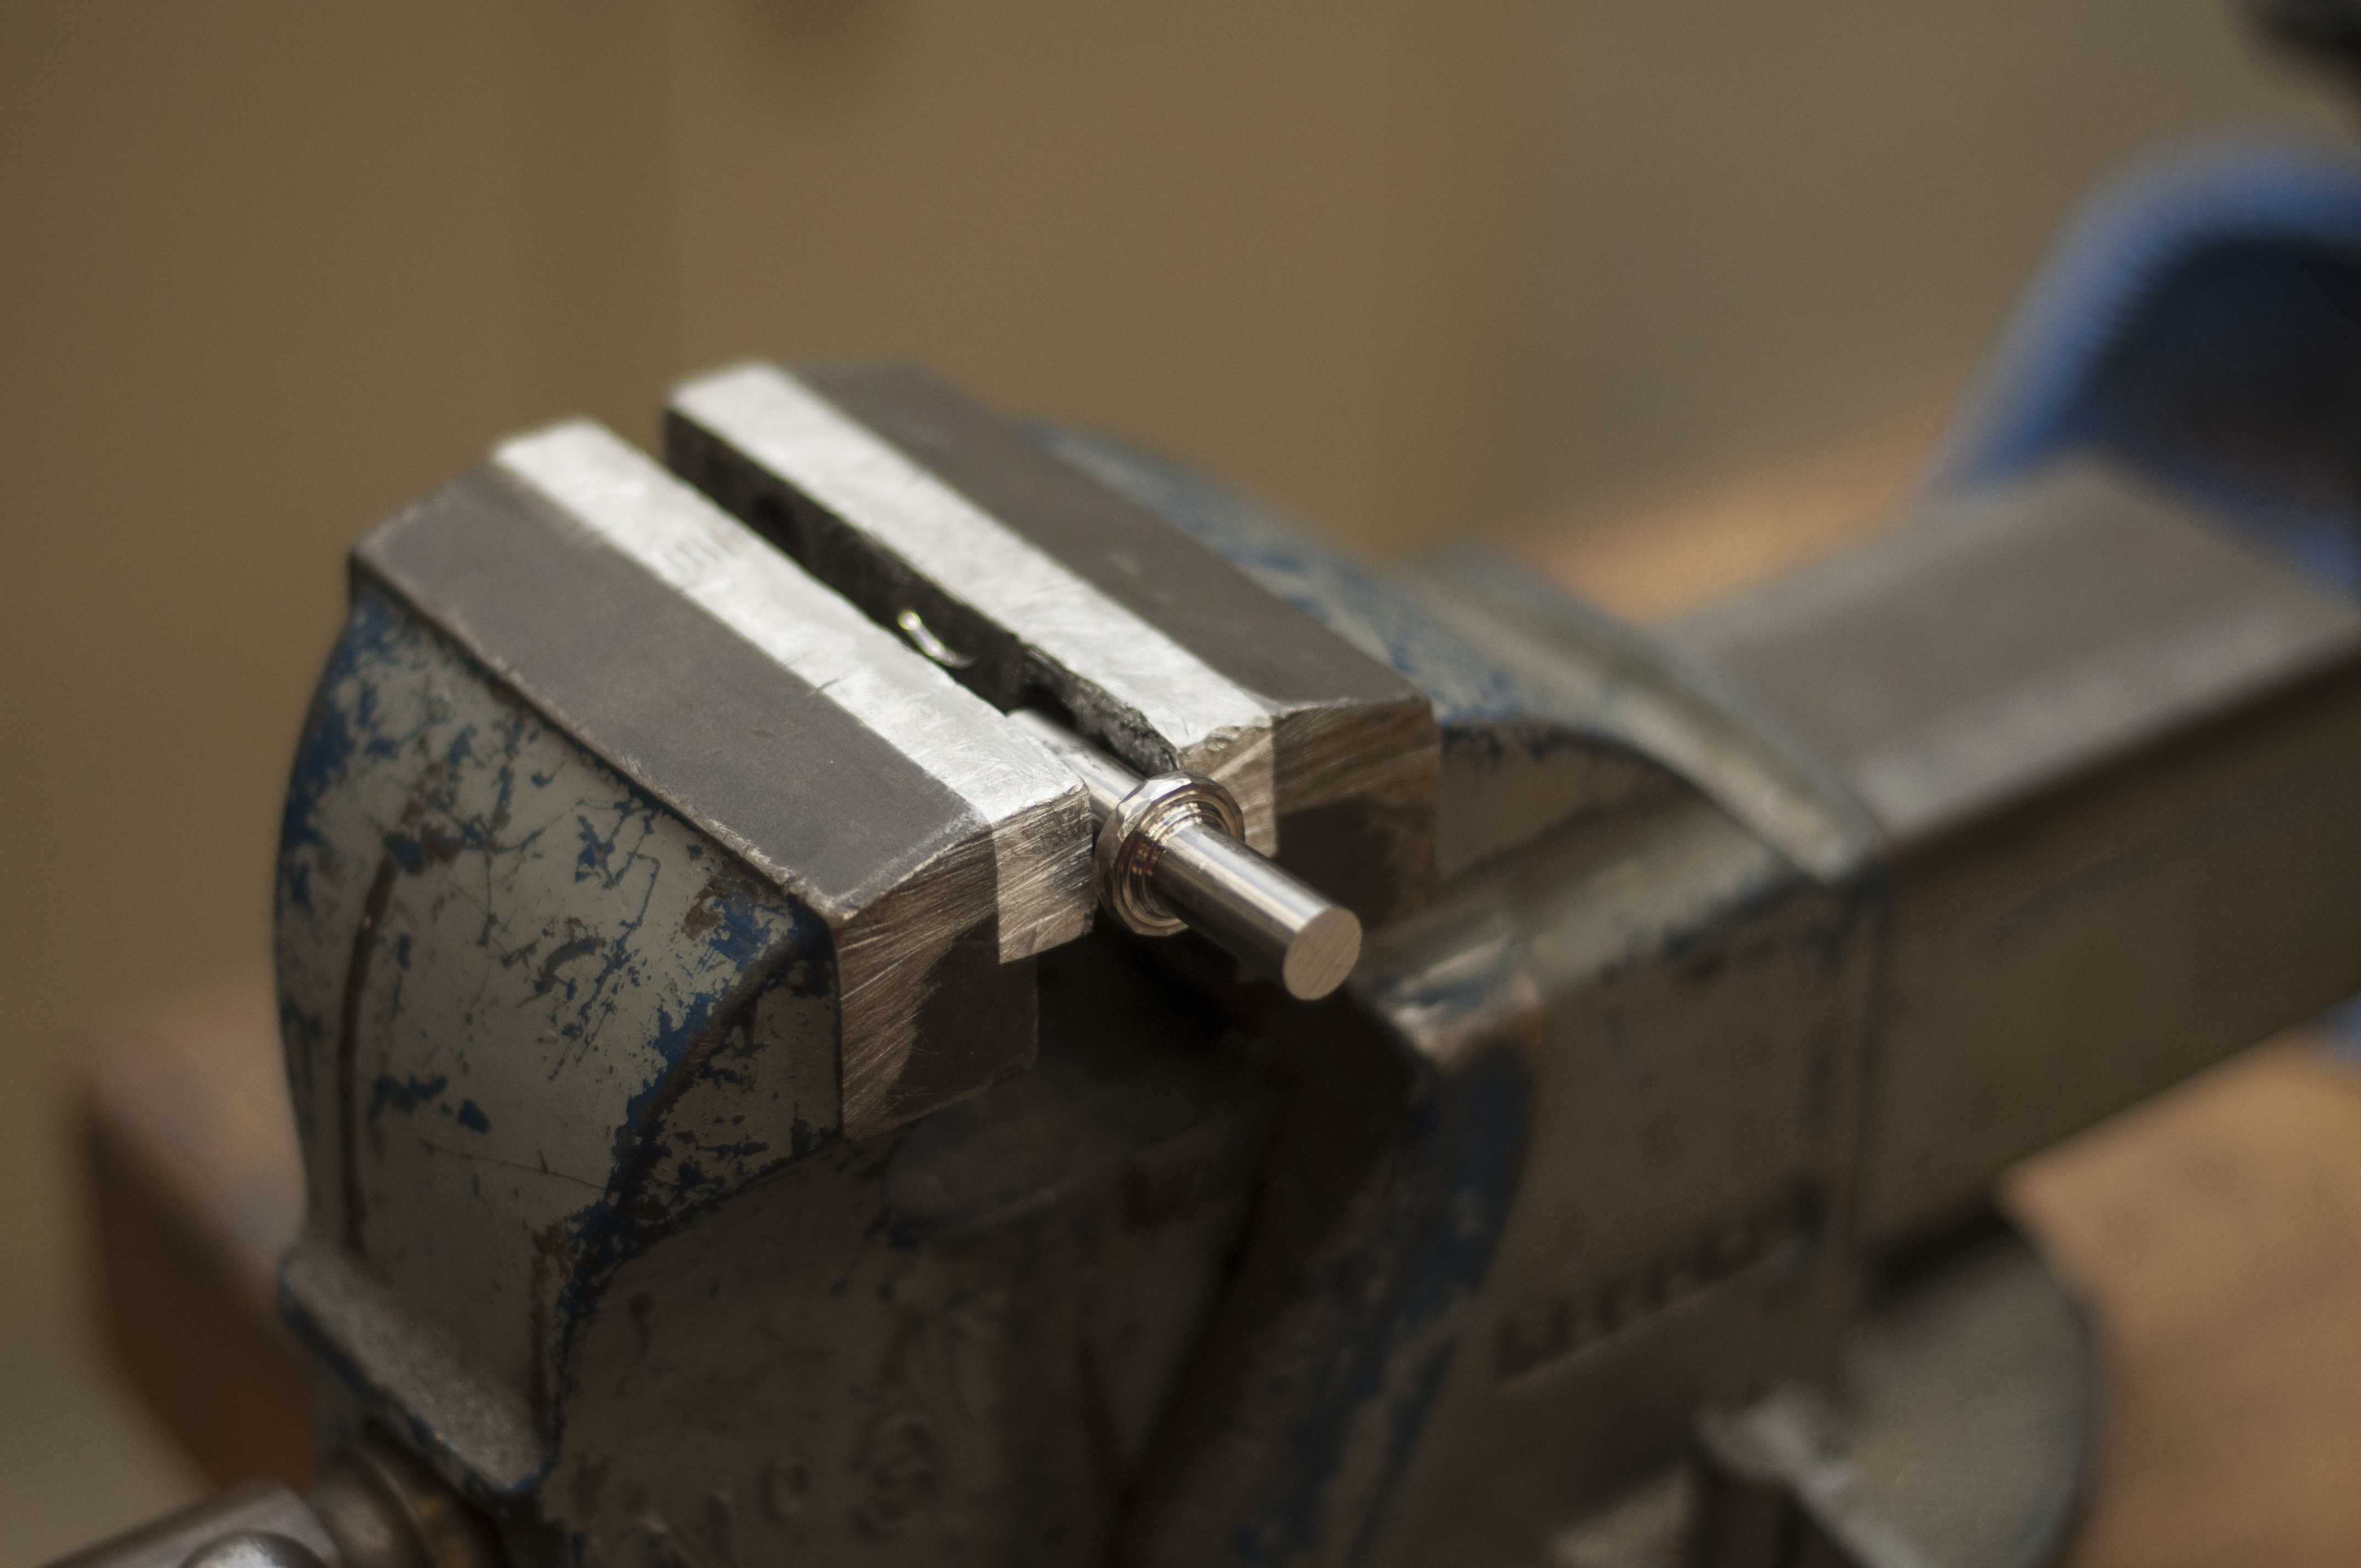
Then, I brought the ring to the desired OD…
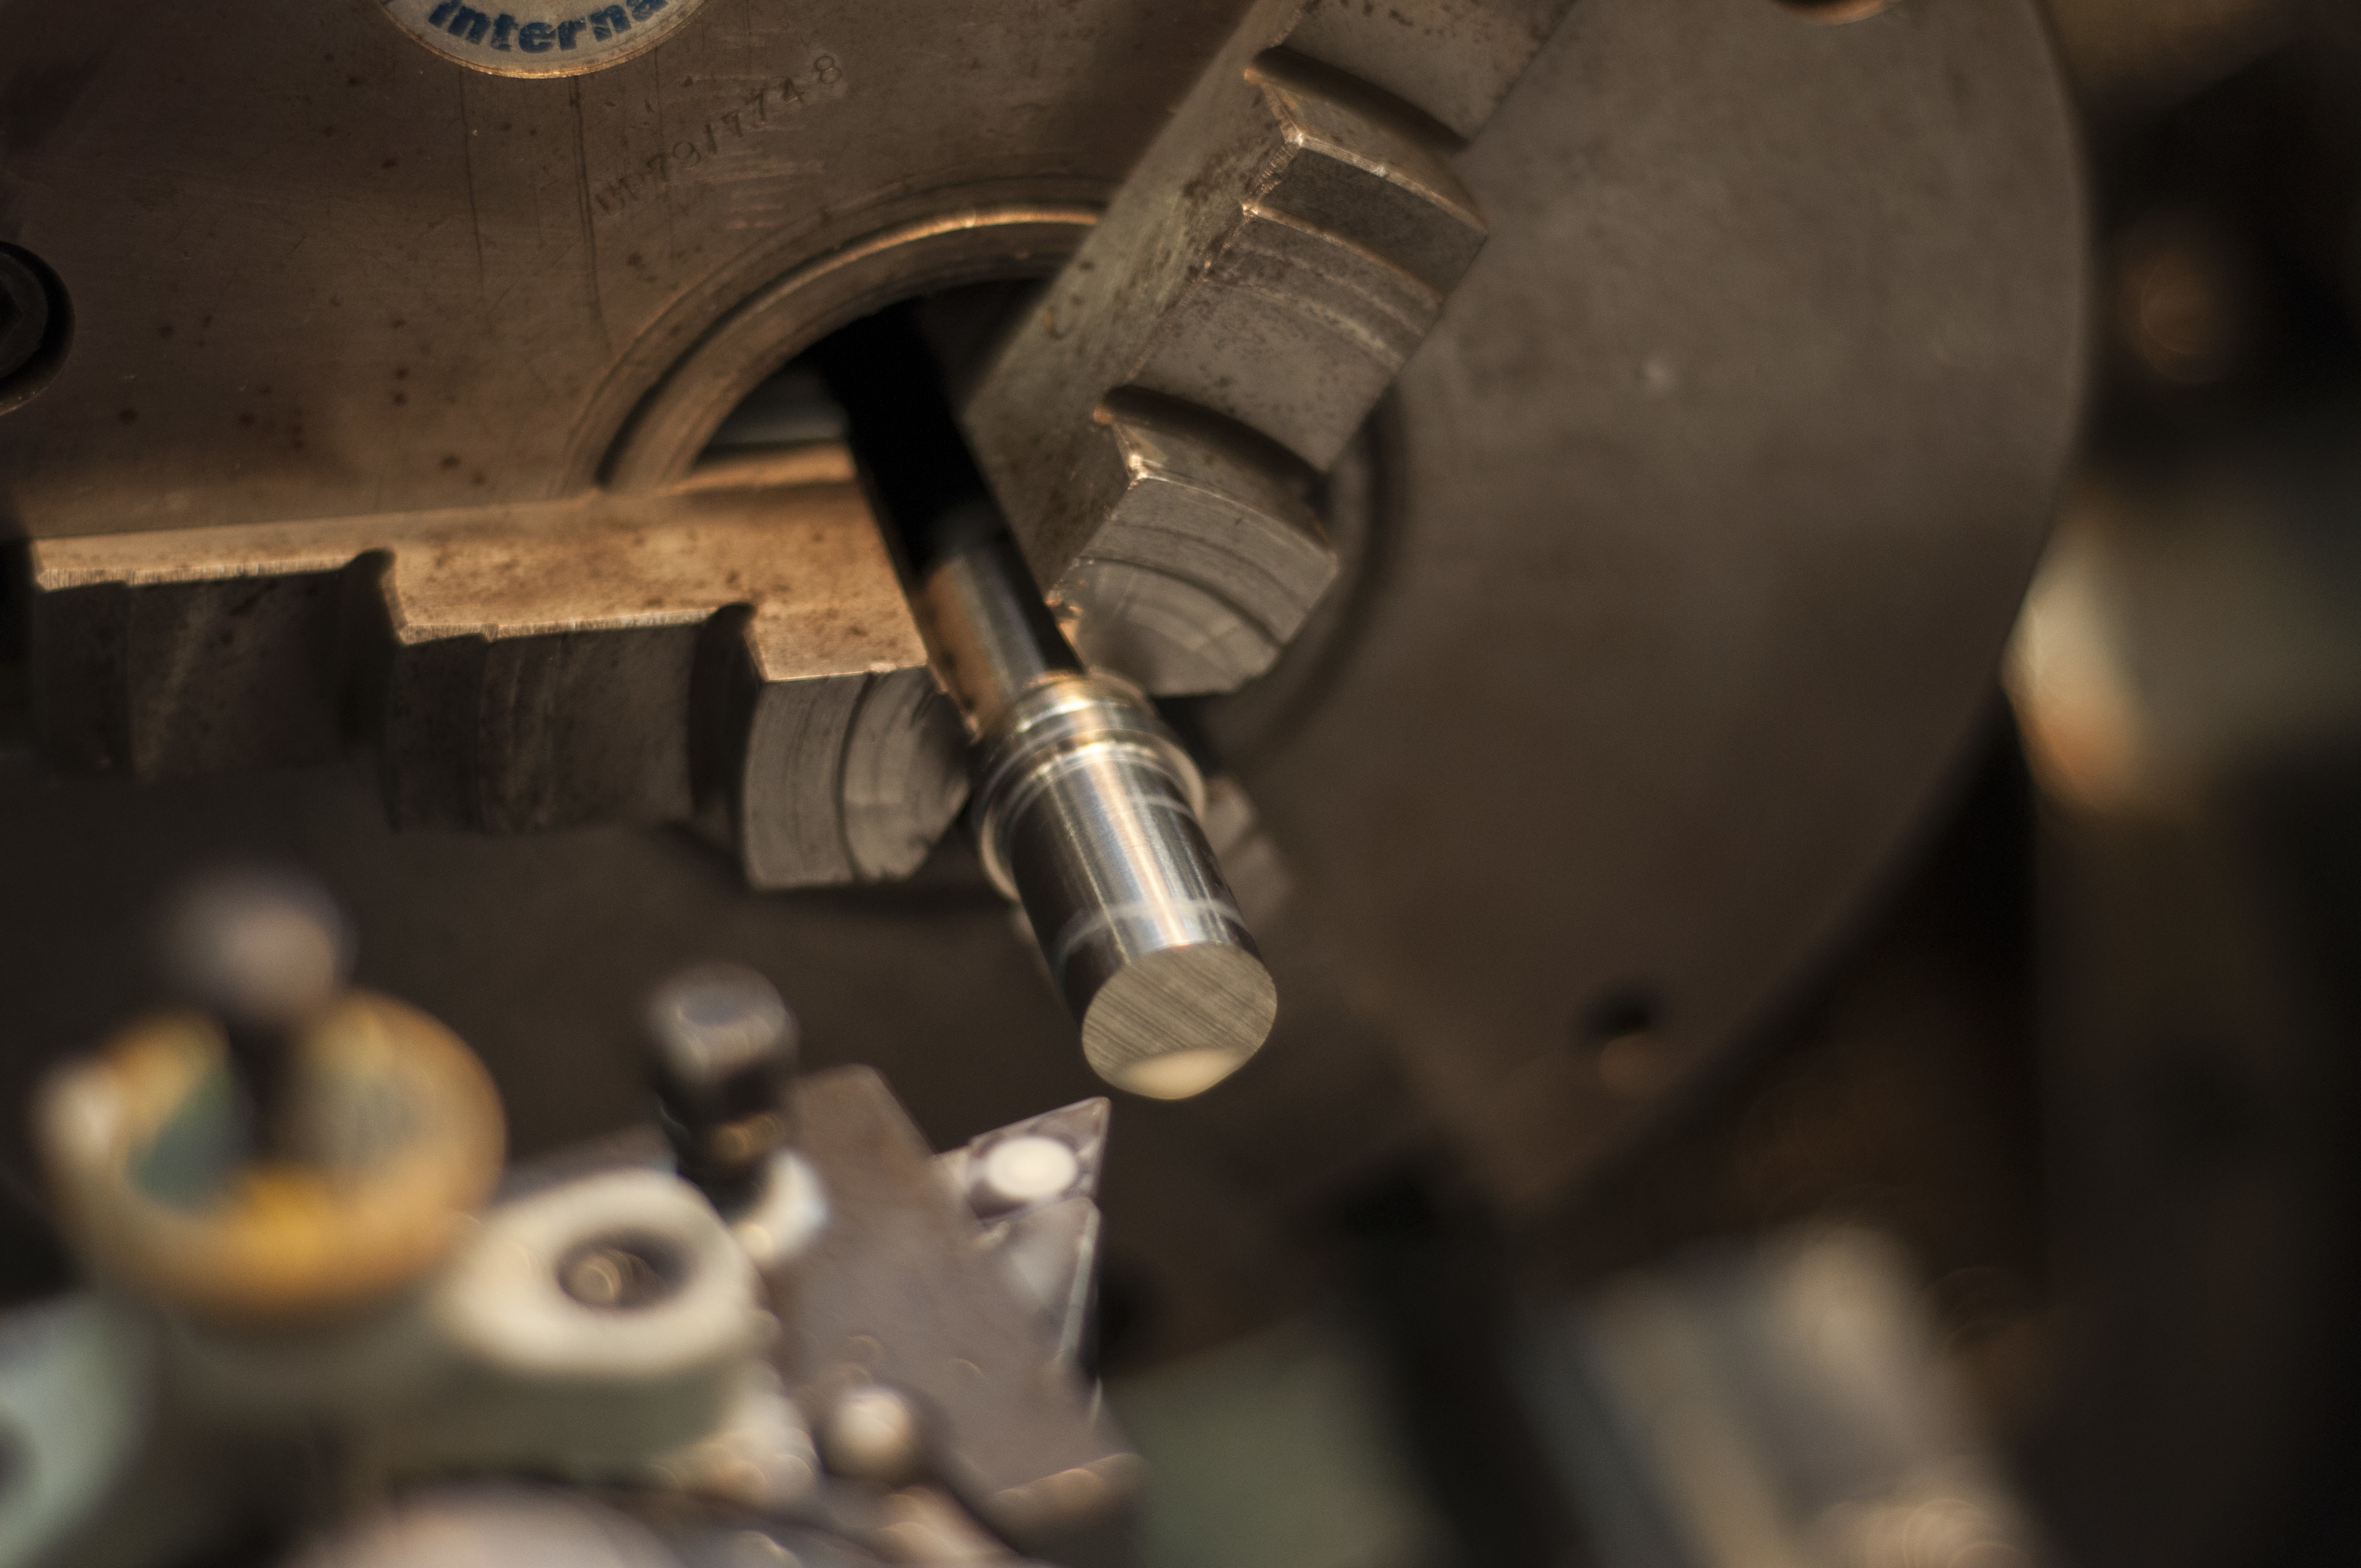
…and realized I needed to take off more width off the extended bits in order to have enough space to hammer the outside surface properly.
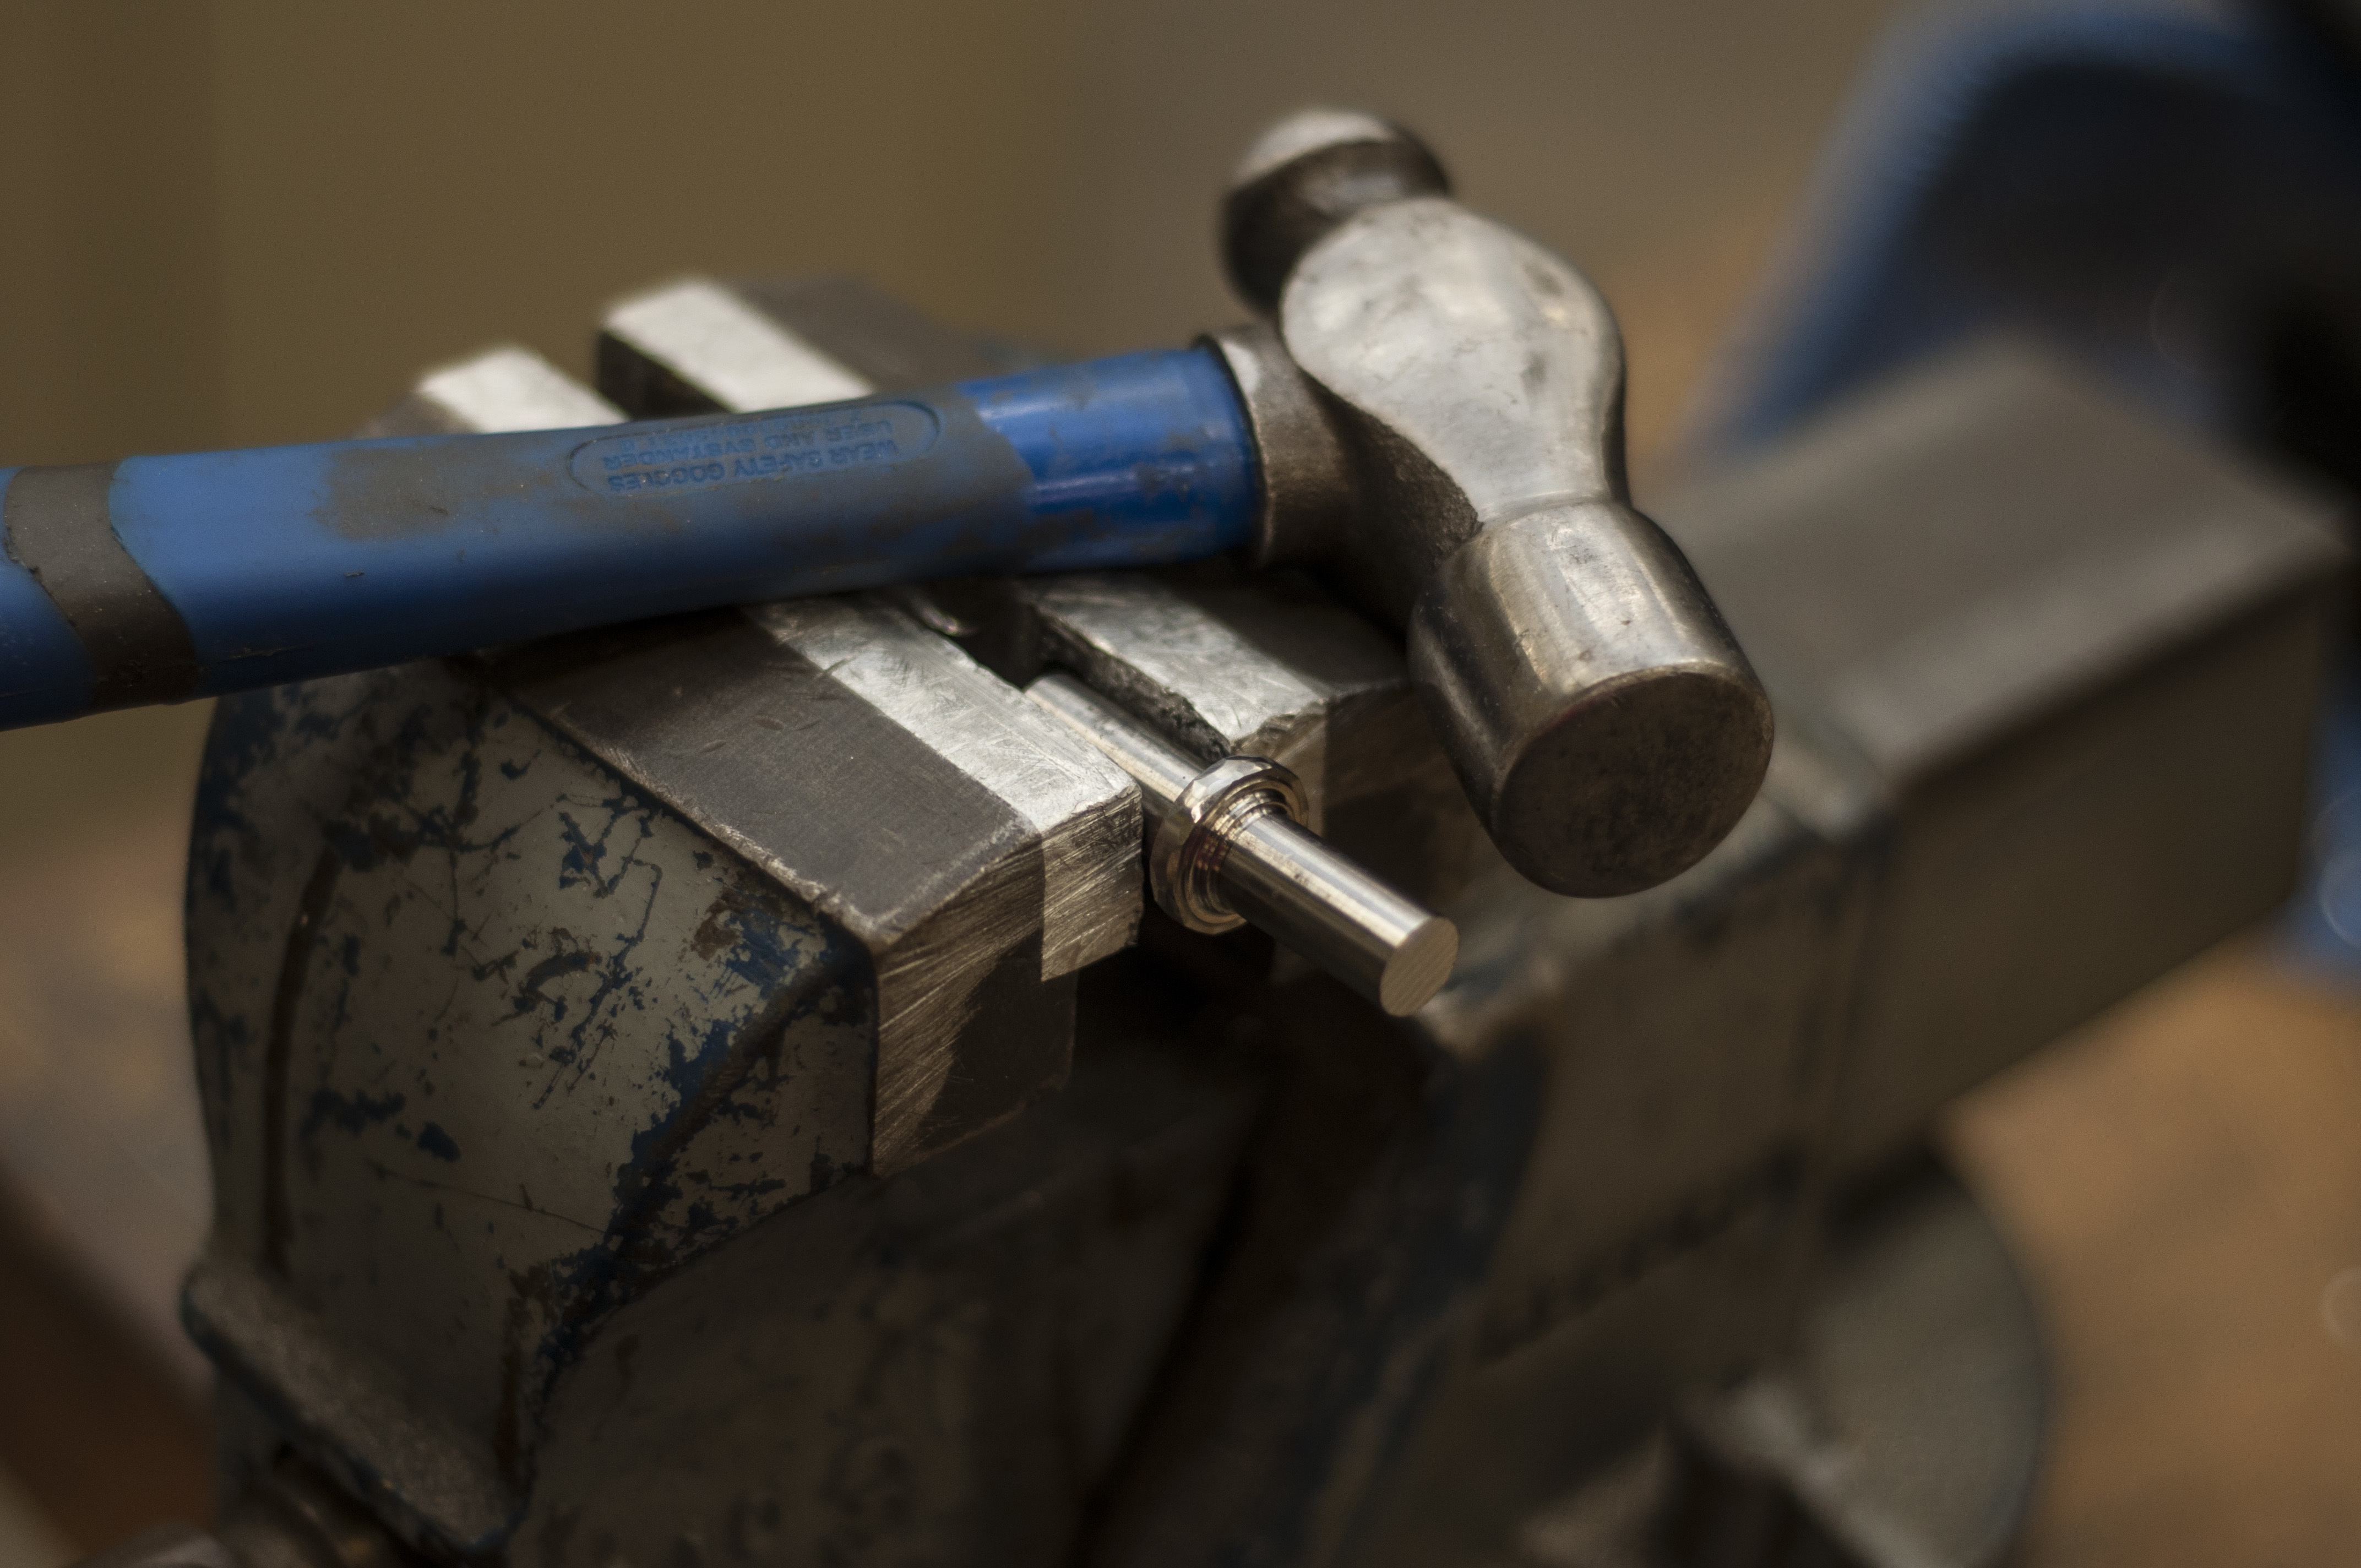
At last, ready to hammer!
In the vice…
First hammer mark made!
Rest of the hammer marks made!
Note: when you hammer the edge like this, you’re just compressing the material into a new shape.
You end up with increased ring width near the outer surface, and you can see the stress from the compression when you look at the side of the ring (not visible in these pictures)
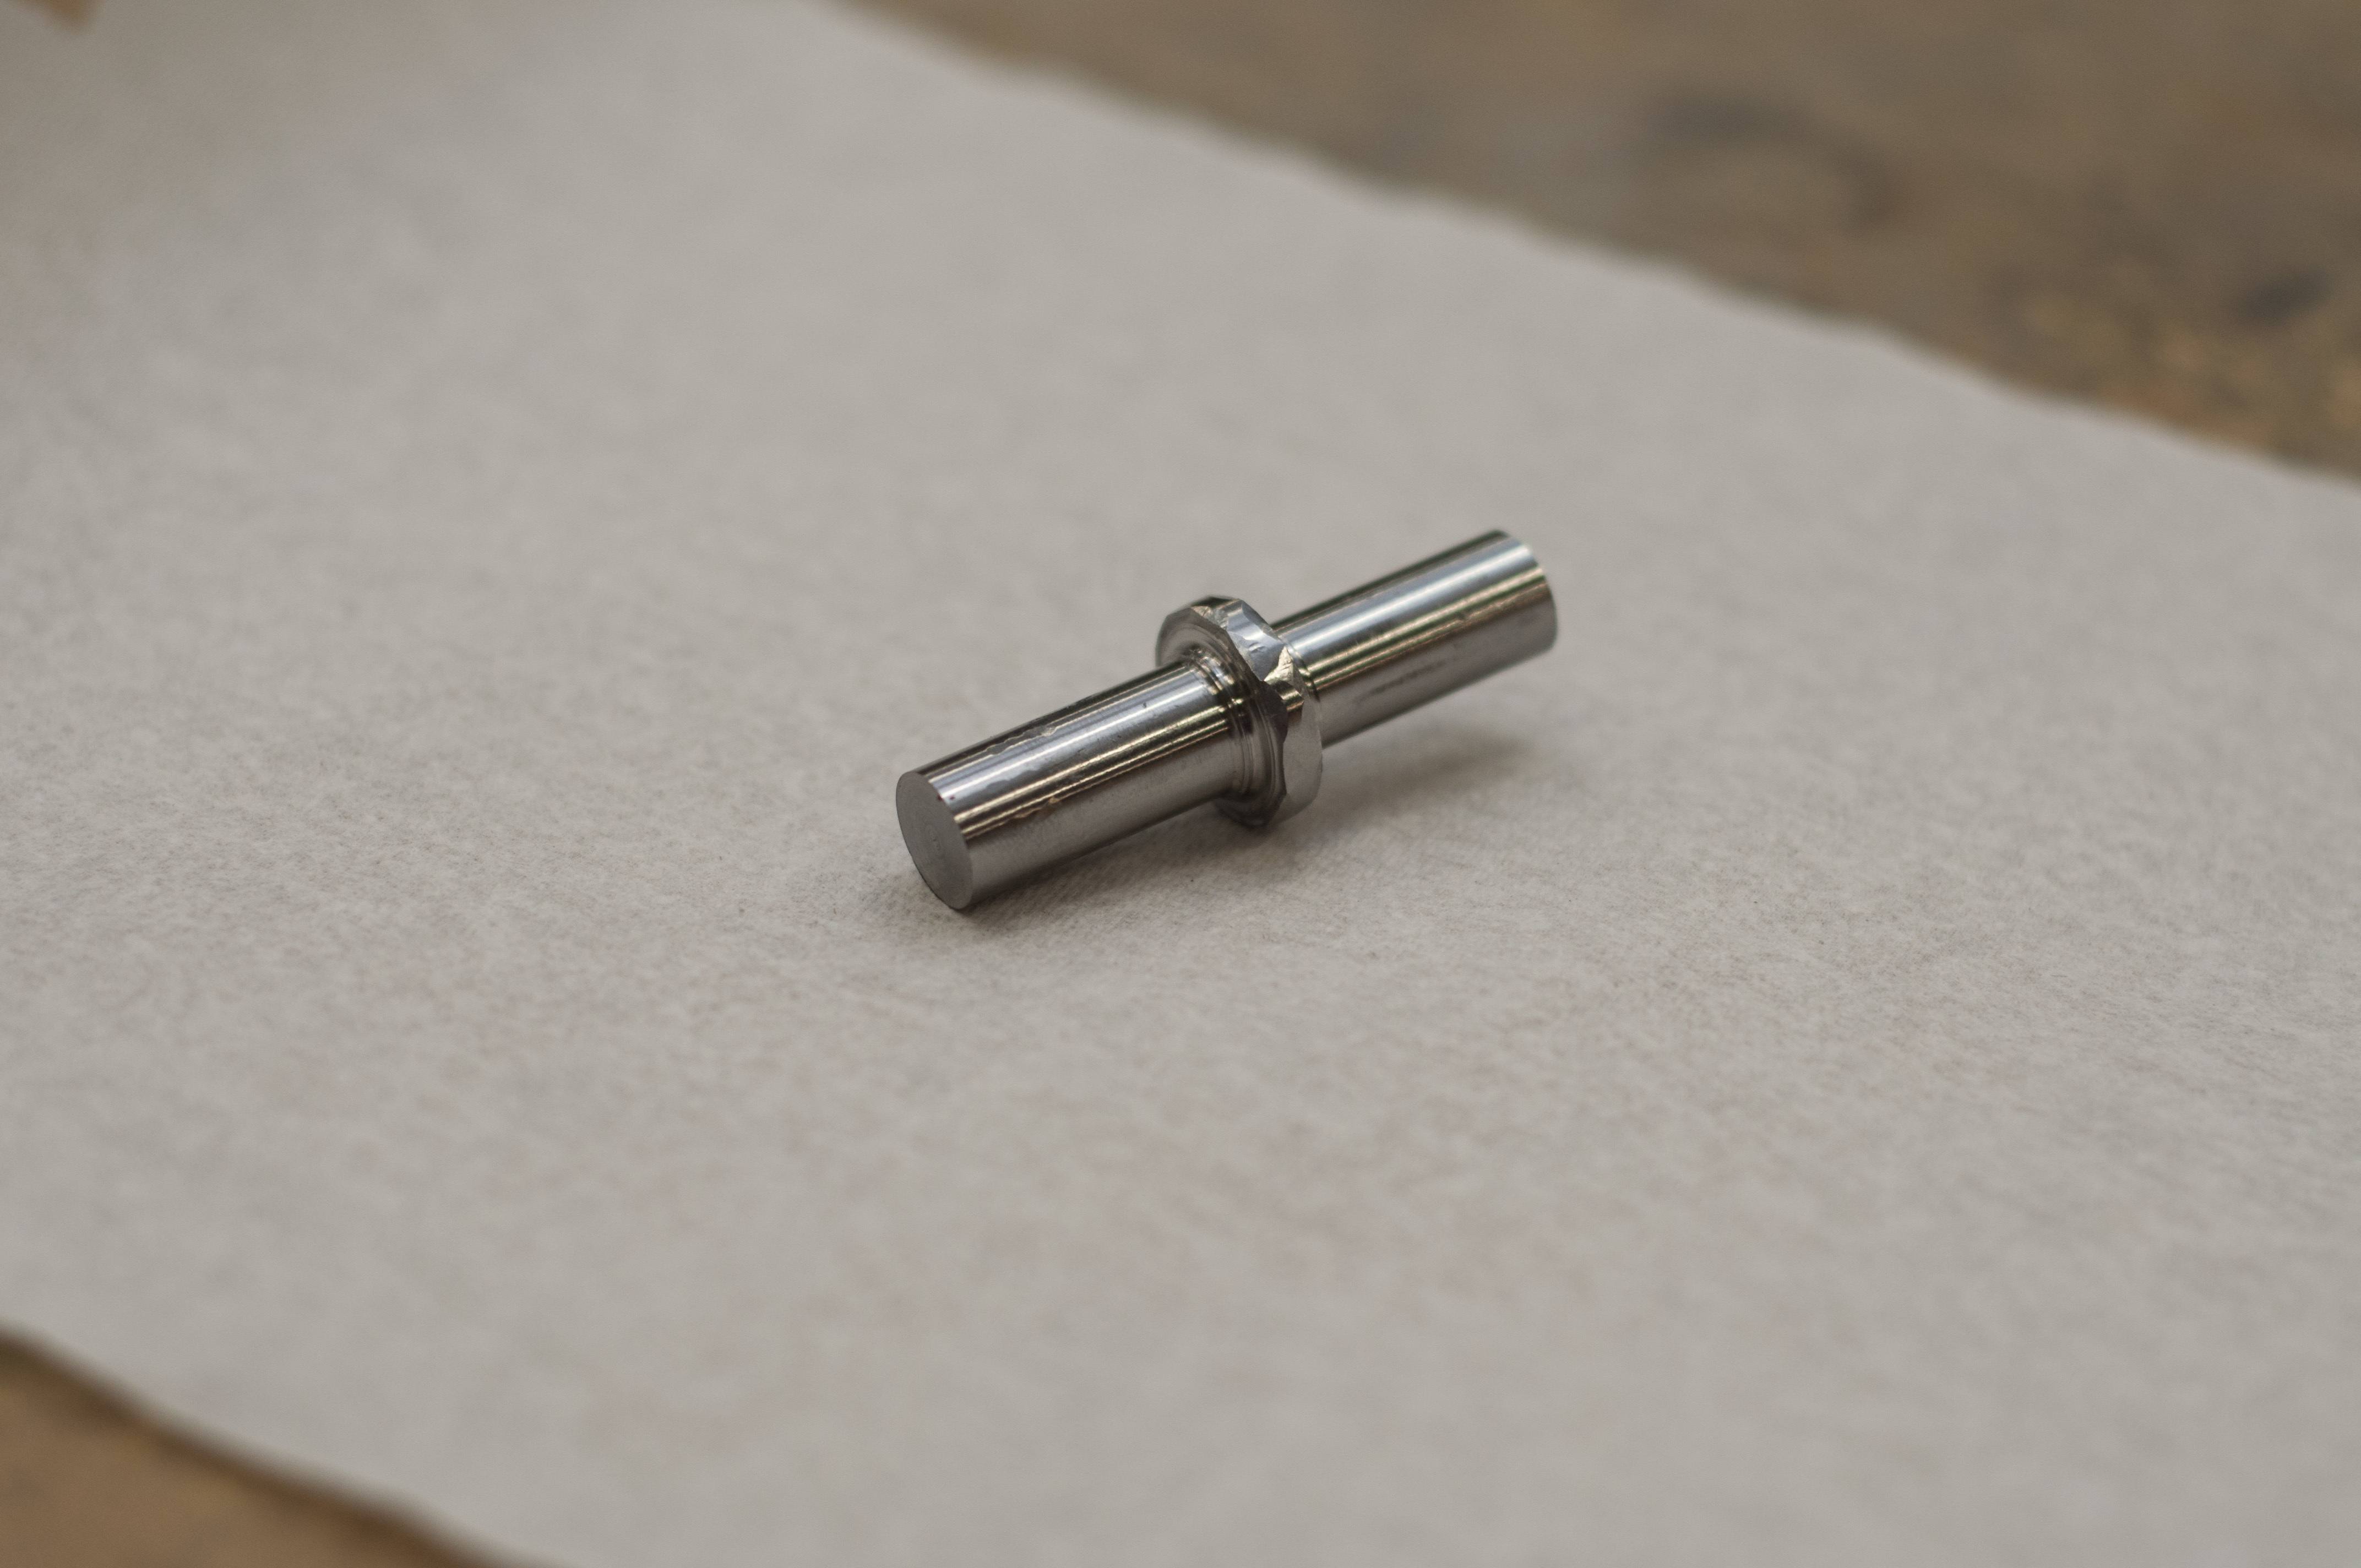
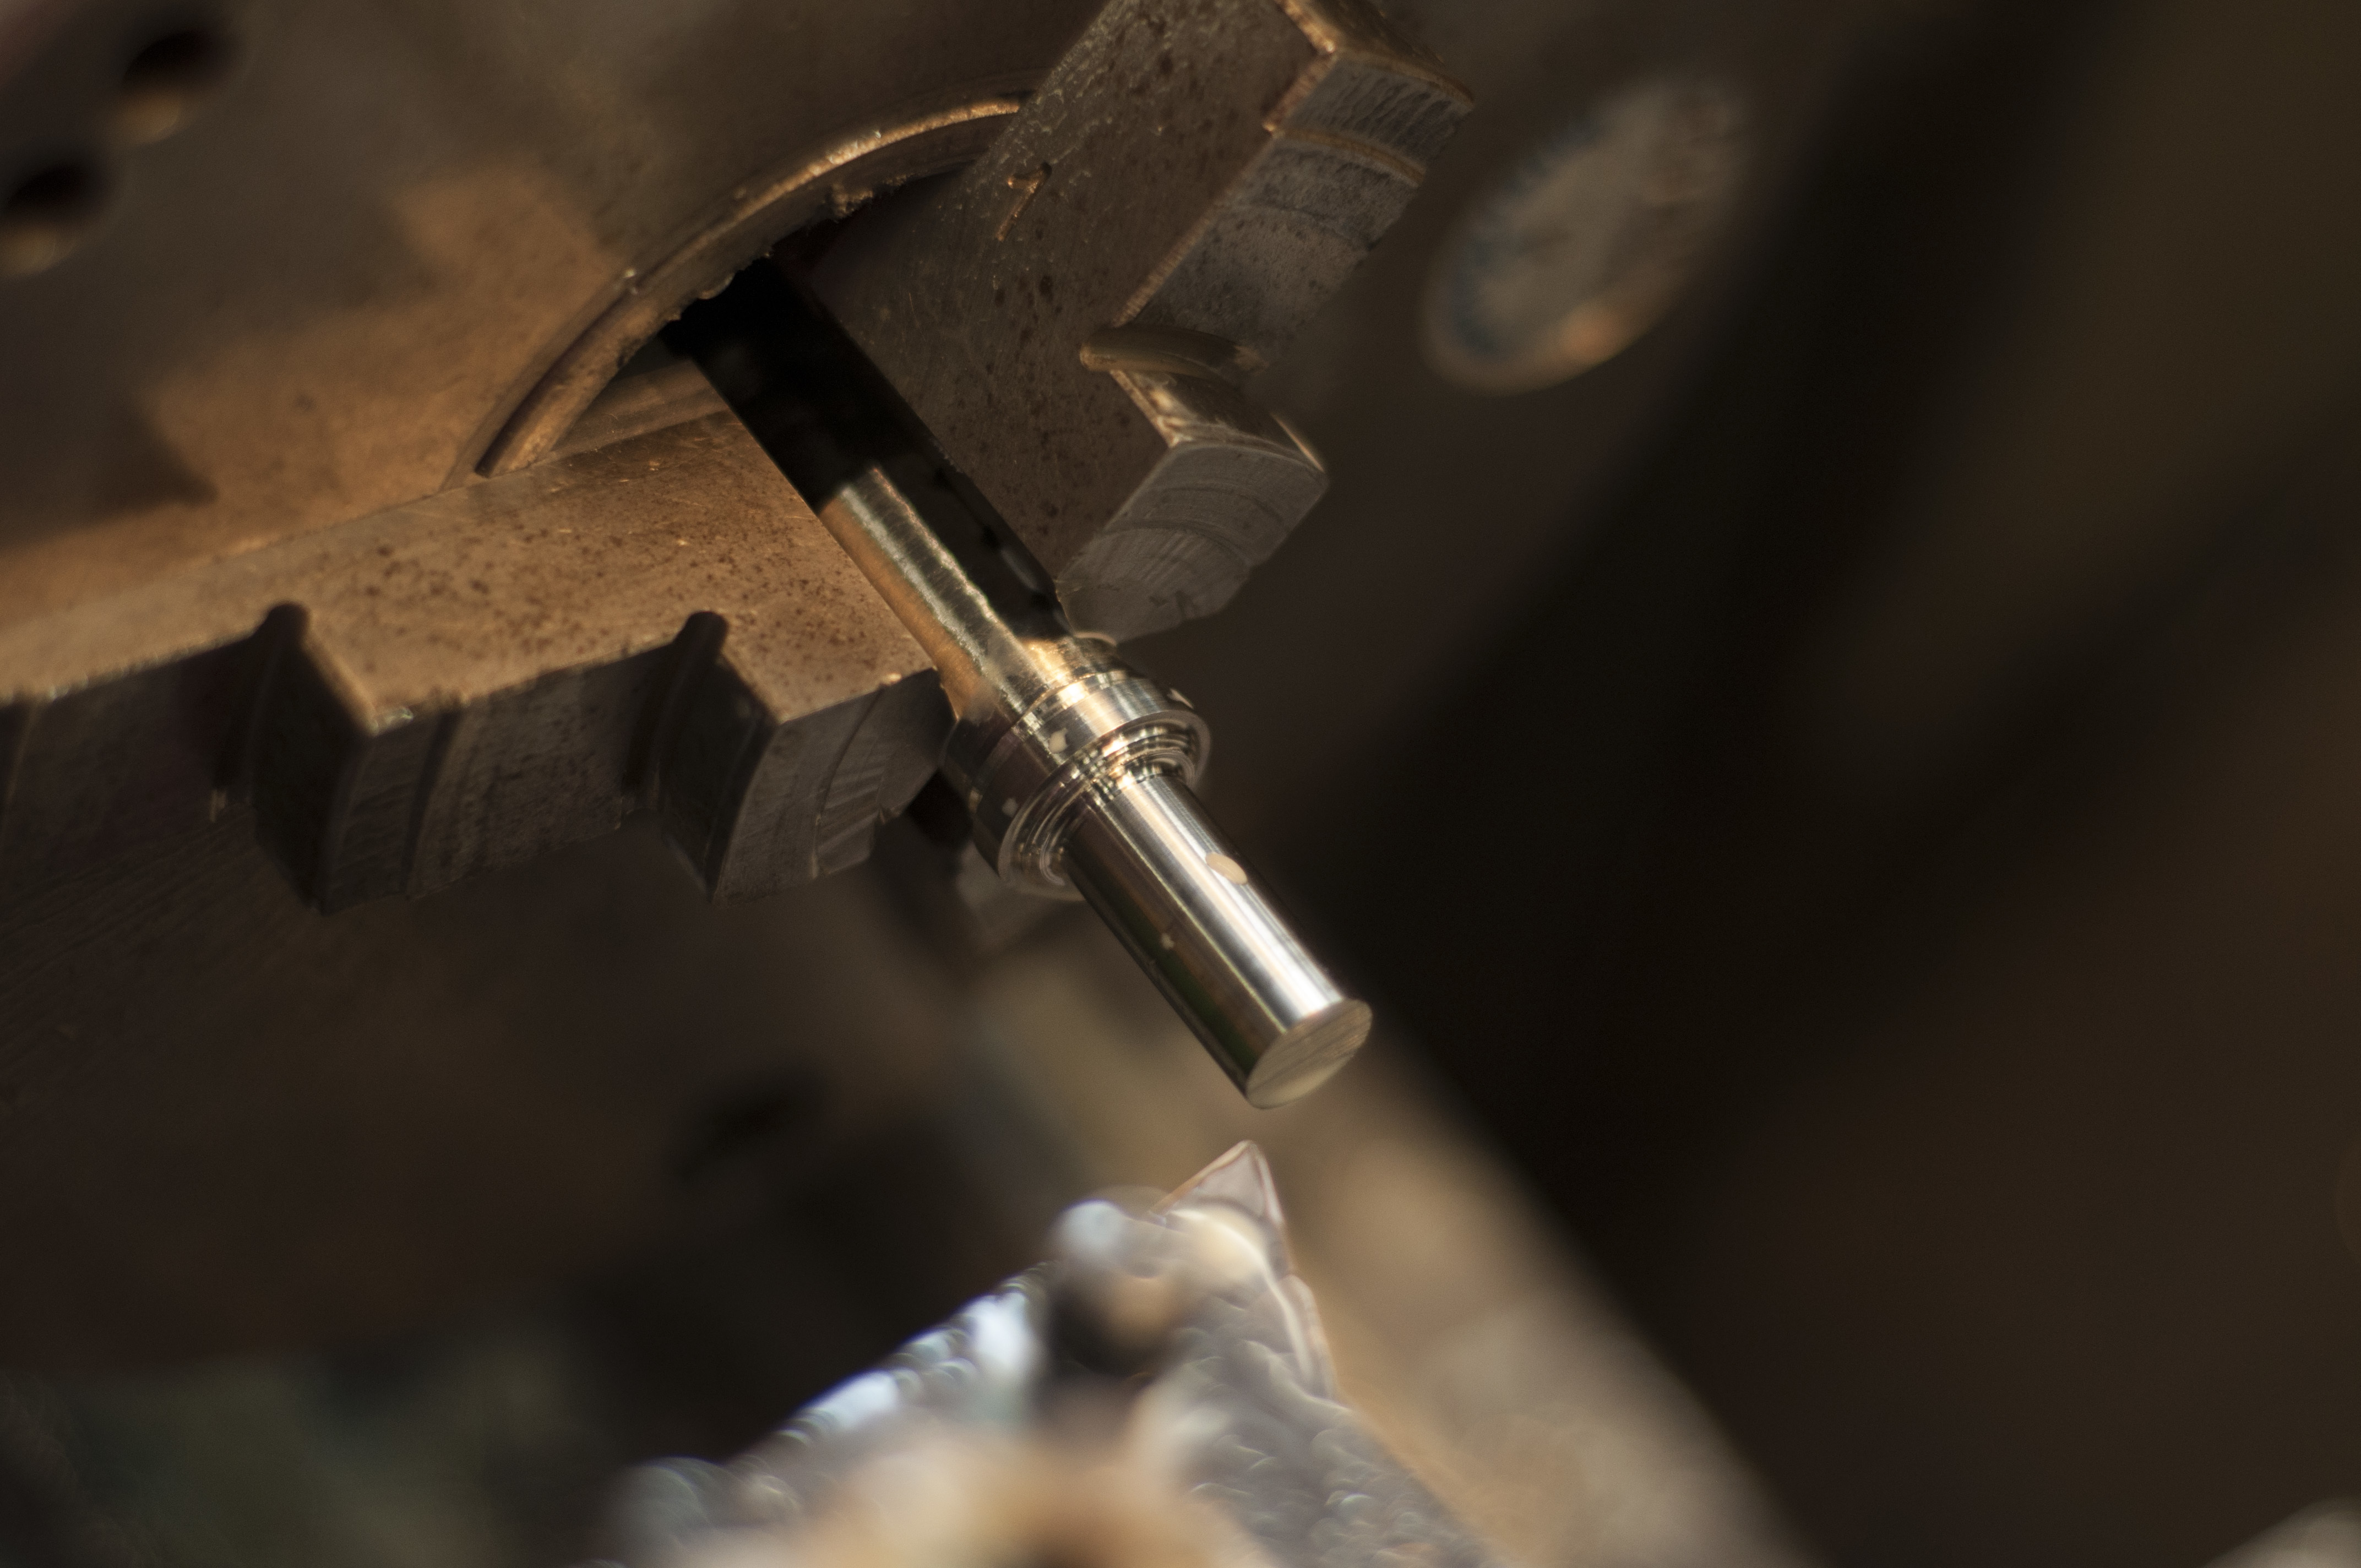
So after the hammering was done, I put it back in the lathe and very very carefully faced off either side of the ring to remove the compressed zones and return it to the original width.
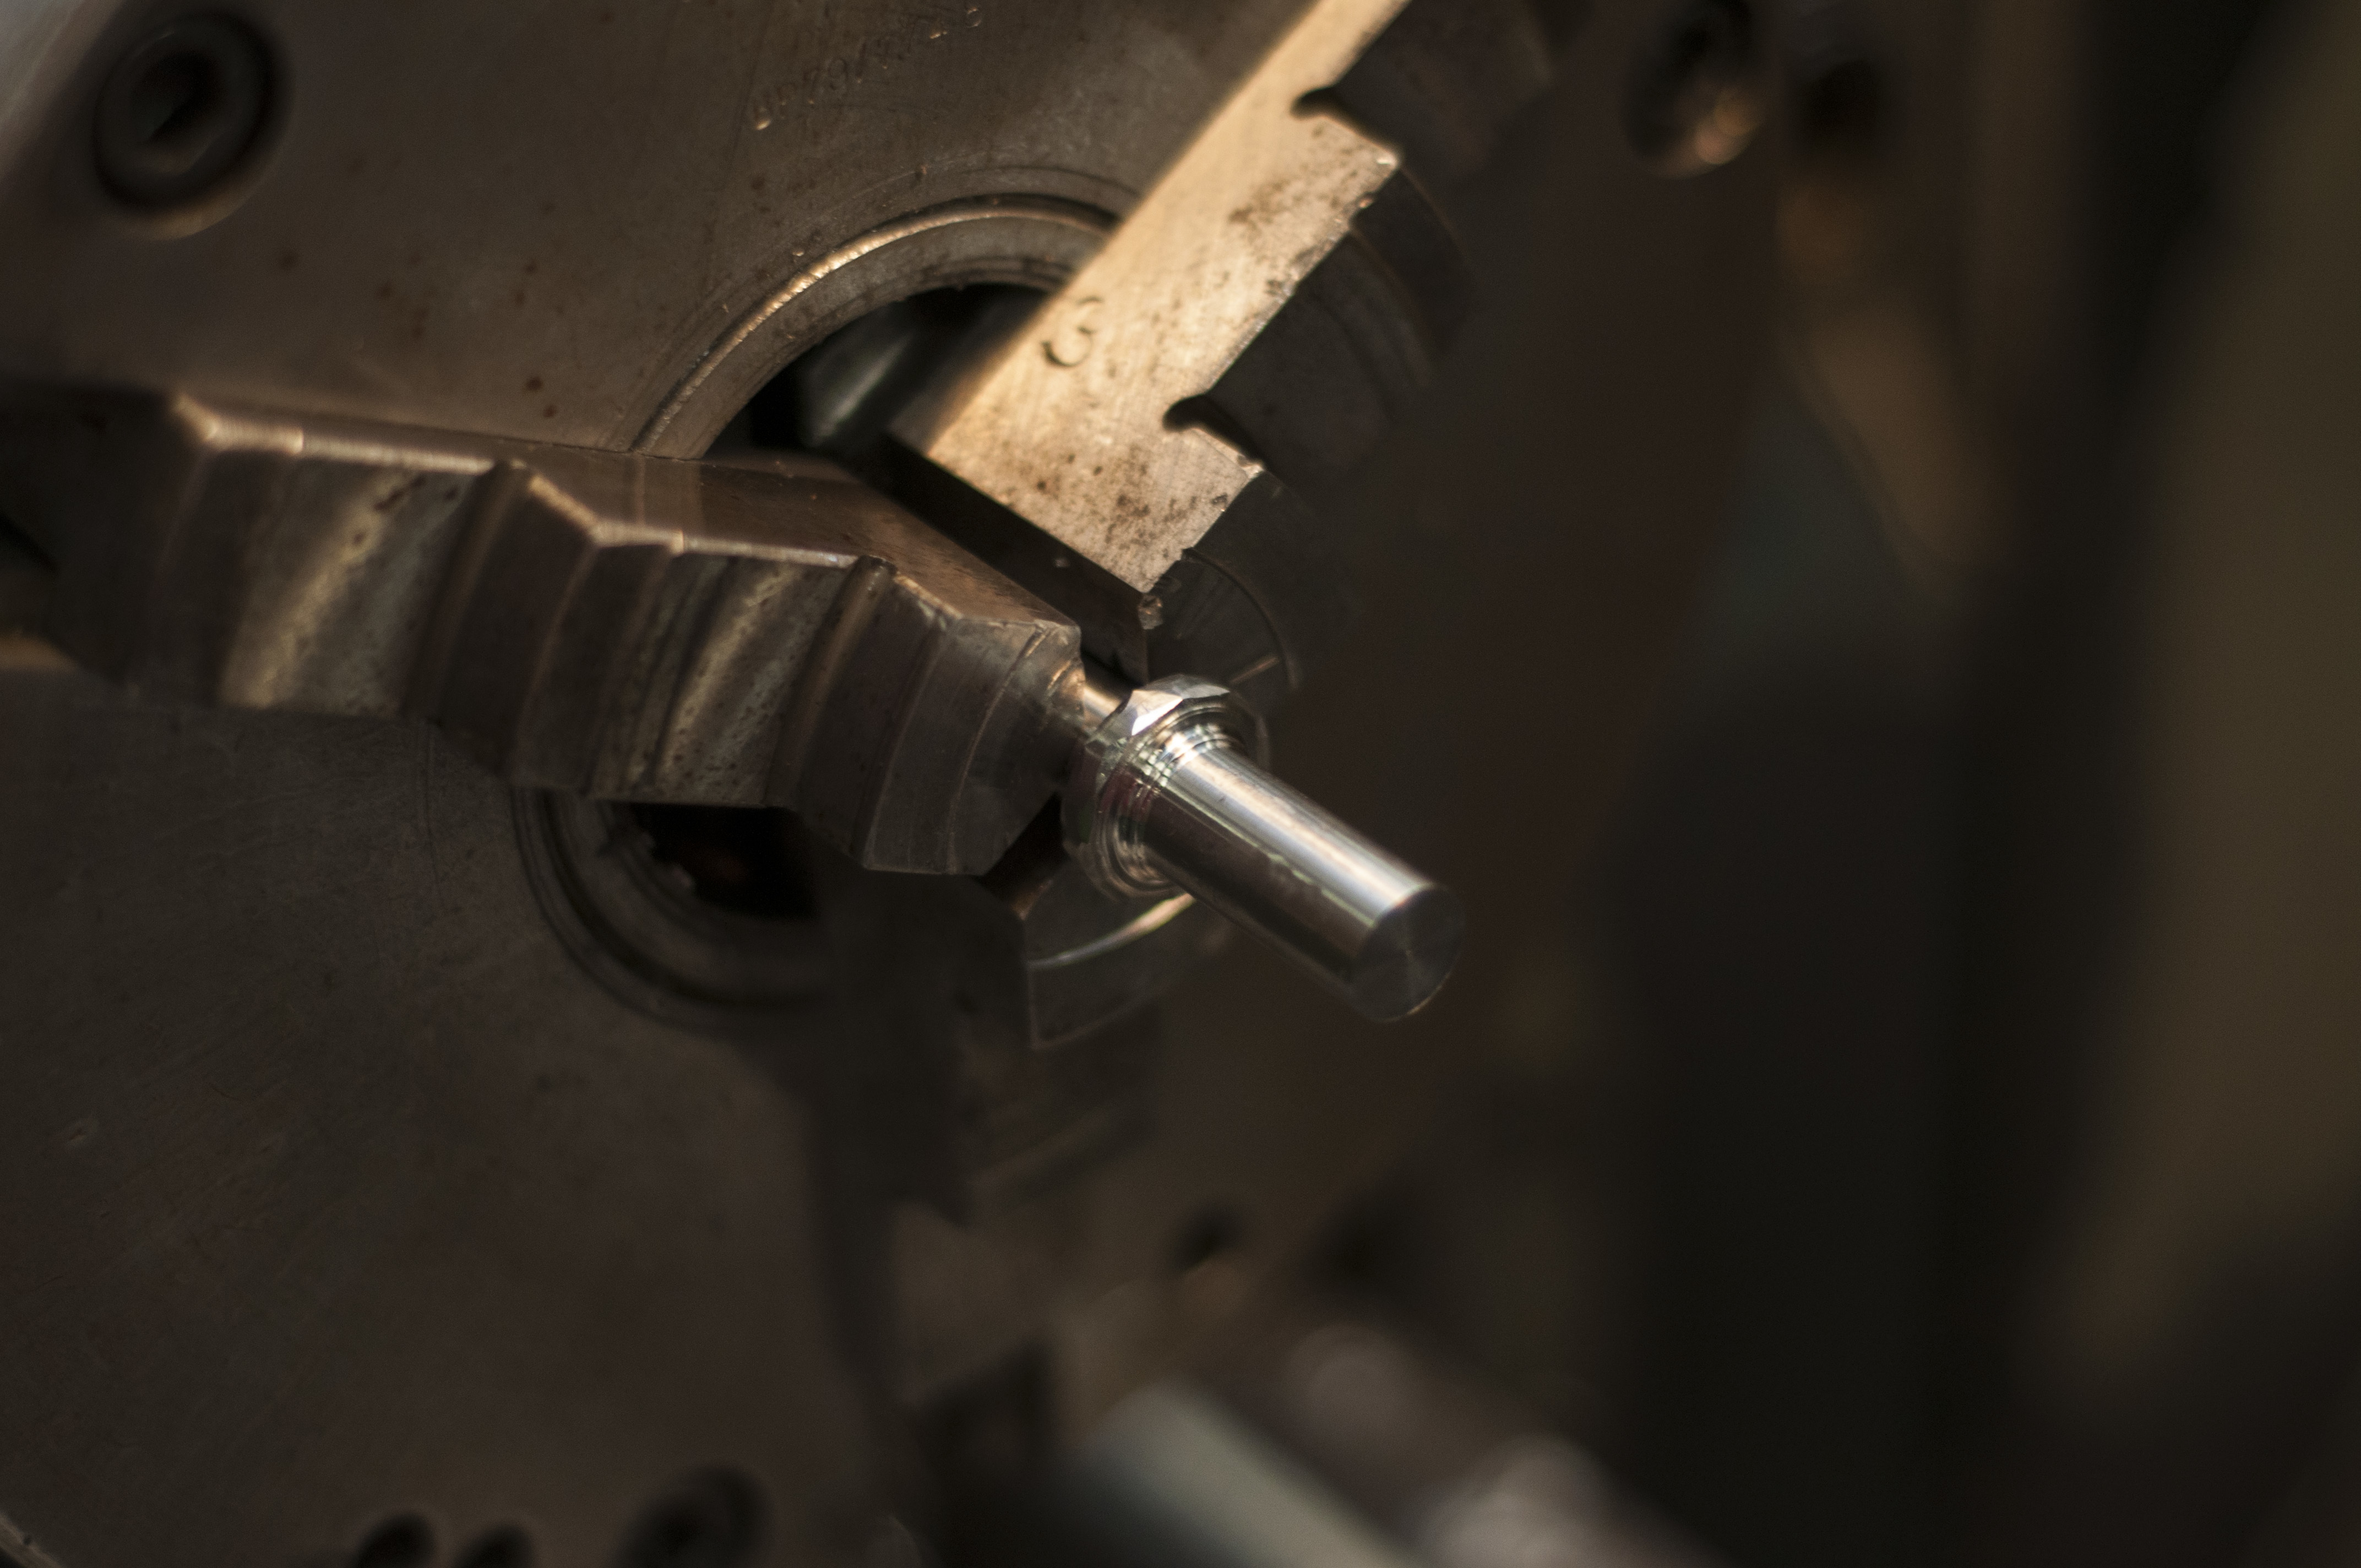
Once that was done, I faced off one end…
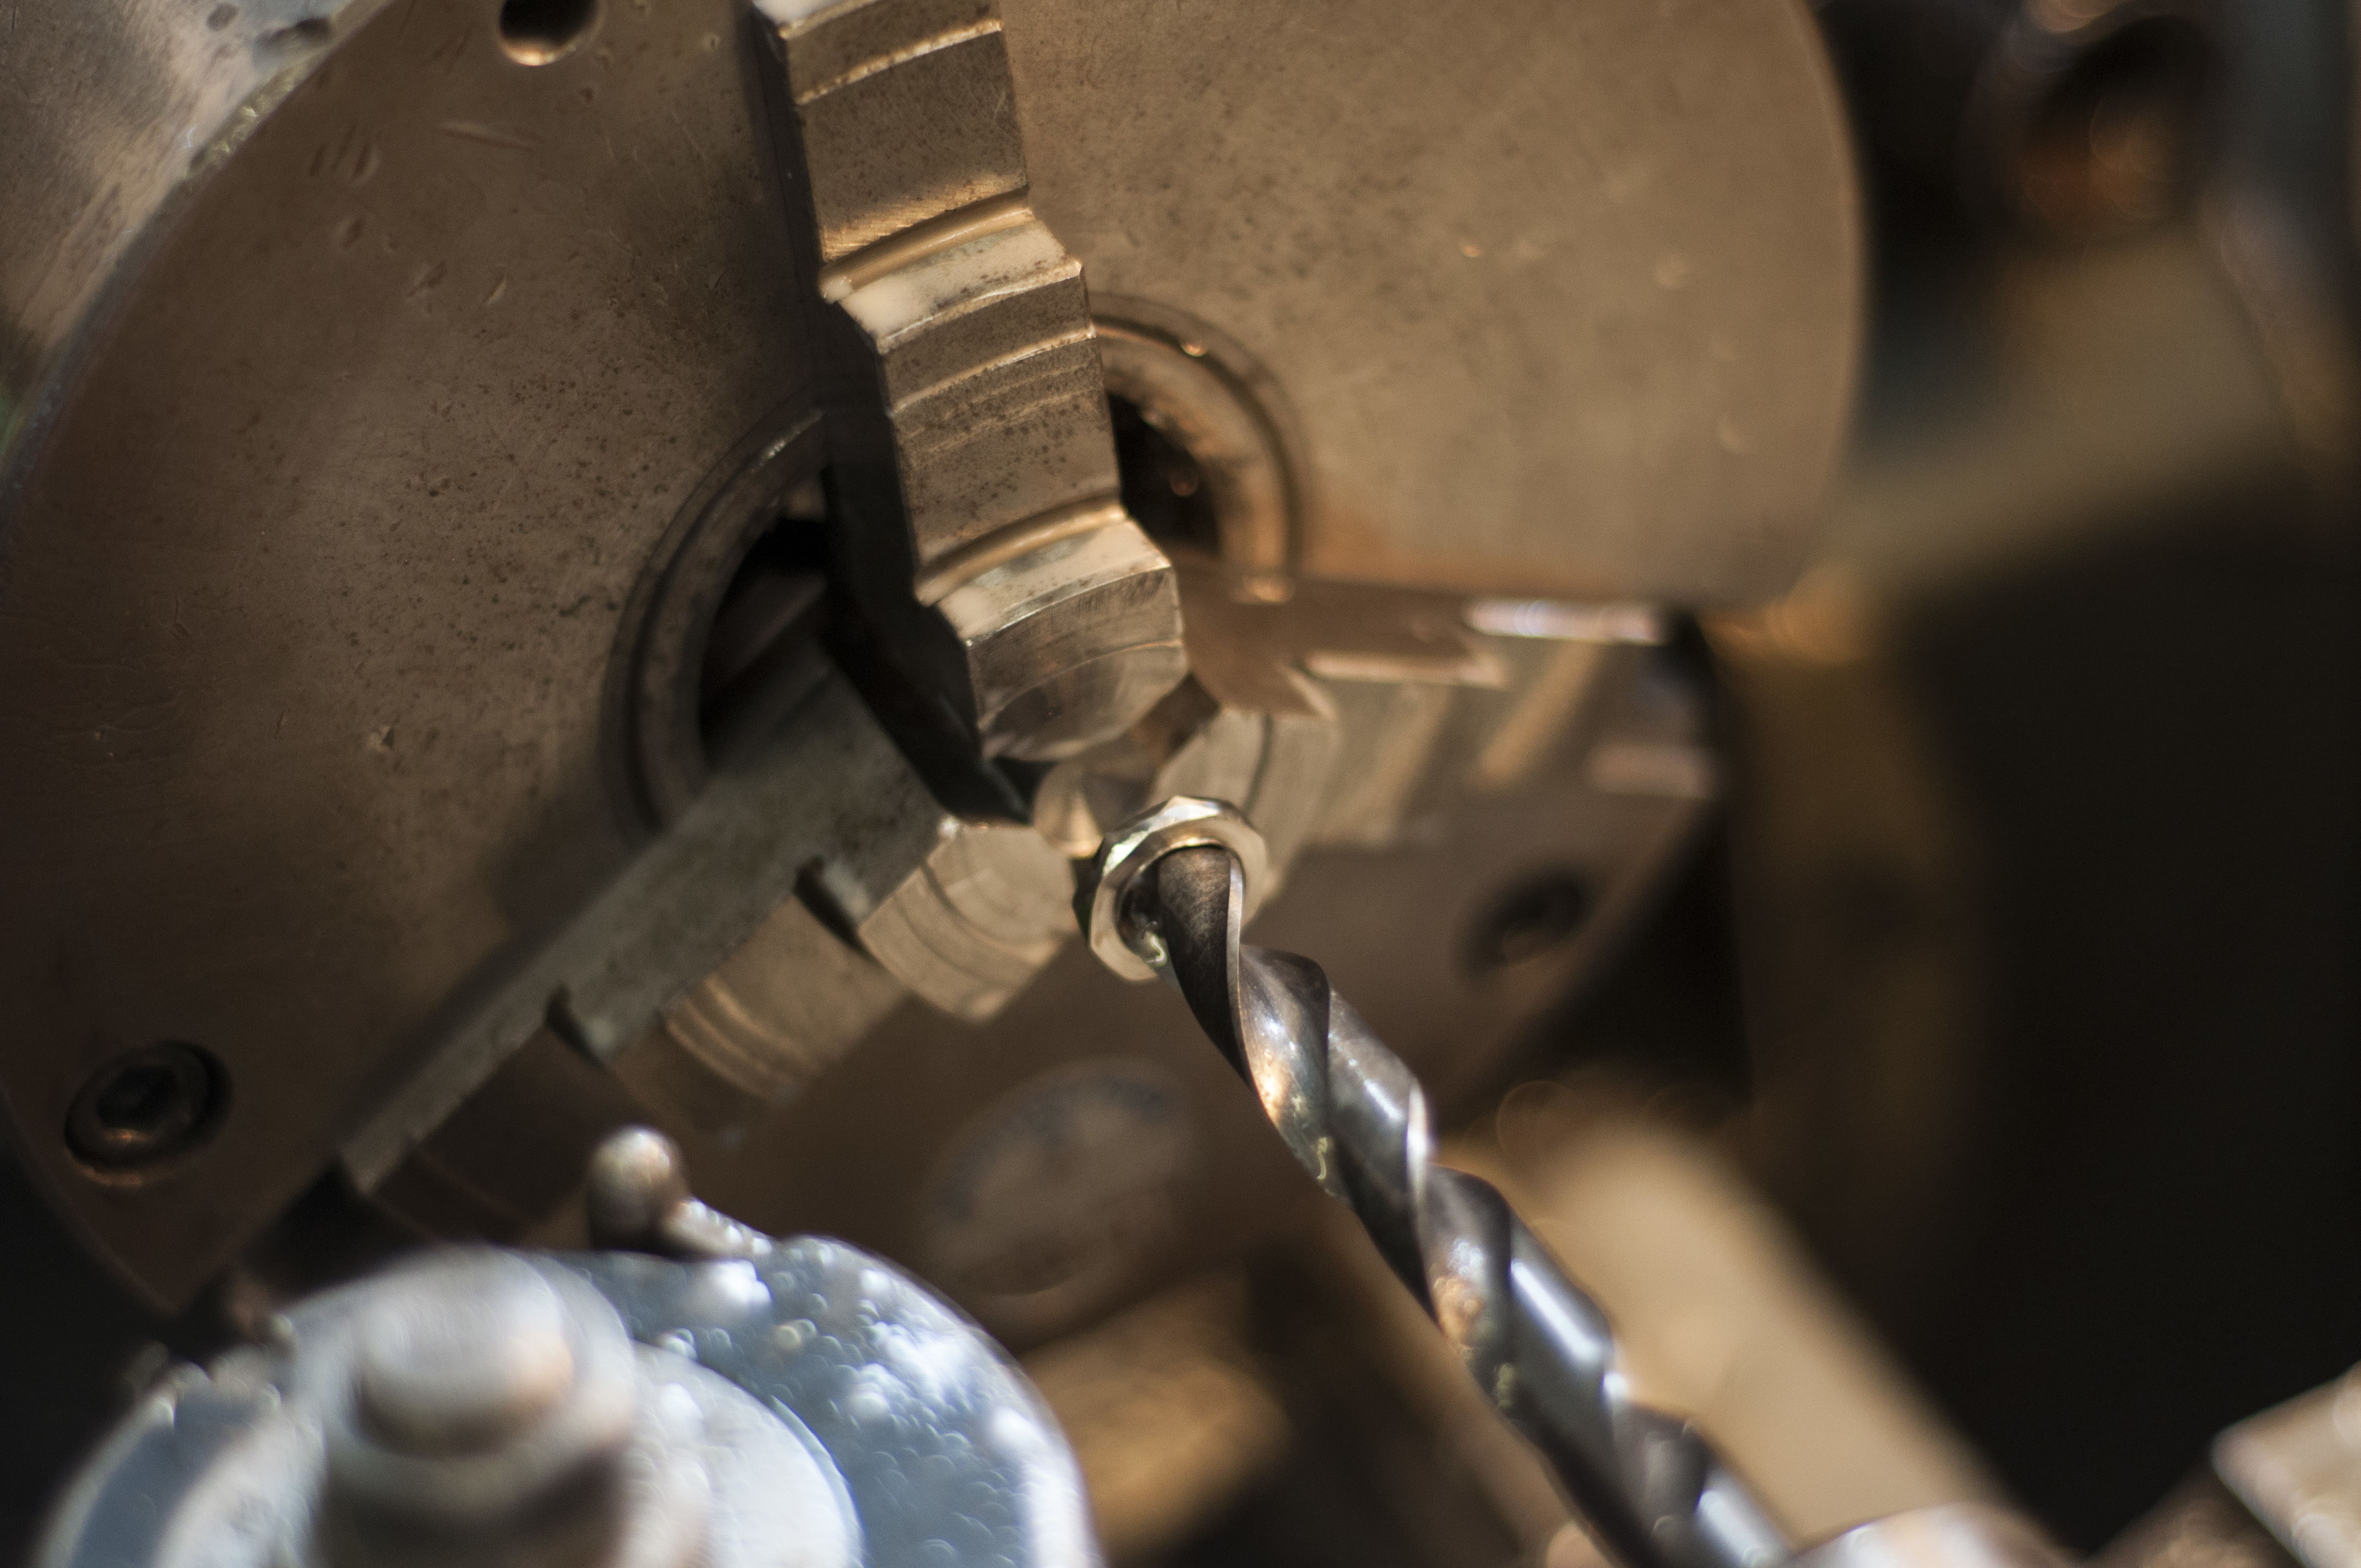
…and drilled a pilot hole.
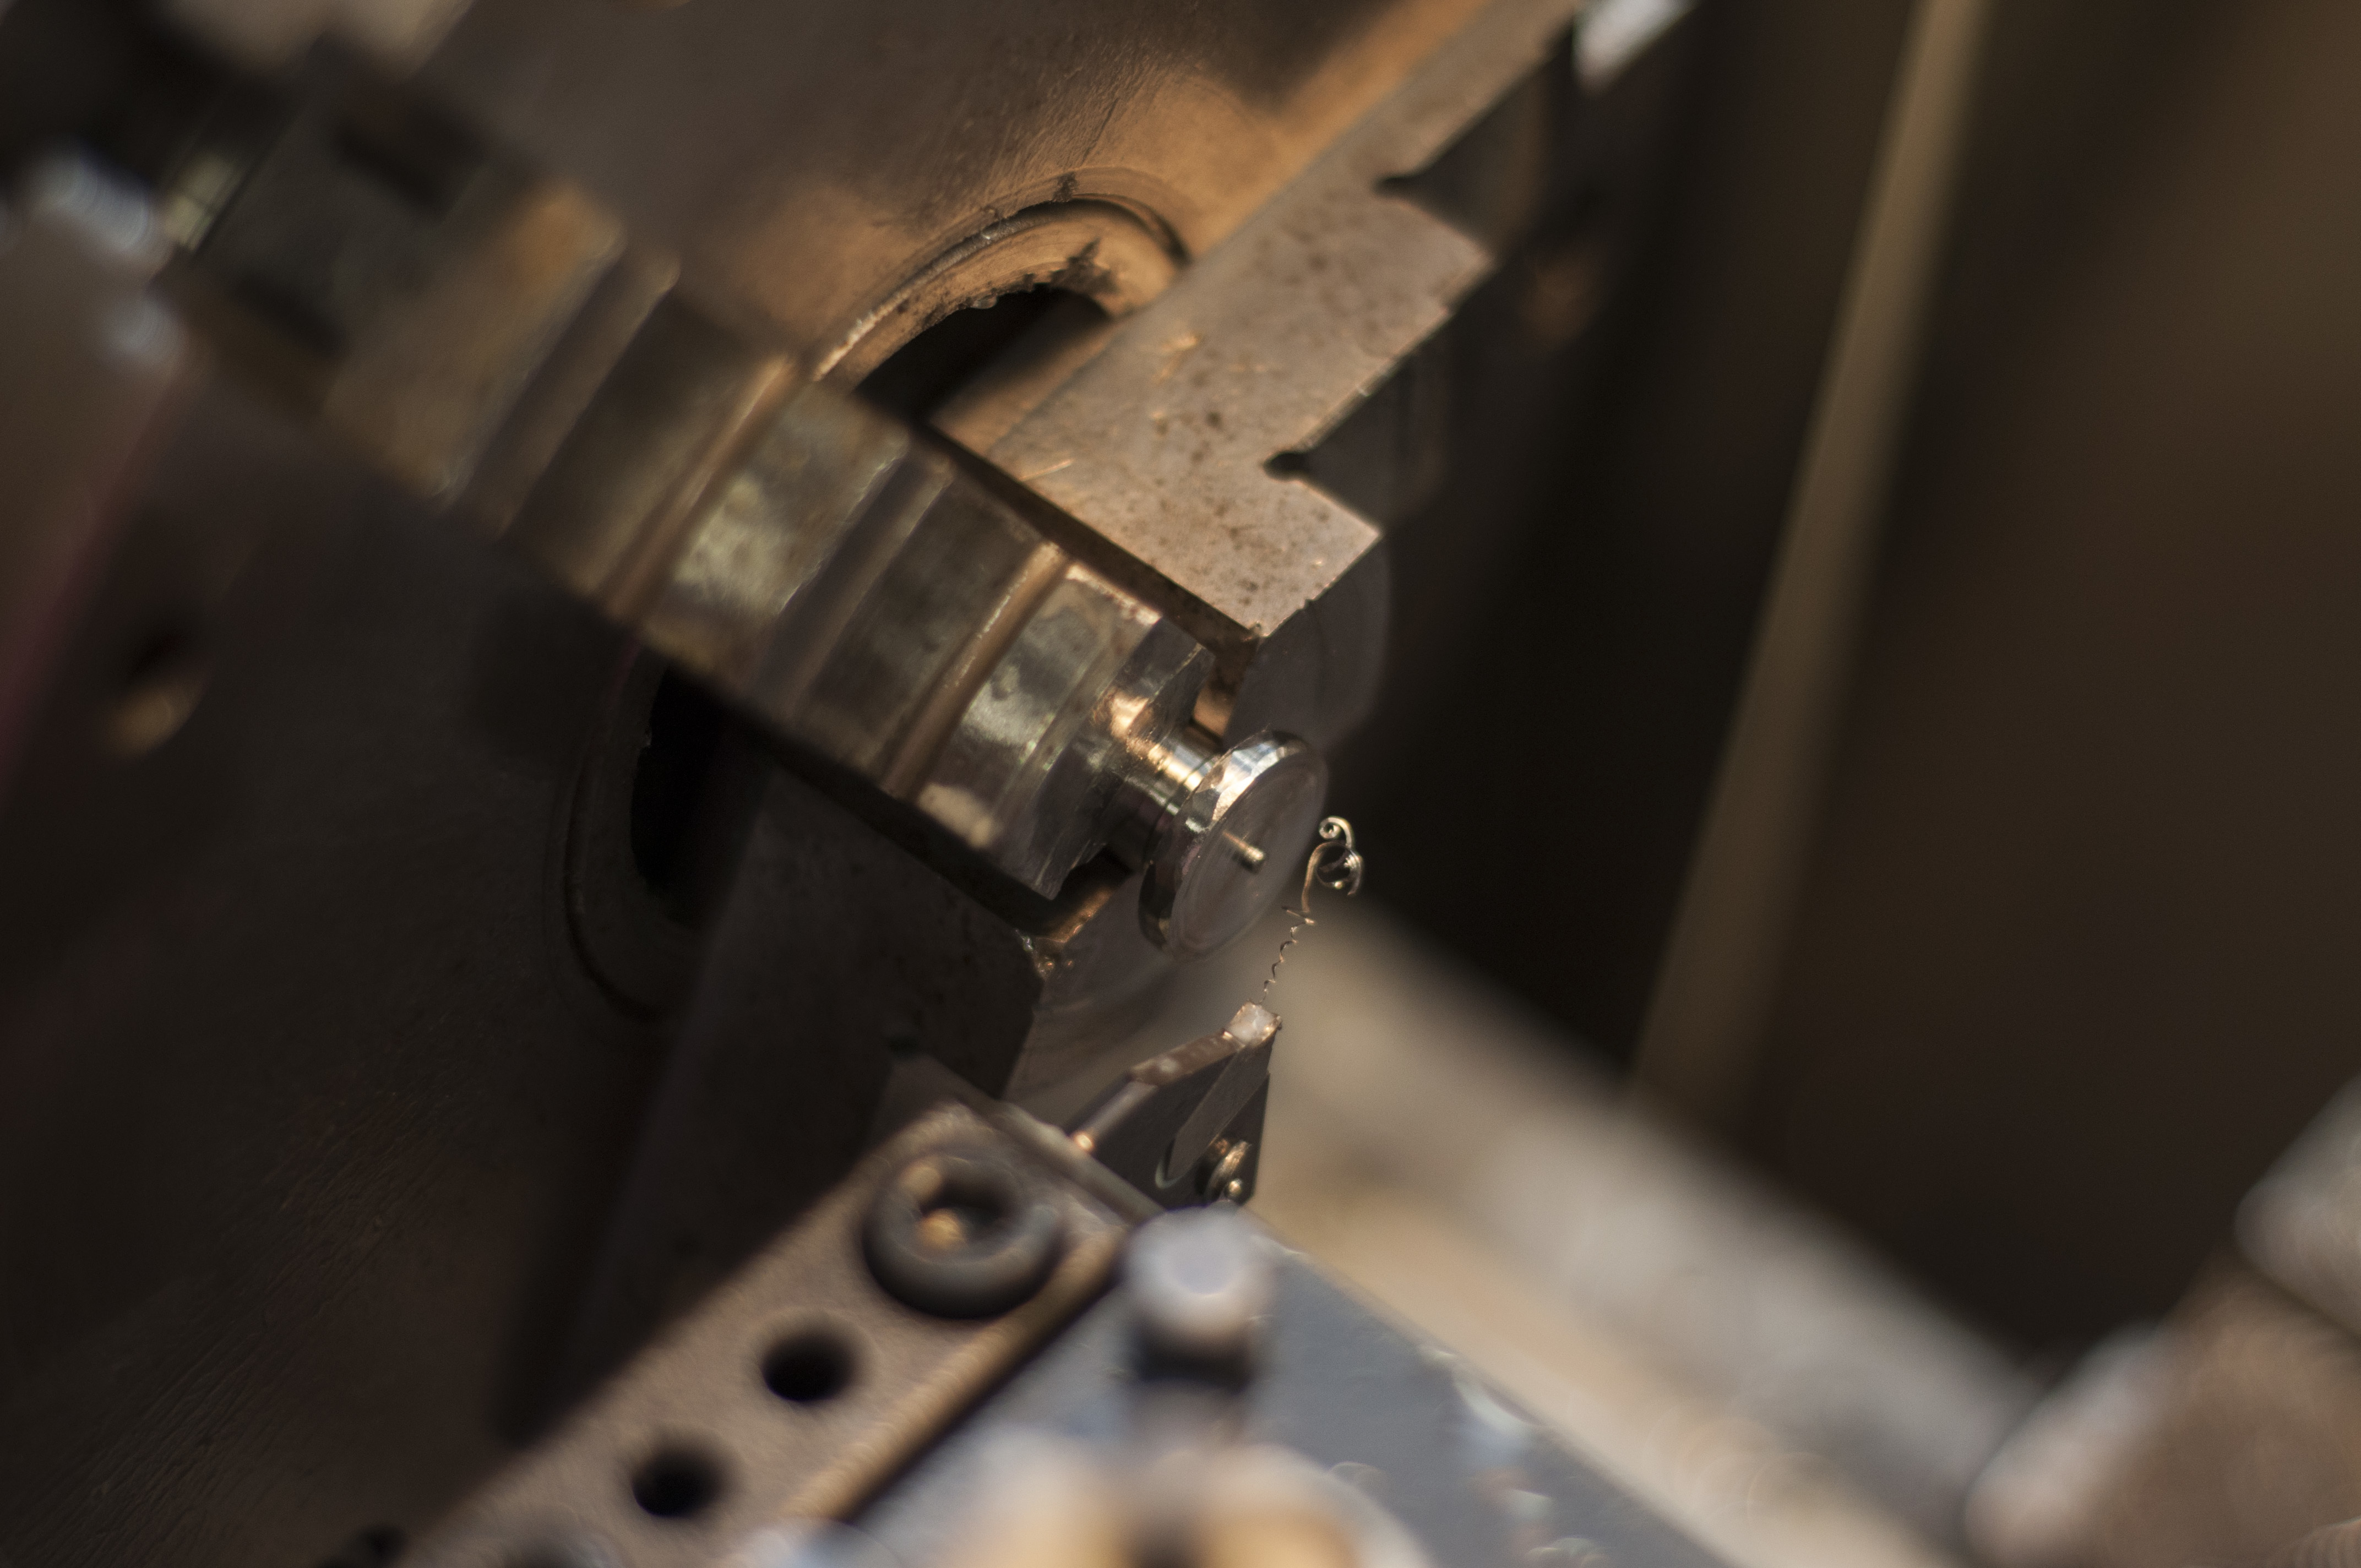
Instead, I should have drilled the whole thing out a little less than the desired ID, however since these pics are from prototype 2 what I actually did was to part the ring now, while it was still more of a disc than a ring.
Derp.
Now let’s jump to the final ring. I didn’t have enough time to take many pics while I was making it, so I just documented how I treated it differently once the ouside was hammered.
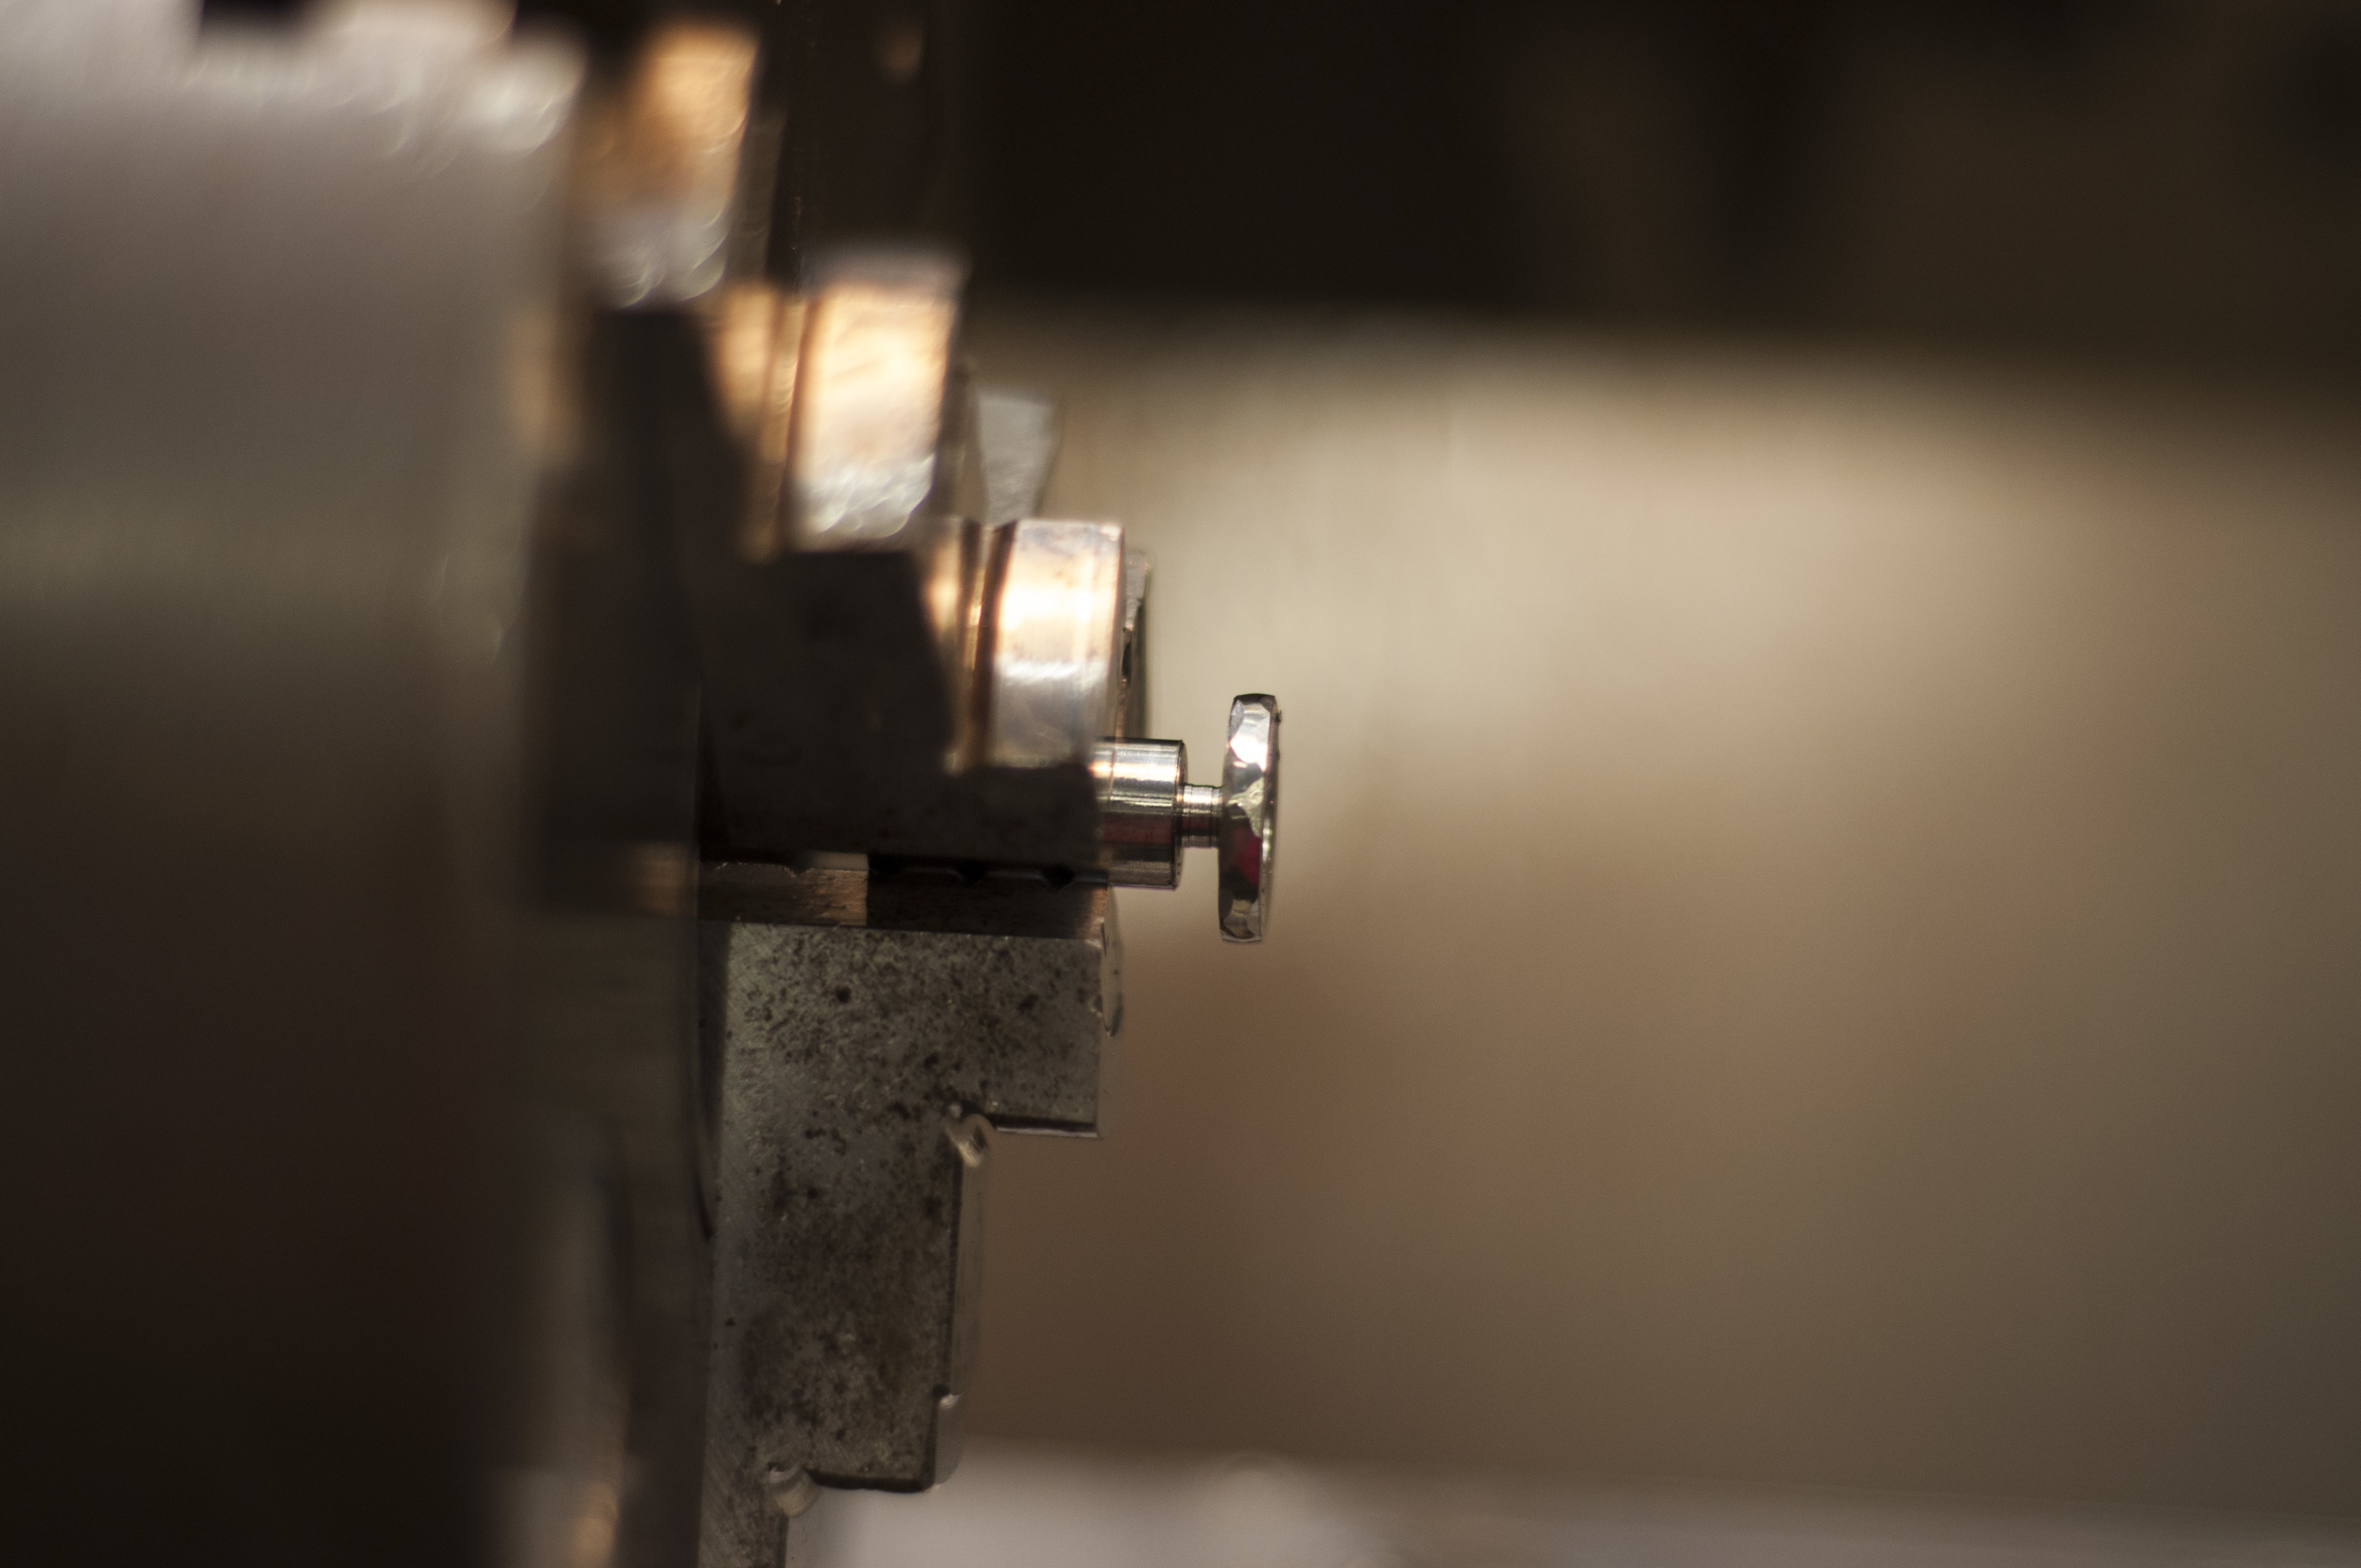
Here it’s mounted back on the lathe
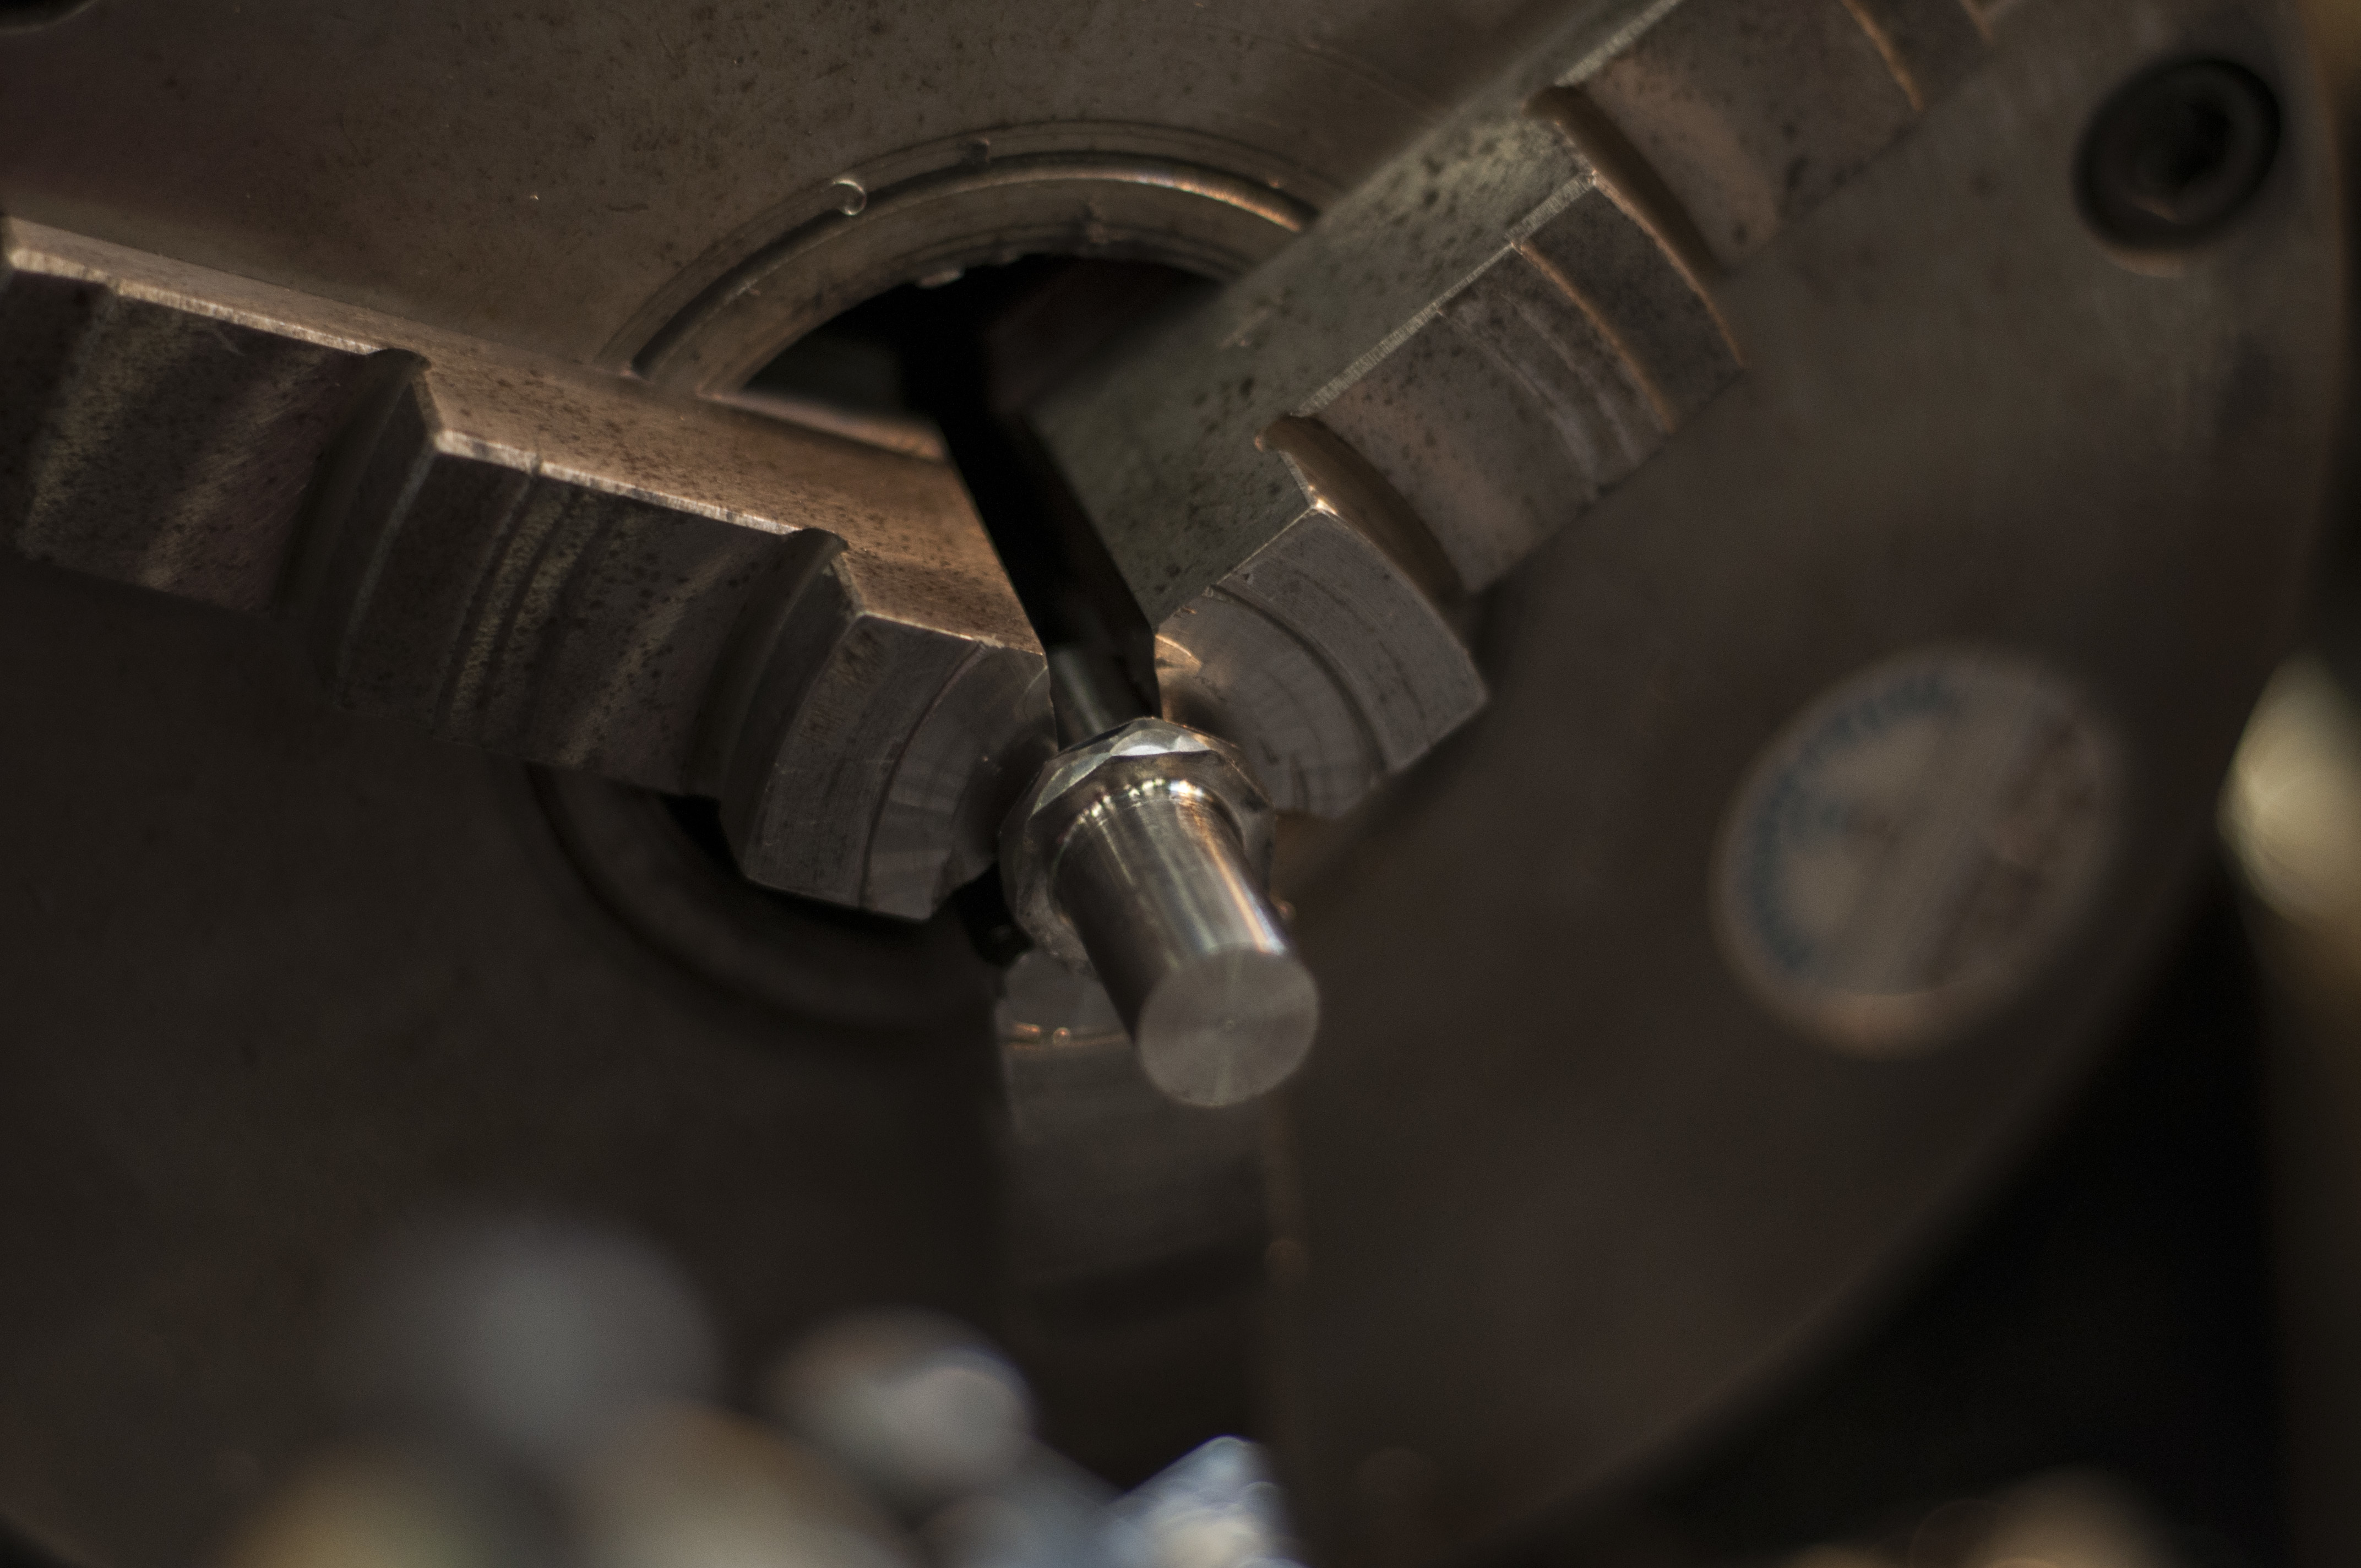
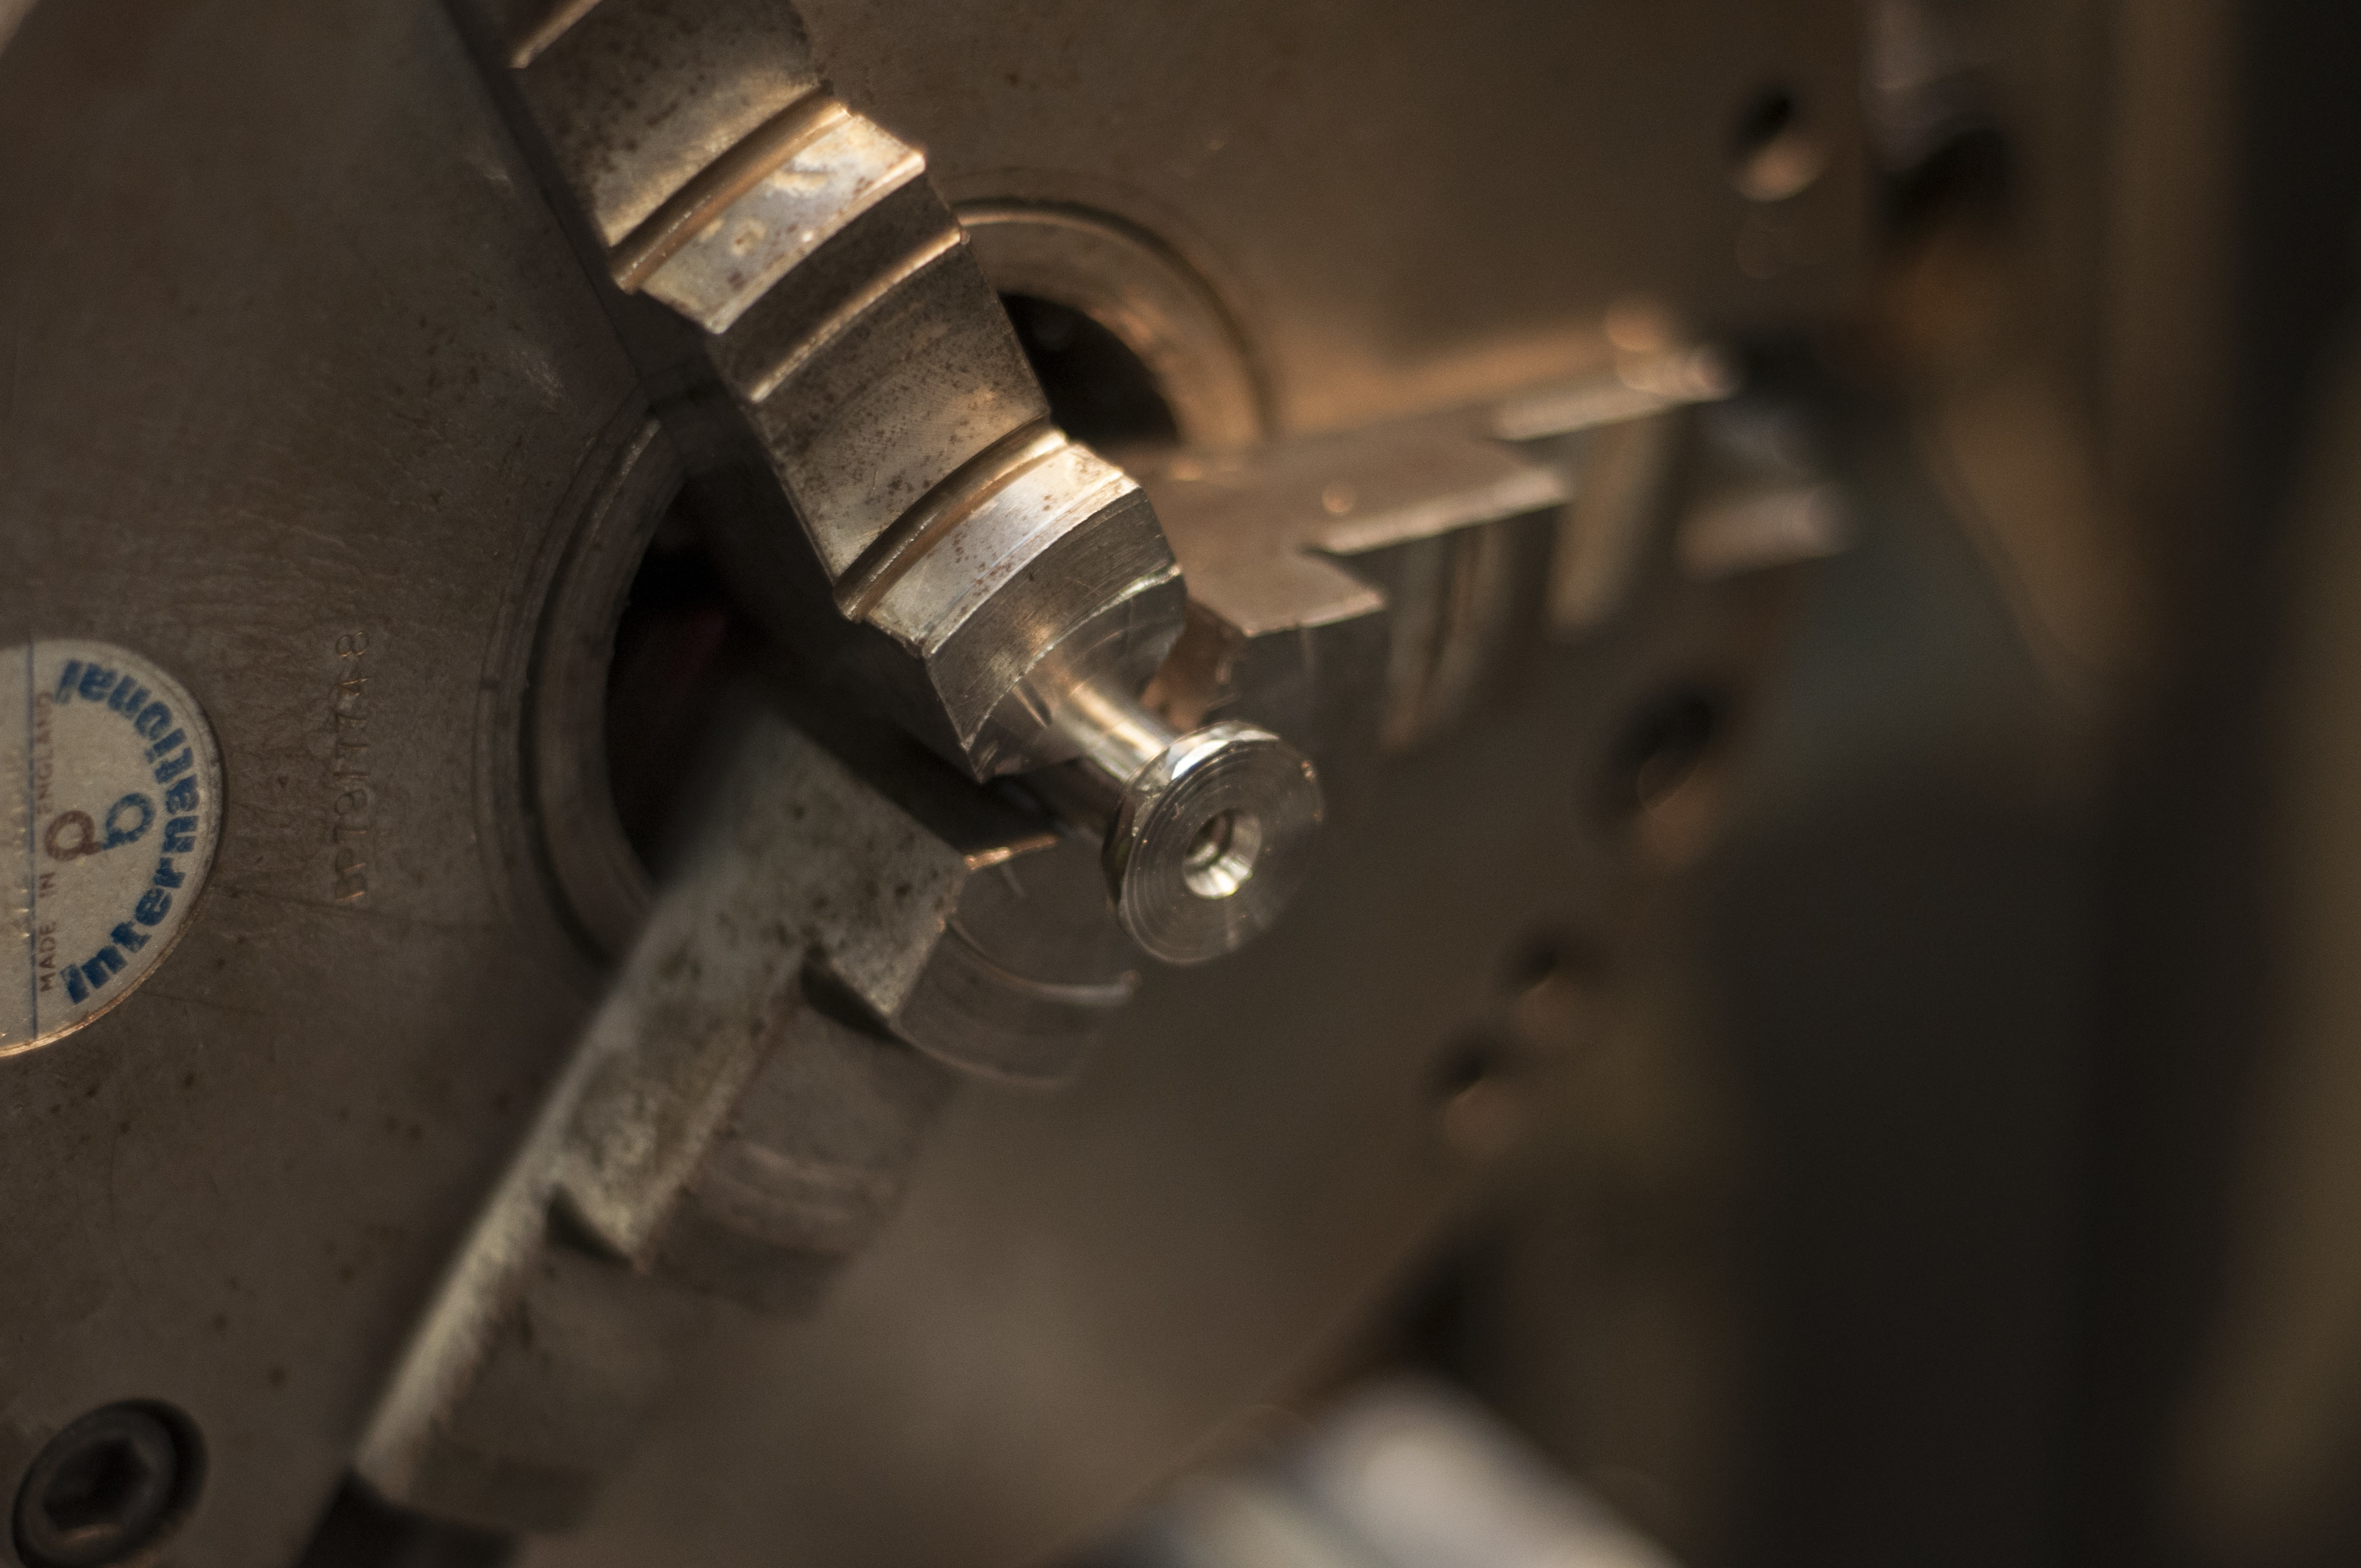
Where I faced it and used a drill to free the ring, with a slightly small ID:
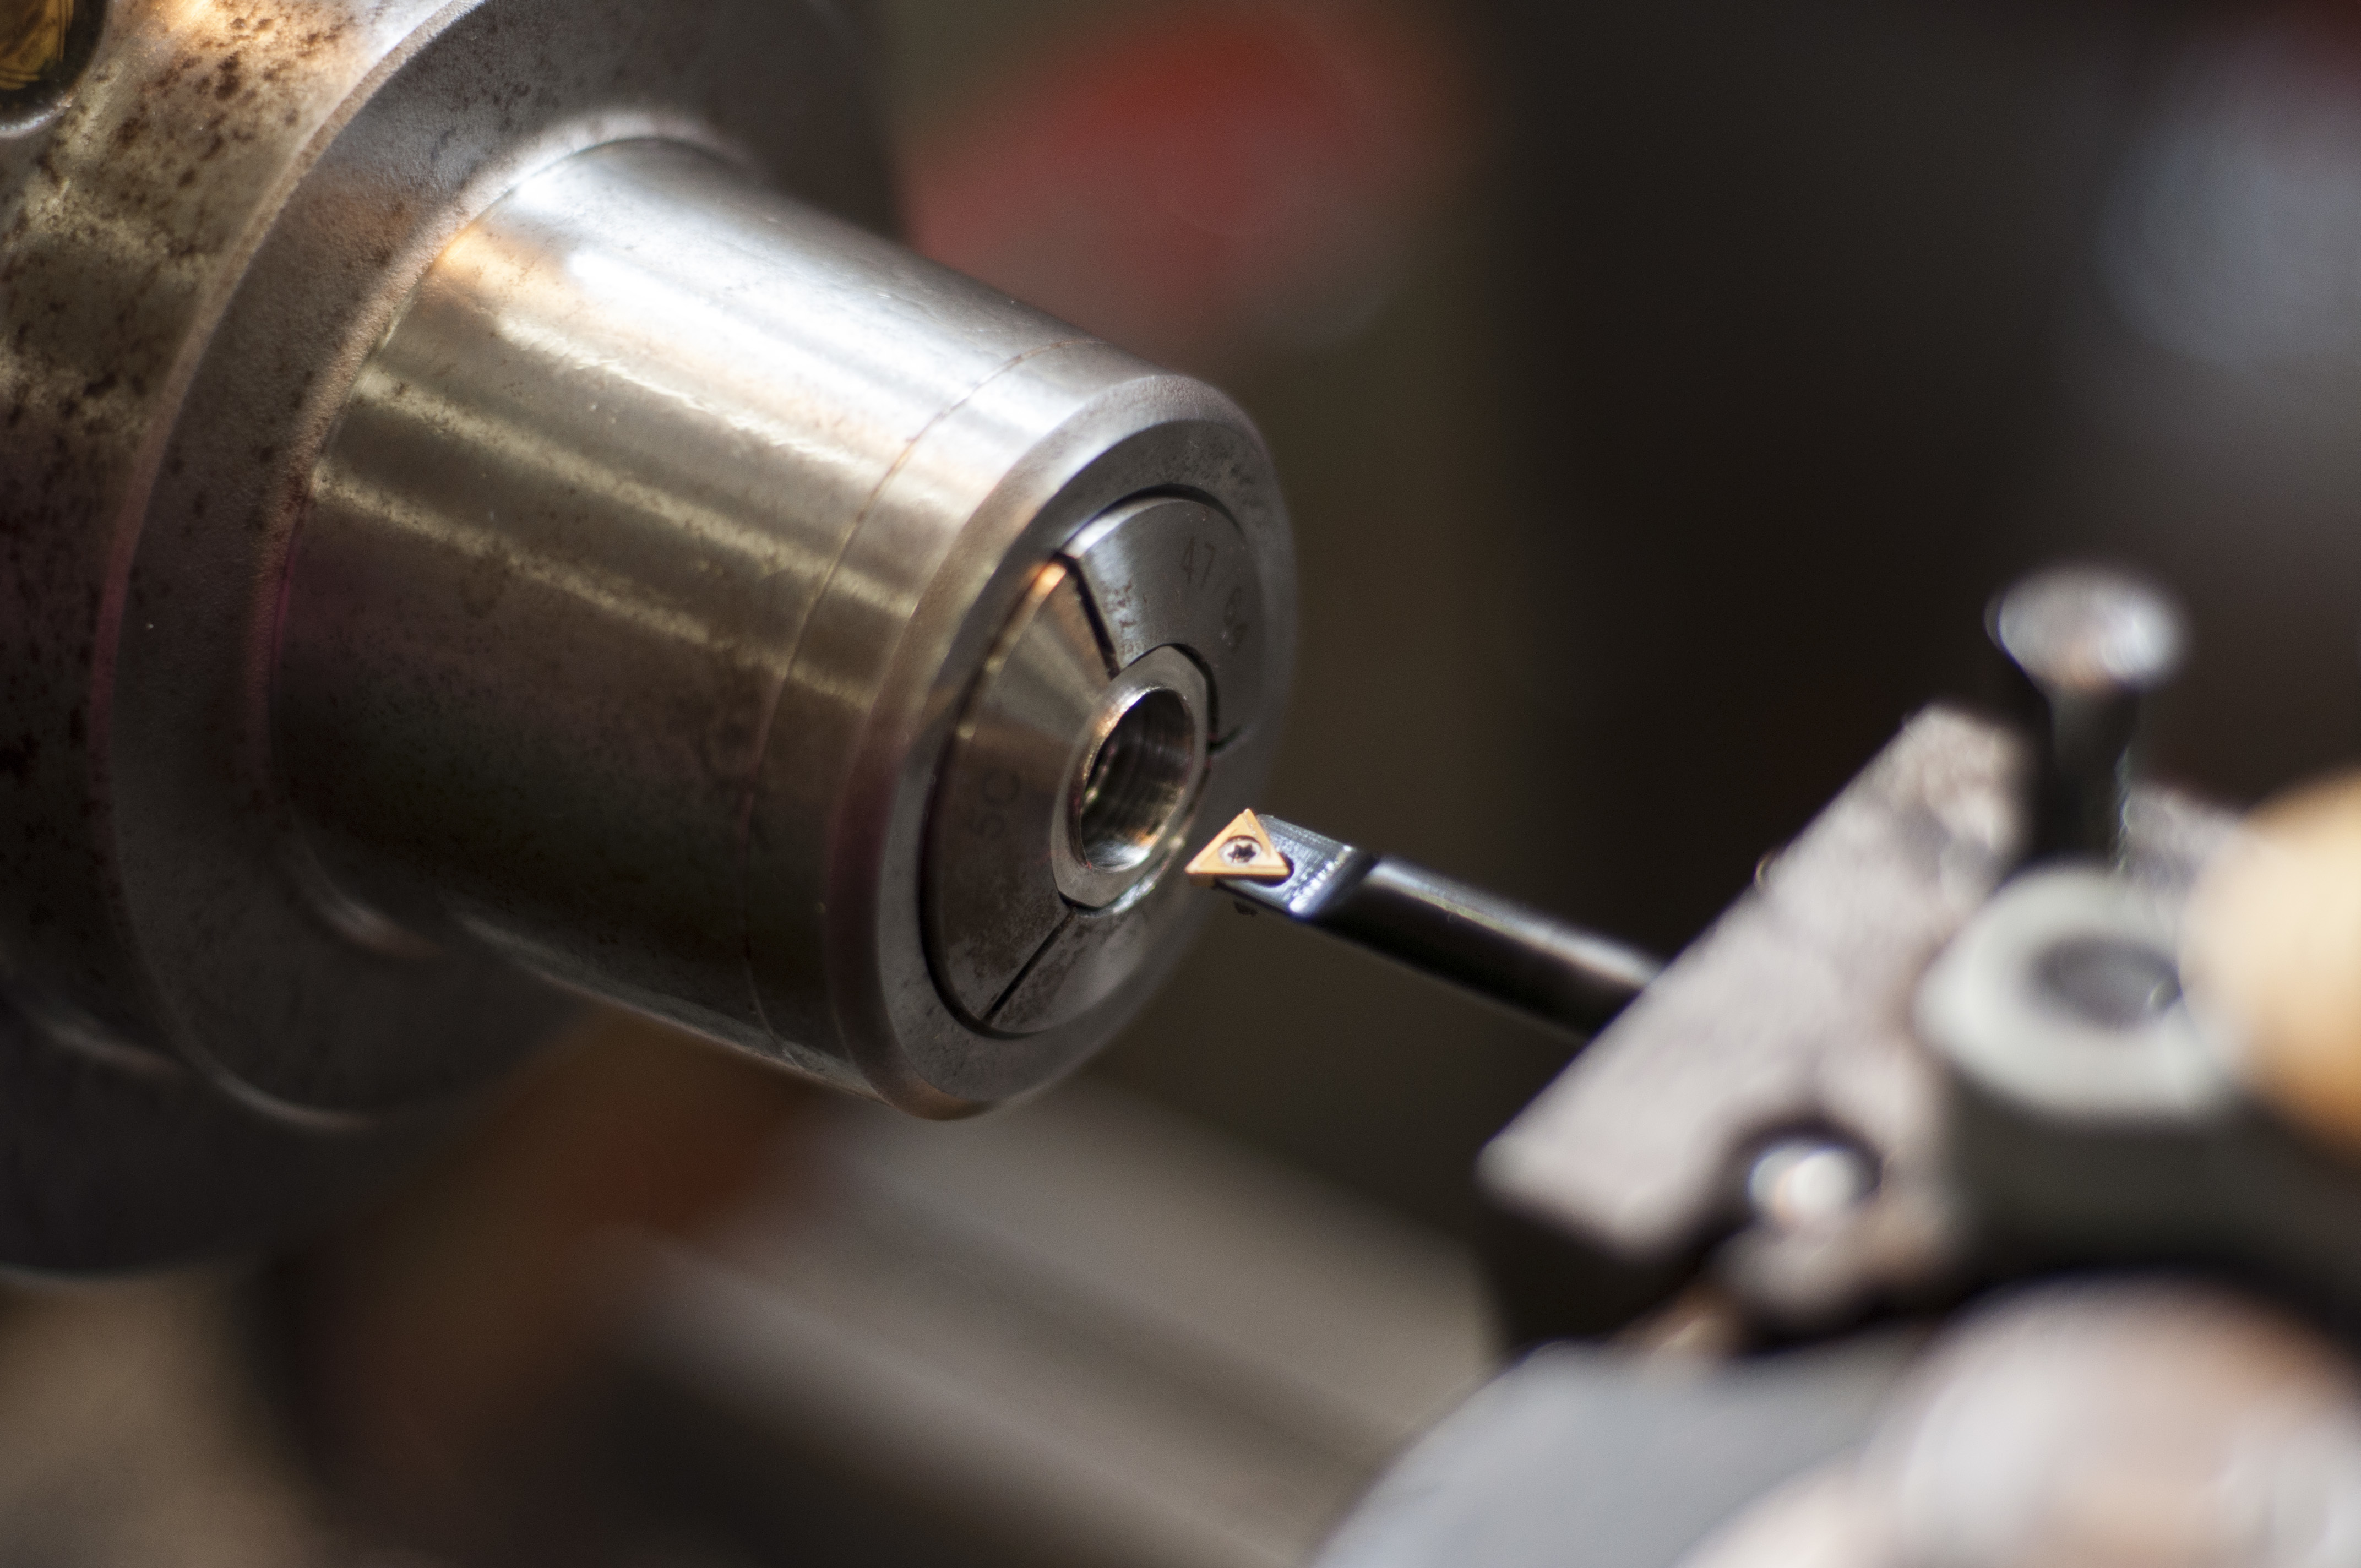
Finally, I mounted the ring in a collet and shaved off material from the inside, 5 thou’ at a time, till it was perfect ![]()
I used just a bit of sandpaper on the lathe (caution: pretty dangerous; do not recommend!) to take the edge off to make it more comfortable for wearing. Would have been nice to buff it, but I didn’t have access to a machine. Ah well, the ring is supposed to be rough!
Making the final ring took around 4 hours from start to finish. Totally worth!
