Well done jake!!
I can print the rest in black if you like. i just wanted to see the first one in grey because it shows the details better. let me know what other parts on the list you will need and i will add them to my que.
2 Likes
Will do - I’m in office tomorrow and will see what I have / don’t have. My guess the rear shell is the biggest shortfall.
Grey is good - neutral color for rear shell is the preference for most users. ![]()
2 Likes
If you don’t have enough full kits just shoot me a whole bunch of boards.
Vast majority of the rear housing design is all my predecessors, but I can take credit for recreating it in Fusion and the more recent updates. Very grateful for all the folks that have offered to out a few together - these can have a huge impact on someone’s quality of life.
3 Likes
Okay made a google sheet to track the number of prints needed. If you are printing, you can add yours here: I think it is just @winegummo but this helps me keep on track.
Sheet one (updating now) is what I have and is in print queue, Sheet two is the number of builds per maker.
Getting close on having enough prints for every one - now to make sure I have enough kits. Plan is to hit up VHS with supplies on Friday afternoon.
3 Likes
Well look at that - @DerrickA4mag has a ton, so everyone gets full 3d printed kit with their boards! That is all my LipSync kits, amazing! Thank you everyone. Will update thread after I do dropoff Friday. Cheers all!
6 Likes
Woo! Thanks @chadleaman. I’m also happy to build more kits after this run if you run low on stock. Let us know.
1 Like
@winegummo bad hair day? I’ve had a couple of those
2 Likes
Truly a piece of art
2 Likes
Thank you everyone! I have dropped
| Maker | Number Builds Pledged |
|---|---|
| @PacketBob | 5 |
| @Janet | 5 |
| @xquared | 5 |
| @Jon | 1 |
| @RSim | 1 |
| @Dbynoe | 5 - will get to you |
| @JohnC | 1 |
| @WineGummo | 1 - printing own parts |
As sketchy as it looks, the ziploc bag full of white powder I gave each of you… it’s baby powder, we use it in the joystick to alleviate binding with the bumpers and fsrs.
If / when you need extra parts (those springs vanish when dropped, the fsrs are fincky!), I have a couple of things in my tote.
I gave you all the hardware to build the bluetooth version, but code has a necessary update coming soon. You can flash it to work as USB mouse or as gaming joystick, behaves well there. There are a few joystick mouthpieces, make use of one but if you can leave some clean.
Manuals, youtube videos of me building it, and a new joystick calibration video are all on the site.
PS It was very nice to see and chat with you both @JohnC @xquared! People in real time, face to face!
2 Likes
@chadleaman - do you have a link to the build info… the link you posted gives an error…
1 Like
Here is the correct link (missing an e in wireless):
https://www.makersmakingchange.com/project/lipsyncwireless/
2 Likes
Thanks, updated.
1 Like
Doh…
Already lost a spring…
A couple questions:
- If we build them with the Bluetoooth module do we leave the jumper on to use the USB firmware or do we leave the jumper off (you seemed to indicate that the Bluetooth firmware was not ready)?
- What firmware do you want us to load?
- Do want use to do the joystick calibration?
- To avoid contamination issues I will not use the airway function so that part will not be tested…
1 Like
I should have thrown extra springs in the kits instead of my tote! There are extra, and the rear ones are a little easier to cheat on replacements than the joysticks.
To the questions:
- Yes build them with the Bluetoooth module, but do leave the jumper on to use the USB firmware.
- What firmware do you want us to load? USB
- Do want use to do the joystick calibration? yes please. You can do that just using your thumb, I find that works best. That way if they have issues you amy be able to fix /troubleshoot.
- If you want to take one mouthpiece+filter and use to test, that is fine. Just keep that mouthpiece and filter set and dont return it. The sip and puff are:
- short puff - left click
-medium (3 secs) puff - left clock locks, so you can clivk and drag. Puff again to release - long (5 sec) puff - stops cursor drift
-short sip - right click (or back button on android)
- medium sip - scroll lock (so movement of mouthpiece causes screen to go up/down. Puff again to release.
It is easy to accidently trigged the puff. Again, pending software coming will help user calibrate thresholds to their preferred level.
To avoid contamination issues I will not use the airway function so that part will not be tested.
Making quick work man!
If people are comfortable takinf a picture of themselves and the builds, it can feed the social media machines.
1 Like
So far I have managed to lose some nuts, a spring, a couple of the capacitors and have crinked one of the FSR leads…
2 Likes
I blame your tuxedo cats @packetbob
1 Like
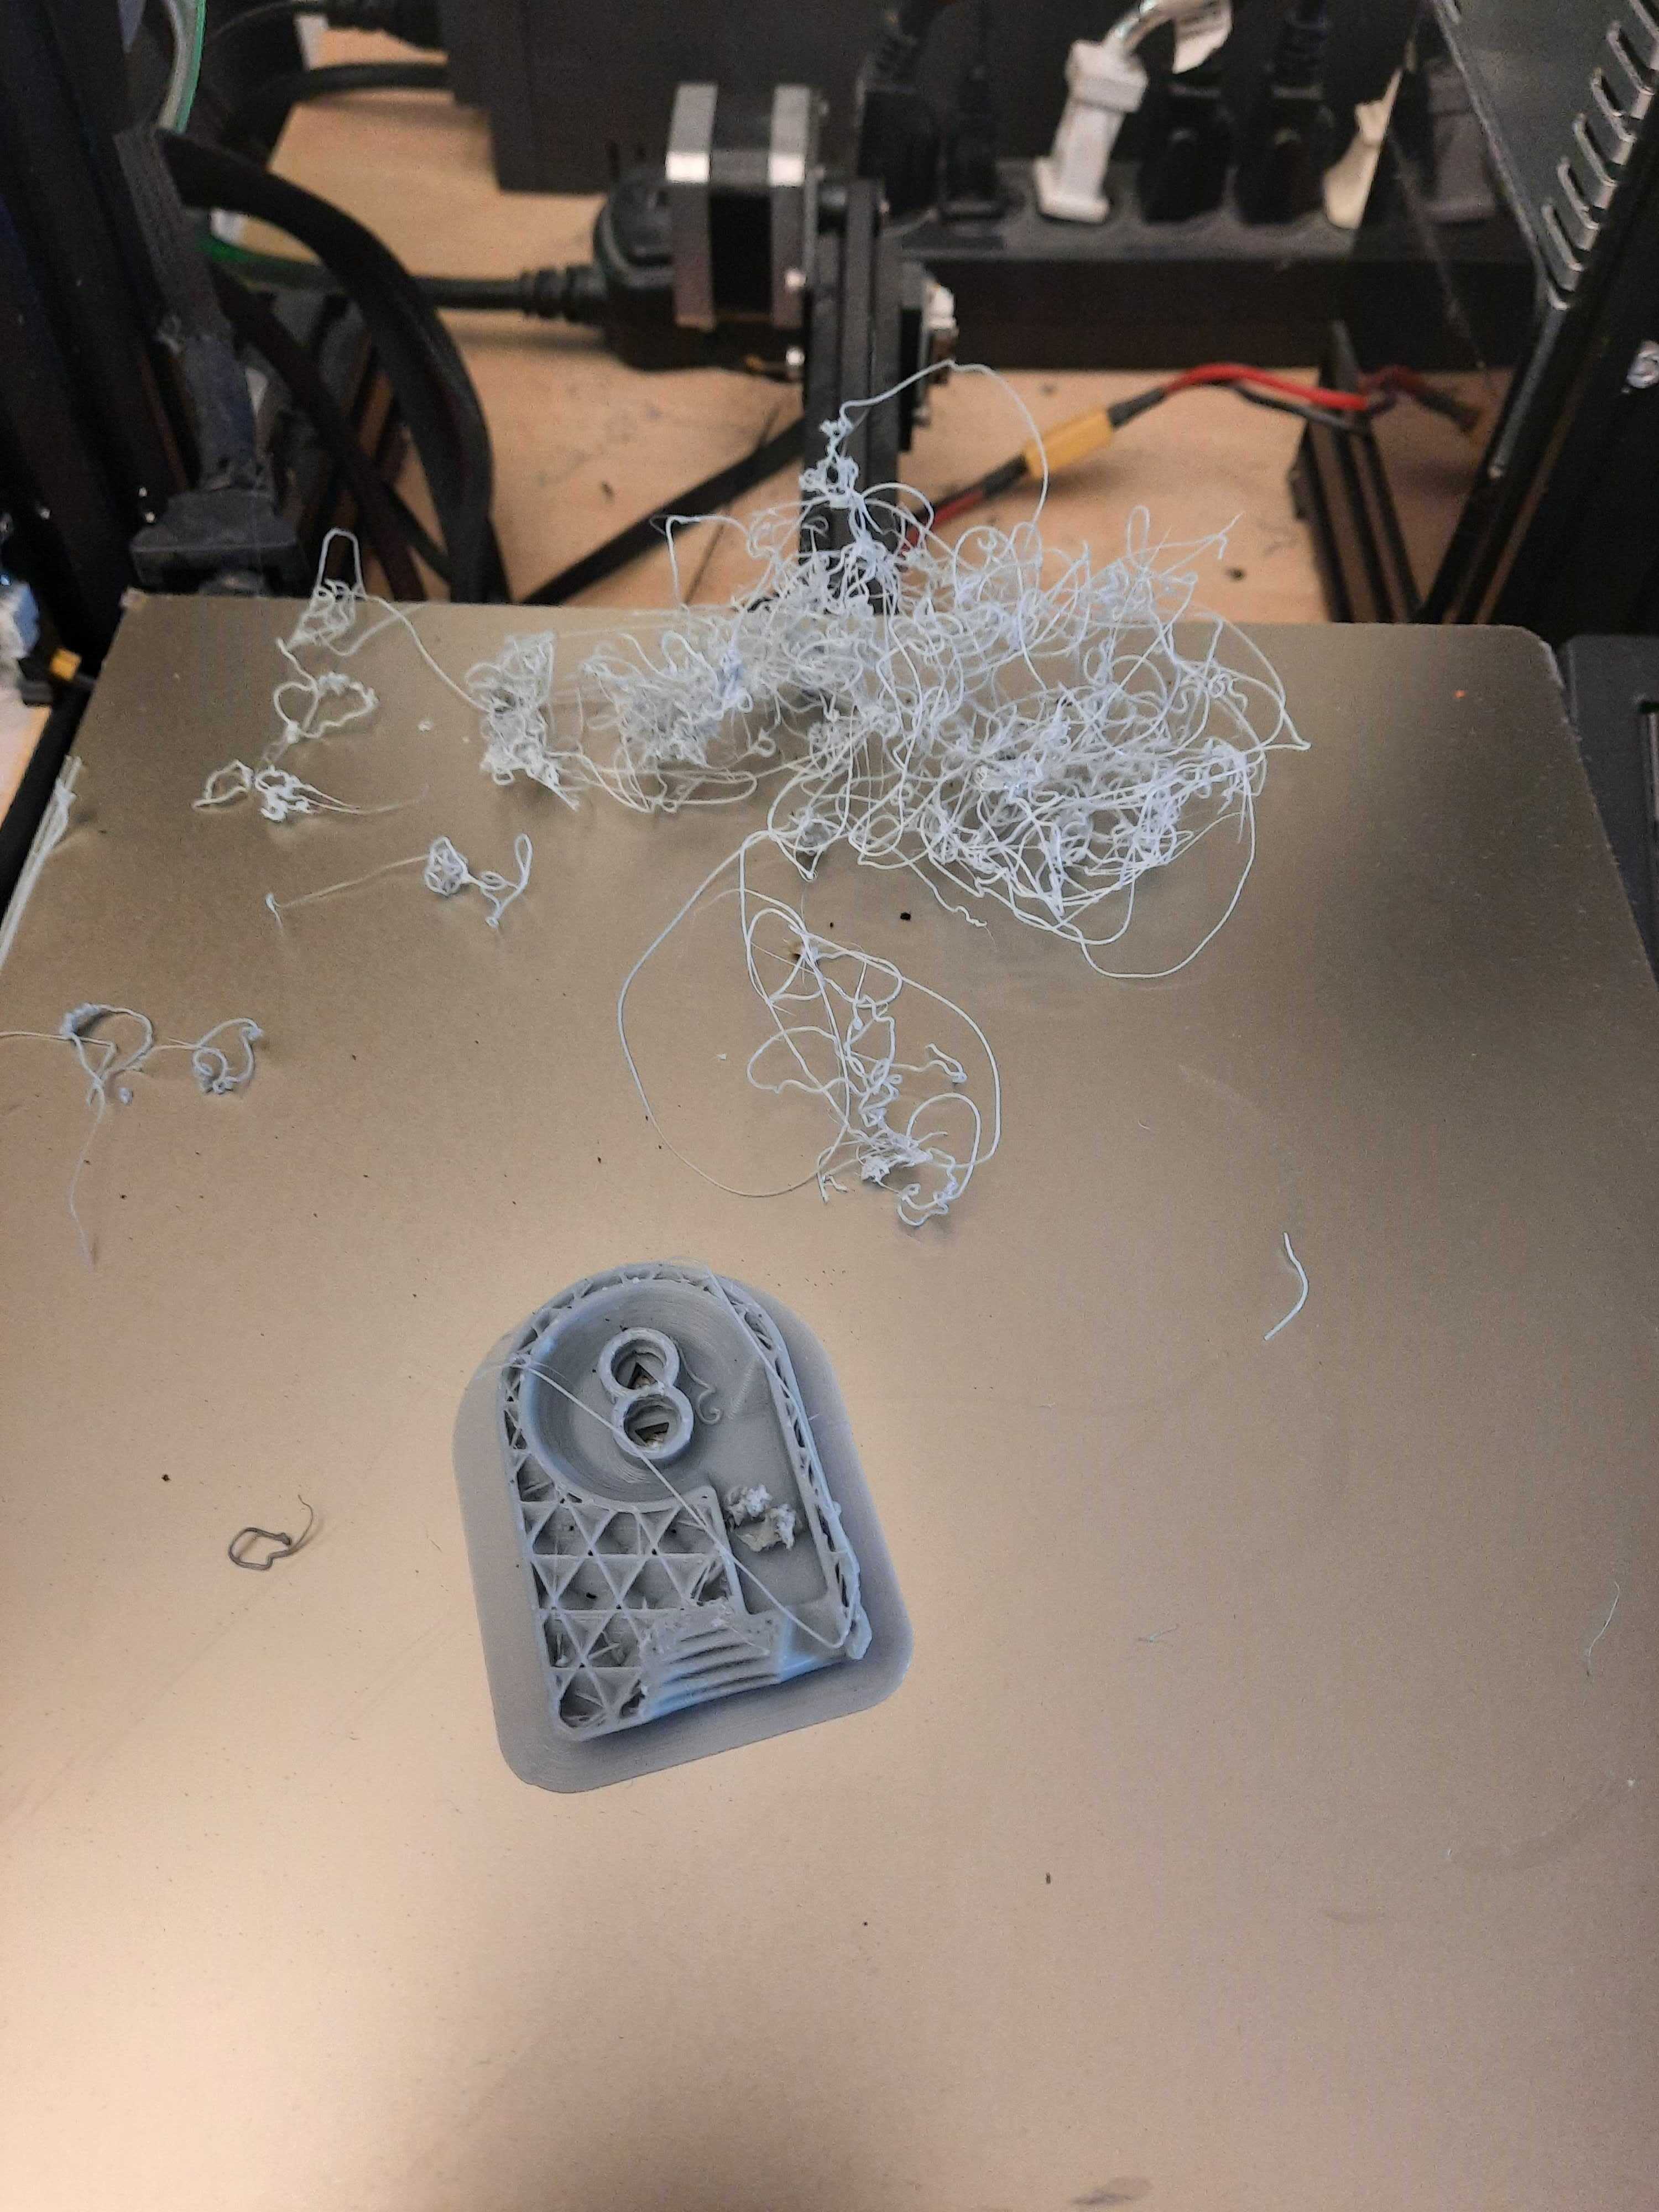
after 3d printing a couple of sets of parts… i am wondering if these inner parts would benefit from being resin printed. especially the tiny buttons
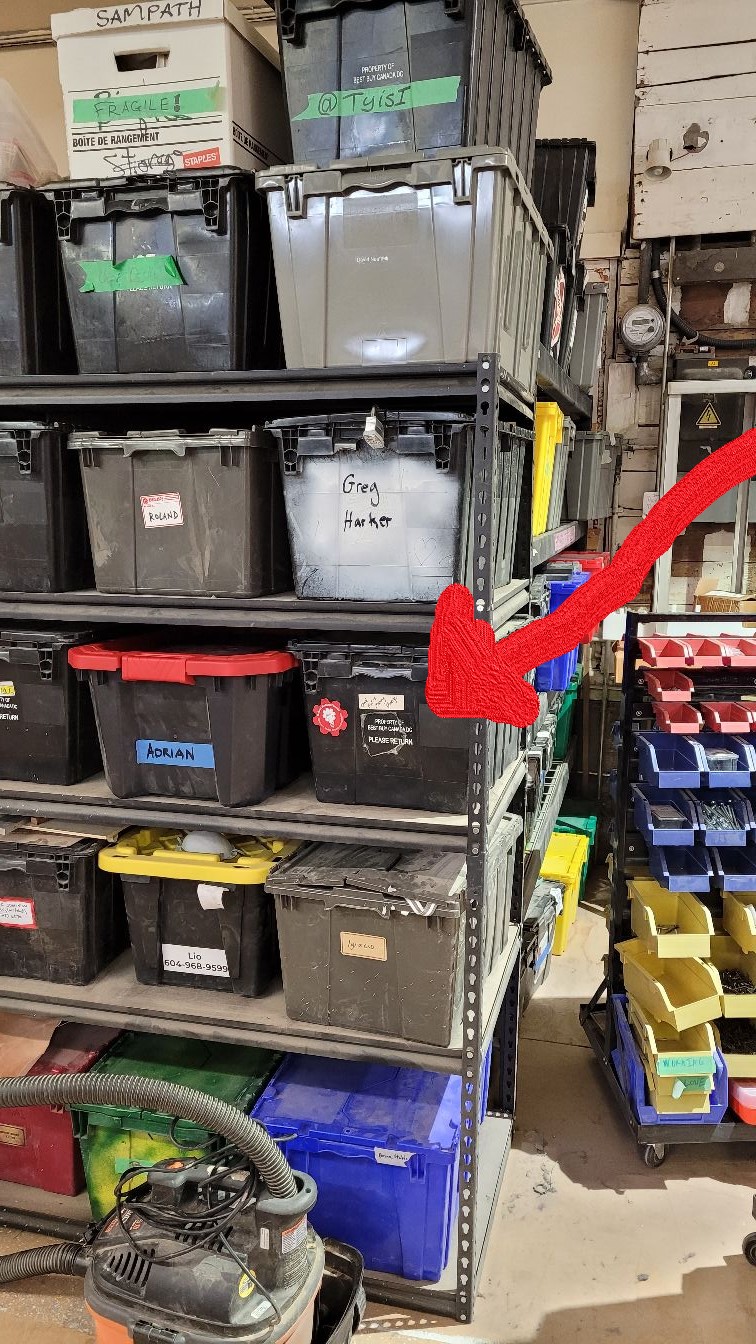
@packetbob will be bringing refills / miasing extra parts down to space later today, but will send you DM as think you may be close to office so can save you a trip.
Key thing which I gave no one, apparently, was mouthpiece so you could actually try it out. Apologies. Have individually bagged mouthpiece + filter for each of you and will drop in my tote to not clog up dropbox (but if your kits are still there) will add it in.
2 Likes