The Voron continues its slow march to functionality… here’s a little update on the journey so far, in the form of behind-the-scenes posts I made on the #3d-printing-committee channel.
TL;DR is that if you are an expert, your input is requested! Reach out!
Enjoy!
(The story actually begins long ago, when someone dropped off a few printed parts for a Voron, and somehow they ended up in a box labelled ‘Voron Project’, even though there wasn’t really a Voron in the box yet, at least not the important bits. Flash forward, a kit came available, thanks to @brianzhouzc , @xquared and I built up the mechanicals, @Soma helped out with the electrical, wiring, and a bunch of key decision points, and lately, it’s been me setting up klipper and getting the actual functionality started. We join our story about here, already in progress…)
On 10 September…
Voron update:
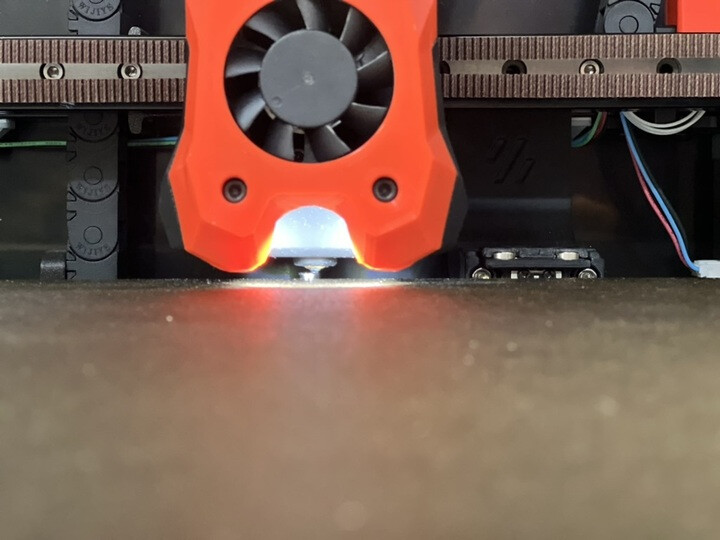
nozzle upgraded, it’s now forever (cuz it’s a diamond)
Z offset is working as an absolute value, no baby-stepping or user input
I will continue to dial it in as I calibrate the printing, but it’s now absolute which is killer!
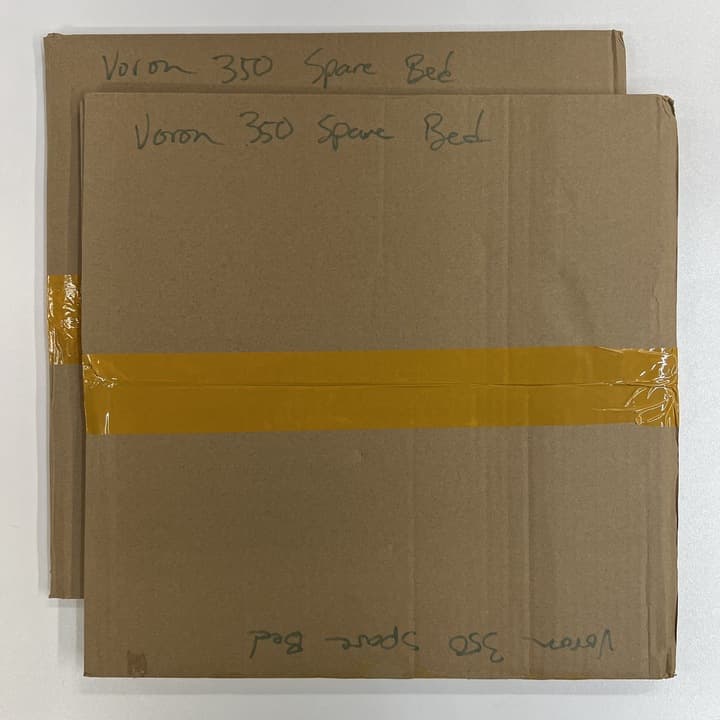
I’ve ordered a new build plate since… I crashed just one time, but diamonds
I plan to return tomorrow to continue calibration
One week later, I poke my head up again…
Any klipper/voron setup wizards out there who can help…
I’m working on getting the bed mesh working on the Voron, but I can’t seem to get it to… work properly.
- Bed mesh data is not present on startup, and after calibration is visible in Mainsail, and it is not saved. This is working as expected.
- Only one Bed_Mesh_Calibrate macro exists, to my knowledge, and it’s the klippy one.
- First layer height is WIP and not yet for consideration; In this, I’m only looking for consistency, not perfection. The two calibrations are taking place in parallel.
- Mechanical bits have been tightened, belts tuned with shaketune, and everything should be within the parameters that a bed mesh can handle (I can’t remember the numbers, but they are reasonable for the bed size, somewhere between ∆ 0.1-0.2, which I believe to be both well within klipper’s capabilities and also normal for this larger bed size.)
- Probe_accuracy is very high, 0.02-0.03 mm or so (from memory, will double check later)
- Tested without bed calibration and it certainly seems to be applying something, as this was a terrible result, much worse than the poor results I’m showcasing.
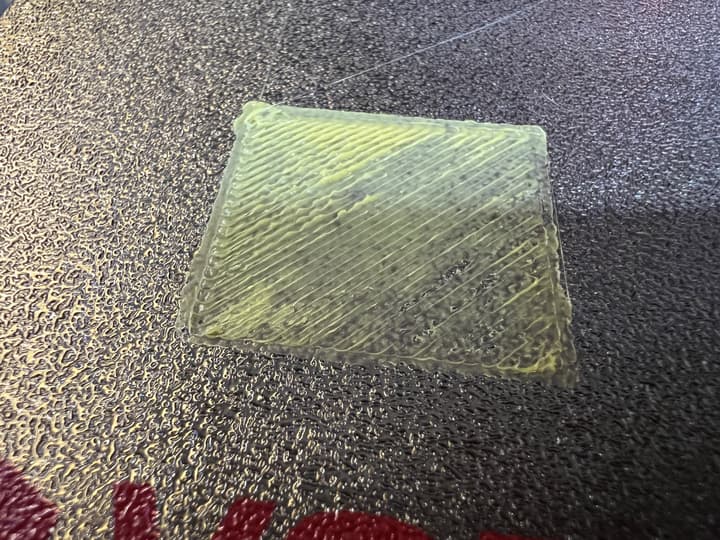
So despite this prep, I am still getting very inconsistent layer heights across the bed, ranging from underextrusion from dragging really close (front edge, mostly) to non-connected extrusions where it’s a bit too high to properly adhere (back edge). Seems that the mesh is being applied.
Any ideas?
I put together a question for Reddit about the bed mesh issue, since I was getting little traction from my attempts. Not a lot came from it, sadly.
Also around then the extra PEI sheets arrive… they’re not needed until testing is done, though.
27 September, I update again.
### Voron update! ###
I have still not cracked the bed levelling issue, and it’s driving me mad. Looking for assistance if anyone has ideas, Adheesh stopped by but we didn’t manage any breakthroughs; I’ve done a lot of troubleshooting so far but no luck. Anyway.
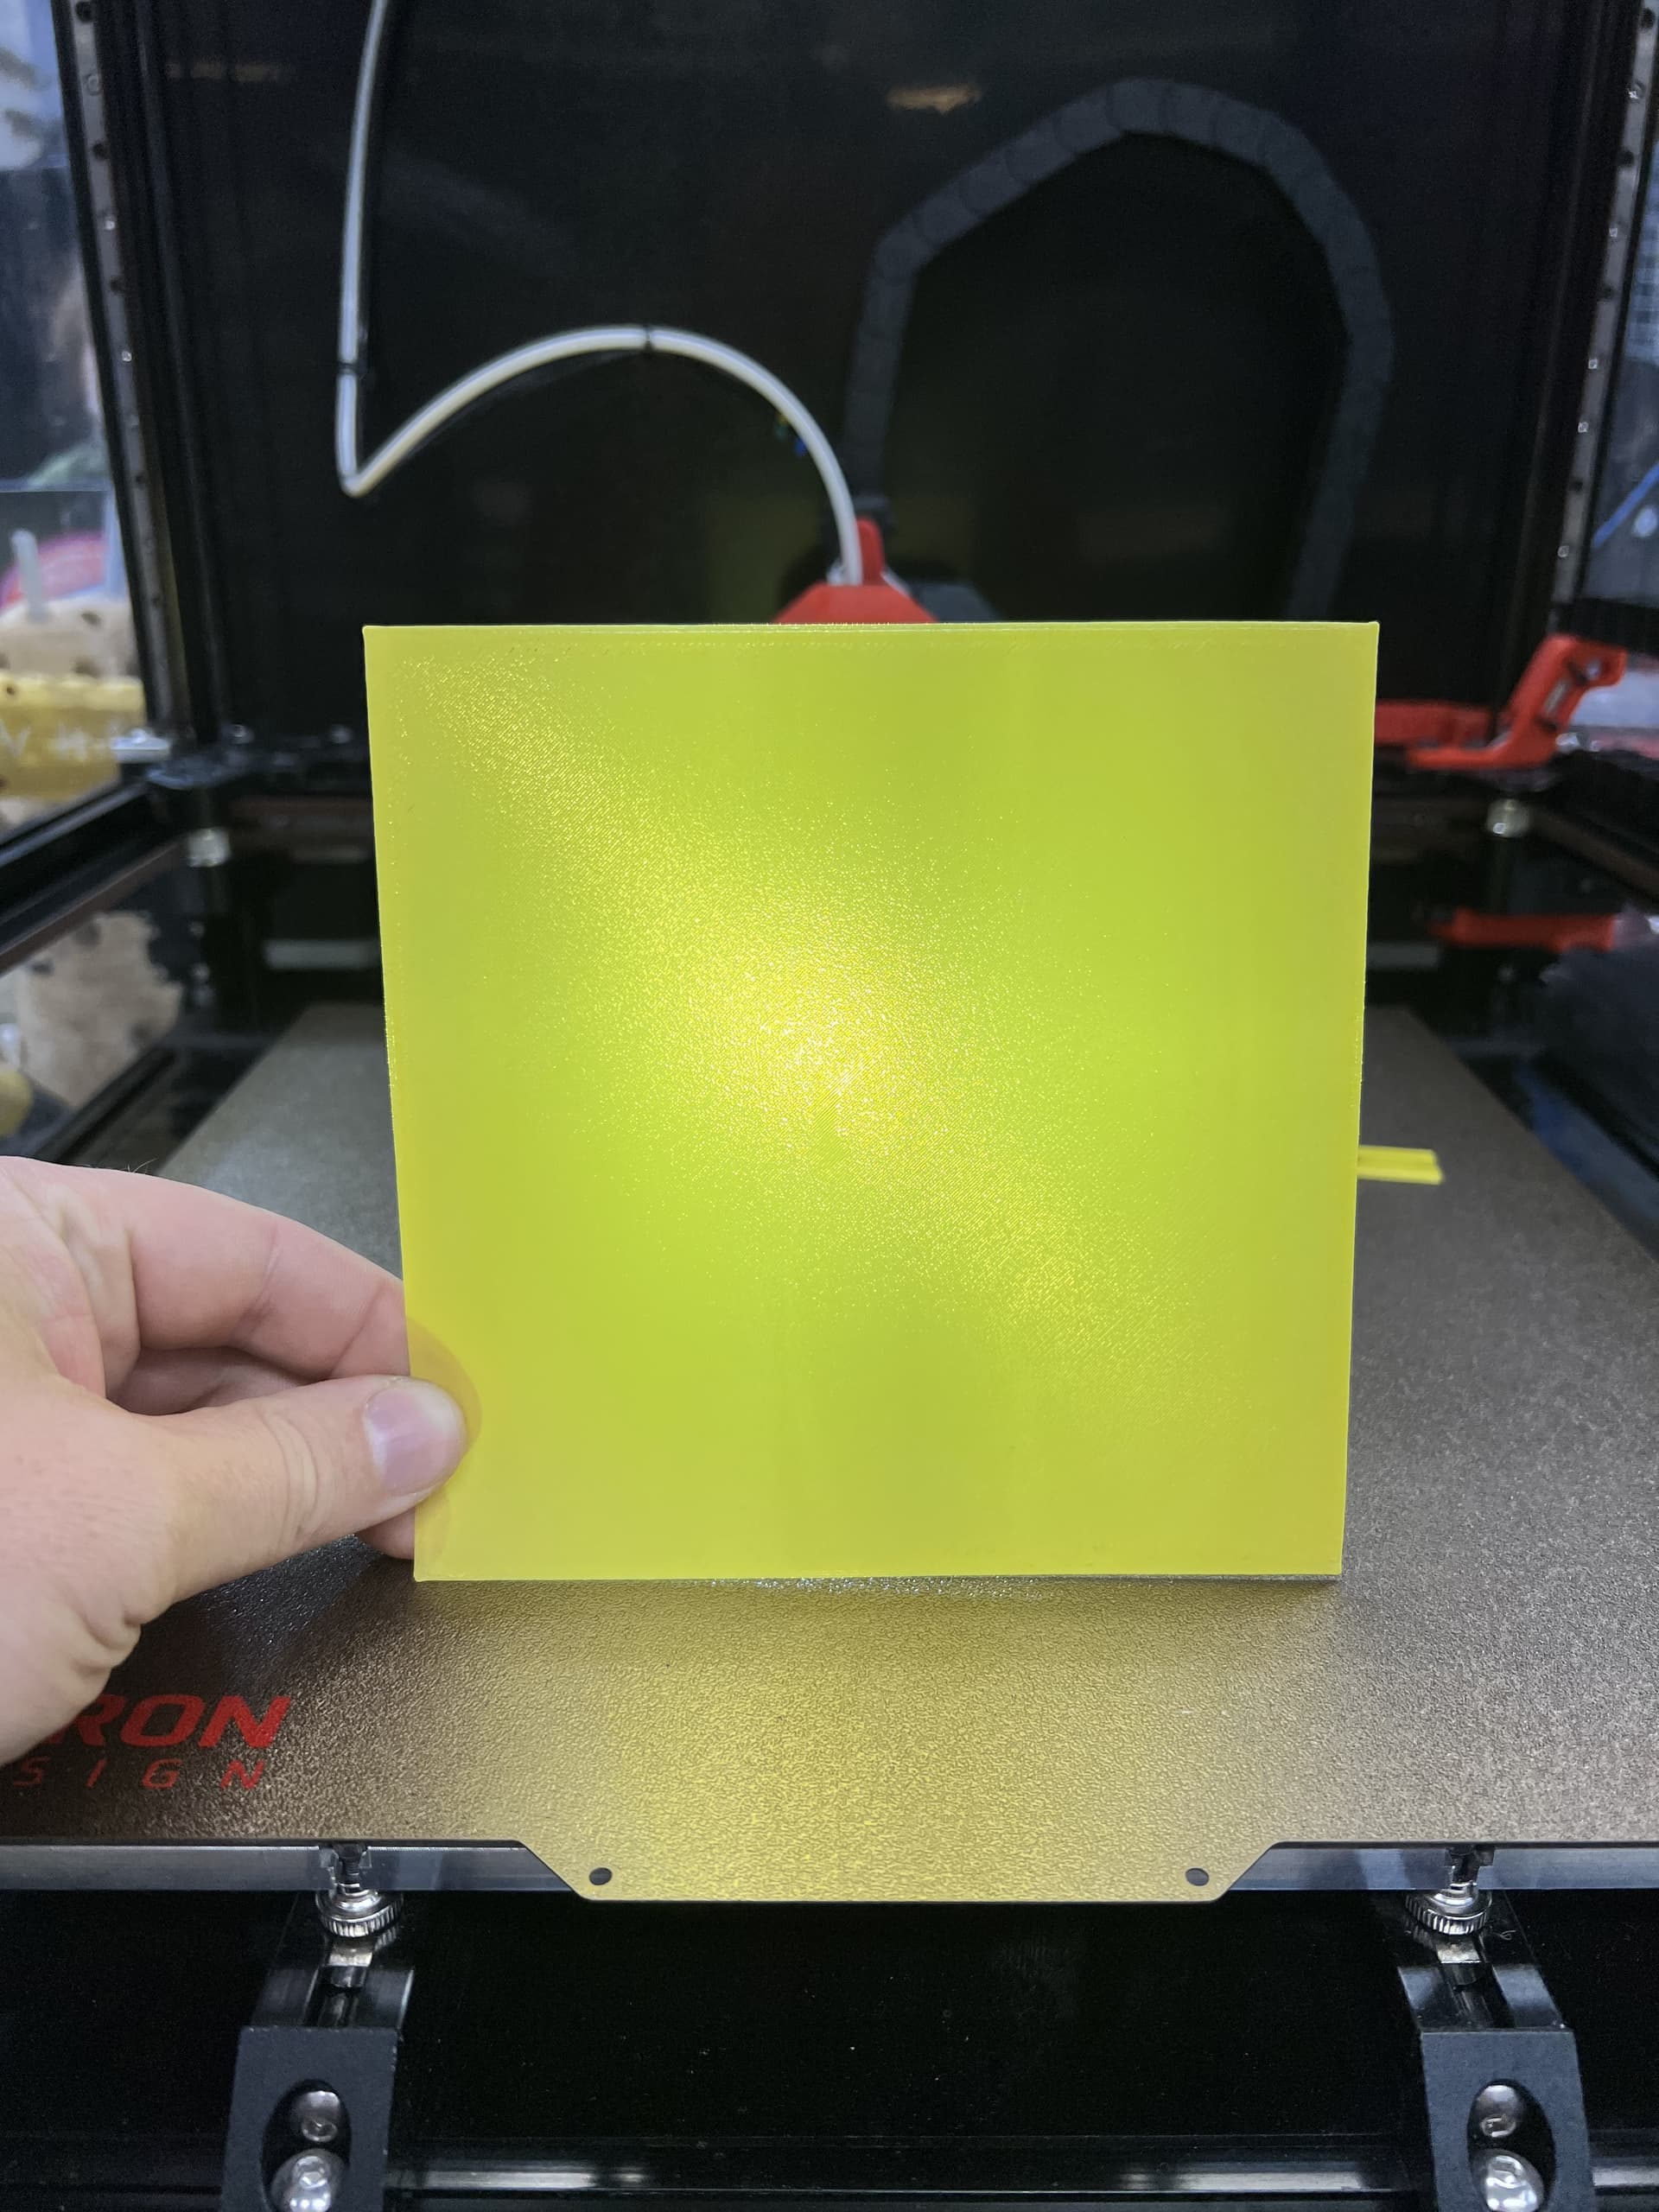
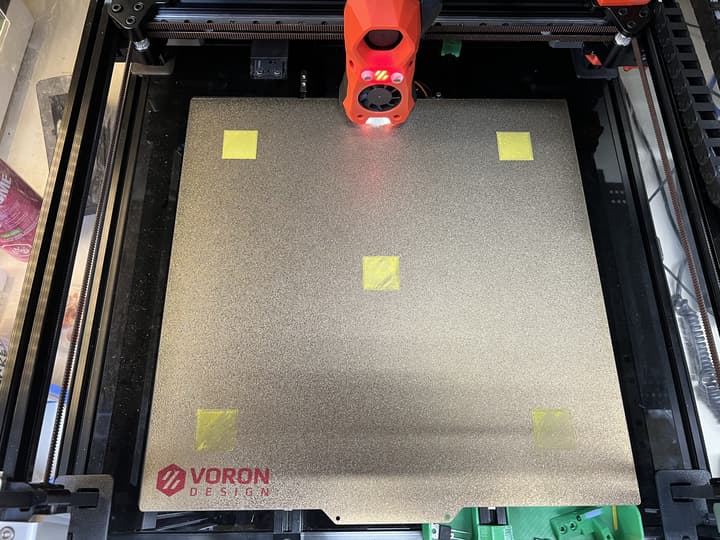
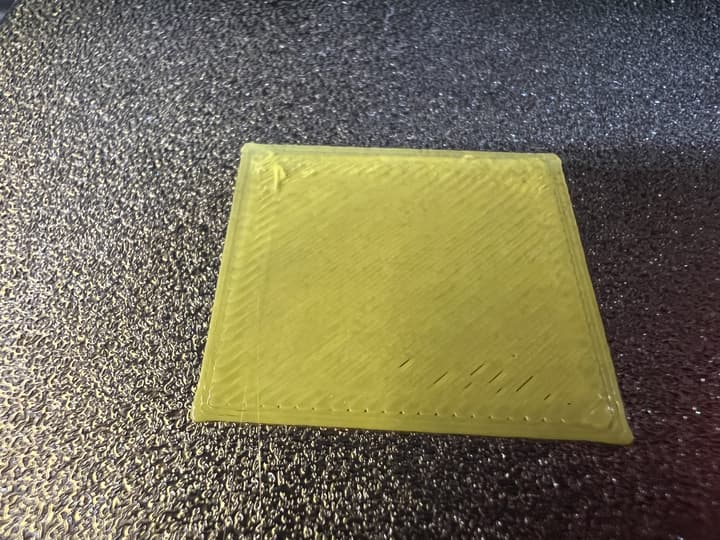
Wednesday the printer still wasn’t levelling, so I decided to use the somewhat decent single-point offset instead of a whole mesh level and print a few parts, on the hope that I could fix a thing or two. It prints lovely, considering that there’s no tuning whatsoever on the actual printing so far. Good result! However, the printer at some point in the evening started to stop responding, no idea why, and I couldn’t log in to the pi. So no idea why and no way to see why …runs around space wildly pulling various cables and such … hook up to the hilariously large TV as a monitor, steal Dustie’s KB/M and… voilà! Seems that there was an issue that the MCU was causing it to hang when connected. Strange. How to fix it? Re-flash the firmware. Back to business, only took like 8h, and I know a few more things today than yesterday.
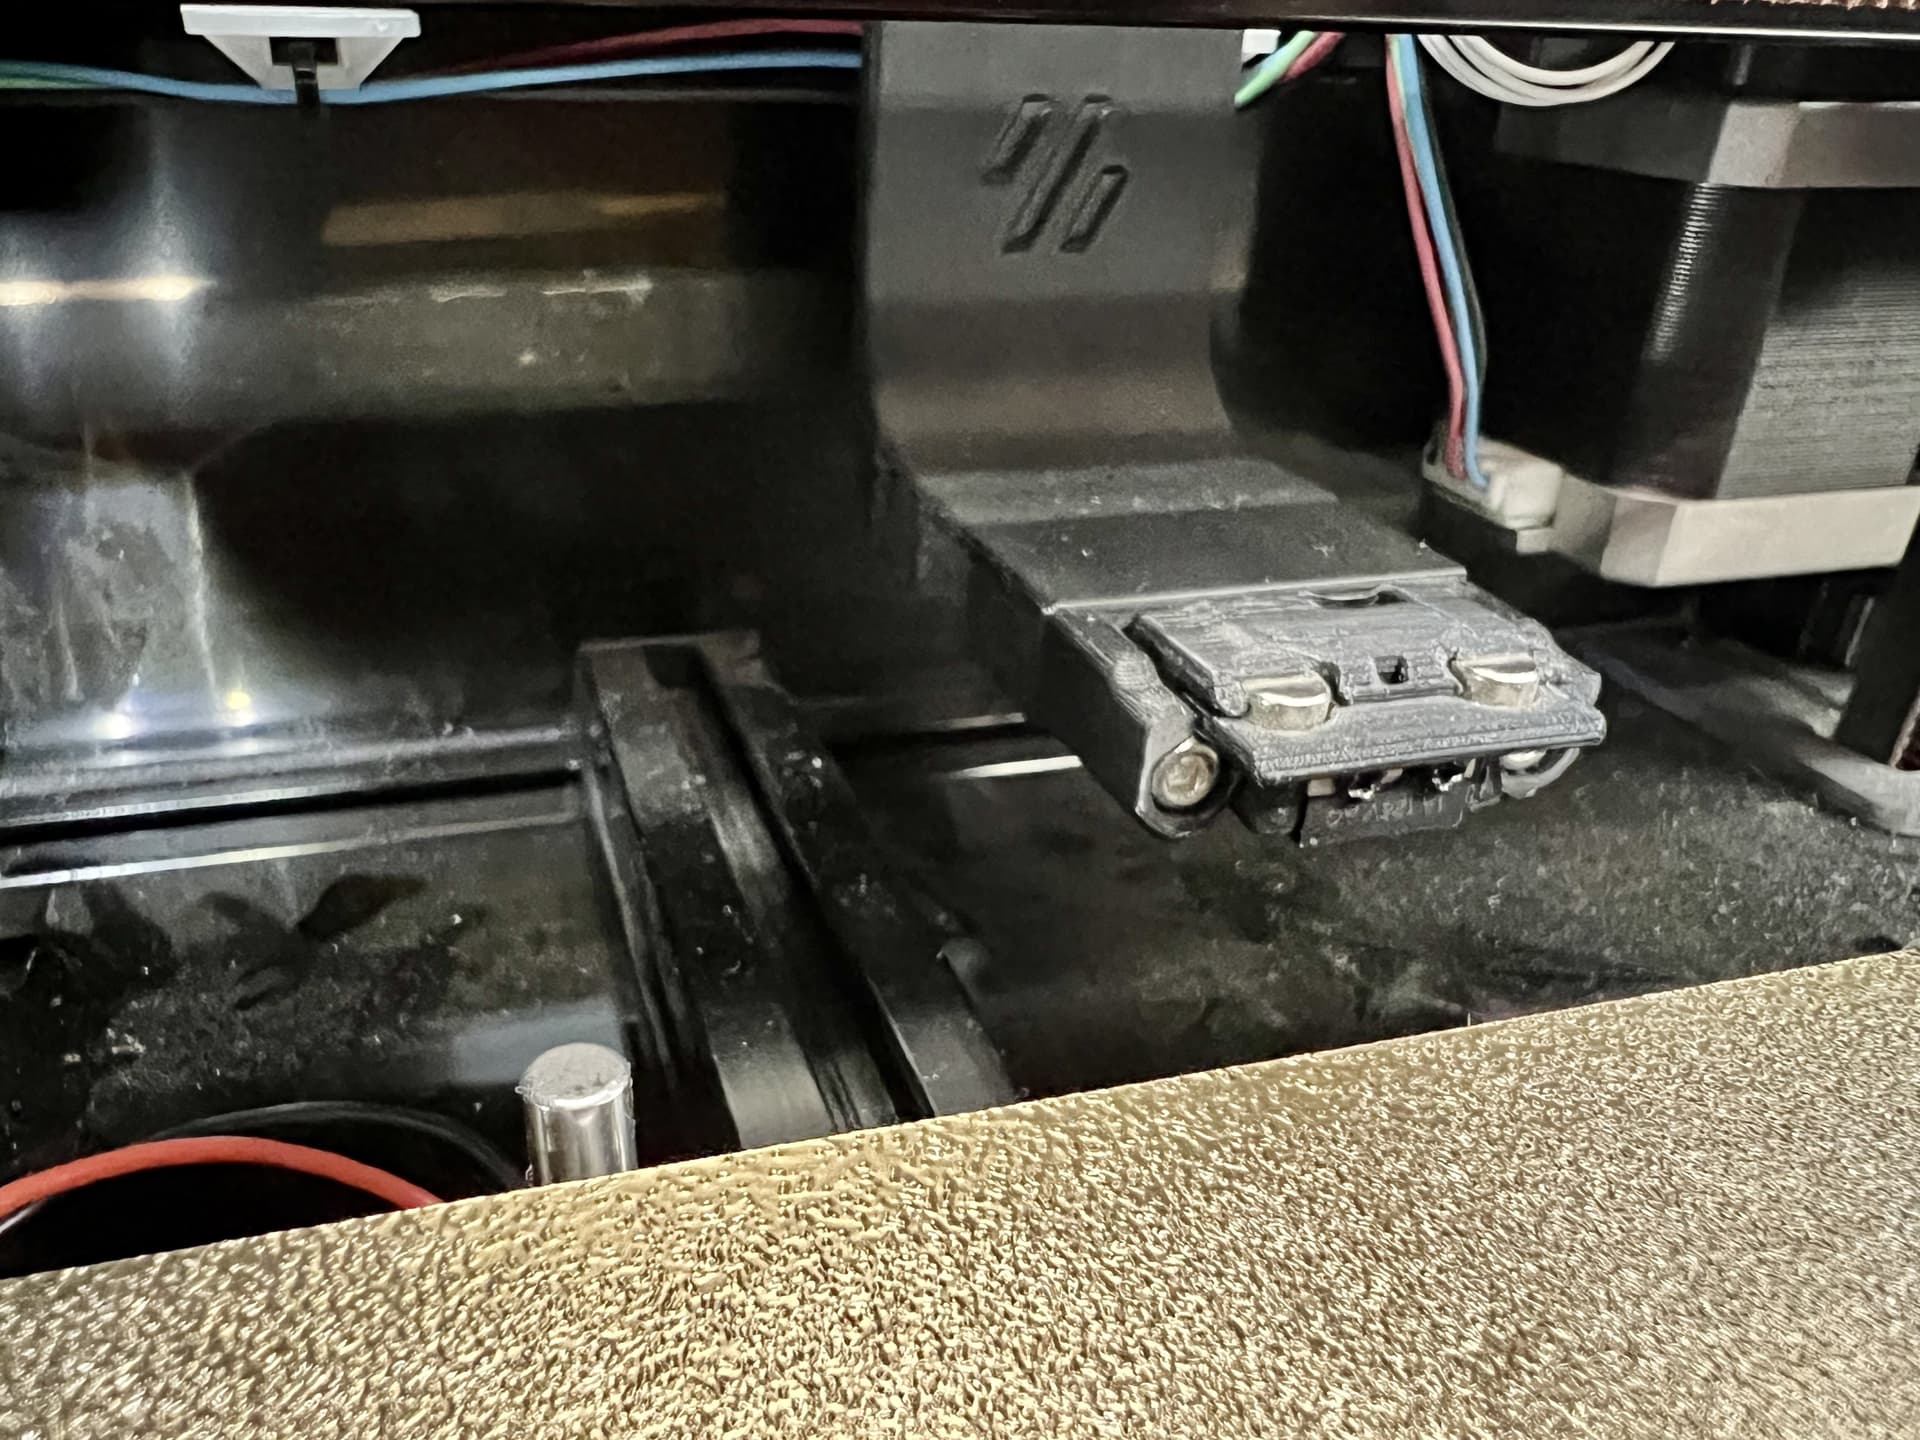
So on Monday, I’ll get back to the bed mesh levelling issue. In and amongst things the hamster in my brain has added an exhaust fan and chamber thermistor, we’re set to be able to add some bed cpap fans (do we have any? If anyone knows, can you add them to the project bin or just pop them in the printer? ) so we can get going on external exhausting, homing, nozzle cleaning and the whole Print_Start macro seems to work reliably, I’ve set up a github repo for its profiles (but still need to check some stuff in, ya know), it’s in pretty good shape, overall. I also made a hanging door for Brian, enjoy!*
(p.s. the photo is before I fixed the homing position, it’s centred on the pin again)*
(Also to read: I’m motivated and driving this, but if you’re knowledgeable and interested, pop on over!)
A few days later, on 3 October, I update following a great troubleshooting session with @ddq, where we definitively determine that the issue exists in the pi, not the psu nor after the pi.
Seeking consensus :
The Raspberry Pi is defective. Testing the power supply with @DaveM showed the fault to be on the Pi, not the supply, and every error is about the Pi being undervoltage or the effects of the related cpu throttling. I’ve swapped the Pi with my own and the problem is no longer present, so I’m seeking to get a replacement Pi for the Voron.
I can get this for C$58.75 shipped from Mouser, and I’m open to other (local?) options if you know better! I don’t know where our finances are at the moment, but hopefully it should be fine?
Immediately, @KittyCat steps up and leaves a replacement pi for then project. Yo, thanks!
Hola! A new Voron update has appeared!
First, a big thanks to @fish who donated a replacement pi for the beast, it was up and running in only moments. No failures to report.
The bed mesh is the only remaining issue. To test, I did a manual calibration and… voilà! A perfect print, but created in the least perfect of ways… manual bed meshing with paper. But it is progress since it shows: the printer is able to repeatably, reliably do all the things necessary with the exception of the mesh, and that the mesh, fundamentally, works. Right down to seeing the Z motors stepping slightly as it whizzed across the bed, as expected.
Where this leaves us is a bit unclear: the printer works, all the parts, including all the parts involved in getting a mesh. The Z endstop and klicky probe are both used in combination to generate an absolute z position, which is working well. The z endstop works on its own, as does the klicky probe, with high accuracy. The probe successfully performs the quad gantry levelling, and has repeatable results with a stddev of about 0.0055mm, which seems pretty okay. But for the life of things it cannot mesh the bed, or has a flaw which makes this not happen correctly; a mesh is generated, it’s ‘approximately’ the same shape as the manual-paper mesh, but it fails.
So, baby/bathwater approach (just get an eddy as a poor man’s beacon, for big meshes and small times and forget this whole ordeal), or the ‘flash the firmware’ approach of digging into the klicky’s failure until it ultimately works the way it’s supposed to ?
p.s. eddy’s as little as $23 landed so it’s not a huge problem… though it’s giving up a little since we’d then have 3 different ways to set the first layer height, which might be maximum overkiiilllllll!!!