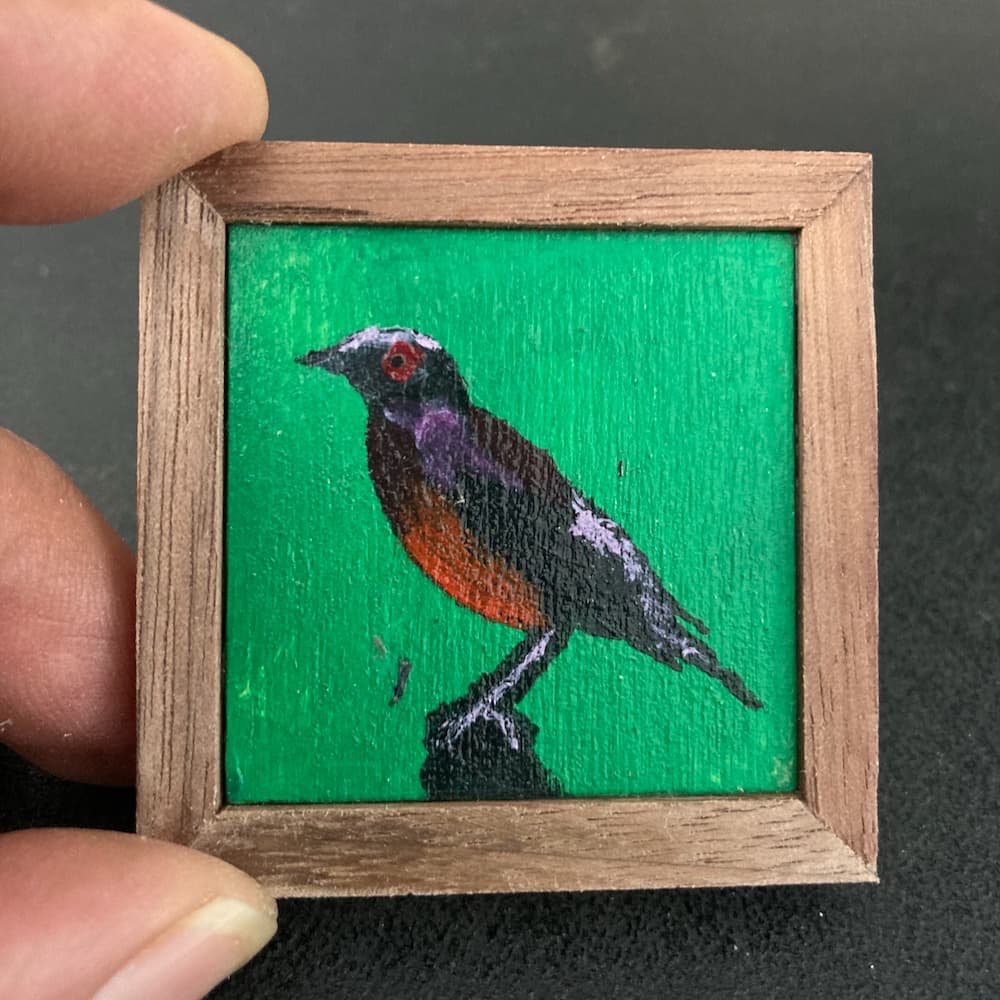
I make my own frames for my miniature paintings.
These frames require ripping 3/16" square strips of walnut on the table saw. In the interest of saving my fingers I decided to build this thin rip jig that I came across on YouTube.
It works really well and is feels much safer than using just push blocks.
The thin rip guide slides along the table saw fence. You set the fence once and then each subsequent rip is almost identical to the the last. The height of the front holding face of the jig is adjustable using 3 wing nuts and securely holds the strip in place while keeping your digits away from the saw blade.
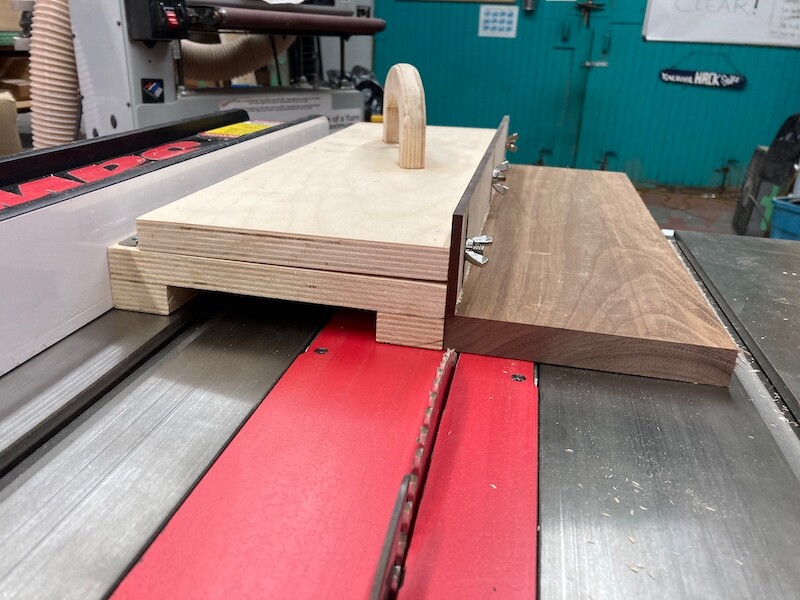
The jig holding face is laser cut from 1/4 baltic birch and is a “consumable” so doesn’t matter if it gets cut.
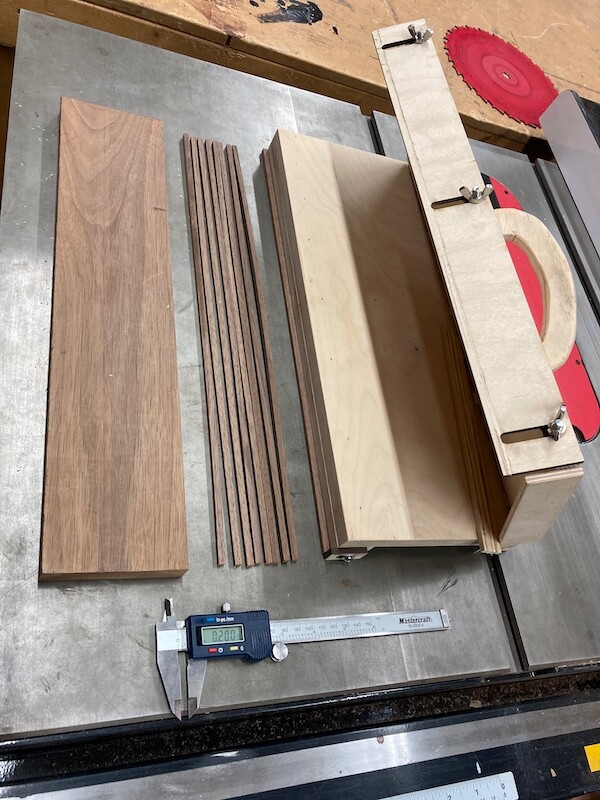
First cut wide strips from a walnut board
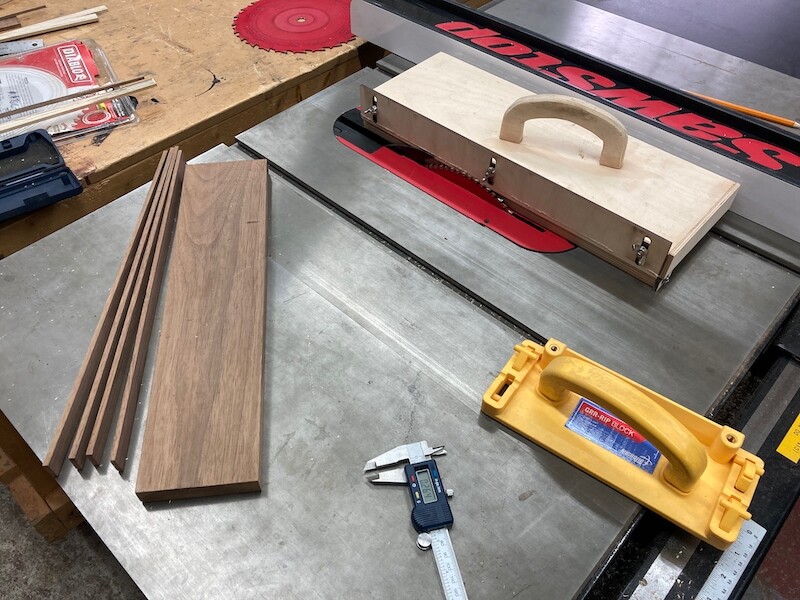
Then cut smaller strips from the strips cut above.

It’s been a while since I’ve used the wood shop. It was awesome to use a shop that has everything I need and have knowledgeable members who showed me how to change a bandsaw blade and use an air nailer. VHS rocks!
I used the
- drill press
- band saw
- air nailer
- wood belt sander (shaping the handle)
- router (Round over the handle edges)
- palm sander
- table saw
- electric drill/screw driver
Show us your projects!