I started to plan this bench in this former thread, but I’ve finally gotten some movement on this project.
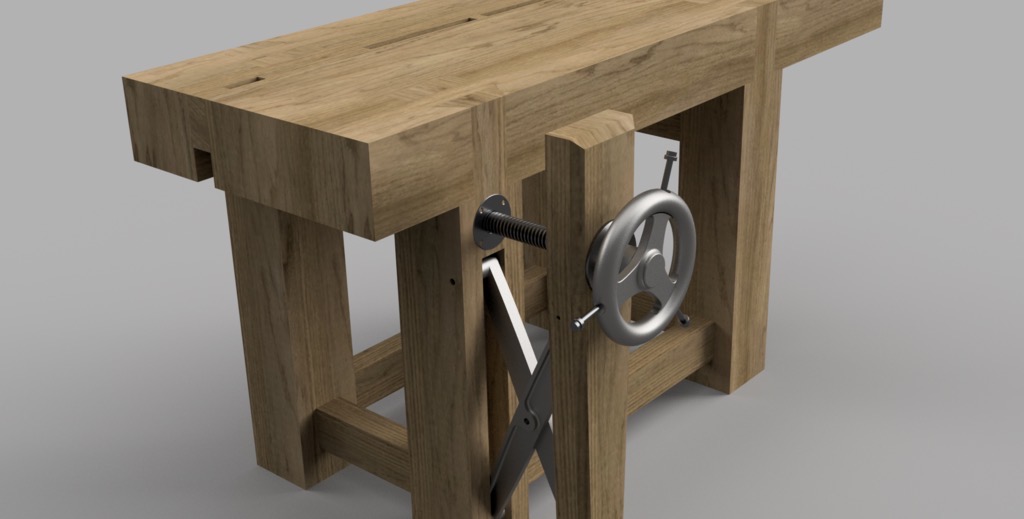
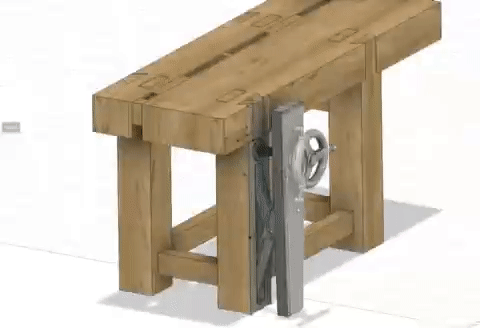
This project started with some planning. Using Fusion360, I designed the bench. It was originally going to be a split-top, but after taking a look at how I’d be using it, I decided against the split-top and I’m going for a solid-top. The pictured sliding deadman is also going to be deferred until I decide if I want it, but I’m not going to plan my way out of it.
Without further ado, here’s a rendering of roughly what I hope to accomplish.
I’ve since realized a few errors and modified my plans, but I haven’t ported them back to the cad.
The legs are ~5" and the top is about 3" thick. Next was to go out and see what I could buy. I discovered that Tantalus Design occasionally sells some of their extra raw stock, as they buy direct from a sawyer. They are a pleasure to deal with, and gladly let me pick through their stock. Afterward they gave me a tour of their shop, showed me what cool things they make. The products they make are outstanding, and the brothers that design them are absolutely fantastic people. If you ever get a chance to meet them, I highly recommend it.
Upon entering their wood storage, this is the beautiful sight I happened upon.
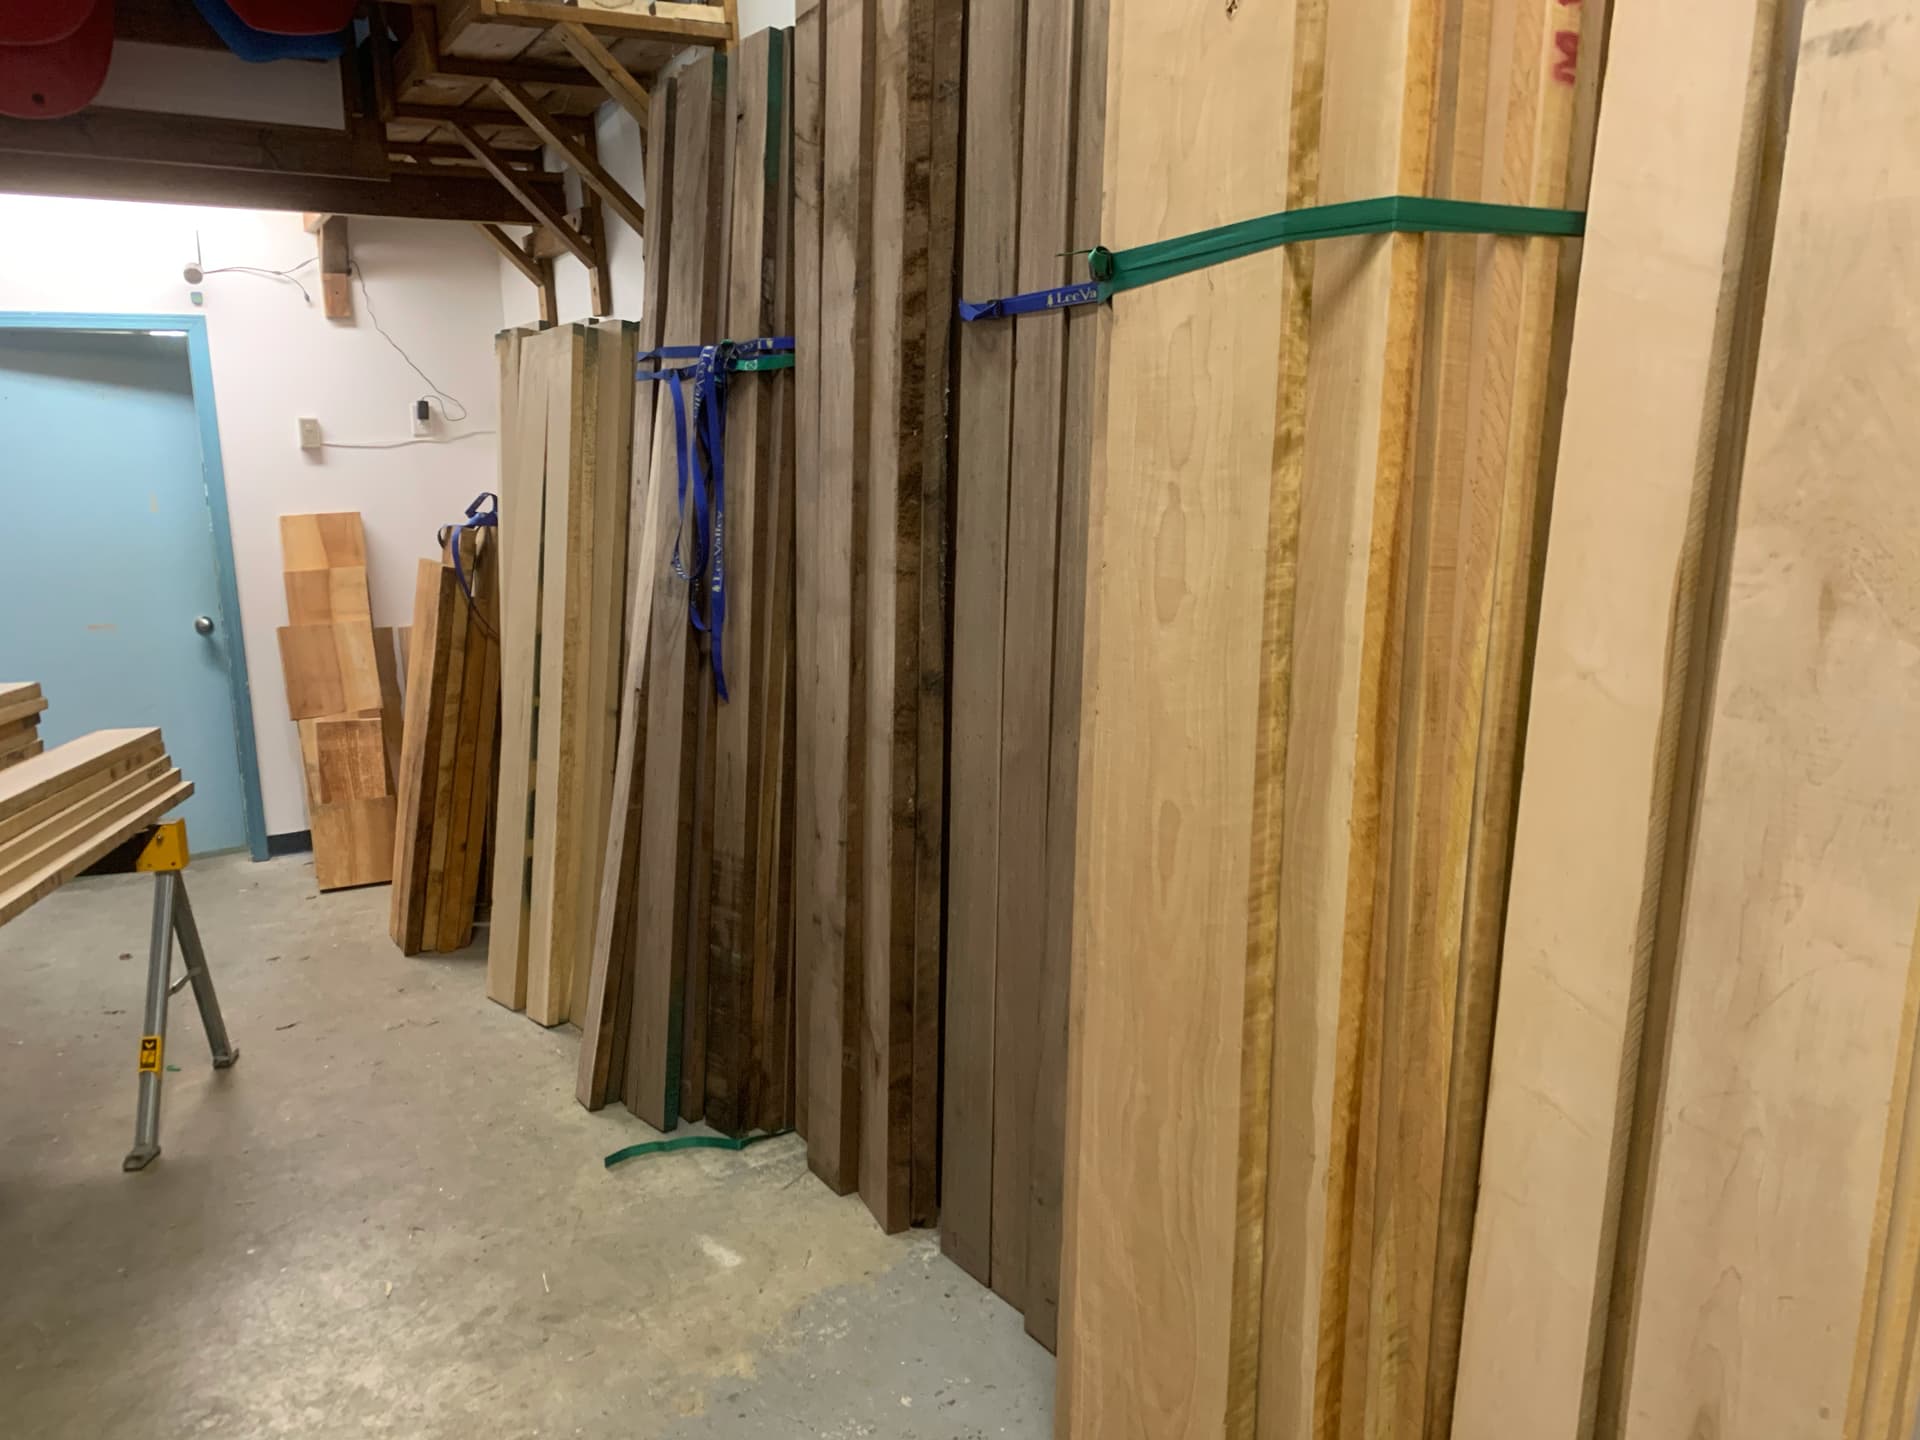
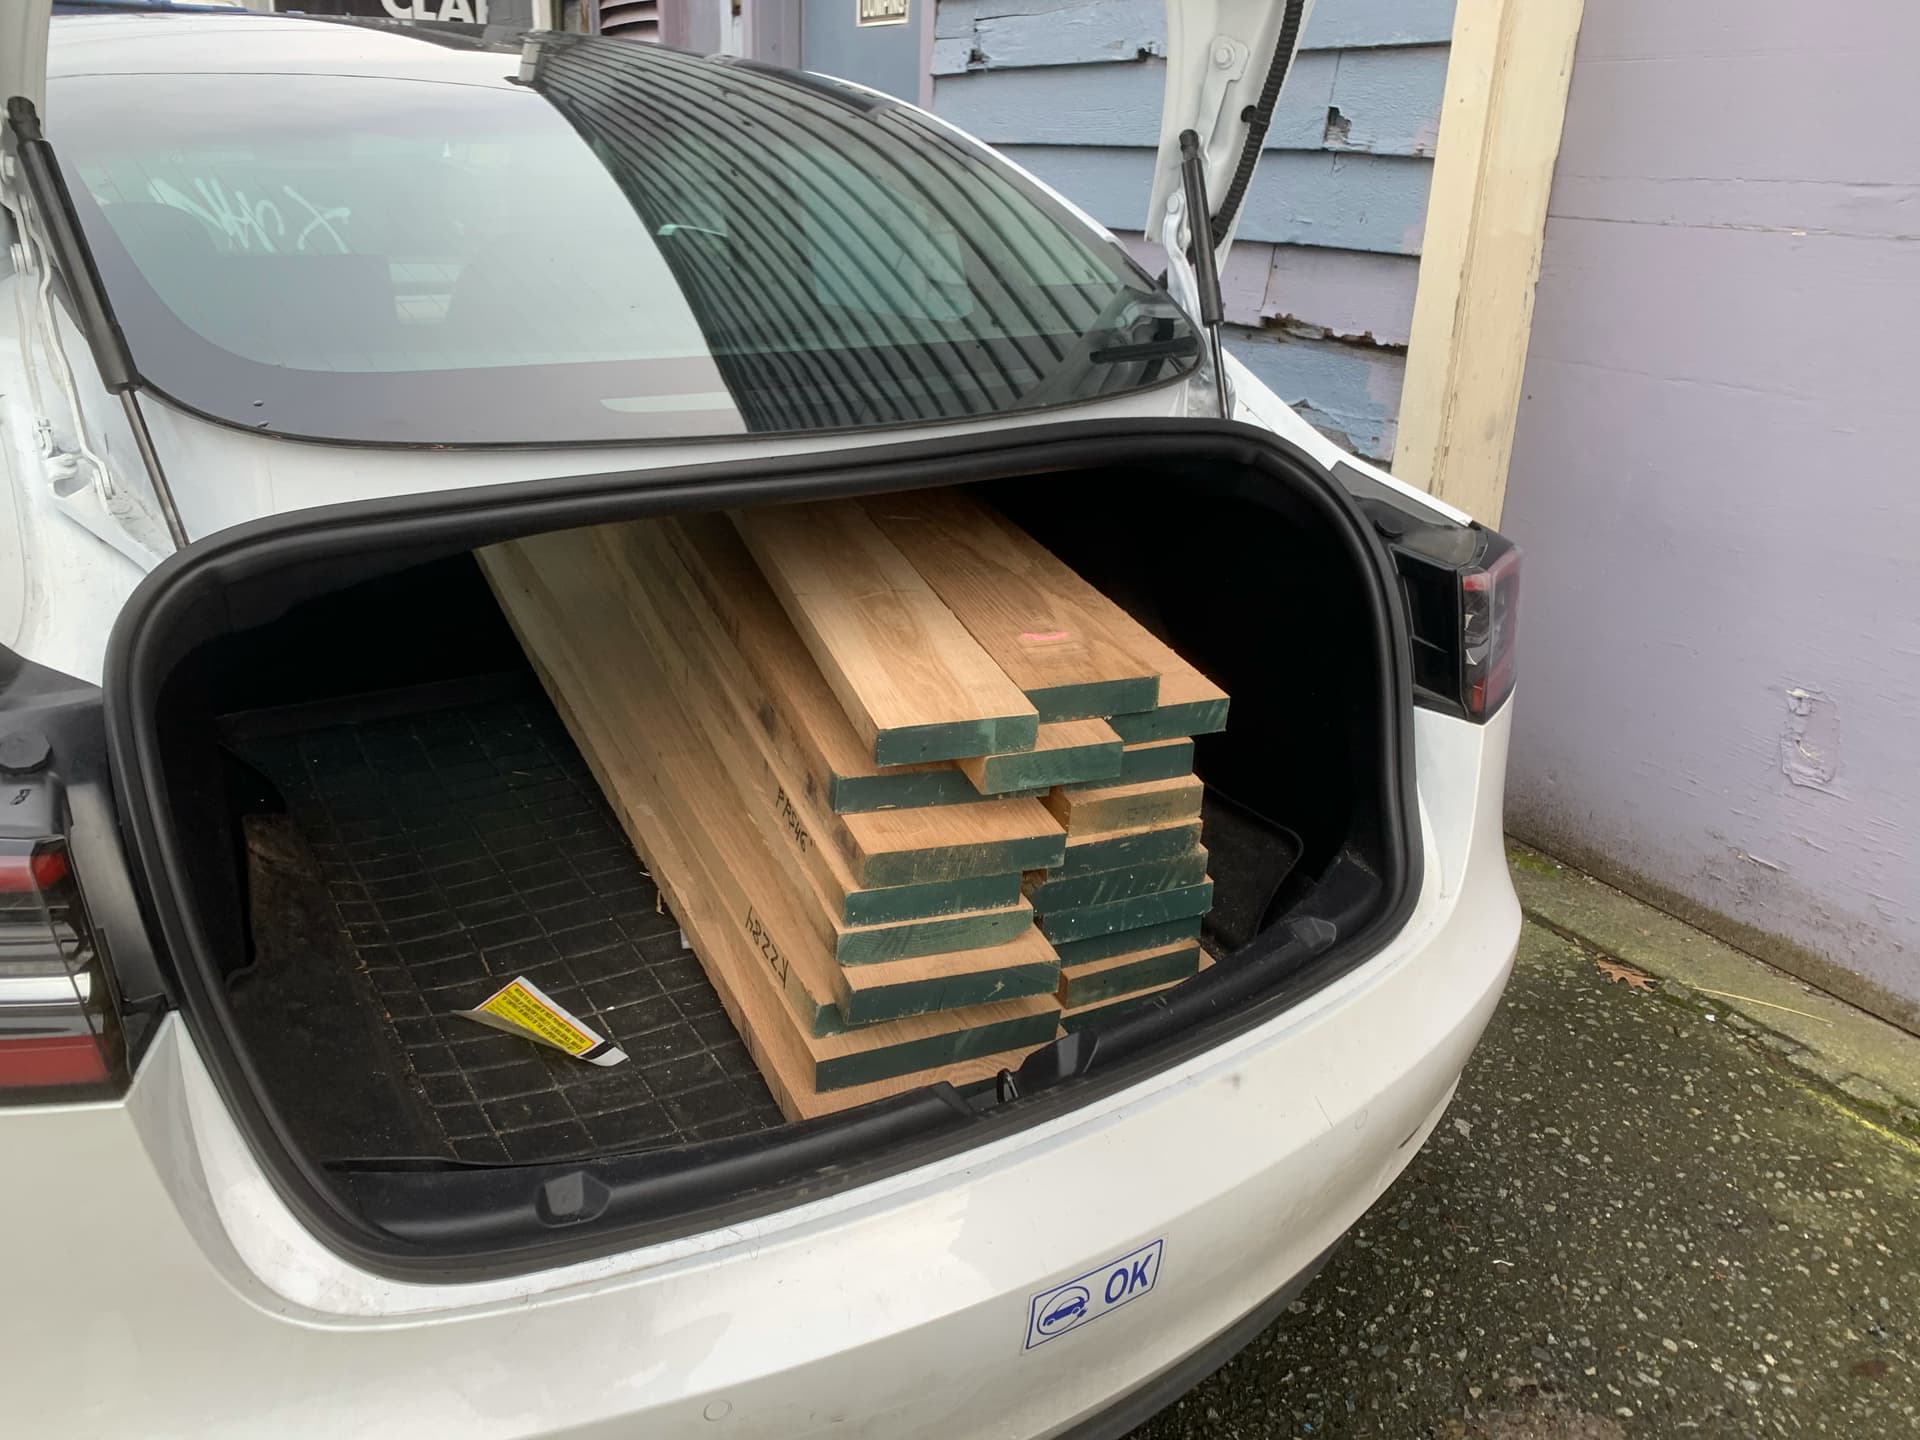
My goal was to get 6/4’s white oak for this bench, and boy howdy did they have a lot of that to pick through. Here’s my stack I ended up with.

In retrospect, that’s a lot of weight for those little sawhorses, but they held.
They fit in my car (with the back seats down and the front seat moved forward
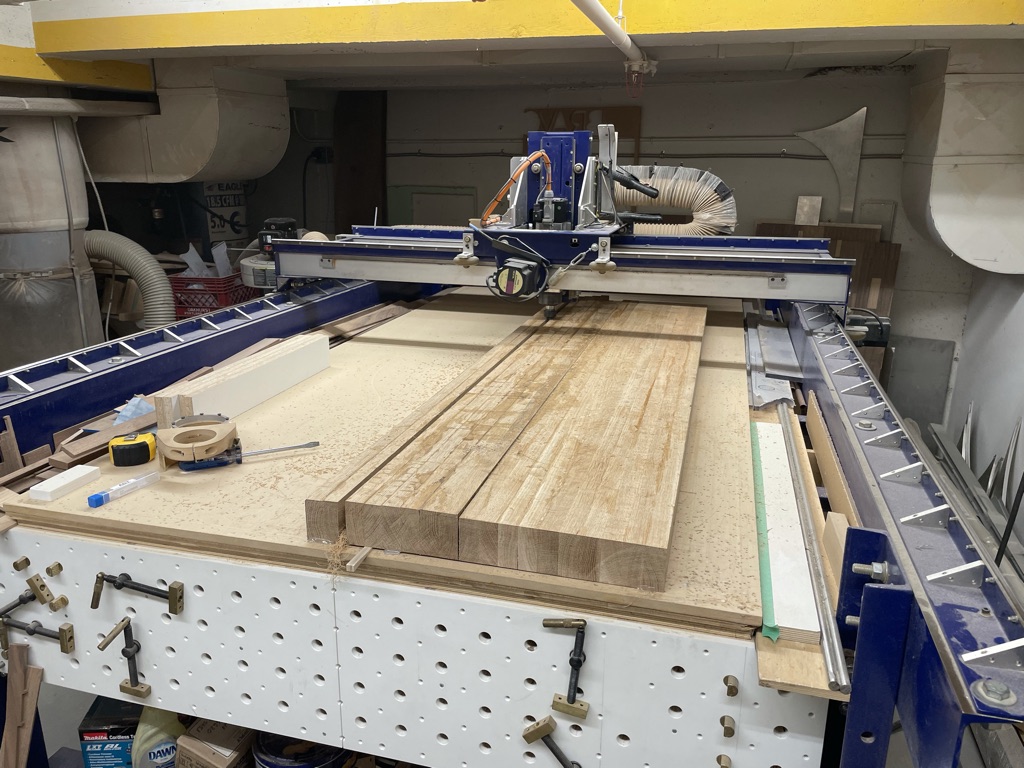
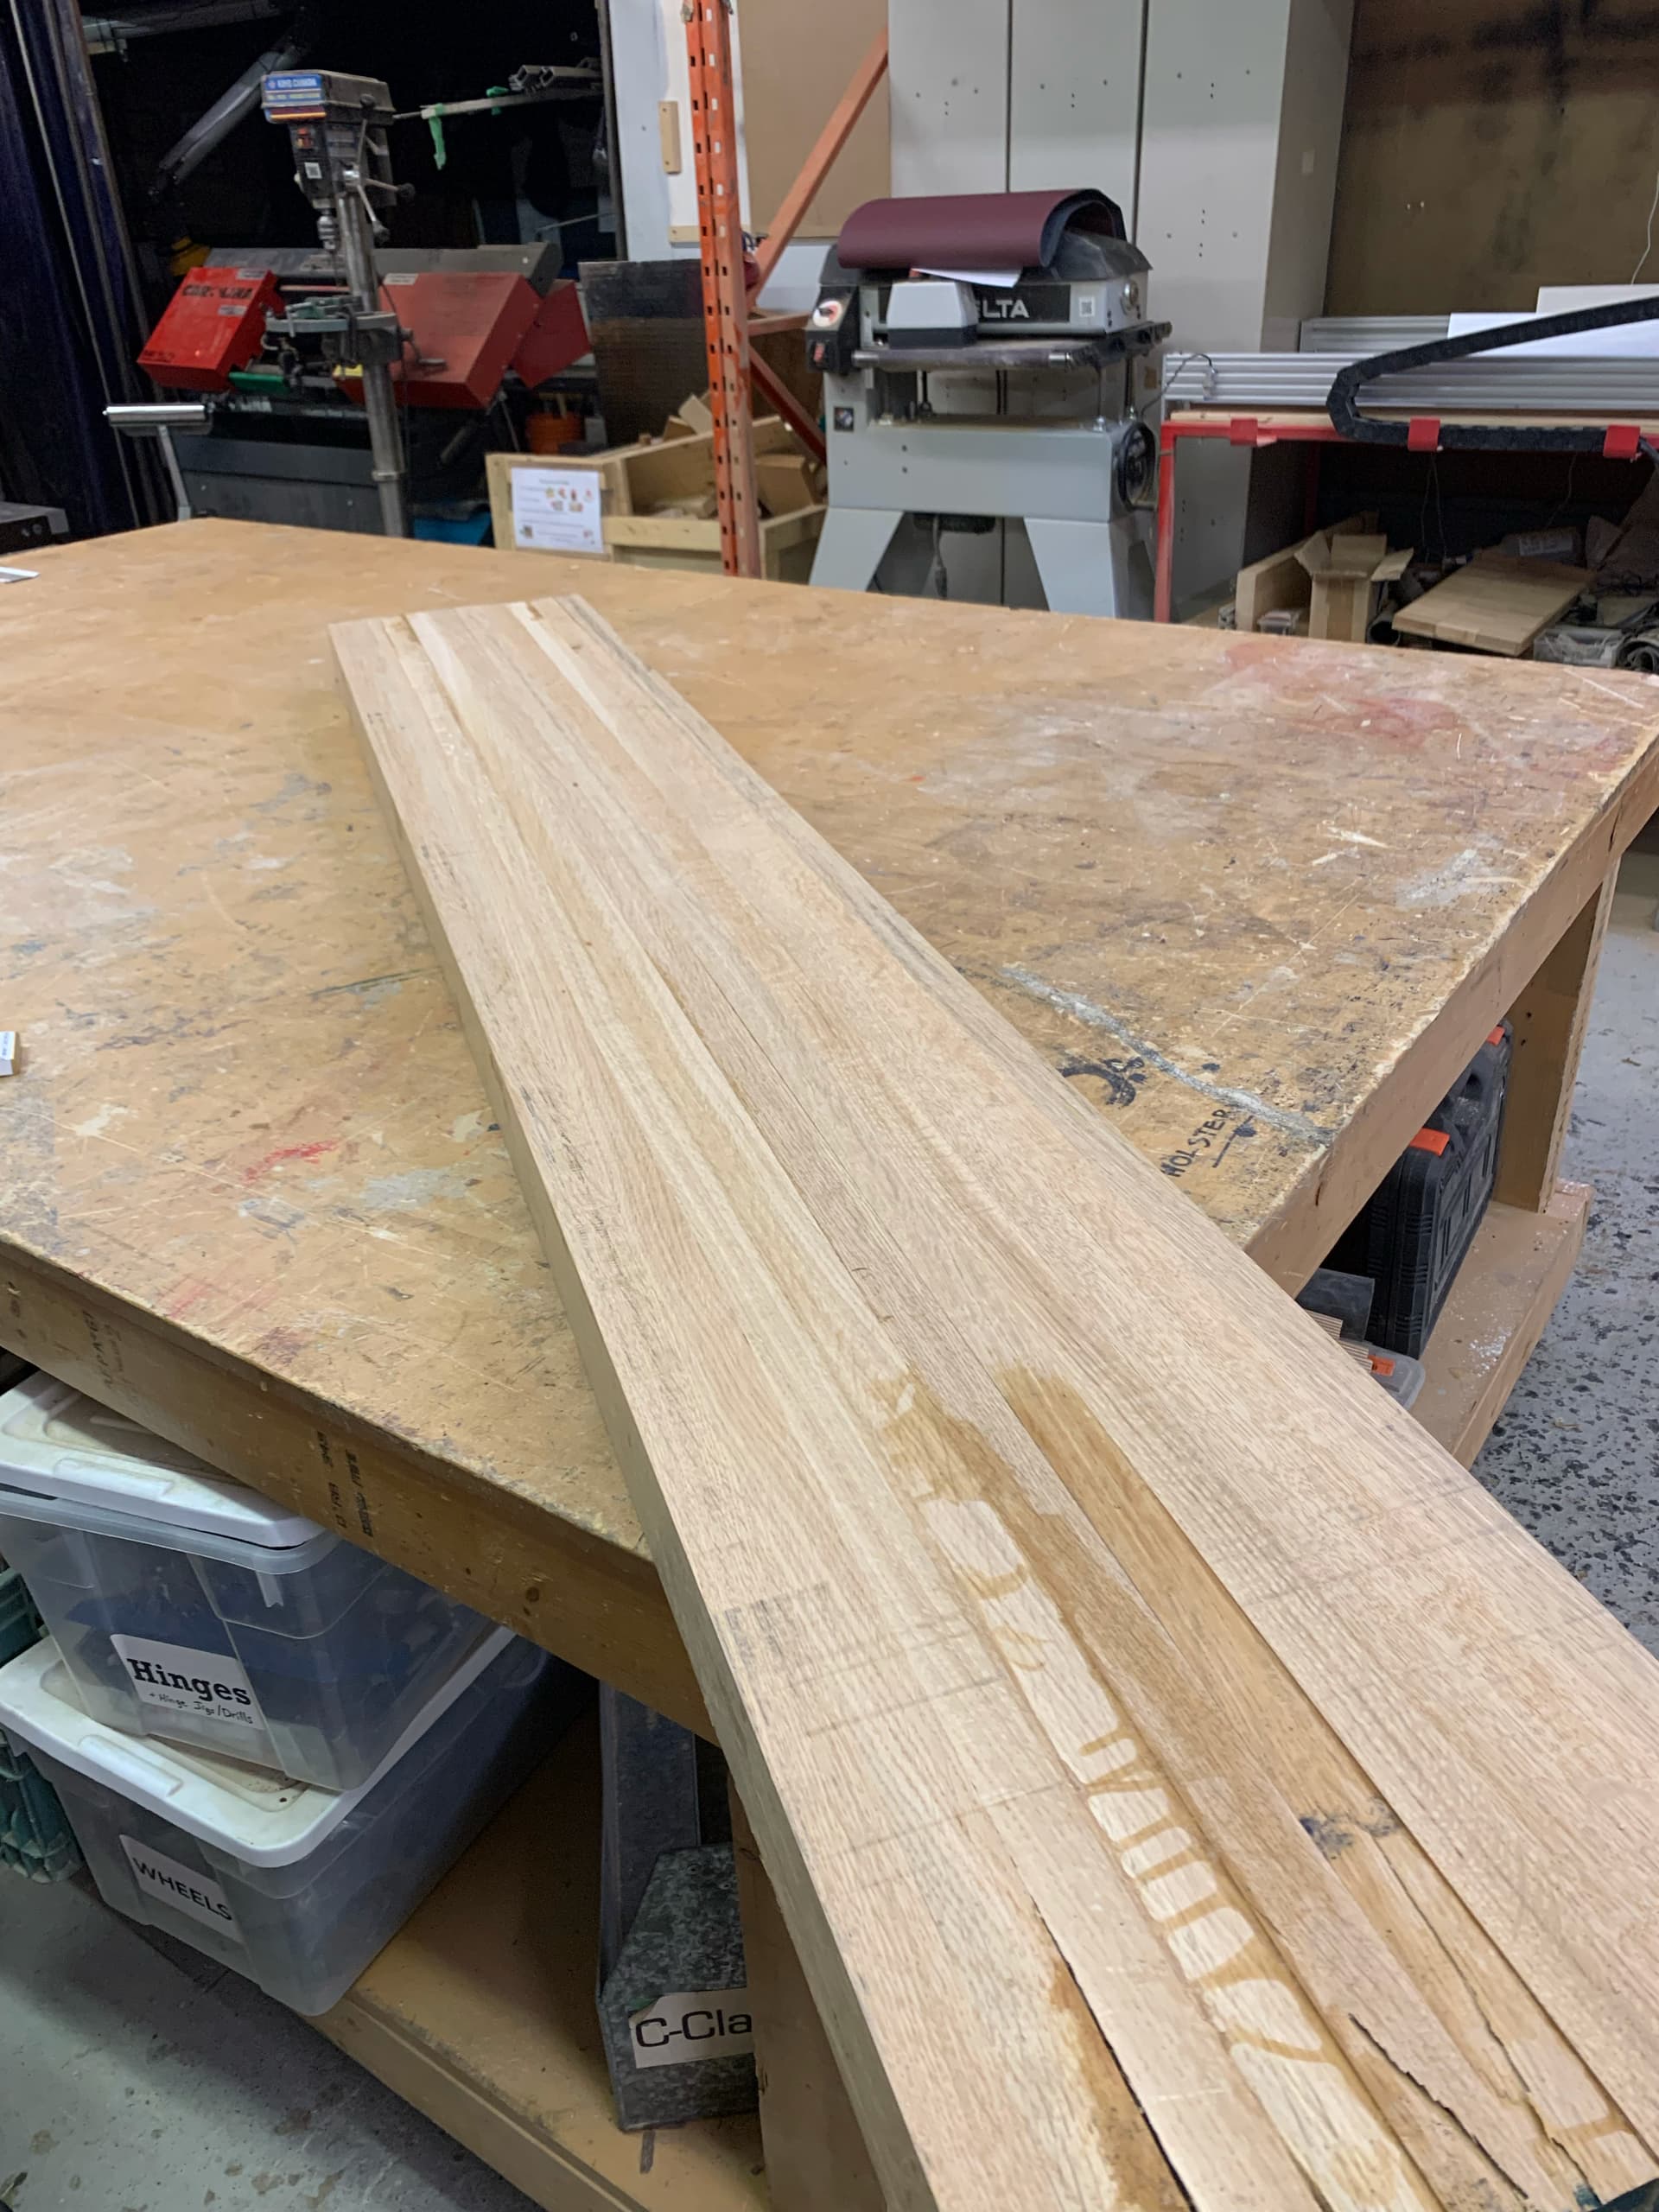
Where they waited a week for raw processing. I did two evenings of raw processing on the jointer/planer. My 6/4’s got processed down closer to 5/4’s to get good surfaces and fairly flat lengths.
I ripped down ~3" strips and glued them up, then flattened and planed them into just shy of a 12" width. I kept them a bit thick and long so that I could flatten them once I later add the second half. (thats why there’s some voids not fully flattened on the ends).
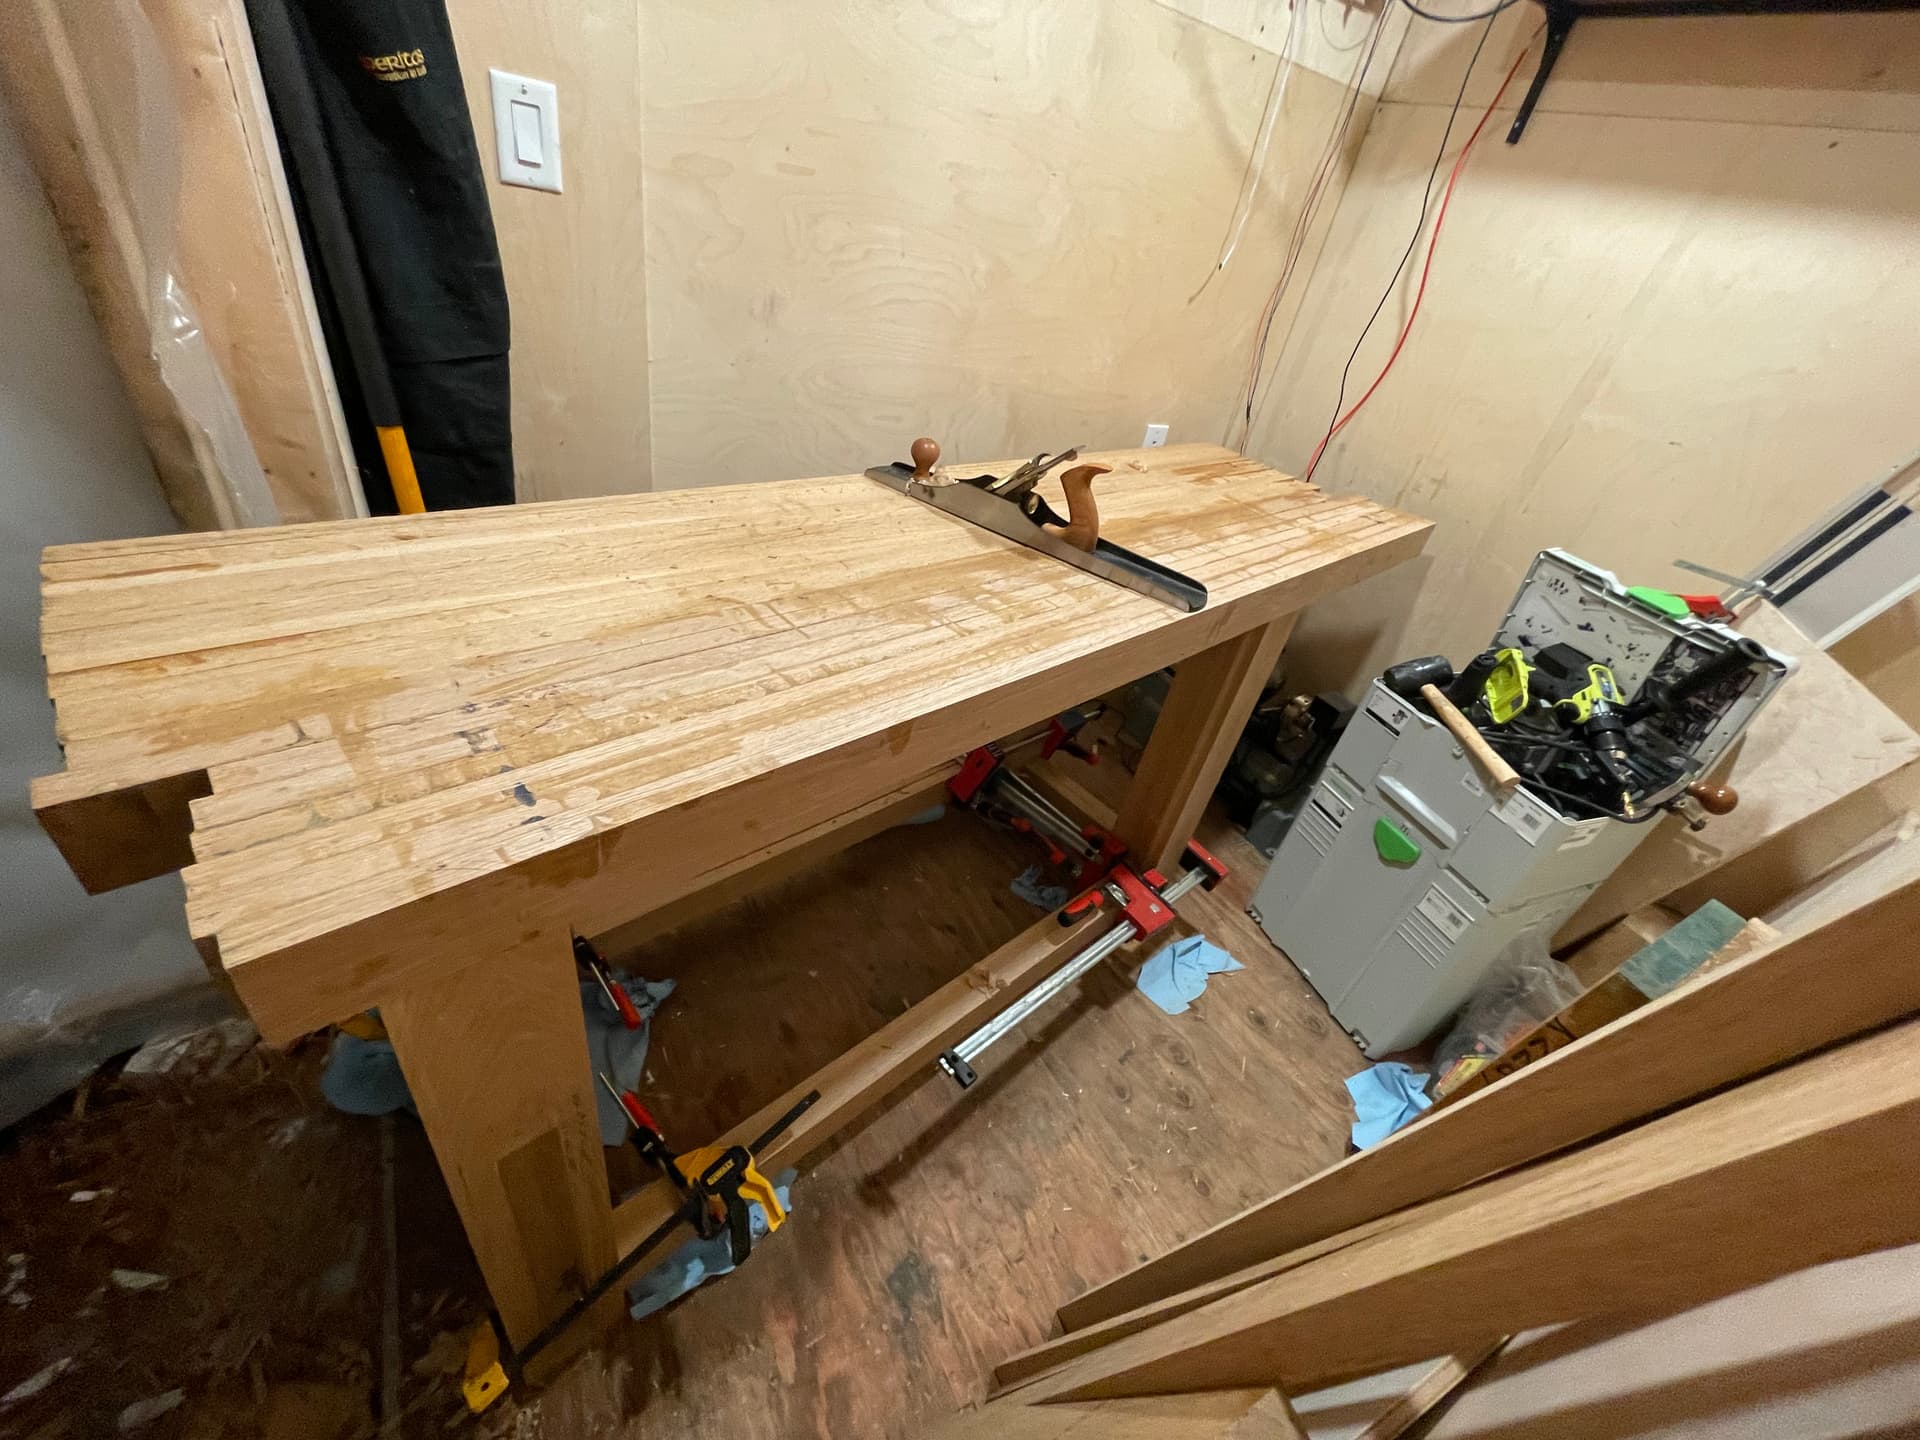
Now that I have half the top, it gives me some work surface to bootstrap the rest of the process on. Adding a couple store-bought sawhorses and I’ve got a temporary bench. You can see I still have a lot of stock to work through on the side of my shop (yes, it is that small).

I glued up some ~5" wide strips and start squaring the legs with my #6 plane.
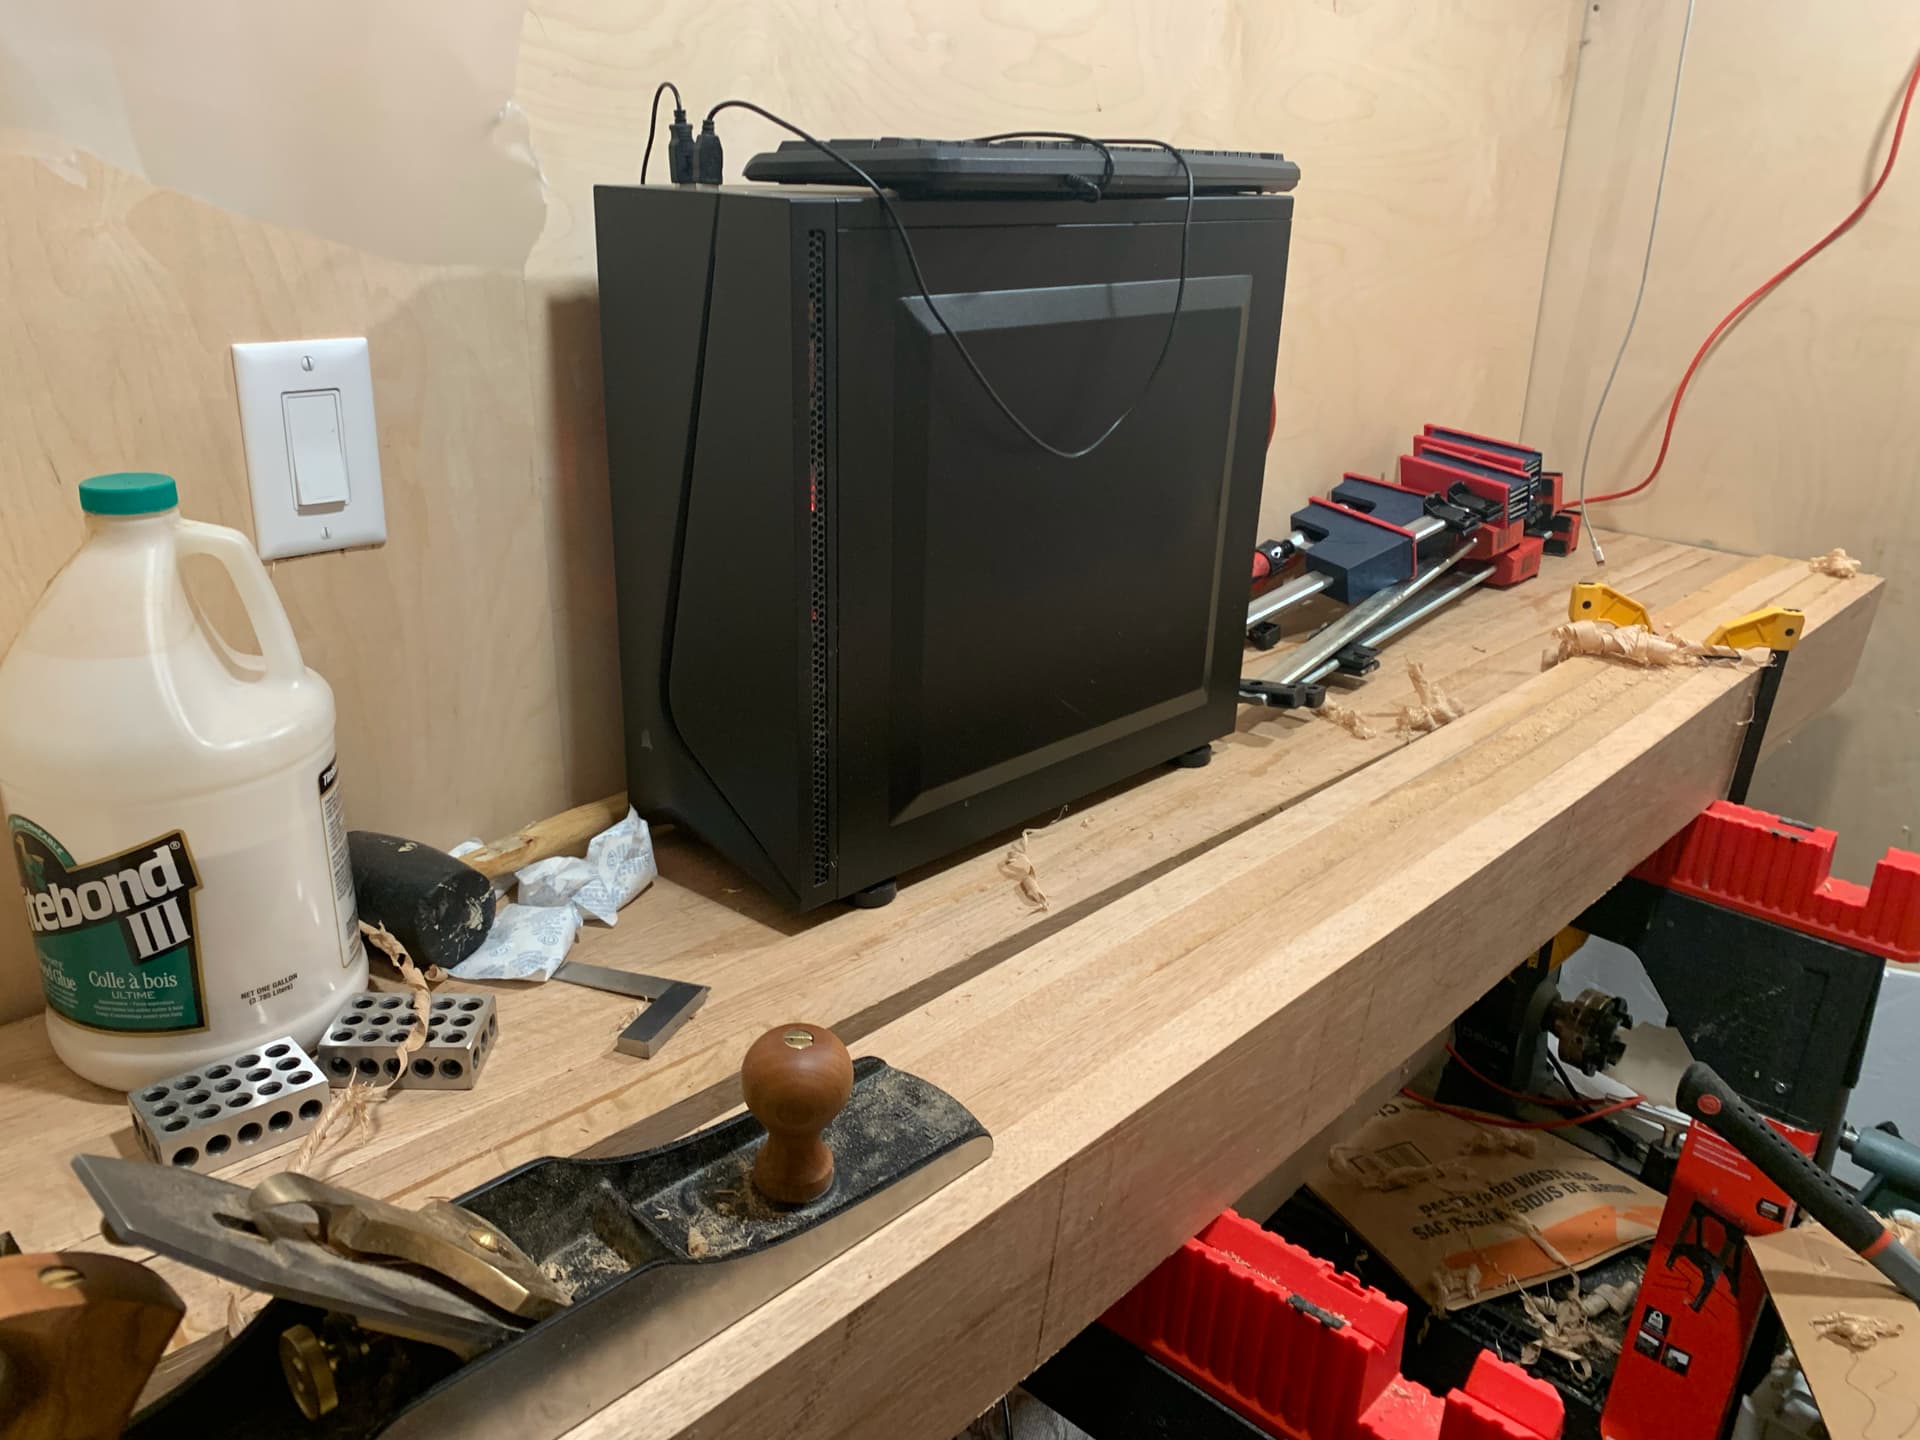
The computer sitting on the bench there is actually acting as my heater for the shop. No need to waste a resource (heat) when I needed to run it anyway.
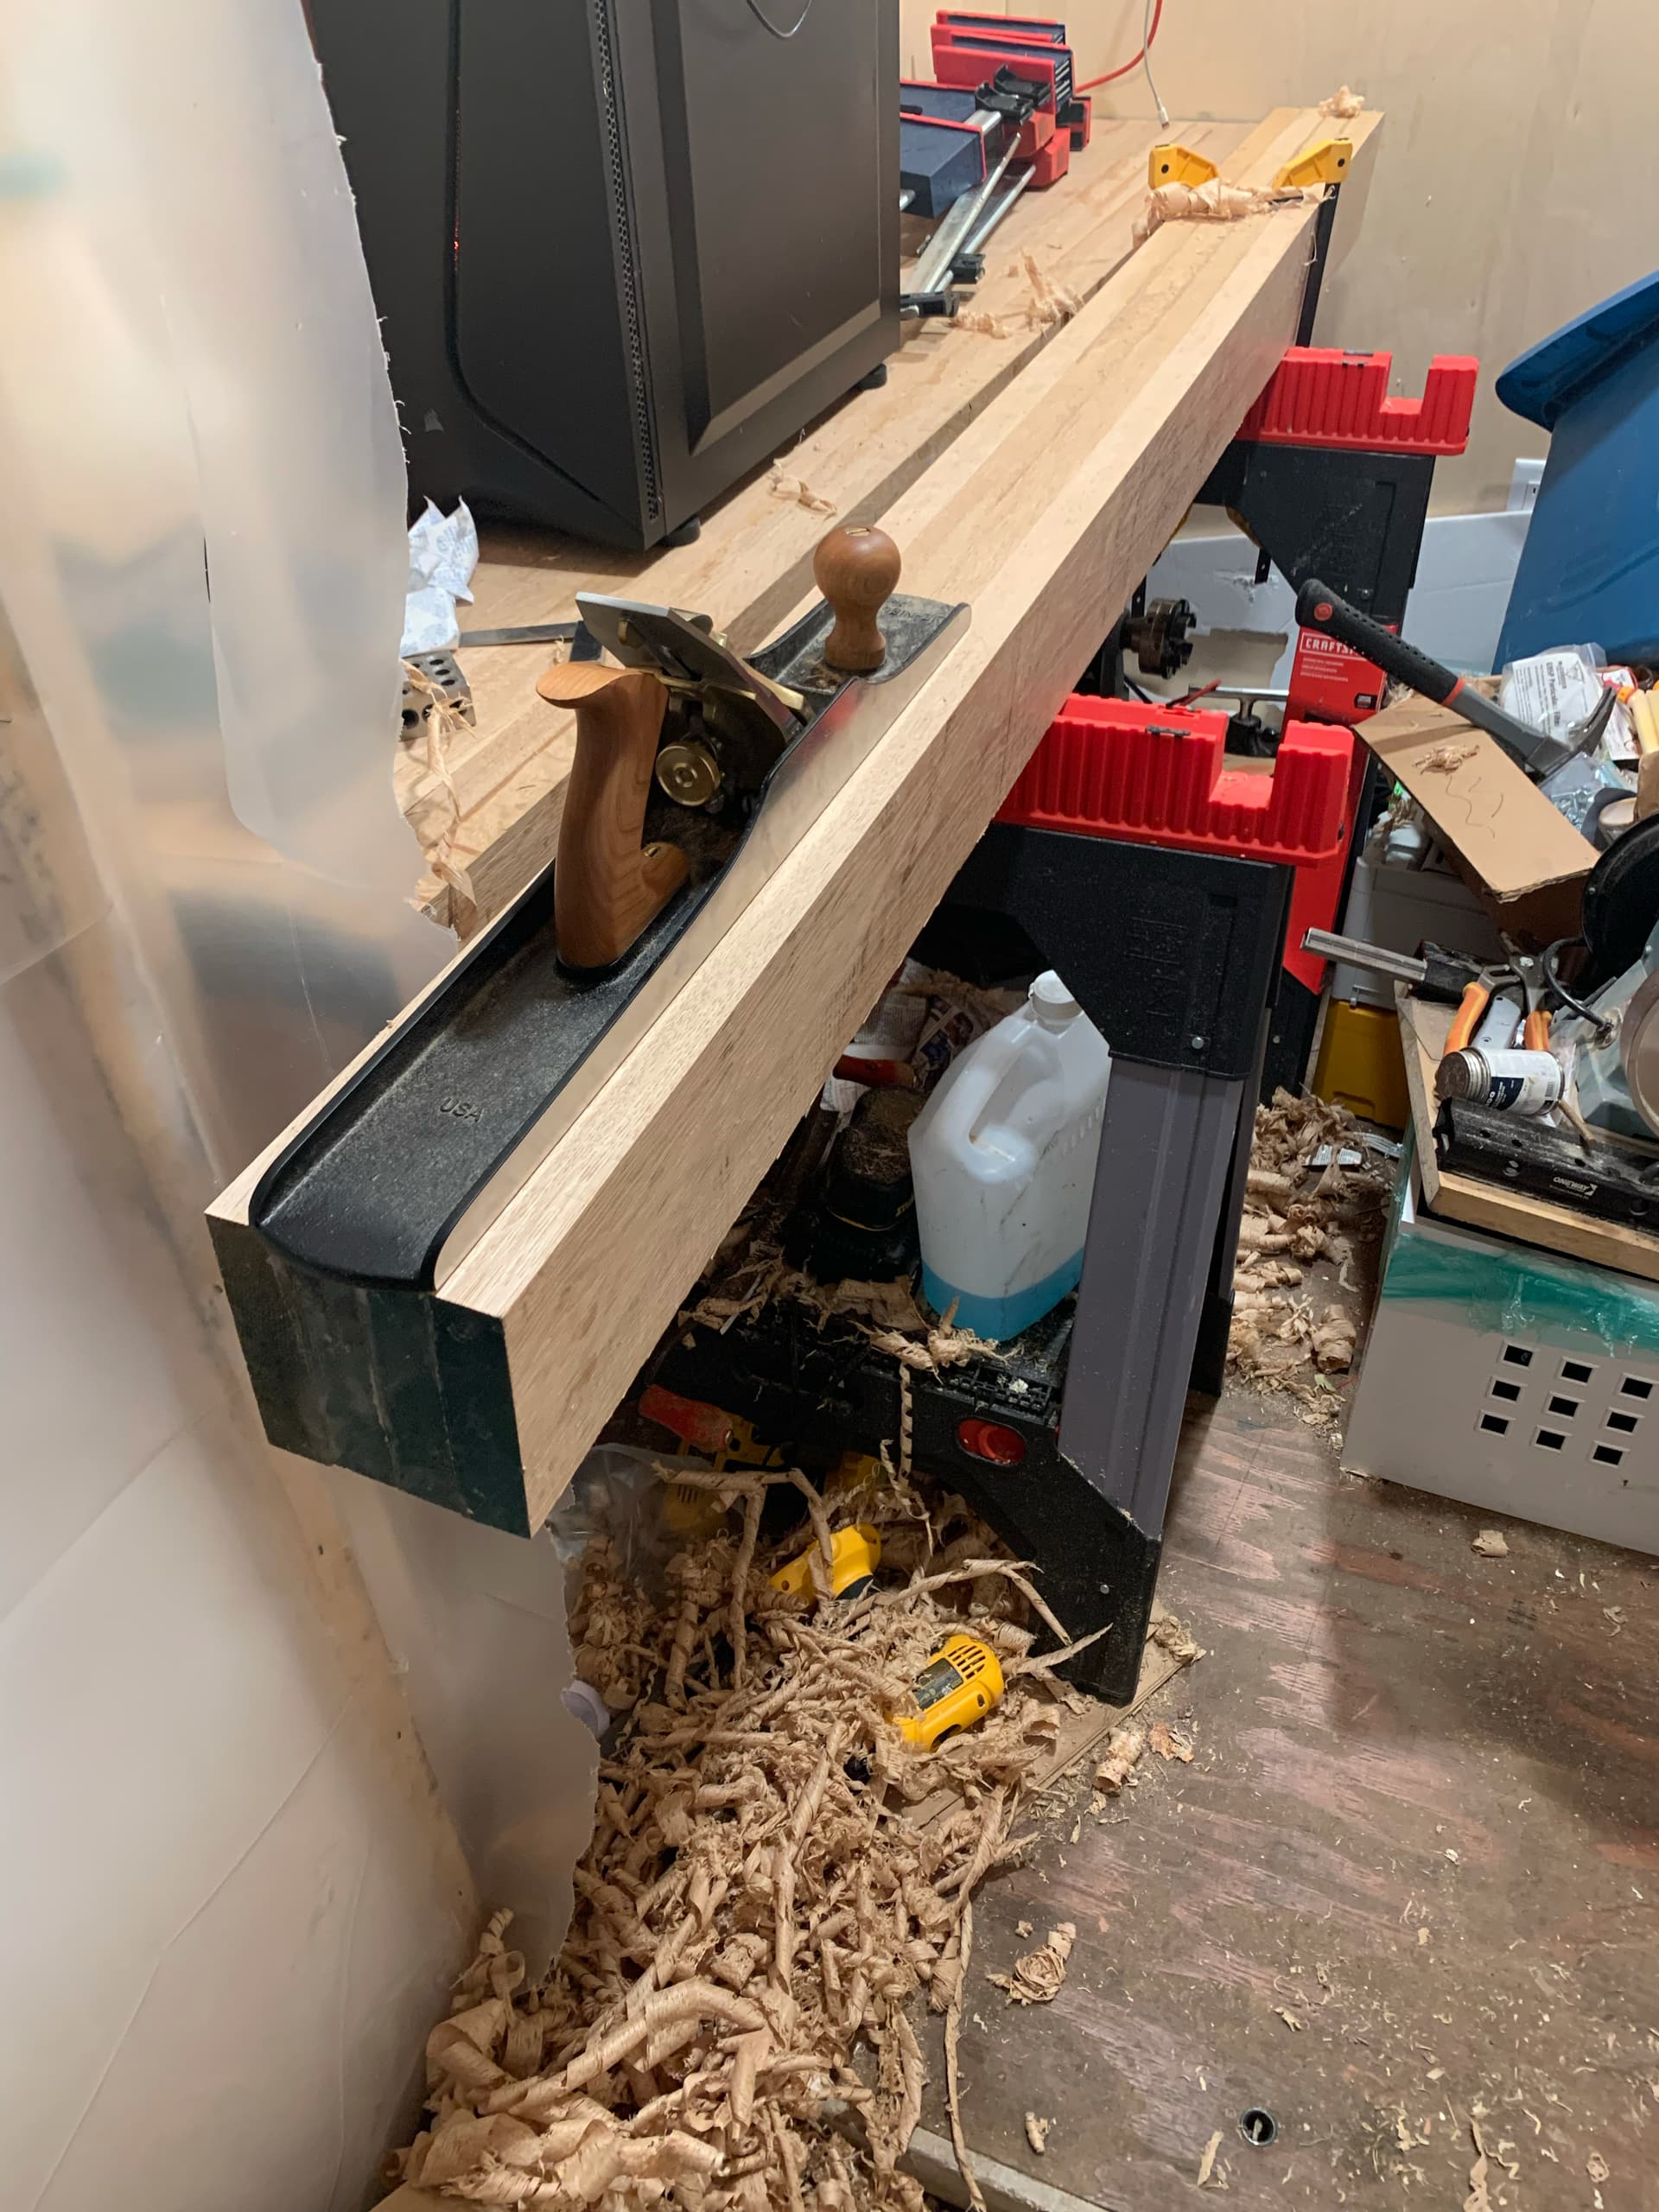
At these lengths, the full glue-up goes from one end to the door of my shop.
I cut them down into leg-sizes and then life and family events got in my way.
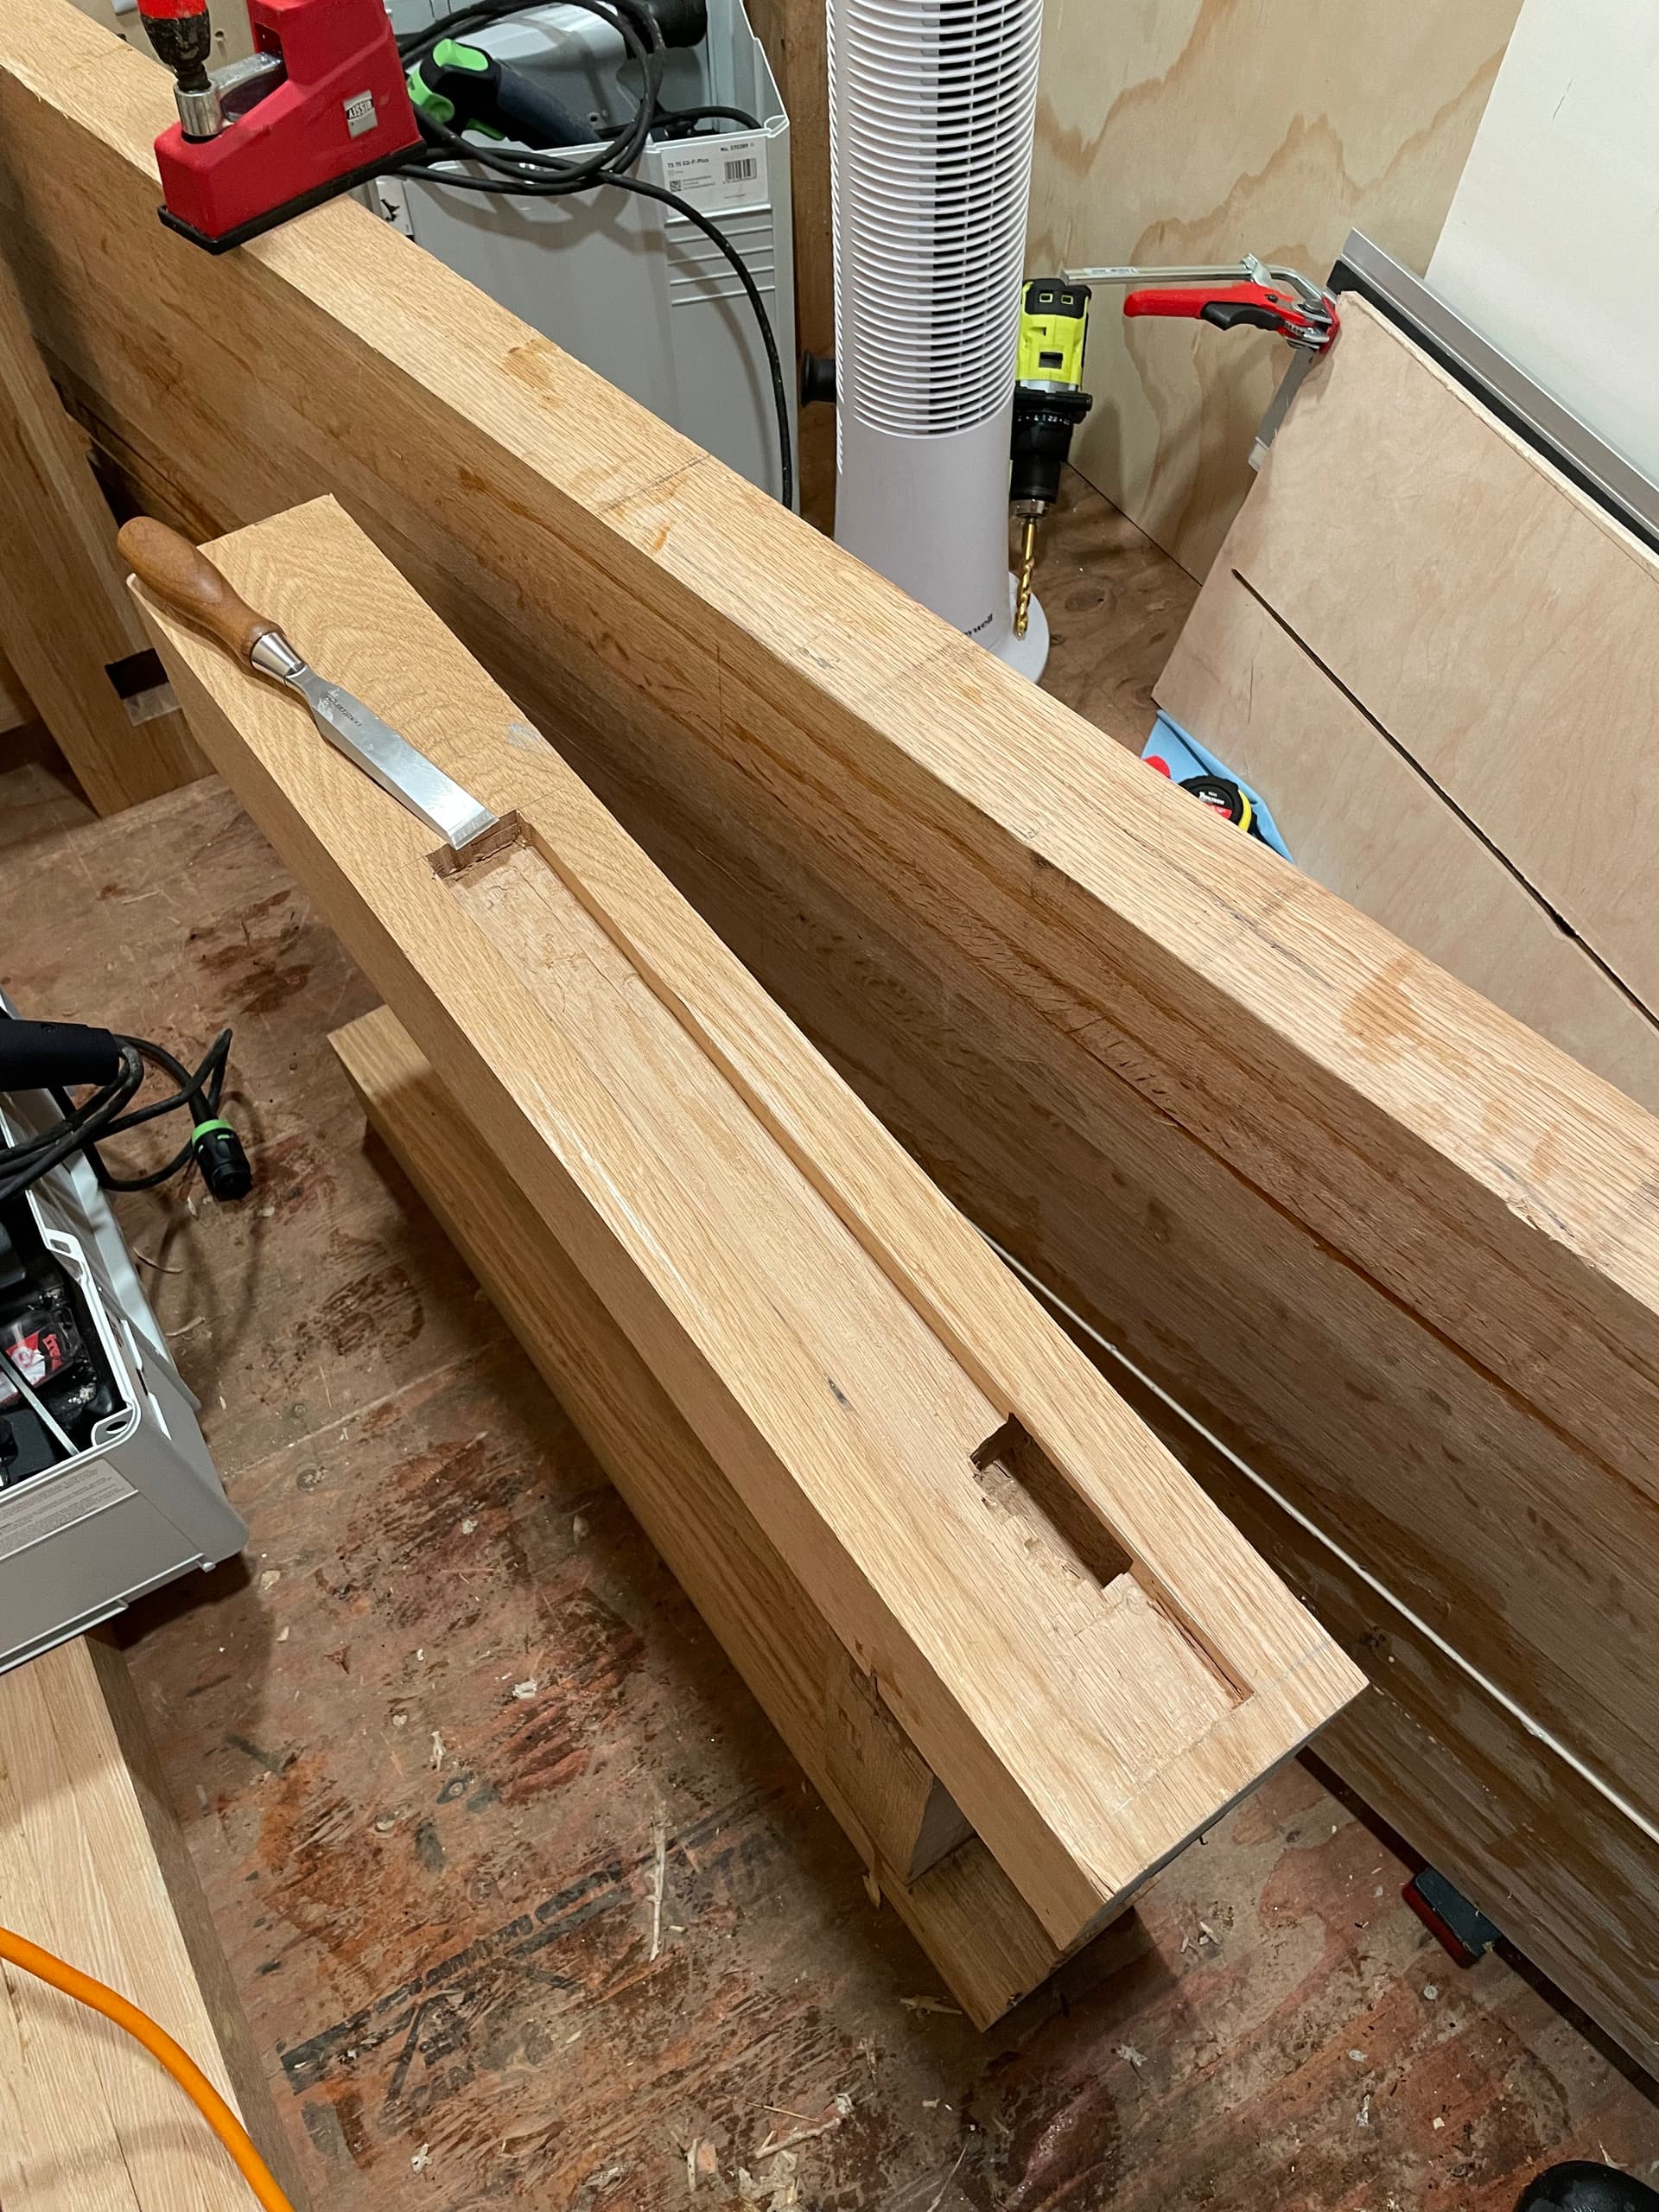
I picked the project back up this spring on a lovely long weekend. I spent it outside working on my legs and making the mortises and tenons for the crossbars of the base.
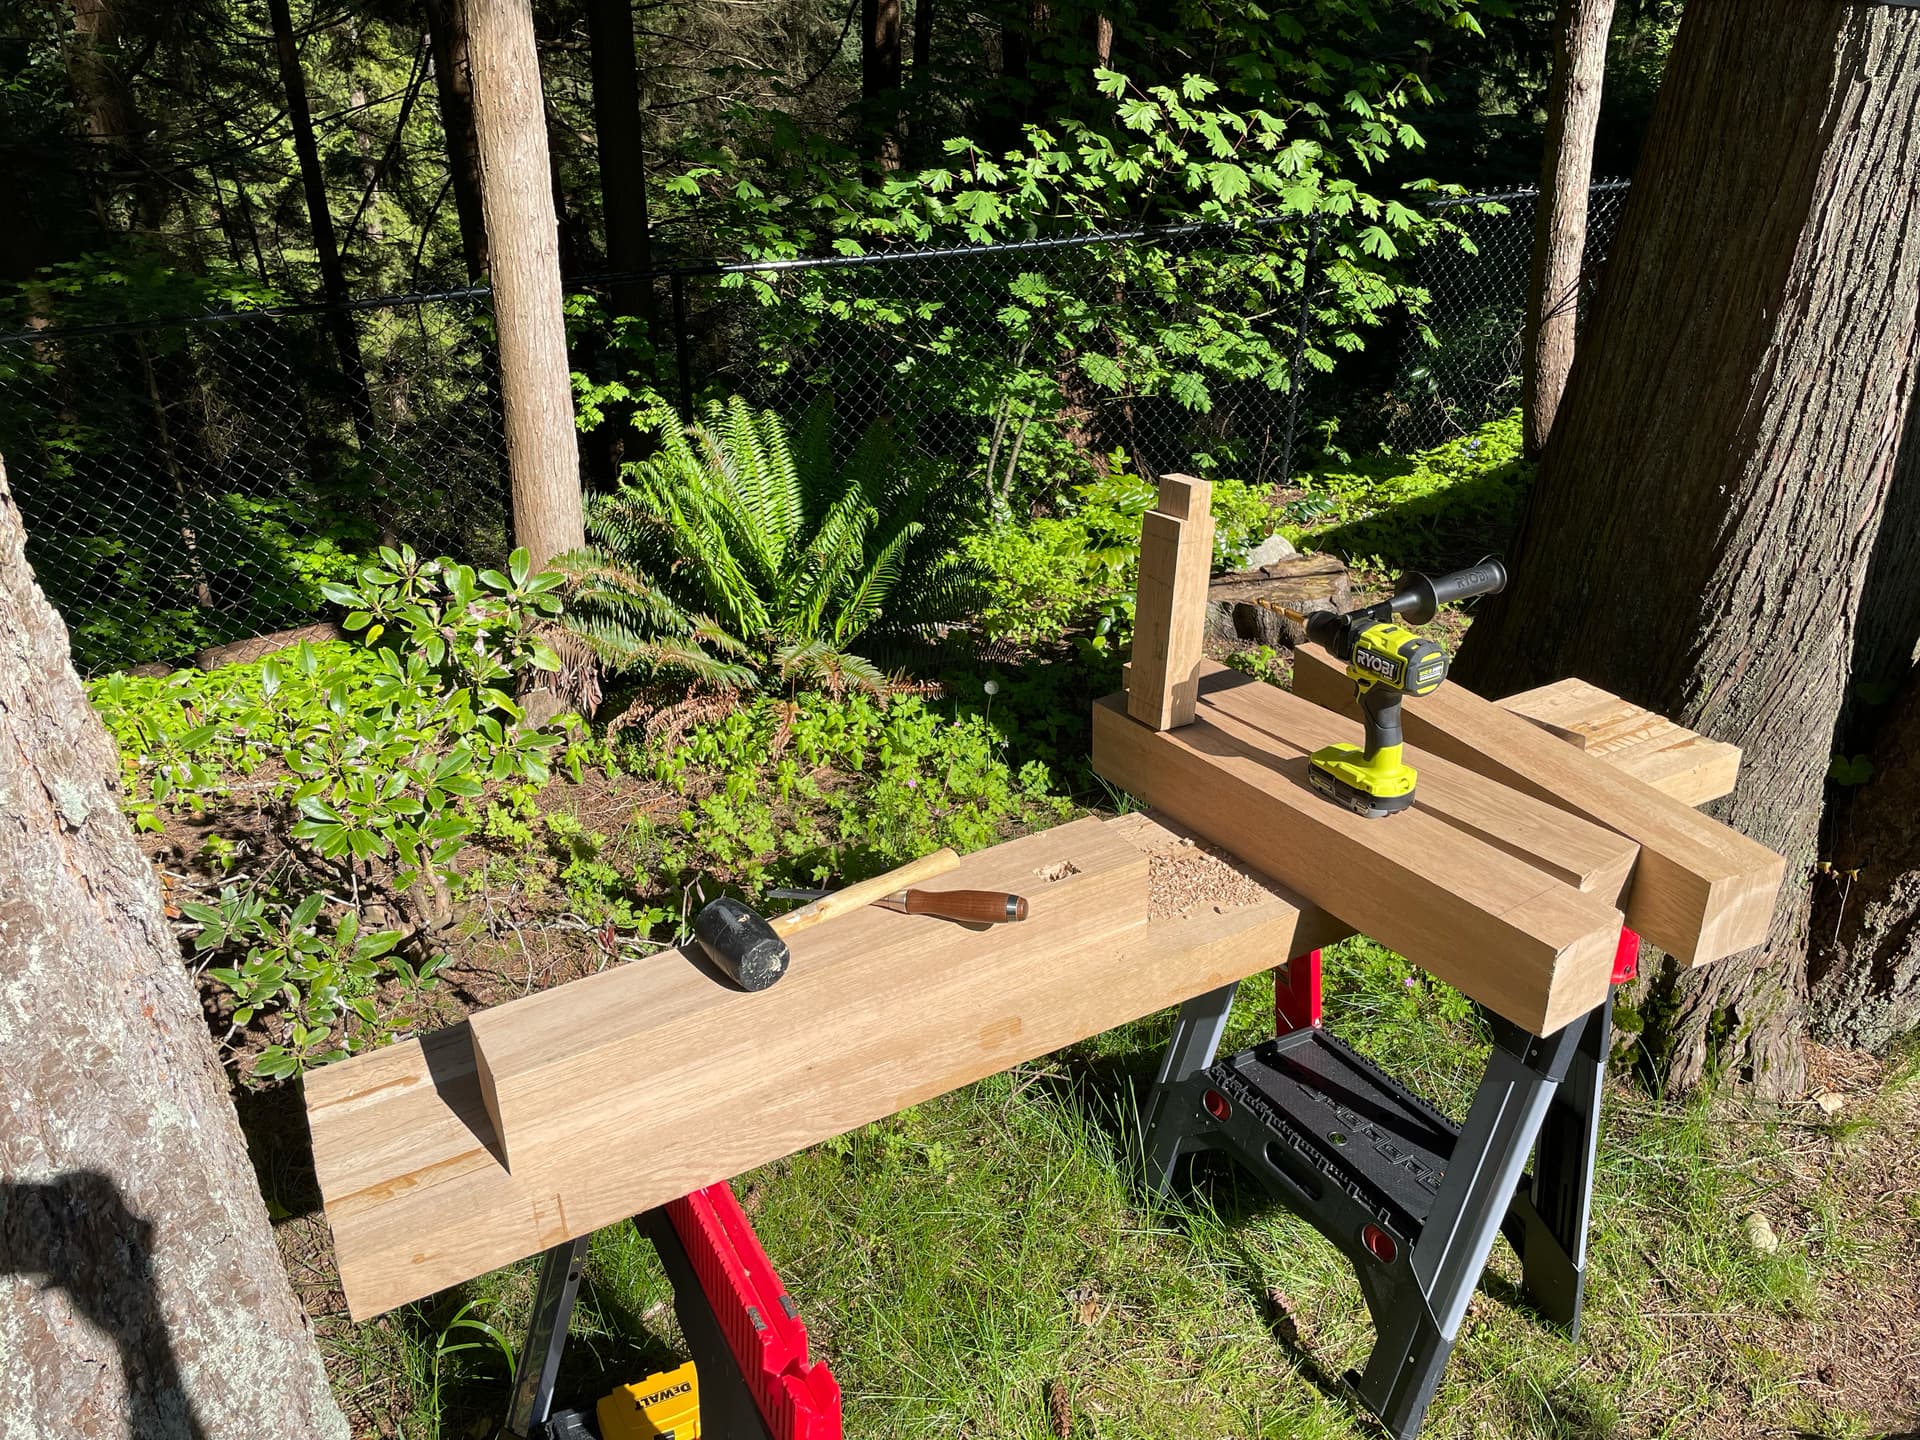
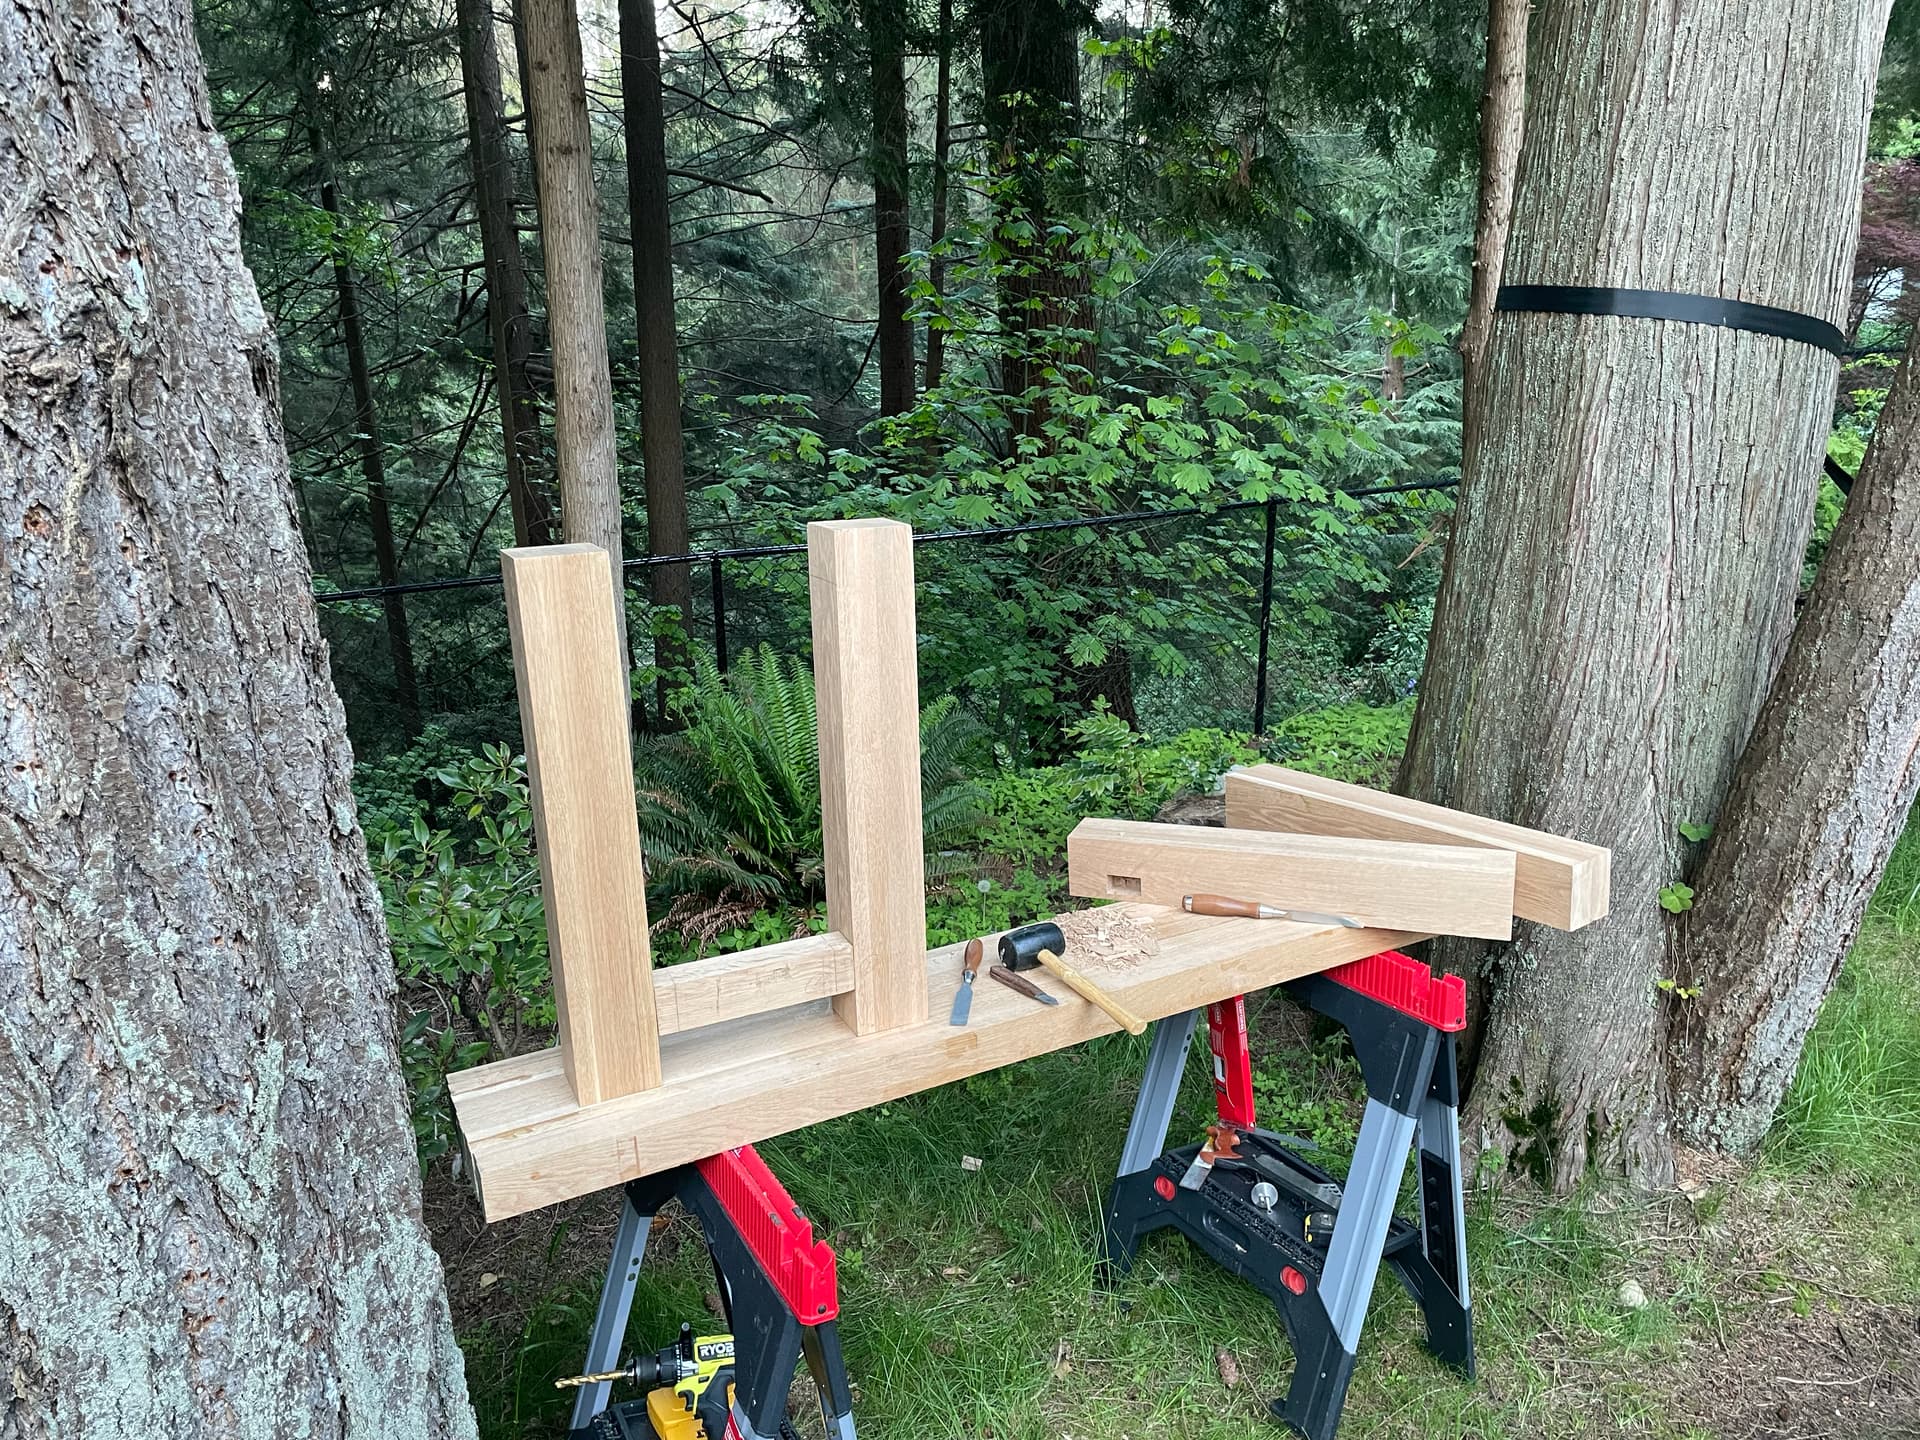
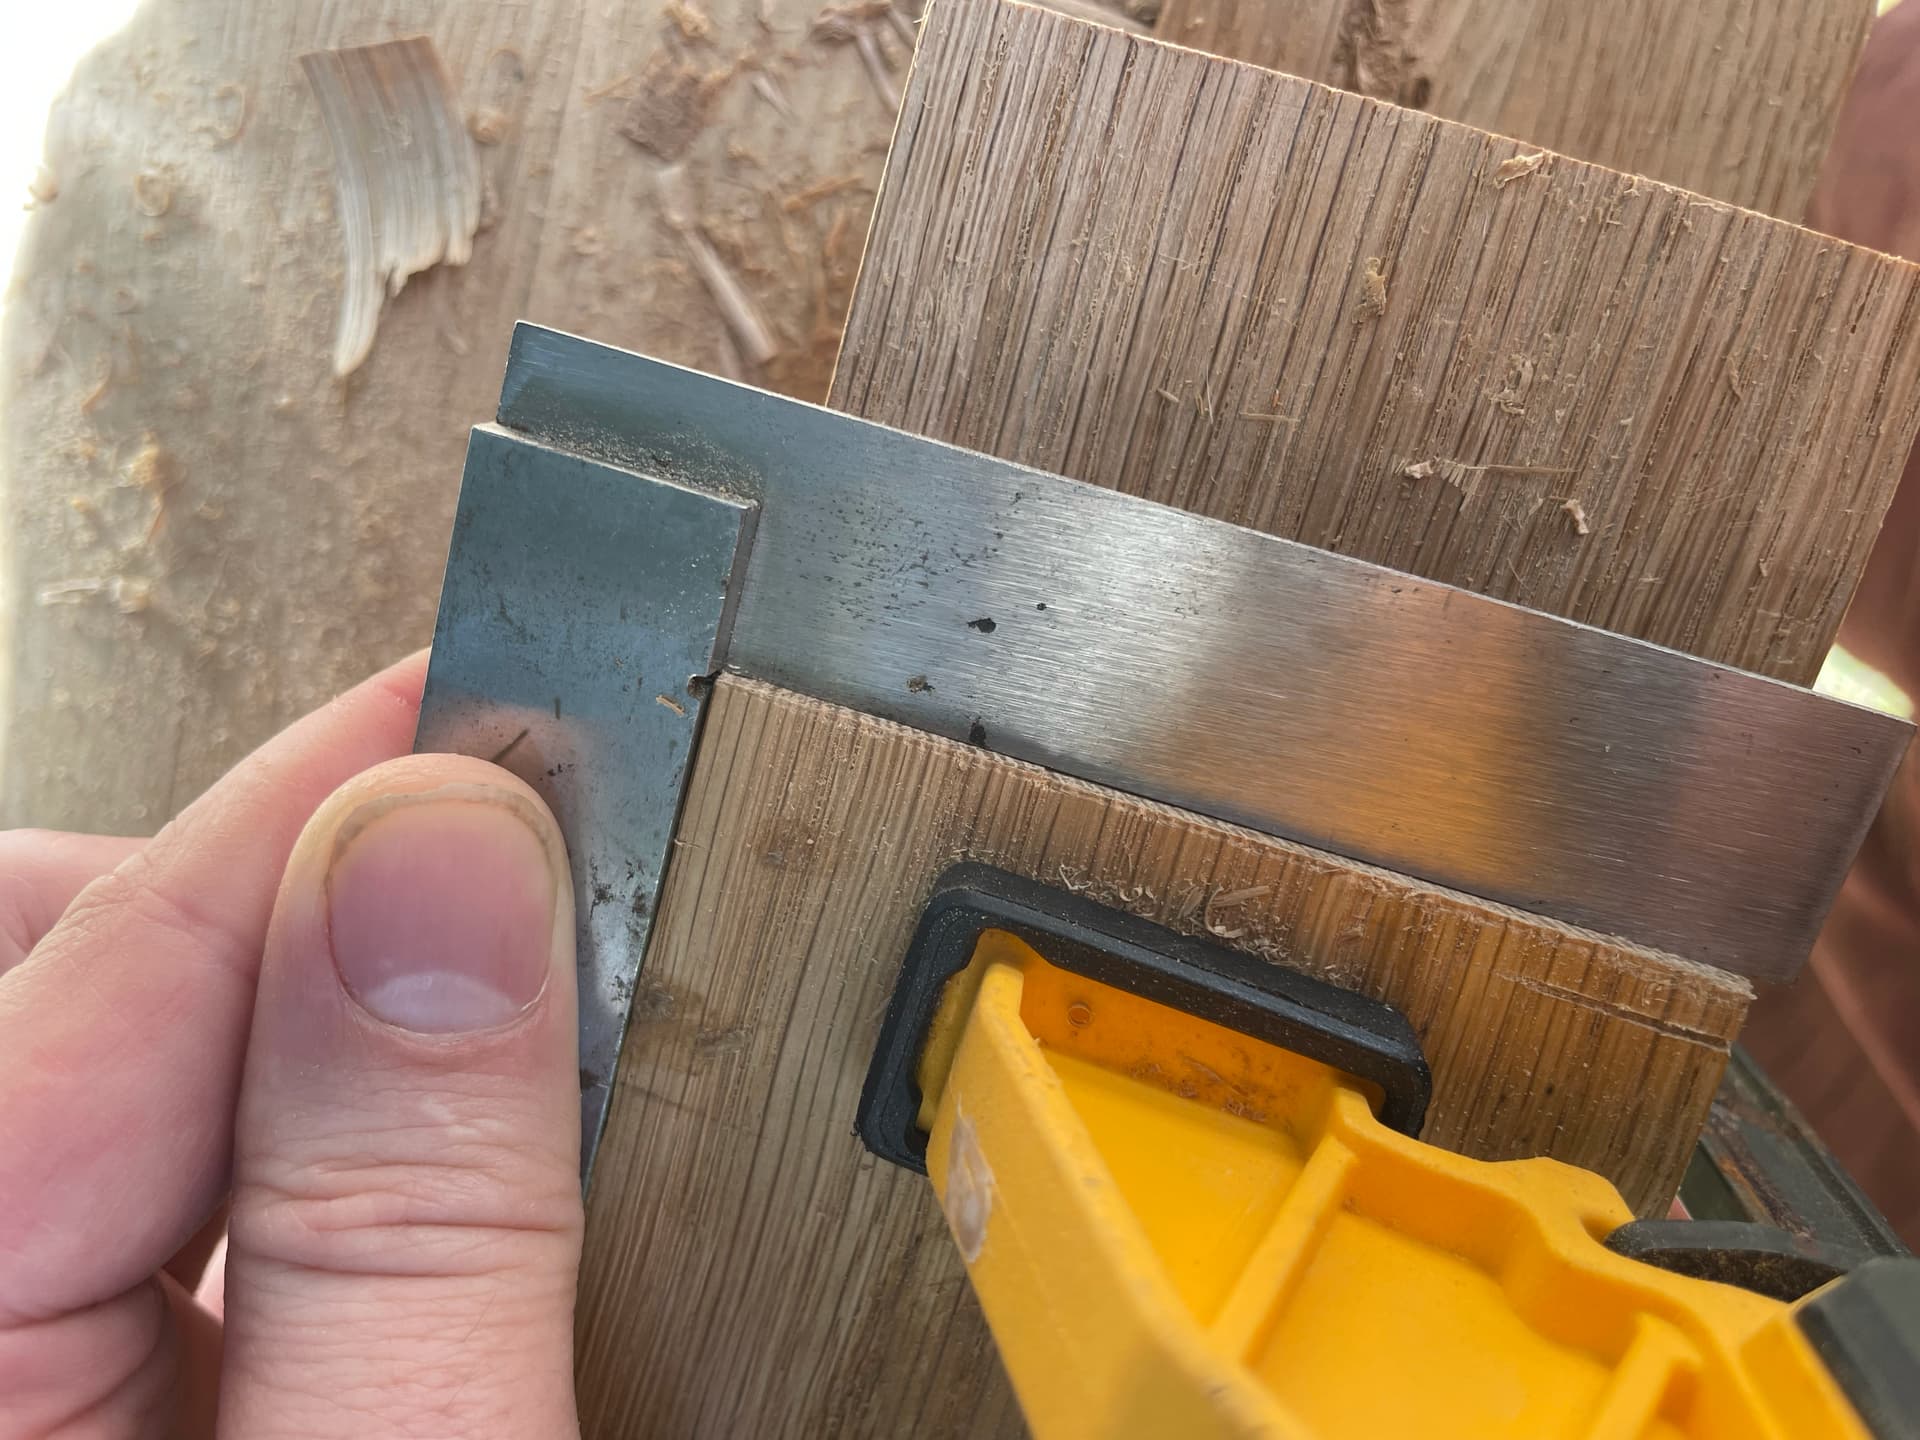
Not perfect, but quite functional. For the largest tenons I’ve made to date, I think they worked out quite nicely.
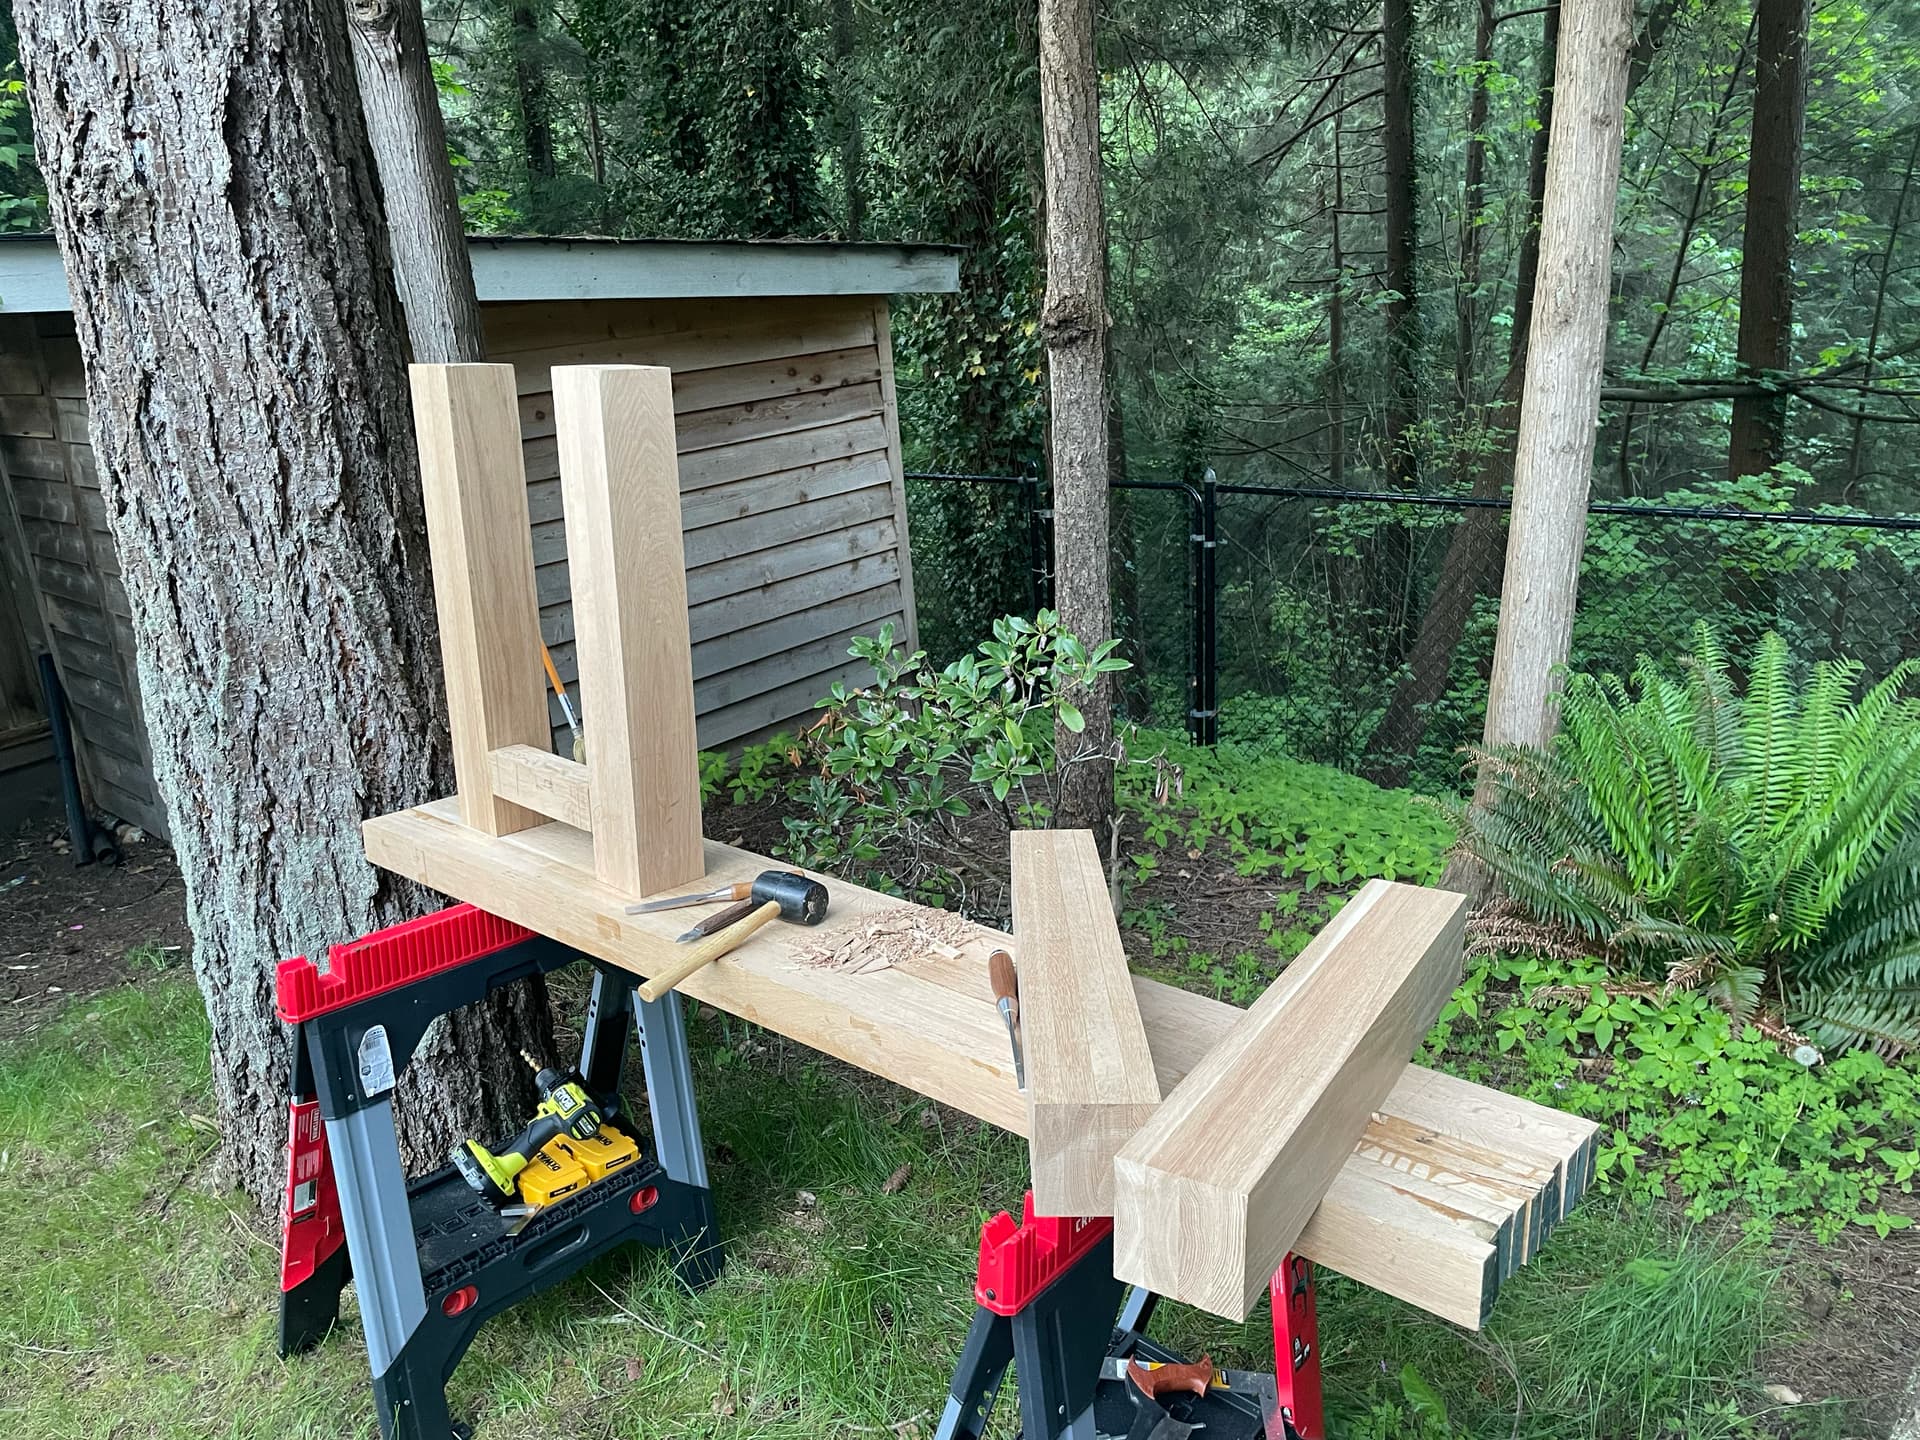
On lunch breaks and evenings throughout the next week, I had moved it under a tent and continued to cut tenons/mortises. Each one got better and faster. Its amazing how quick the improvement happens.
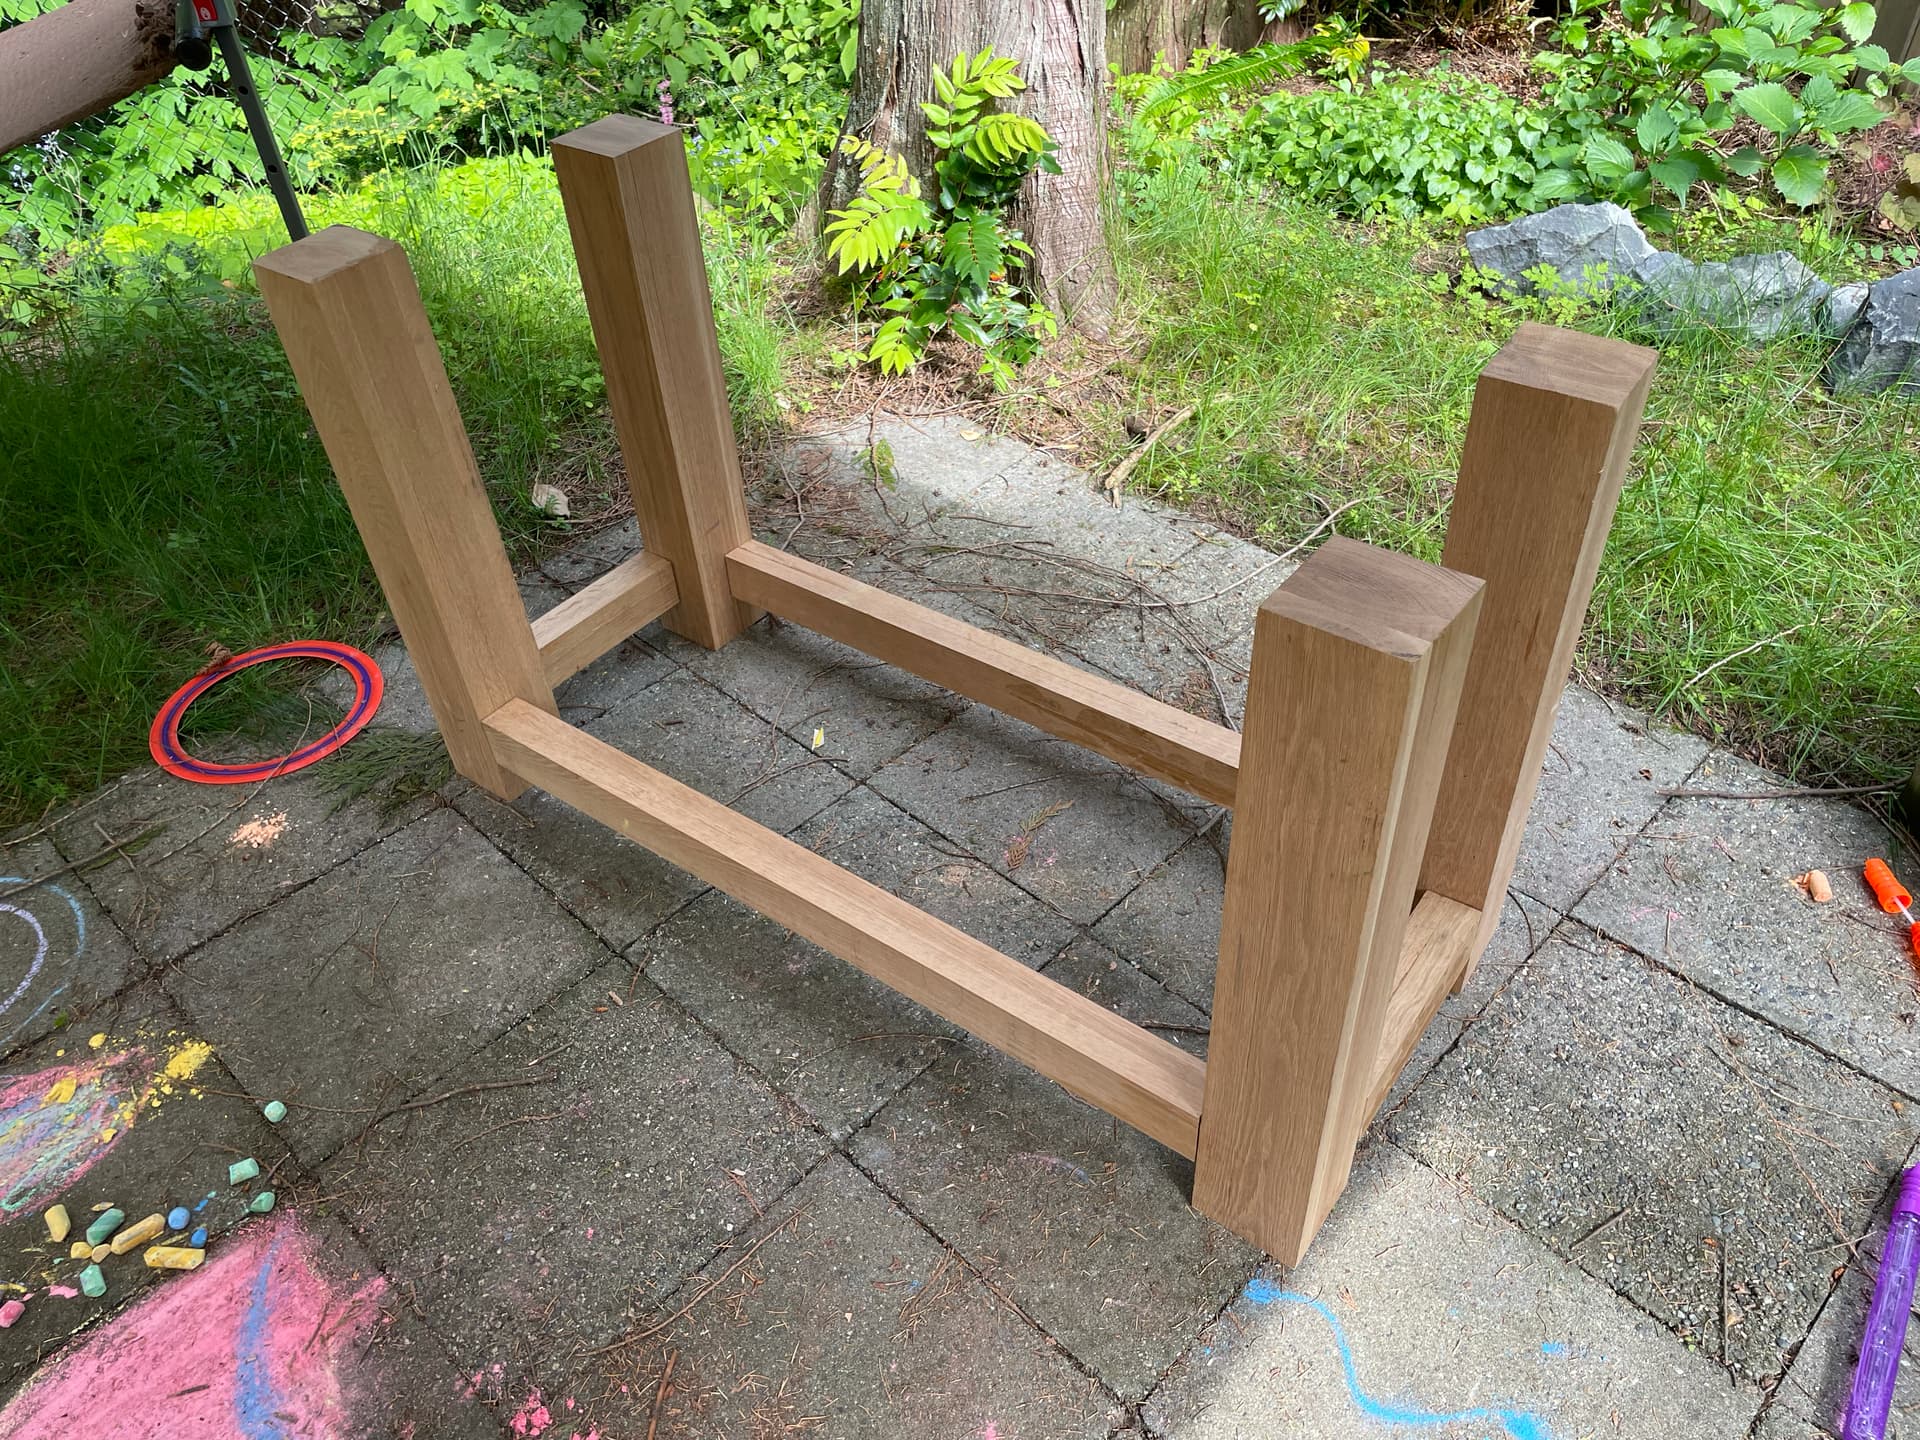
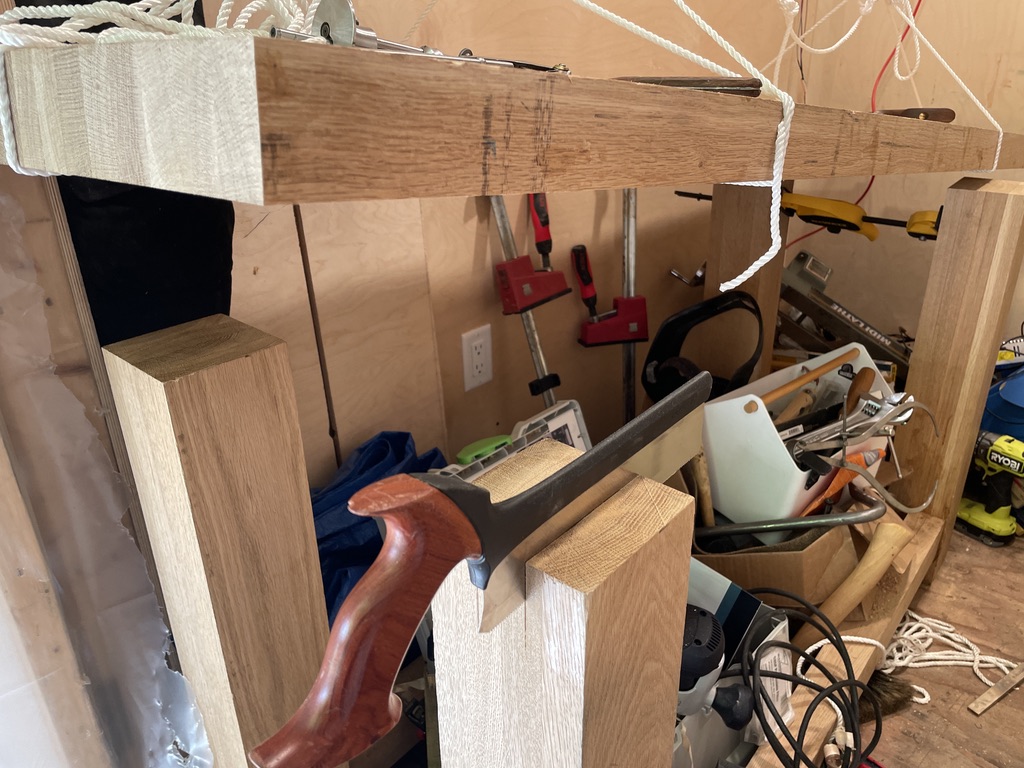
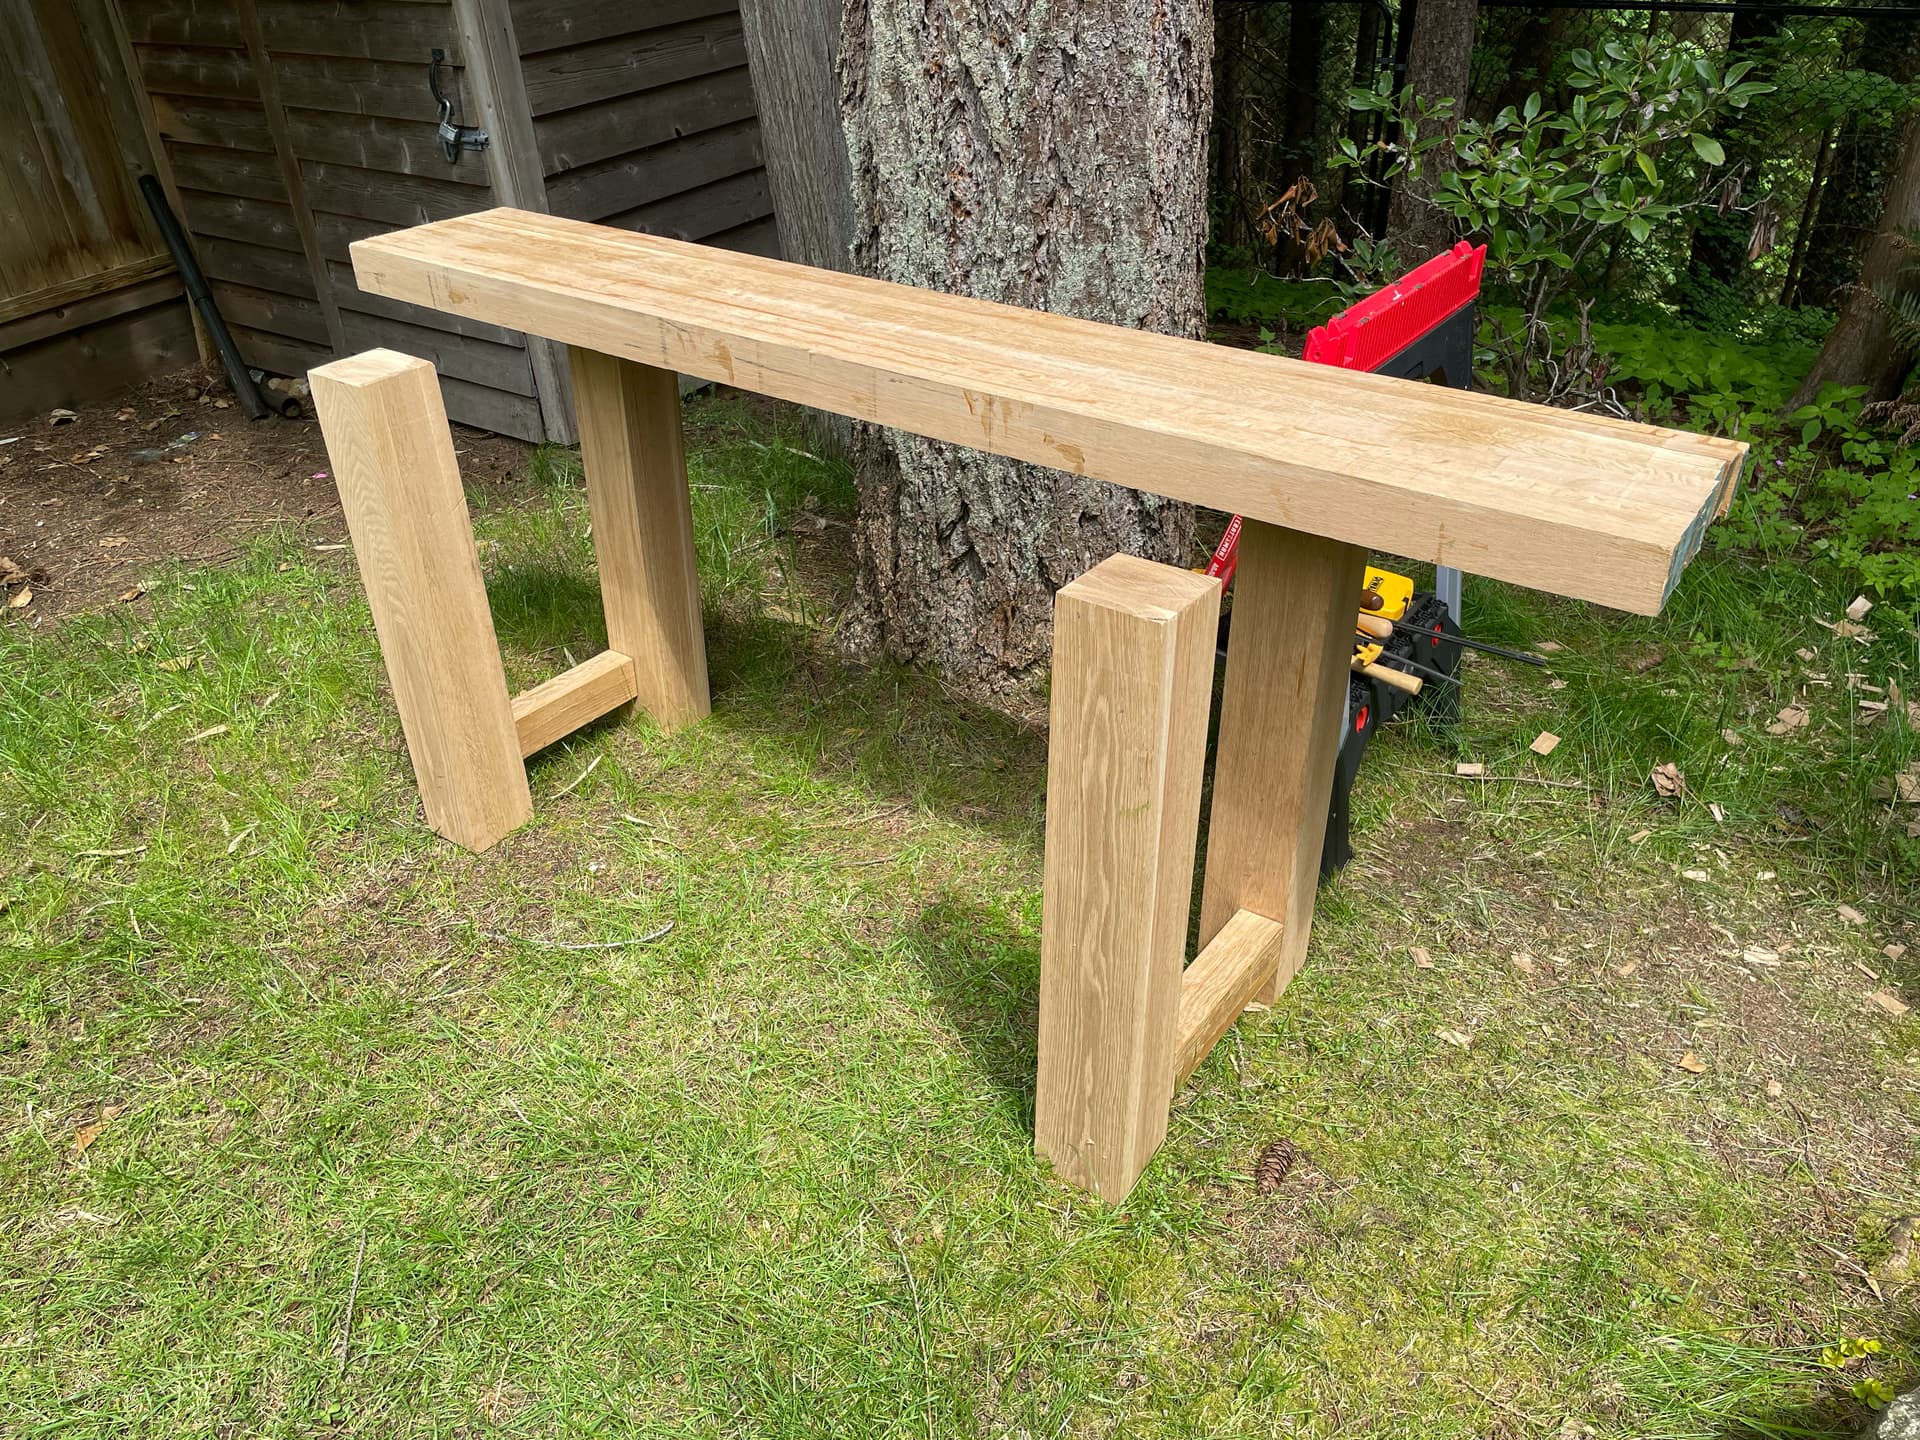
I glued up the ends, and for the most part they are pretty square. I had a slight bend-back of one joint during glueup, but I’ll be able to adjust a little with a plane, and top fitting to get it back in square.
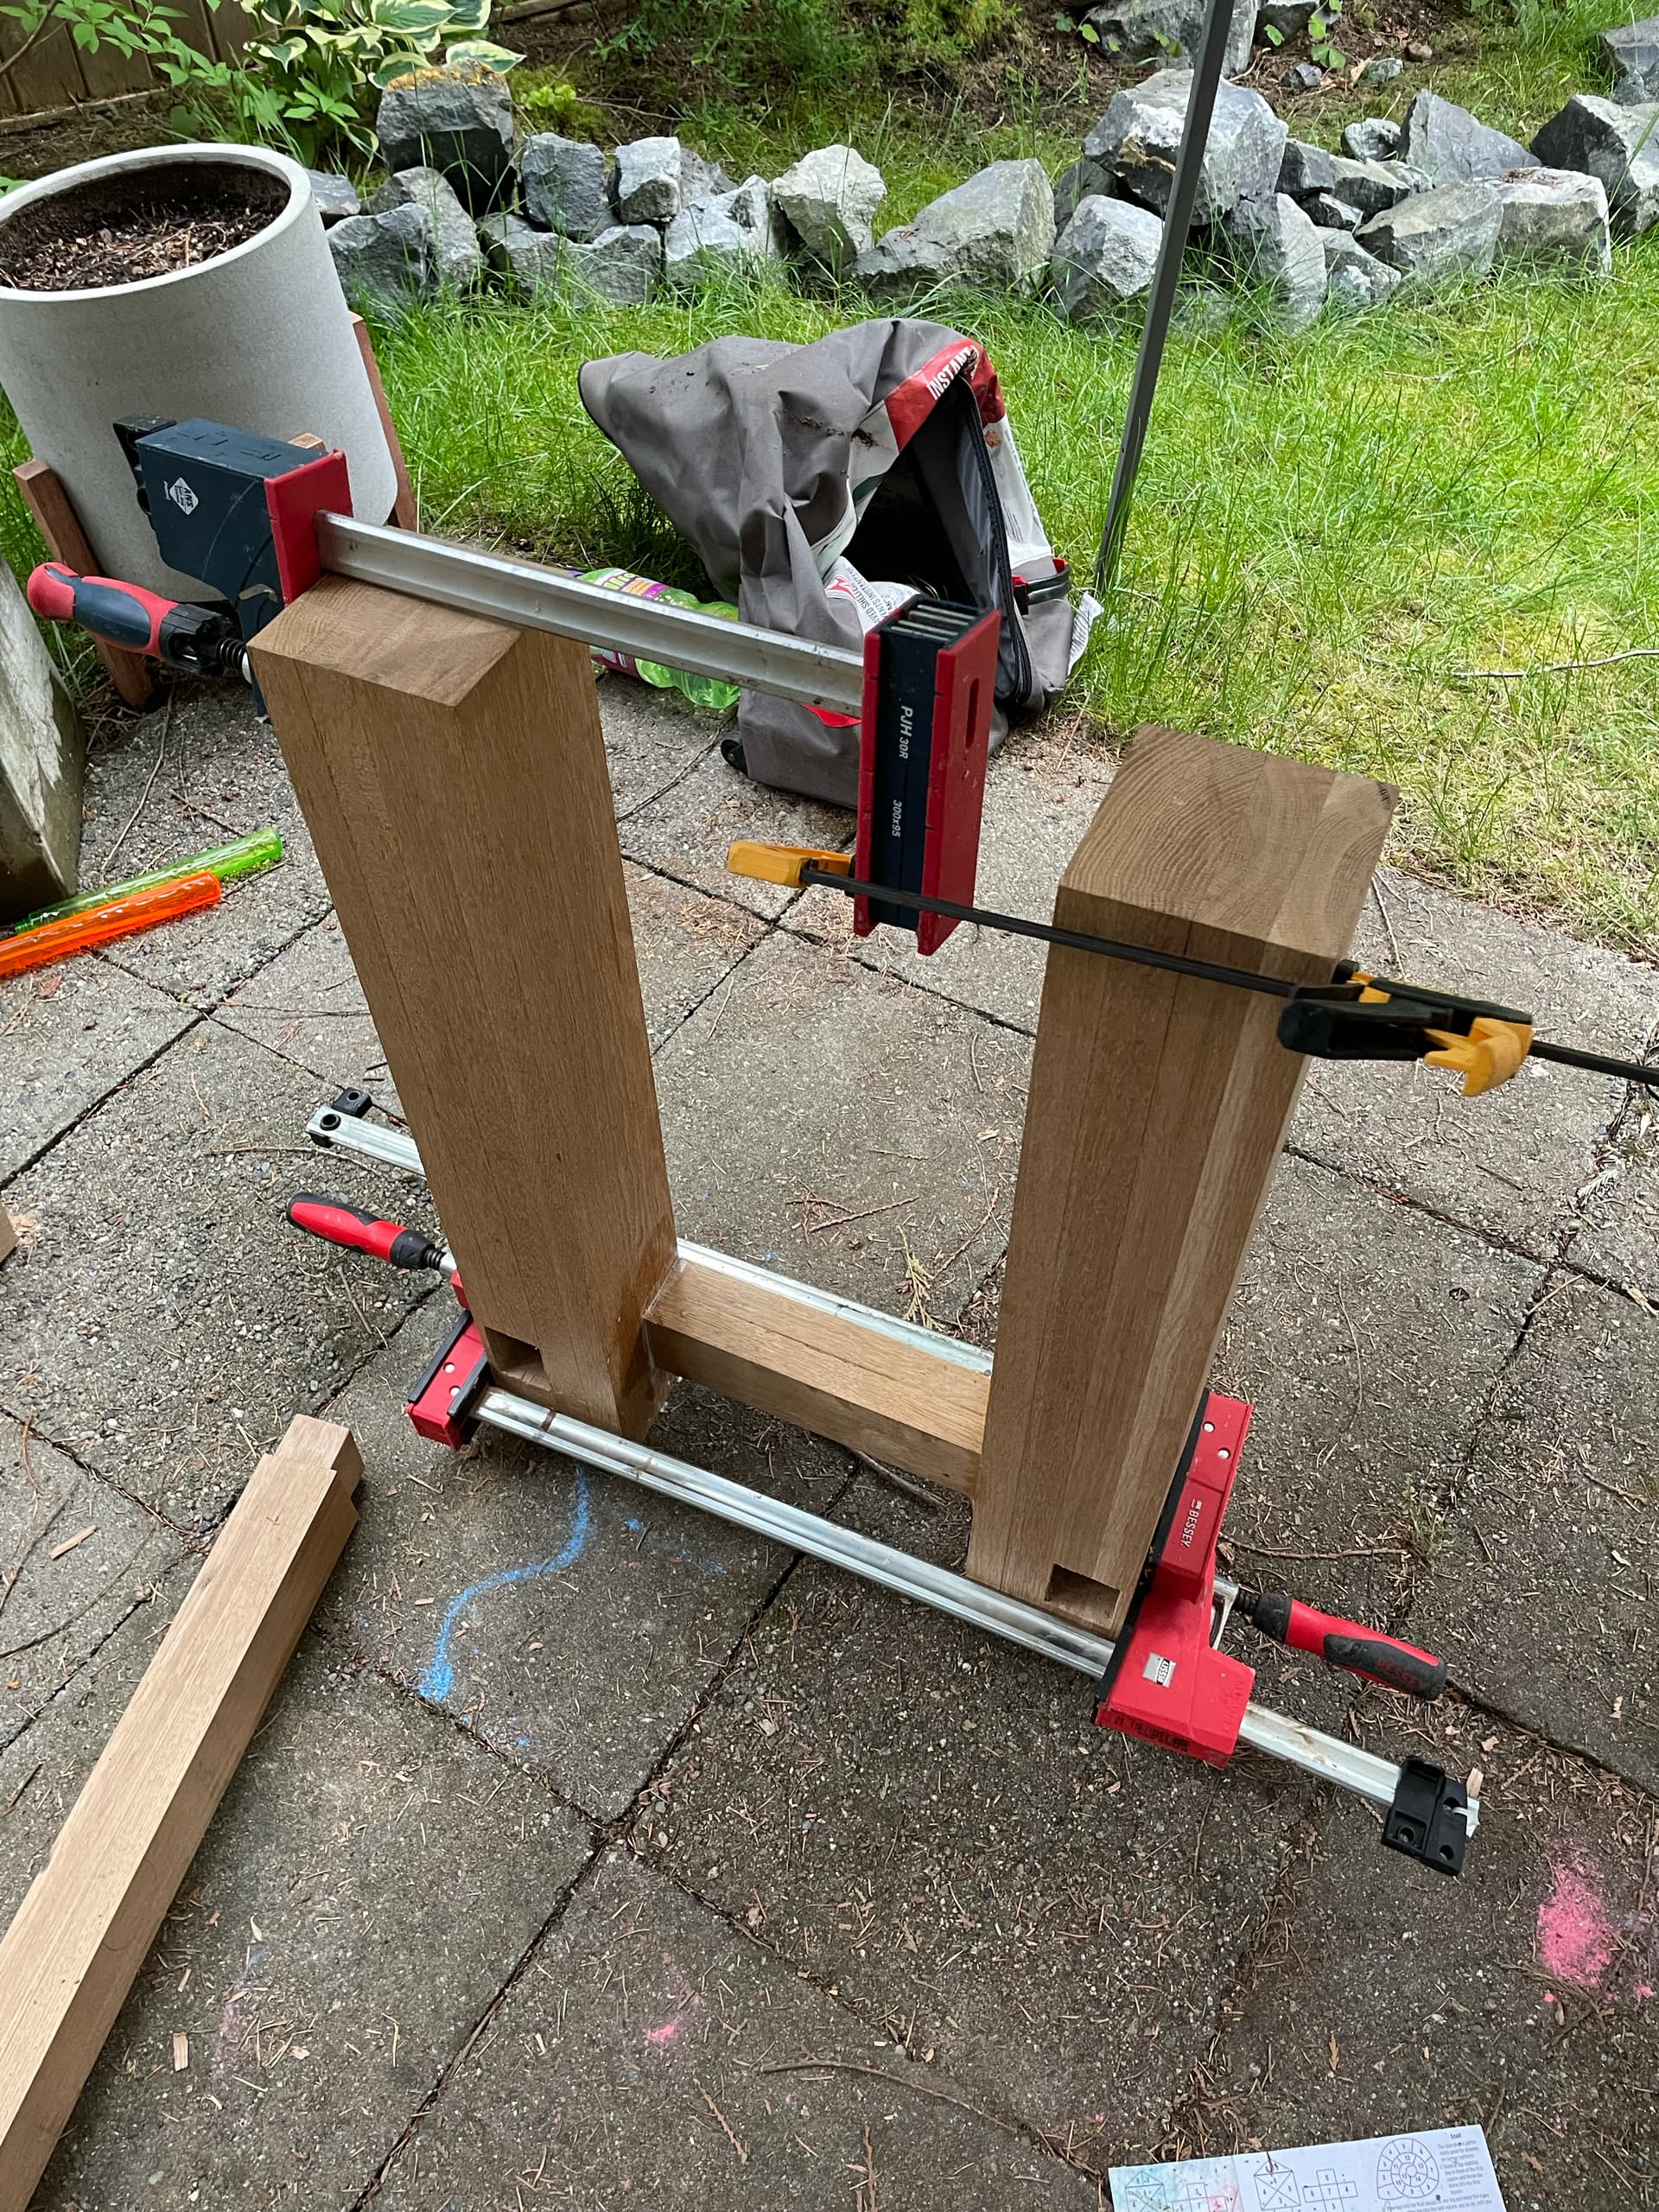
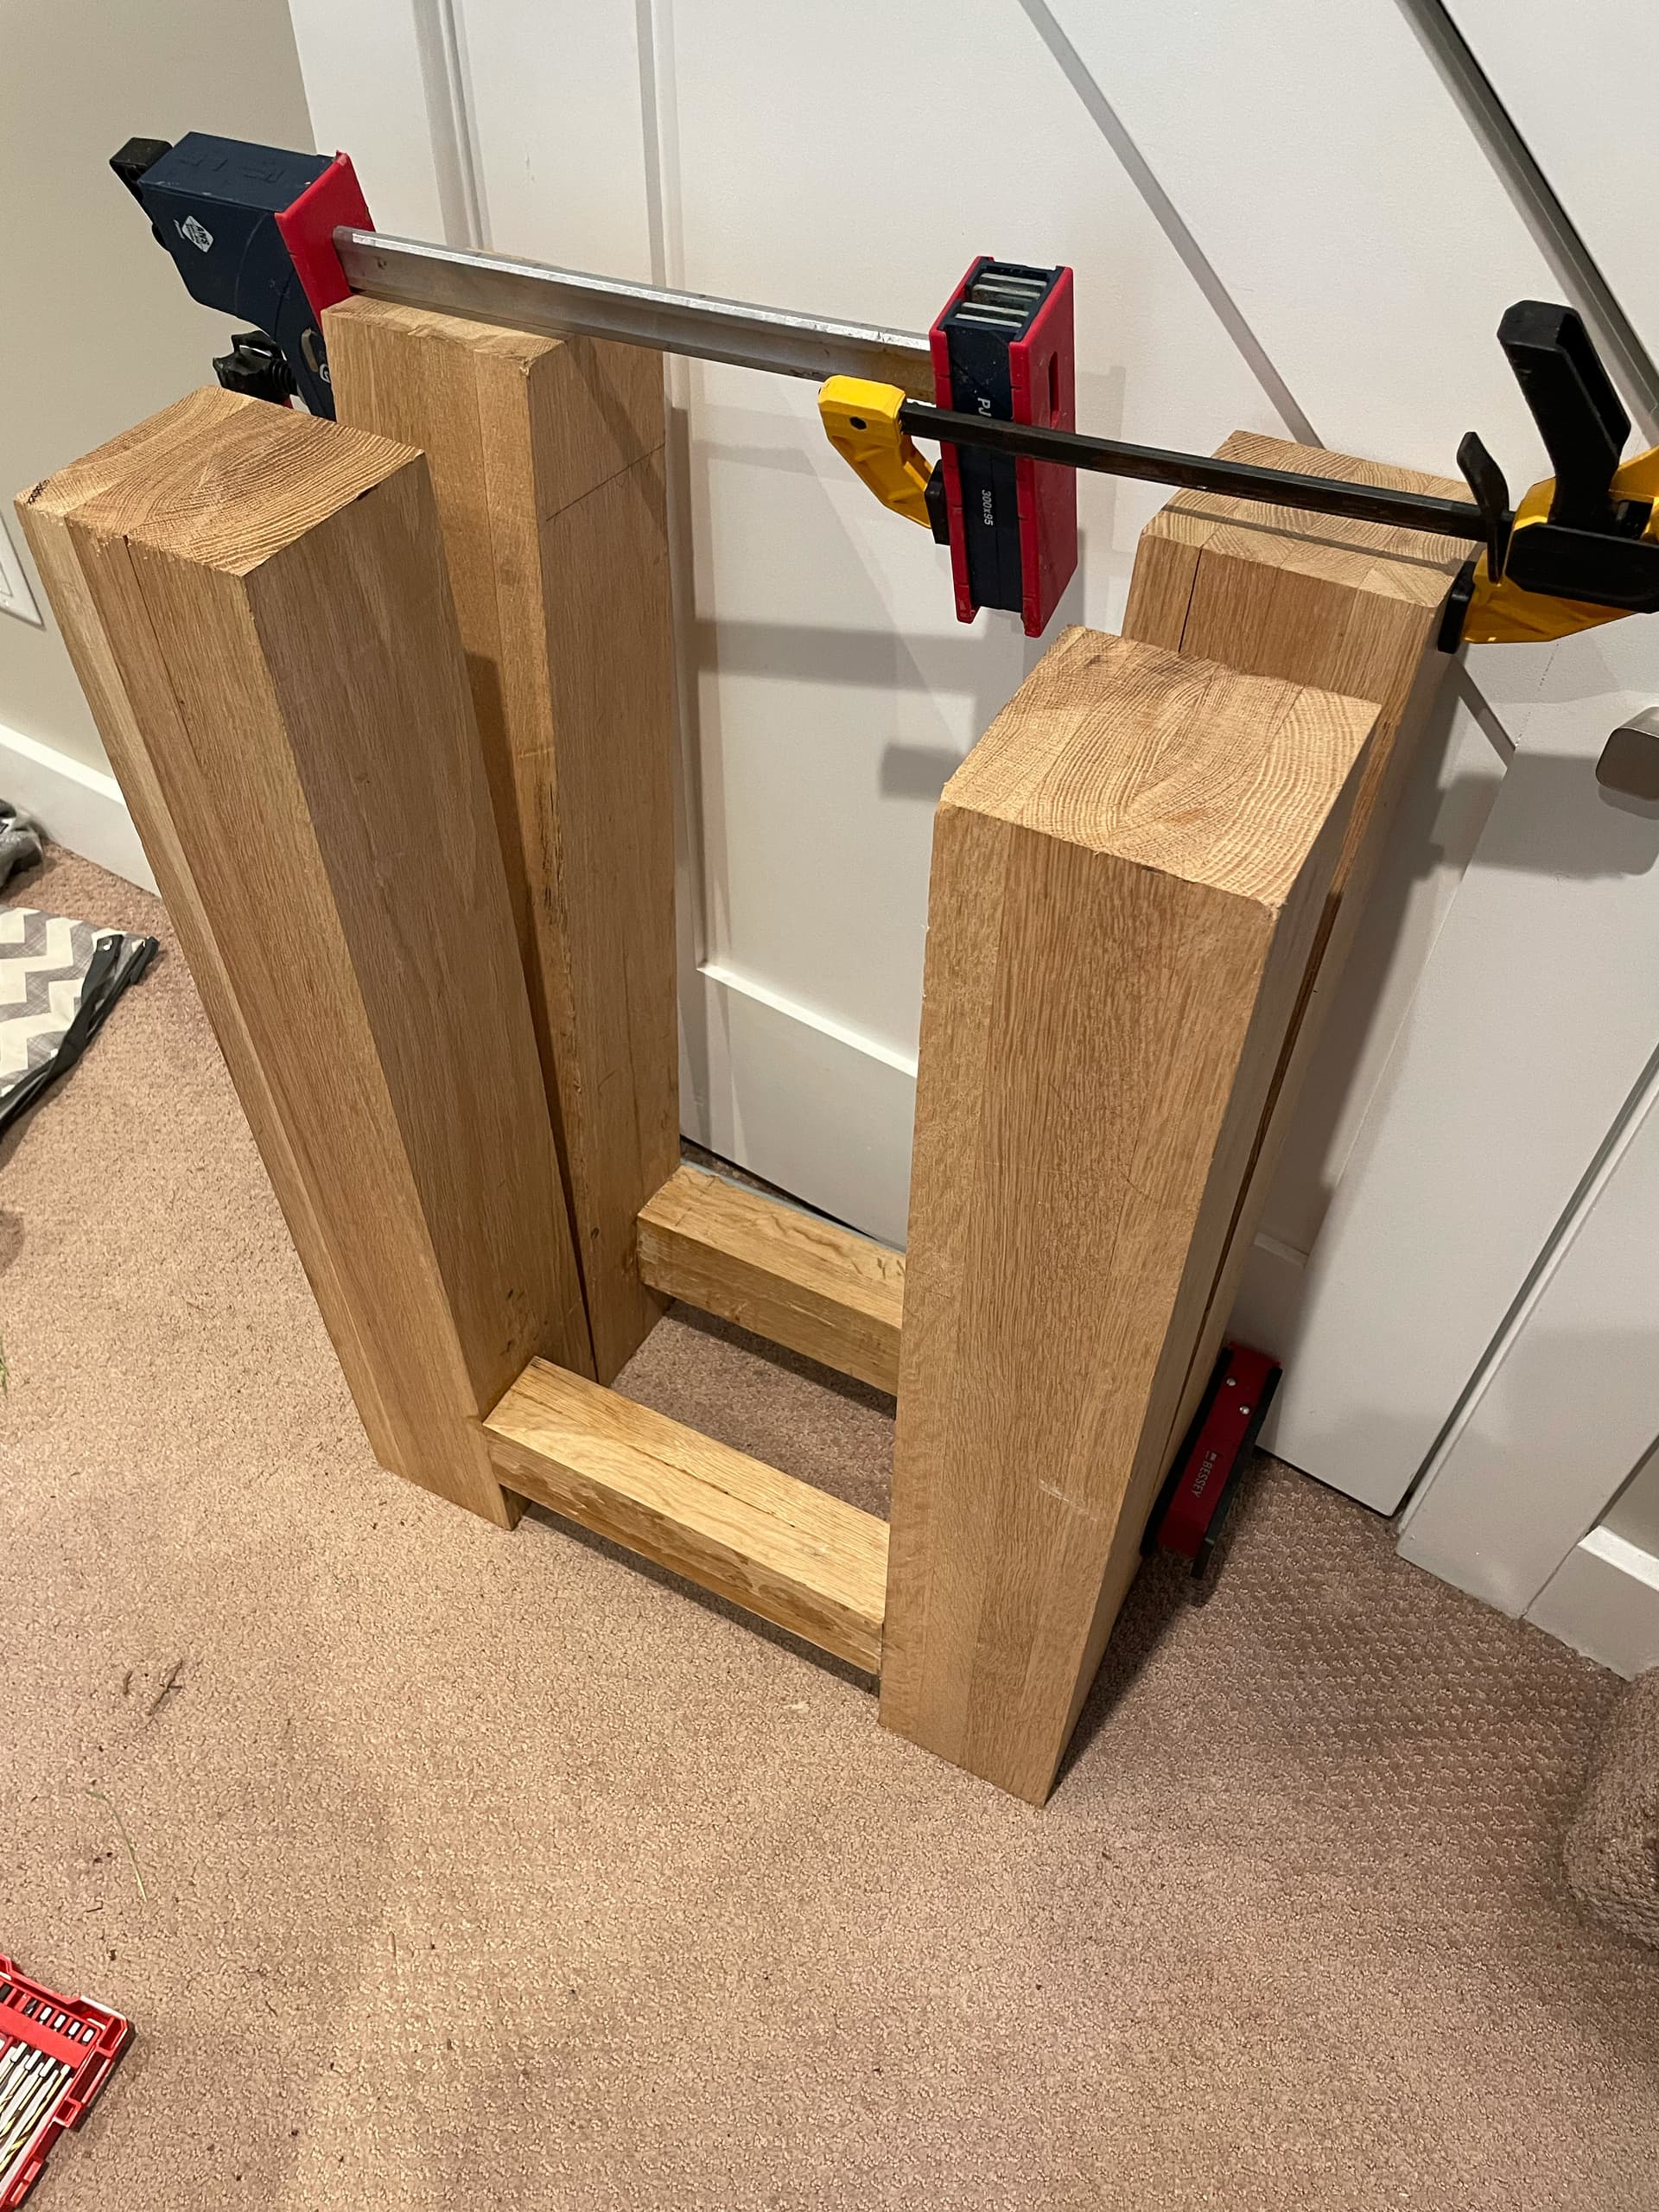
The glue didn’t want to cure outside (too cold and too moist), so I brought them inside after they had done their rough set.
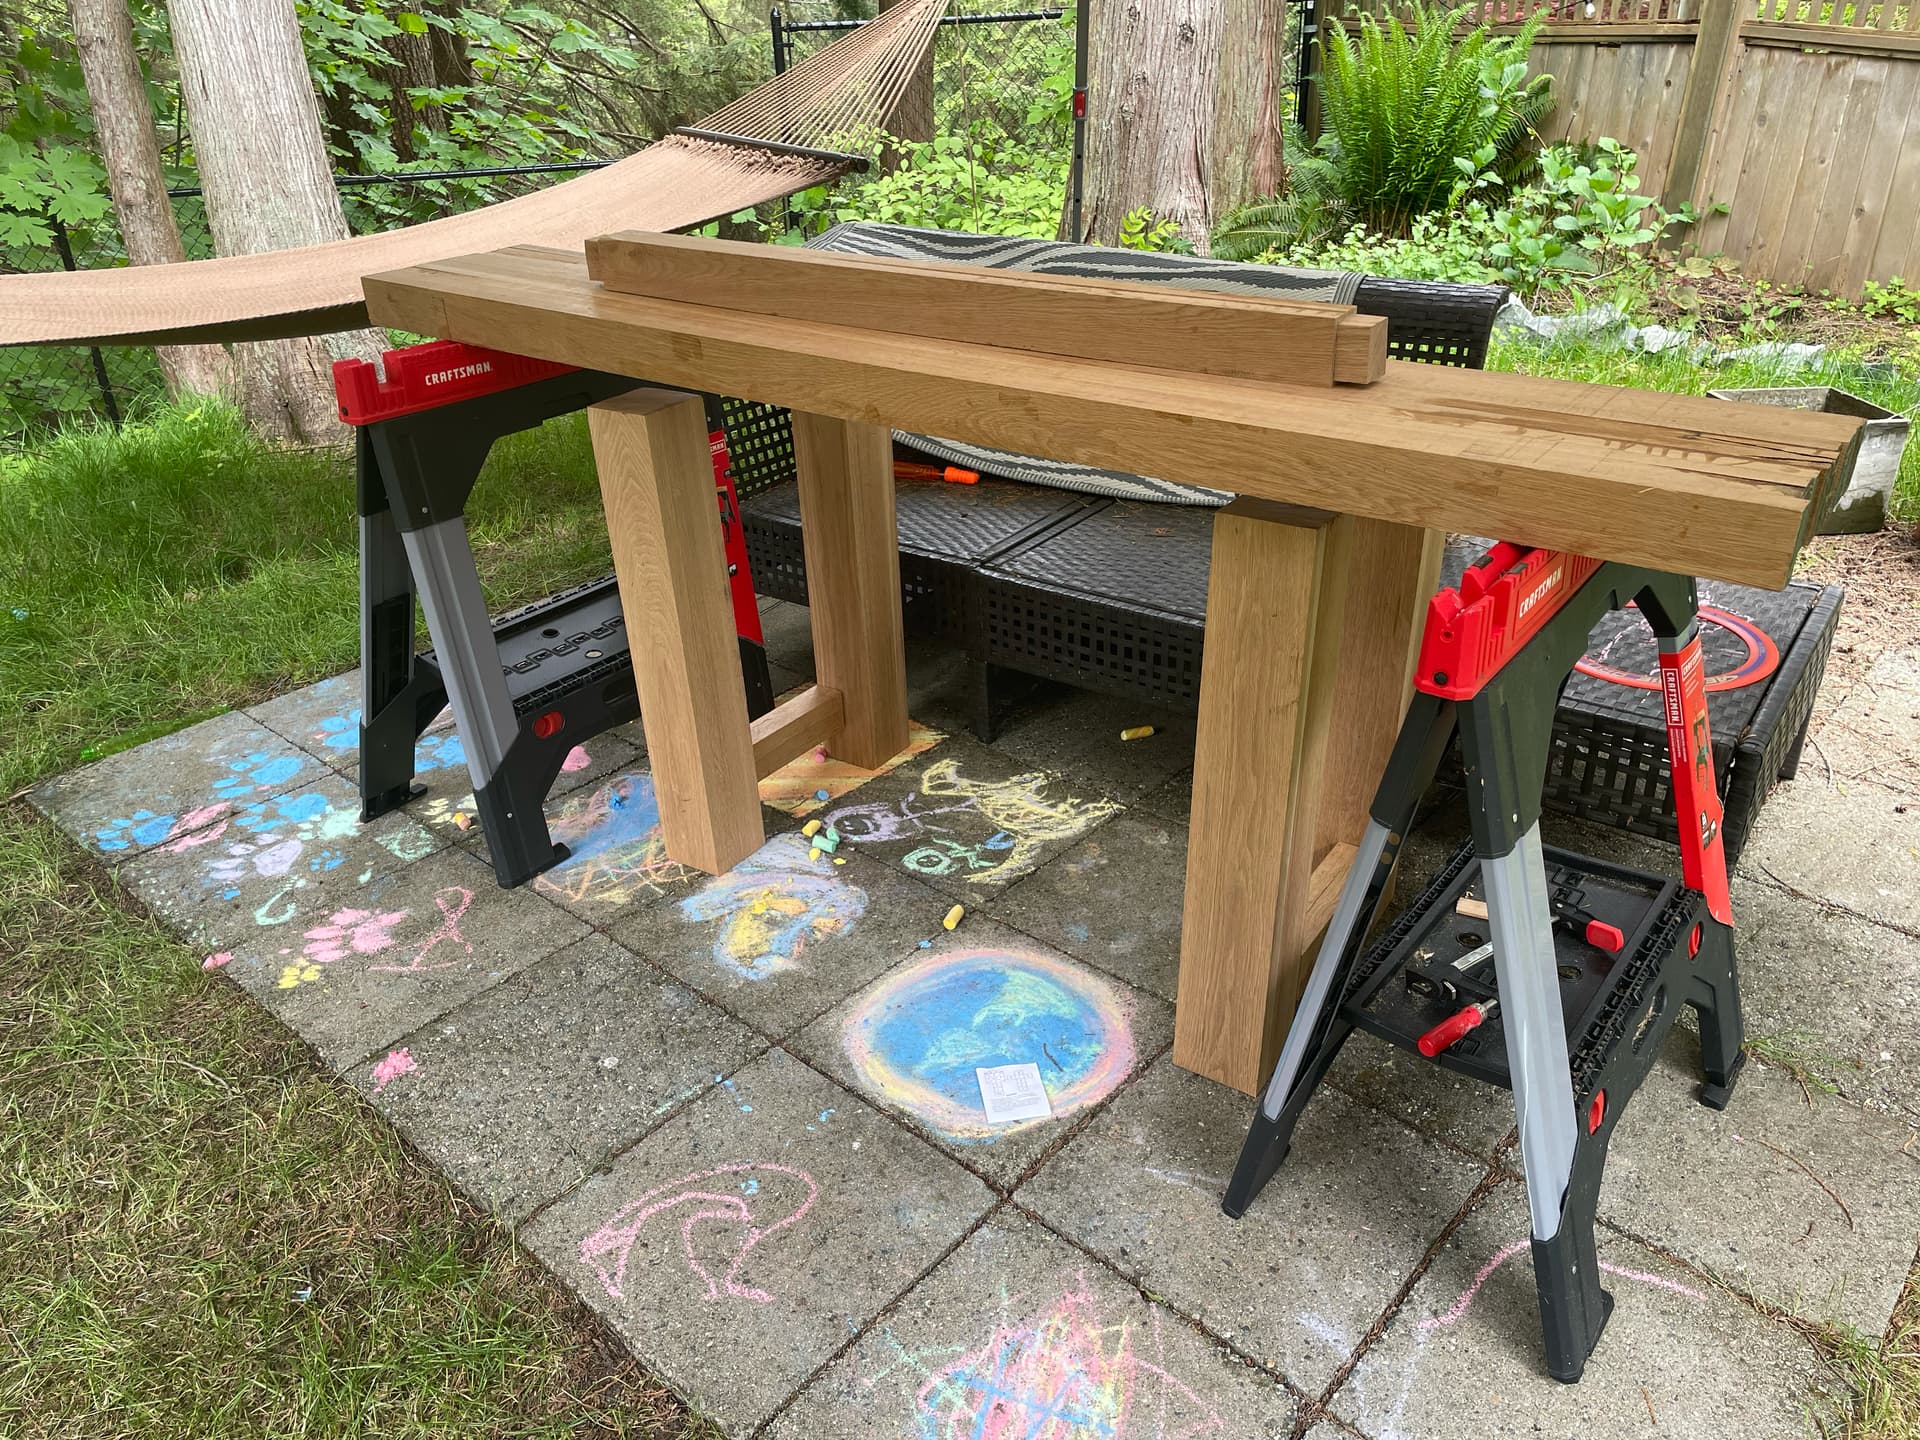
Now I get to see what the bench will roughly look like, this is when I decided against doing a split-top and holding off on the deadman for now (because of where it will go and access to behind/below the bench.
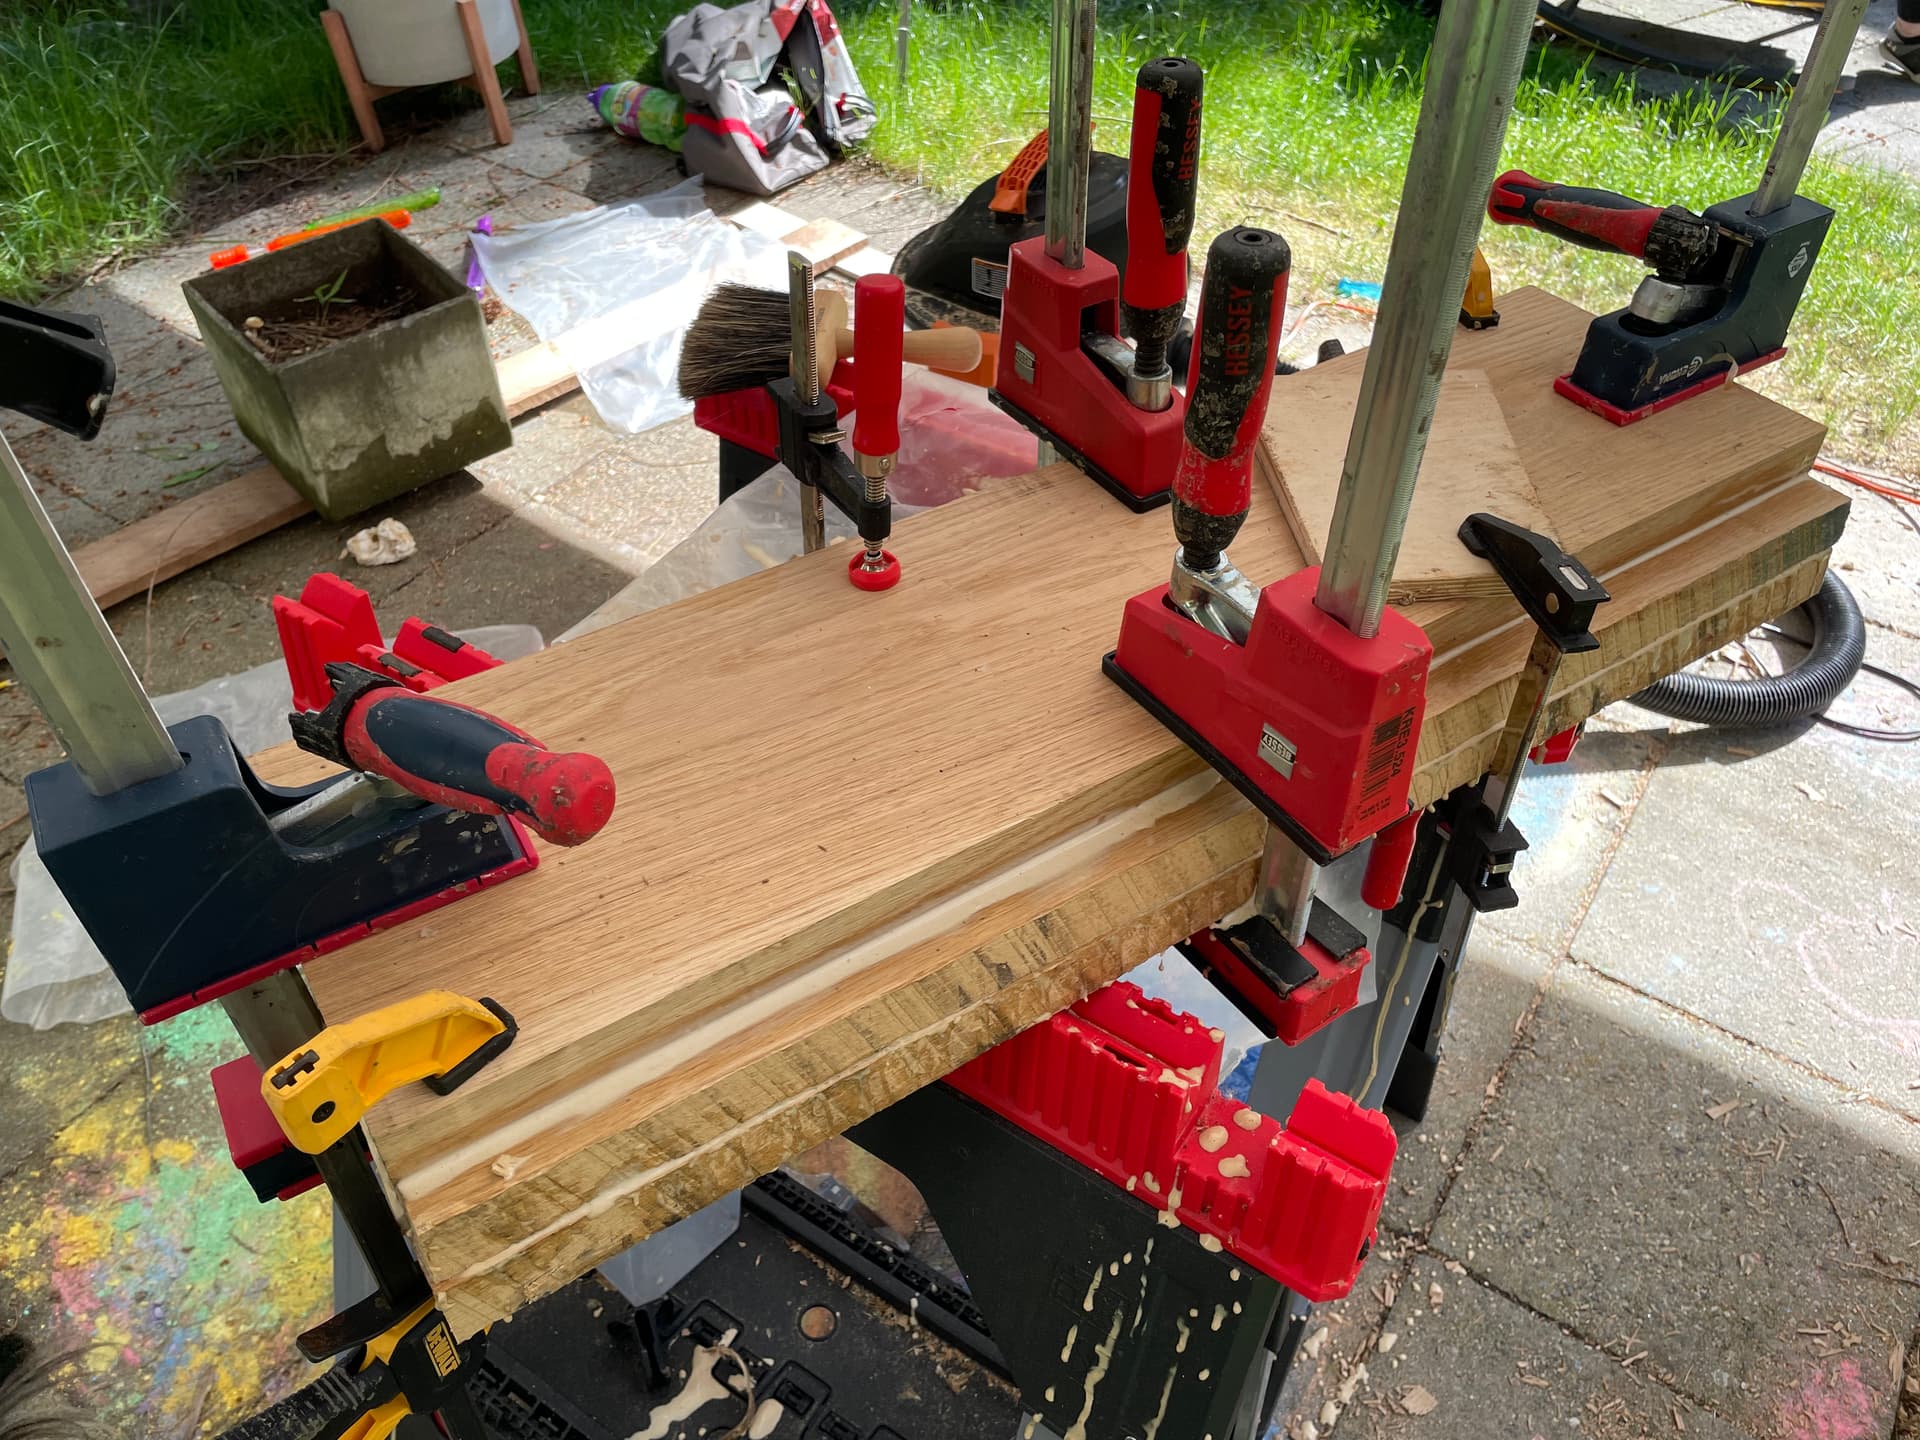
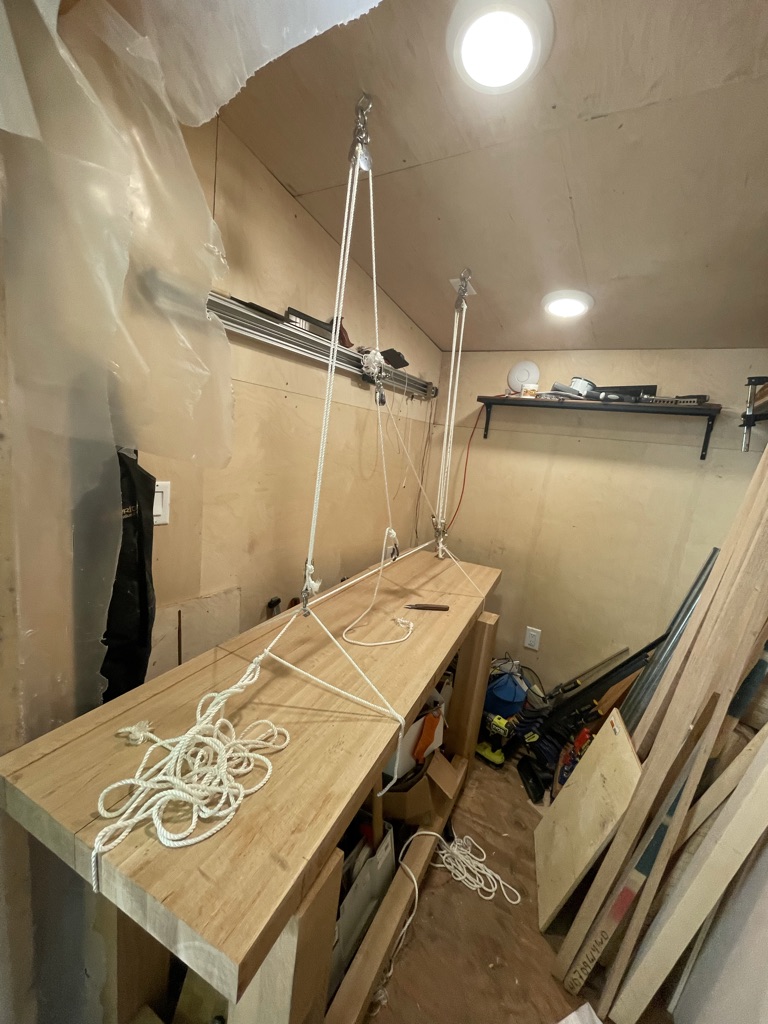
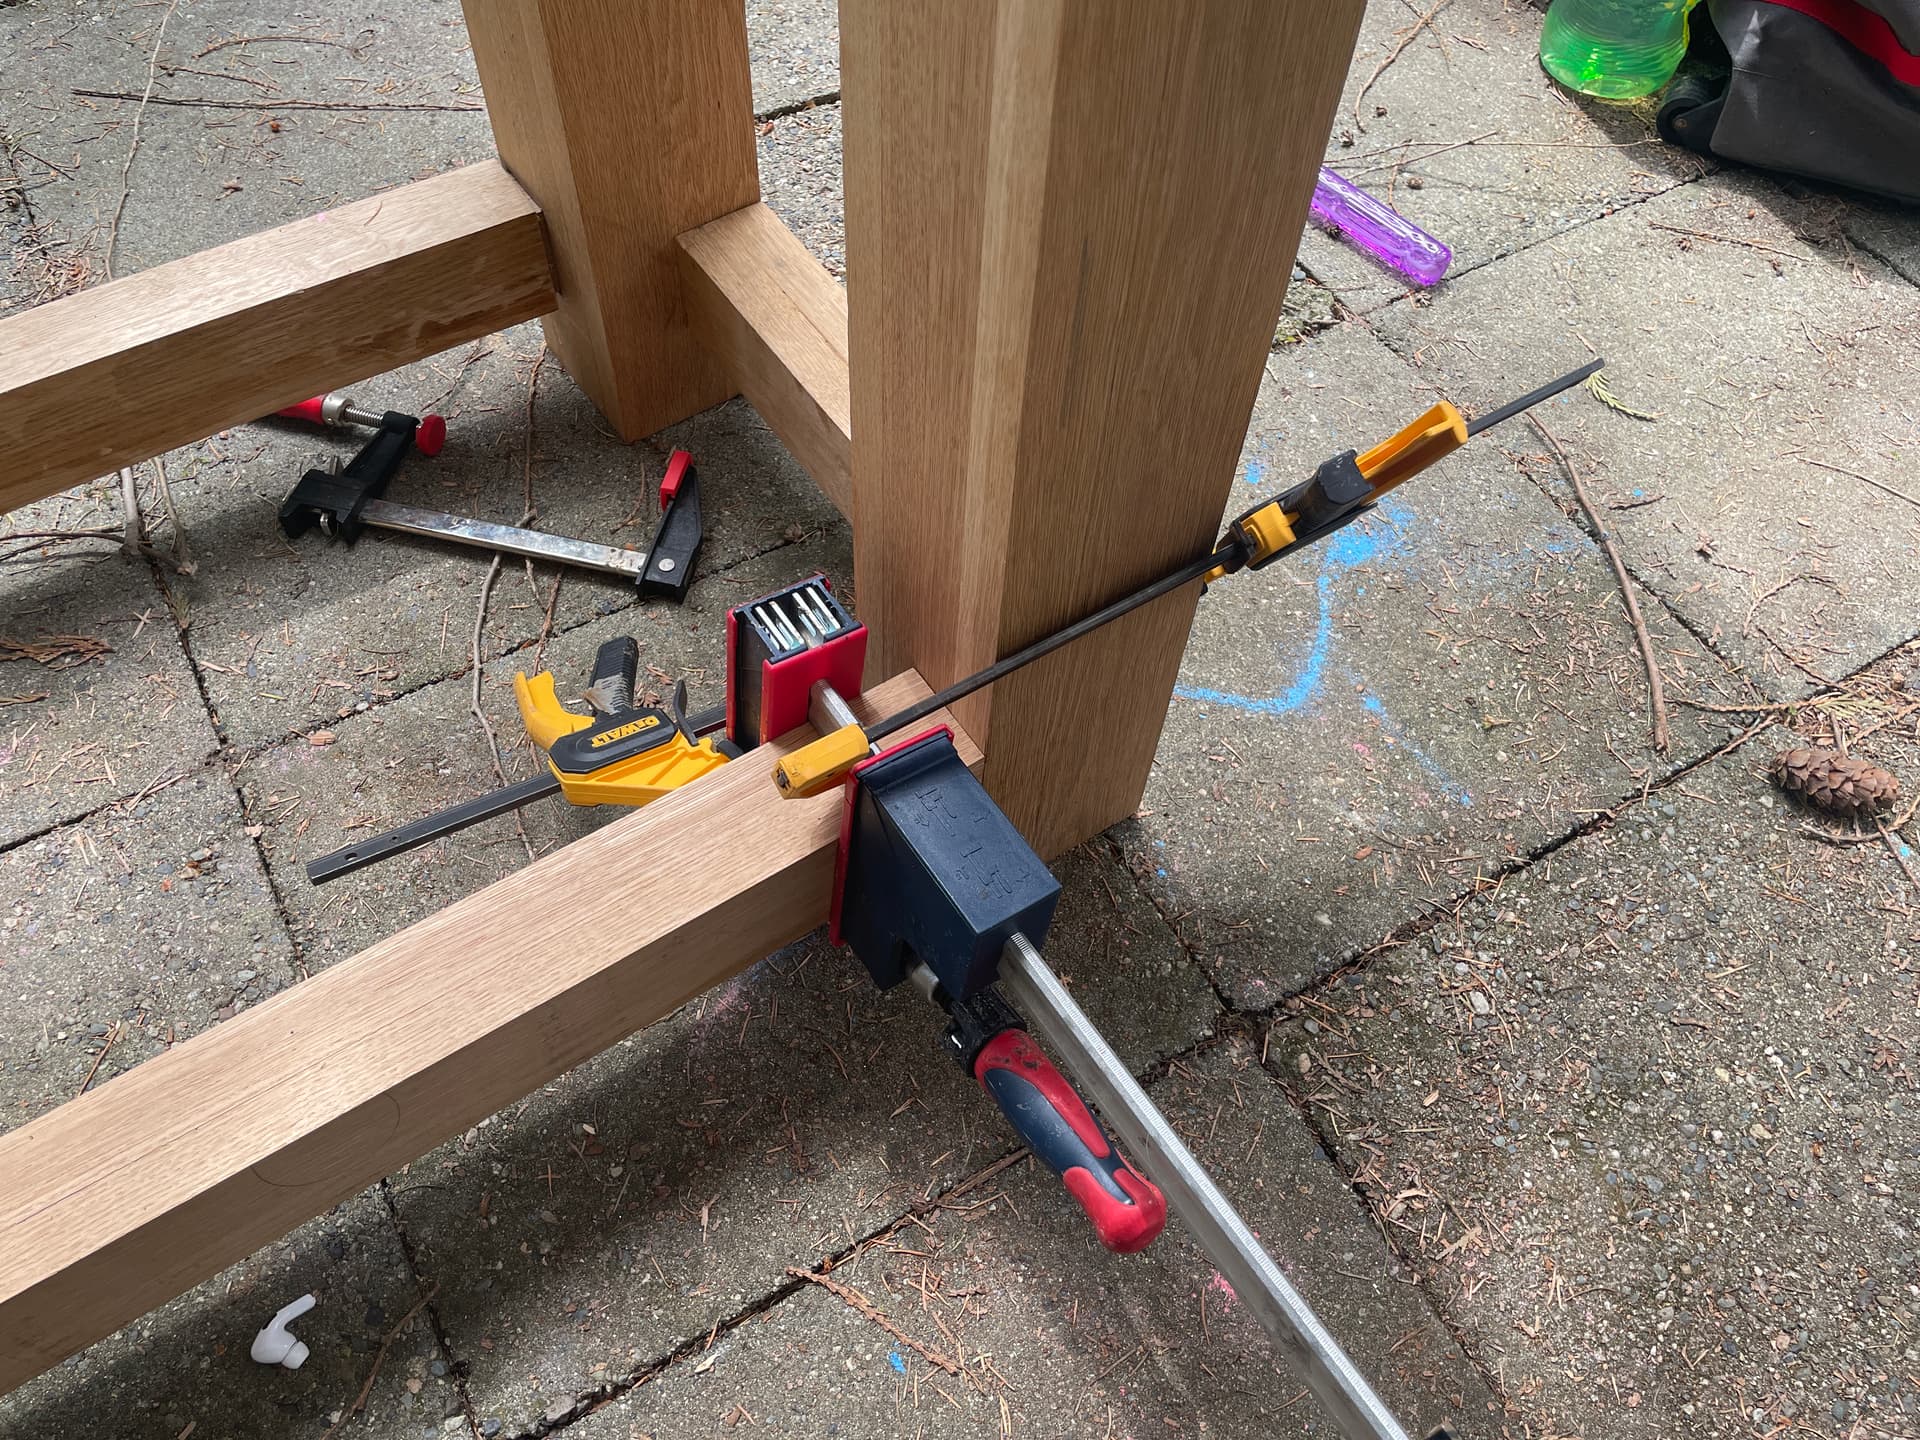
Planning ahead for how I’ll clamp the long cross bars, this is what I’ve come up with (I don’t have bar clamps long enough, and any bar clamp that long won’t fit nicely in my shop, so I don’t want to buy them)
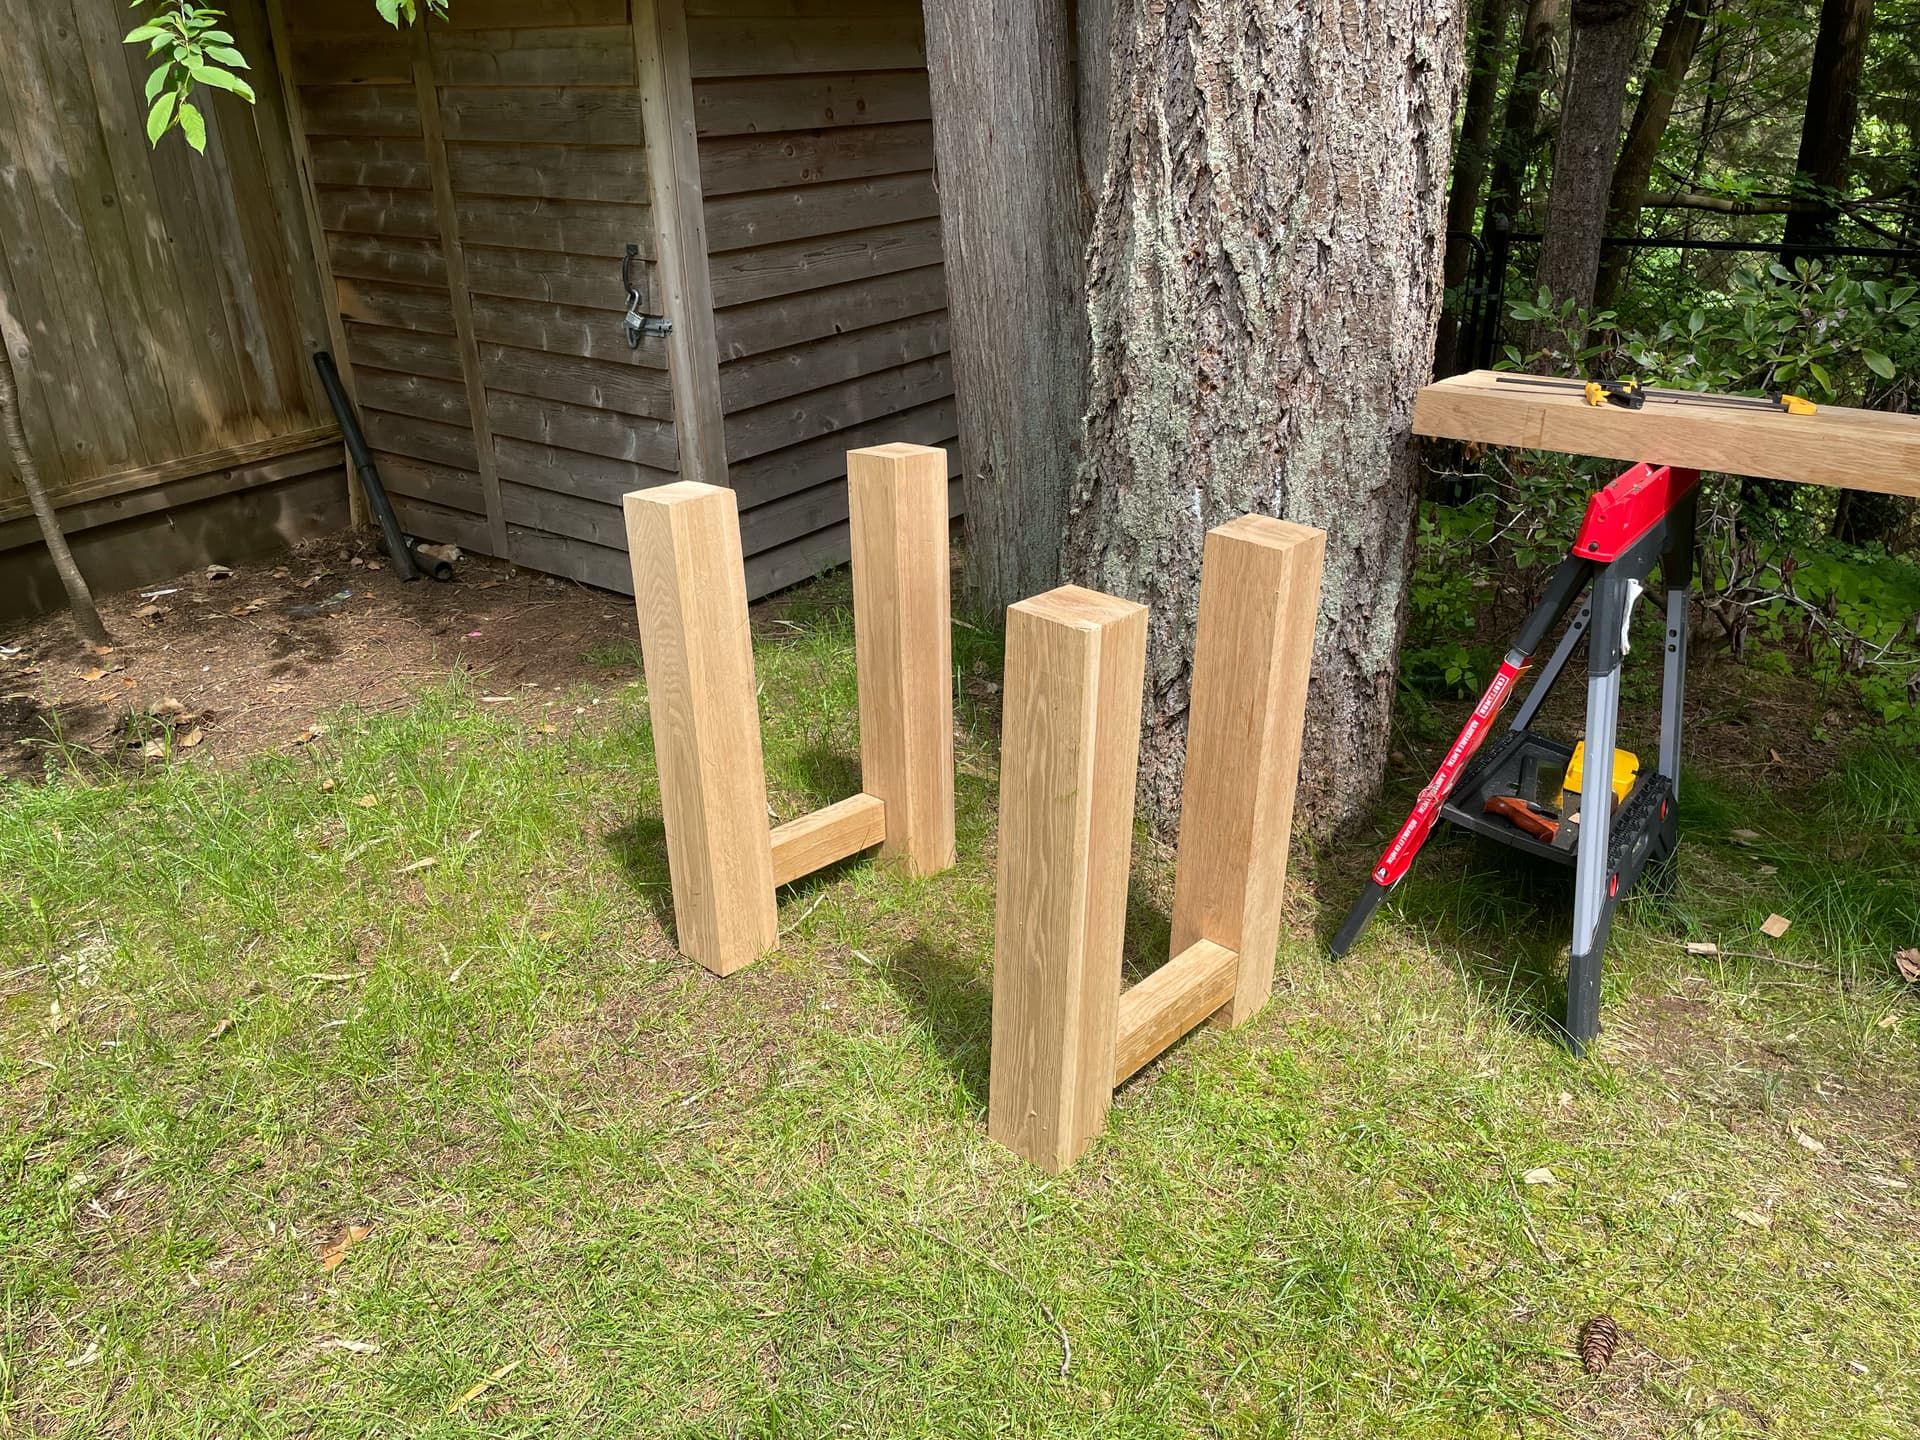
Next I realized I needed to clean out my shop, so I could start getting work done in there. I spent some time cleaning out my shop and fit my legs to where they will eventually go.

Then I did the glue-up for the second half of my bench top. Combined they’ll be slightly wide, but that will allow me to take a finishing cut on them to bring them down to just the right size.

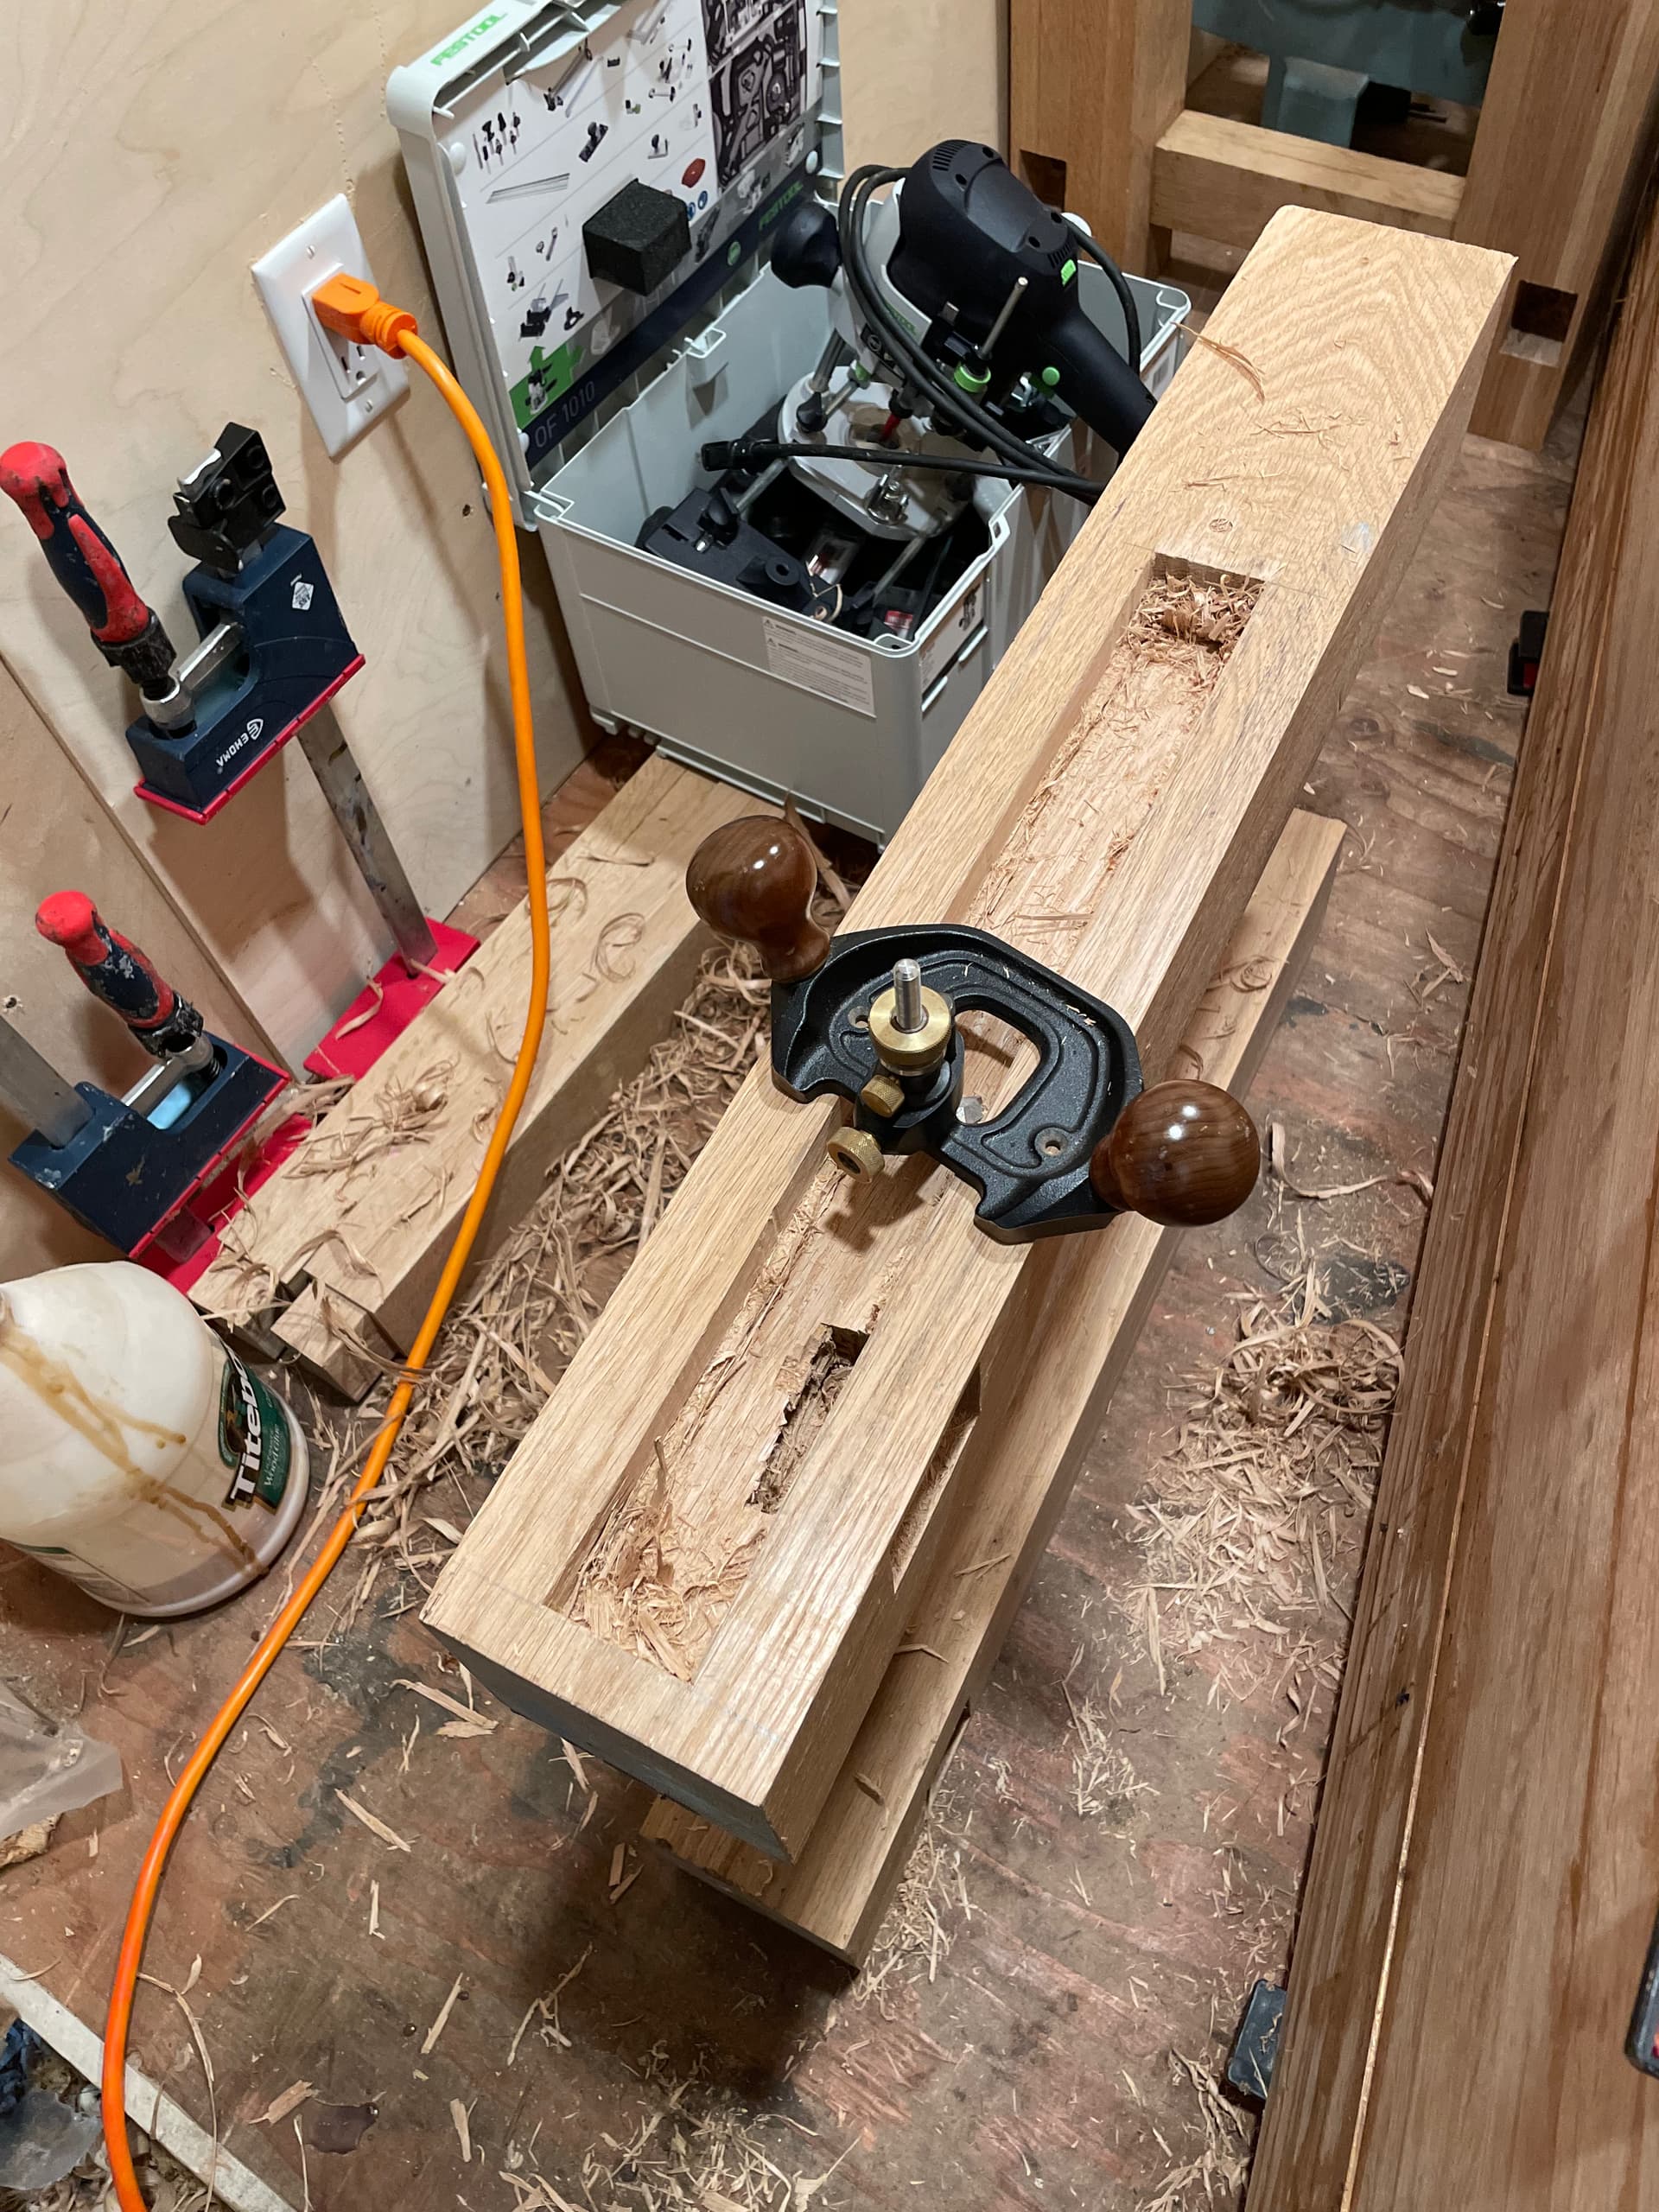
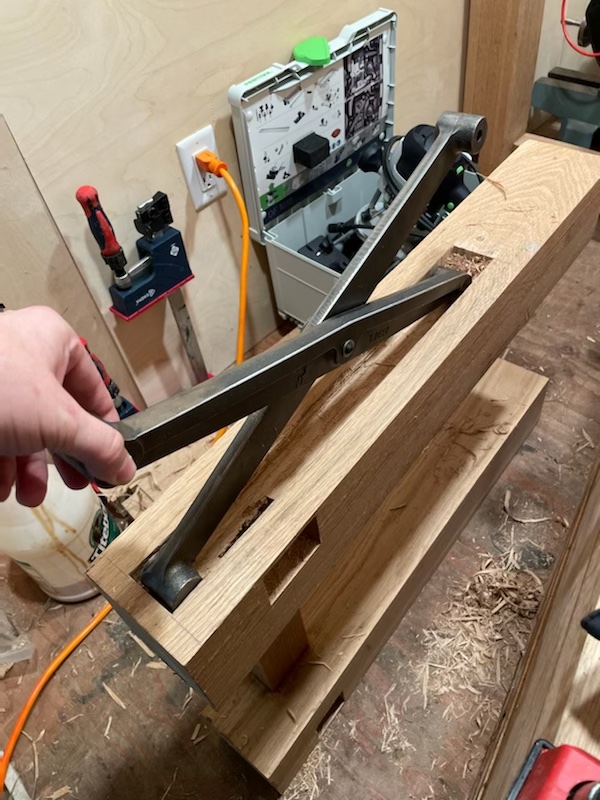
I began on the leg vise mortise. I cheated with a router to start the edge wall, but my router bit only goes down about a 1/2" (after the template I put on top). But that gives me a nice wall to follow with hand tools. I’m trying to stick to hand tools except for rough processing (and a few other minor exceptions like drills). I’ll give myself this pass.
I’m deepening it with my router plane here:

… I have about 1/2 an inch to go…
And thats where I am today! I’ll post as I continue working on this, but so far, I’m excited to have a nice stout bench for my tiny little shop.