Hi Folks,
David Bynoe here, you may remember me from such projects as “Lester Beaver Pearson - the Patriotic Innuendo” and “Goostoph - the Terror of the Sidewalk”
My current project is to stick to the Electric Canadian Wildlife theme and build a couple Racing Bearskin Rugs.
These will be something akin to Lester; but lighter and faster. At 70lbs all in lester is a bit of a chonker to get up and down stairs, and his leisurely top speed of 6.5km/h definitely qualifies as adequate. He’s a good robot, and has enough torque to move furniture, but brushed DC gear motors can only weigh so little, and go only so fast.
Enter modern brushless DC motors. Now I started this project back in 2018, and picked up a bunch of parts from that era, I am sure things have improved a bit in the intervening three years, but these parts are on the shelf and paid for.
The test vehicle, and also why I am bleeding right now:
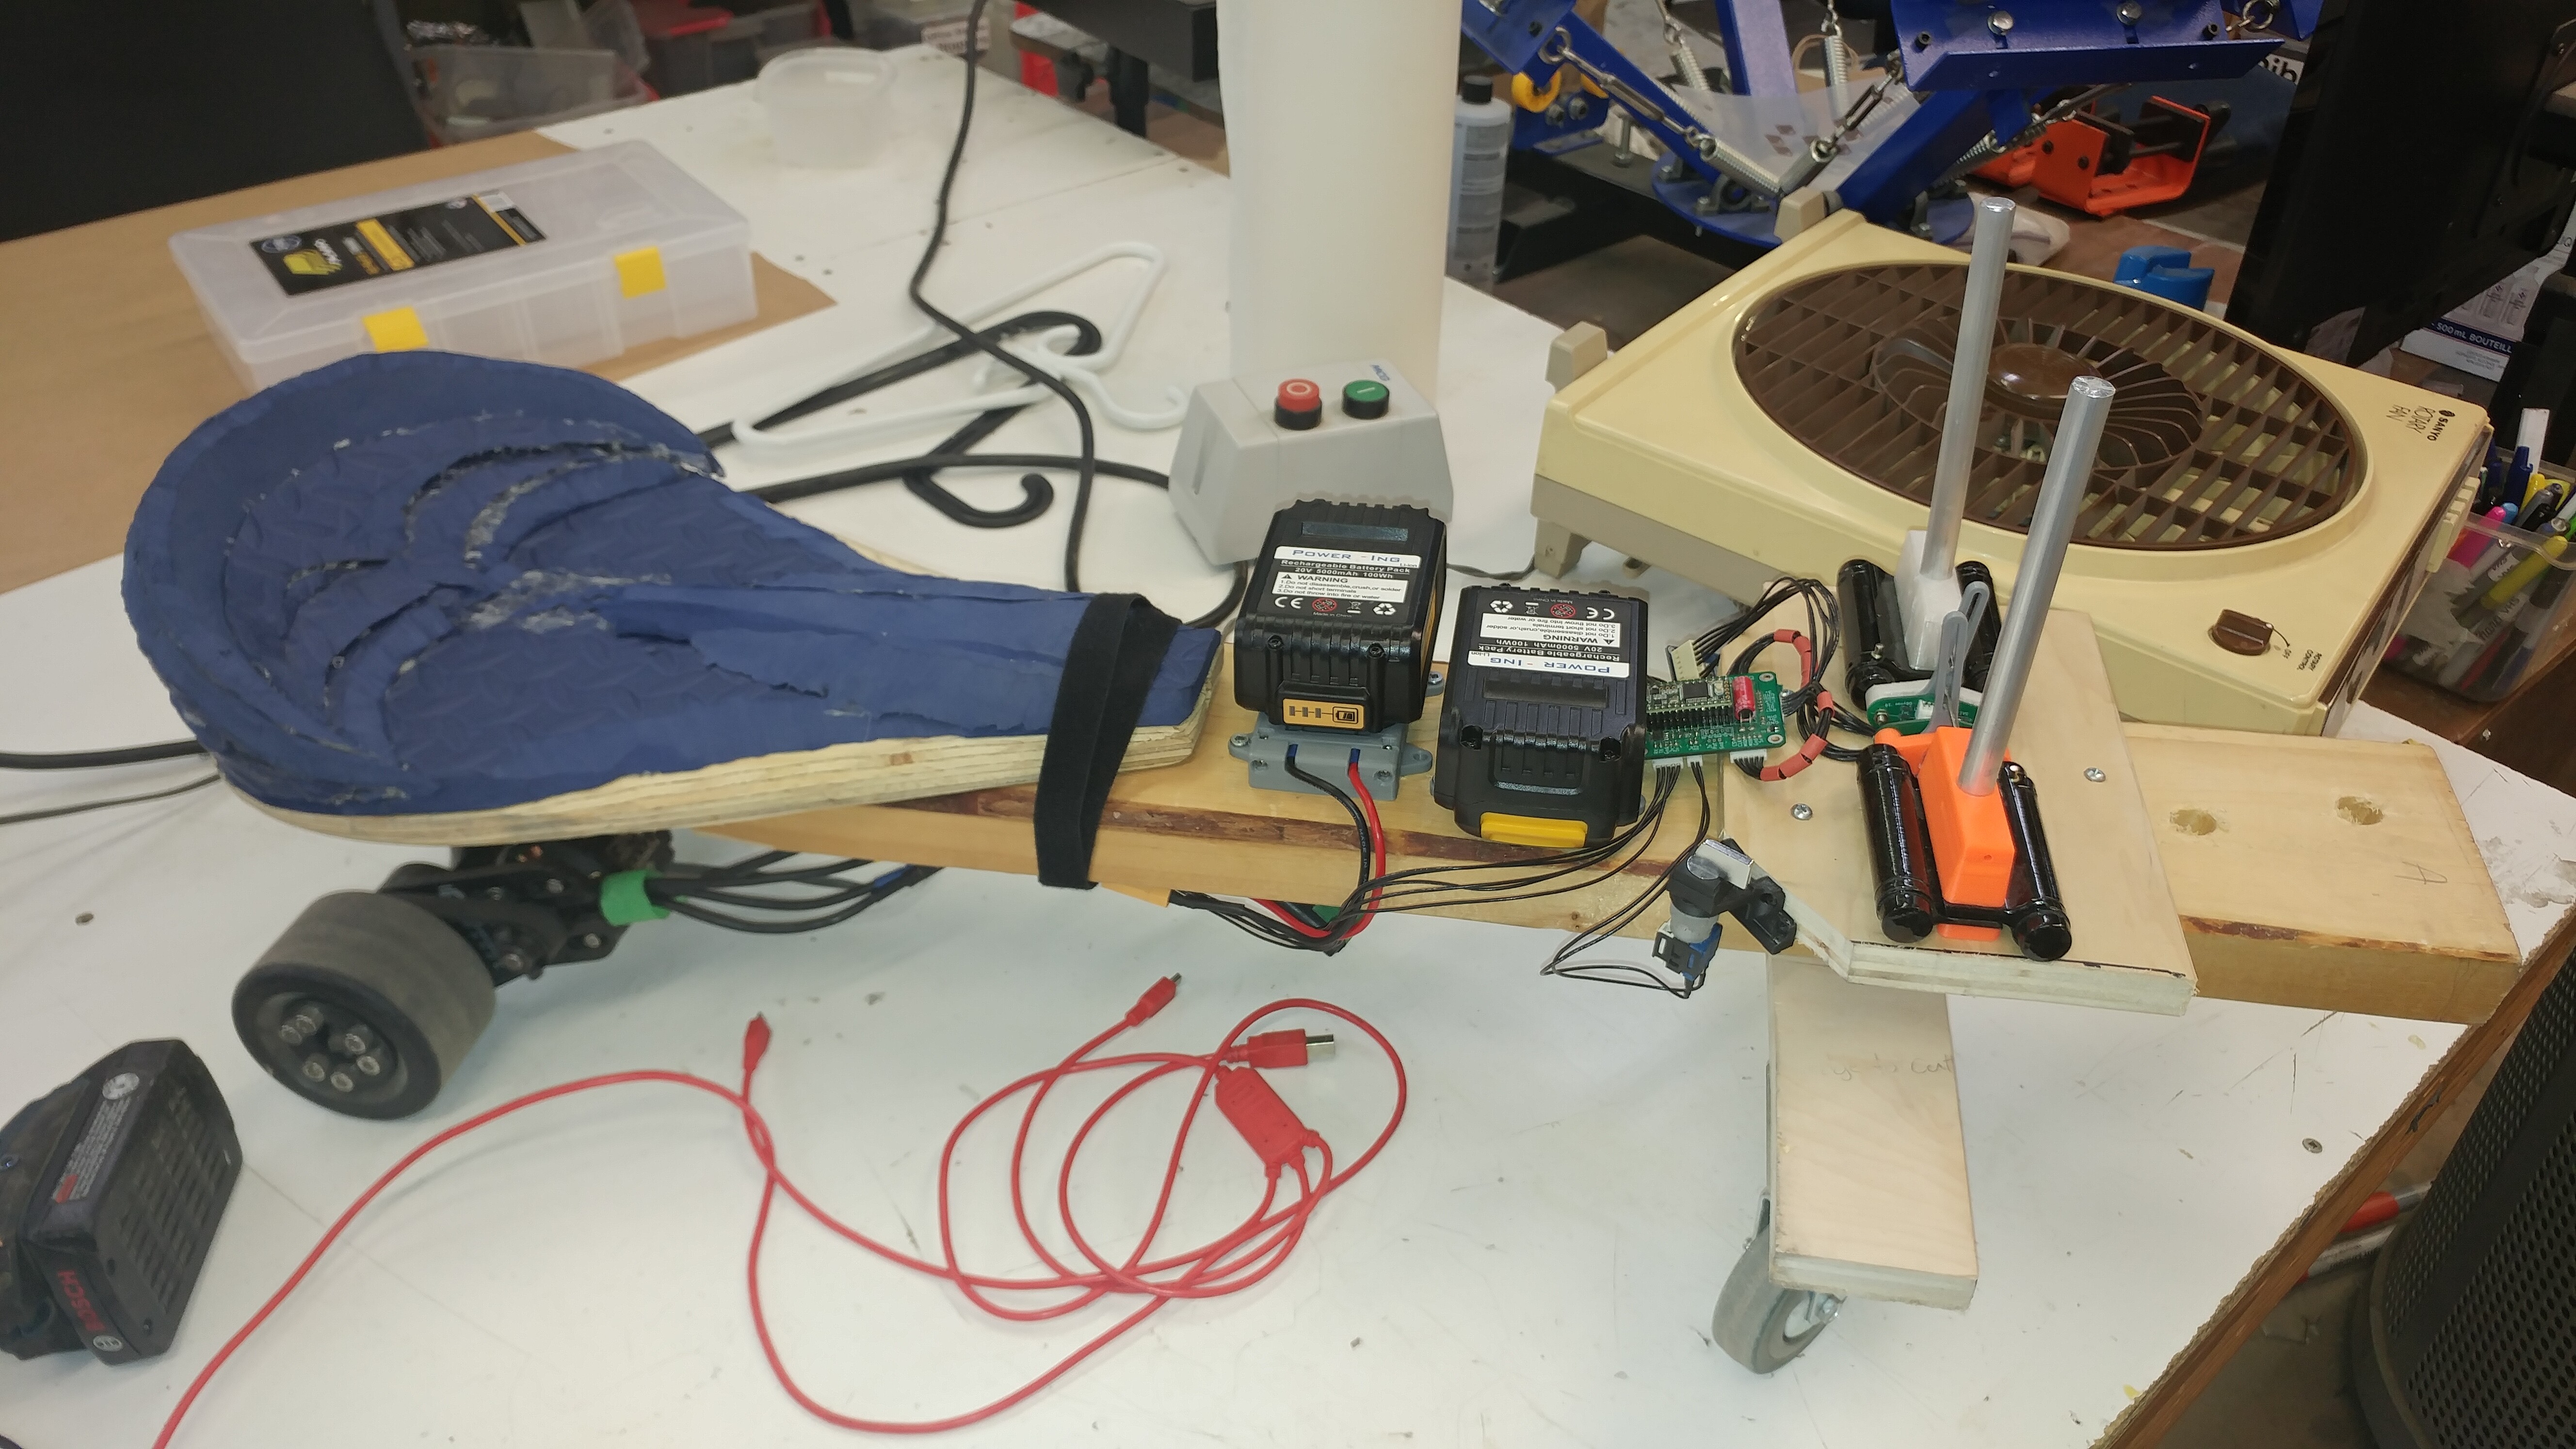
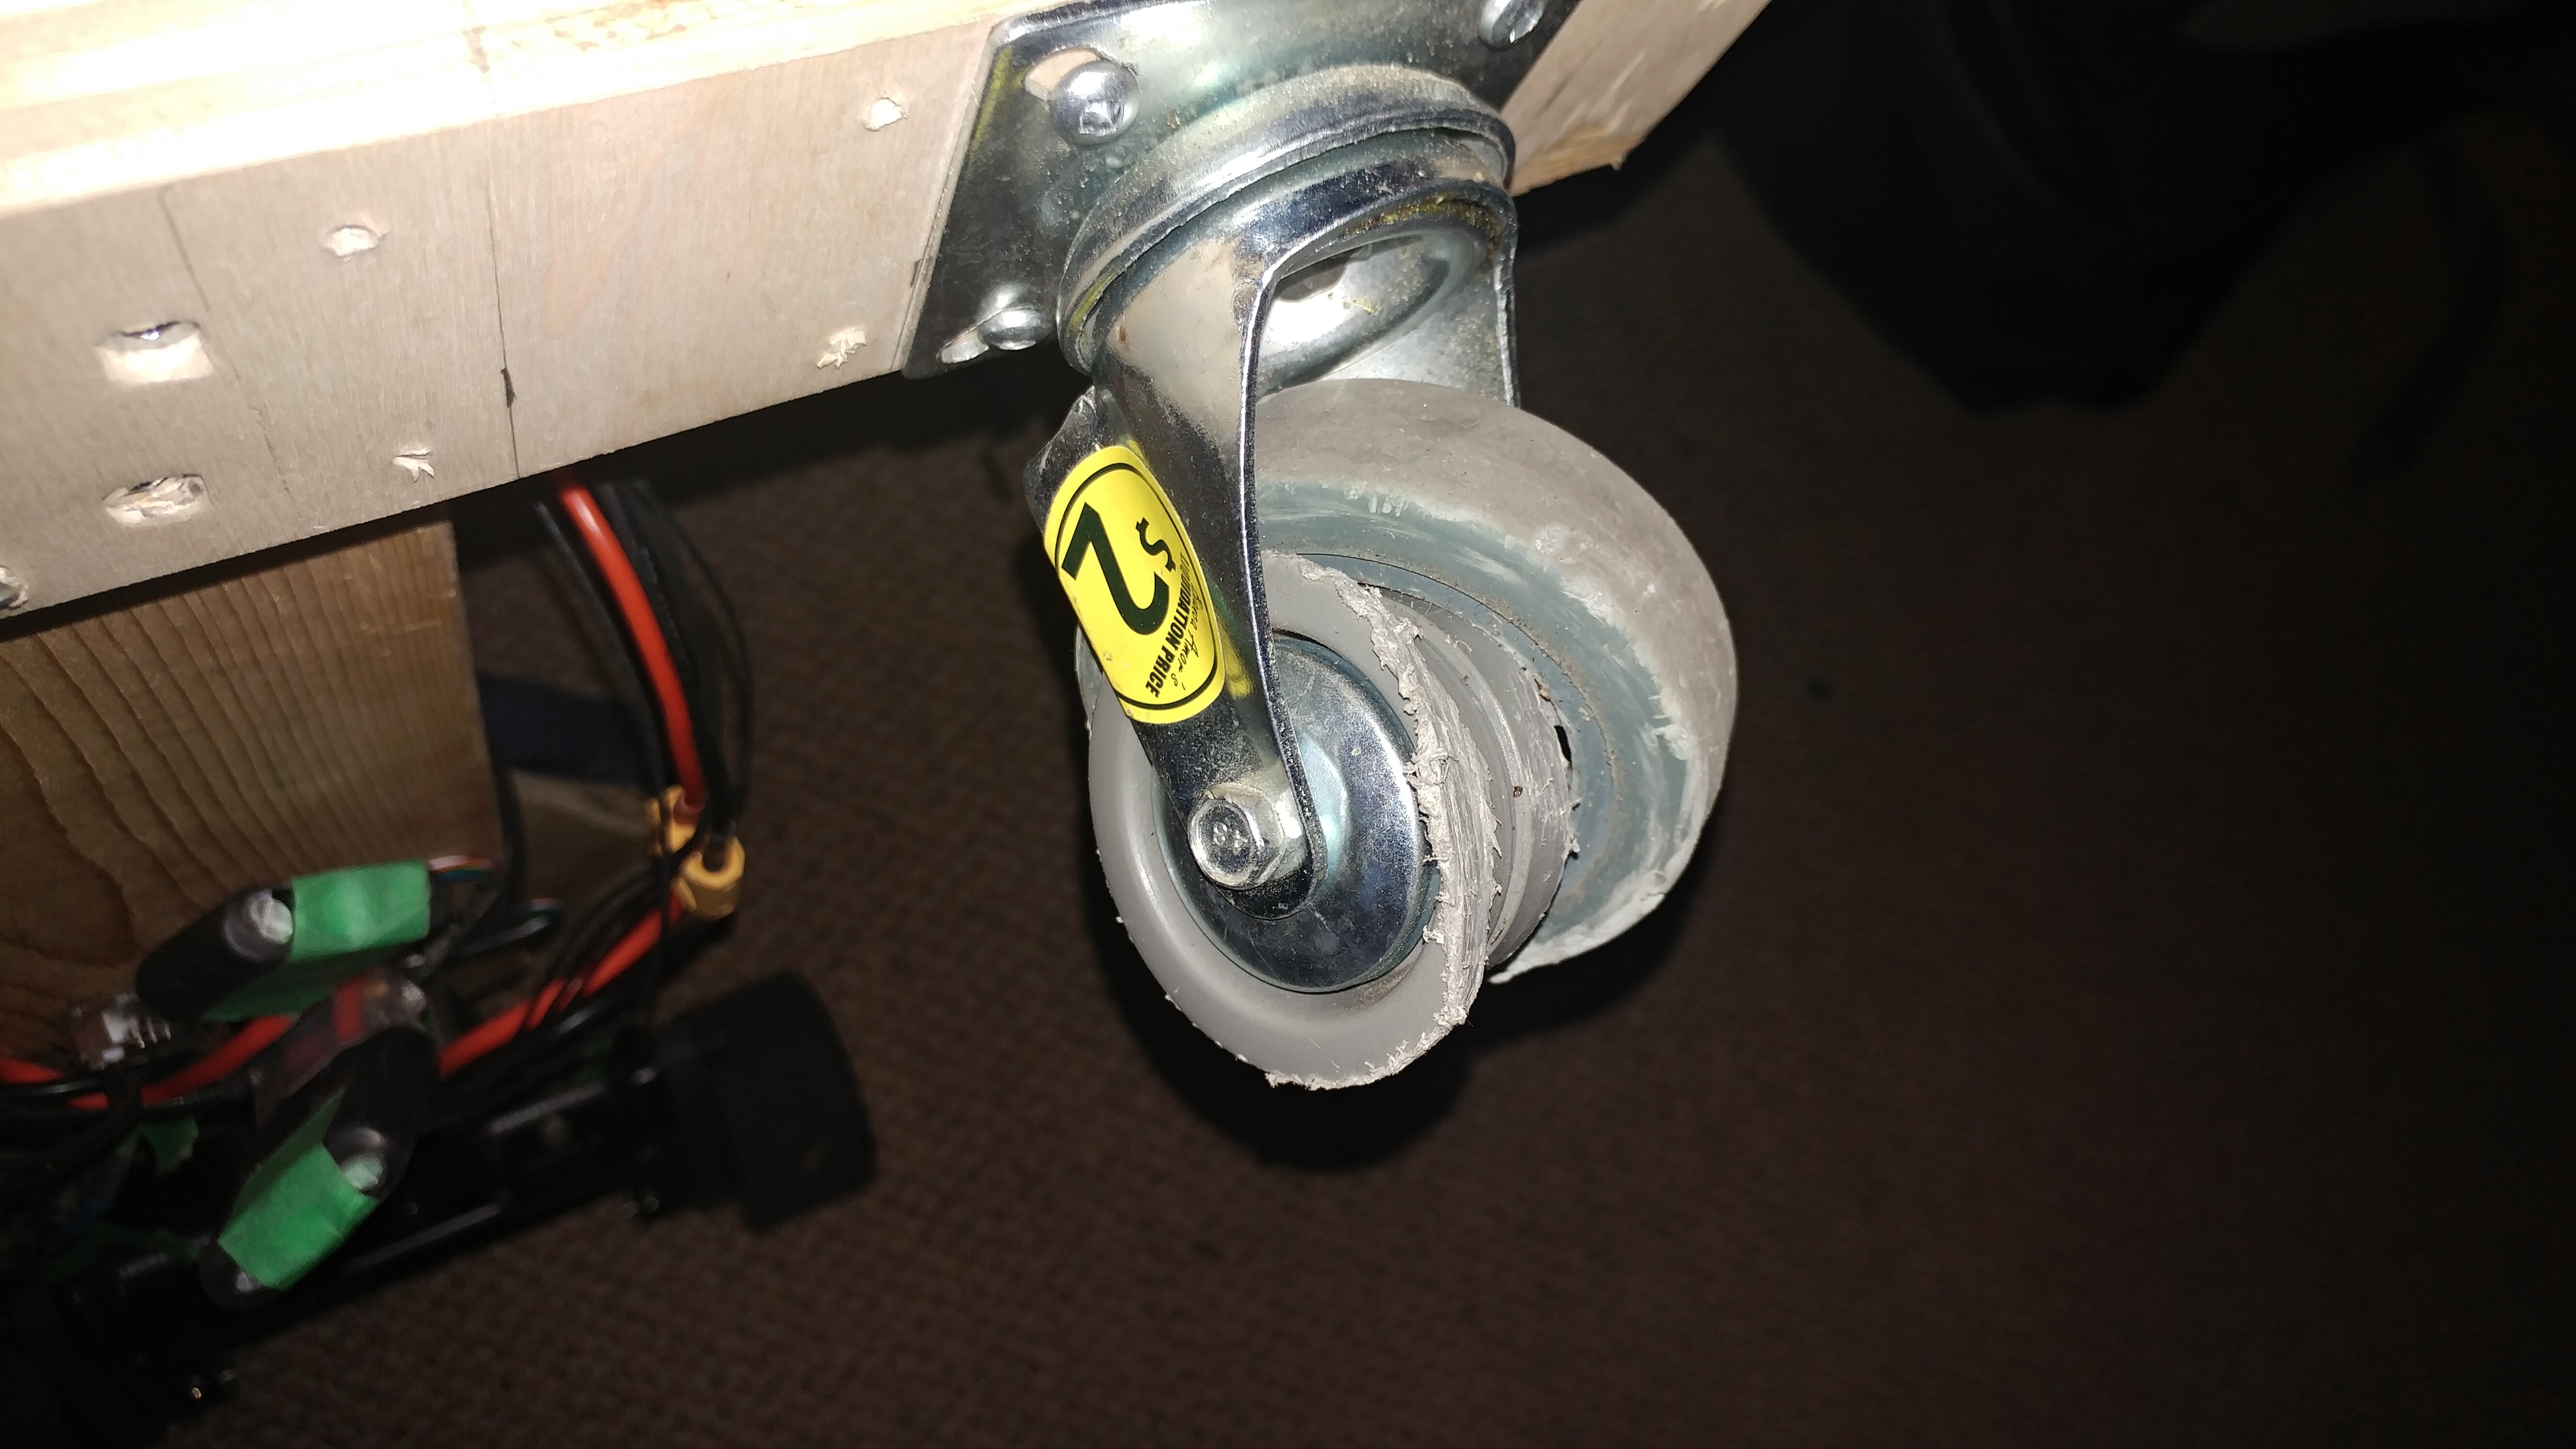
So the plan is to eventually build a nice metal chassis with fanciness and features, but right now I don’t know what that chassis needs to look like. Enter structural 2x4’s, all the parts are held to the “frame” with wood screws so its pretty trivial to move things around until it “feels” right. Way better for prototyping and knocking this together took about 30 minutes and all the wood came entirely out of the VHS scrap bin.
Parts are a couple torque boards 190kv brushless outrunner motors mounted to a dual motor truck/frame. The motors are being driven on a couple old style VESCs in brushless dc mode so I don’t blow them up with the more modern FOC control.
Controls get a little more funky. I am driving the VESCs over UART from a teensy, which lets me implement fancy features like OLED displays, neopixels, and quality of life improvements like deadman switches, seat occupancy switches, etc.
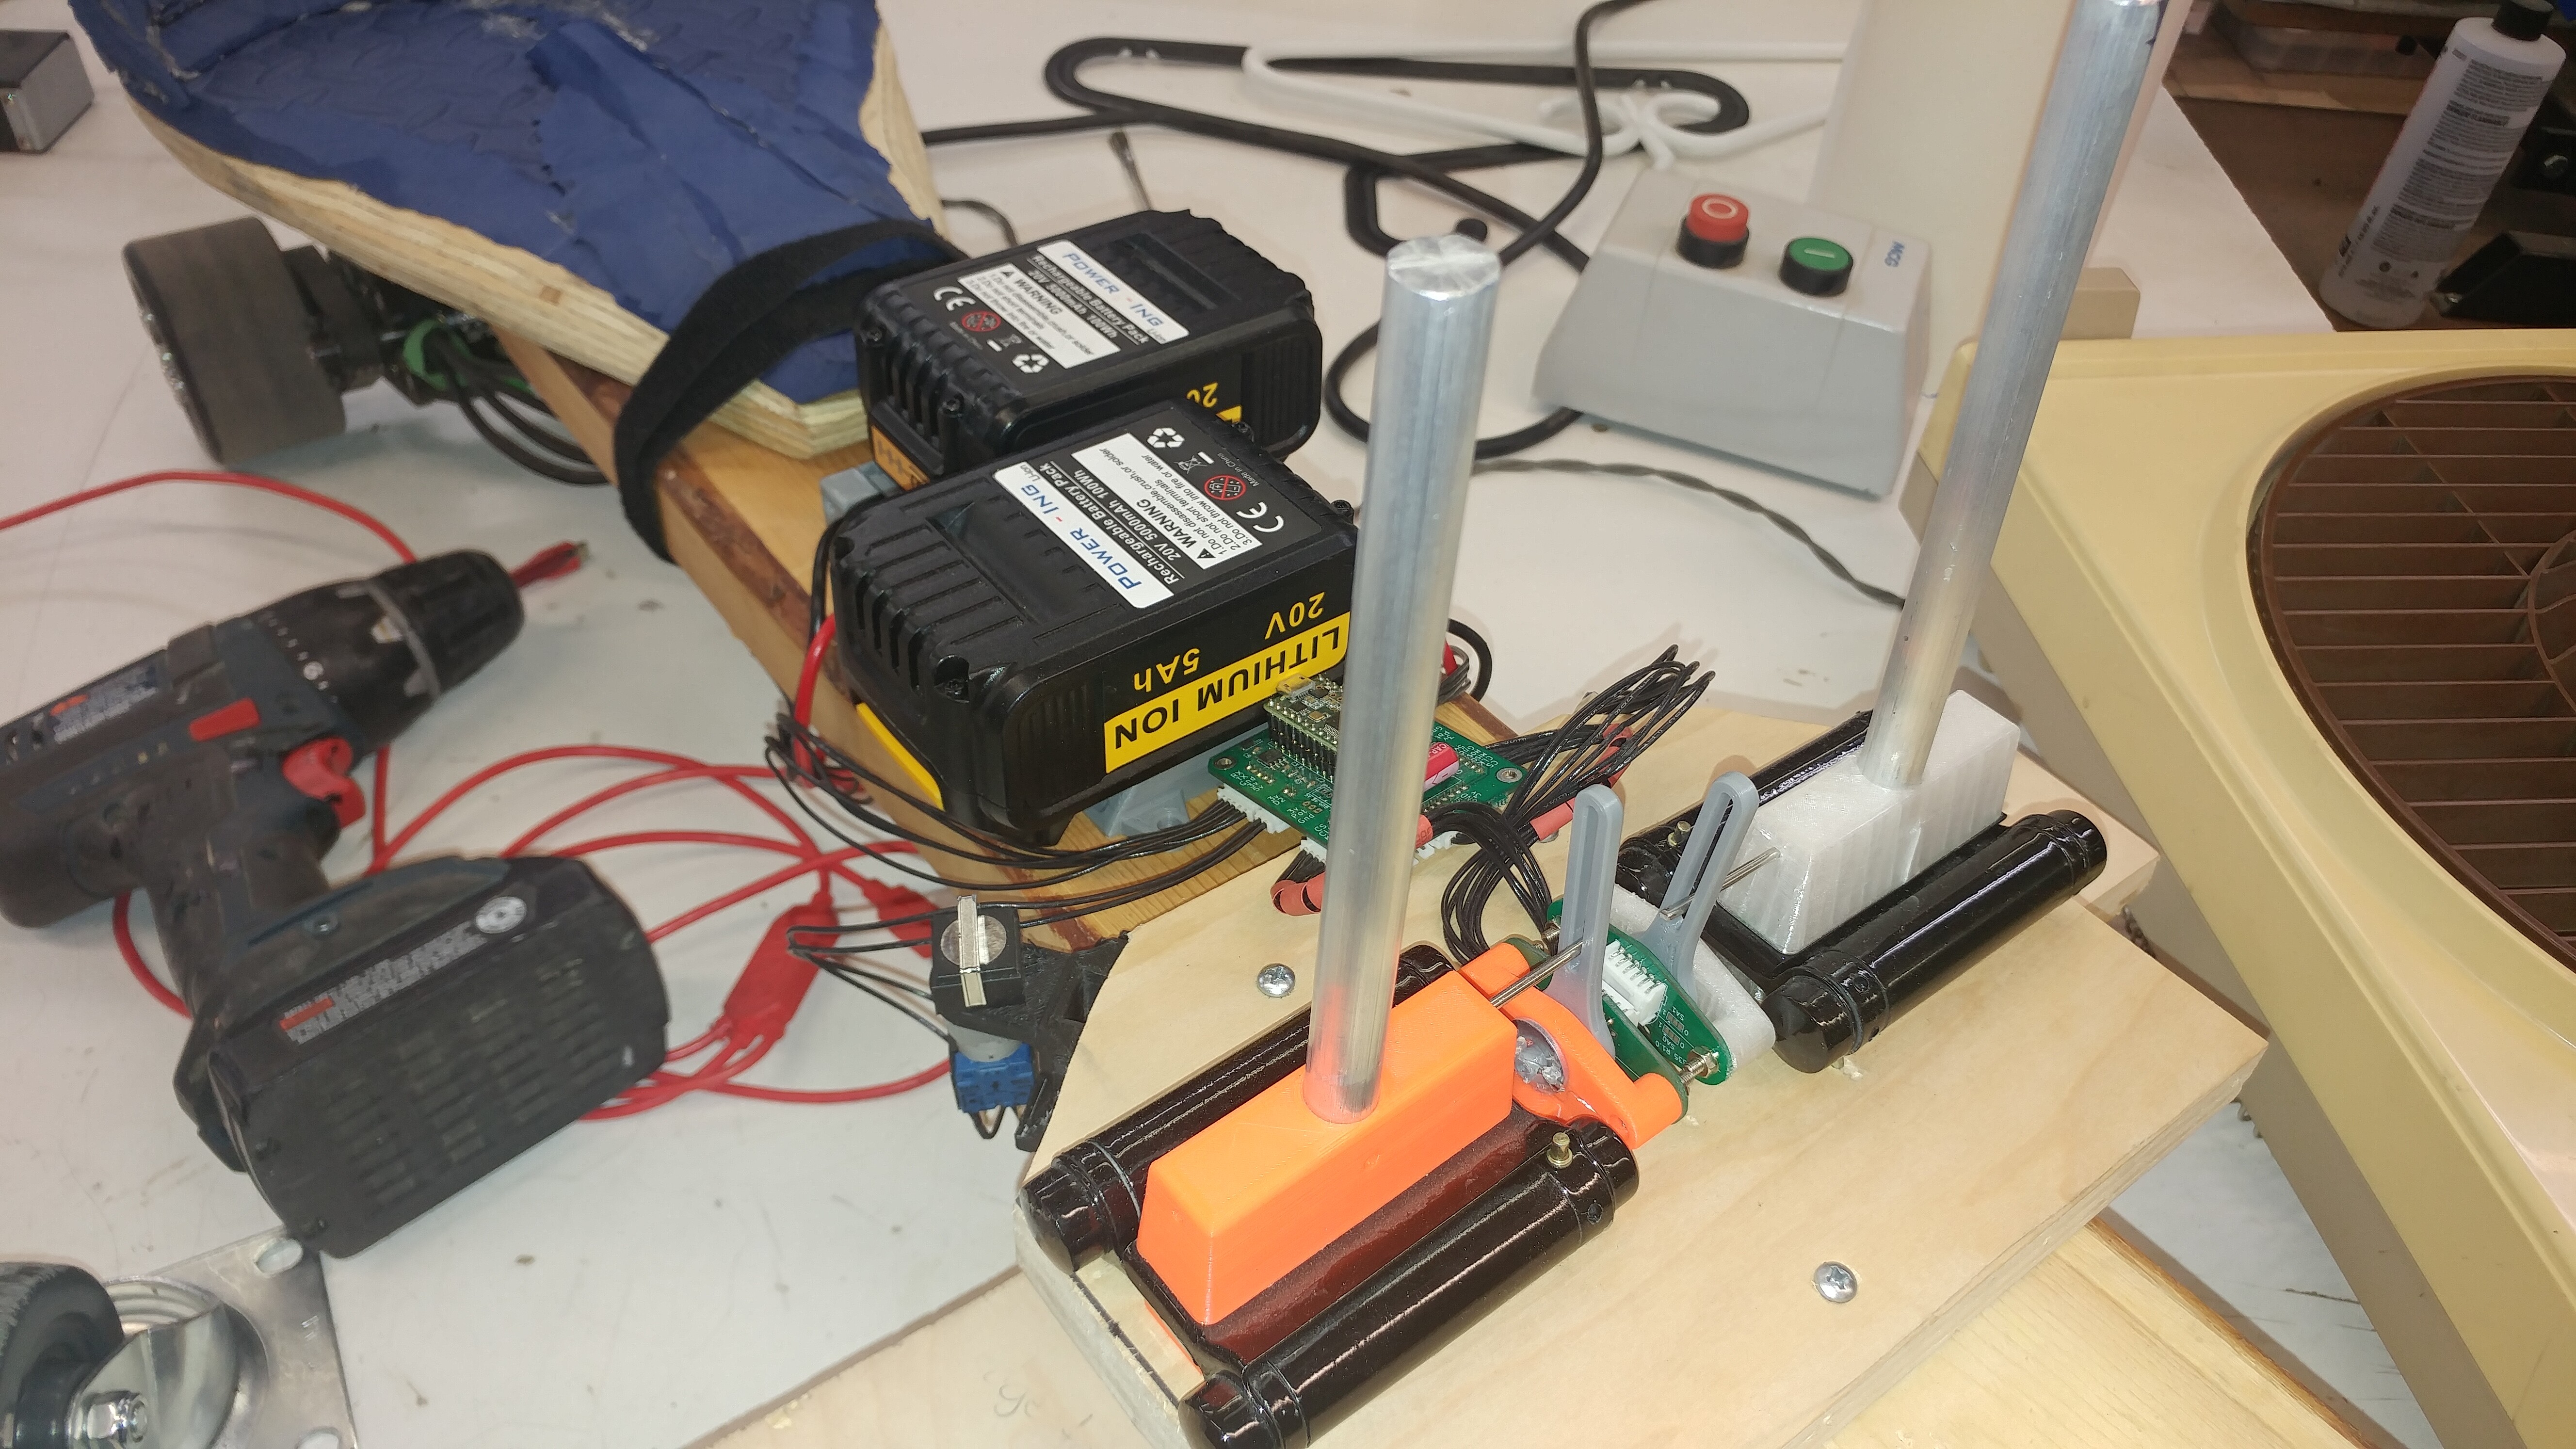
The control sticks are a pair of double acting spring hinges which are great as you can adjust the tension and are way easier to implement than building a pair of 1 axis joysticks from scratch.
The hinges have 3d printed brackets to hold the control sticks. Position sensing is by magnetic angle sensors with a printed actuator arm (the double fold hinges have two pivot points a distance apart, so you need a bit of a linkage to make this work)
The sensors are A1335 angle sensors, but don’t buy em they work great but the AS5600’s are way more supported and you can get a bunch of breakout boards (they just were sold out everywhere back in 2018)
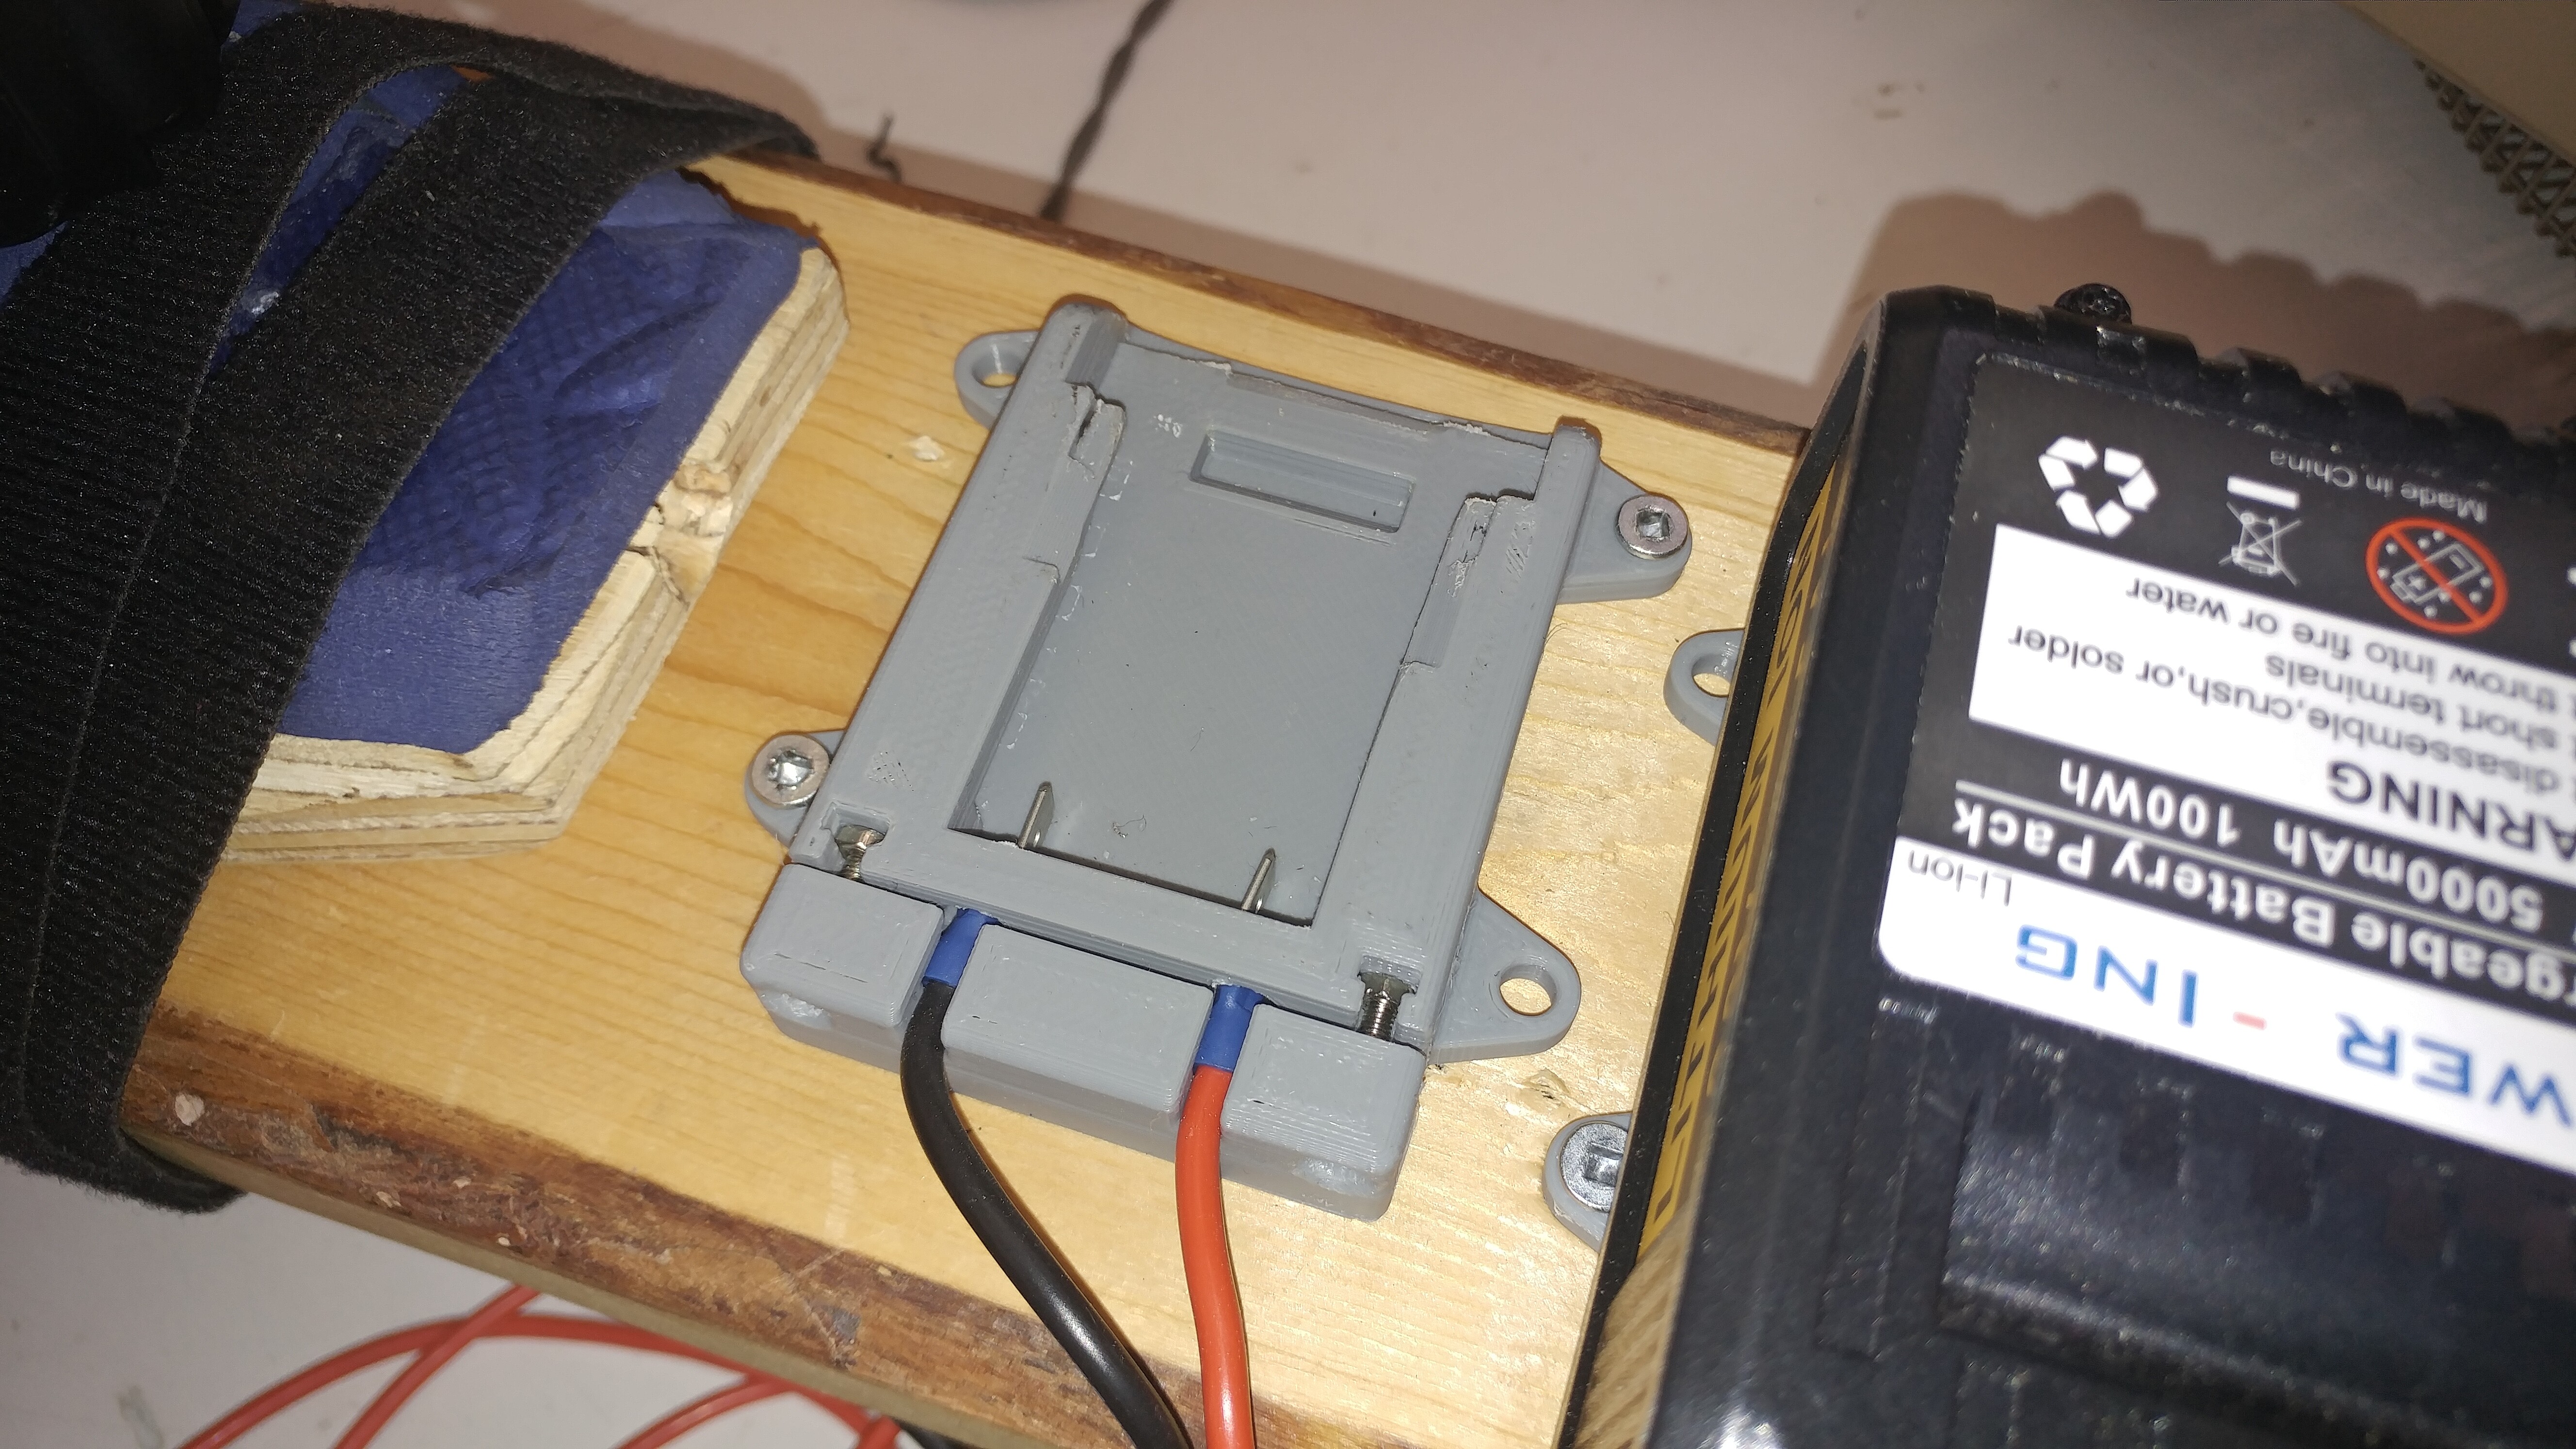
I 3D printed holder brackets for the battery, based on this hackaday project, but I added the retention clip holder and mounting tabs. For reasons (read laziness) I didn’t fork the project in onshape but made these changes in fusion360.
Here are the stls: Dewaltish battery holder.zip (328.3 KB)
You’ll need some M3 bolts and nuts, the electrical contact is a blue crimp on spade connector. Note that this is the mkII version, mkI didn’t have the bolt on cable retention and it turns out that if you disconnect the battery to a vesc while traveling at speed you don’t have brakes.
The cells seem to be fine kicking out 60 amps, and the motors can start from a standstill on a gentle hill. I’ve done several dozen laps of the alley and have used only 1 bar of charge.