A couple months ago I started a project with my dad to make a rabbit hutch for my partner’s rabbit Booboo. The main design requirements were:
- Have it fit in our apartment
- Have easy access to the rabbit in case of emergencies and easy cleanup
- Two-story, but modular enough to take the sections apart
- Have an attachment point/opening for her small plastic cage (used as a sort of bathroom+food spot) on the first floor
I have a hard time planning or designing anything in my head or on paper, so I went to Fusion360 and got to work. I had a few different design ideas with hinged faces to to satisfy requirement 2, but ended up going with routed channels to slide storage cube panels into, with wooden dowels to keep them in place. That way, all you have to do is remove the dowels and slide the metal grates out. My final design looked like this:
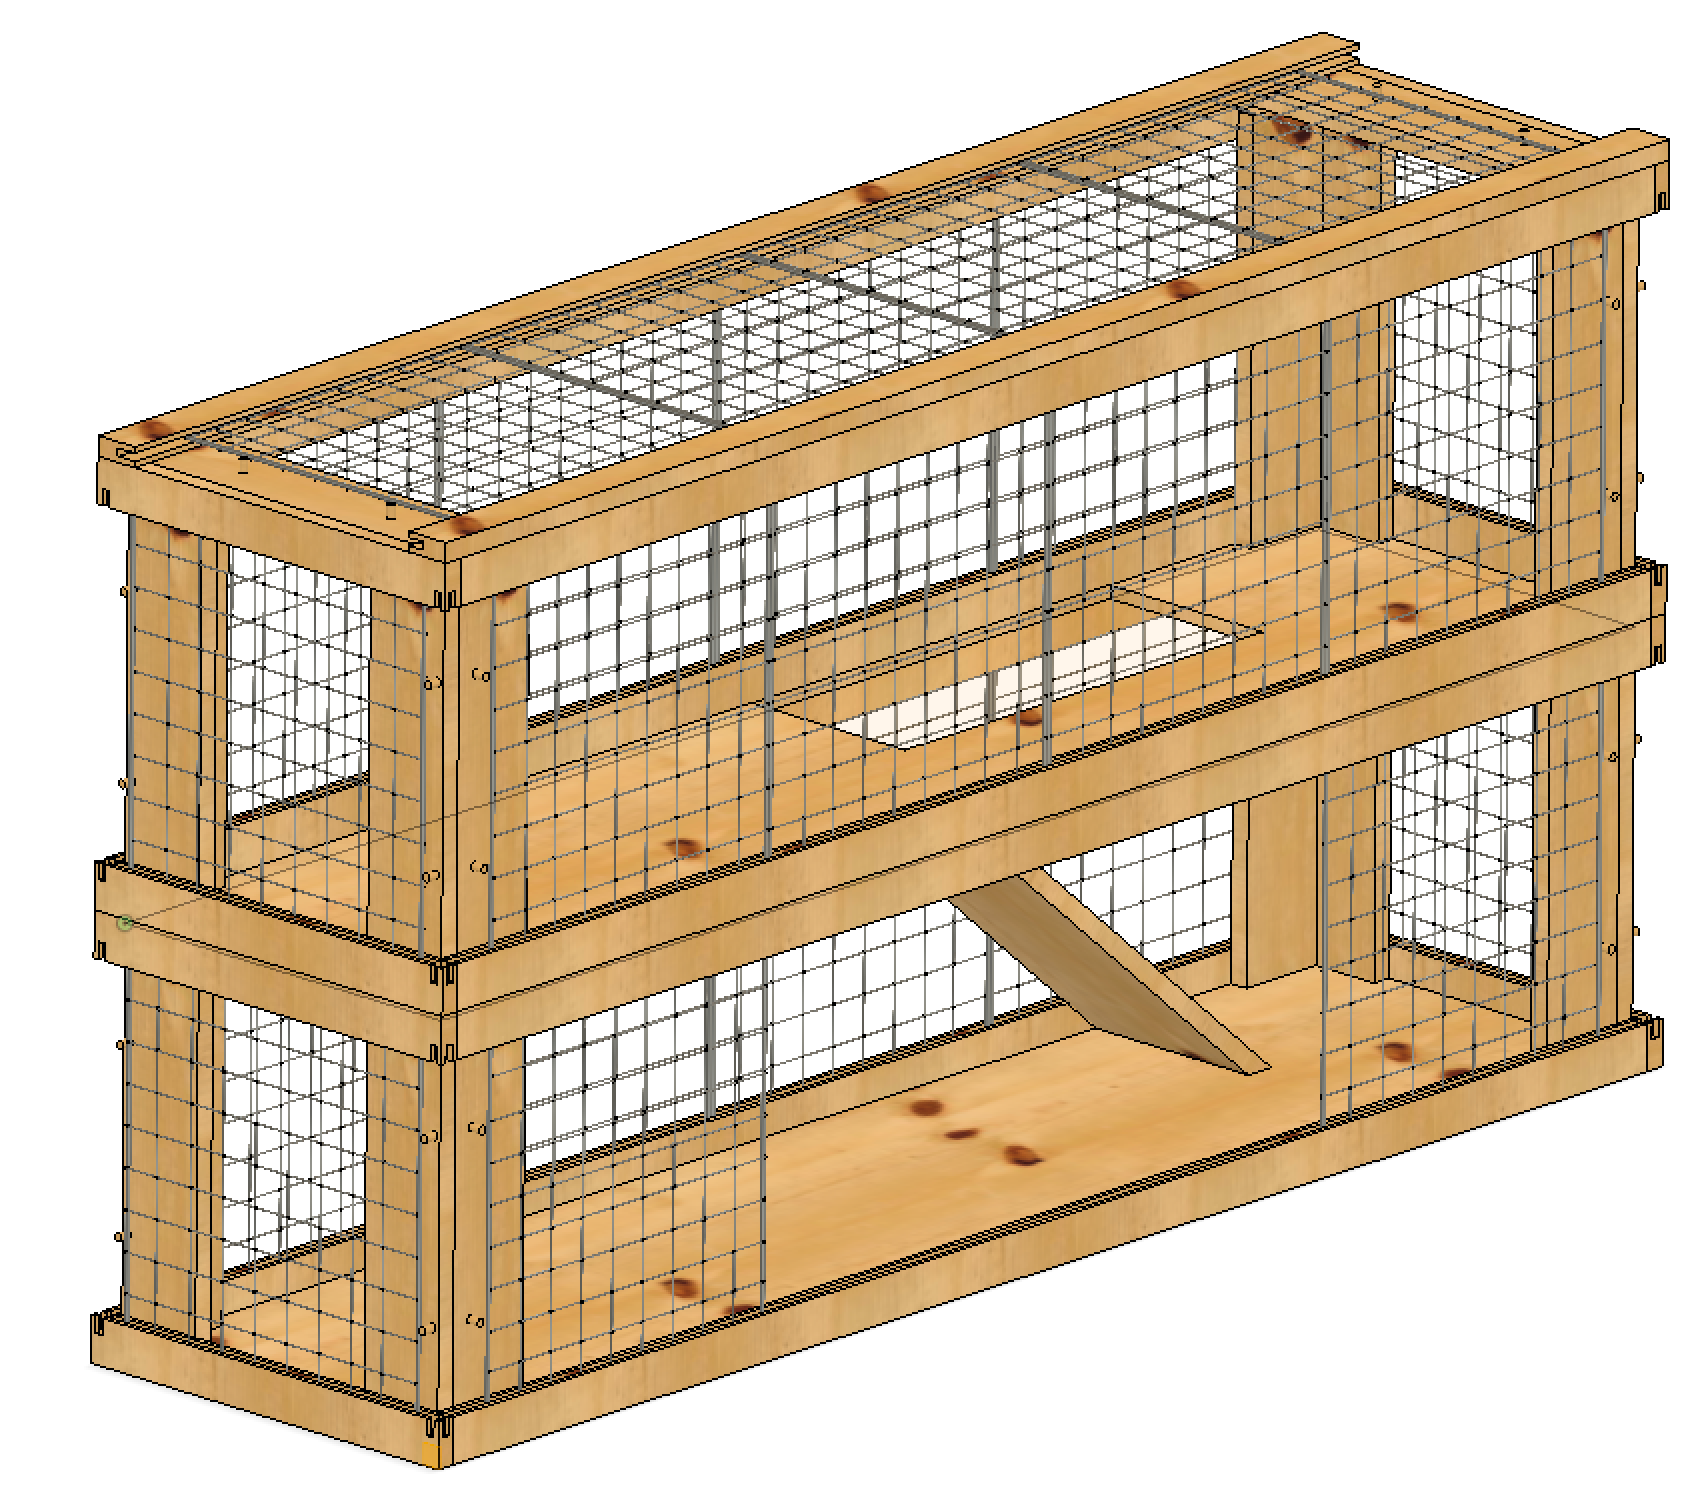
A nice feature is that the second floor fits inside the top of the first floor, making it easily collapsable.
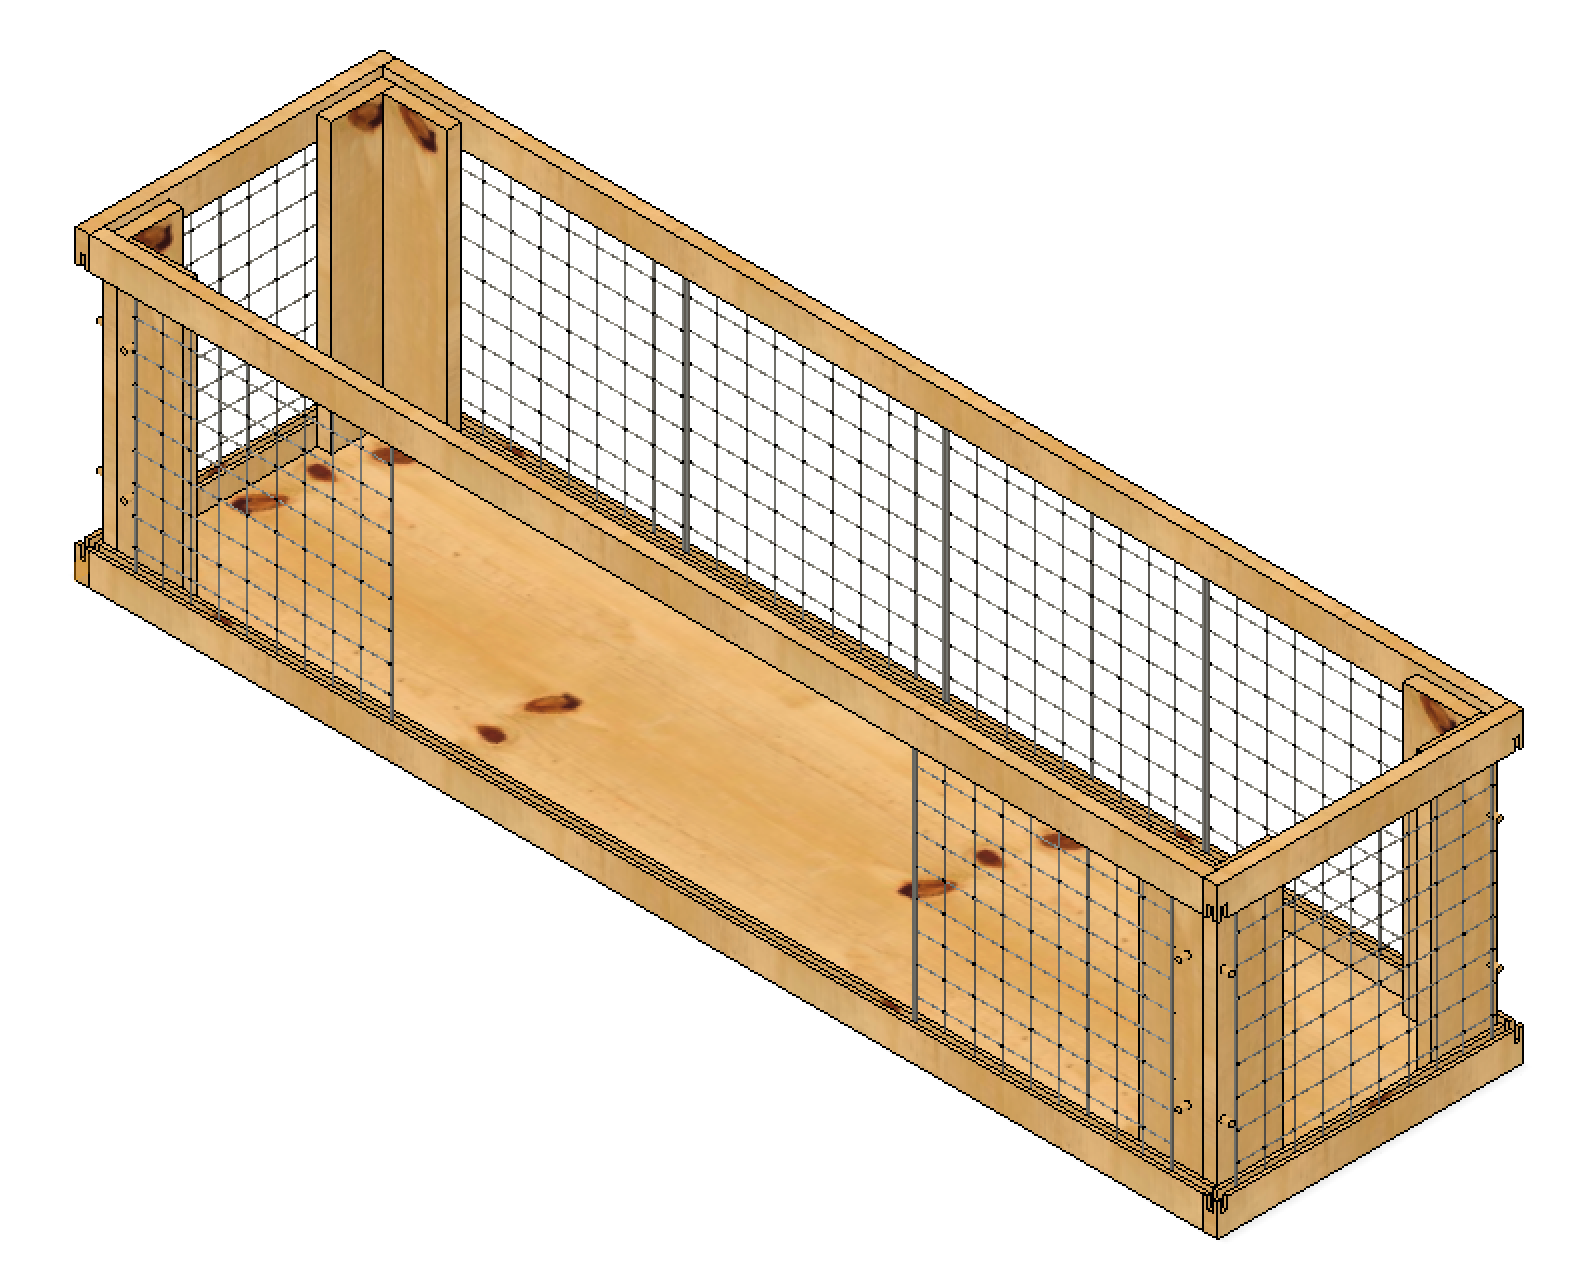
Bottom floor:
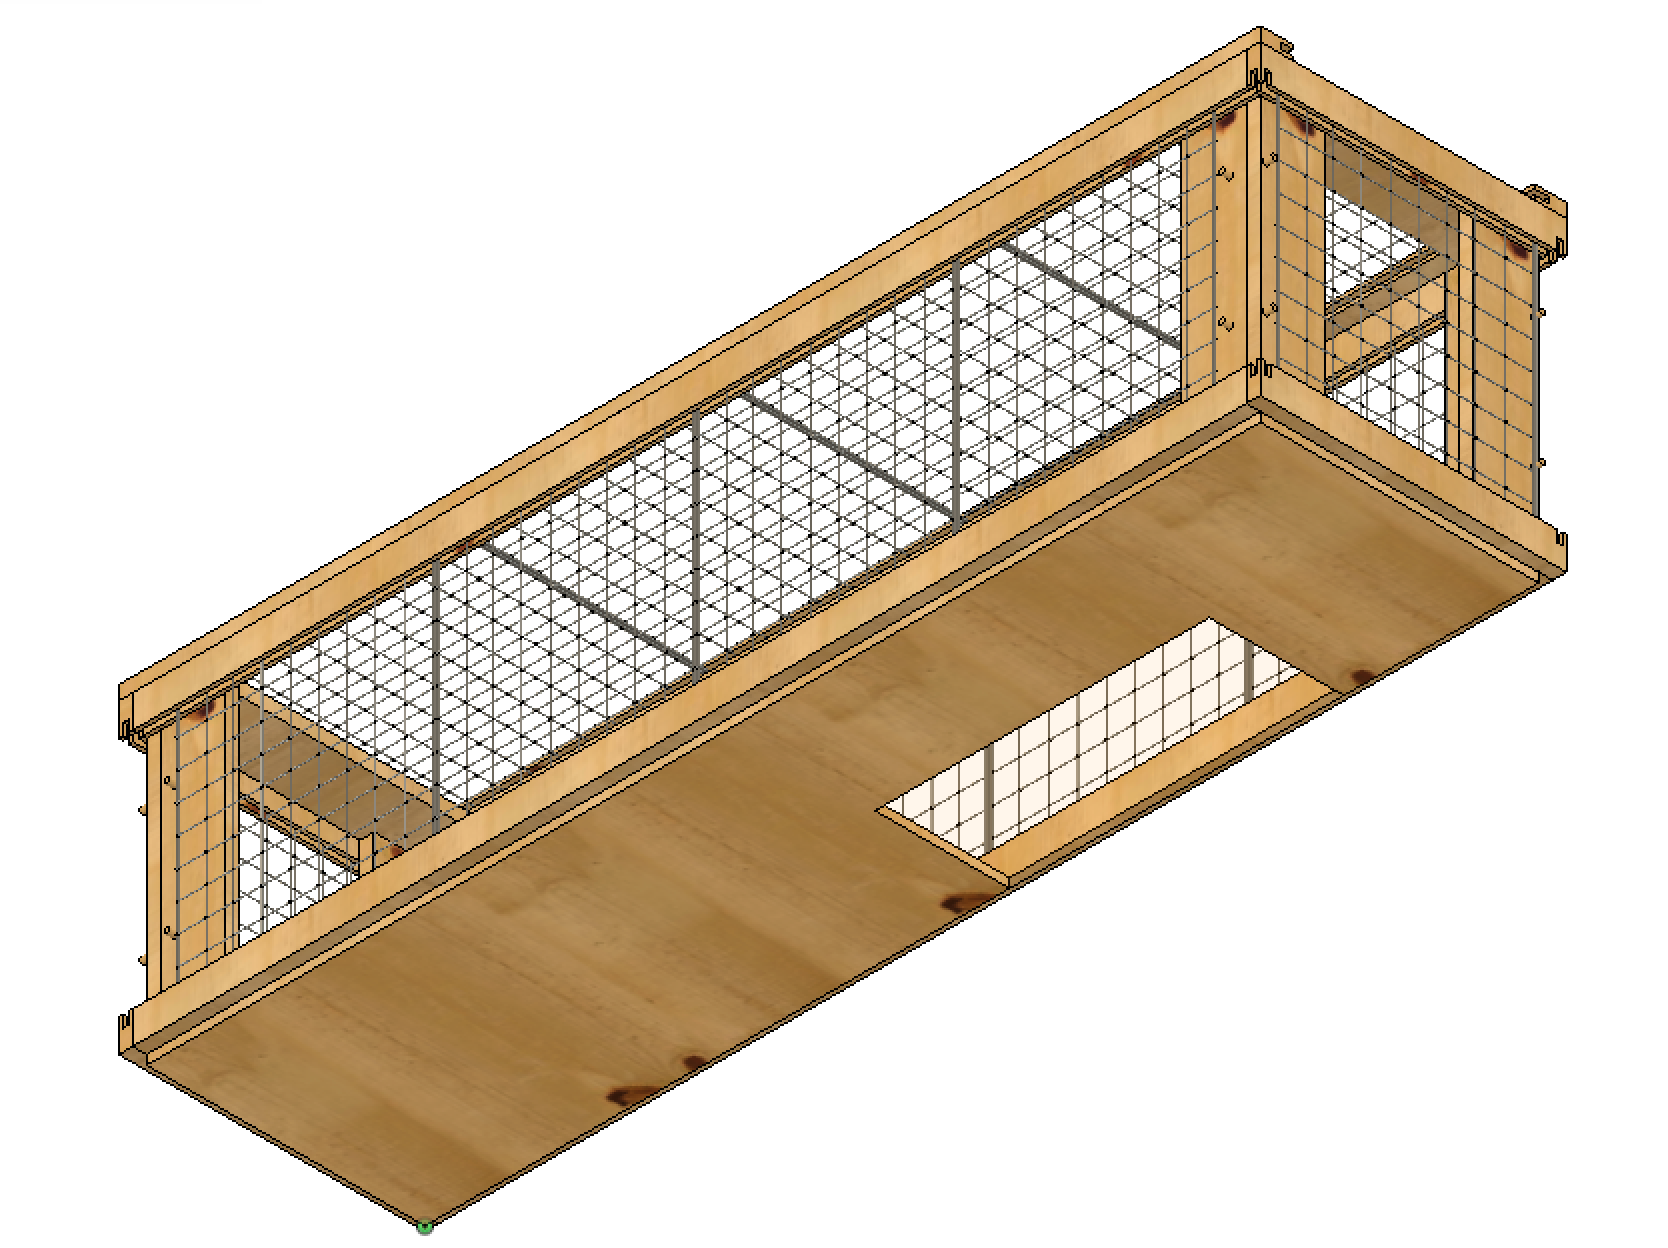
Top floor:
This was my first attempt at trying to use Fusion more “correctly” with components and making it parametrically driven. I can adjust most of the parameters like height, width, depth of the cage, and more and it all magically re-adjusts itself. Sometimes it has trouble due to certain parameter constraints and edge cases, but not bad for a first attempt.
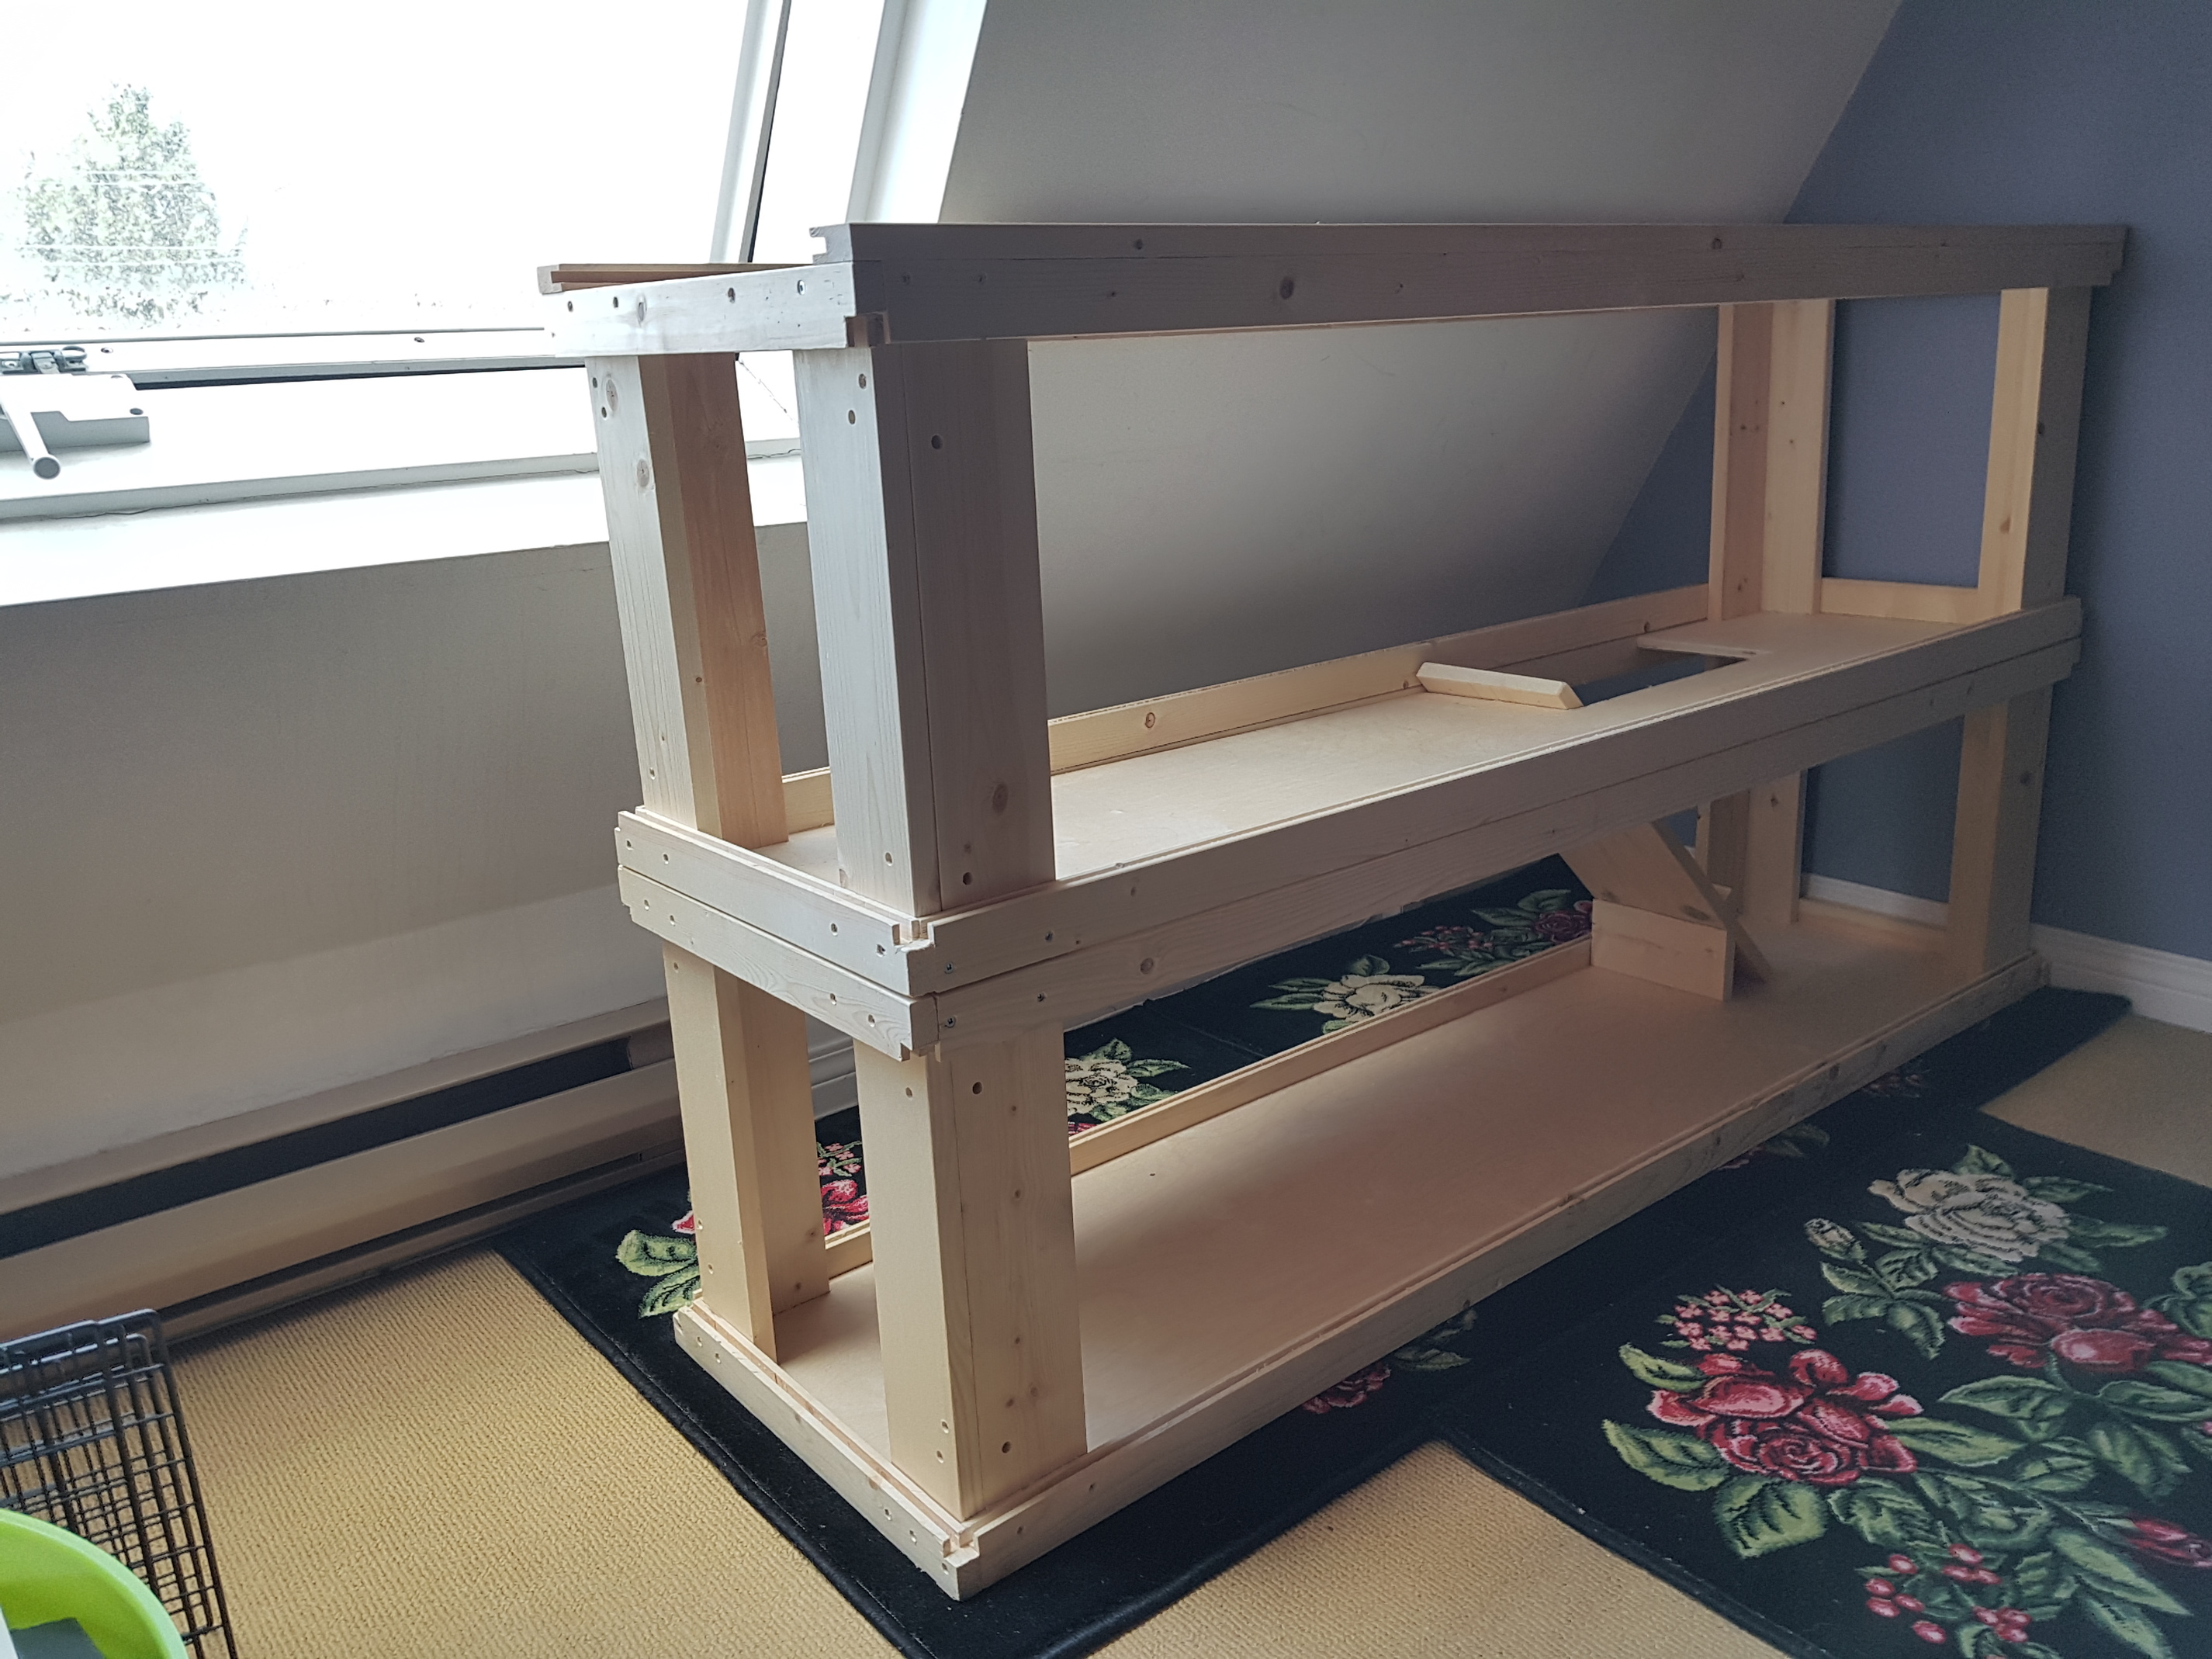
Then came the build. I chose to use kiln-dried pine since pine is cheap and if it’s kiln-dried it’s safe for rabbits. The floors would be baltic birch plywood, since birch is also safe. I’d never built anything out of wood before, but my dad has a lifetime of experience so I thought it’d be a great project to learn from him. He taught me a ton of stuff, like the importance of picking out straight lumber, the existence of Forstner bits, how to avoid wood splitting, how to use different types of saws, etc. There were some tolerance issues we had to address, and some other minor adjustments, but overall the build went pretty smoothly (having the CAD to refer to was a huge help). We did it over 4 or 5 build days in his garage and had a great time doing it.
After all was said and done, here it is in our apartment. Note the white wall it’s up against is slanted in case the perspective is confusing:
With the metal grates and towels/rugs for rabbit luxury:
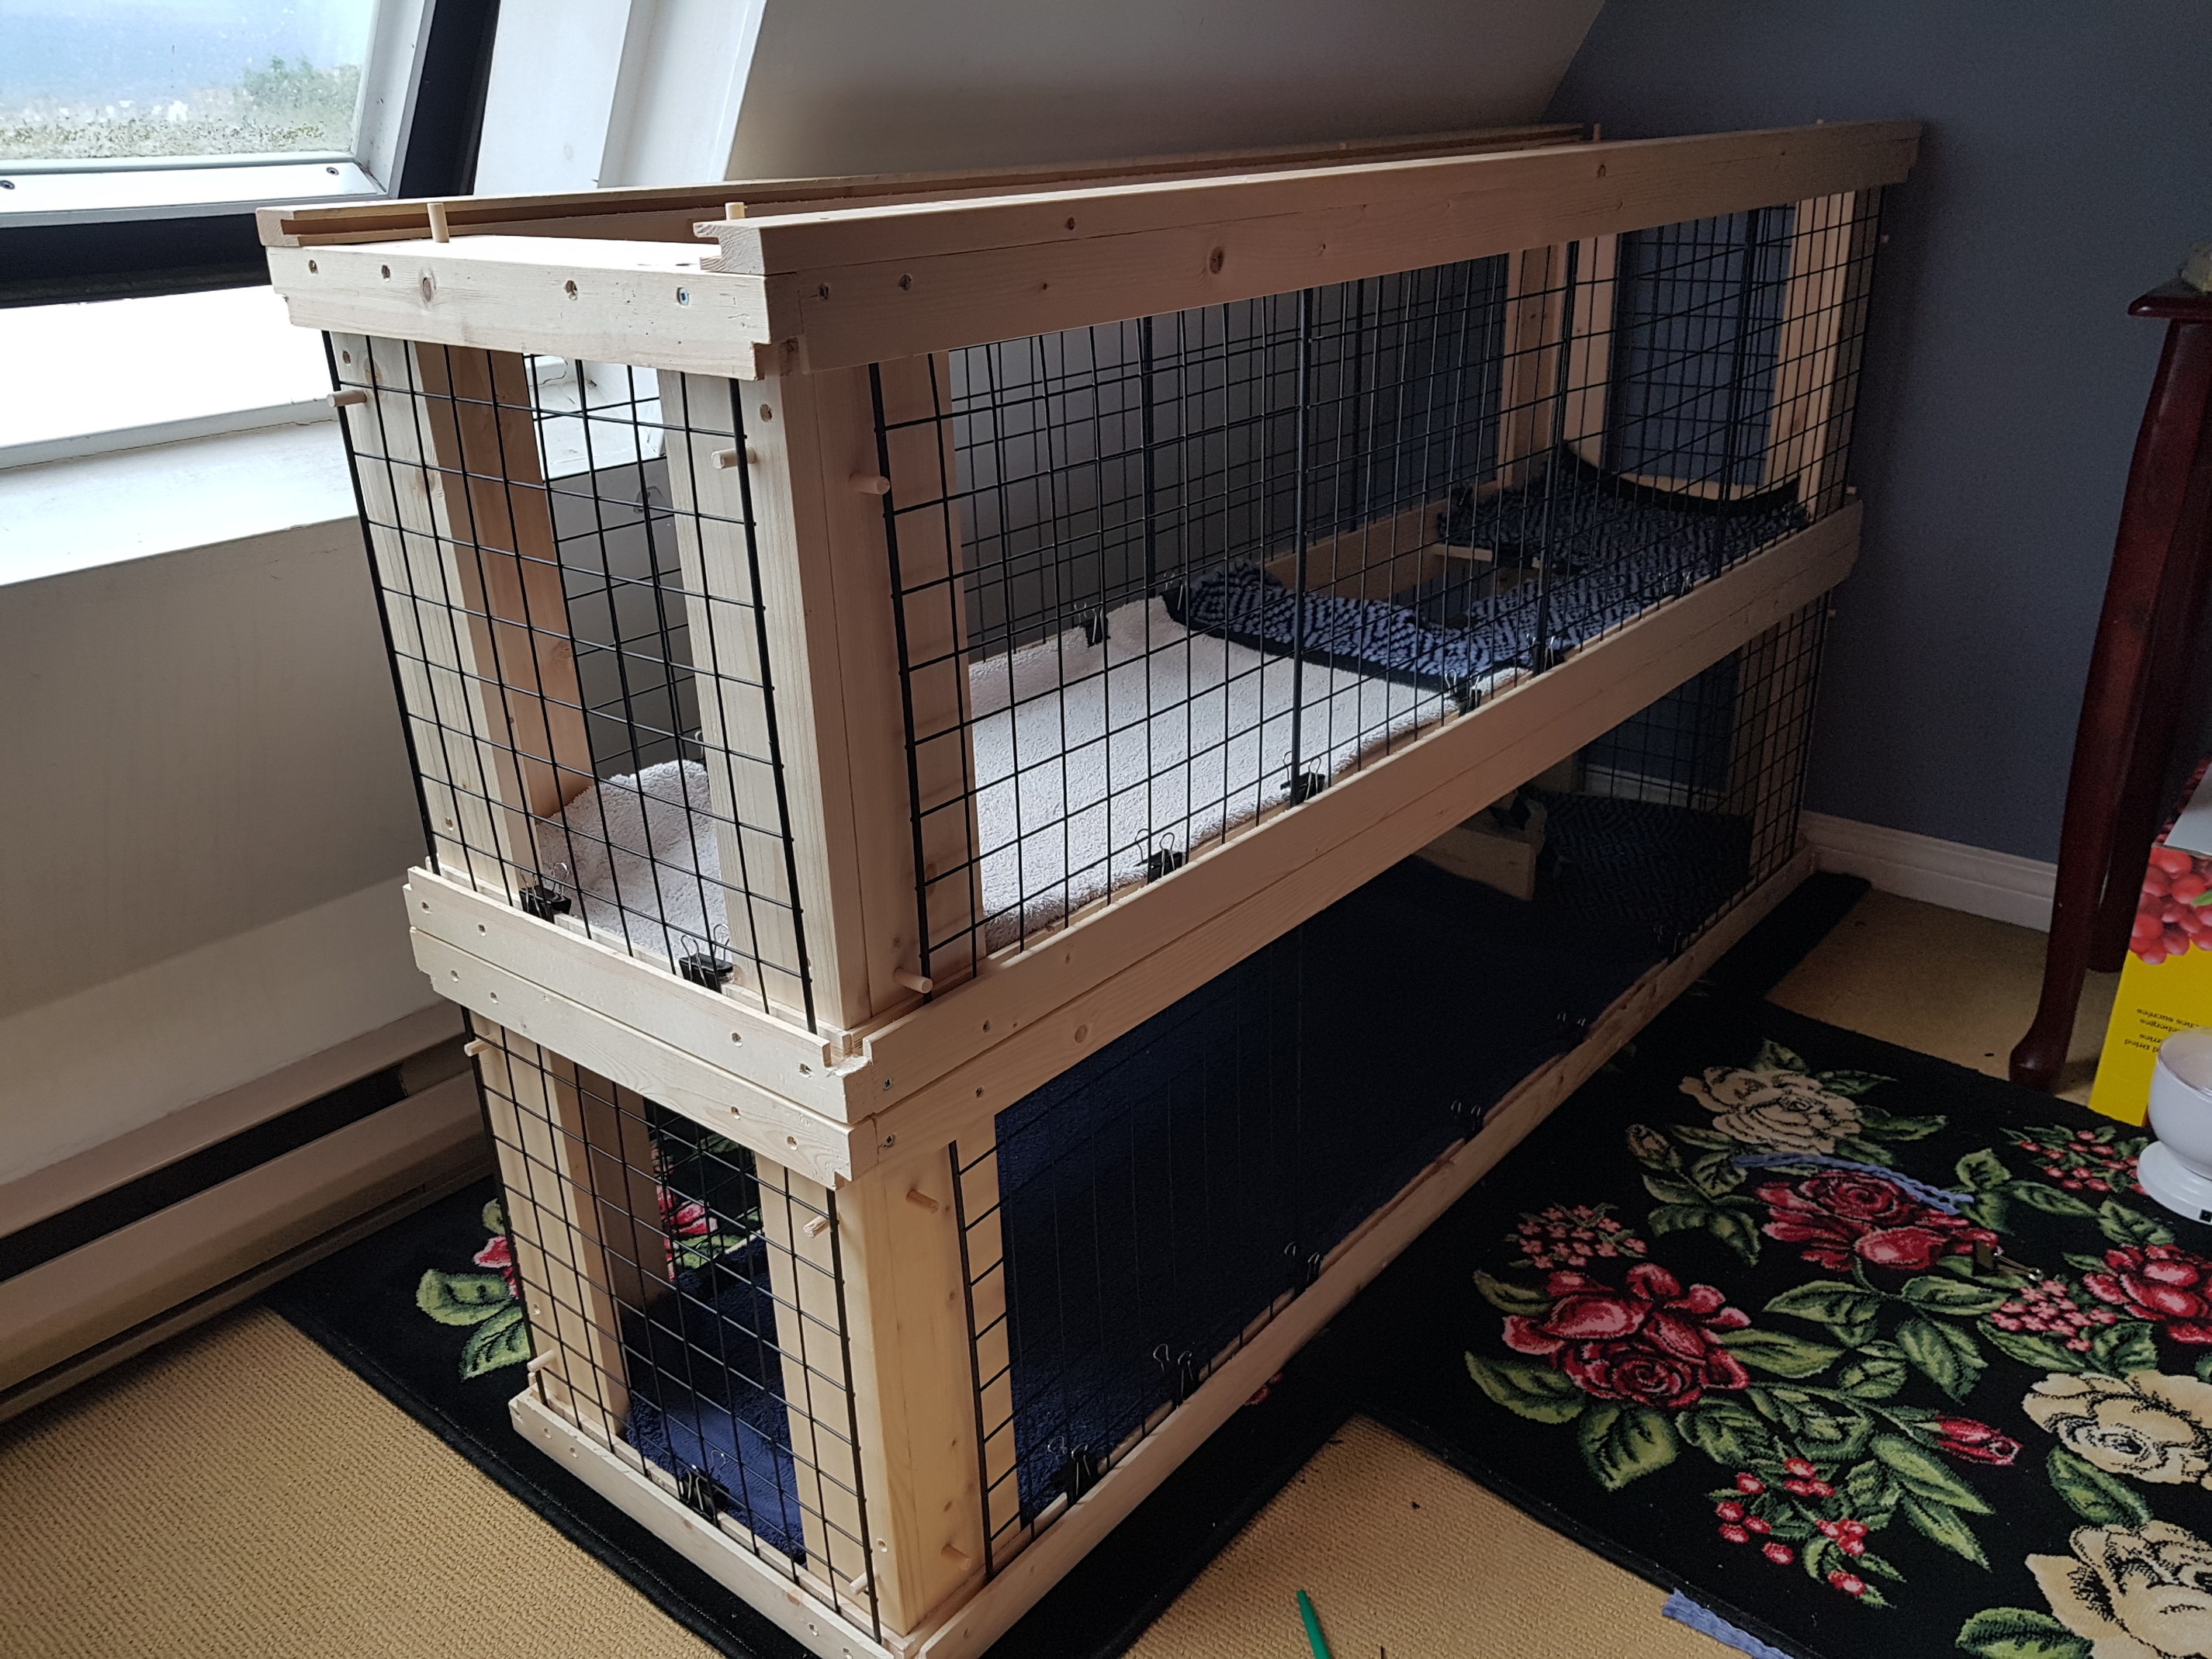
One week in, one very happy bunny:

If you look closely at the wood columns in that last picture, you’ll see some aluminum angle-iron. That was added because Booboo immediately decided she loved gnawing on that wood. She’ll occasionally nibble the trim as well, so I might lasercut some cardboard to go over it, but it hasn’t been too much of an issue. Overall, it’s been fantastic.
I have some CAD cleanup to do, but after that I plan on sharing my design for other people to be able to use. I’ll follow up on this thread once I get the Instructables page done ![]()