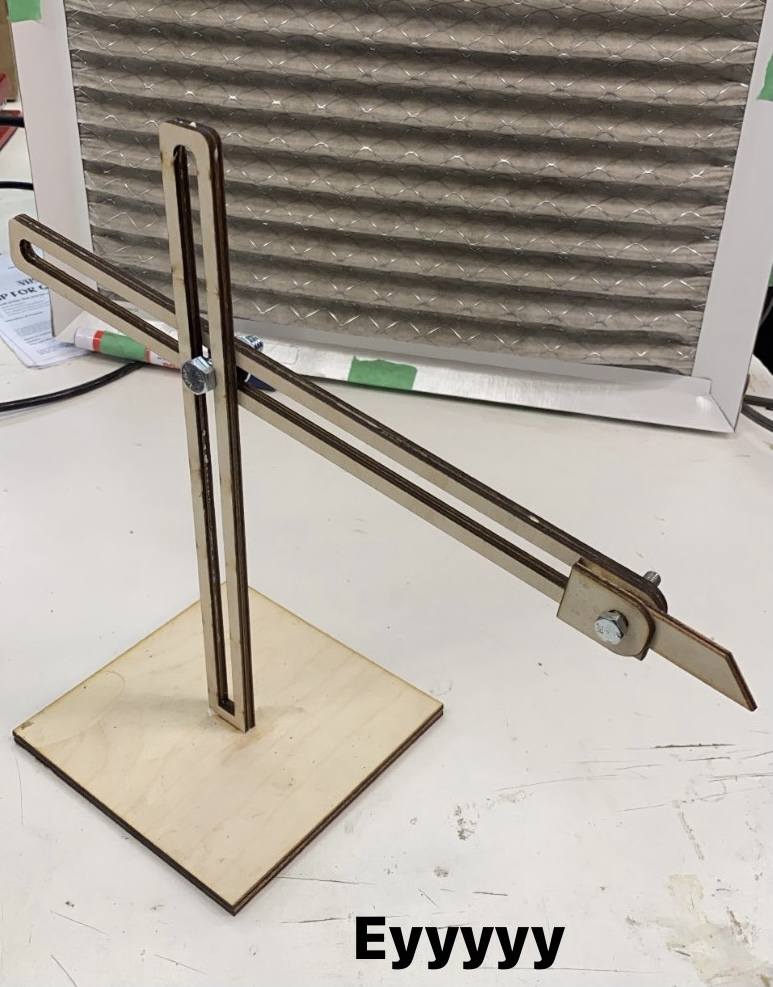
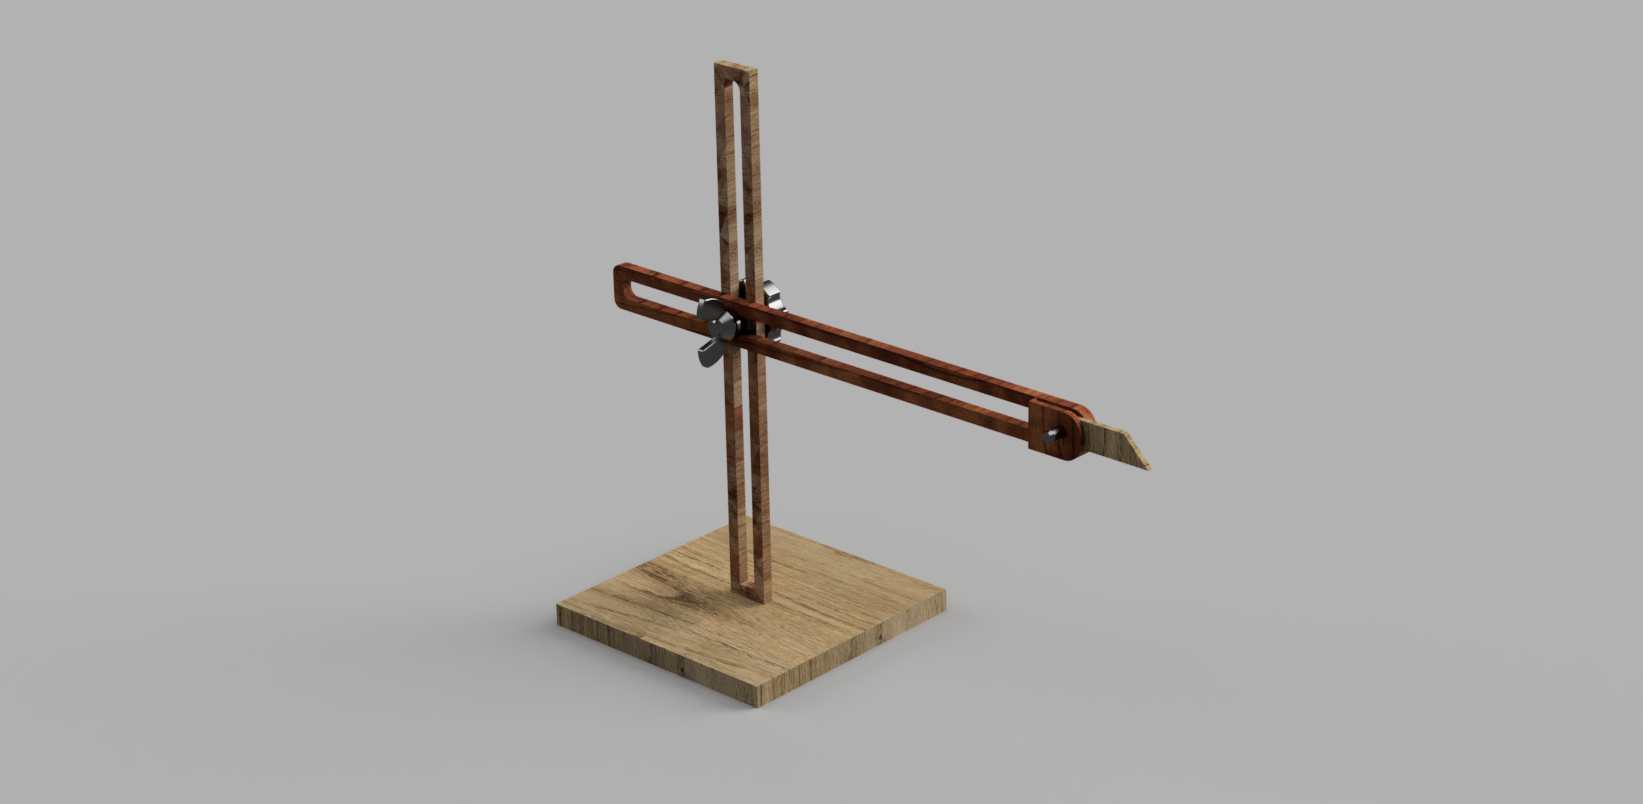
Potters (mostly doing production ceramics, but still handmade) use a throwing gauge to ensure that each piece of a certain type they are throwing is almost the same size. The throwing gauge marks the point in 3D space the rim of the vessel can come up to.
While I am no production ceramicist, I’ve always been intrigued by the repeatability (or lack thereof) of my work. So I began to make myself a throwing gauge to verify this.
The laser cutter is by far the most accessible rapid prototyping method available to me, so I began by making a simple CAD assembly of the throwing gauge using 1/8” plywood.
used a bunch of McMaster carr parts for good torque application to hold the sliding arm in place.
I began laser cutting the parts today and was hoping to wait for the McMaster parts when @yeungx inspired me to finish a working prototype by scrounging around for nuts and bolts and I’m glad I did it