Following in the footsteps of this youtuber I wanted to test out paper-pulp molding as a potential way of making enclosures for synthesizers (I make synths). I’m interested in making things from up-cycled waste materials, and cardboard pulp is probably one of the easiest things I can think of to source.
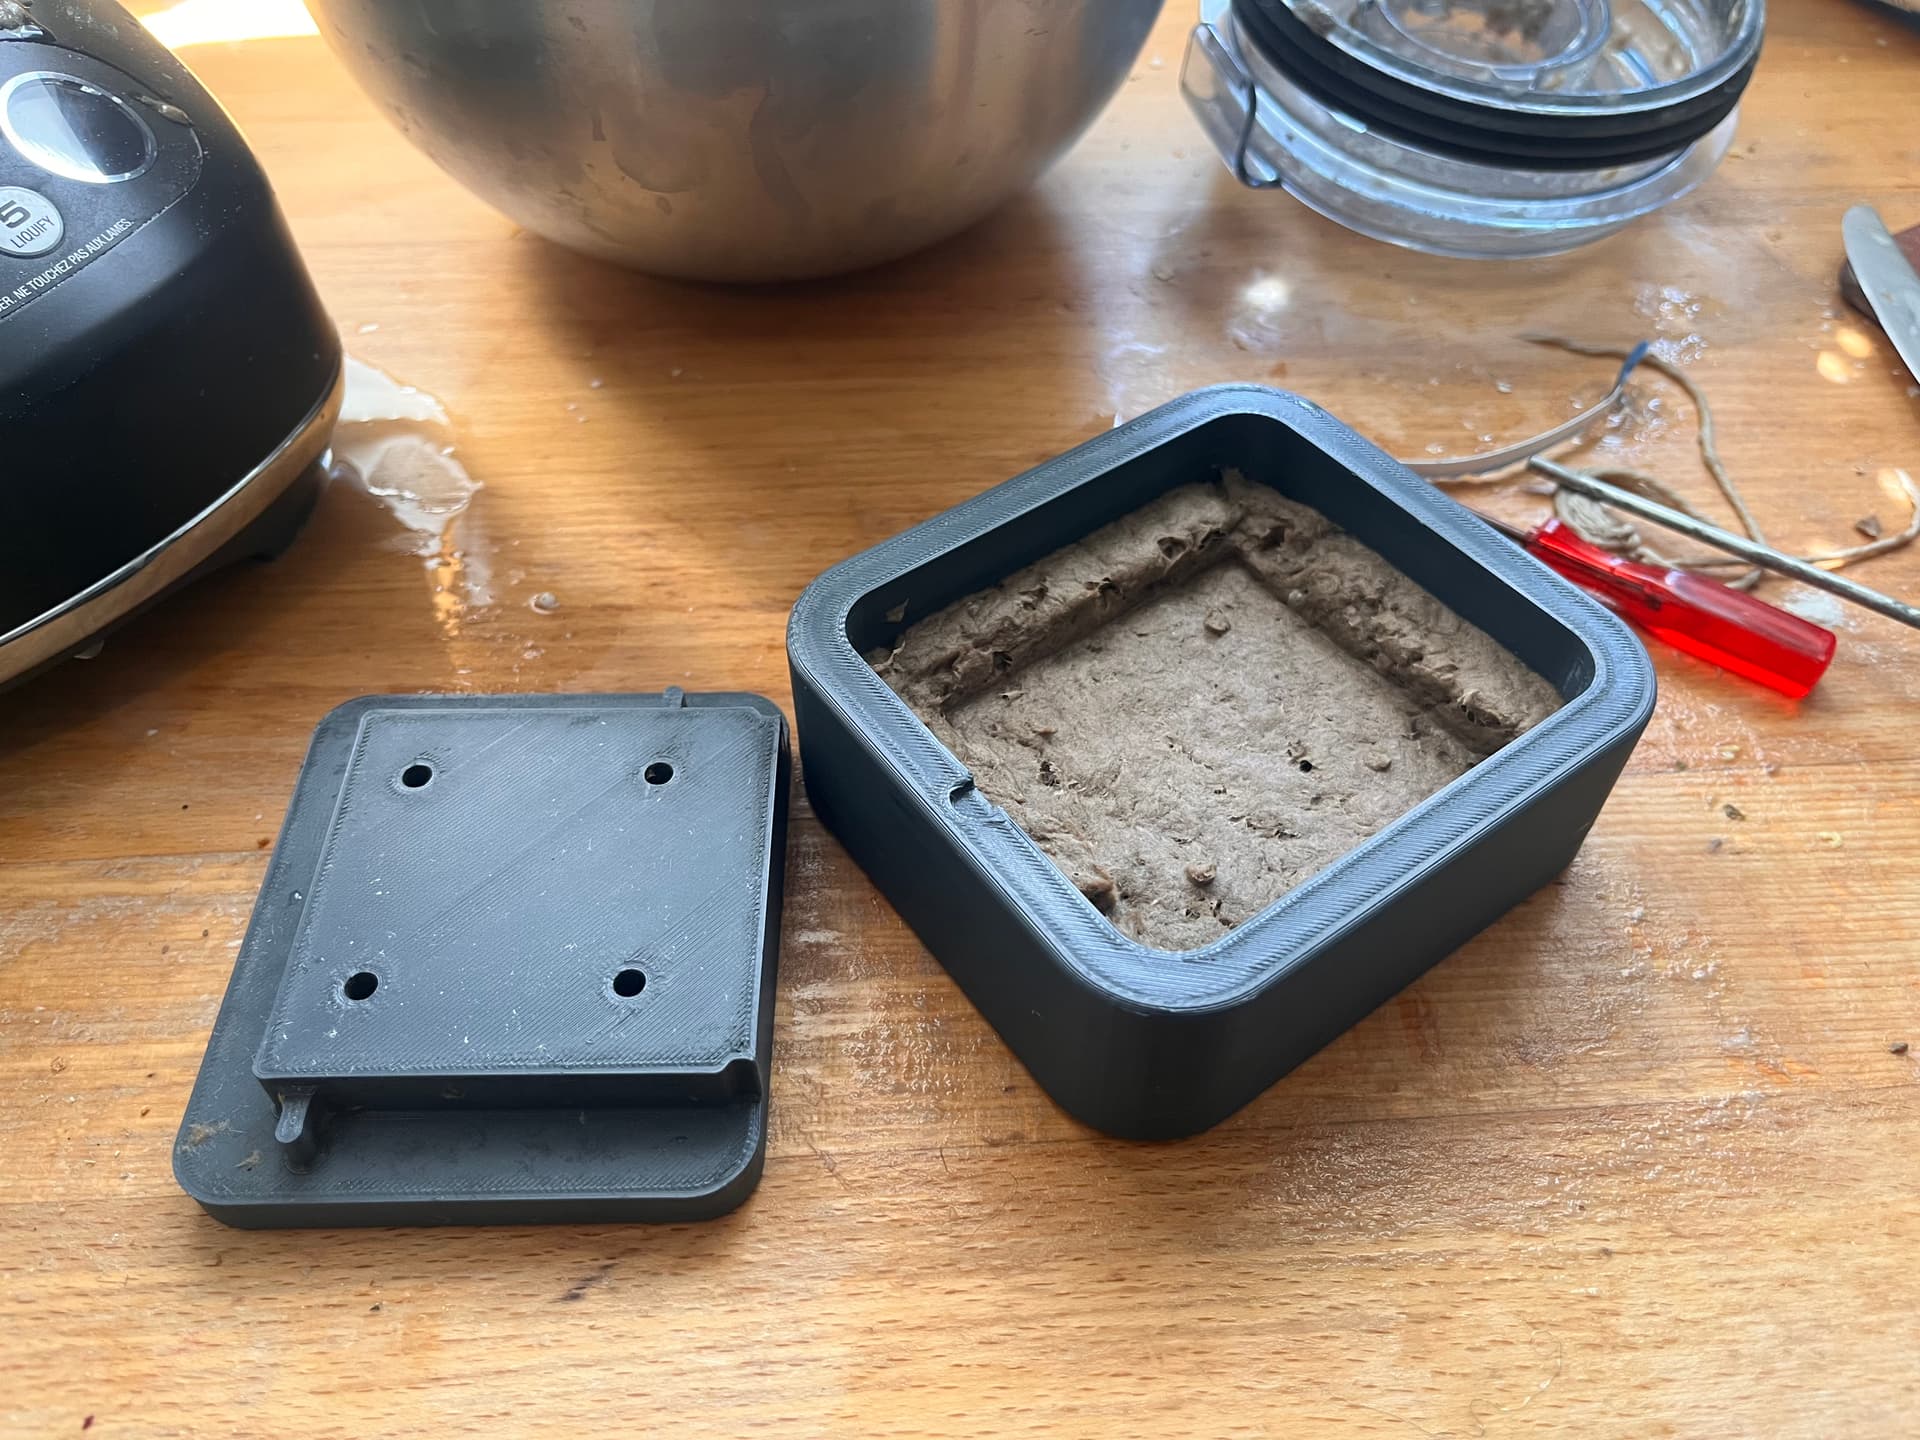
The first step was to design an enclosure in fusion360. One that I thought would be mold-able: as few details as possible, slight draft angles wherever I could, and nice round fillets everywhere.
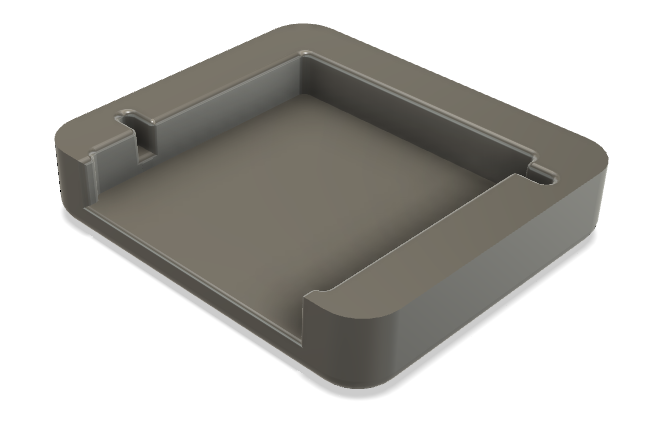
The slots are for gluing threaded inserts into. I figured a slot would probably work better and be easier to de-mold than holes.
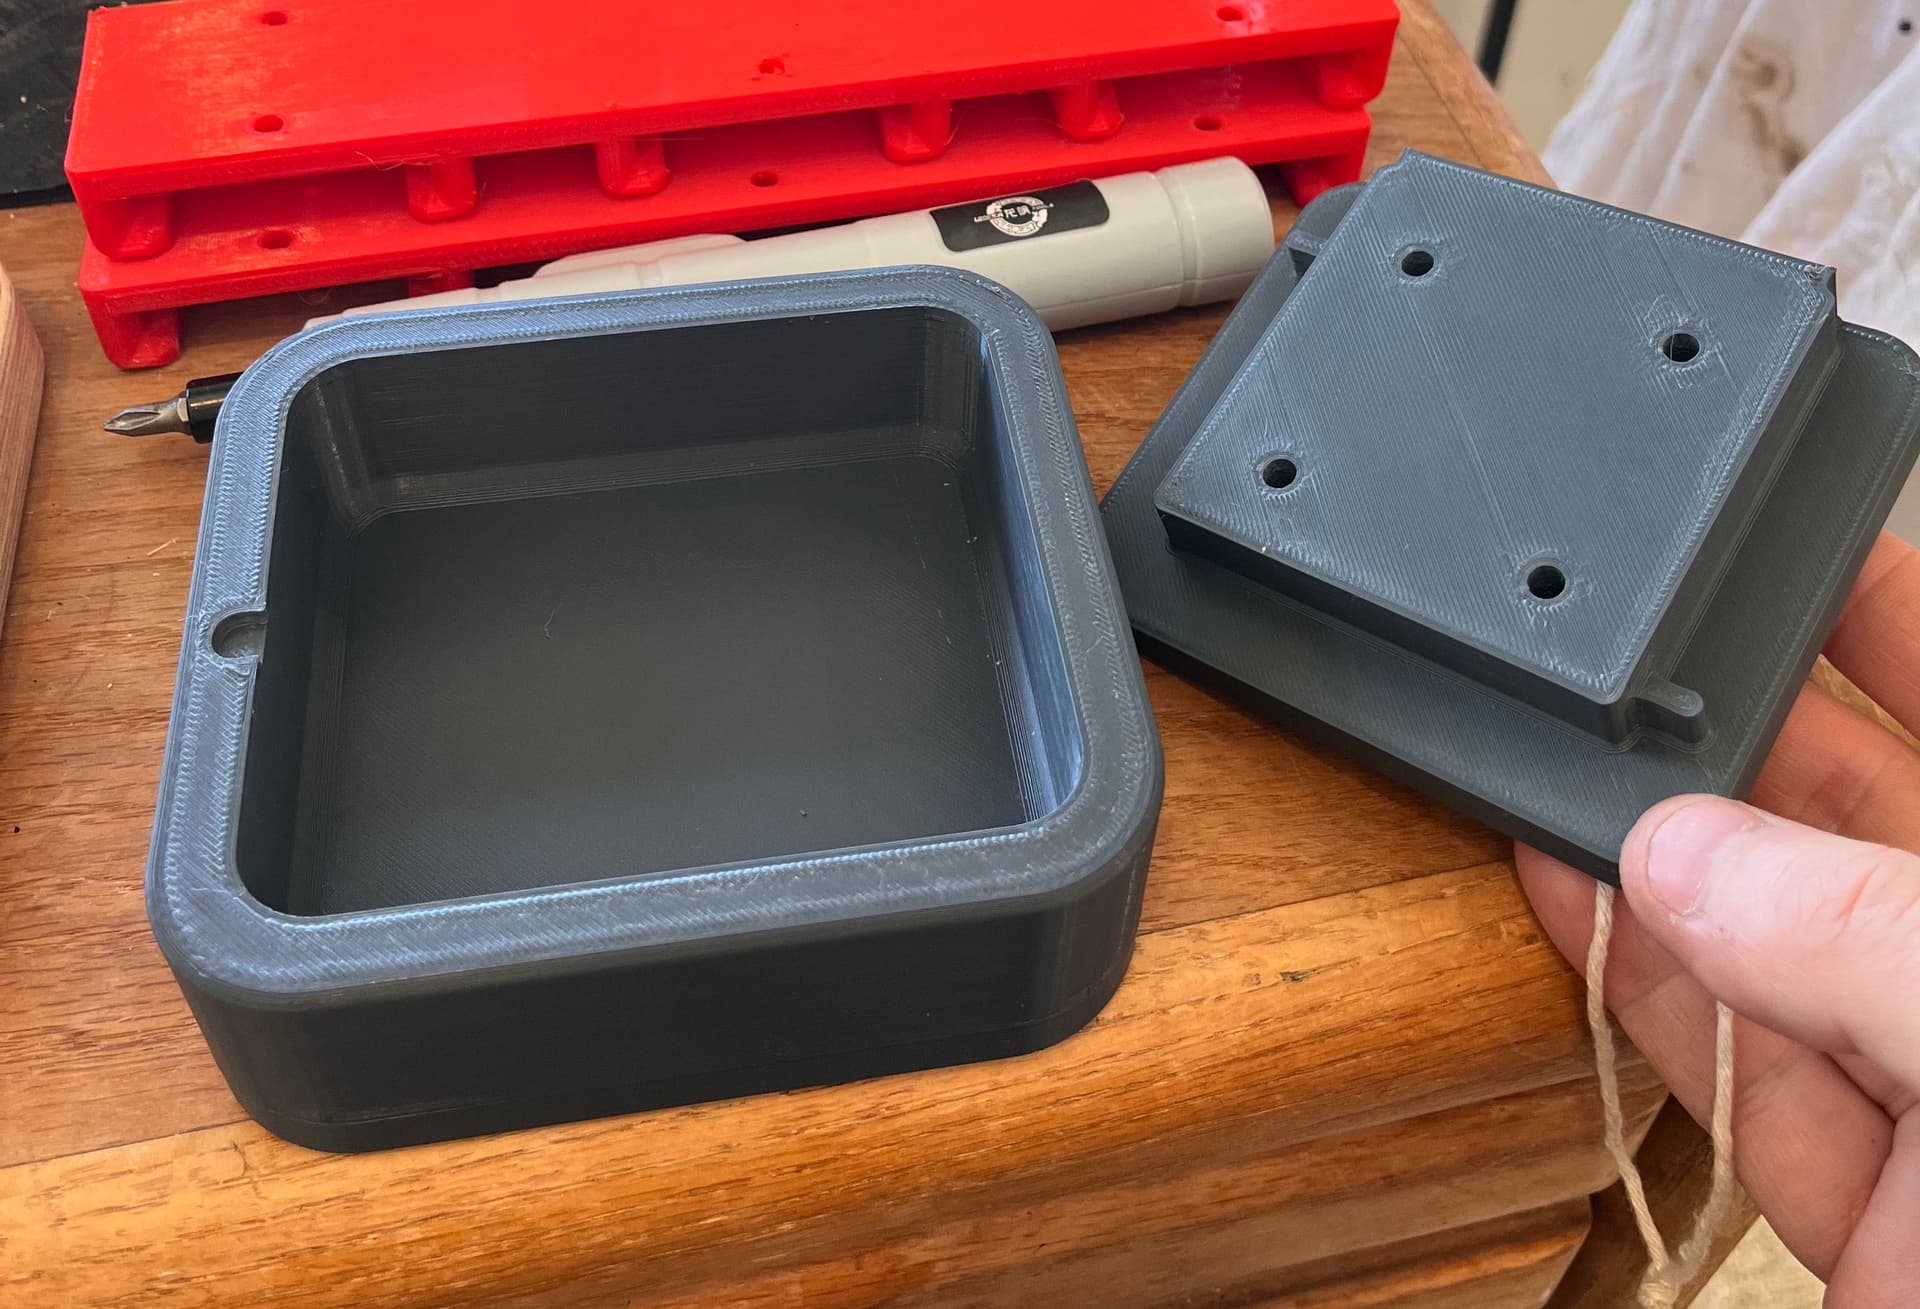
After modeling that, I modeled a two-part mold around it and 3d printed it. Since I’ve done basically zero mold-making, there were lots of problems with this mold, and I learned a lot about what not to do from this!
The four holes on the top are there to allow water and excess material to escape. This turned out to not be enough - since the pulp doesn’t really flow it’s very hard for excess material or even the moisture to escape with so few holes. If I was doing this again I would try to make the entire mold MUCH more permeable.
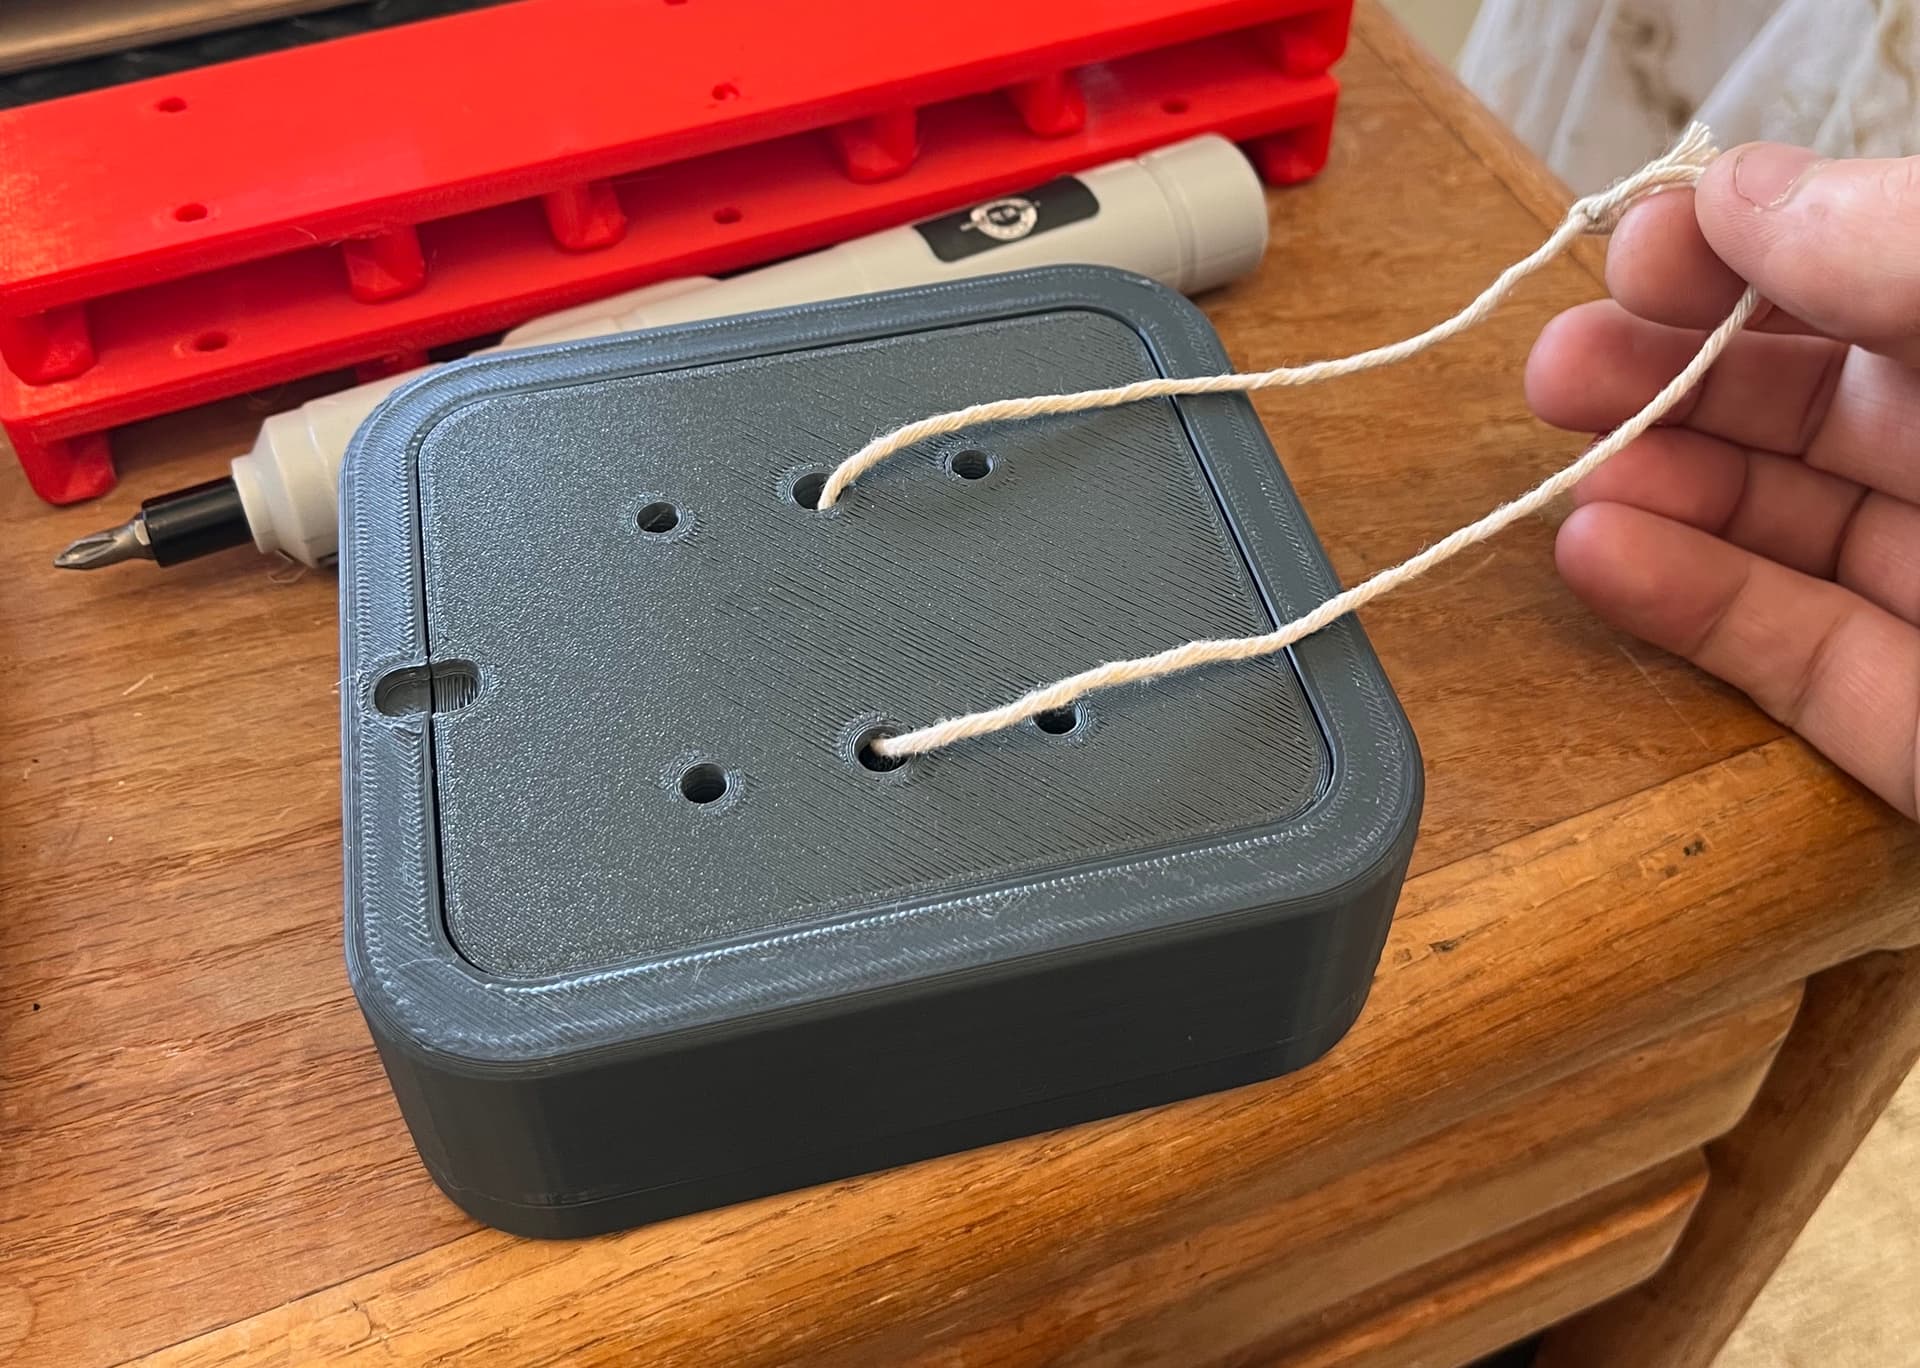
The loop with the string through it was a last minute “oh crap how do I separate this mold once it’s pressed?”. I would do something different next time on this front as well - the only string I had that fit thru this channel broke really easily. For this and many other reasons, a 3 or 4 part mold would probably work much better.
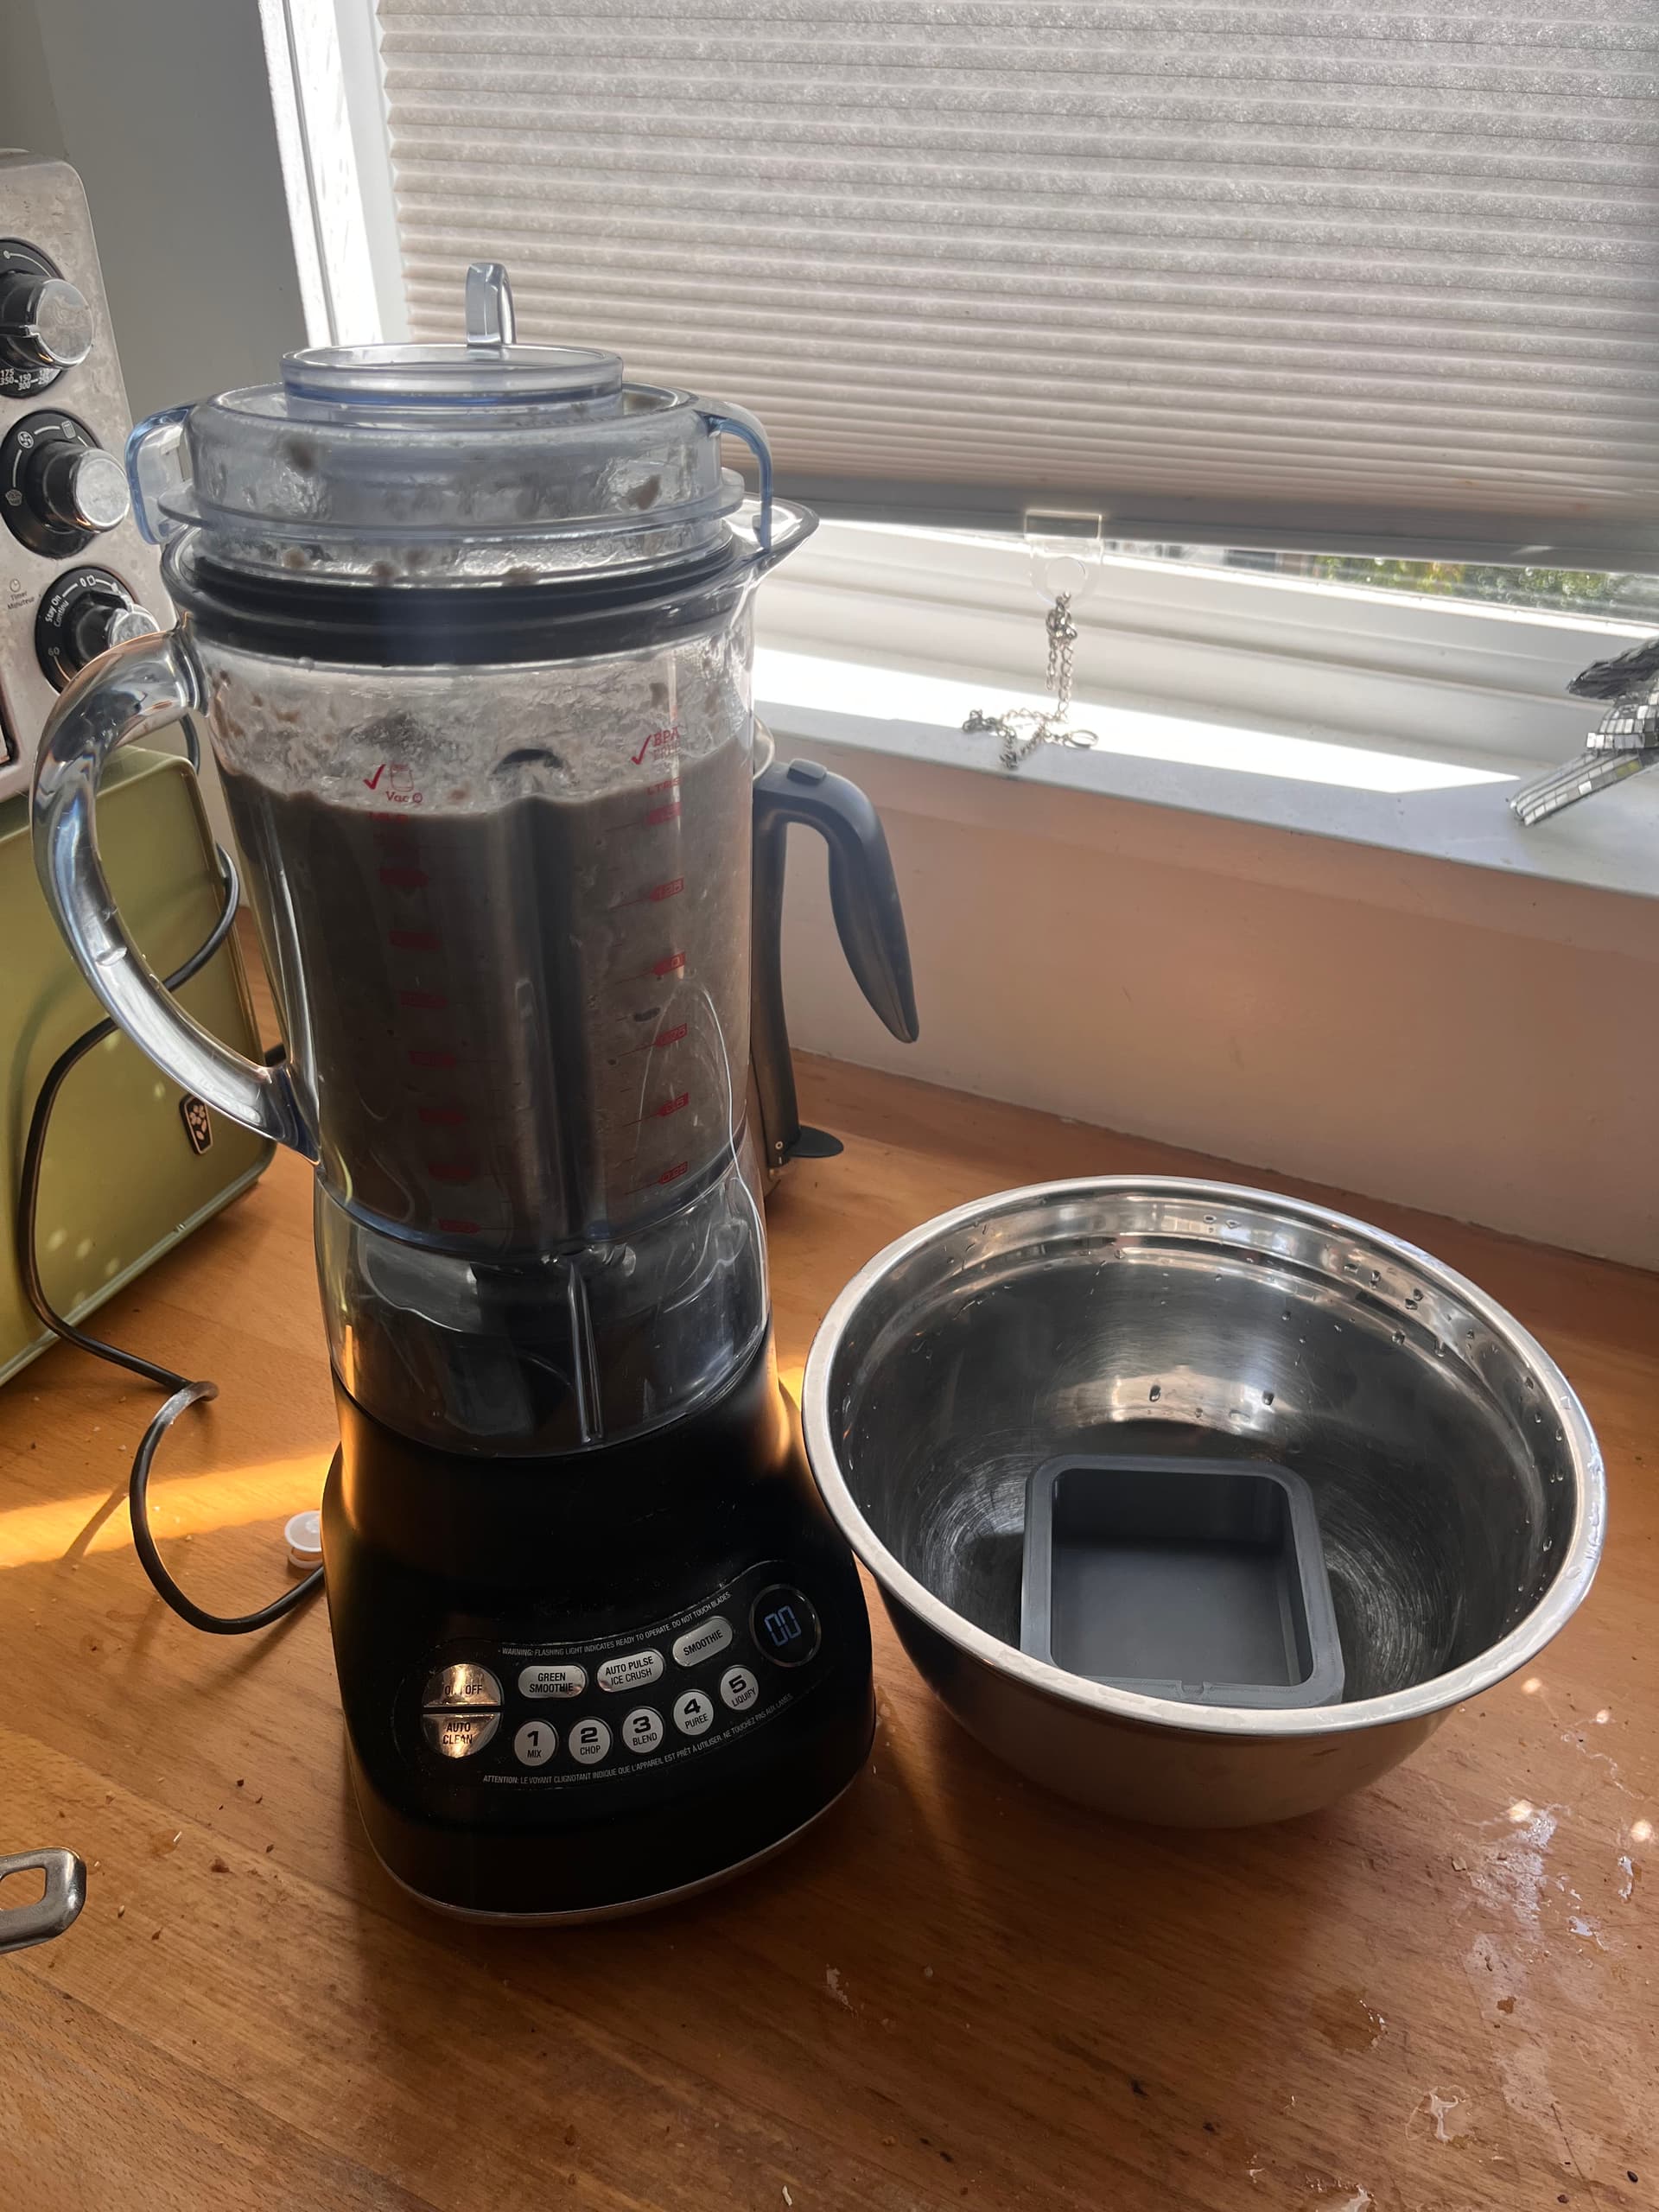
Next I cut and tore up small (1-2") pieces of cardboard box, making sure to avoid any tape or label stickers, and put them in water to soak for ~10min. After that, I added 4 heaping tablespoons of flour as a glue and tossed it into the blender, and voila: worst smoothy ever.
The first attempt at pressing it was a mild success but a little disappointing. Lots of voids, way too wet, and I realized the mold doesn’t have any mechanism to stop you from pressing the top in too far and making the base of the enclosure too thin. The next mold I make would have a lip to it so you can’t over-press it.
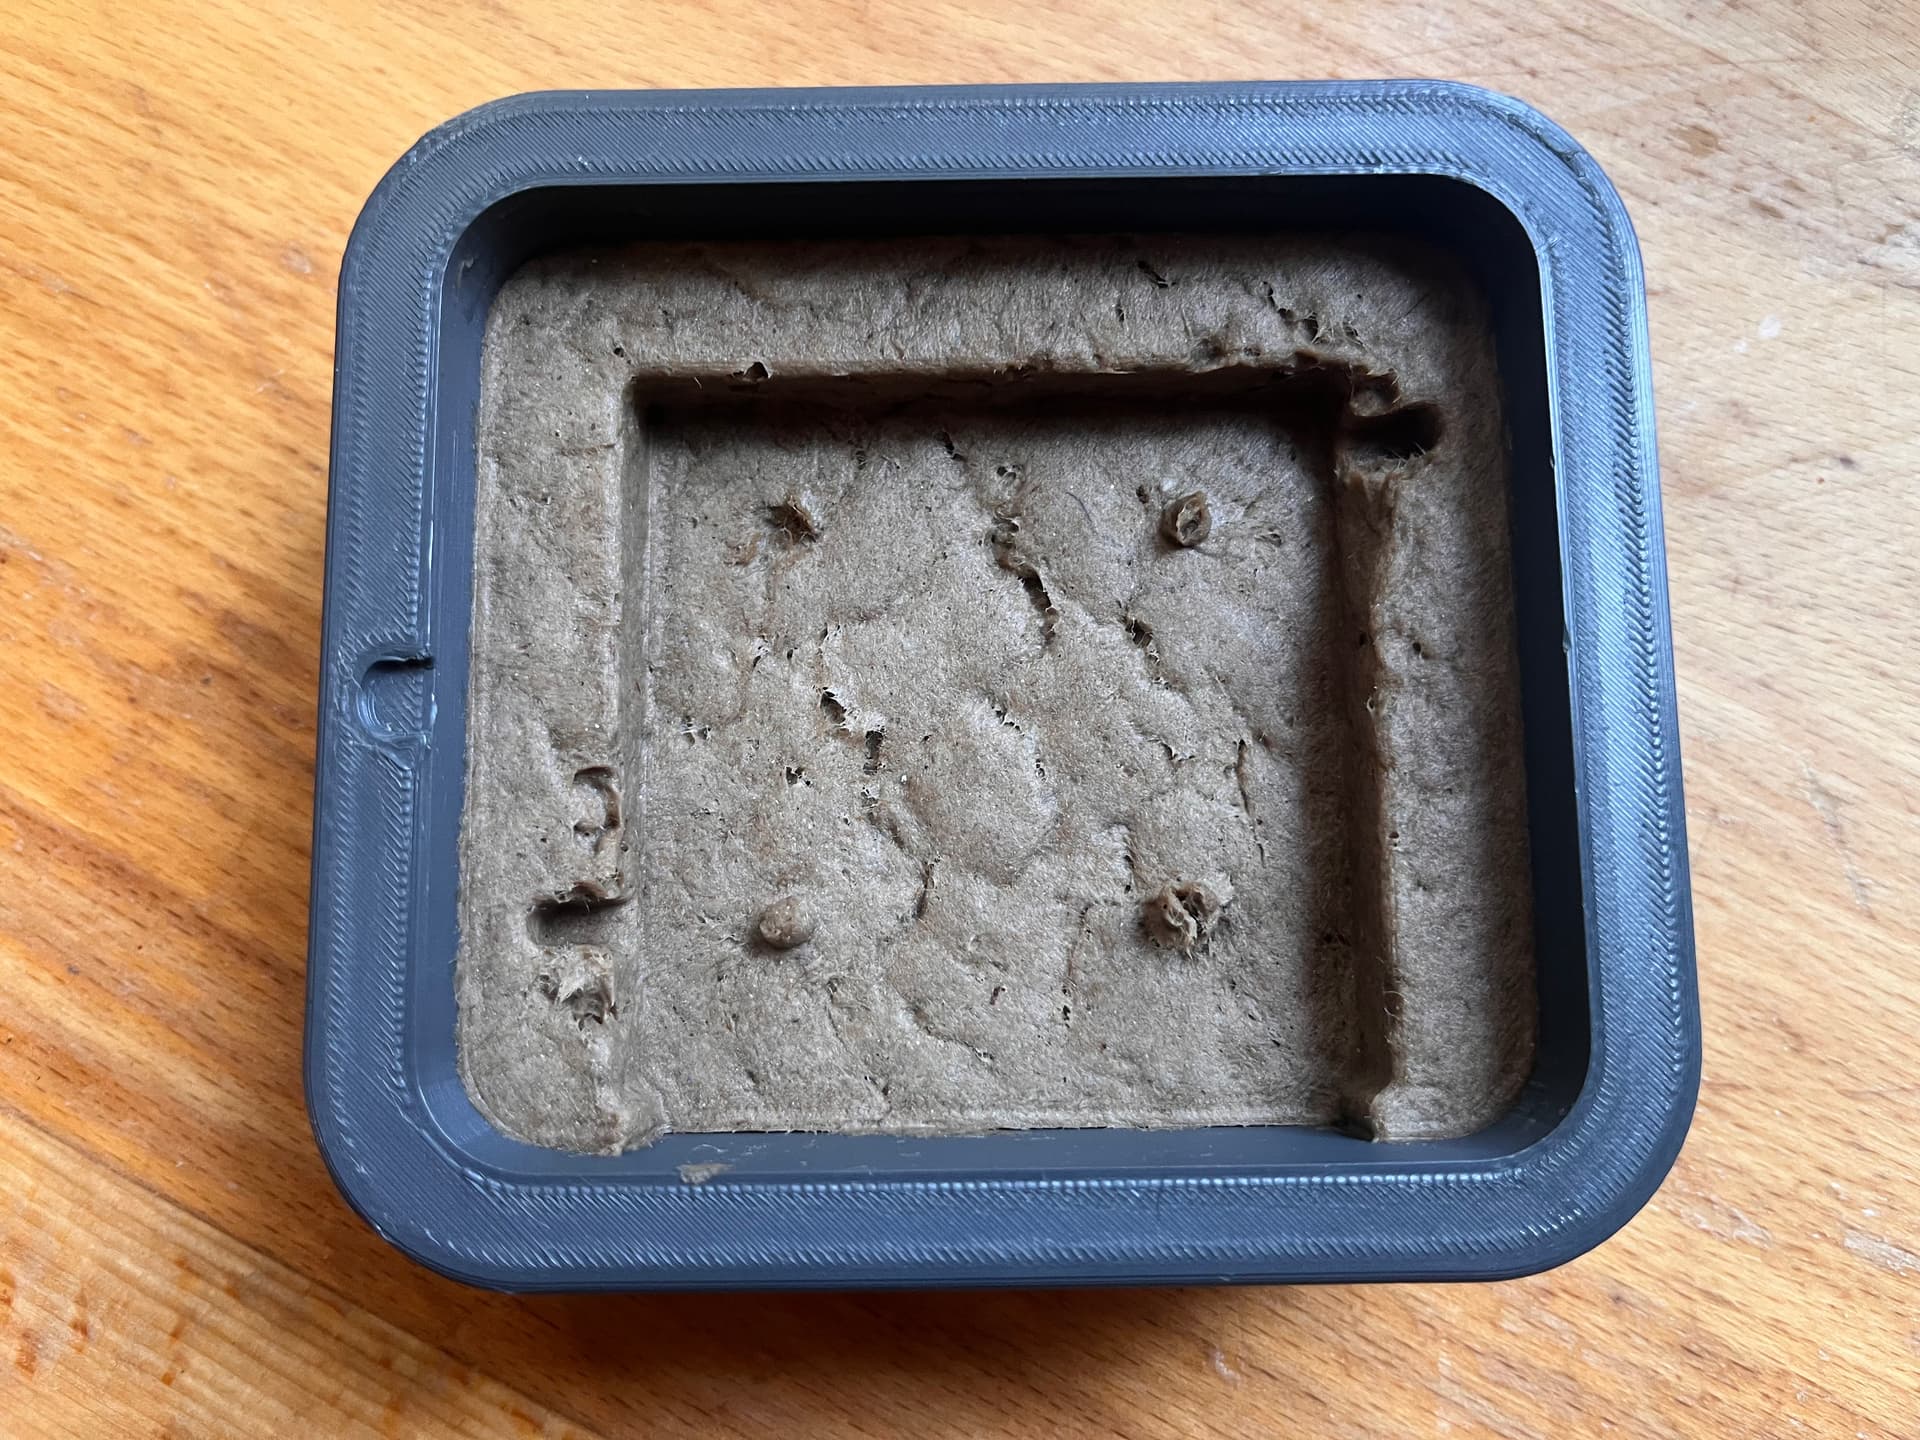
I re-wet the mold and added more pulp, and pressed it again. The results were much better this time. fewer voids, more defined details, less moisture - but i was still pretty damp. I was just pressing these by hand - I would try using some kind of mechanical press next time.
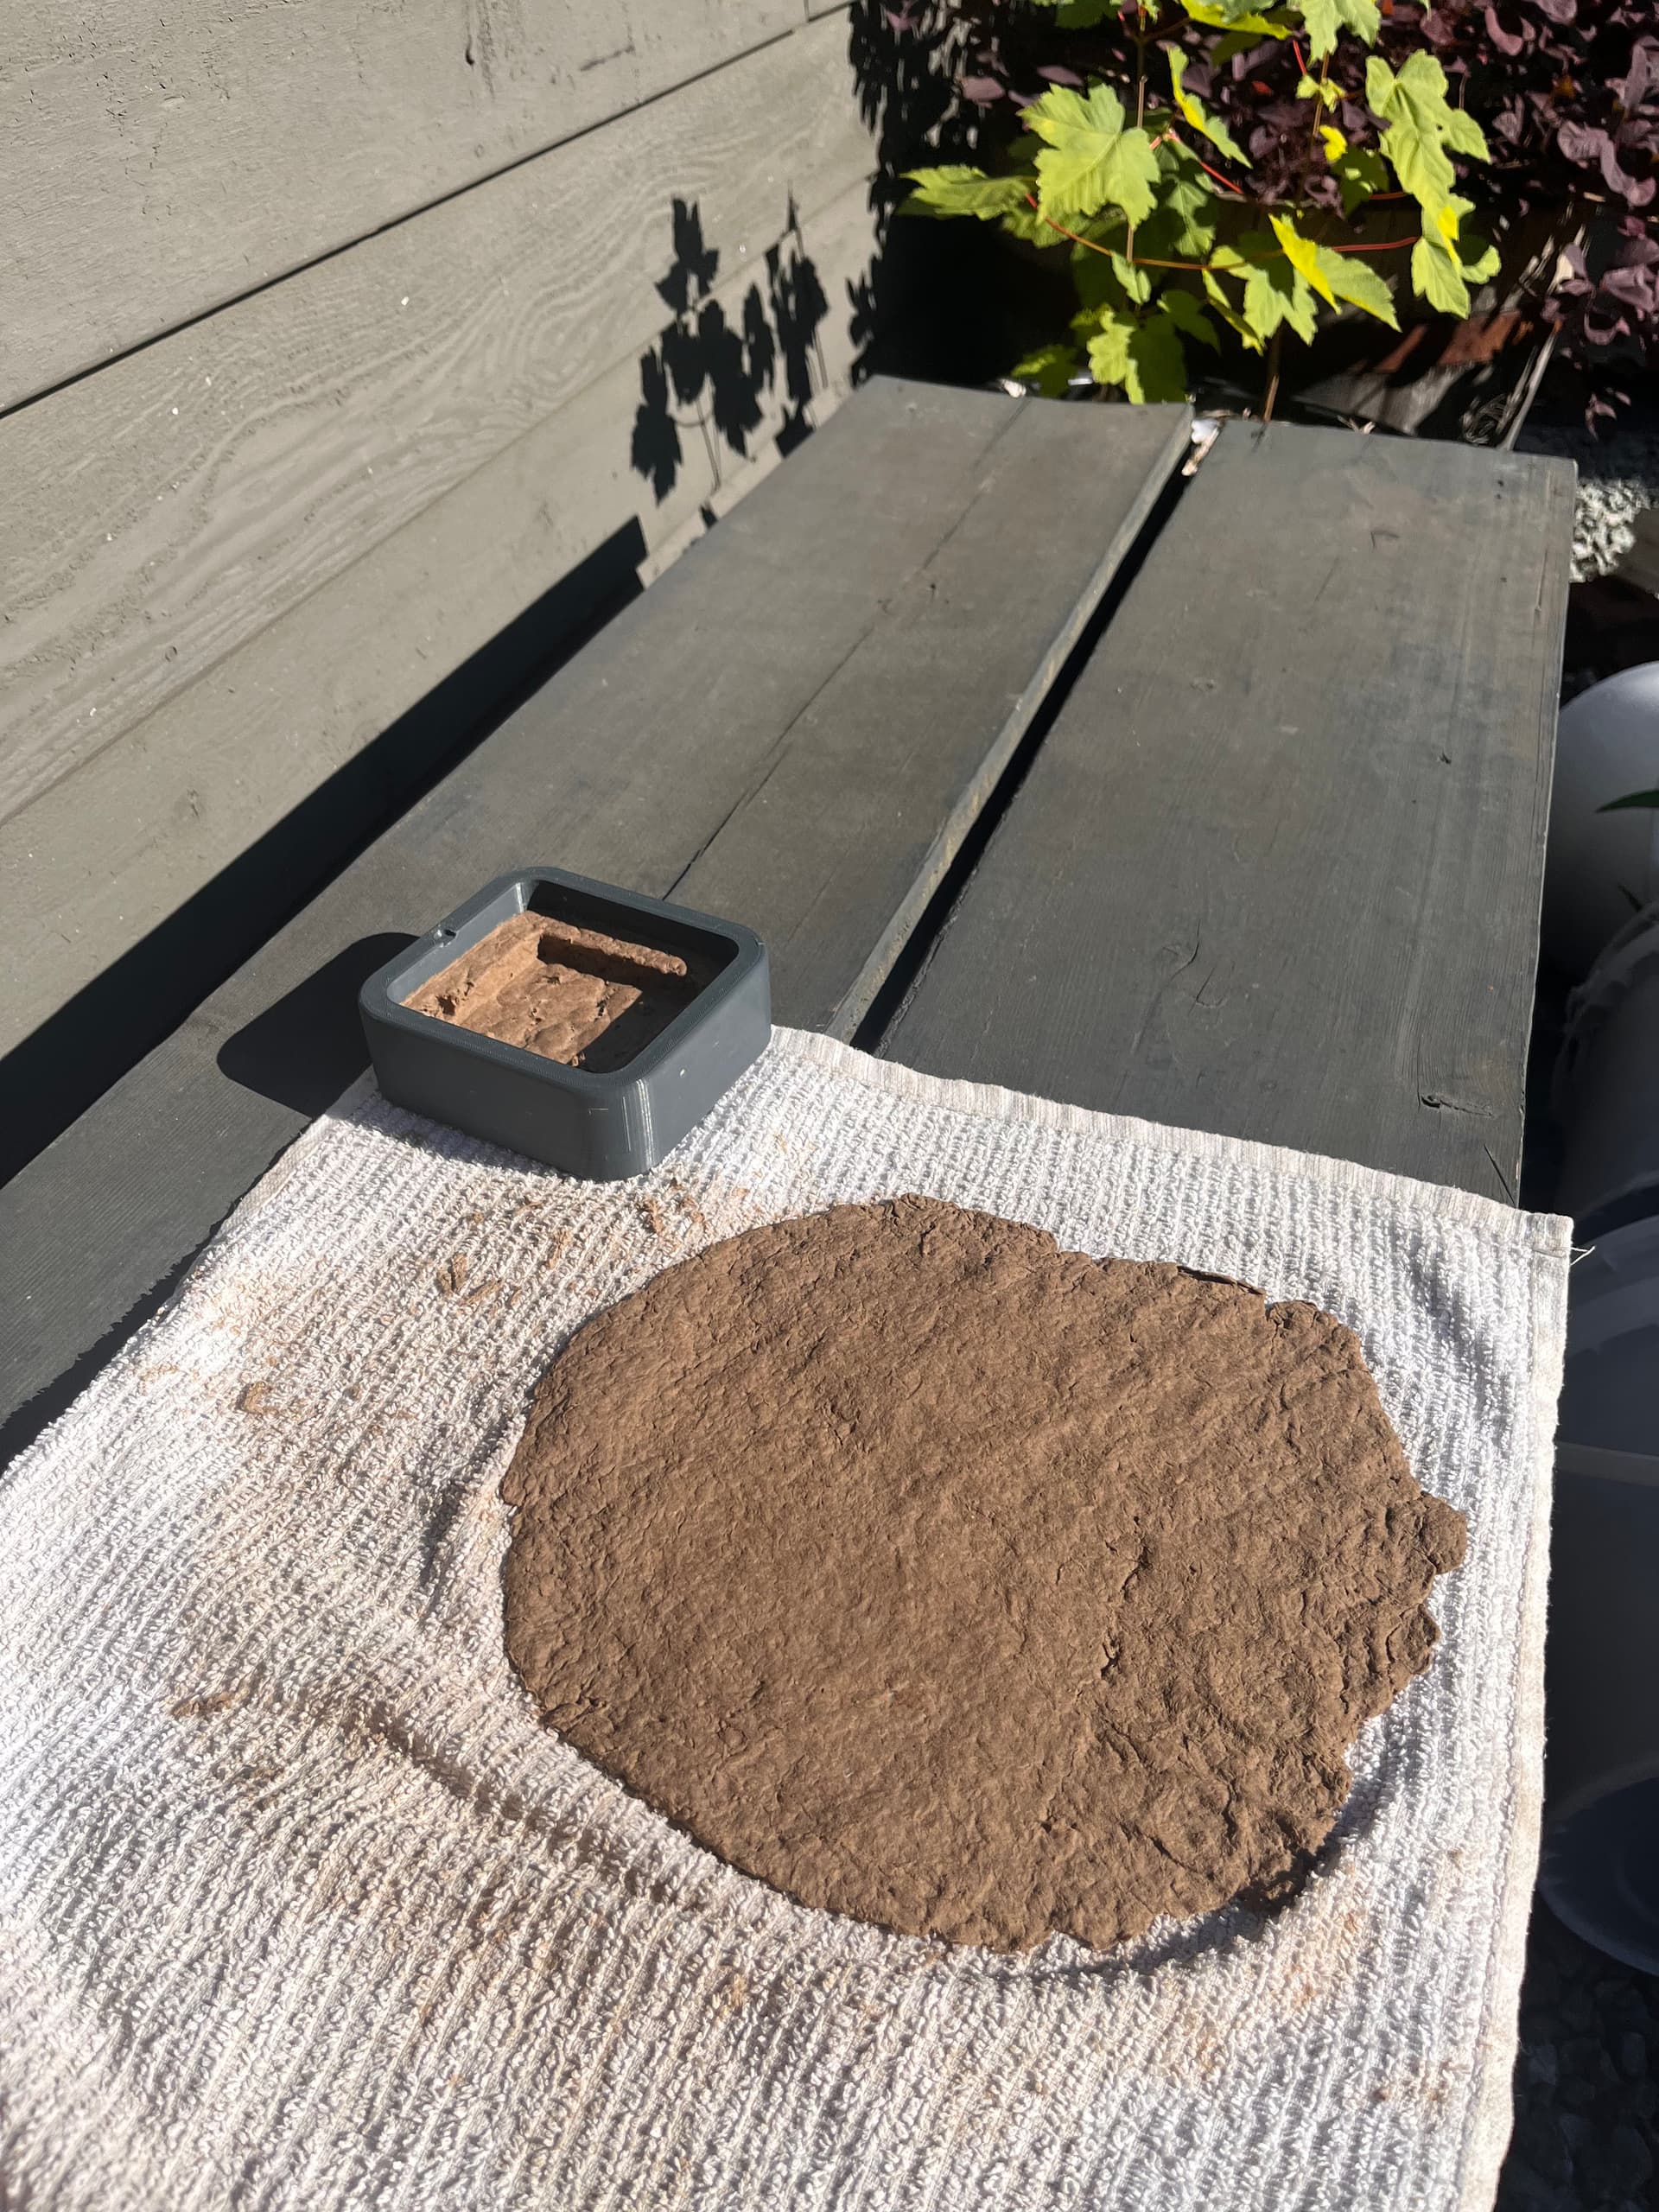
I made a pancake out of the excess pulp, opened the mold, and set them both out in the sun to dry. After a few hours the edges of the pancake were almost dry but the center was not. The pulp was starting to pull away from the sides of the mold, but was still quite wet.
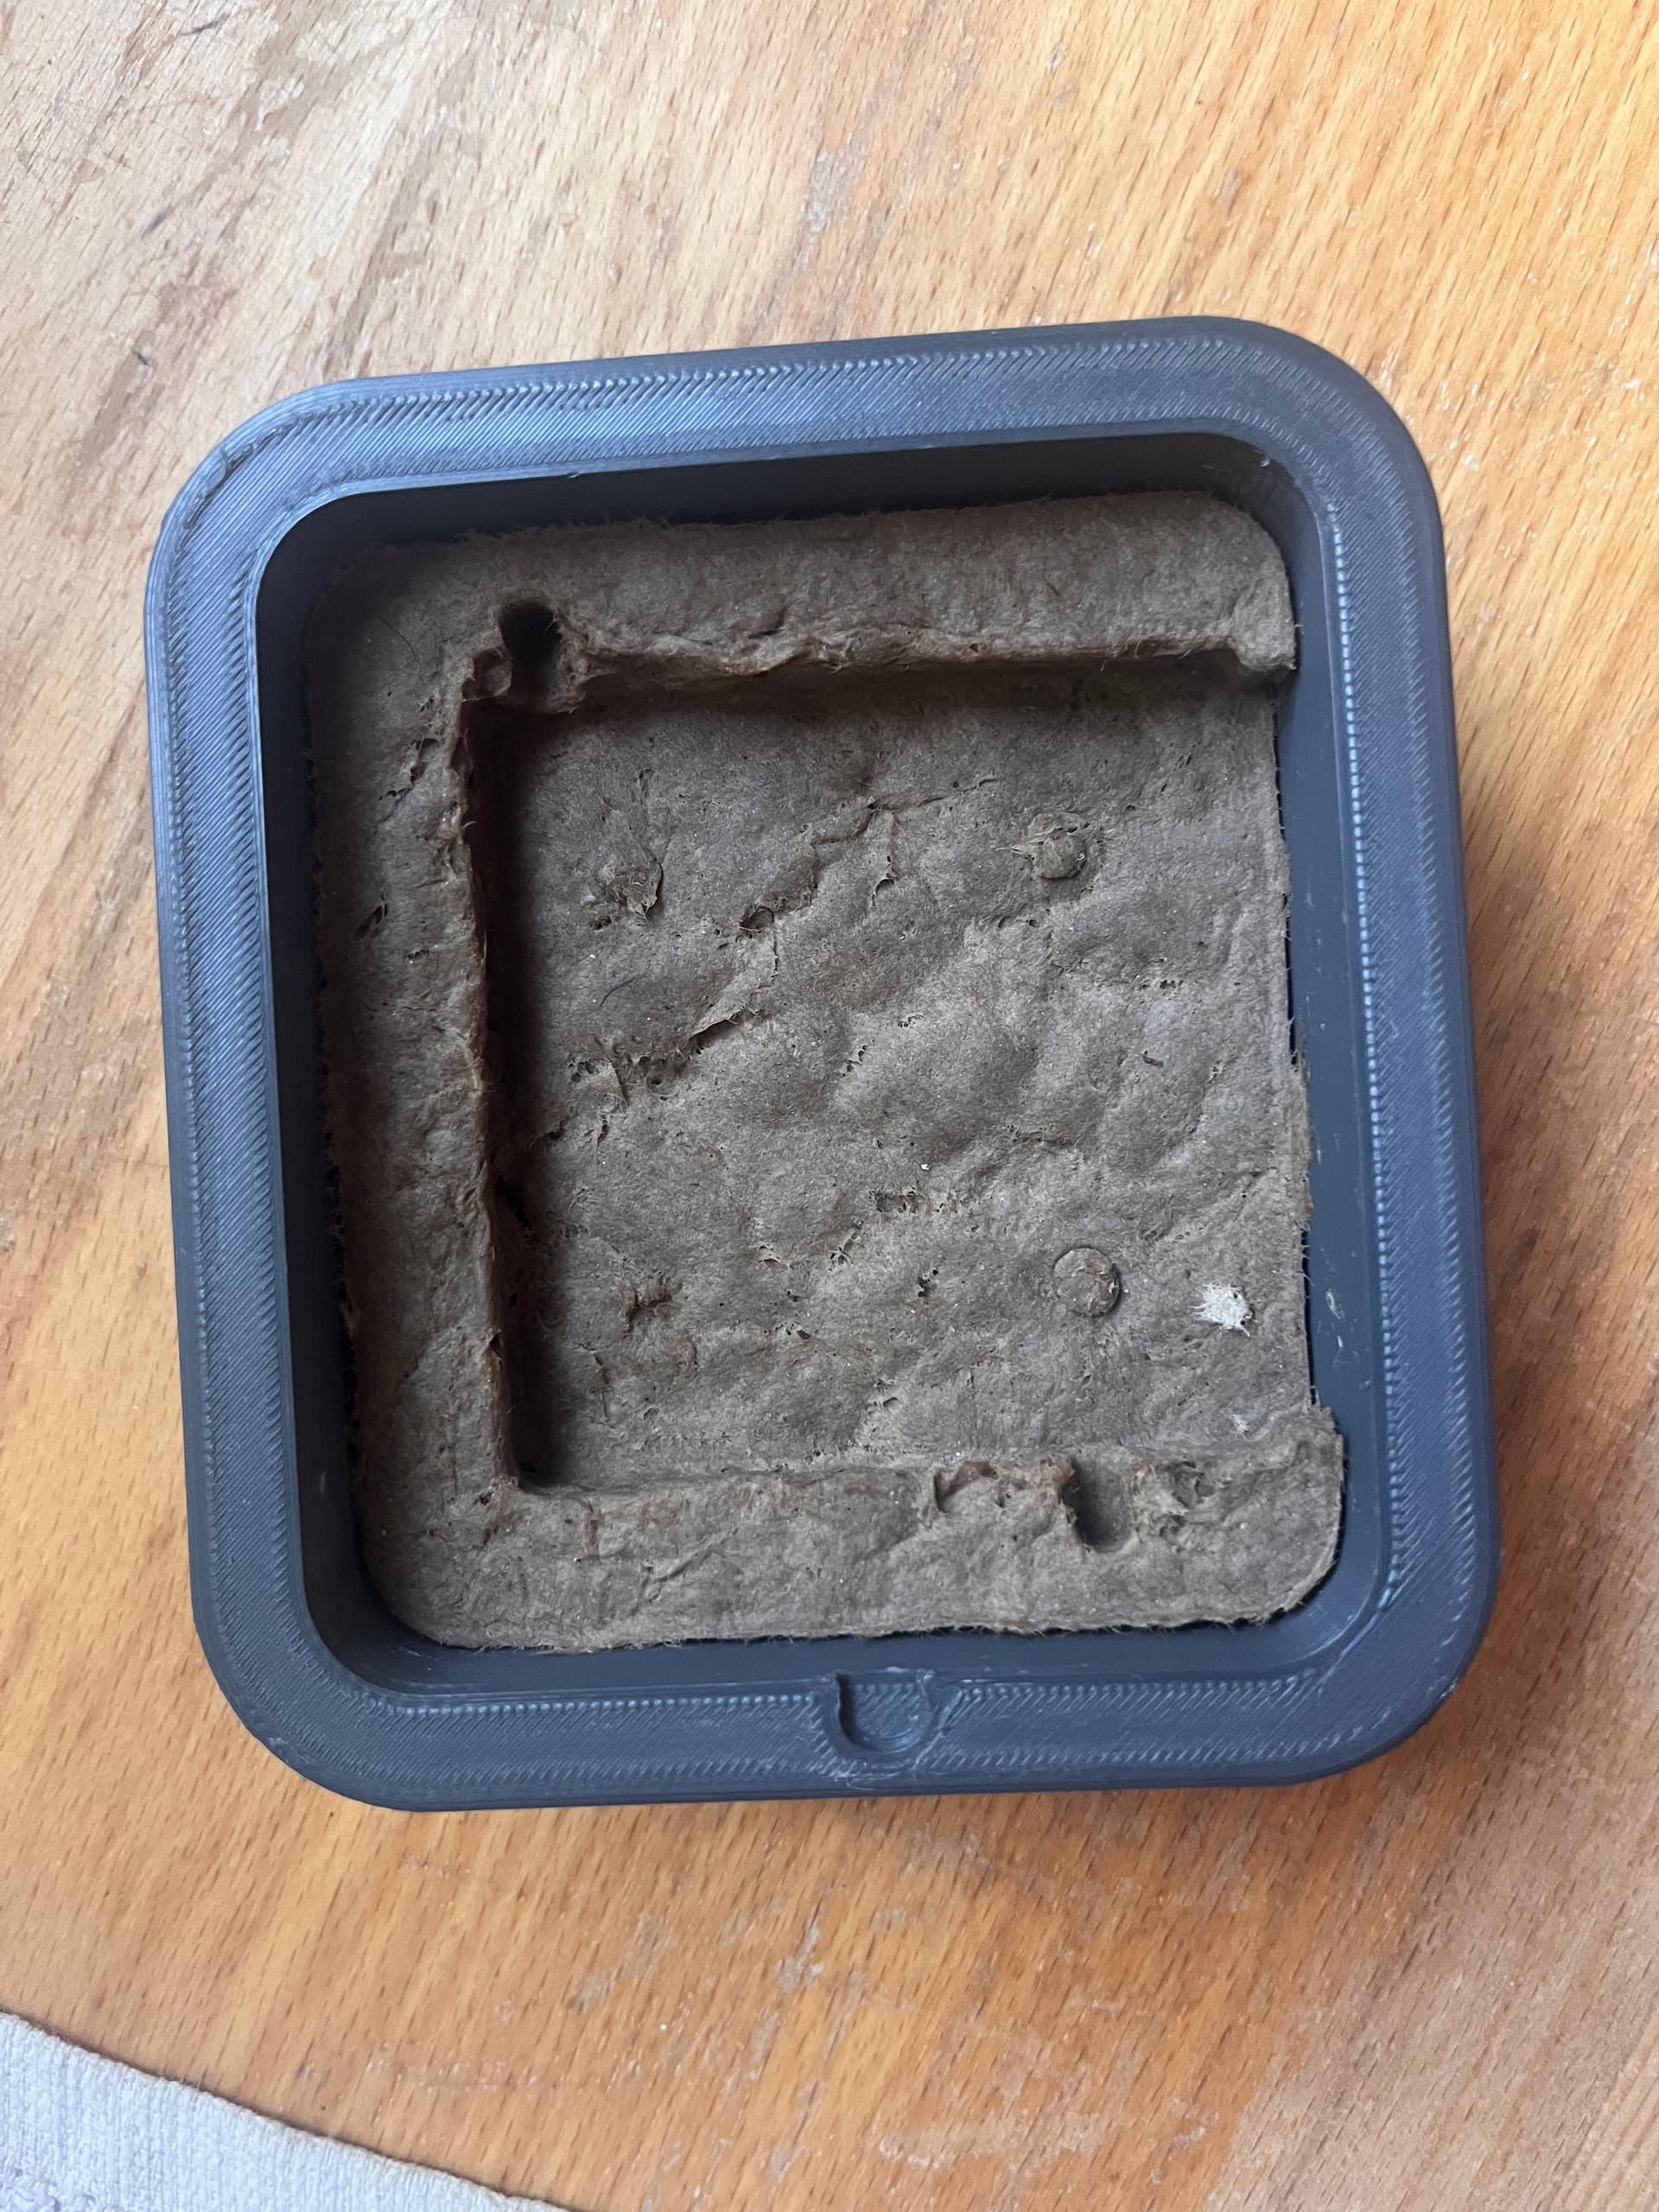
The next day the pulp had mostly pulled away from the mold, and I attempted to de-mold it (flip it upside down and gently tap it on the table). This did NOT work - it was still way too wet, so most of it pulled away but the center stayed behind and the whole thing fell apart. I don’t have any pics right after this, but I set the whole thing to dry out of the mold and checked it a few times a day for a few days.

The lesson here was that I either needed to press more of the liquid out of it, or dry it using heat, or both. It took ~3 days to dry and it smells terrible now - exactly like when you forget laundry in the washing machine for day in the summer.
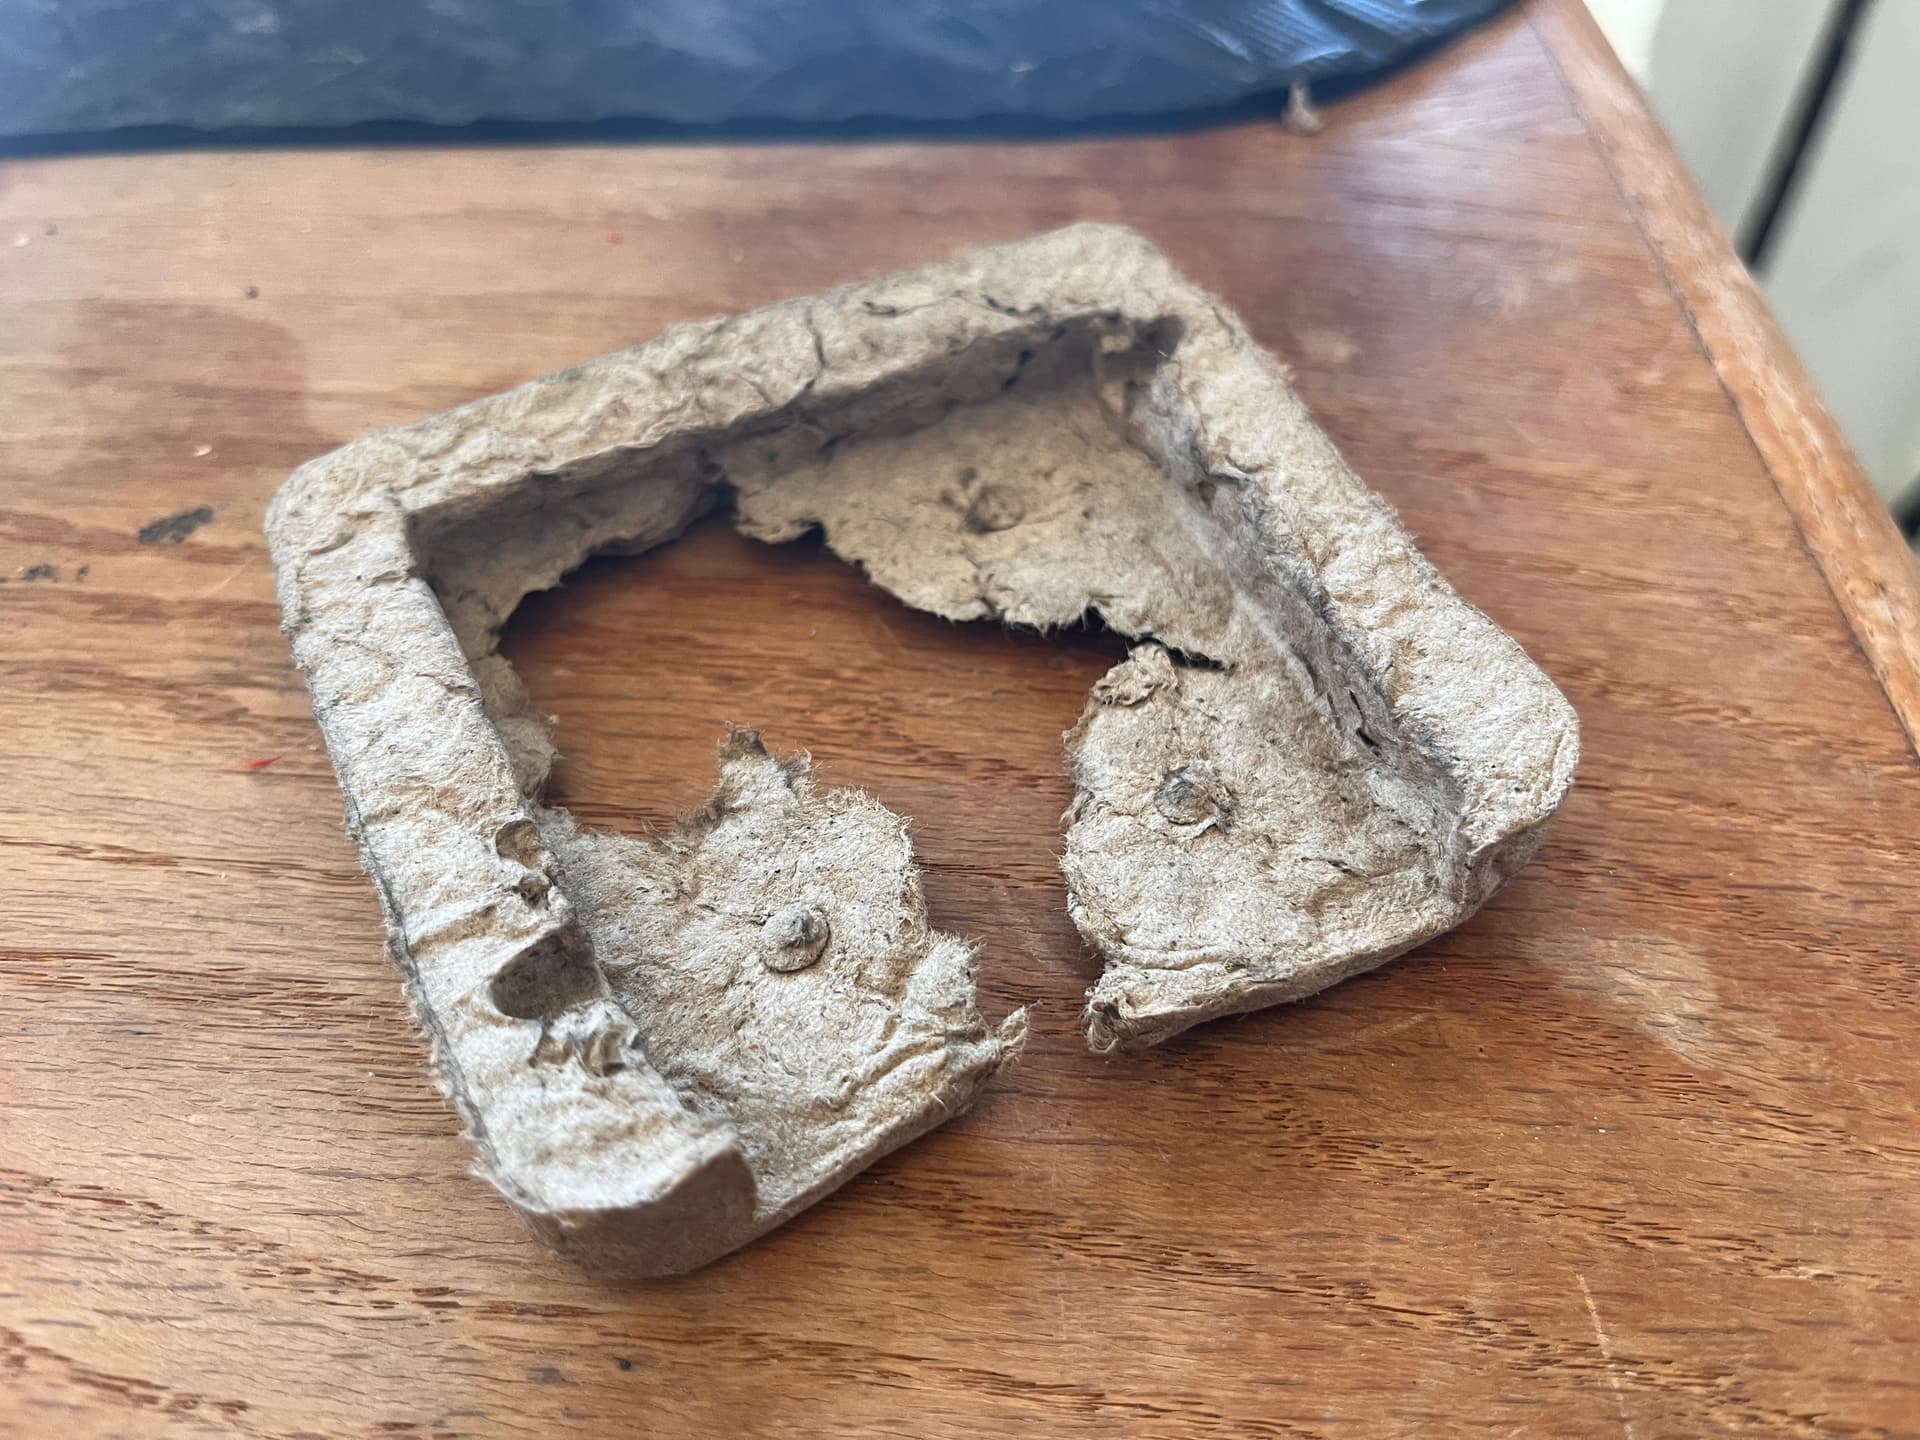
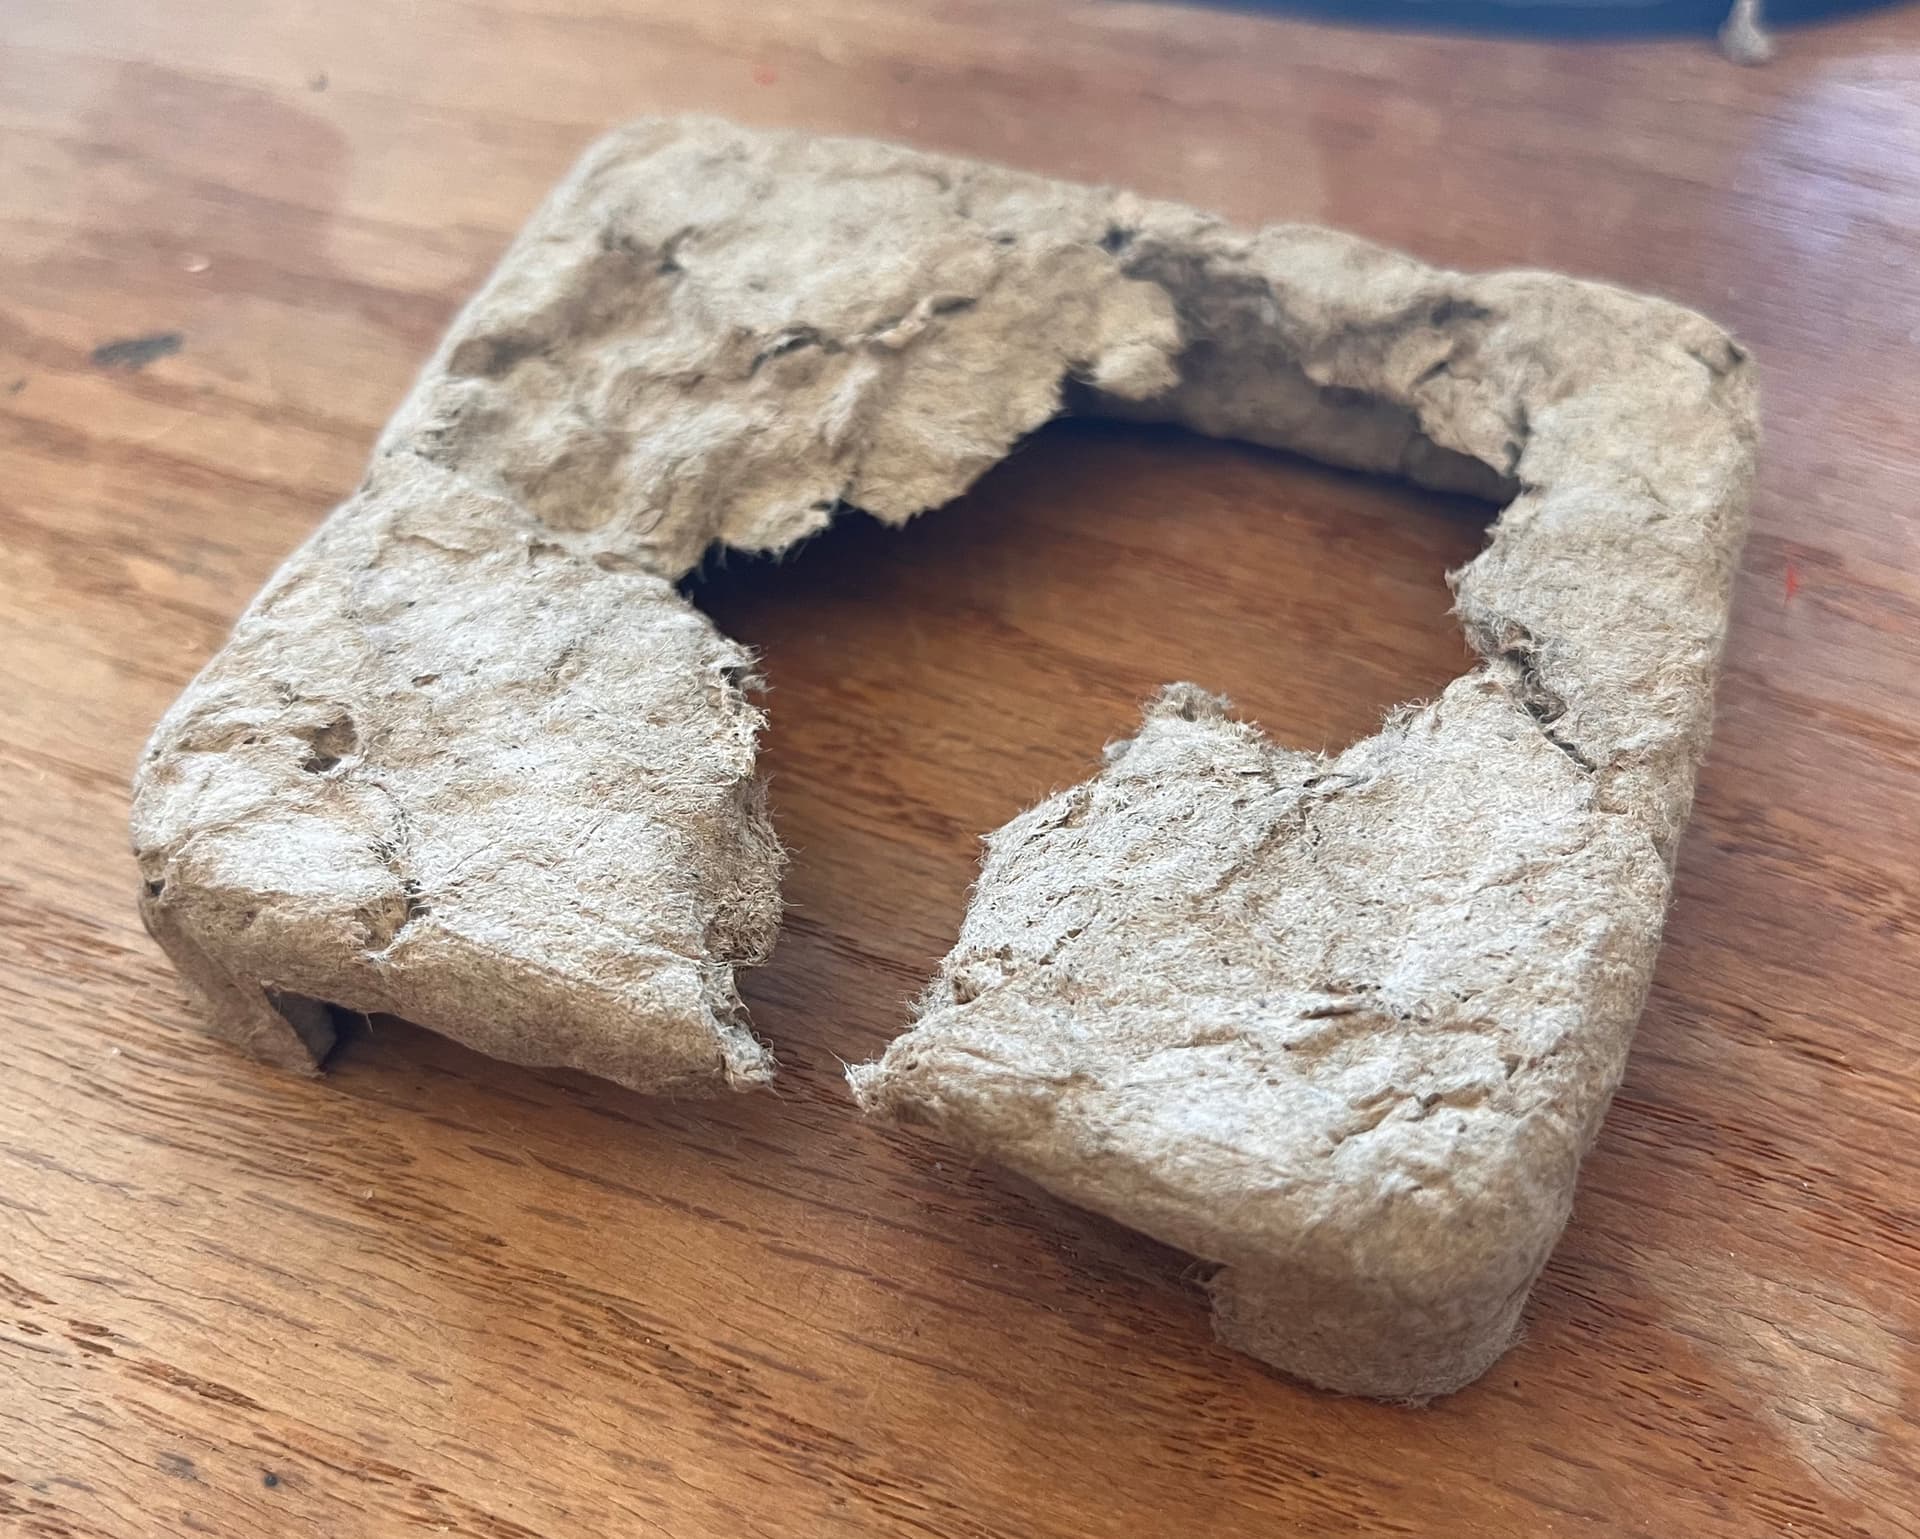
On the plus side, as it dried it definitely got stronger - the parts that don’t have voids near them are pretty sturdy - It can all still be torn by hand, but not without a little effort.
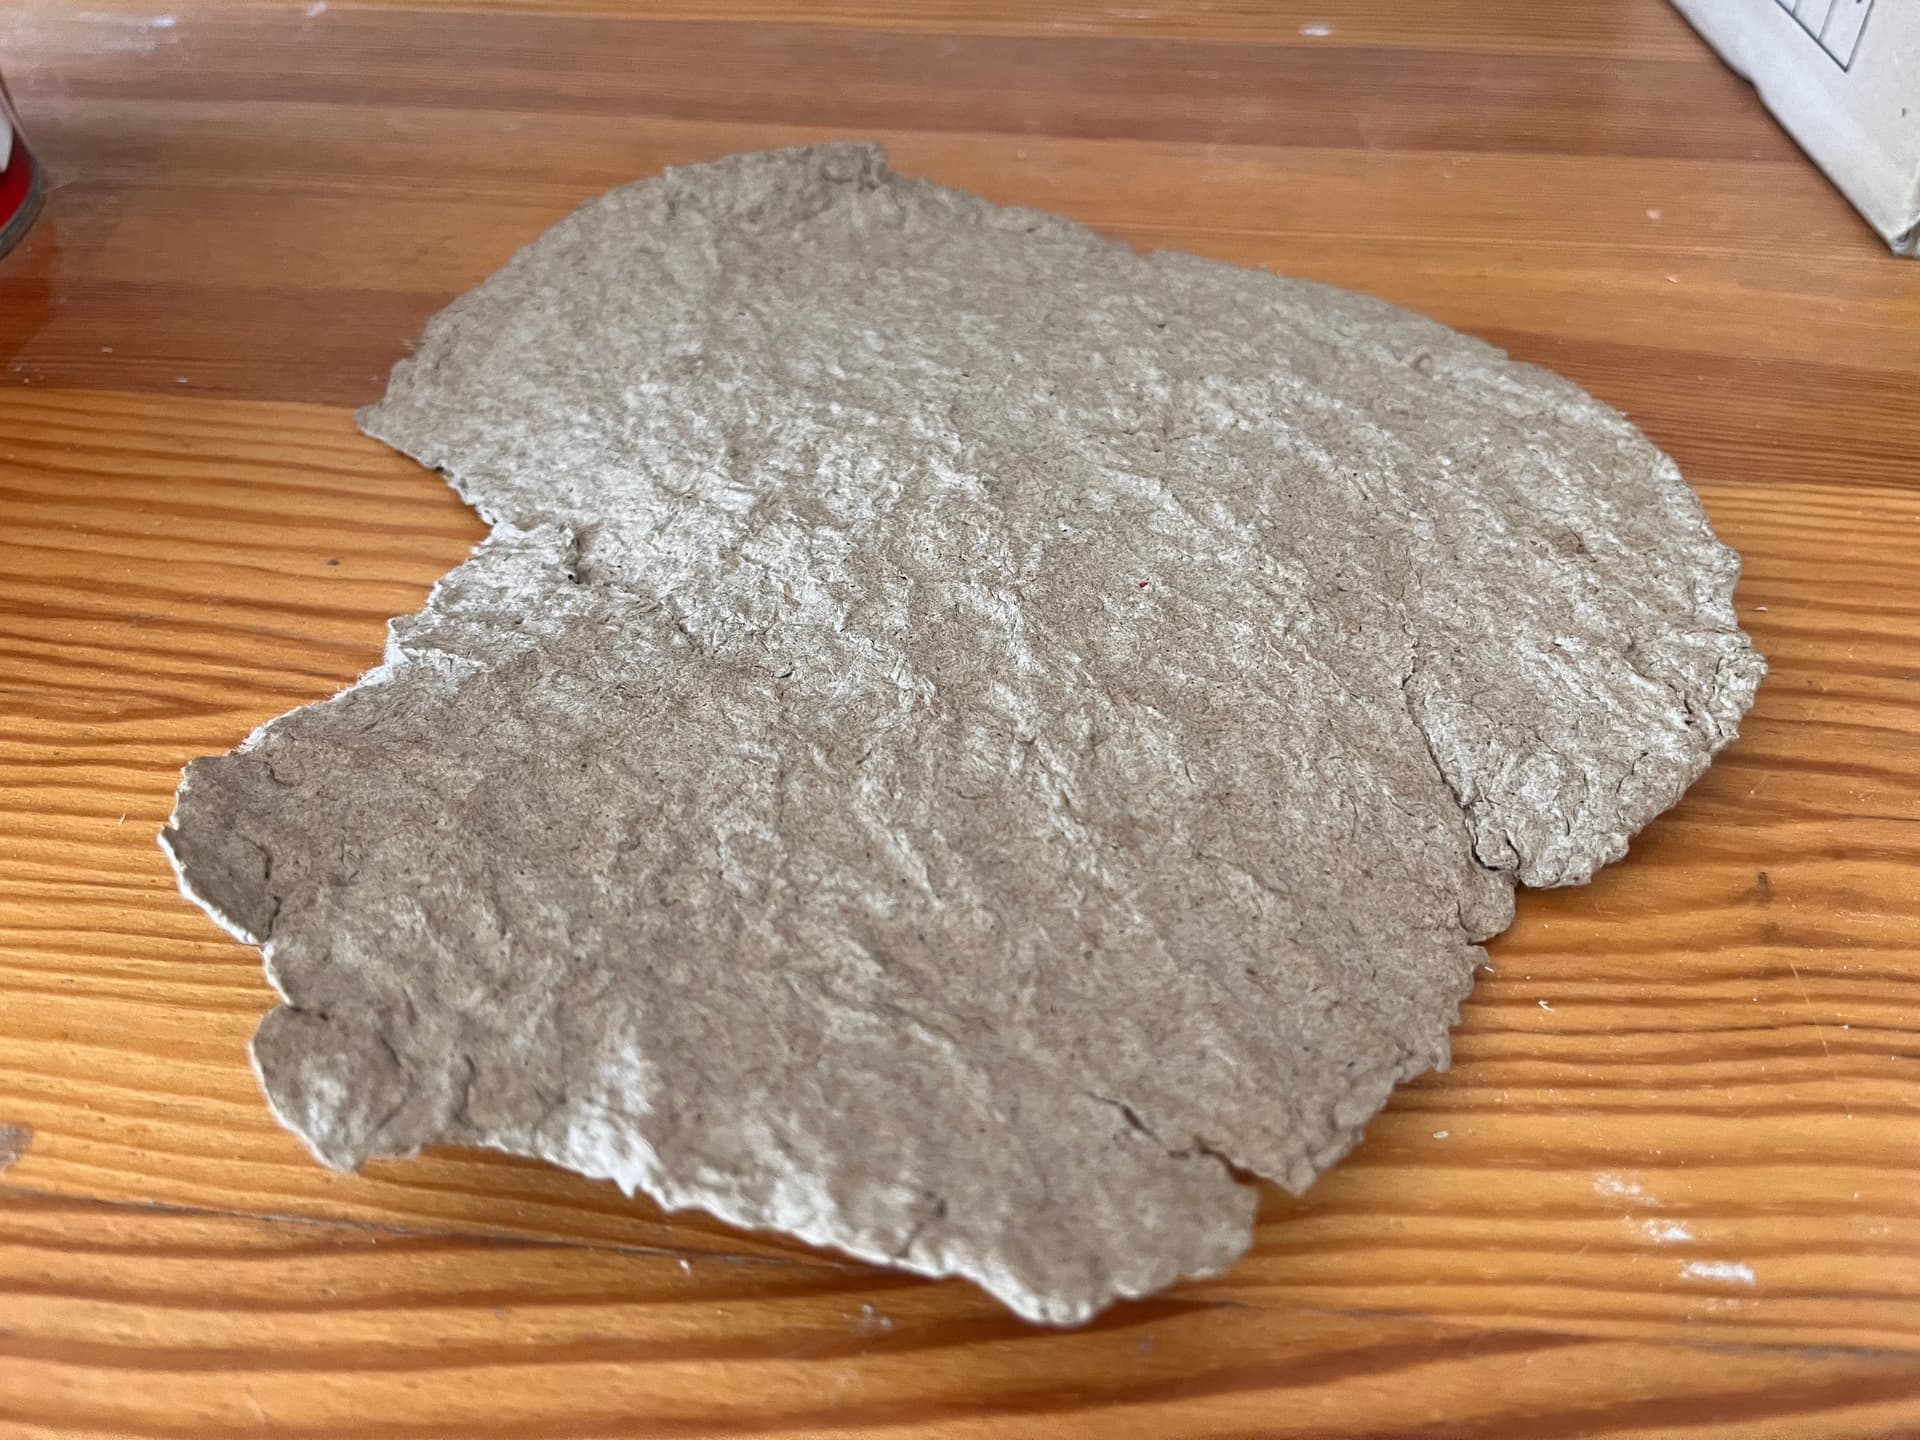
As you can see the pancake warped quite a bit as it dried non-uniformly.
What I would do differently next time:
- design a better mold, ideally one that comes fully apart so I can de-mold the whole thing right away, and one that has more holes for water to escape.
- use more pulp and more pressure to try to get better void fill and more bonding
- experiment with different amounts and types of bonding additive
- try to get a finer pulp (one suggestion I got was to add glycerine when blending which might help break some of the lignin-lignin bonds)
- dry it in a dehydrator
If I find time, I’d like to test out treating these with wax or oil to see if I can make them a little bit water resistant. It’s also possible that adding oil or wax to the pulp mixture could help there.
Ultimately, I don’t think I’m going to explore this further right now. To produce lots of these I would have to set up and reserve a lot of my work space for this kind of wet work, and I would need a lot of time to refine the process to get better and more reliable results. But it was a very fun experiment, the results were quite pleasing for a first try, and there are probably many other use-cases this technique is well suited to!