I went in today to check out the new laser cutter controller and to try out the laser cutter camera.
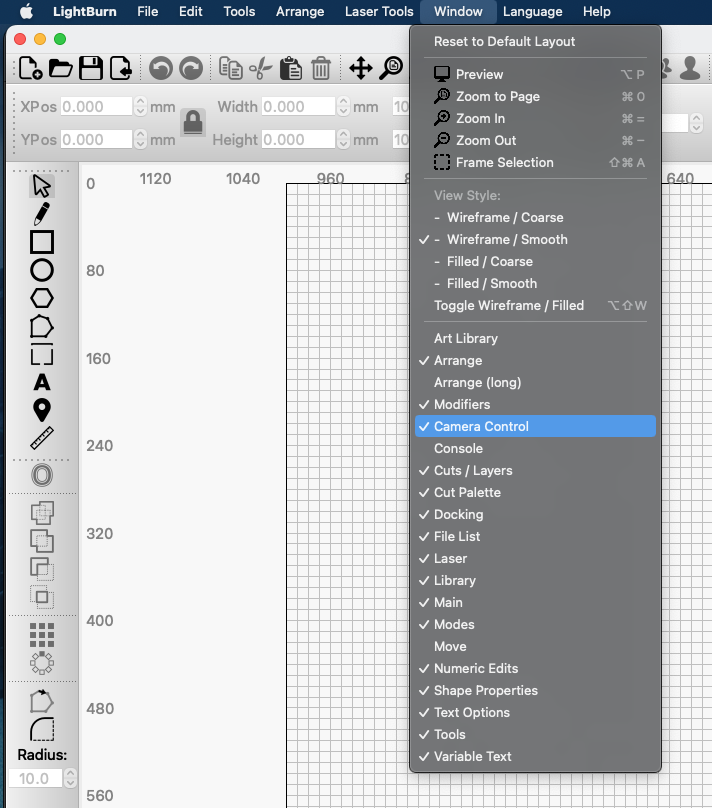
Getting the camera window to show the full image of the laser in Lightburn was a little finicky but doable. The tabbed window needs to be maximized to show the full laser bed. Select “Window - Camera Control” from the main menu if you don’t see it.
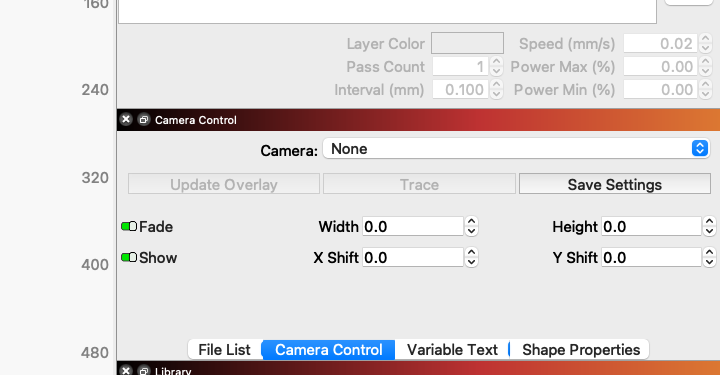
Now you can drop your material onto the laser bed and use the “Update Overlay” button in the camera control window to grab a photo of your material on the laser bed.
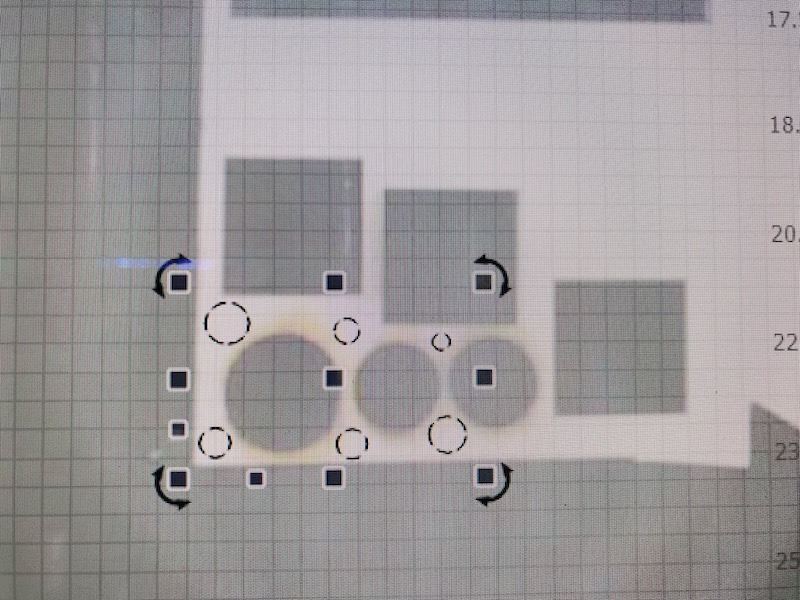
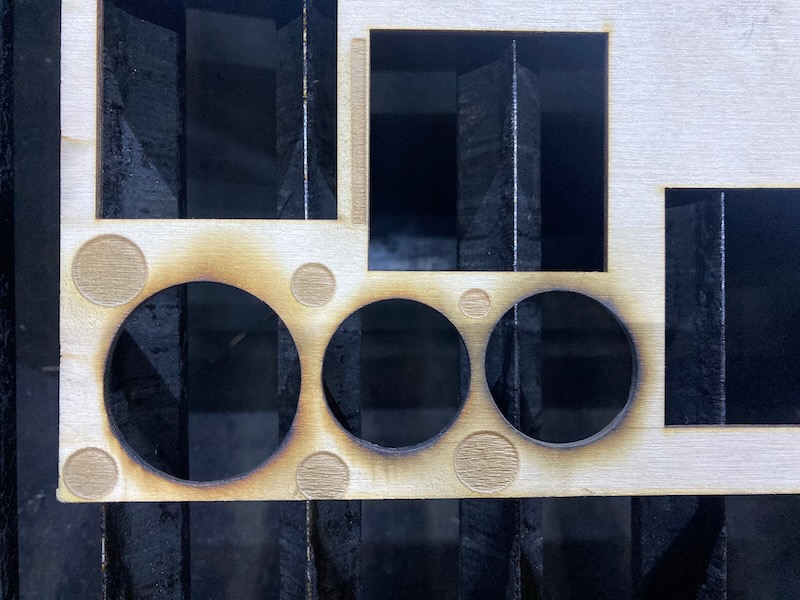
Using this picture you can precisely place your designs where you want. I this case I was engraving circles in the small areas. This is a great way to use up scrap materials!
One thing to note. The laser door does not stop at exactly the same position when you open it so while final positioning is good it will never be super precise or repeatable. So update your overlay each time you open the door if this is critical for you.
edit - The laser is not a Do-ocracy. Please consult the LCC if anything does not appear to be working or out of alignment.
Hey @majicj - thanks for the great guide on using the camera with lightburn! glad you think it’s useful.
One important note: we very much appreciate your intent in documenting how to do the calibration, but the LCC is going to ask that laser users refrain from re-calibrating the camera without talking to us - like a lot of the laser settings, miscalibrating persists across users, and can create a risky situation if things are incorrectly setup. At least for the time being like other configuration changes, in Lightburn or on the Controller, camera calibration falls under “Laser is Not A Do-ocracy” category, and needs to be co-ordinated with the LCC.
We totally get that there’s going to be some ambiguity as we figure out what on the new controller/software is a setting one can use to adjust your job, vs. configuration, but please reach out to us if you’re in doubt - if it falls under calibration, or a setting that’s about how the cutter operates, rather than how it’s configured for a job, it’s almost certainly going to fall in the that category.
@majicj would you mind removing that bit, and screenshots from your post, or at least adding a note that it’s LCC domain?
for anyone - please reach out to the LCC - either here or on slack - if you think something’s off with the calibration, or if you have other questions about settings and configurations!
I really like this feature of lightburn, saves a lot of time.
I placed my lightburn camera on my (fairly low) ceiling. I suggest some 2x4 from the wall or ceiling would work better. You can change the lens to allow the camera to be placed further from the workspace.