Lathes and lasers and isolation

I figure that the best way deal with stress, anxiety, anger or boredom driven by the current pandemic self-isolation is ride it out in my workshop. Here are some progress photos of my first “isolation project”.

It is a woodturned platter that is turned from air dried London Plane that’s been sitting around for at least 15 years. It’s about 9.5 inches in diameter and currently about 1.5" thick. It will probably be about an inch thick when completed.

The rim was airbrushed with several coats of scarlet Procion MX fabric dye mixed in a heavy concentration followed by a few coats of poly and then waxed and buffed with clear shoe polish. Finishing first allows for any vapor stains from the engraving process to be easily cleaned off and also allows me to infill the engraving with ink and quickly wipe off the excess ink before it stains the finished area…

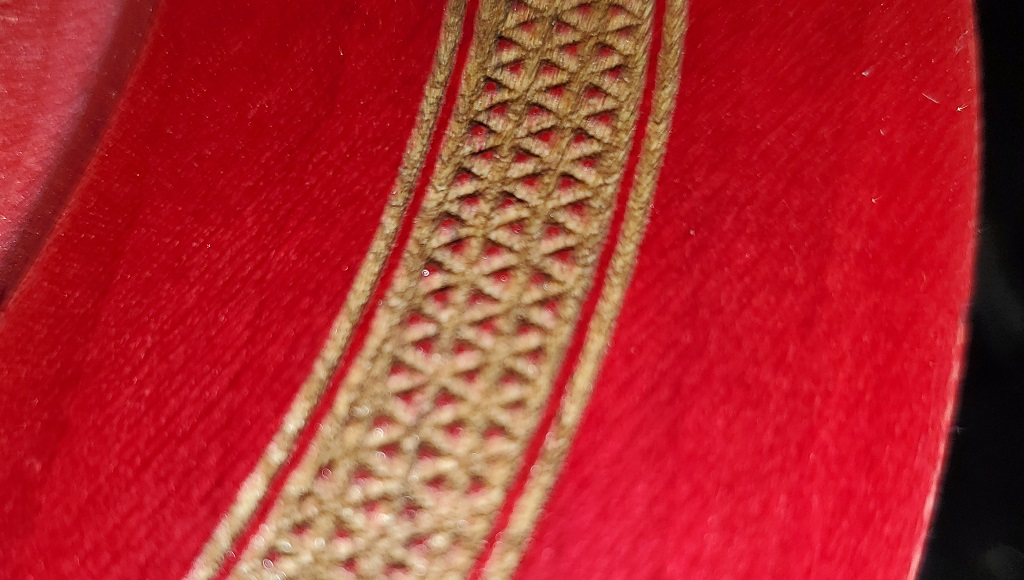
The engraved texture is a vector pattern of 3D triangles using the laser’s 3D engraving mode. 3D engraving delivers higher power to the darker shades of the artwork and less power to the lighter shaded areas.

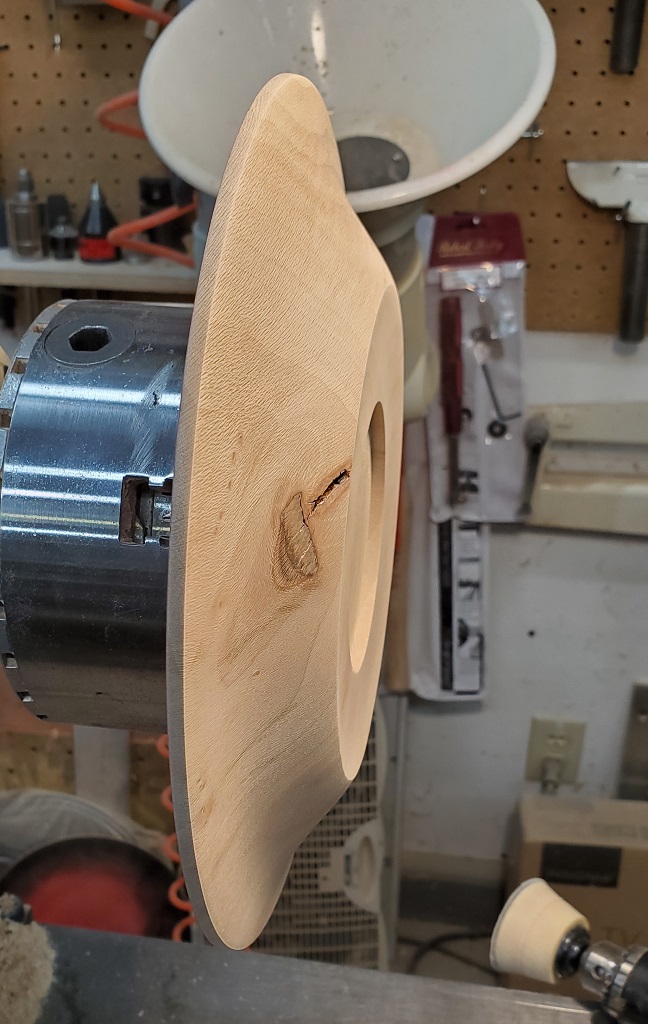
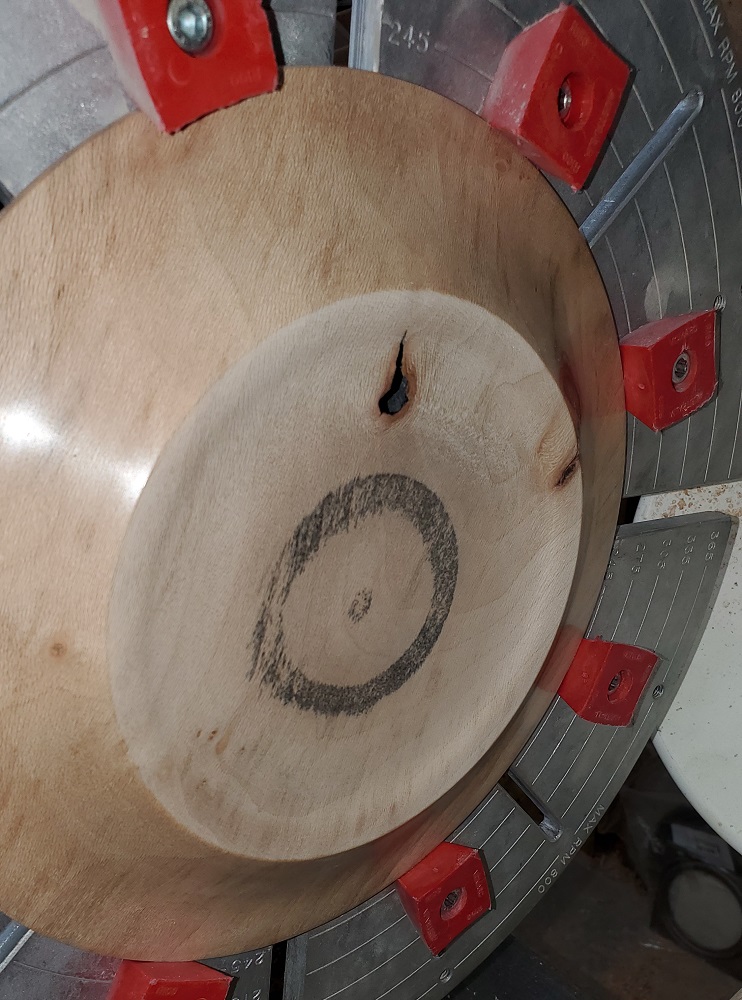
The first photo is what the rim looked like prior to laser engraving. The bottom and centre of the platter have not been turned but a recess has been turned in the bowl area for re-chucking to turn the back prior to hollowing. Note the big knot in the rim. I had to fill a big crack in that knot with epoxy coloured with the same dye powder that I used for airbrushing the rim. There is also a huge knothole in the center of the platter where I removed a loose knot/branch. Hopefully most of that void will be turned away when I hollow it but, if any is left, it then it’s art and I meant it to be that way. :slight_smile:

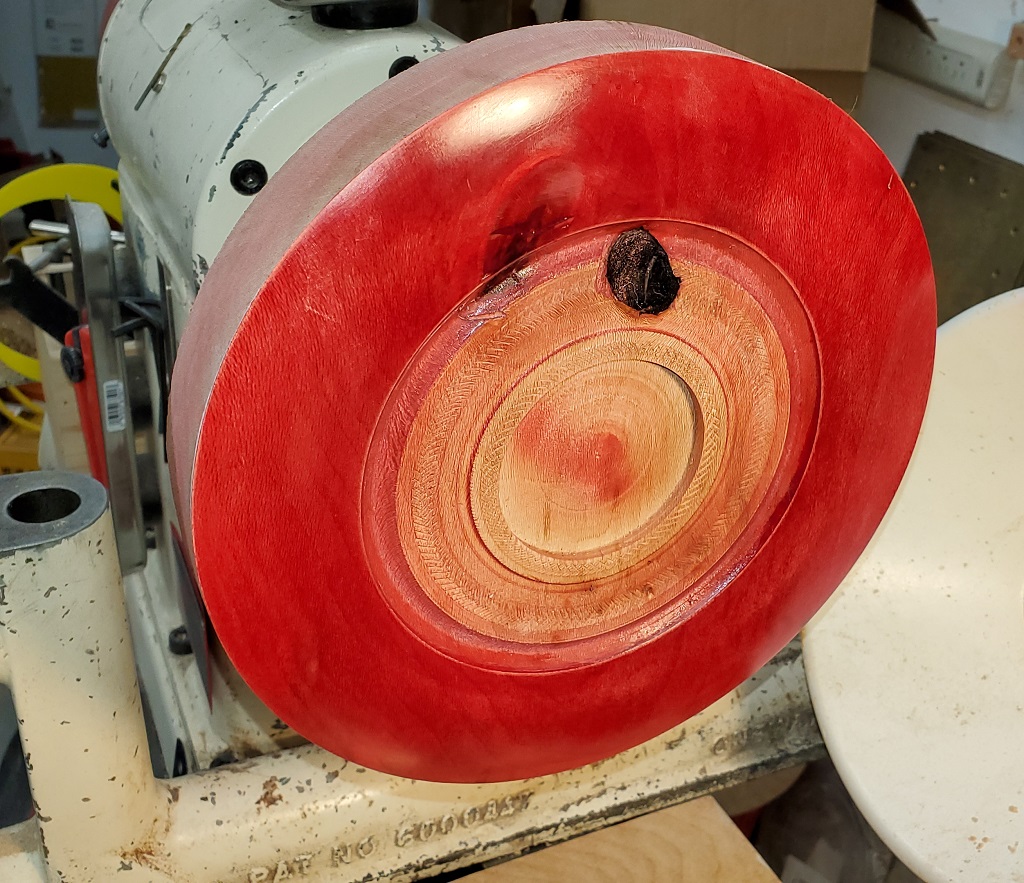
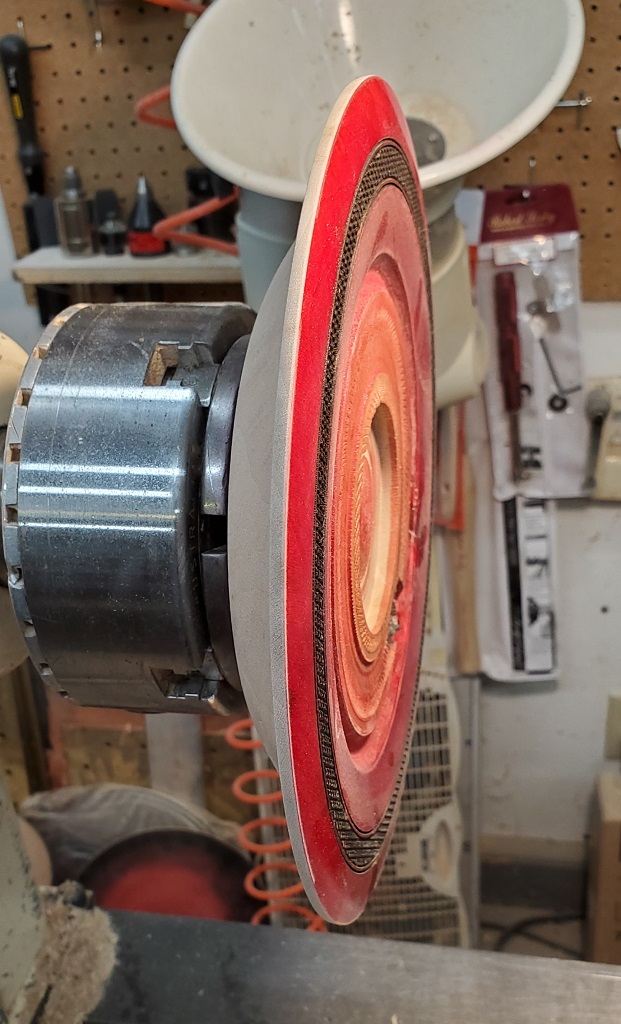
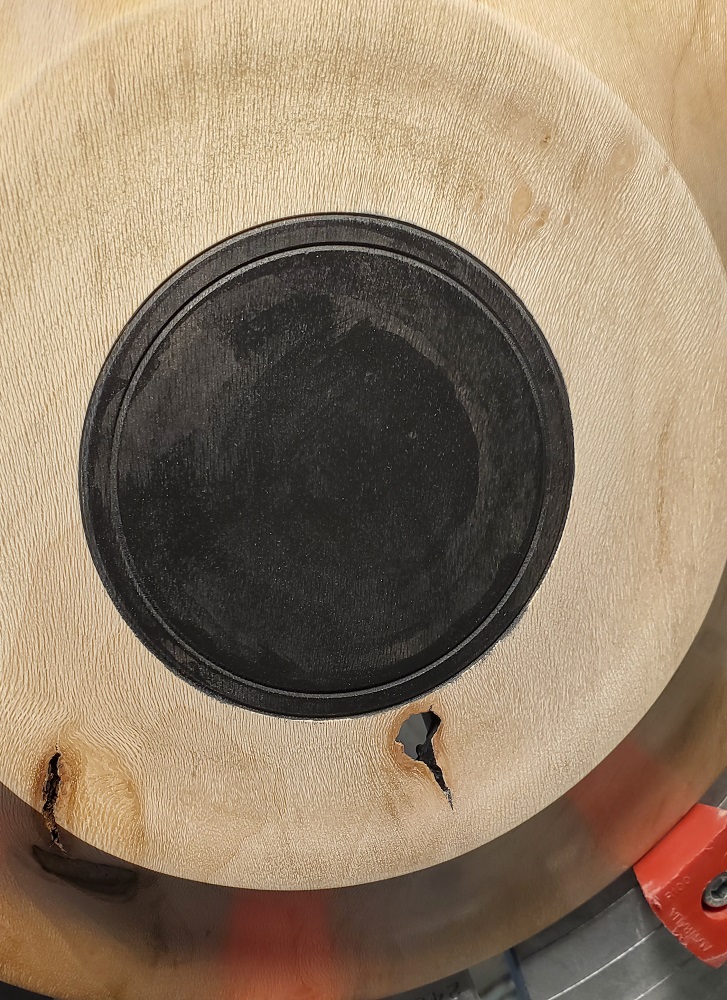
Photo 2 shows the engraving in process.

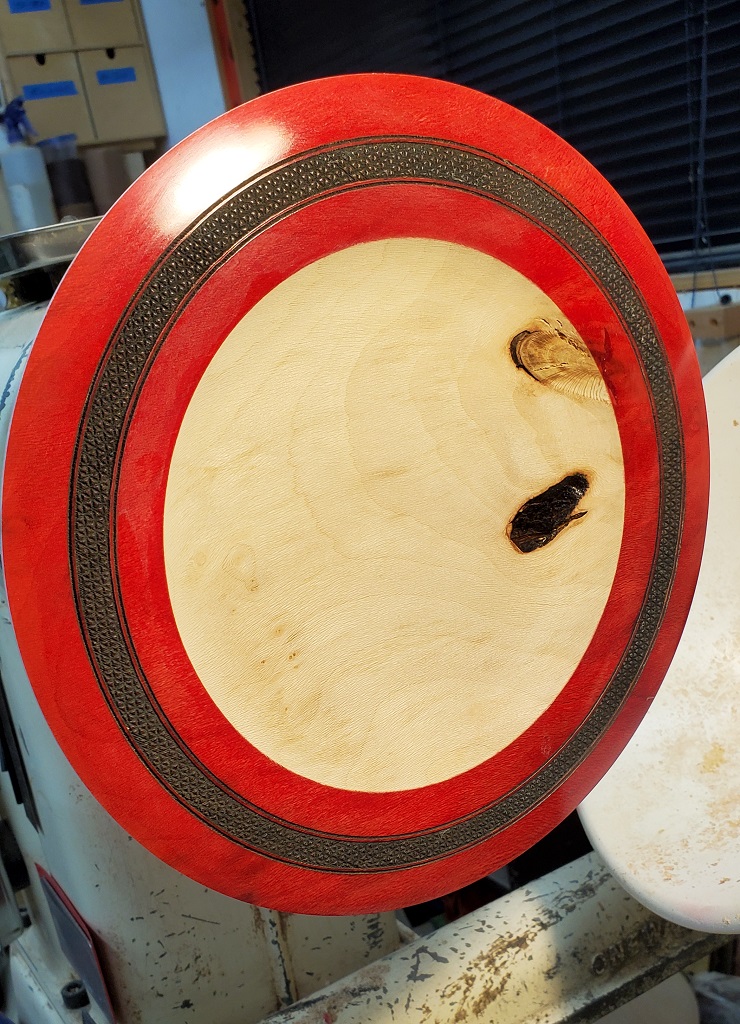
Photos 3 and 4 show the finished engraving. The engraving was done in 3 lower power passes in part to minimize vapor staining but also because I’ve learned from experiment that the texture is sharper and better defined than if it was done in one high powered pass. Note that there is minimal colour change in the engraving. Not all woods go dark when engraved.

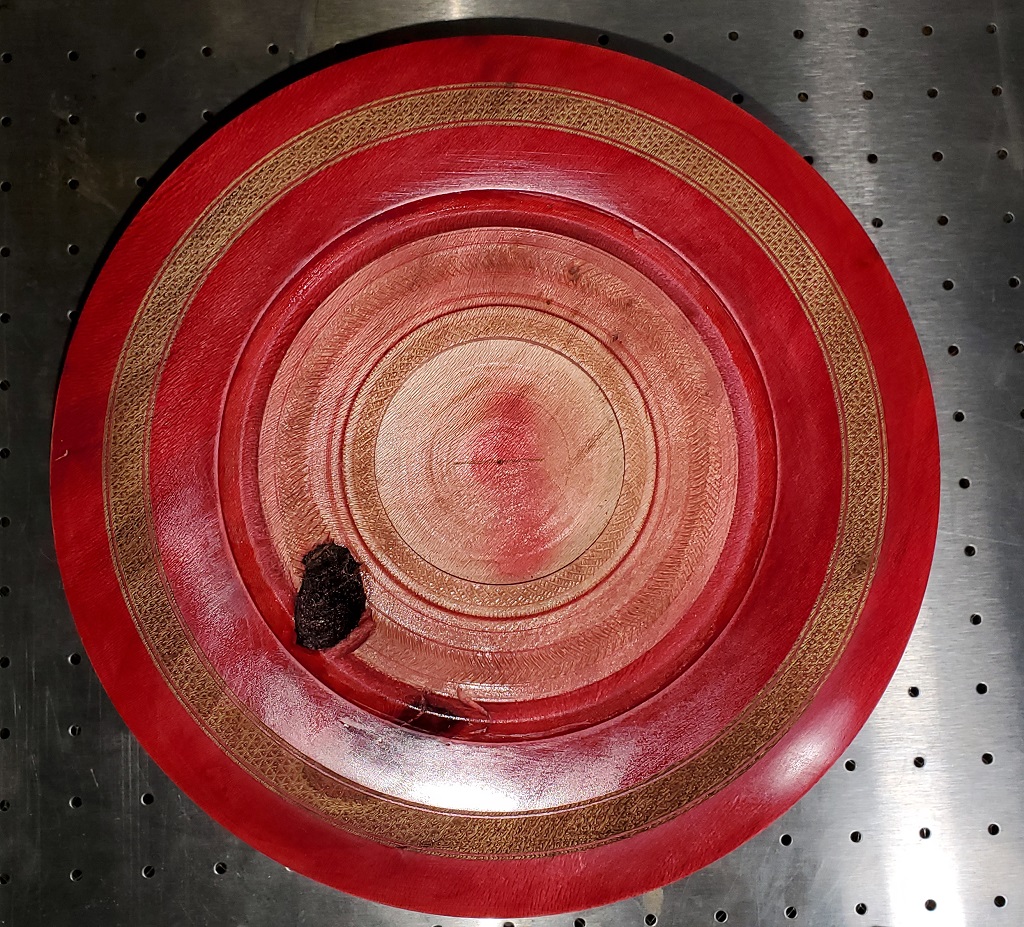
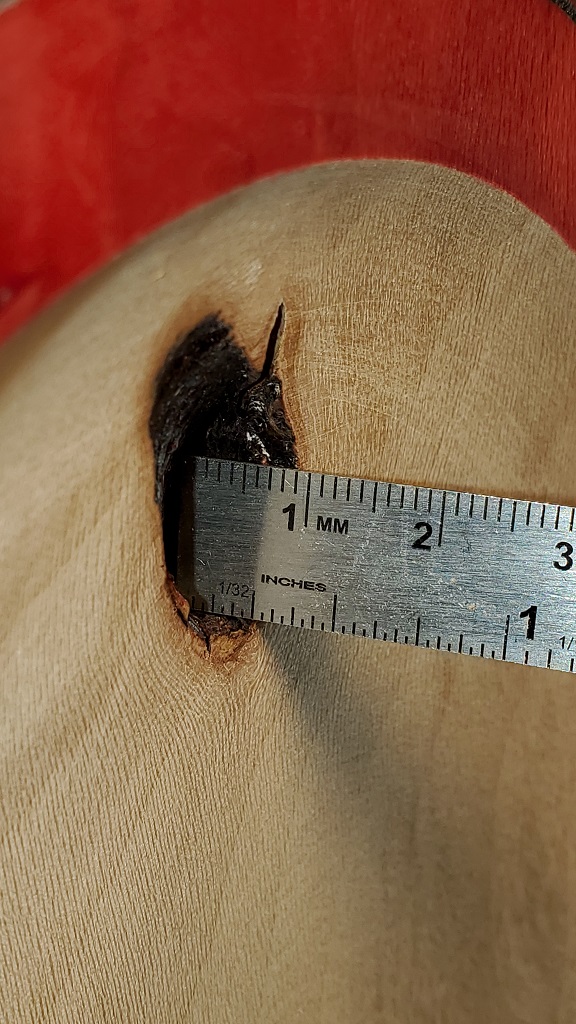
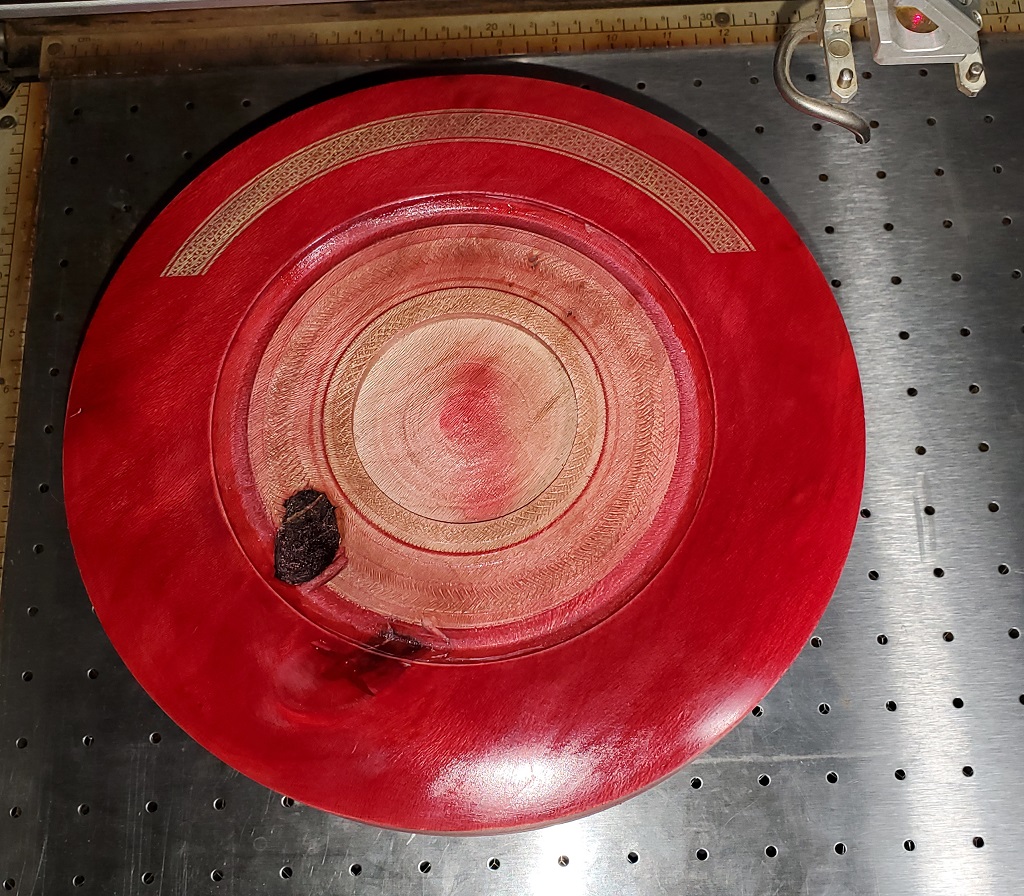
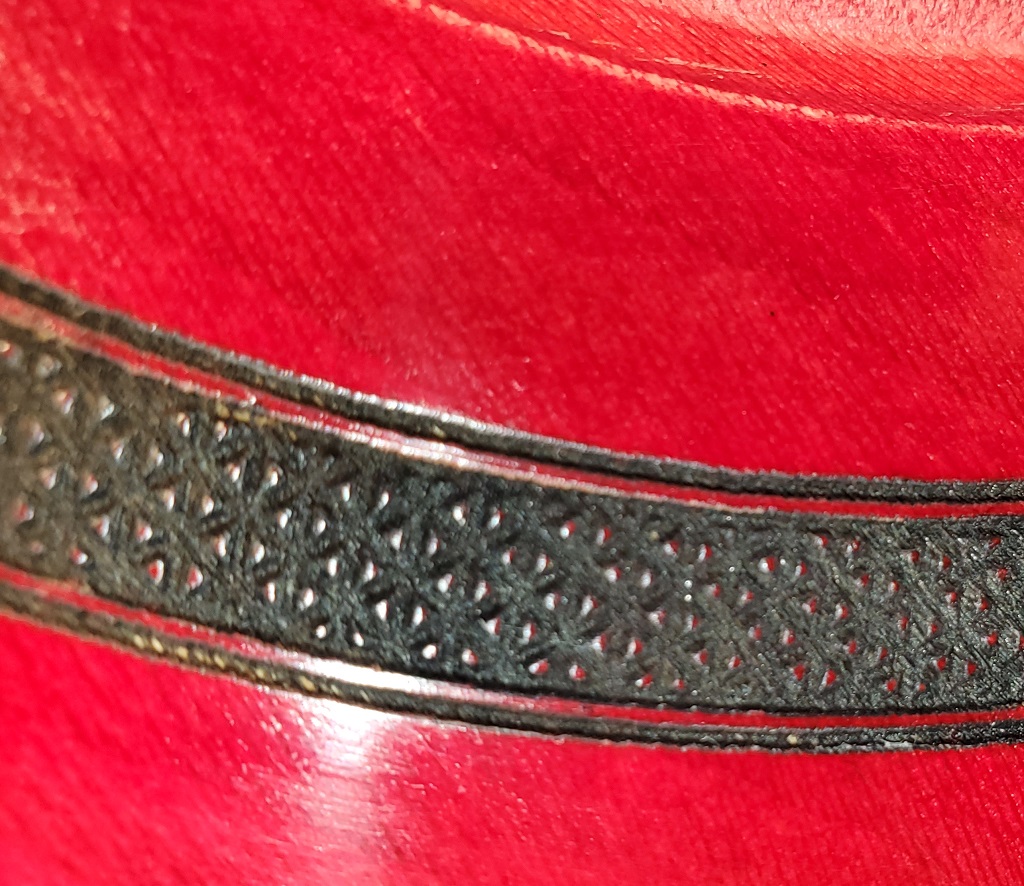
Photos 5 and 6 show the engraved area after infilling with black India ink. The pinstripes were especially fun. While pre-finishing helped a lot, I still had to work quickly and only paint about an inch of the pinstripe at a time with a very fine brush before w.ping off the excess before it could soak through the wax.

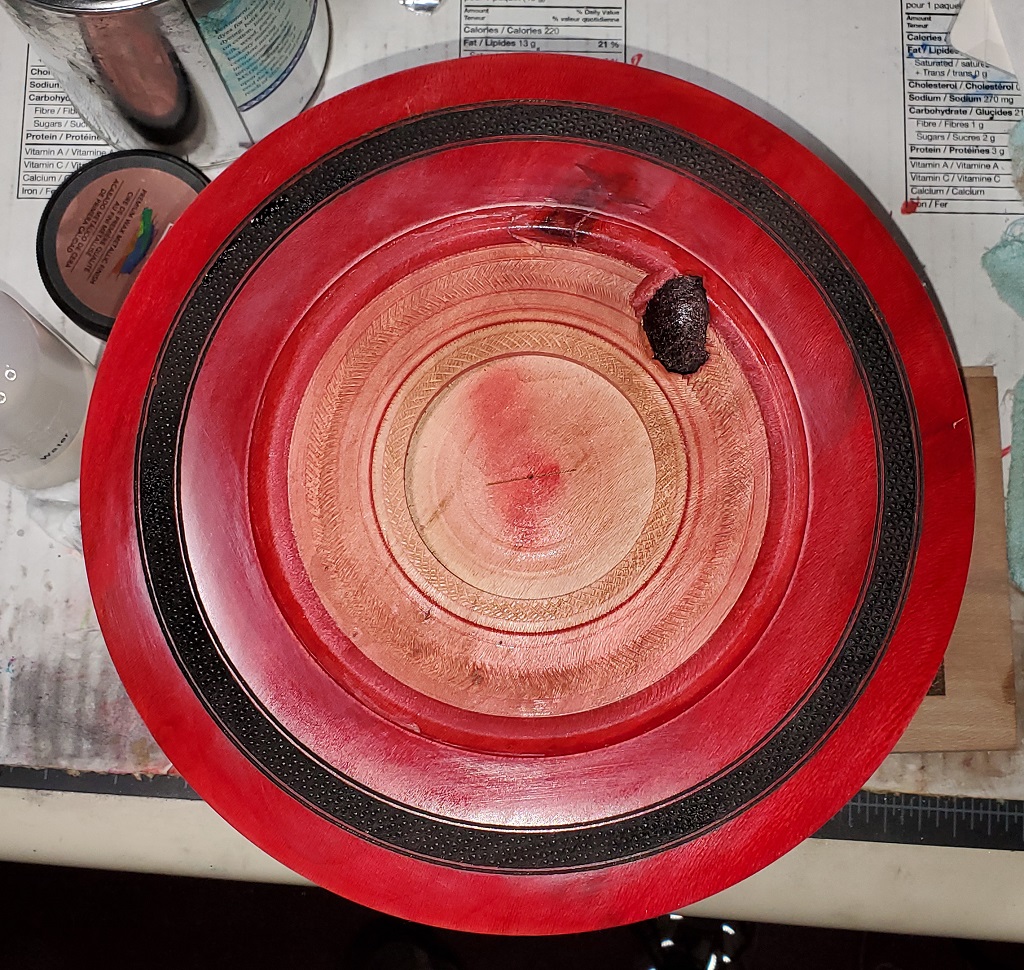
I was fairly happy with the centering of the engraving. When I put it back on the lathe and spun it up to re-buff the finished area I noted that there was only about 1 quarter millimeter of runout on the engraved pinstripe. The engraving is not centered perfectly between the inner and outer edges of the rim but that will be corrected when I hollow the centre.

Next, the platter will be reversed on the chuck to turn and finish the bottom, then it will be flipped back over and re-chucked to hollow out and finish the bowl. Stay tuned for more photos as work progresses.

14 Likes

I absolutely love the use of texture, and such a novel way of achieving it. Did you use the laser to define your center point or how did you align it for good concentricity?

3 Likes

When I do the initial turning, I put a very small dimple in the centre of the turning. When I put the work piece on the laser bed I line up the red dot pointer to the centre dimple, set that as the new home position and configure the laser to center the artwork around the new home position. Works fairly well but not perfect since the red dot is about 1mm wide. I can usually get it within .5 to .25mm from dead centre.

In this engraving, I did engrave a dot into the centre to see if it lines up perfectly with the live centre on the lathe. Haven’t checked yet but will likely be working on it this evening.

4 Likes

looks amazing steve!

2 Likes

Latest progress - I remounted the platter on the lathe then turned & sanded the bottom. I also turned a recess in the bottom for the chuck to grab when I flip it around to hollow out the bowl.

I hollowed out the bowl and sanded only up to 120 grit before stopping to ponder the next steps.

I wasn’t able to hollow deep enough to get the huge knothole out. In fact, it’s still quite deep. I would normally just leave it but unfortunately this one has a small amount of over-spray of pigment and poly so I need to fix that before I proceed.

I’m thinking I could mask off the rim and airbrush the knothole with black India ink, which is what I painted the rim texture with, then finish sanding the bowl.

Then again I could fill the entire knothole with coloured resin but I’m not sure about that.

Or maybe something else.

Might have to think about it for a bit…

4 Likes

It’s been a while since I updated this. I was completely finished and decided to get creative with the base, which nobody looks at more than once, by engraving the same textured pattern in a small ring. I applied finish to the base first to seal the wood fibres to prevent colour bleed. At least that was the plan. The rim was finished with water-based Polyurethane prior to engraving. The bottom was finished with a shellac-based friction polish.

After engraving the bottom, I applied black India ink to the textured ring, same as I did on the rim. The ink bled like crazy. I swore a lot and walked away for a couple of days. Sorry, no photos of the engraving on the base. I came back and sanded off the engraving only to find that the deeper I sanded the further the bleeding had spread. I had to stop sanding because the base was getting dangerously thin. Walked away from it again for several days to contemplate next steps that didn’t involve the firewood pile and might look acceptable when done.

After much deliberation, I decided to turn a couple of rings in the thicker part of the base and paint the inside of the rings black. I refinished the base outside the rings with the same friction polish prior to painting. This time I used a paintbrush to paint it with Carbon Black acrylic airbrush paint reasoning that the acrylic paint was more viscous than the ink and wouldn’t bleed as bad. That worked pretty well.

After painting I remounted it on the lathe and sanded the bit of over-paint that you can see in the 5 o’clock position. At this point, the platter is off the lathe (still in the chuck) and sitting on my workbench. I’ve applied 3 coats of water-based poly to the painted part and after a couple of more coats I’ll polish it up so it’s smooth and shiny. I’ll then laser engrave a simple signature on the bottom and infill it with come colour so it shows up on the black. Photos to follow…

6 Likes

This topic was automatically closed 365 days after the last reply. New replies are no longer allowed.