This project was inspired by @taralee who makes awesome art. Check out her etsy store.
My partner and I made a bunch of photo jigsaw puzzles to give as Christmas presents. I wanted to share what worked (or didn’t) for us.
Step 1: We got some photos printed at Staples on a nice glossy paper. We tried matte paper at first but the glossy looked nicer.
Step 2: Glue photos to 1/8" Baltic birch plywood. We used Mod Podge, spread onto both surfaces with a bristle brush. Foam brushes soak up and waste too much of the glue. The moisture of the glue caused the wood to warp a bit. You can counteract that, somewhat, by gluing on the side that is the inside curve of the natural warp of the plywood.
Step 3: Create jigsaw puzzle pattern. We used neon22’s Lasercut Jigsaw extension for Inkscape. This thing is awesome. If you are more creative you could draw your own puzzle-piece shapes. Wise (paraphrased) words from @taralee: make sure you have some sort of “bulb and socket” arrangement on each side of every piece, or else the puzzle pieces will tend to slide apart when you assemble the puzzle.
Step 4: LASER TIME. TESTING, TESTING, AND MORE TESTING. We did a slightly obsessive number of tests to nail down the power and speed settings, minimize scorching, and get clean cuts. We settled on a two-pass cut. The second pass was at much lower power and cleaned up most of the small spots that didn’t get cut on the first pass. When we cut the puzzles picture side down, this resulted in very clean edges that (almost) didn’t need any help where the laser didn’t cut all the way through. Even a small change like a different type of paper affects this, so you need to test with your specific materials to get it perfect.
So much testing
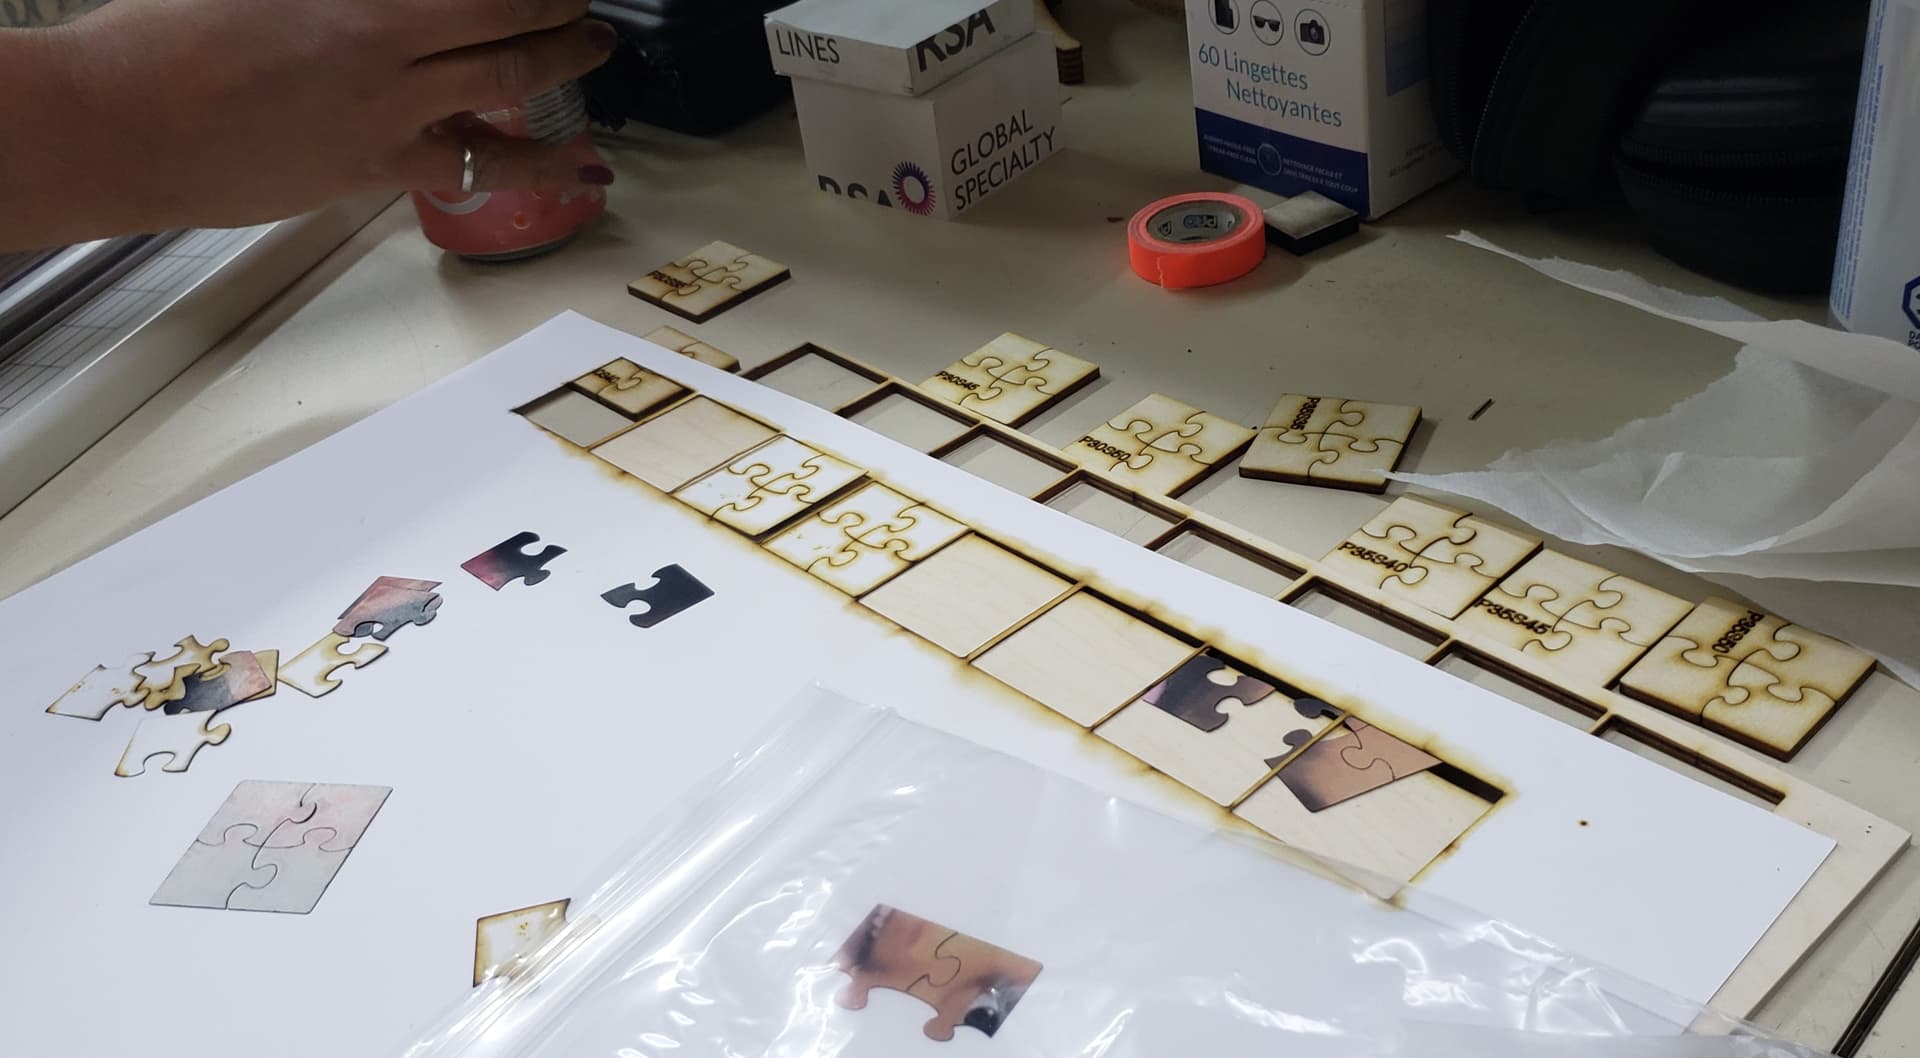
More testing… we decided against cardstock because it didn’t stay flat enough after being cut. It’s possible a different type of stock would work better.
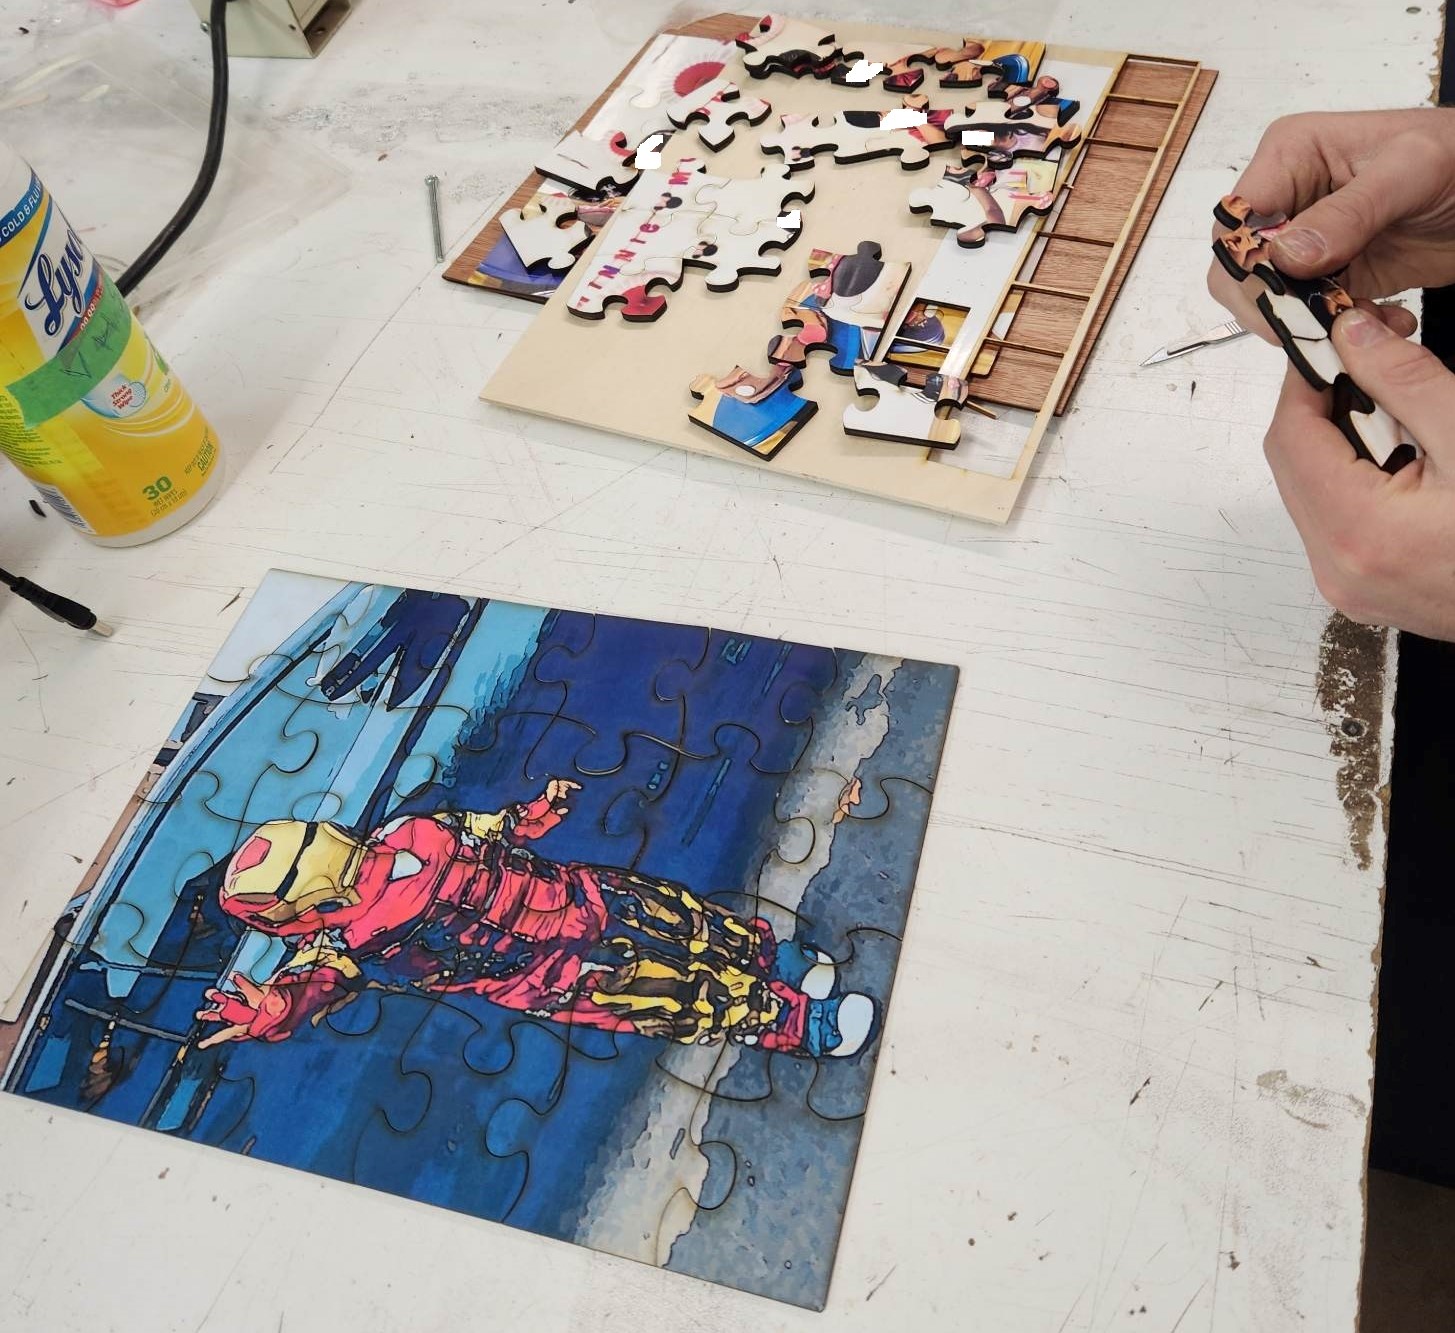
Yet more testing. Side by side with first wood puzzle. We tried 1/4" ply which gives the puzzle pieces a nice feeling, but takes a lot more power to cut, which results in more smoke staining. And it costs more. Also sharing because this cartoonized pic of the kid in his Ironman suit looks badass.
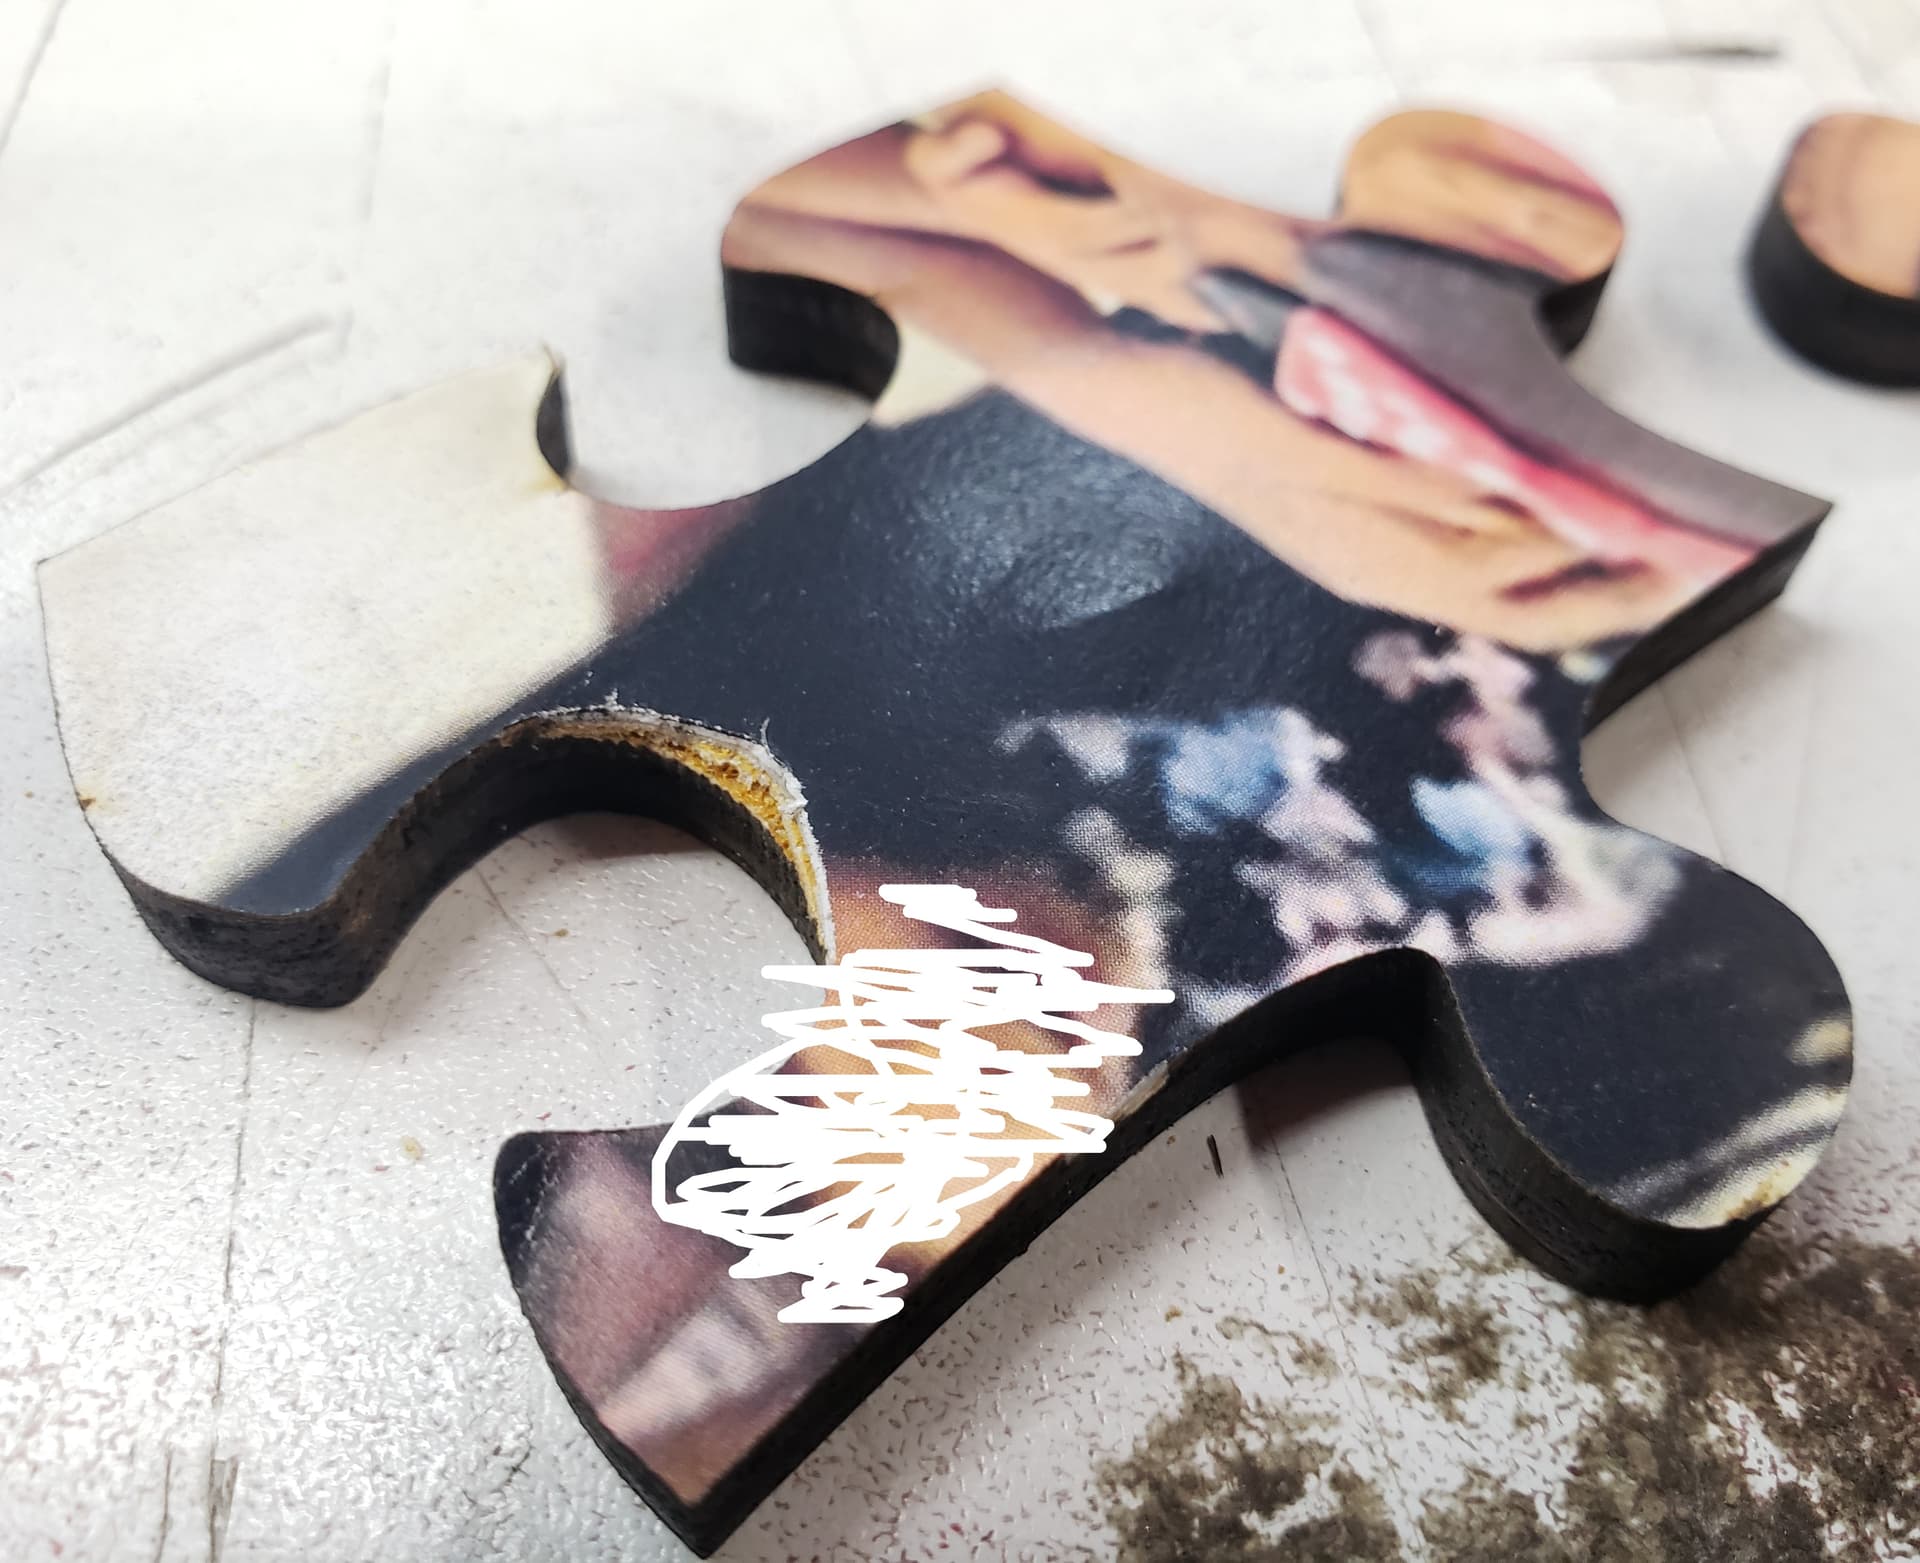
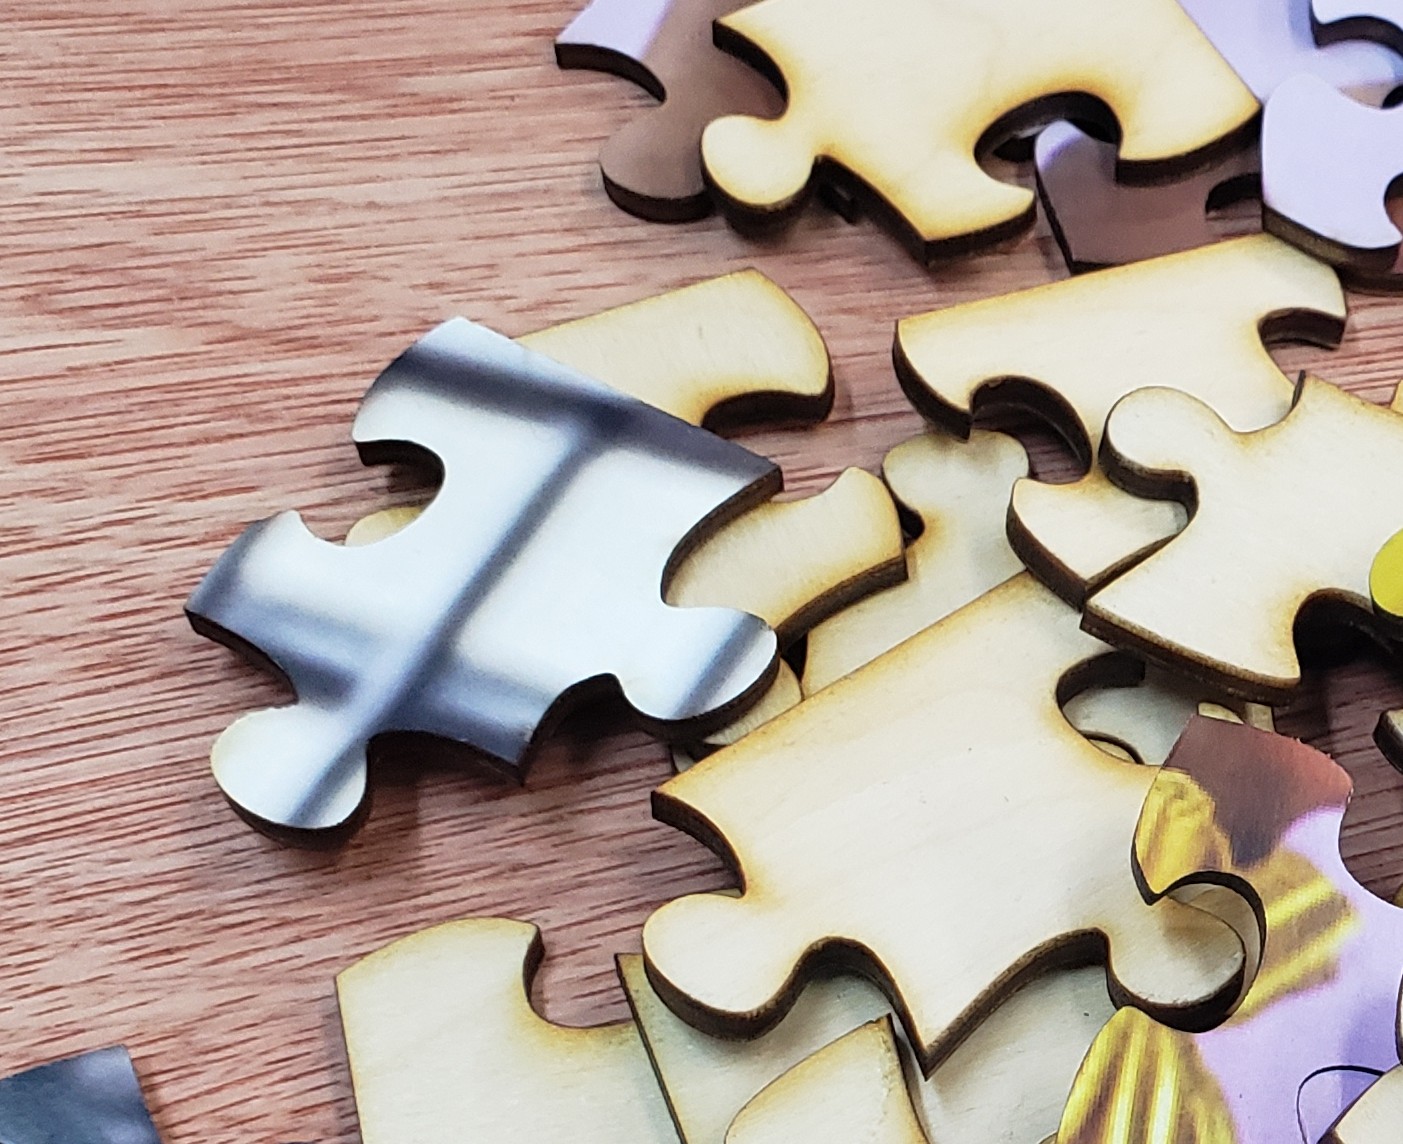
This piece was cut upside-down to reduce the scorch marks. But the power was a tiny bit too low and it didn’t cut all the way in some spots, resulting in this ugly tearing in the paper when the pieces were separated.
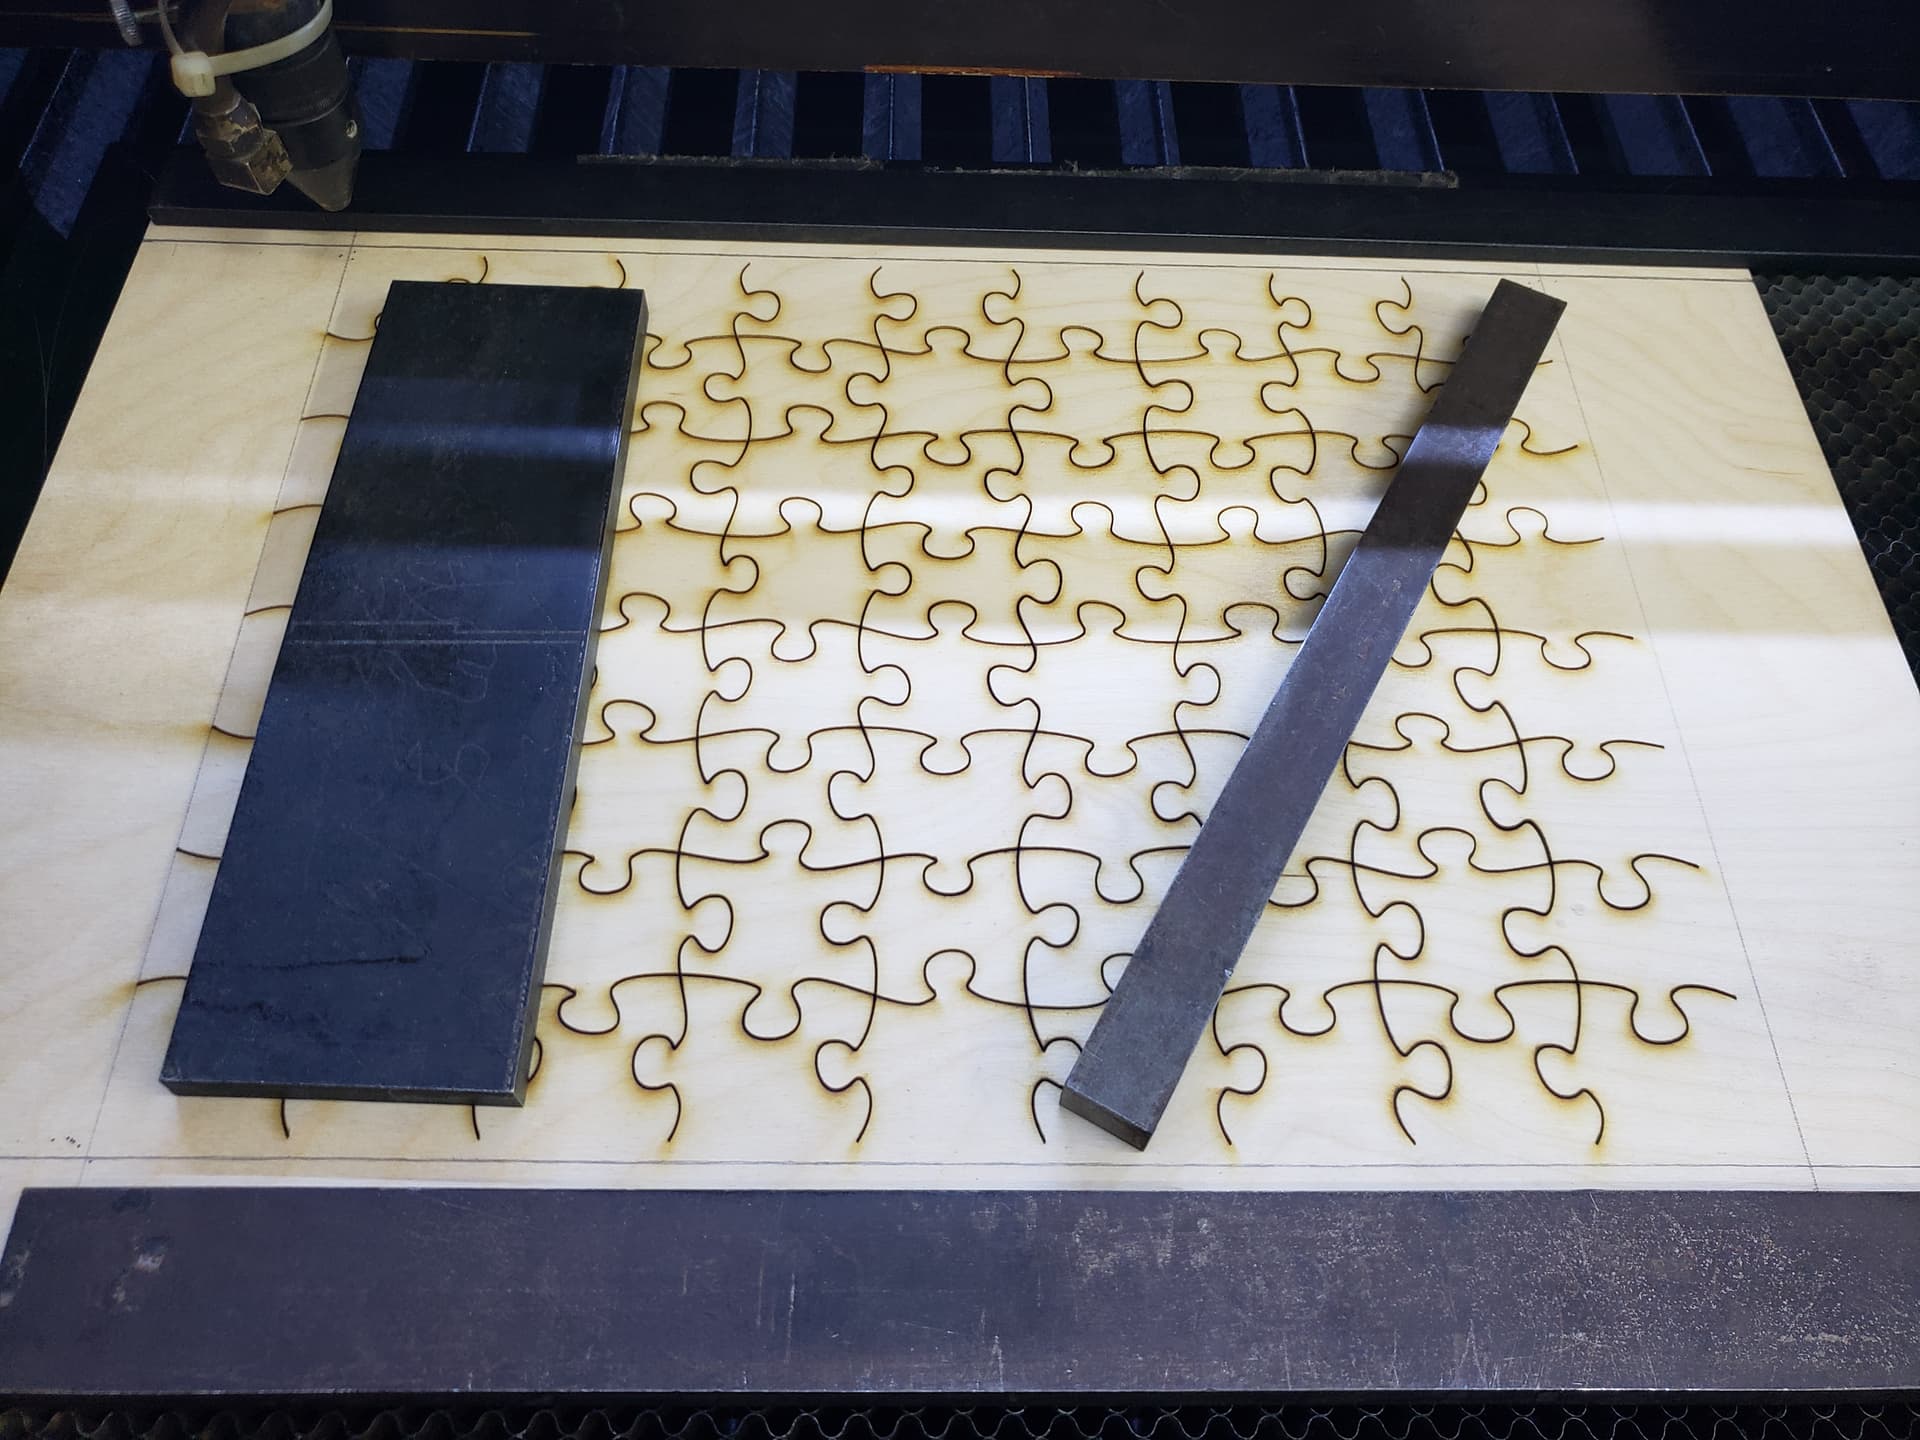
Cutting the puzzle upside-down to keep most of the scorching on the back. Placement of weights was critical to keep the plywood flat during cutting. I also found that some of the pieces would sproing right up as they were freed from the sheet, so I had to pause the job and adjust weights a bunch of times.
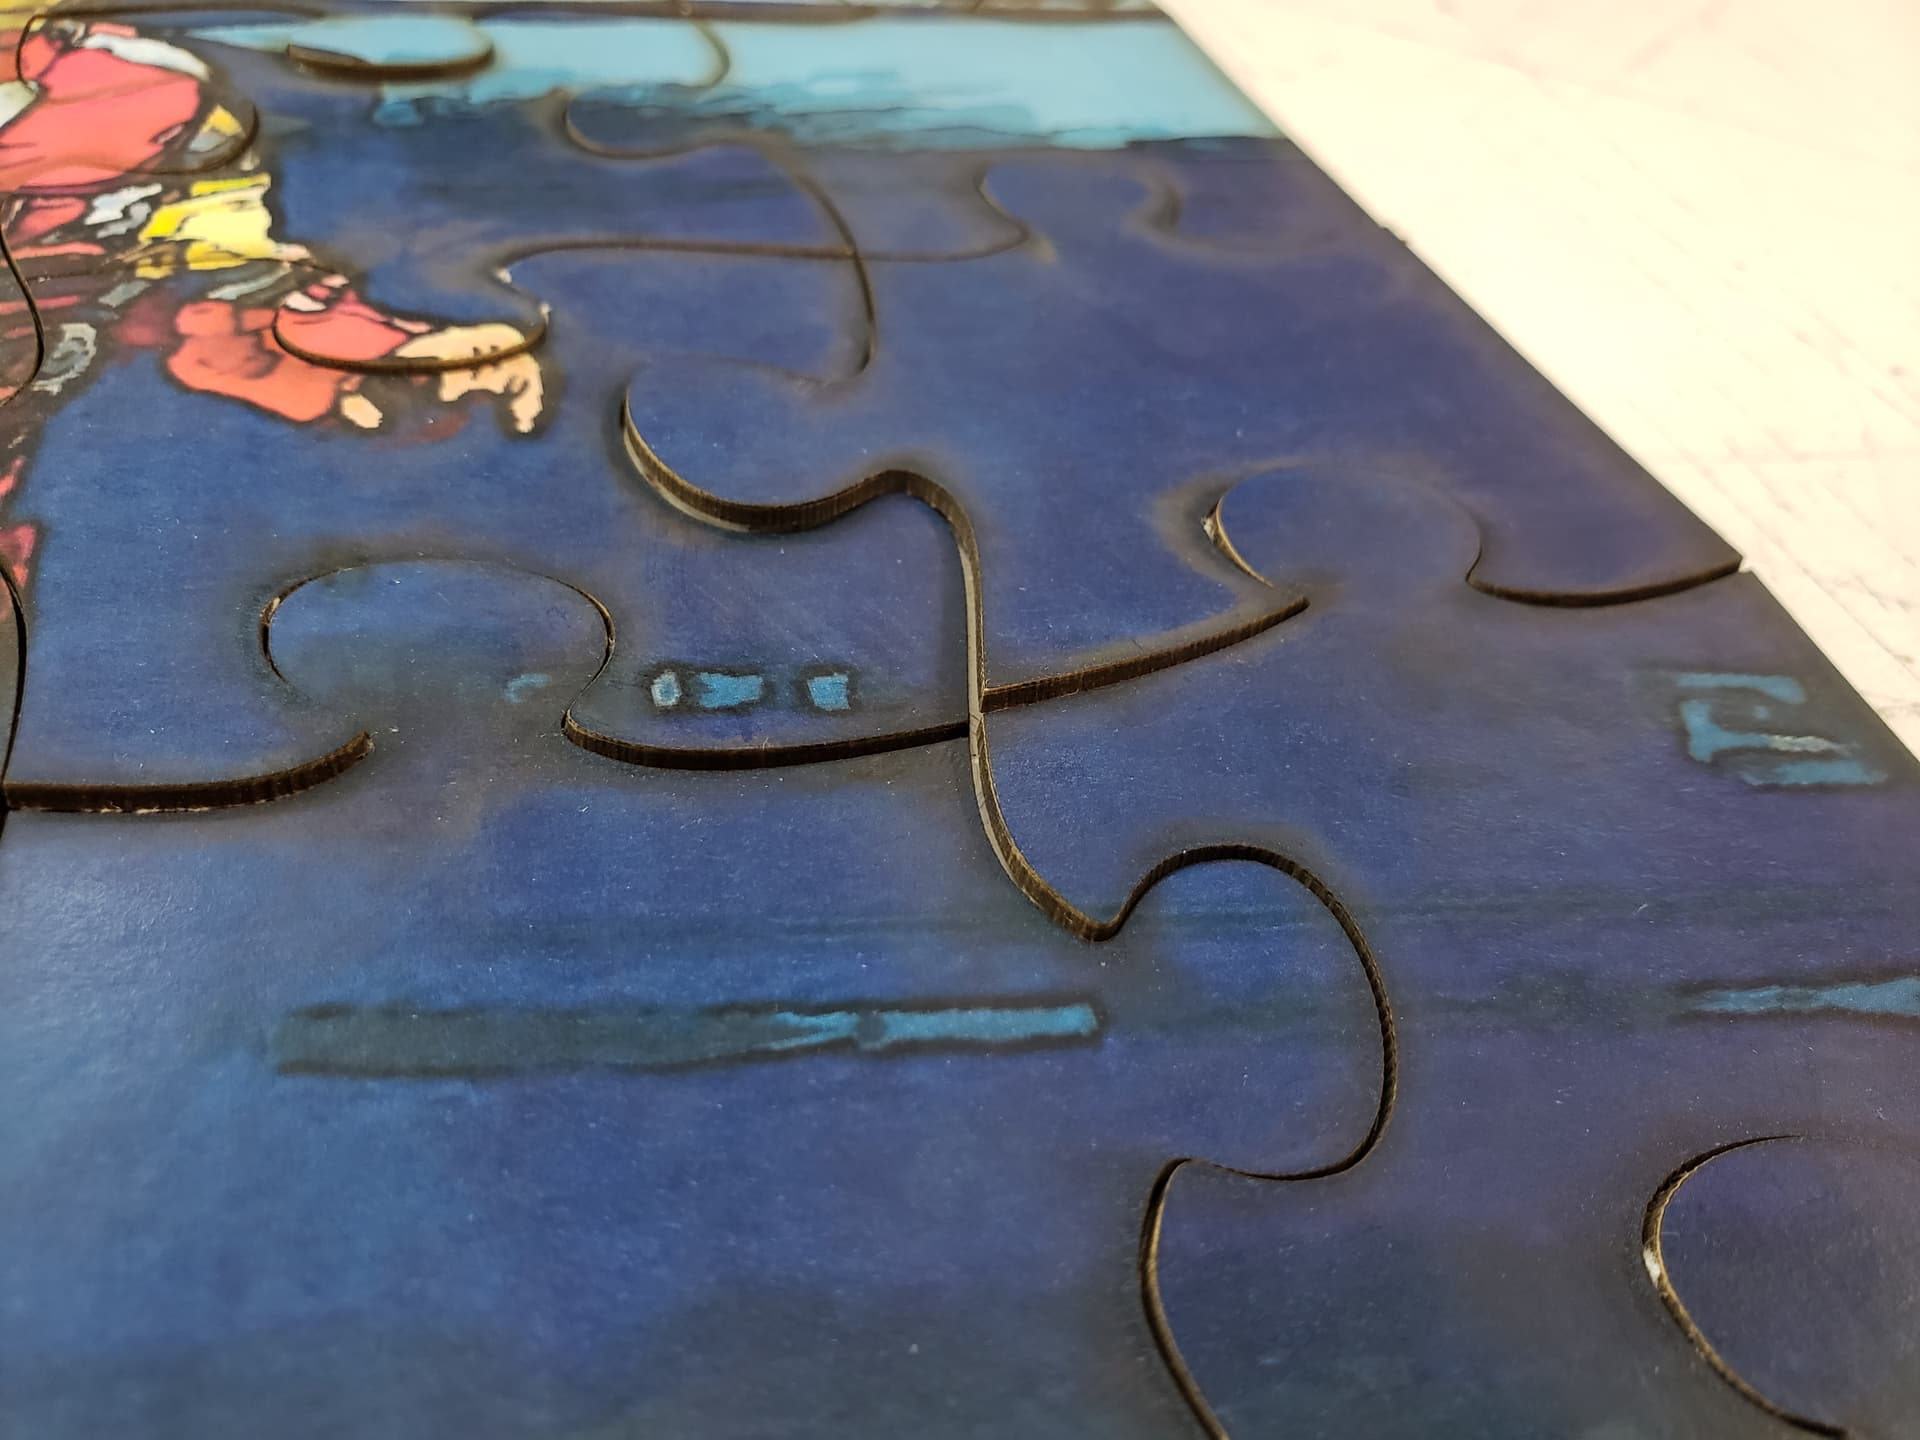
Eventually all that testing paid off and we got some really clean cuts.
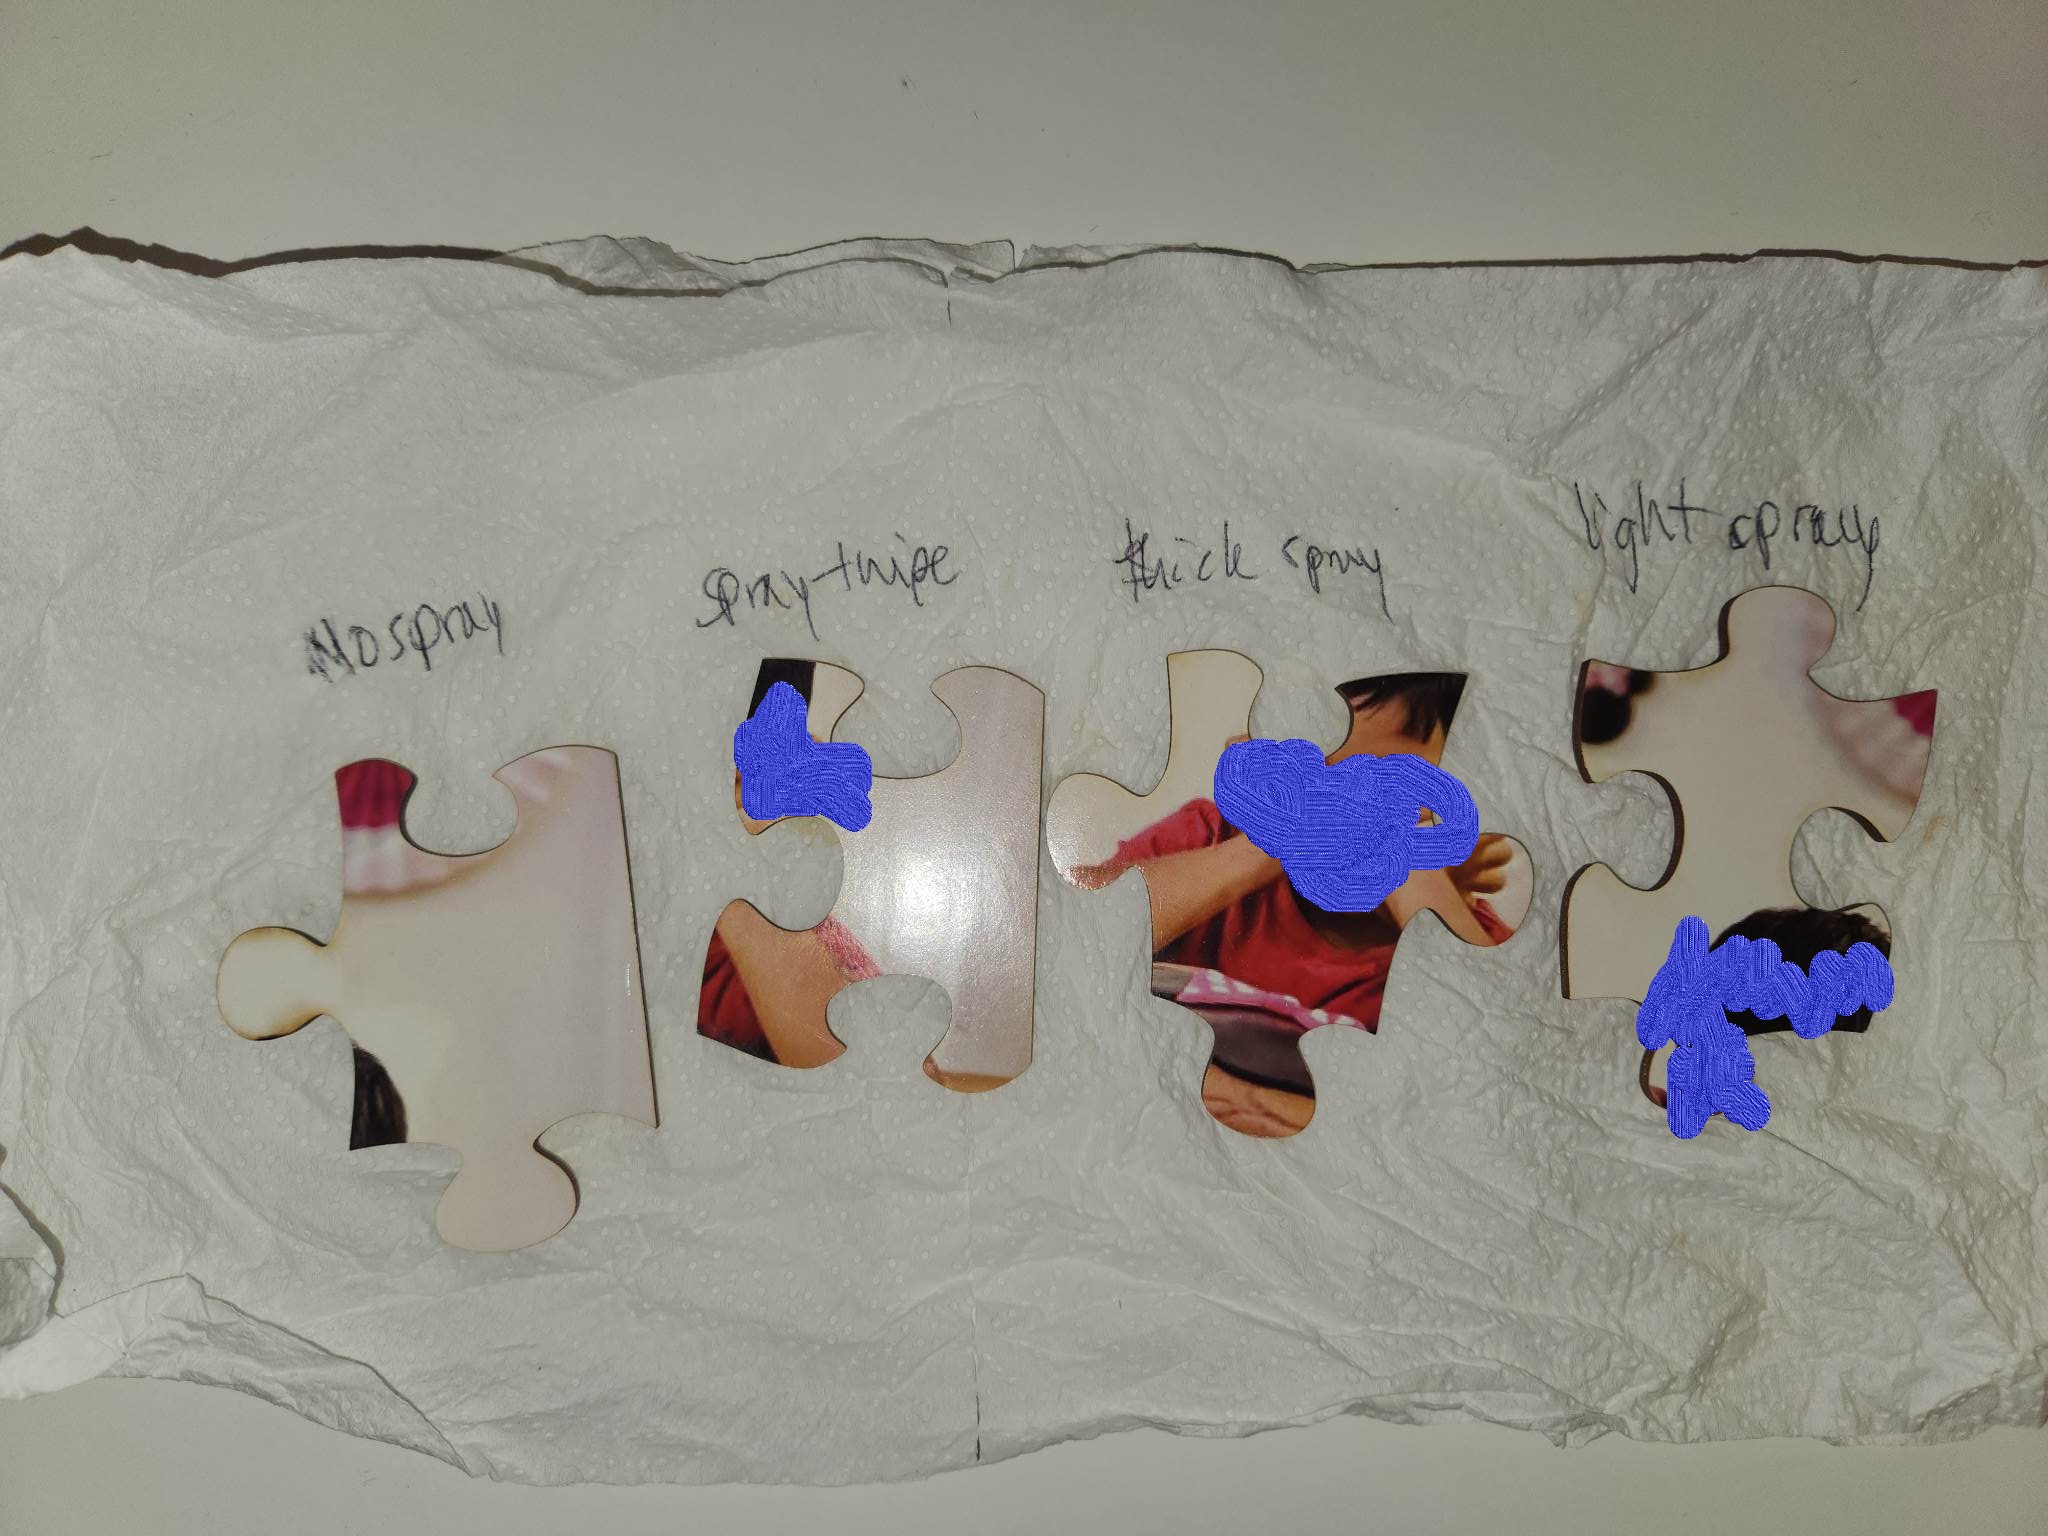
All the pieces got a final coating with hairspray (gotta use what you can while travelling!). This was done by my partner in another country so I can’t say too much about it. I think it probably helped to seal the wood edges and will (maybe?) prevent the paper from peeling off over time.
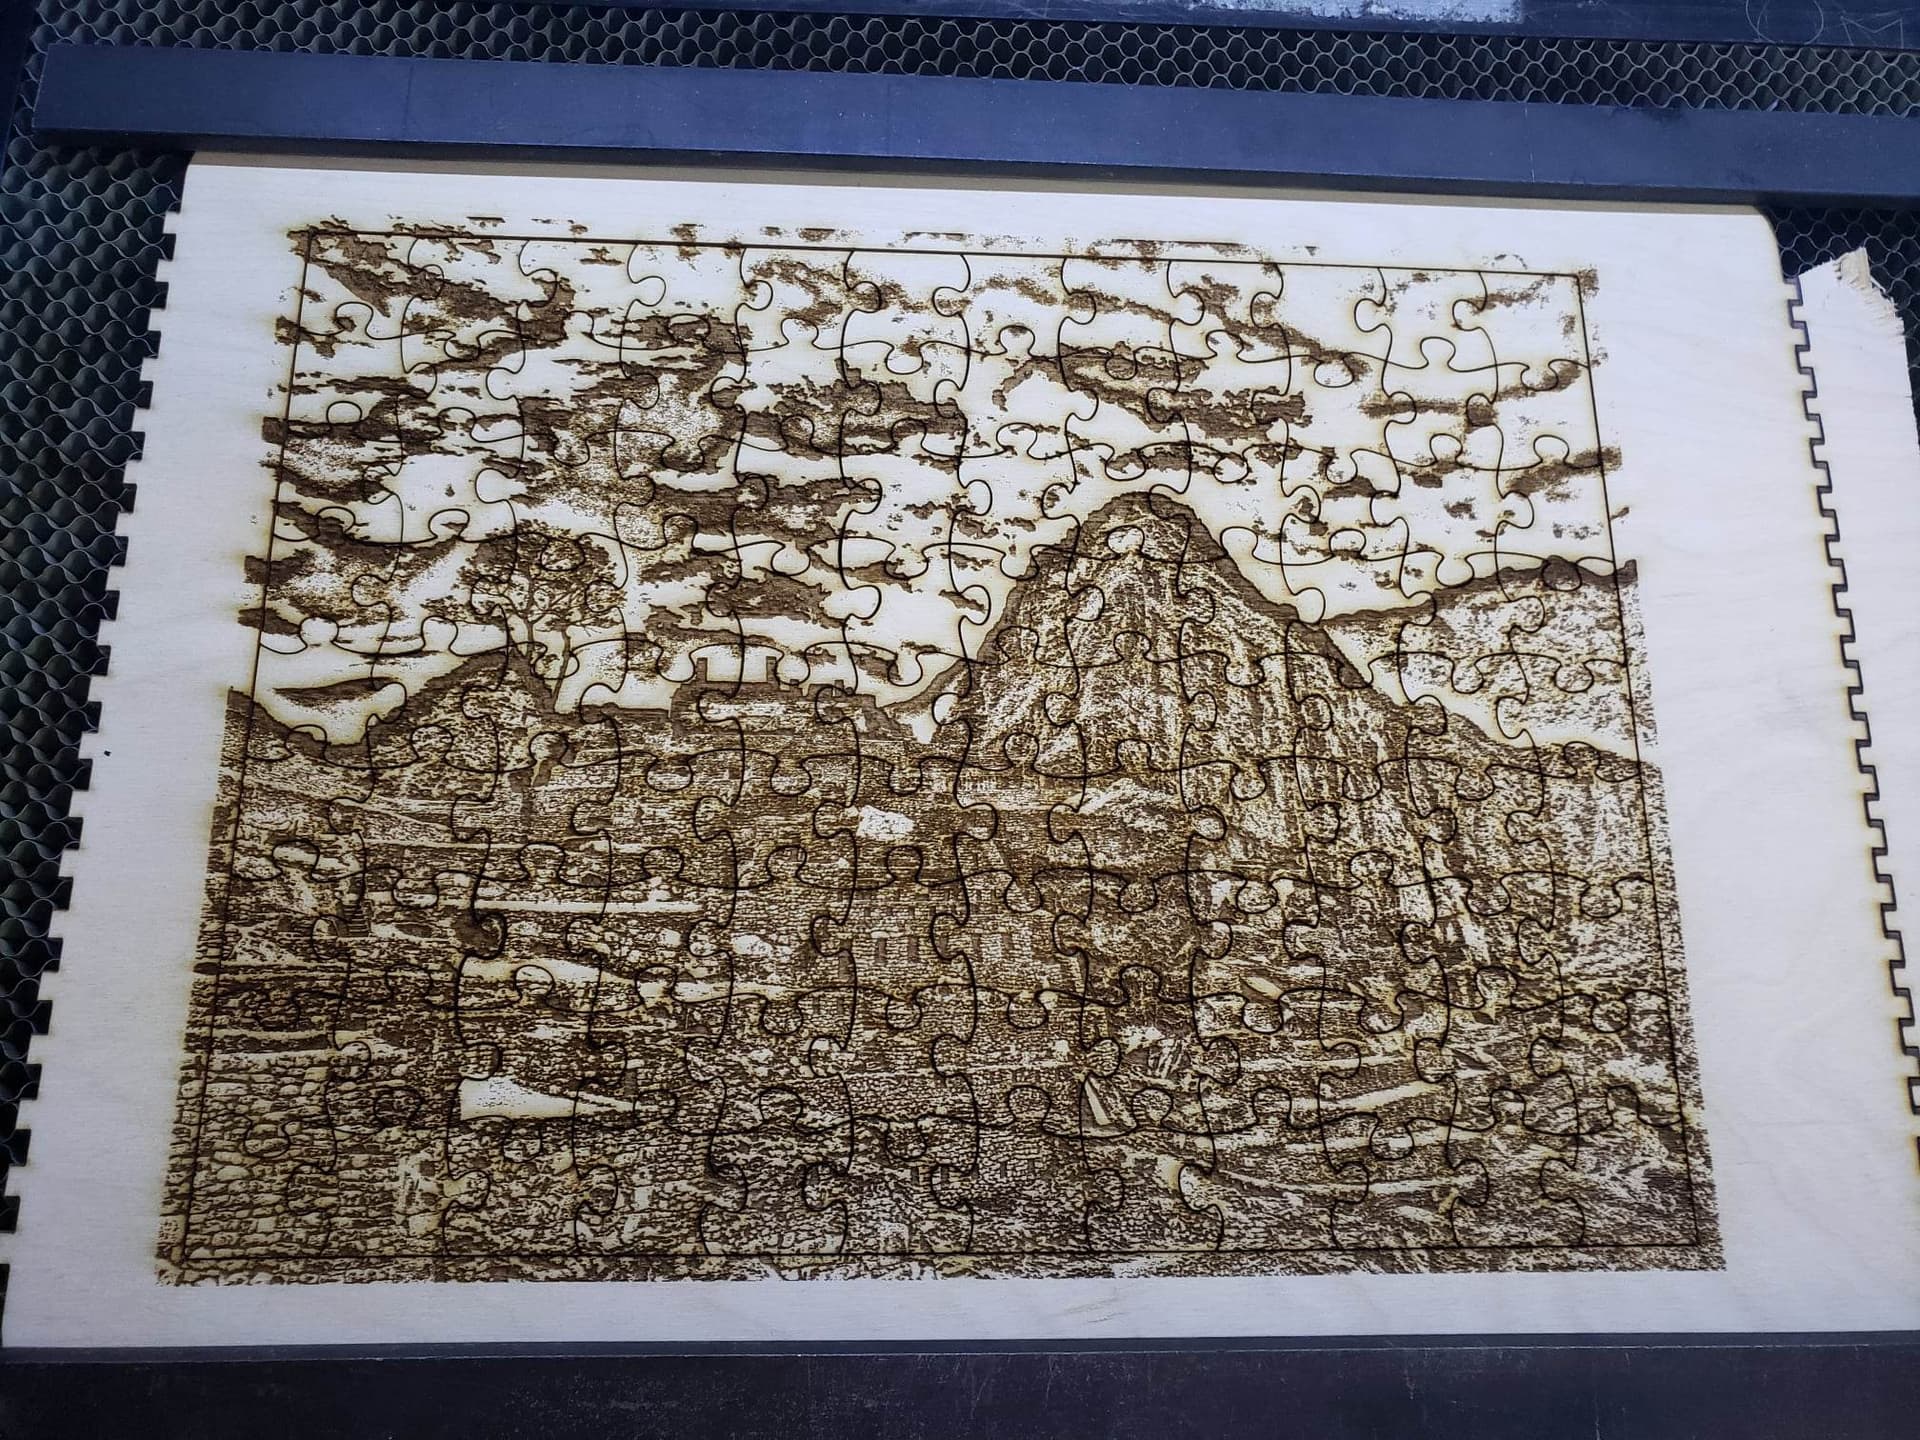
Bonus puzzle: I tried one that was just an engraved image. It worked okay but I have a lot to learn about laser engraving. Also, this took forever-- about 45 minutes of engraving time for a roughly 20cm x 30cm image.
The sealing step is apparently important-- my family complained that the engraved puzzle stained their fingers, and it felt a bit sticky a few days after cutting (when the plywood glue/natural wood resins had time to seep back out).
Future things to experiment with:
- Different/better card stocks
- Gluing photos to plywood using dry-mounting sheets and a heat press to glue without introducing more moisture to the wood (will need LCC approval for the materials)
- Different image processing and engraving techniques
- Ozone for deodorizing. These puzzles had a strong campfire smell, which may be a pro or a con depending how you look at it

- Cutting on a pin bed to minimize laser reflections that cause scorching on the image side (will need LCC approval)
This was a fun project and pretty easy to get started with. Highly recommended even if you are new to lasering!