Knife Block

As per request. Here is the how to on making these simple knife blocks
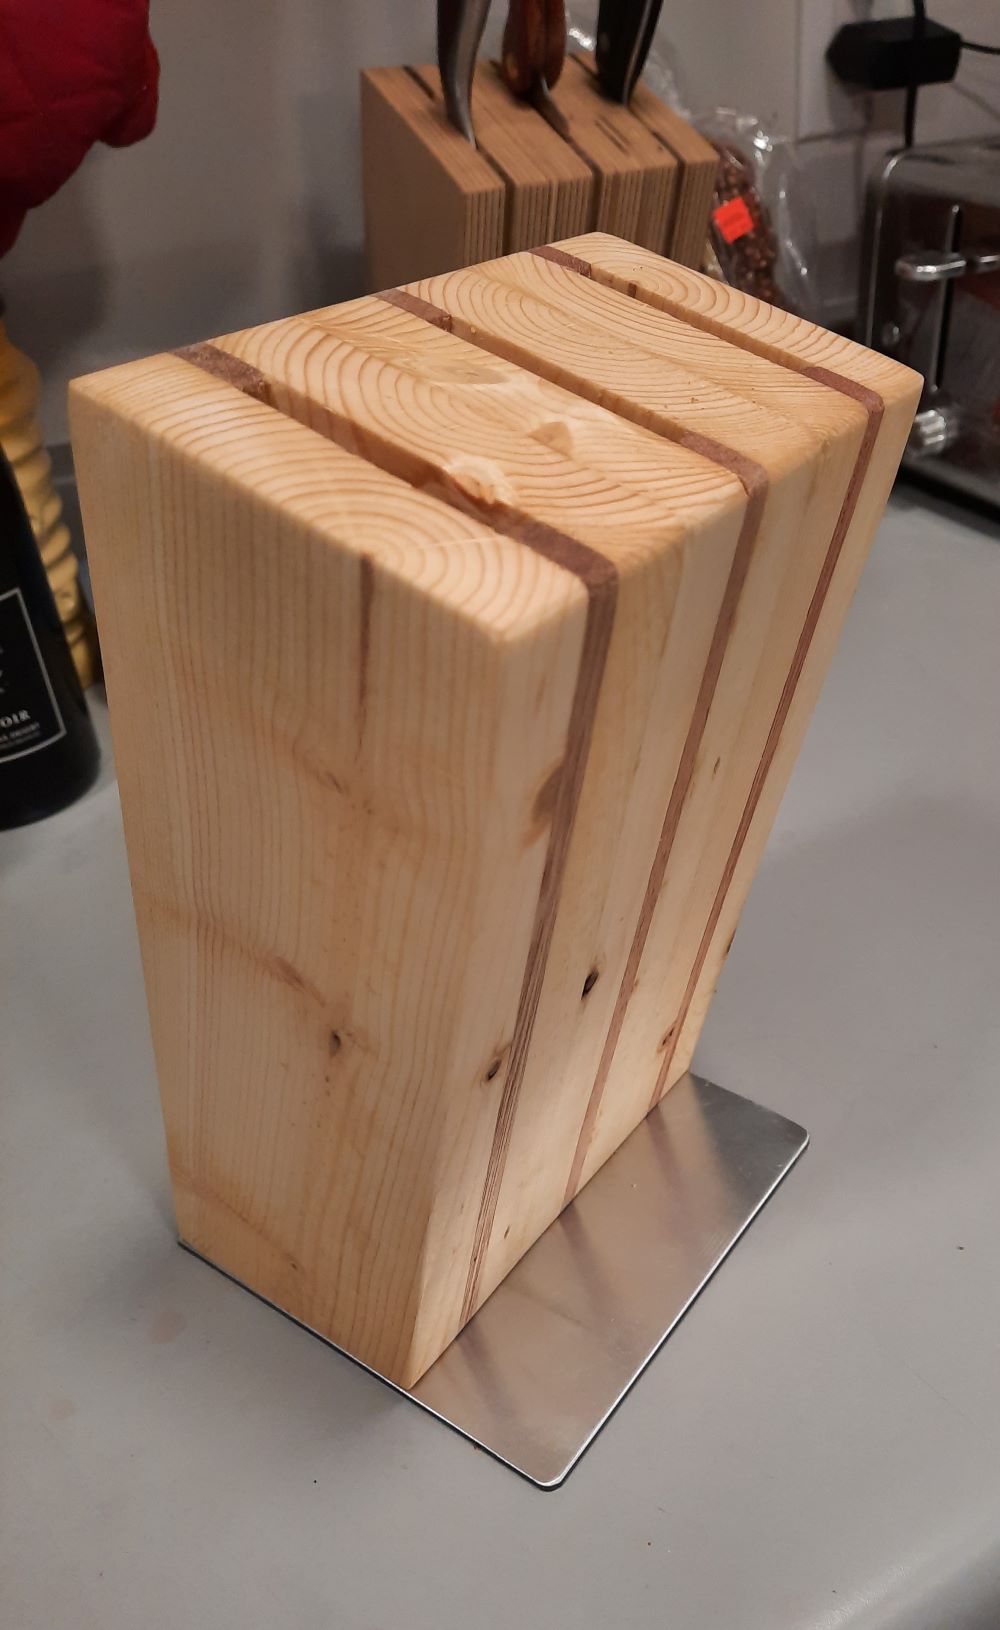
The one I am happiest with is the 10ply birch and walnut one but since i don’t have photos of that one in process, I made a 3rd one using pine and teak. The dimensions are slightly different for this version so keep in mind that all the dims in the how to are based on the birch/ walnut set of proportions.
The Block
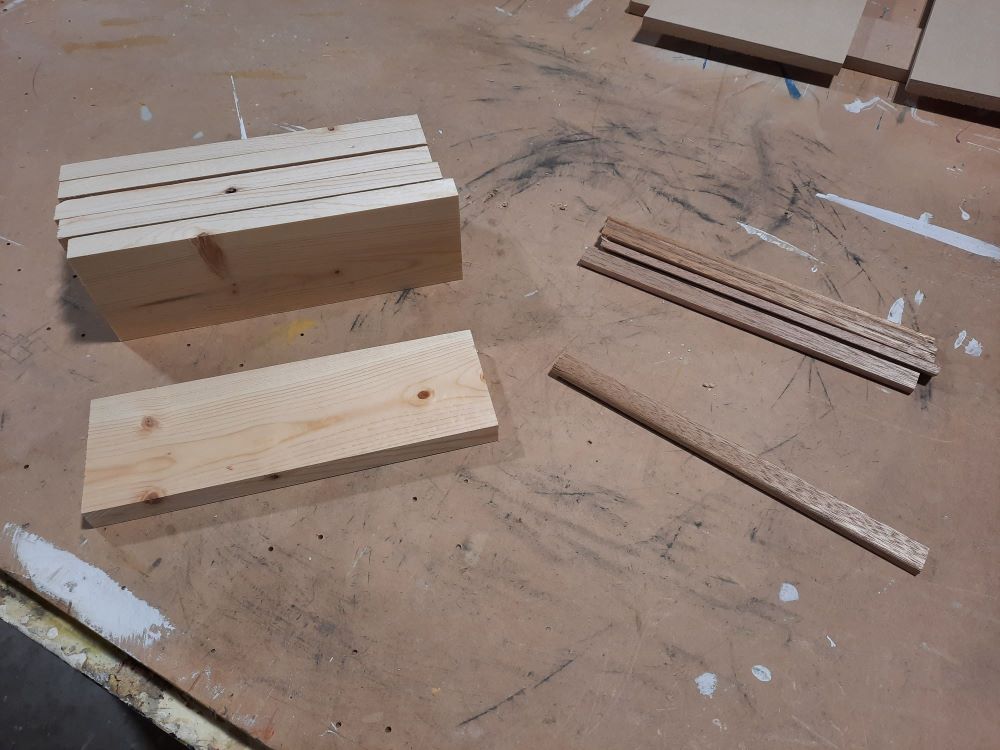
for each knife you need:
2@ 4" x10" x 5/8 or 3/4" light colored wood
2@ 1" x 10" x 1/8" dark colored wood
Glue the 2 dark colored pieces to the edges of the first light colored piece. it is better for the dark strips to over hang by a smidge. This will make sanding everything flat a lot easier. ( these were originally 1x4 so I ran them through the table saw to sharpen up the edges)
I used 22 gauge nails to hold mine in place to speed up the process but nothing says you cant just wait a few minutes to let the glue become tacky before adding the second piece.
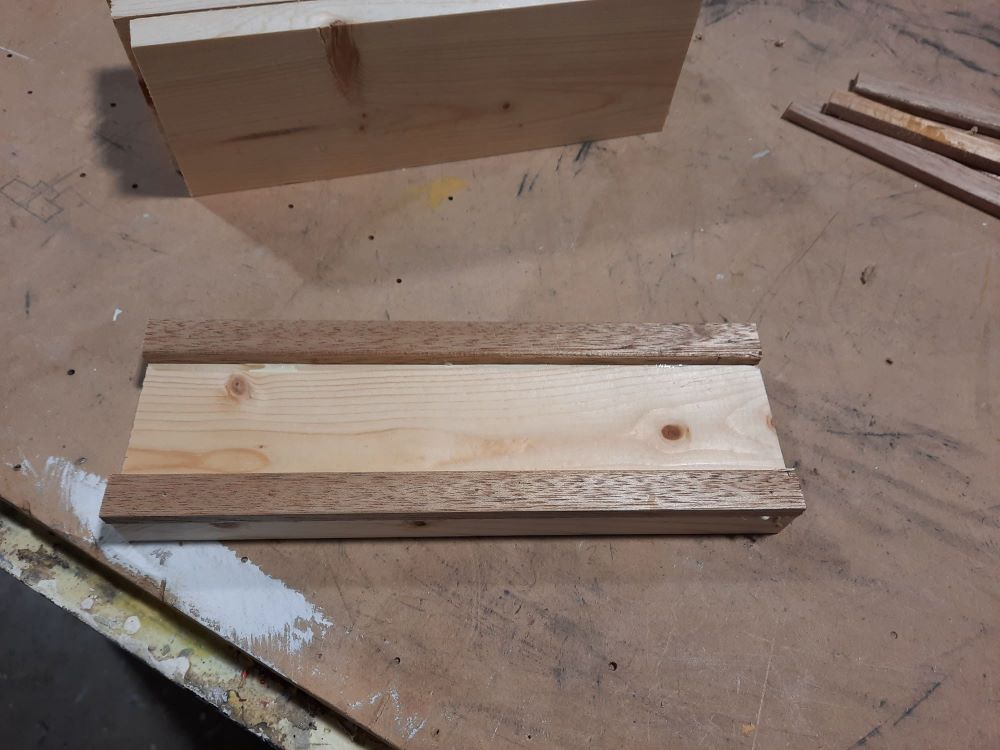
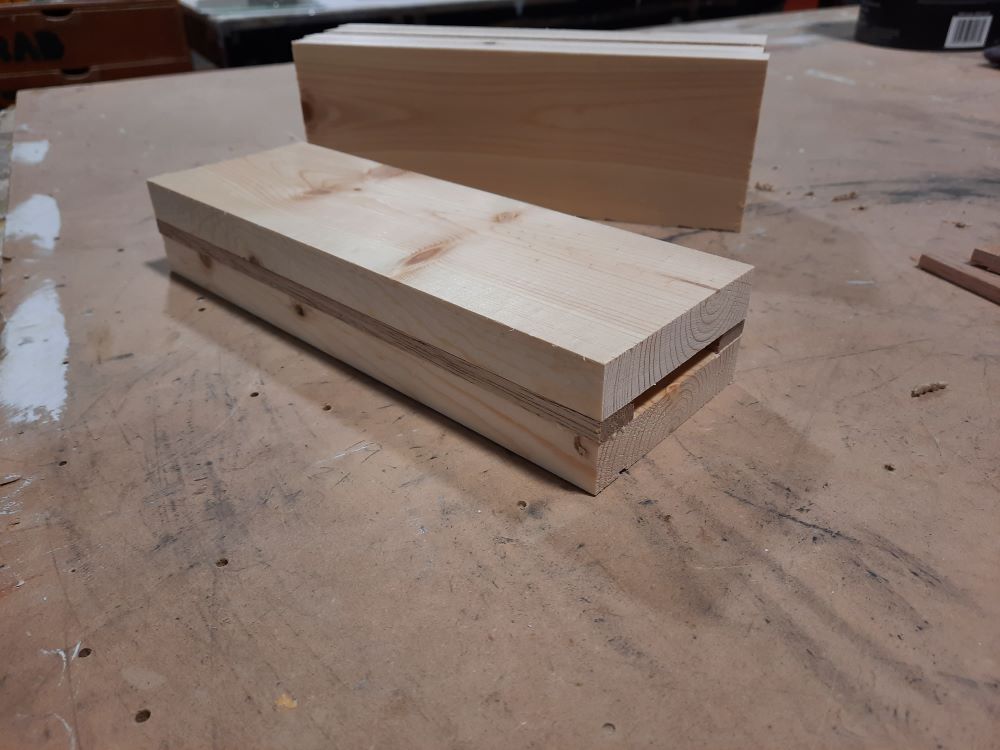
Make a sandwich with the second piece of light colored wood. Repeat everything to make 3 sandwiches.
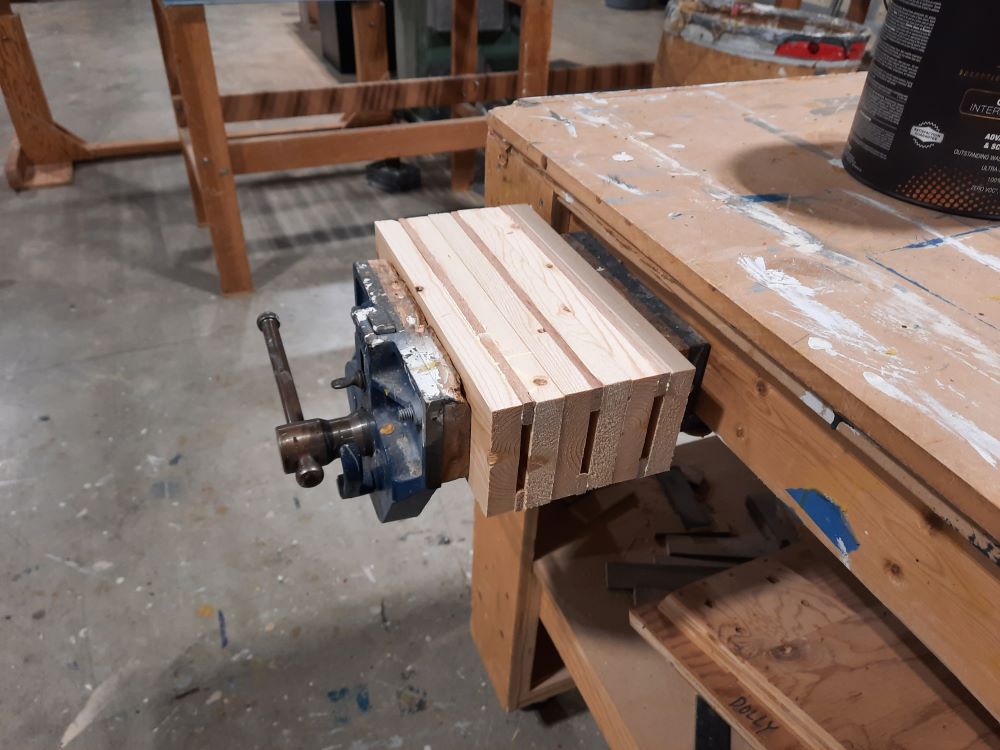
I used my bench vice to clamp them all at the same time. The 3 sandwiches are not yet glued to each other.
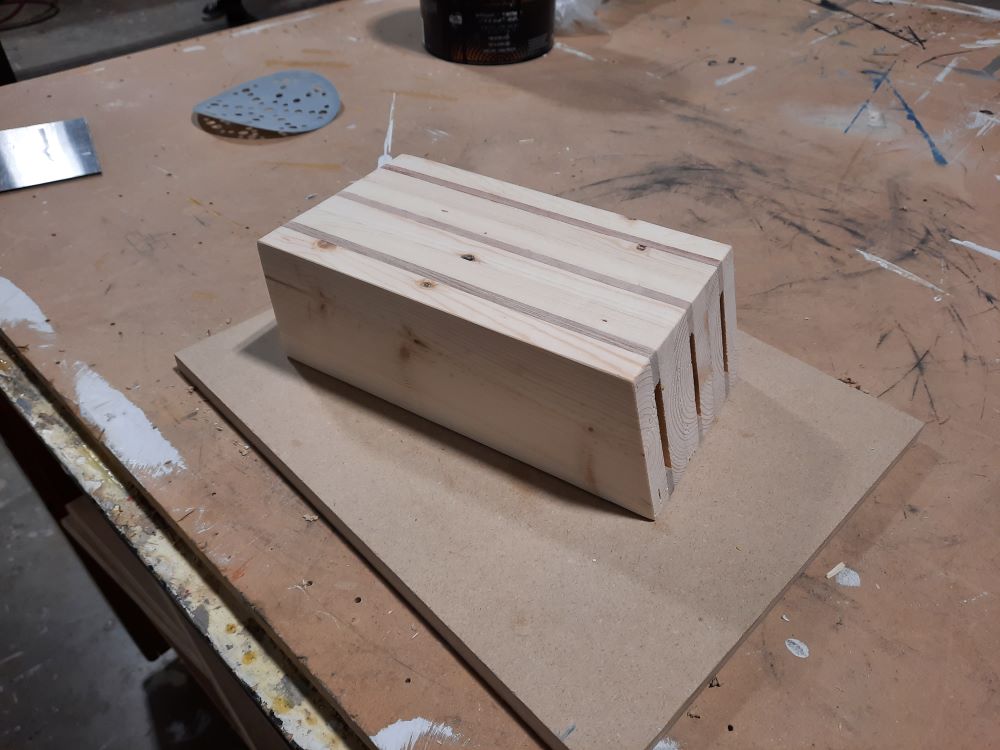
After they have had some time to dry, cut a 15 degree angle on the bottom of each sandwich. I use my stop on the chop saw to also make sure they are all the same length at the same time.

Glue the 3 sandwiches together. I use my bench vice again for this. Take care to make sure they are lined up as close as possible to avoid unnecessary sanding. I let mine sit over night because I hate it when the glue still has moisture in it and it gums up the sandpaper.

Now we sand. For this one I just used 60 and jumped straight to 180. If this was a project I was more invested in I would spend more time at this stage. Keep in mind that it is possible to over sand ply.
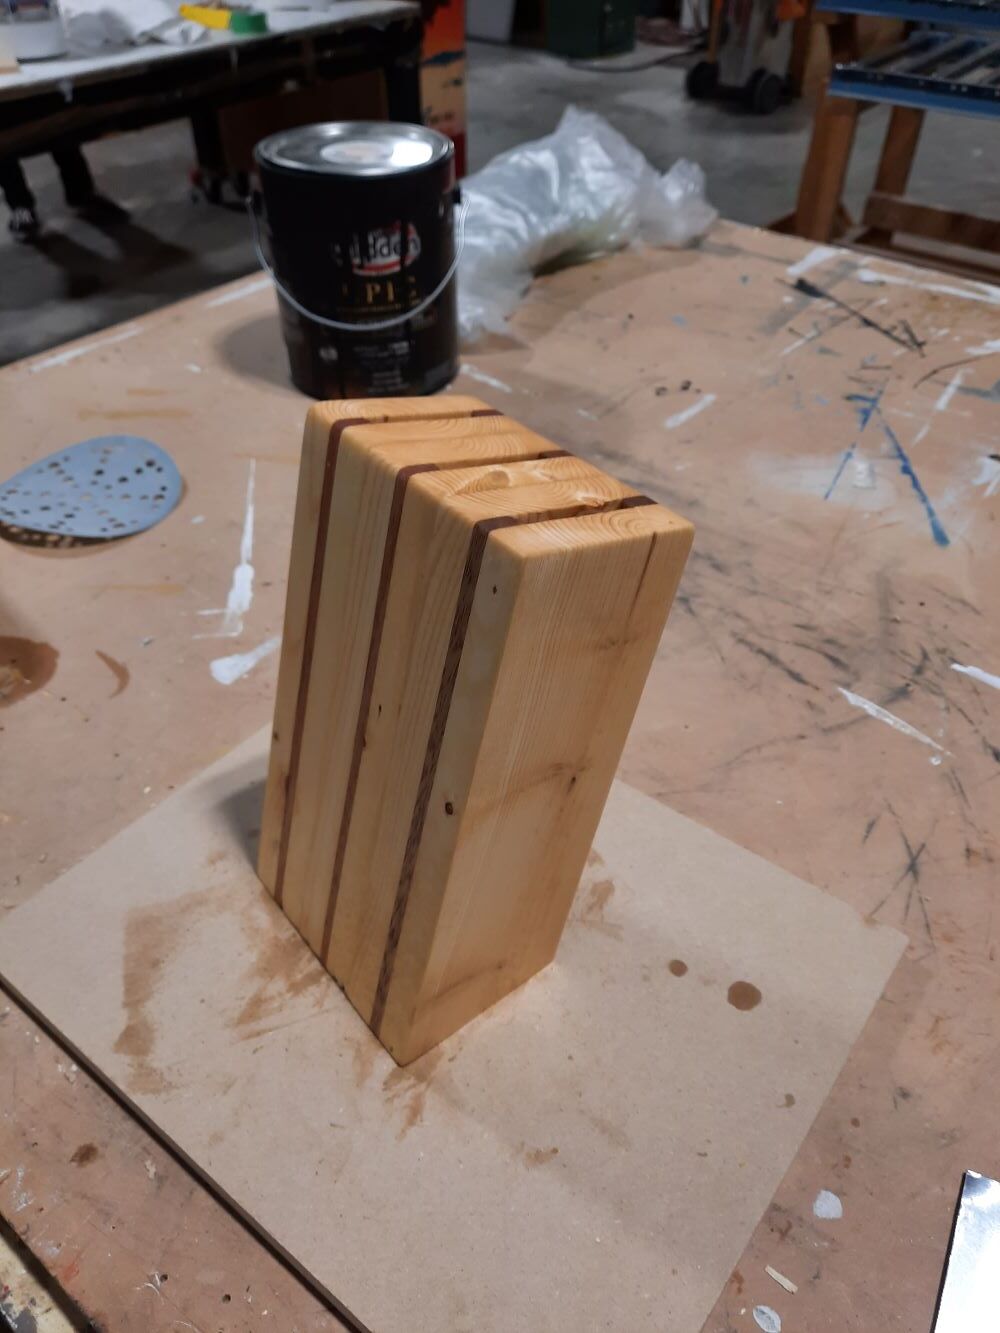
You can use whatever stain/clear coat/finish you like. This one is done in Tung oil.
The Base
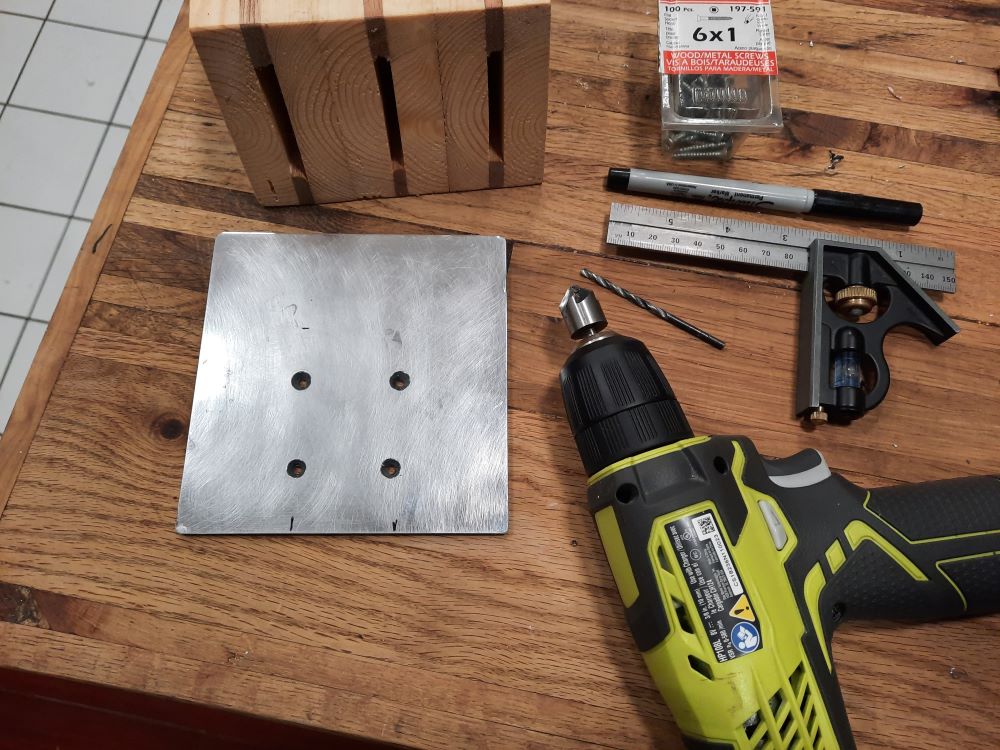
The first base I used some 1/8" aluminum. This one is 1/8" Dibond. Nothing to say that a person couldn’t use wood or plexi as well. For the original i cut the base to 4x6". The one in the picture turned out to work well at 5x5".
4 holes are spaced and counter sunk to fit centered between the knives.
the base is then screwed on with #6 x 1" screws.
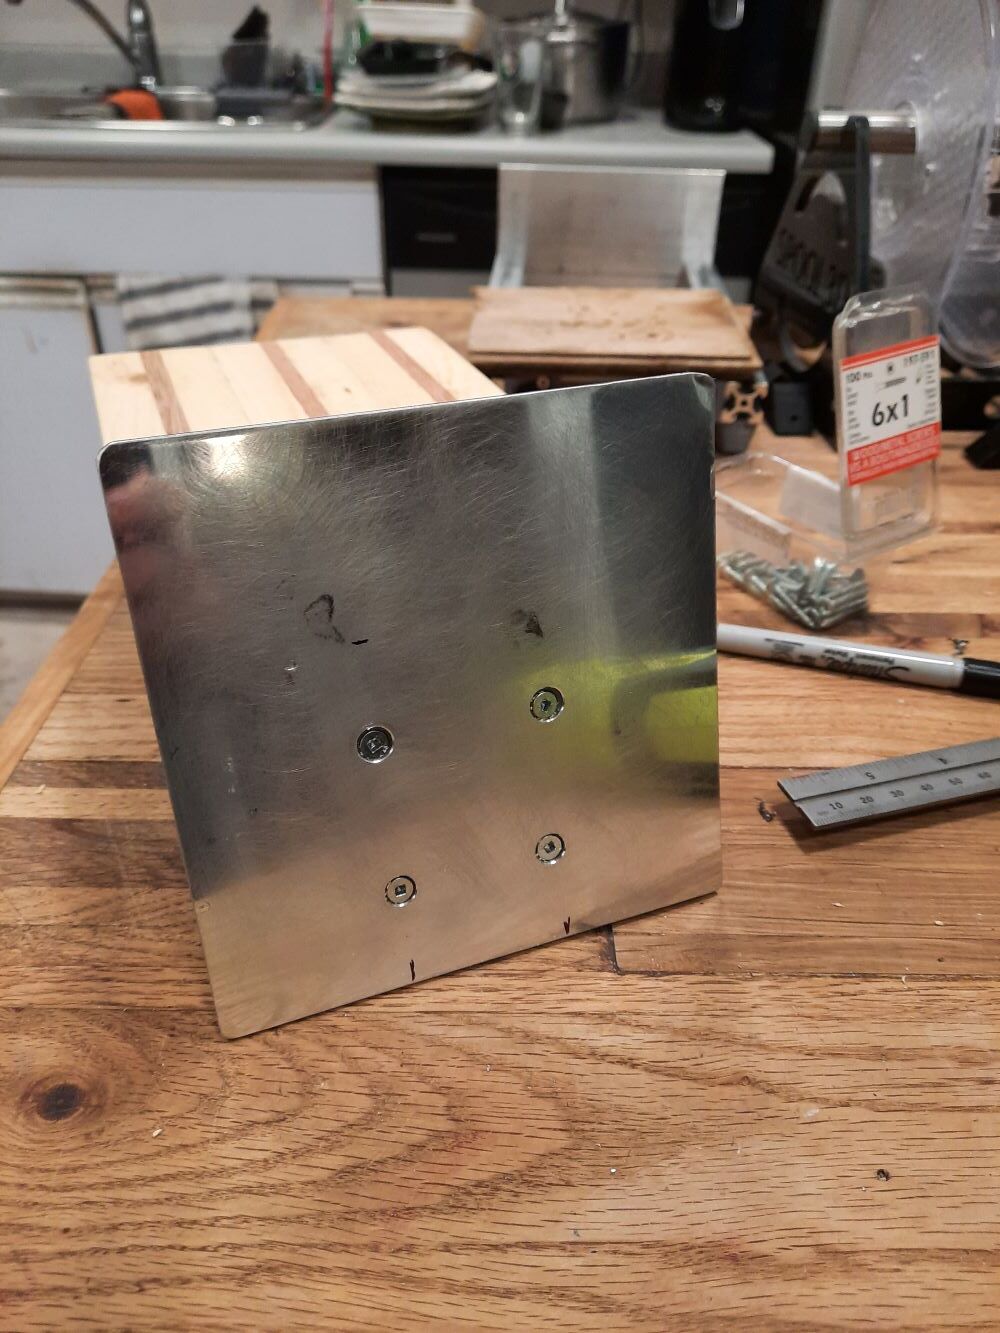
I used Bump-ons for feet on the the first one but didn’t have enough for this one. It sits well enough without them but the rubber feet are good at keeping the flat surface up off the counter in case water gets under there when cleaning.
Hope you all find this helpful.