That exactly is my concern… That people are not concerned about…because it will come. Without anyone owning it, I’m afraid it will never get there. (I’d own it, but currently too much going on.)
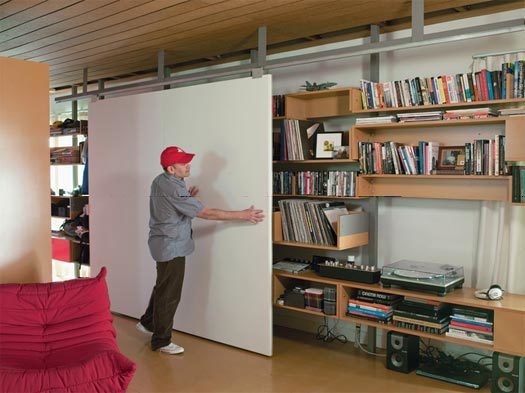
Ooh! how about sliding rigid panels mounted with wheels on a unistrut track in the ceiling? They’re basically sliding doors, and we can mount a whiteboard to them (or use stick some of that adhesive vinyl on to make a whiteboard). It’s probably cheaper to frame and skin a panel like this out of wood than it is to get a custom heavy curtain.

How about a row of shelving with 8’ high plywood backing?
Steve
The GORM Ikea is inexpensive and easy to move within the space and to the new space in 18 months. Hardboard backing to make it a wall.
I like it, put them on wheels so we can move when required? Anchor them to the ceiling where the existing anchors are?
First rule of engineering is when there is a choice to be made, choose the
approach that solves multiple problems at once.
Second rule of engineering don’t over build.
Curtains vs sliding panels
Curtains:
Probably the best solution for curtains is to stitch, custom curtains made
from tarp and weighted with chains.
Advantages/Disadvantages
Lighter track required.
Can be tightly tied back by rope and stored out of the way. Good if not
often in use.
Can easily be used to visual divide the space and provide protection from
flying debris. Some limited ability to provide sound and dust isolation.
Stitching heavy canvas material, requires heavy duty needles.
Panels: Skinned frames and are as strong as the frames used.
Advantages/Disadvantages
Panels take more space to store. Good if often in use.
Panels can be multi purpose, white boards, parts sliding shelving
In addition can offer improved sound and dust isolation, but not as good as
wall.
A well equipped work space needs a lot accessible storage space.
When I previous designed and built a shop in Ontario with 16’ ceilings. The
shelving used light angle iron for front uprights space 4’. The front
uprights were attached to front shelving angle iron with lips facing up,
which held 16" plywood pieces in place. Between the back upright and the
front uprights there was a angle iron with the lip facing down for each shelf and
a flat steel angle straps running the height of the selves. The side angle iron between the
front and back goes under the front lip angle iron.
The selves were anchored to the wall and ceiling. I used angle iron rather
than wood, because it was cheaper, reduced the construction time, no
nailing required, and improved access to the shelves.
I used a welded construction, which met I could use very light steal,
because no strength was lost to the bolt holes. But a bolted construction
would also work fine.
I attached shelving to the wall and ceiling starting from 6’ to the
ceiling. The shelving was accessed by sliding stairs and ladders. In this
shop we worked under the shelving.
The shelving had power outlets and lights on the bottom for excellent work
space lighting.
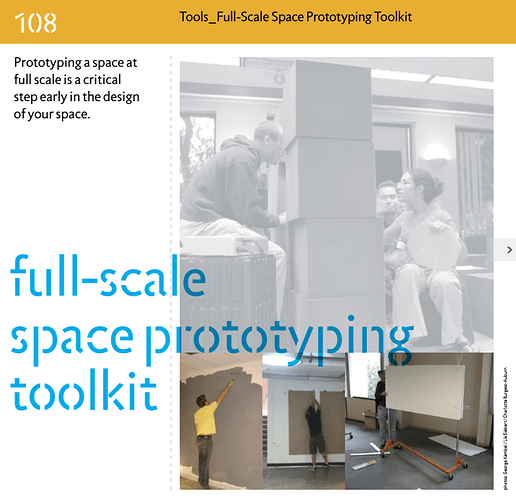
An interesting suggestion might be to prototype the space using cardboard before people sink a lot of effort and/or cash into semi-permanent or permanent structures.
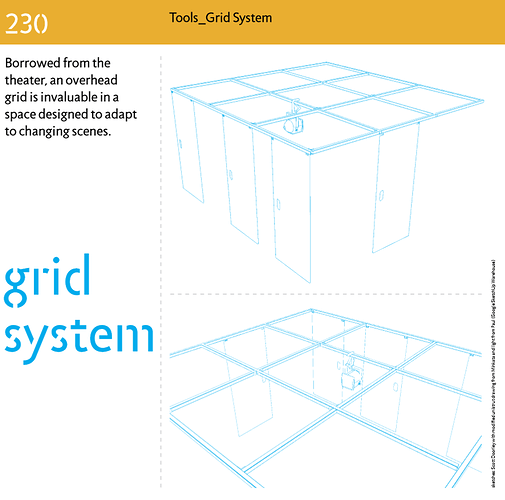
We could do a version one of a roof grid with cables:
If going with curtains, have AMFAB amfab.ca make them to size and sew in
the chain.

