We at Makers Making Change are aiming to adapt and gift 500 toys this holiday season, and are scheduling events throughout November. This event will have me bringing 1-2 of each toy I have a lot of, so that as we adapt, we can snap some photos and make guides / tips for other people doing those toys. Other events will primarily be less skilled that y’all, so hoping to find the “landmines” with you this Thursday.
Nov 3, 6:30 - 8:30 PM
Essentially, we take battery operated toys, train youth and other volunteers how to adapt them to add an alternative switch input, and then are looking to gift them to Children’s Hospitals, Childhood development centres, and families with kids with disabilities, this holiday season. We are right now, organizing a number of our “hackathons” across Metro-Vancouver and Canada, where youth will learn these skills and adapt the toys.
This is tomrrow! Just bumping this for Chad. I’ve attended a few toy hacks now and they are also super fun and a great crew of people. You do not need to know how to solder but can learn on the night. Beginners welcome. So come on down.
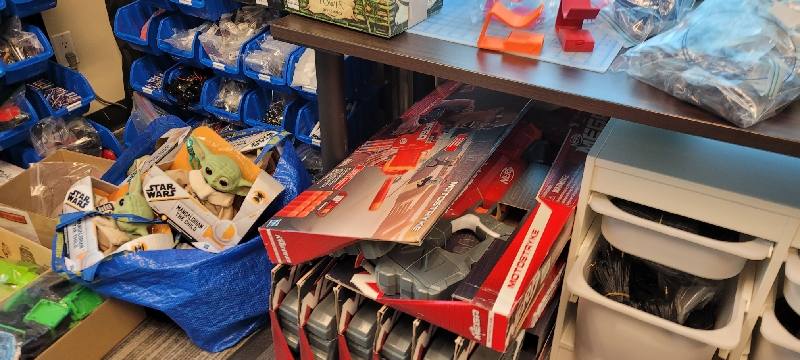
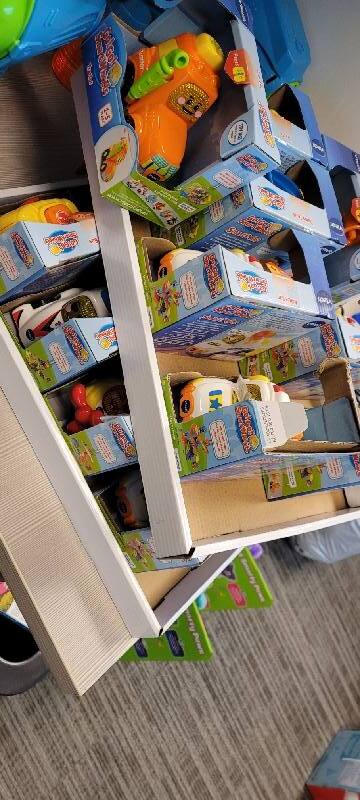
That friends! I will be bringing a “mix bag” of a few different toys in prep for some school events. Almost all of them sing and dance, which look straight forward to switch-adapt.
I have a couple of “squeeze” to make noise ones – Baby Yoda, Peppa Pig, and Blippi – those are new so should be fun.
For the brave, I have a motorized nerf gun that is out of my depth, so if someone has the guts, would love some insight!
Using this thread to document toys hacking process.
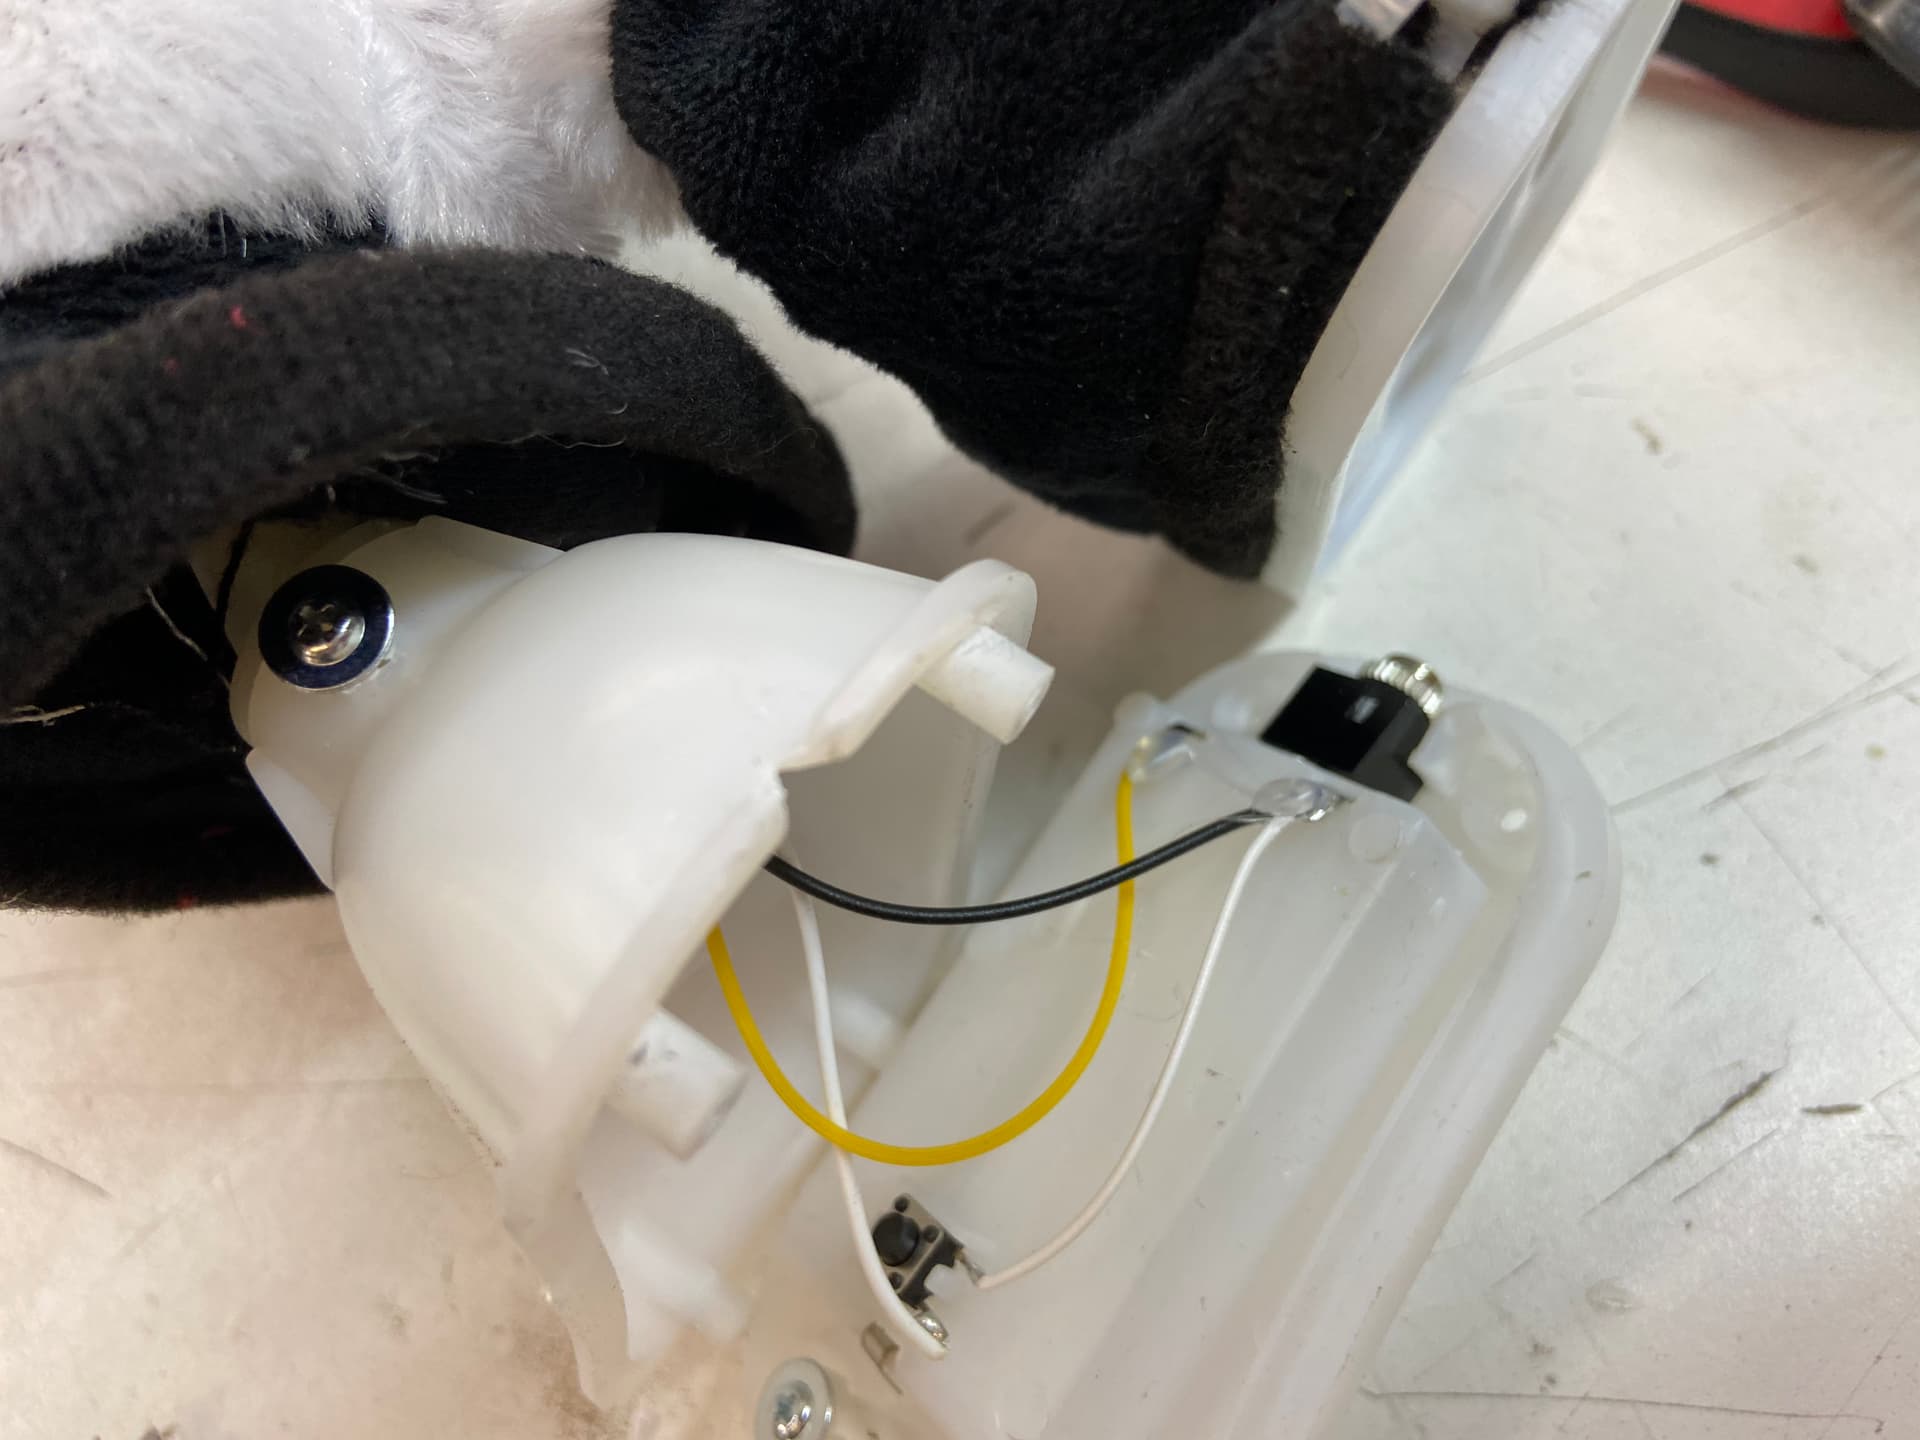
First up: baby yoda (the child from Mandalorian ™) the sound FX is extremely cursed though.
I forgot to take photo of extracting the electronics from the plushie, but that is helpfully diagrammed with the toy user guide
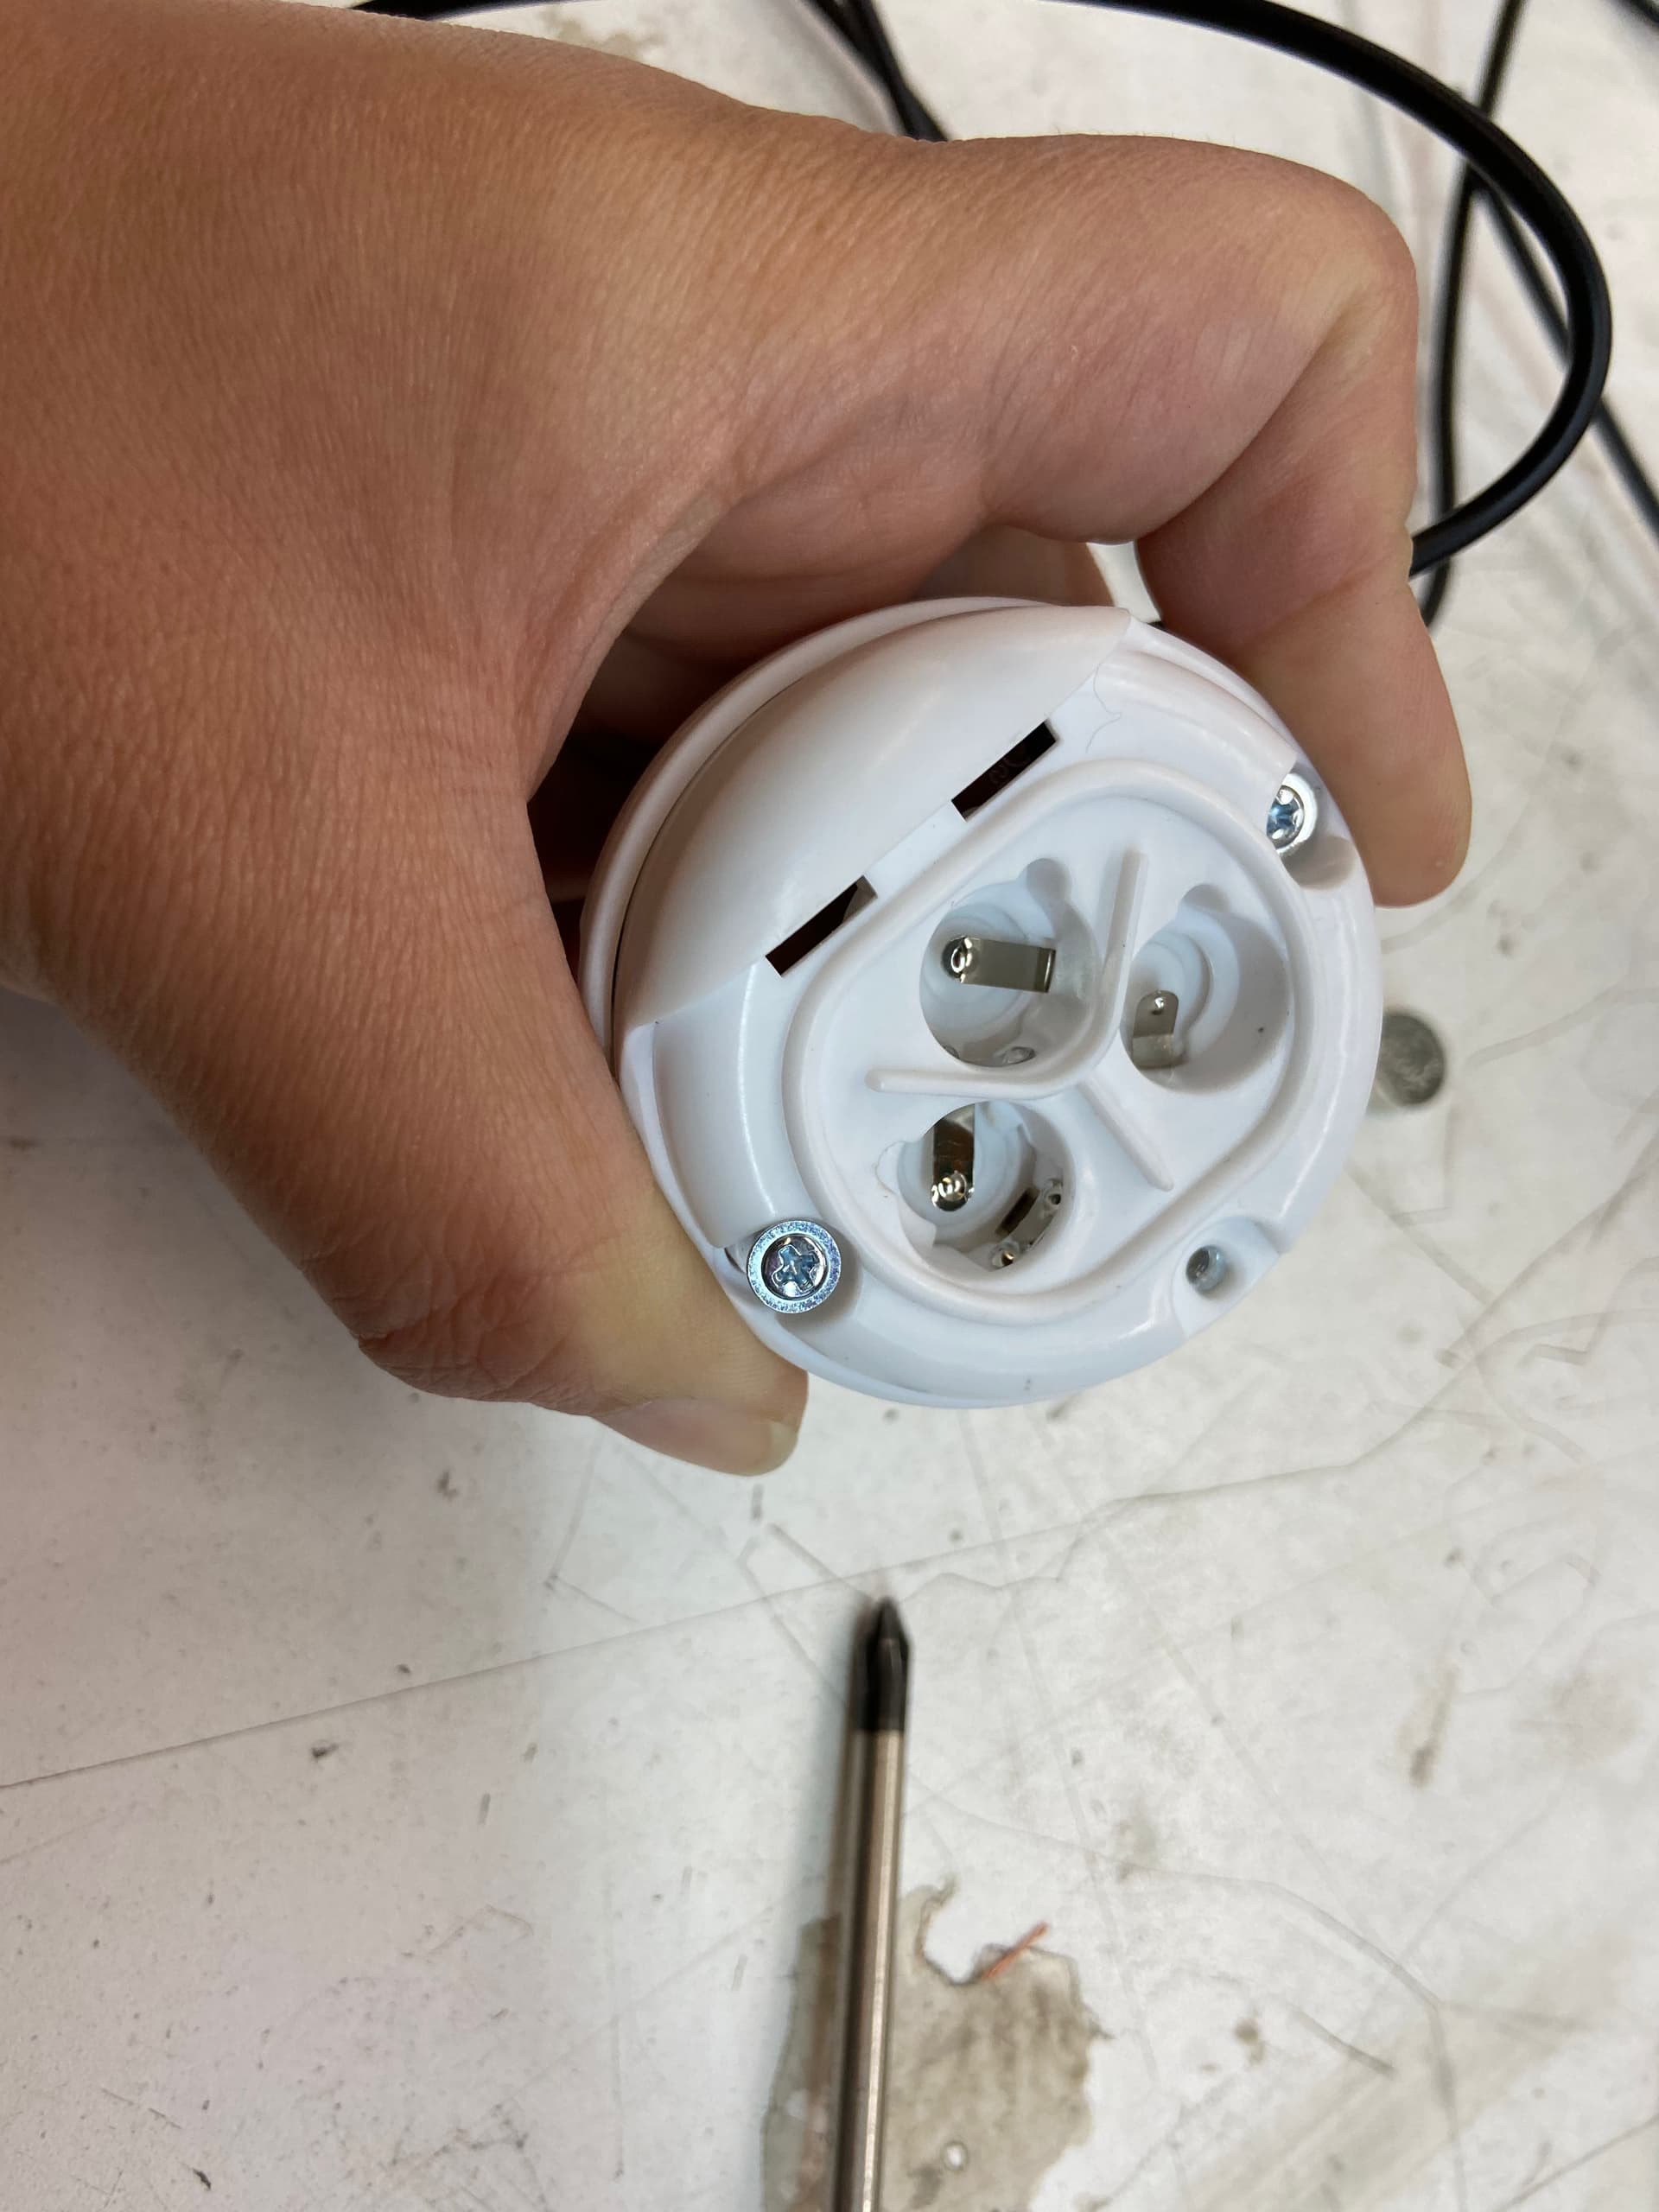
need: female mono jack cable, wire stripper, Phillip screw driver, zip tie, soldering iron and solder
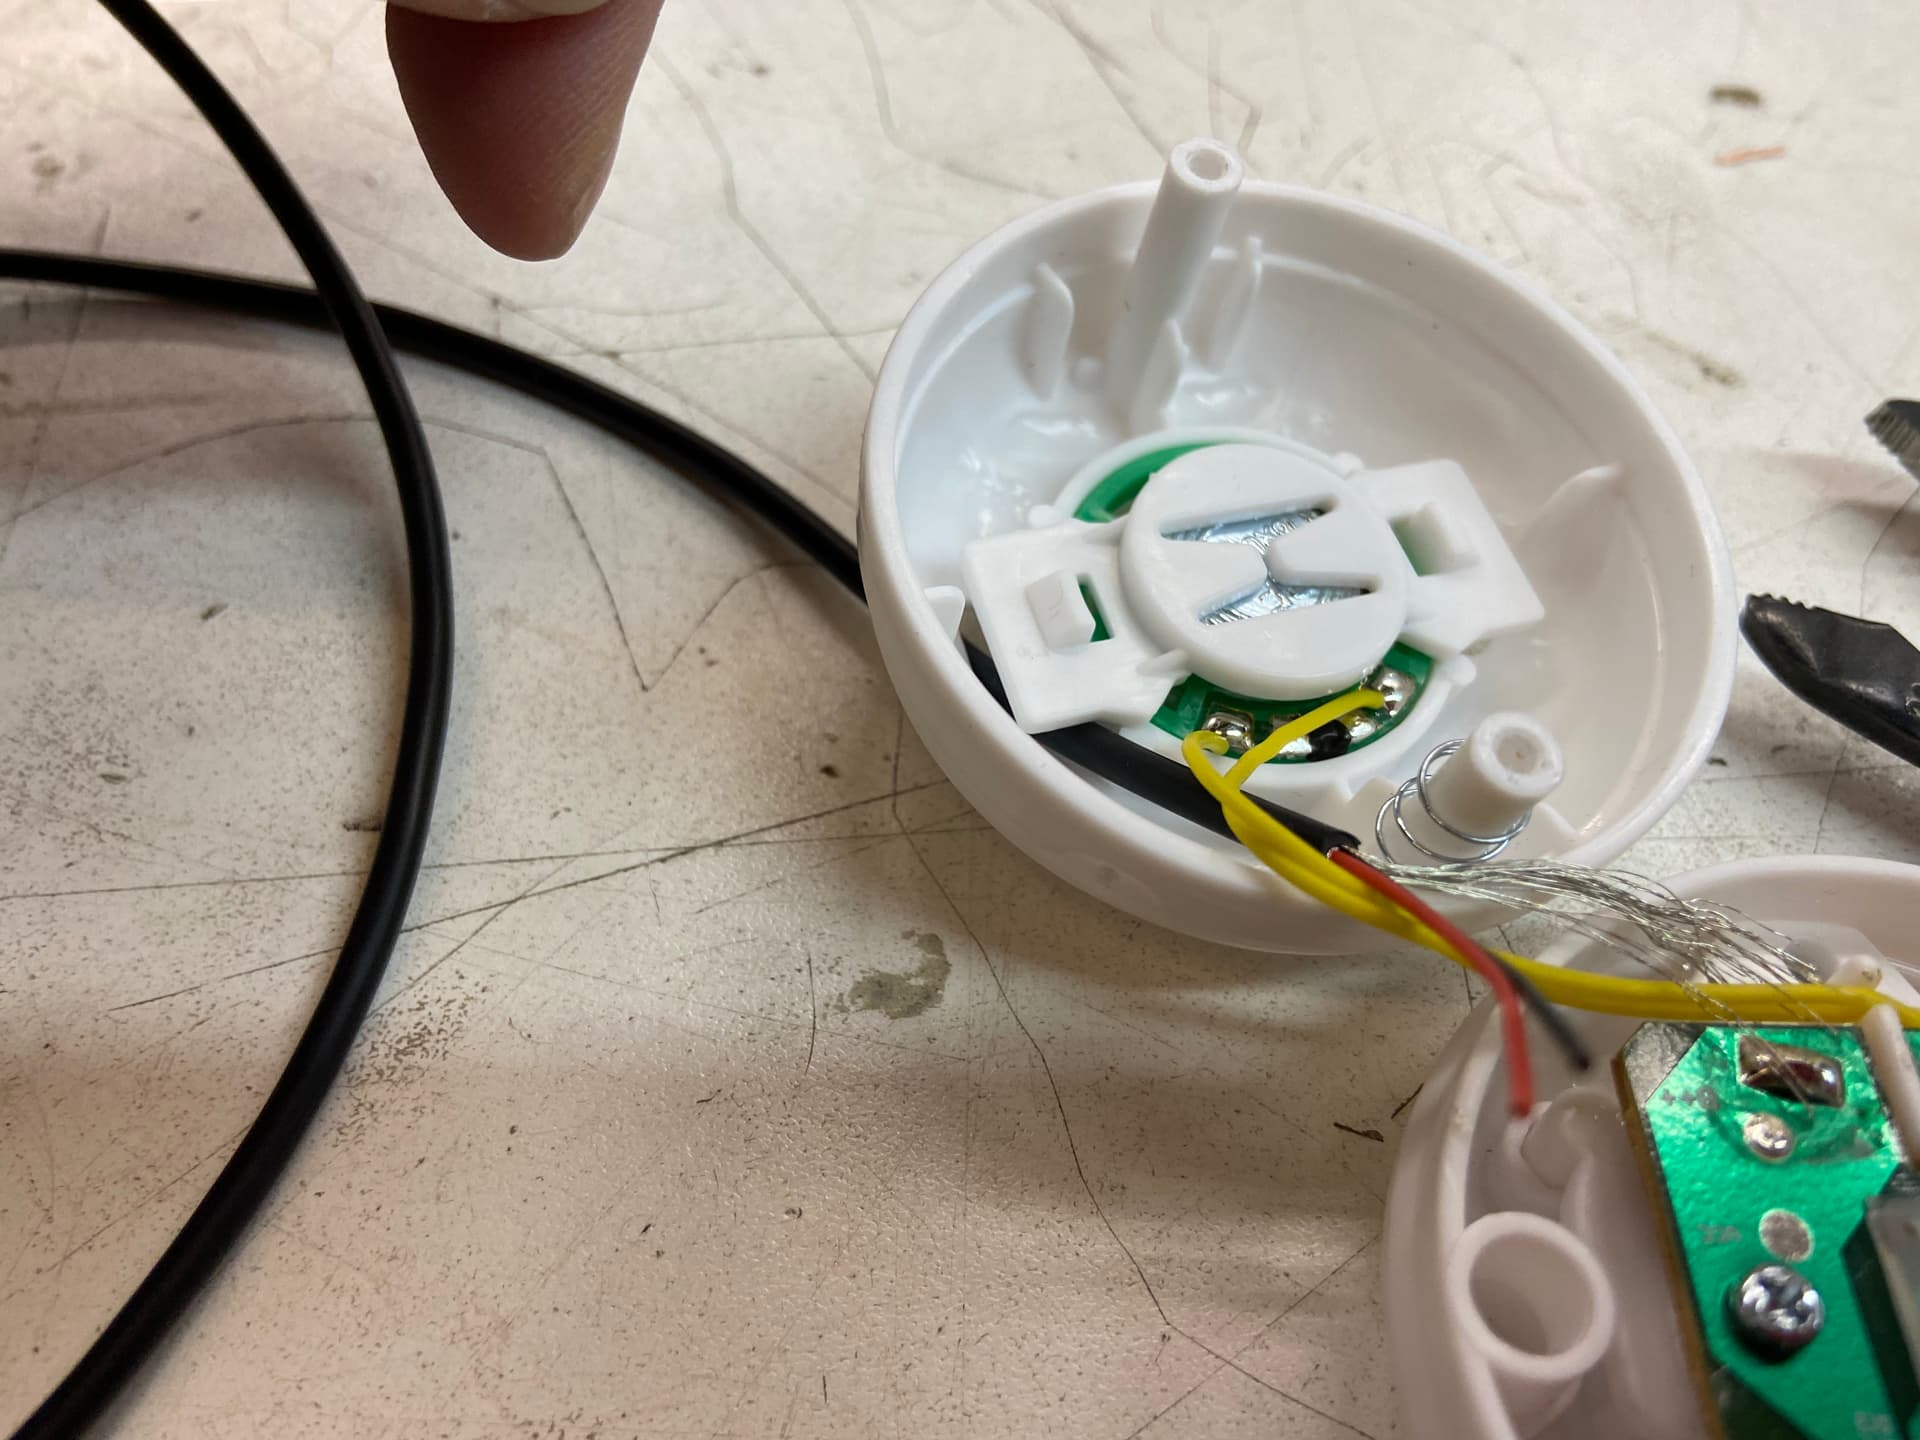
remove the battery cover, battery and two screws holding the two halves together. careful with the springs inside, they have a tendency to yeet themselves across the table/floor.
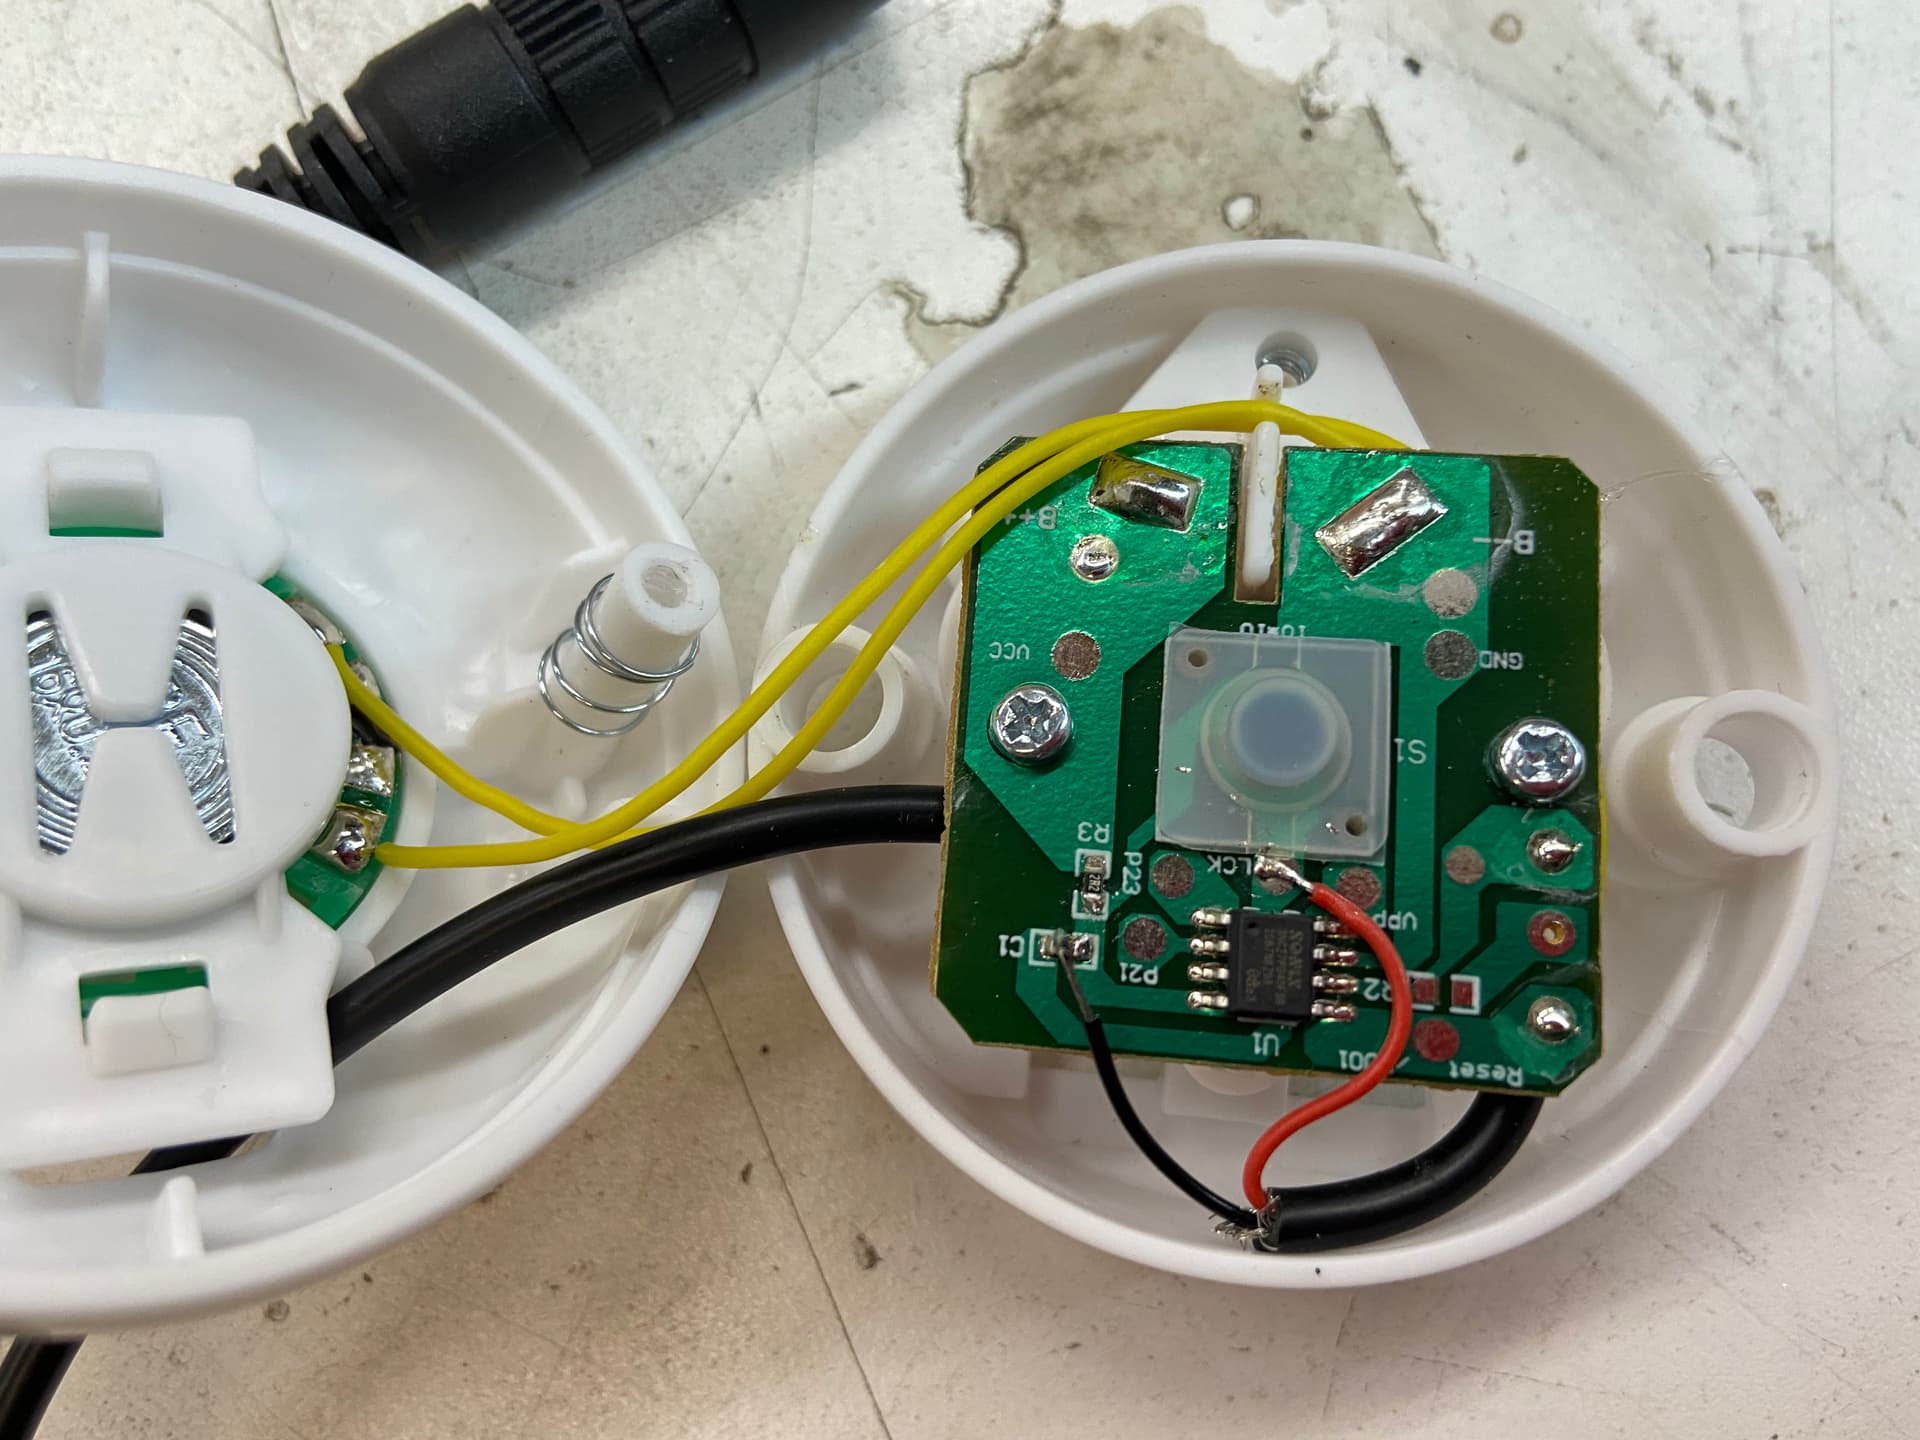
thread the wire under the PCB and loop back up on the IC chip side.
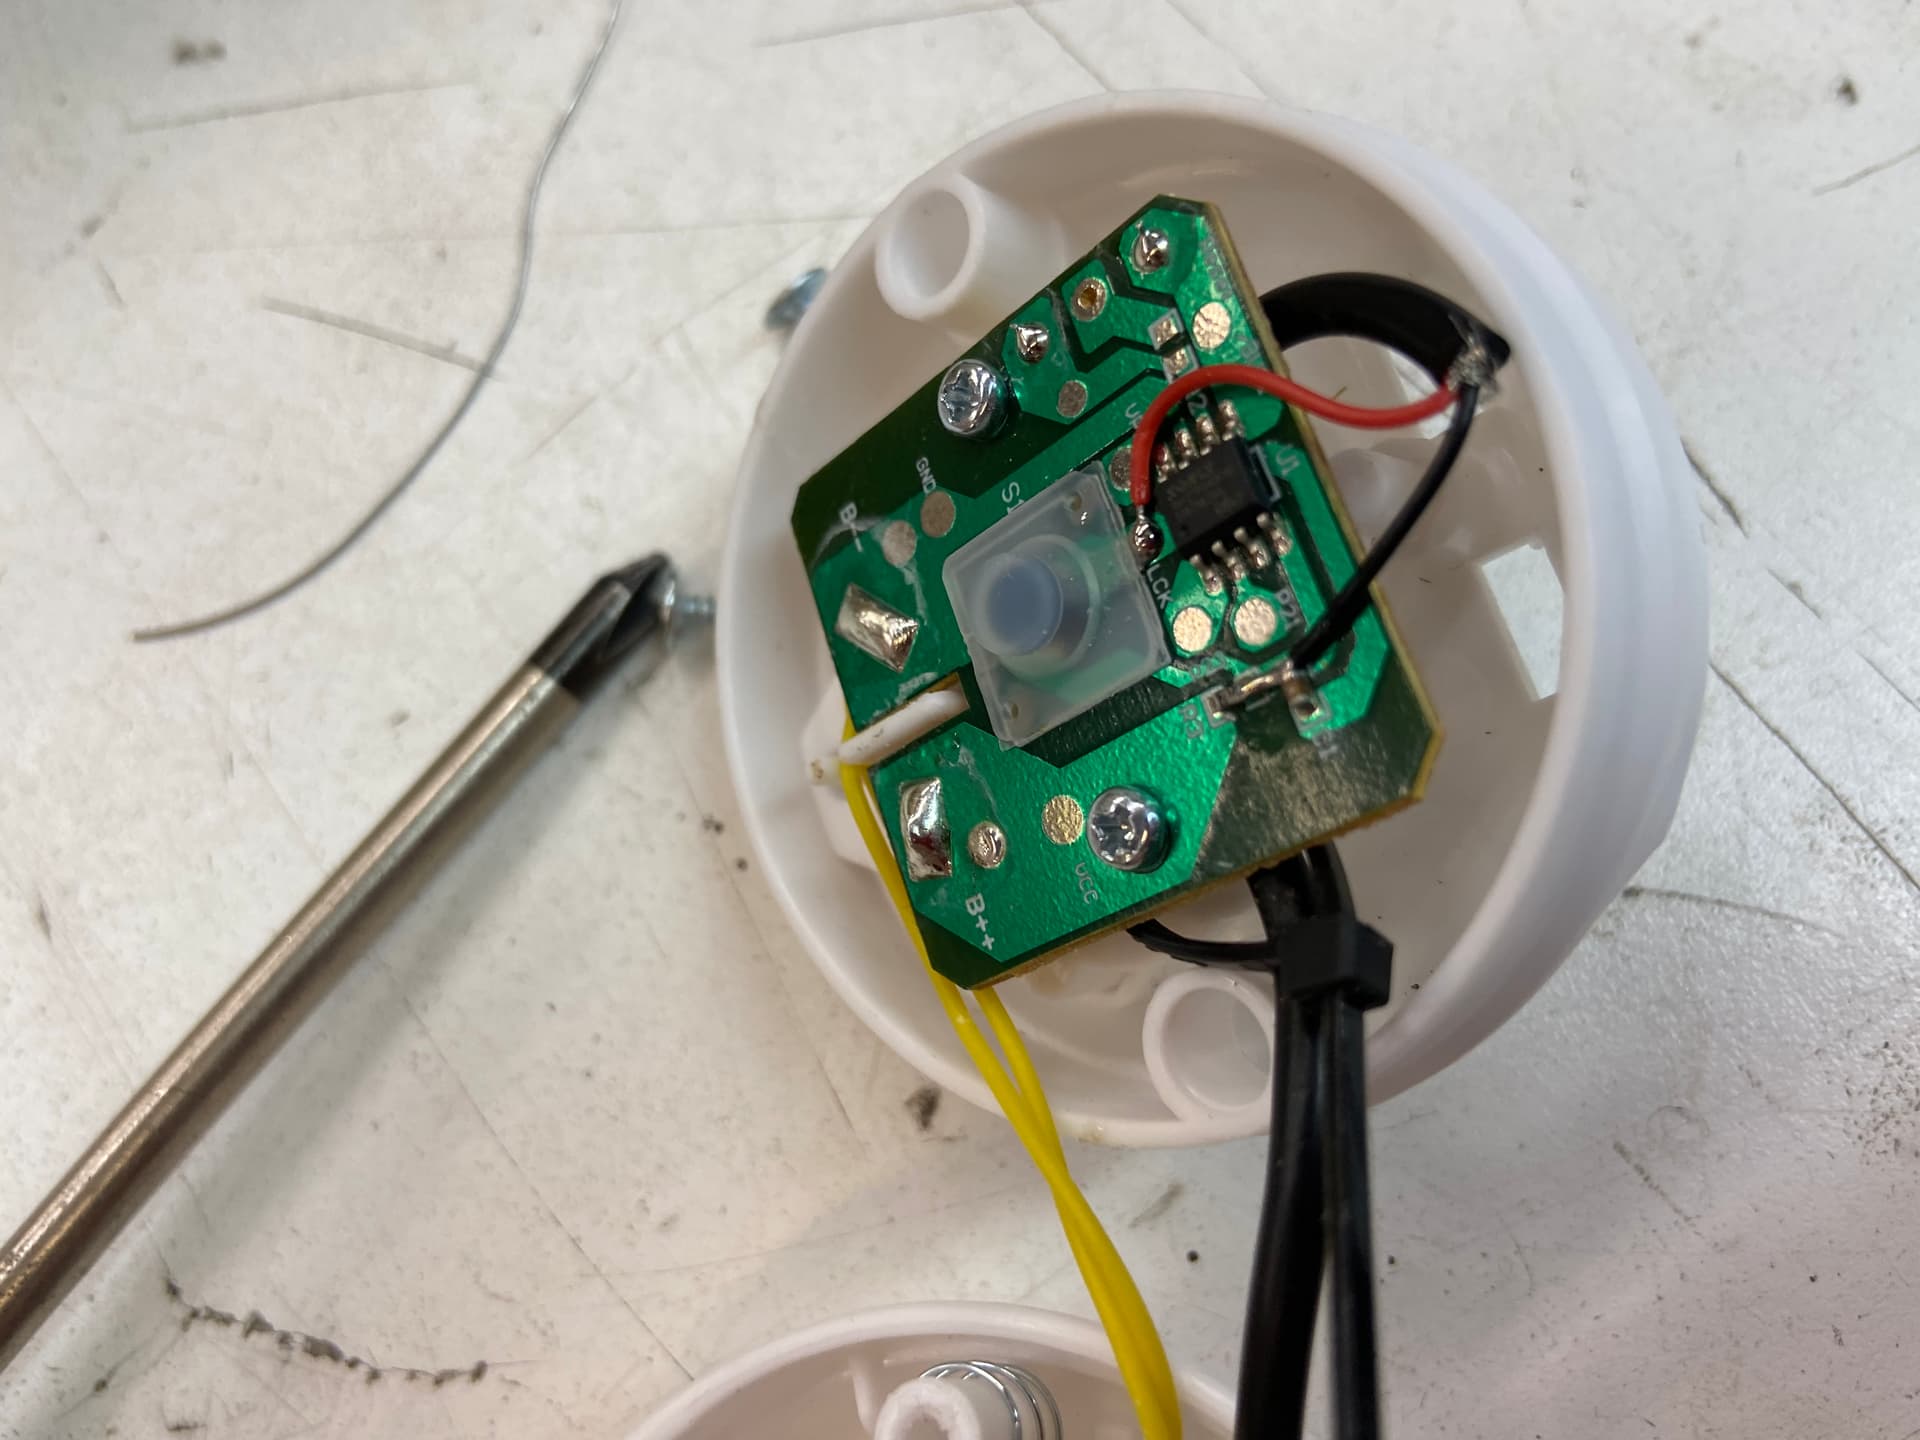
you should strip the cable and trim to length at this point.
you will need to trim back the shielding wires
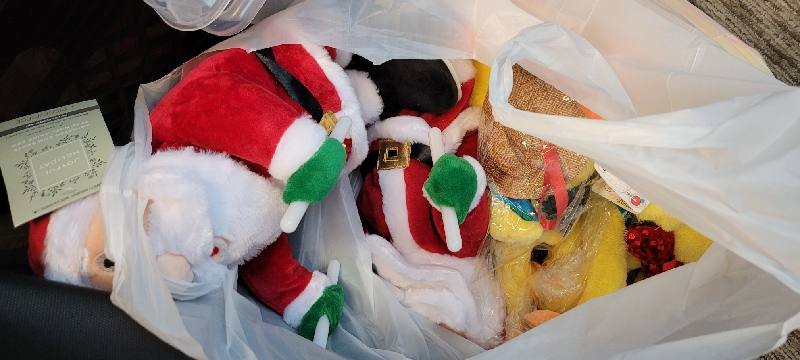
Next up is the Rave Santa,
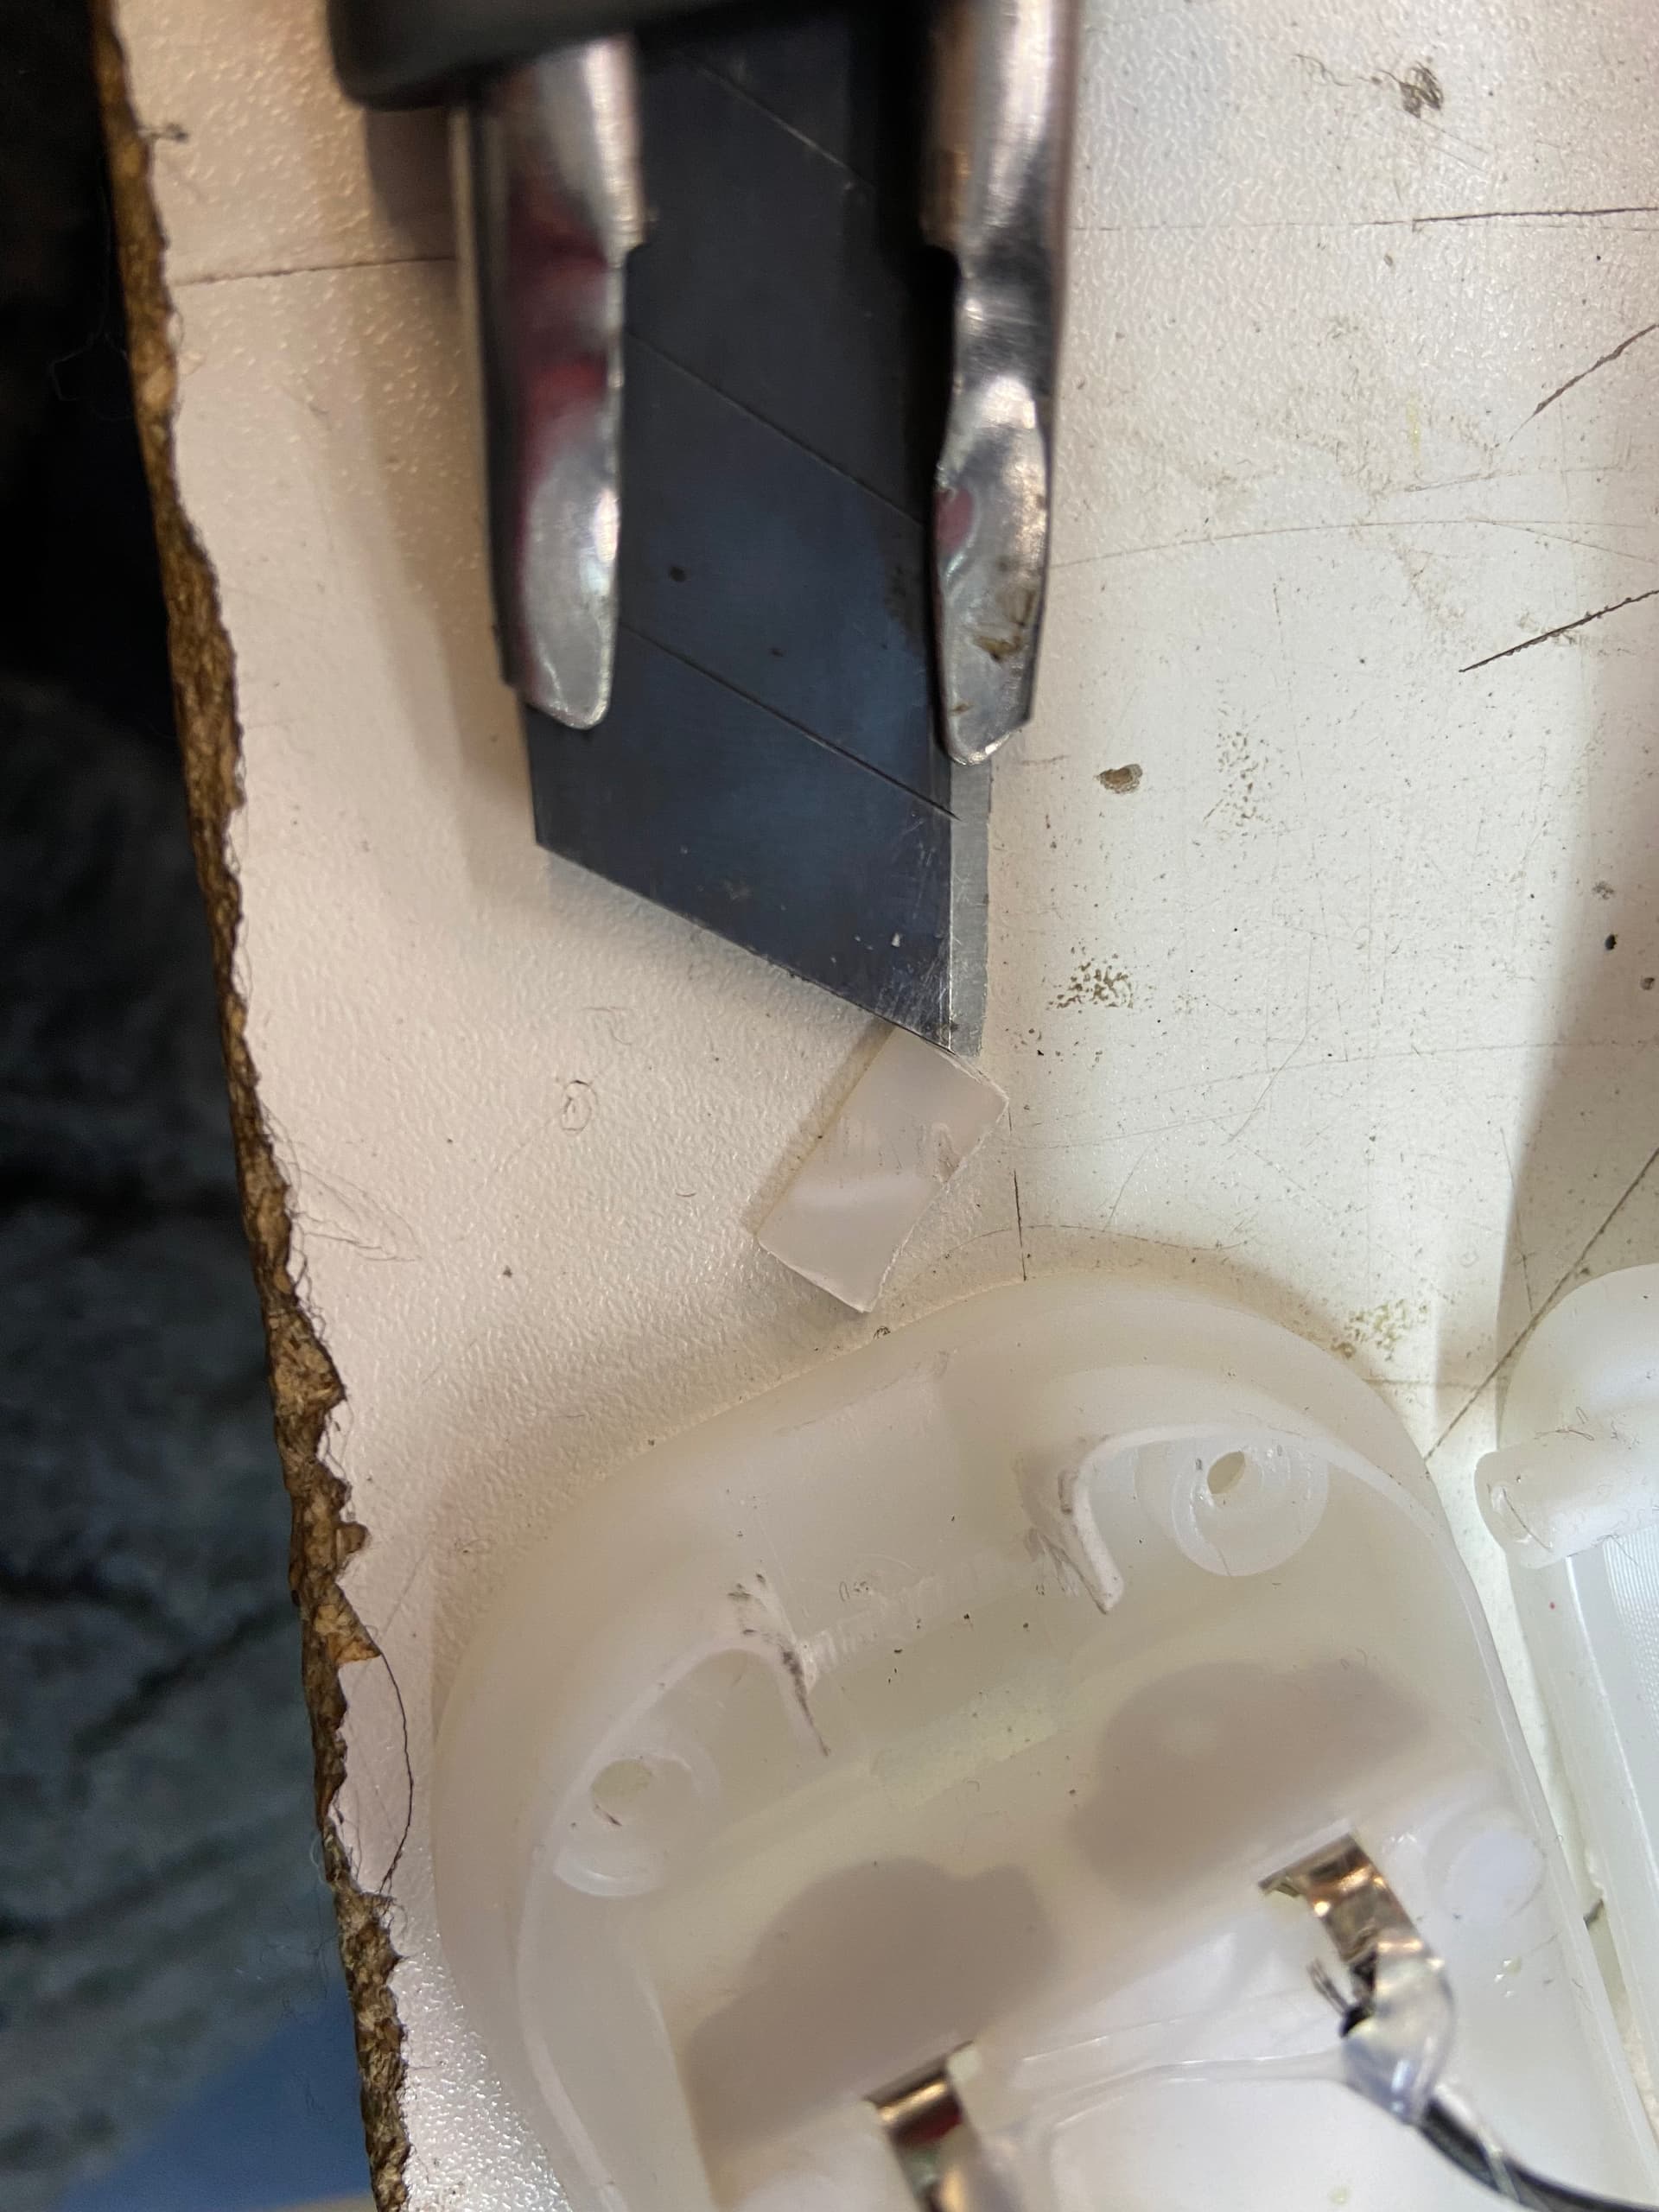
needs, Phillip screw driver, utility knife, mono jack, two piece of 18awg/20awg wire ~6 cm in length. wire stripper, soldering iron and solder
remove batteries
you only need to open up the left foot (double batteries side) you may need to cut the zap strap to lift up the fabric