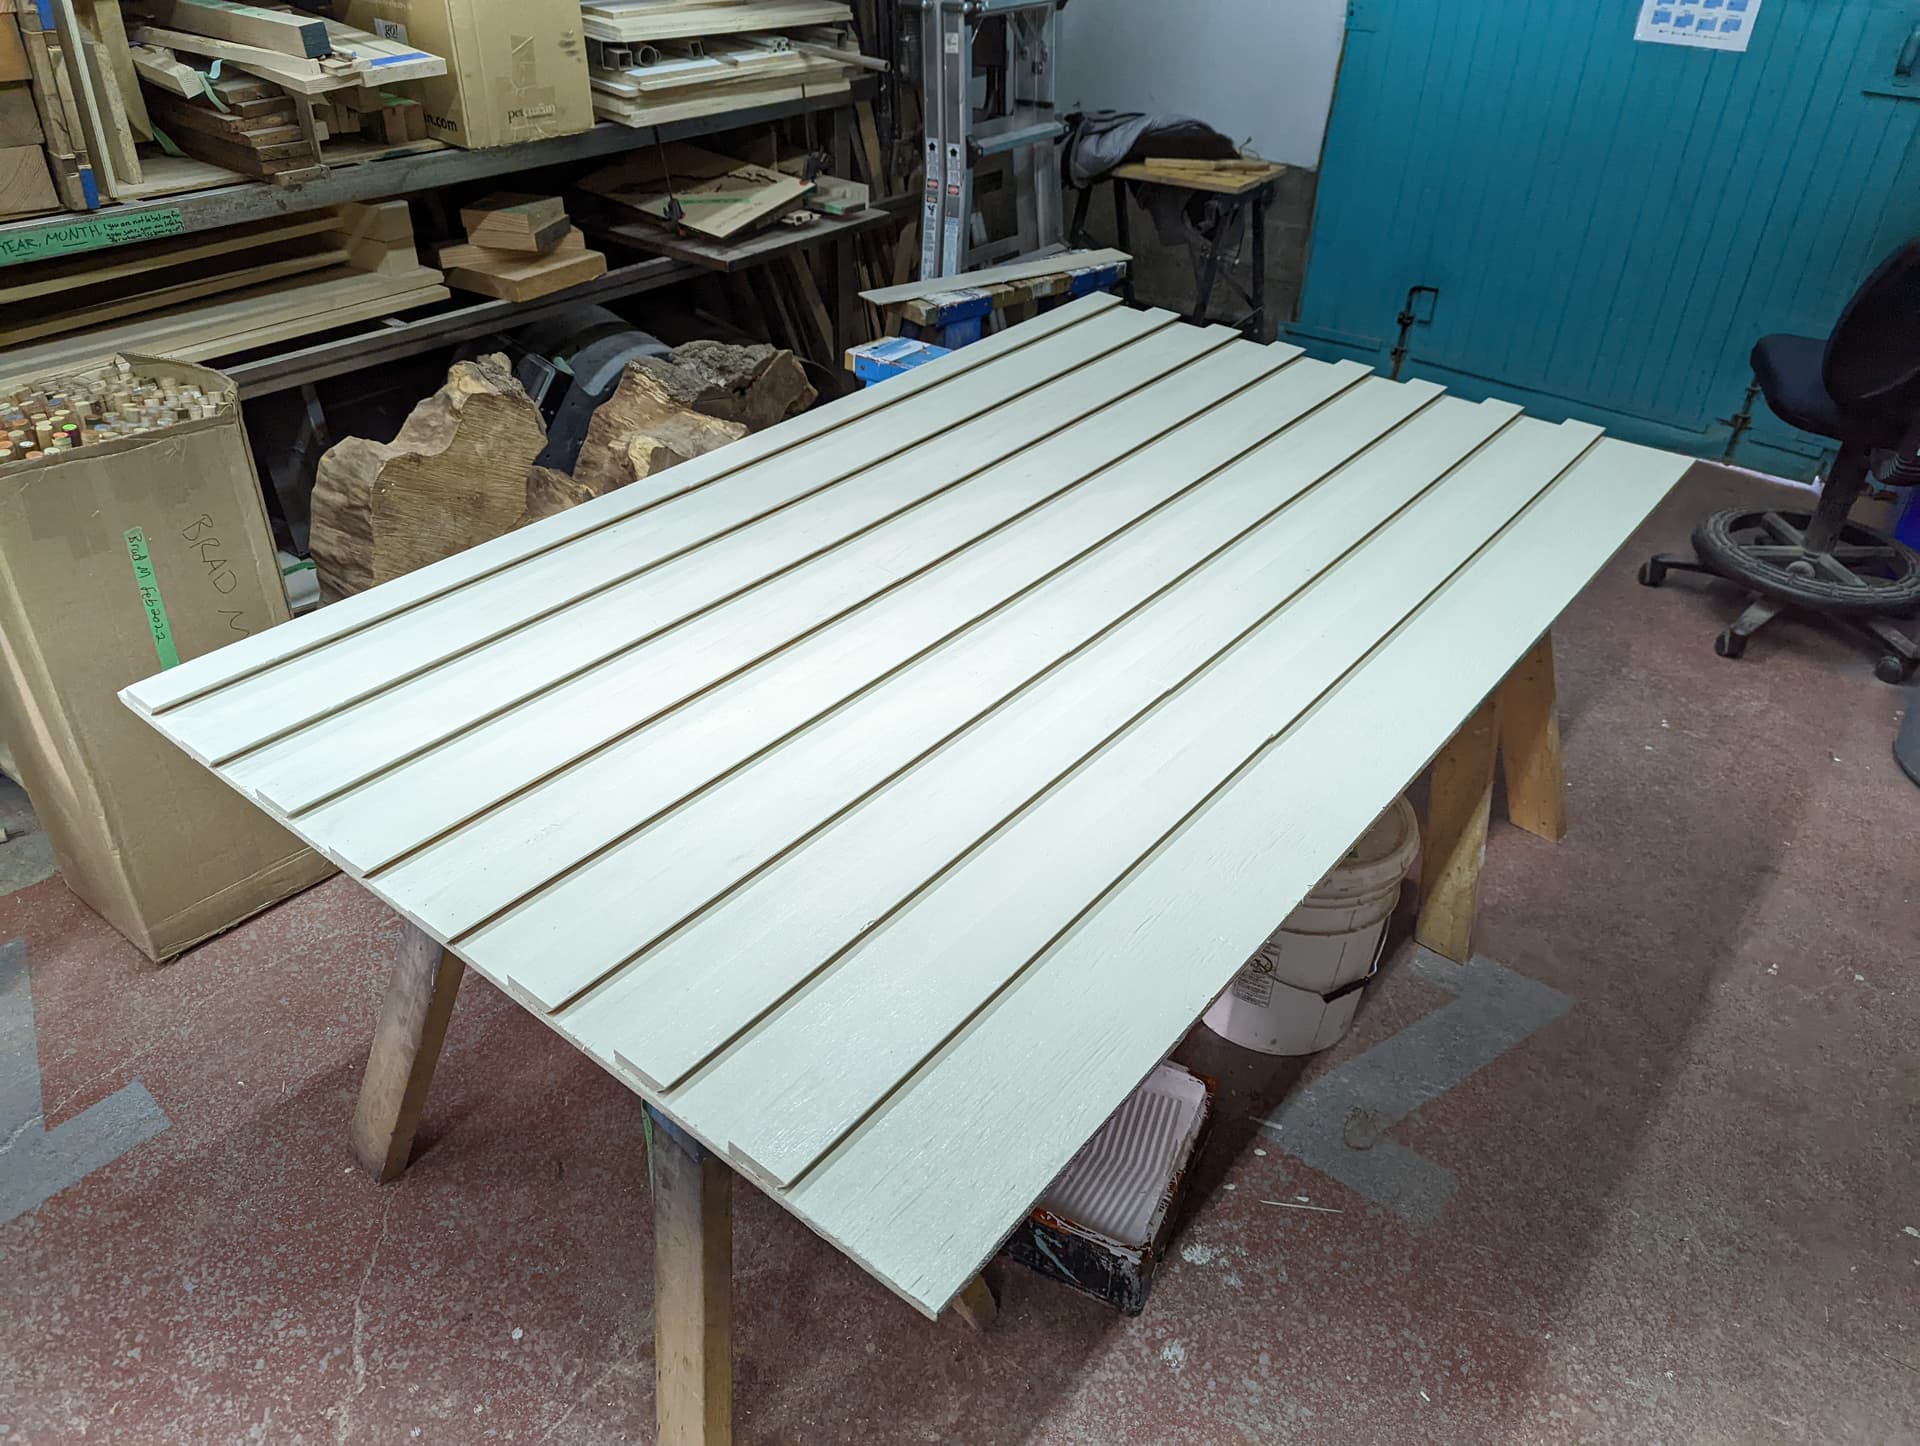
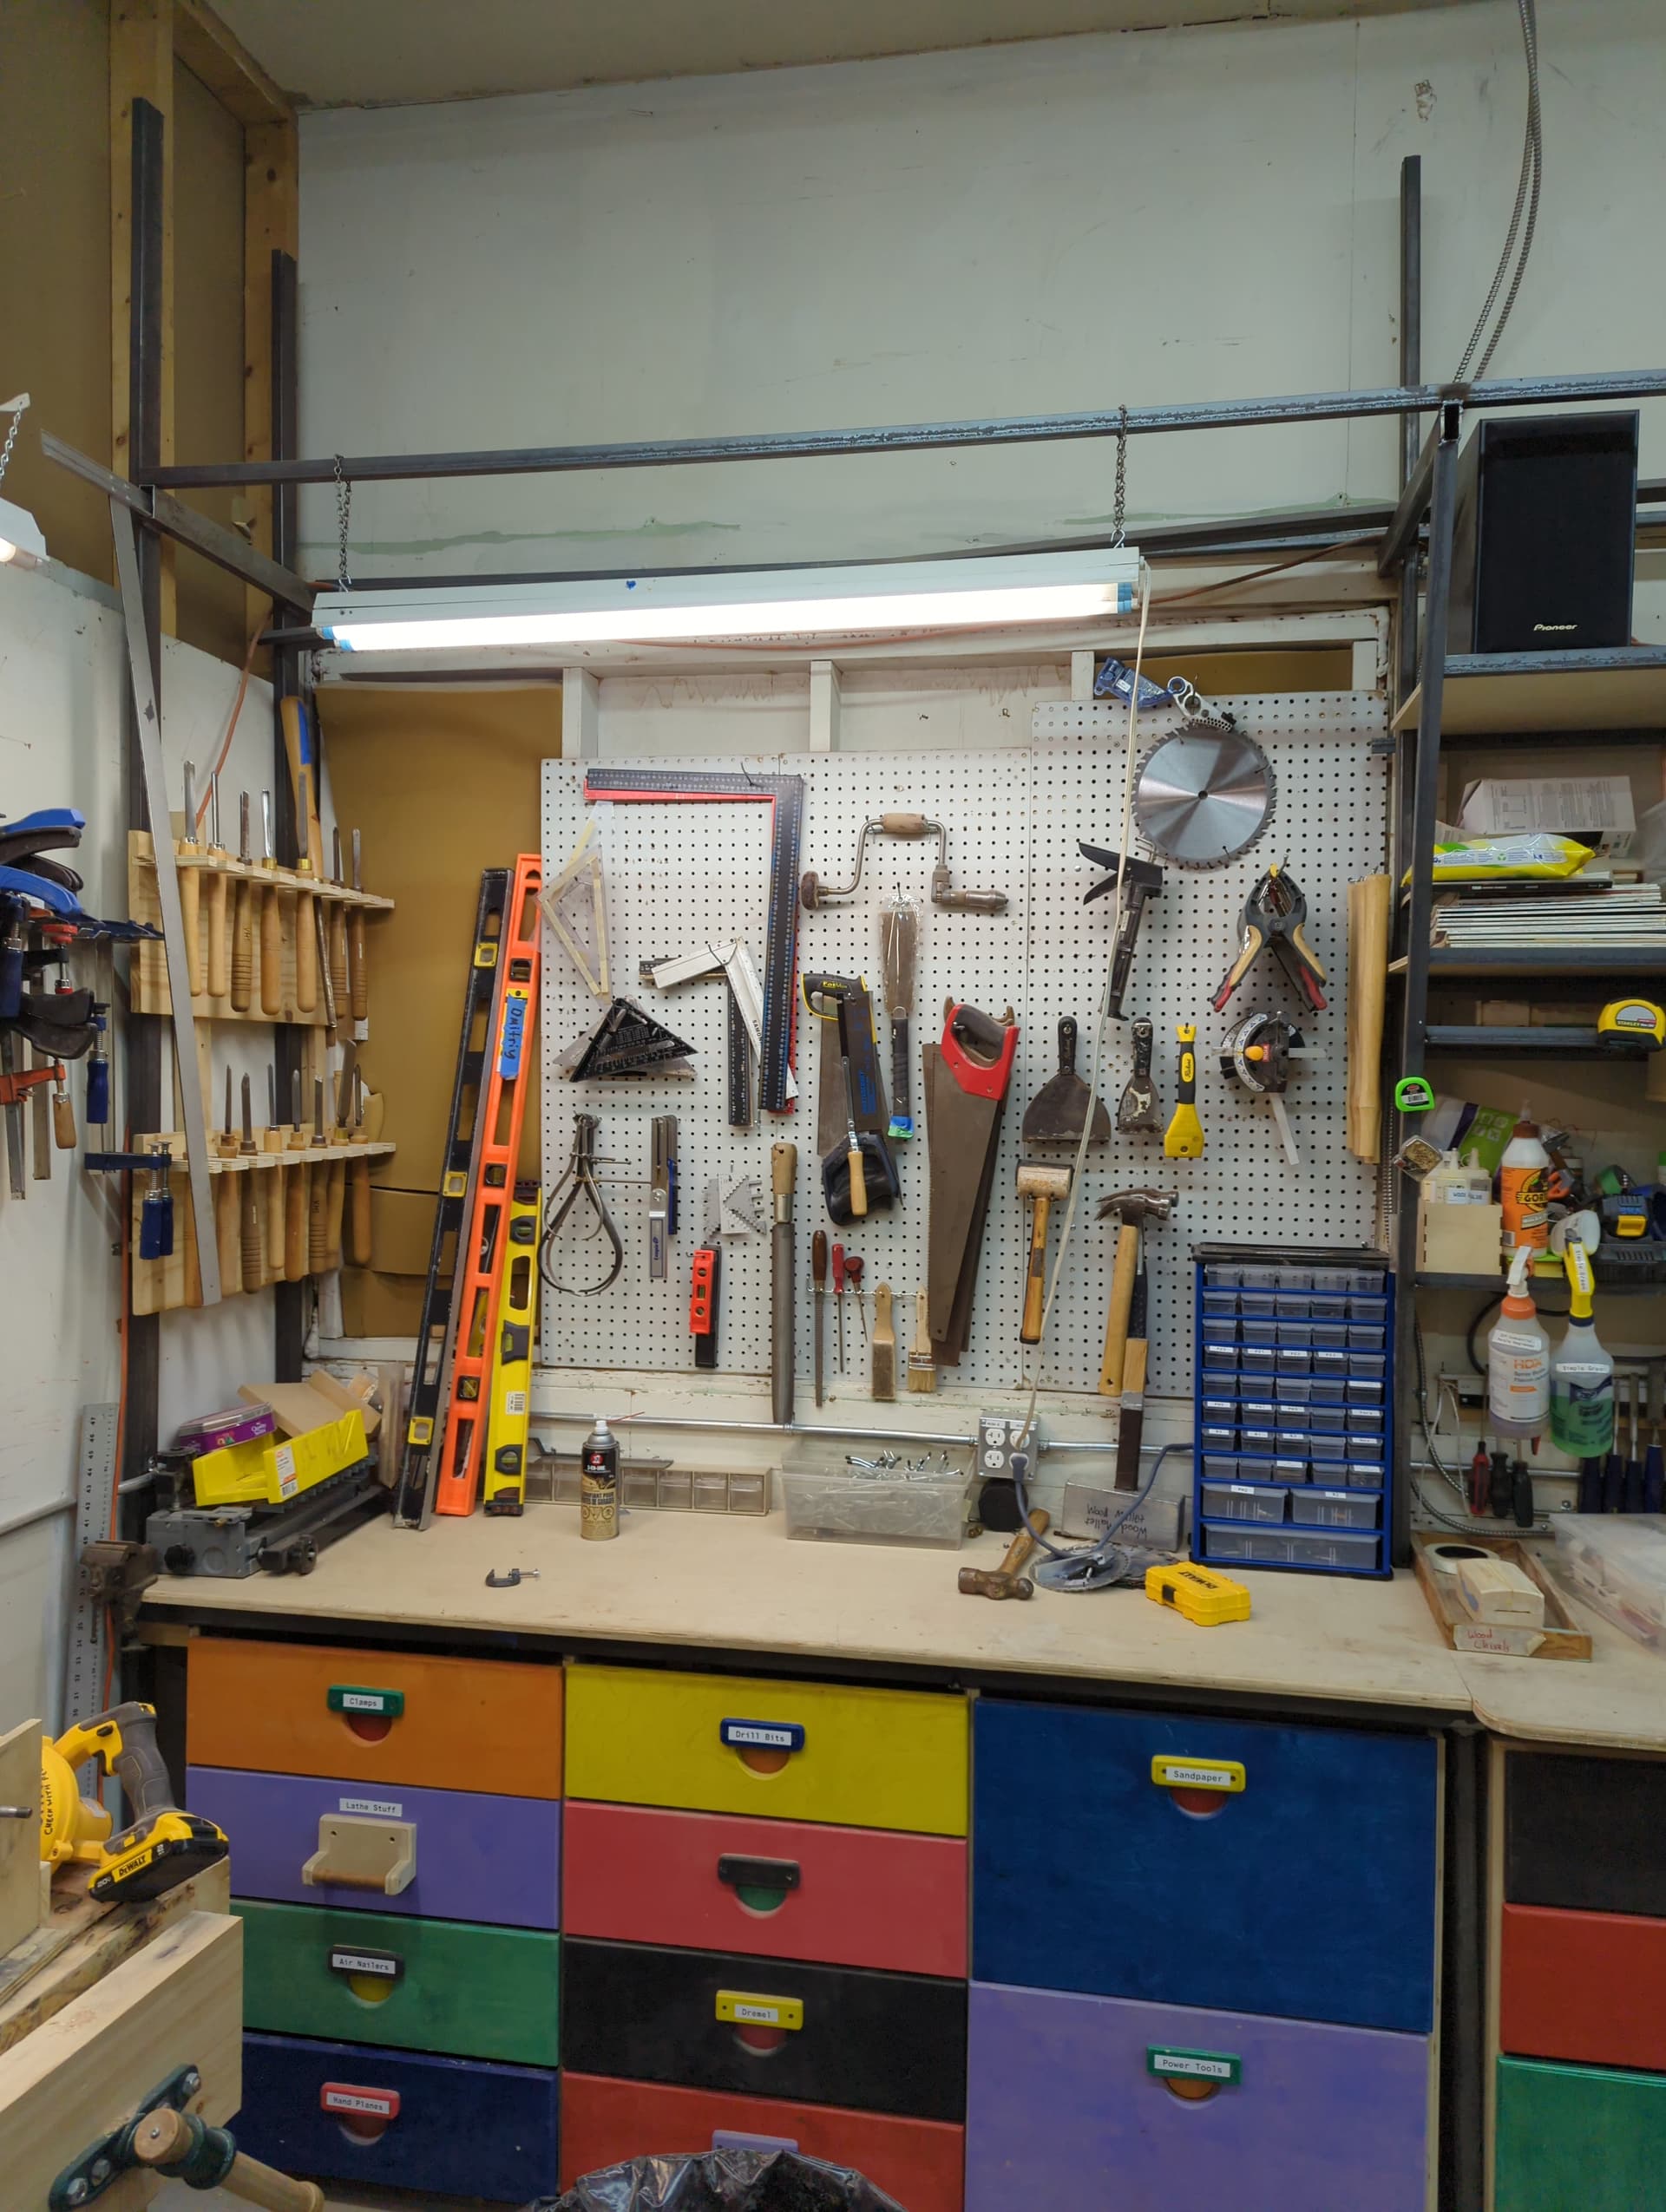
Work has started on building out a French clear wall to replace the pegboard tool holder in the woodshop. @Reuben and I have built the back wall and it was painted by @OneEdge and myself and will need to dry out overnight. sorry for taking up so much space in the dmz.
once dry we can start building out some tool holders to fit some of our tools like the hacksaws framing squares ettc… there are extra cleats we have cut out that can be used to make the tool holders and plenty of scrap plywood to give all the tools a new home. once we have a few built out we can transition from the old to the new.
I’m hoping some members will volunteer in making a tool holder or two so leave a comment here if you think you’d like to make one. some suggestions for tool holders will include:
hand saw
hammers
framing squares, speed squares
levels
files
bevel guages
callipers
etc…
feel free to suggest any that would be useful as well.
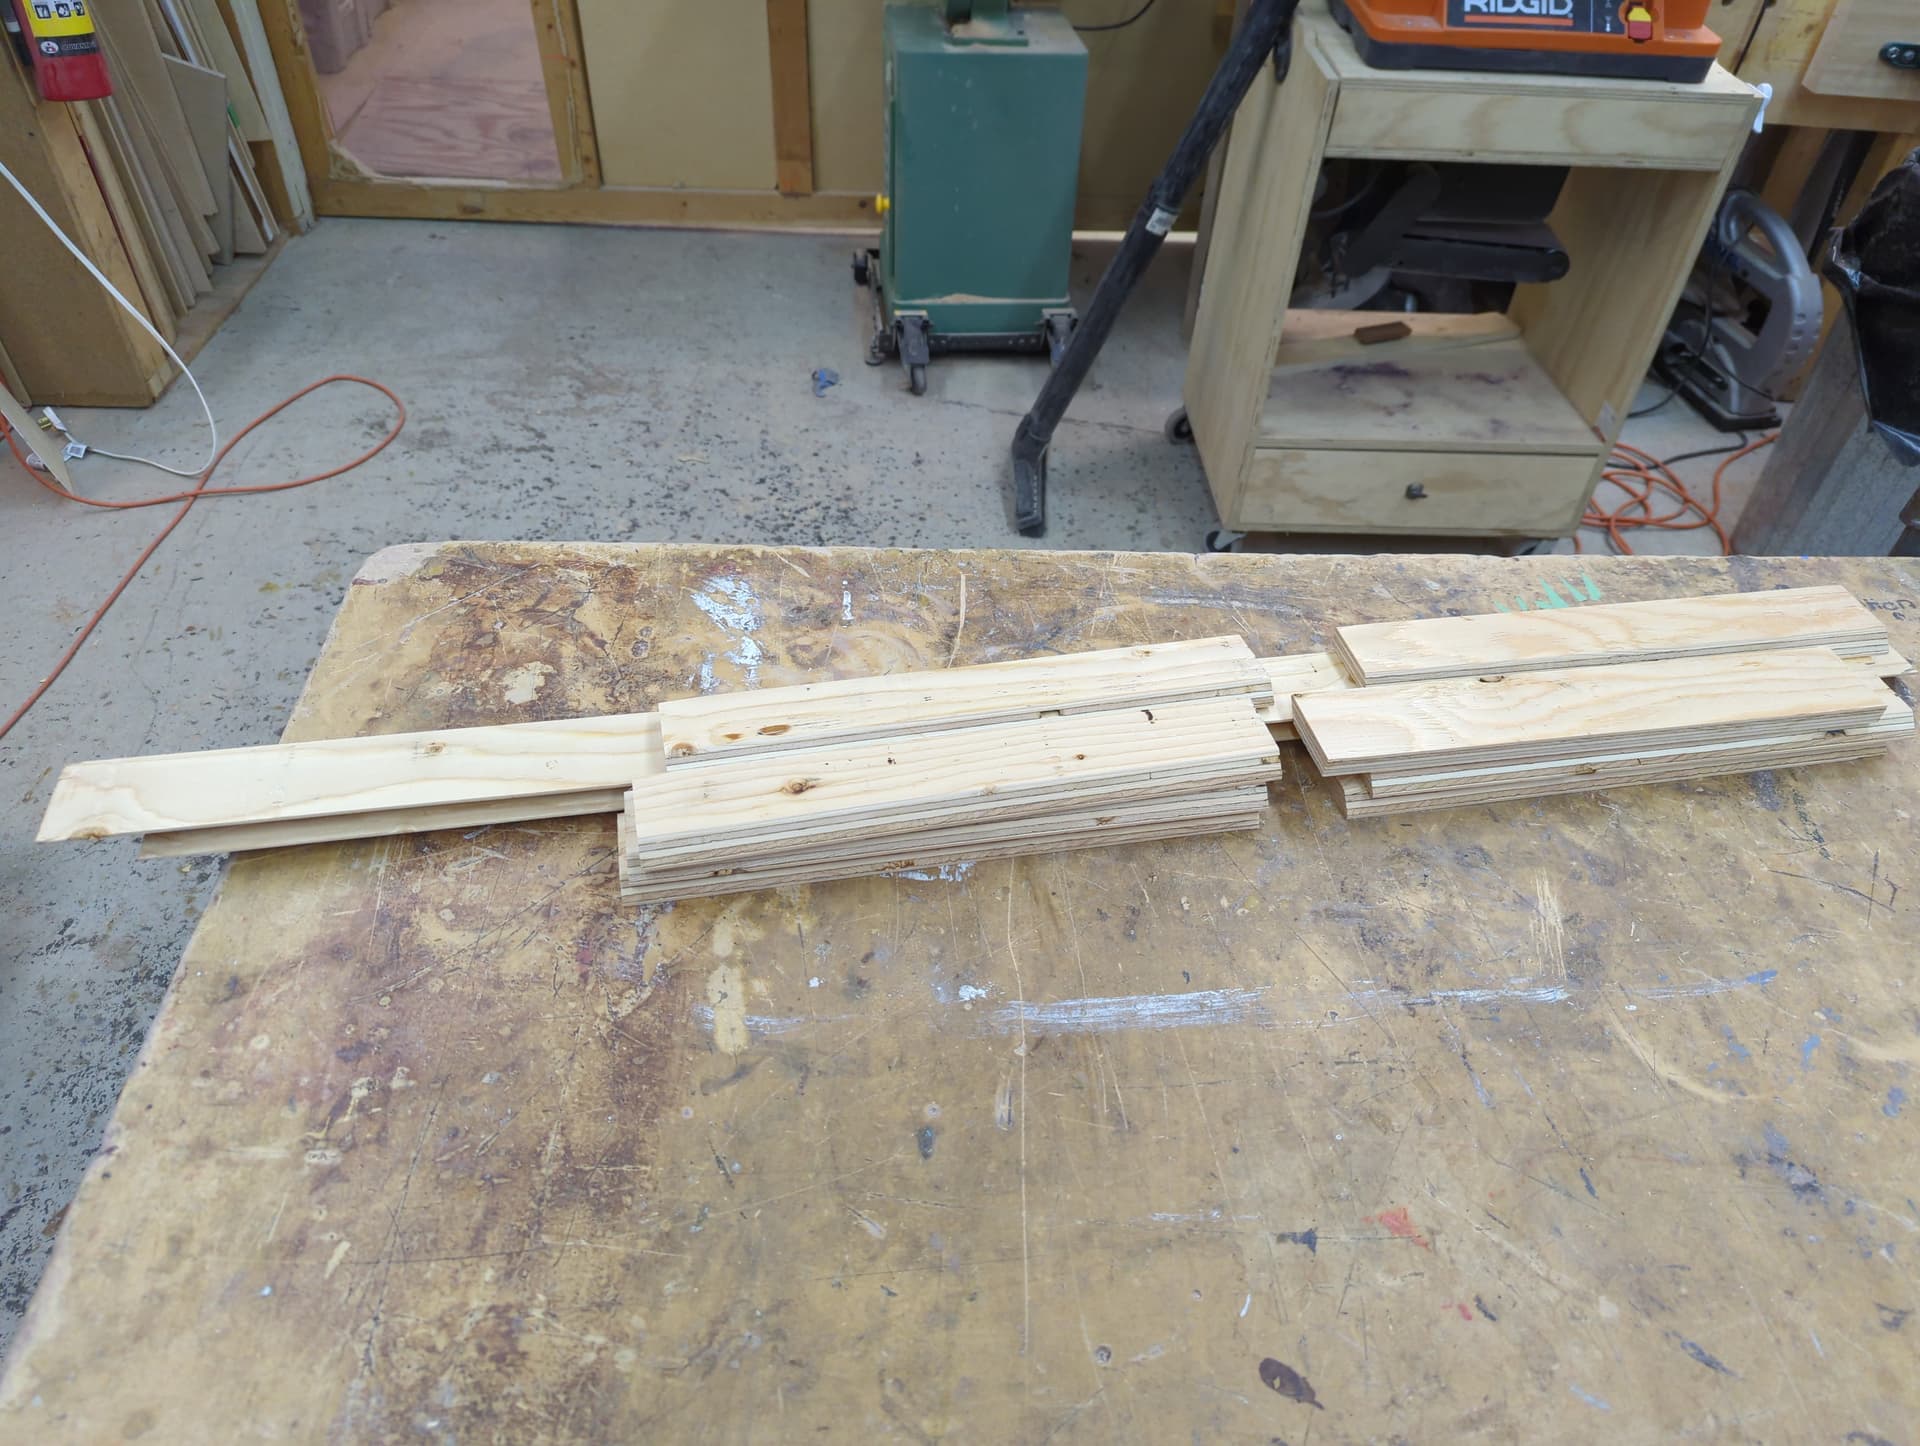
The cleats are 5/8" ply. Bevel is 45deg. Extra cleats are currently on the workbench beneath the pegboard. Cut them to the size you need and help yourself.
Each cleat is 2.5" tall. And 3" spacing between each row of cleats.
Basic requirements:
Tool holders should not be screwed directly into the wall.
Tool holders should lock into place so they don’t fall off the wall. (2 examples on how to do this are below but there are lots of other ways)
Tool holders should be labeled with what they are supposed to hold. Puns are welcomed.
Items placed on this tool wall should ideally be commonly used items.
painting is optional.
Where to get some inspiration:
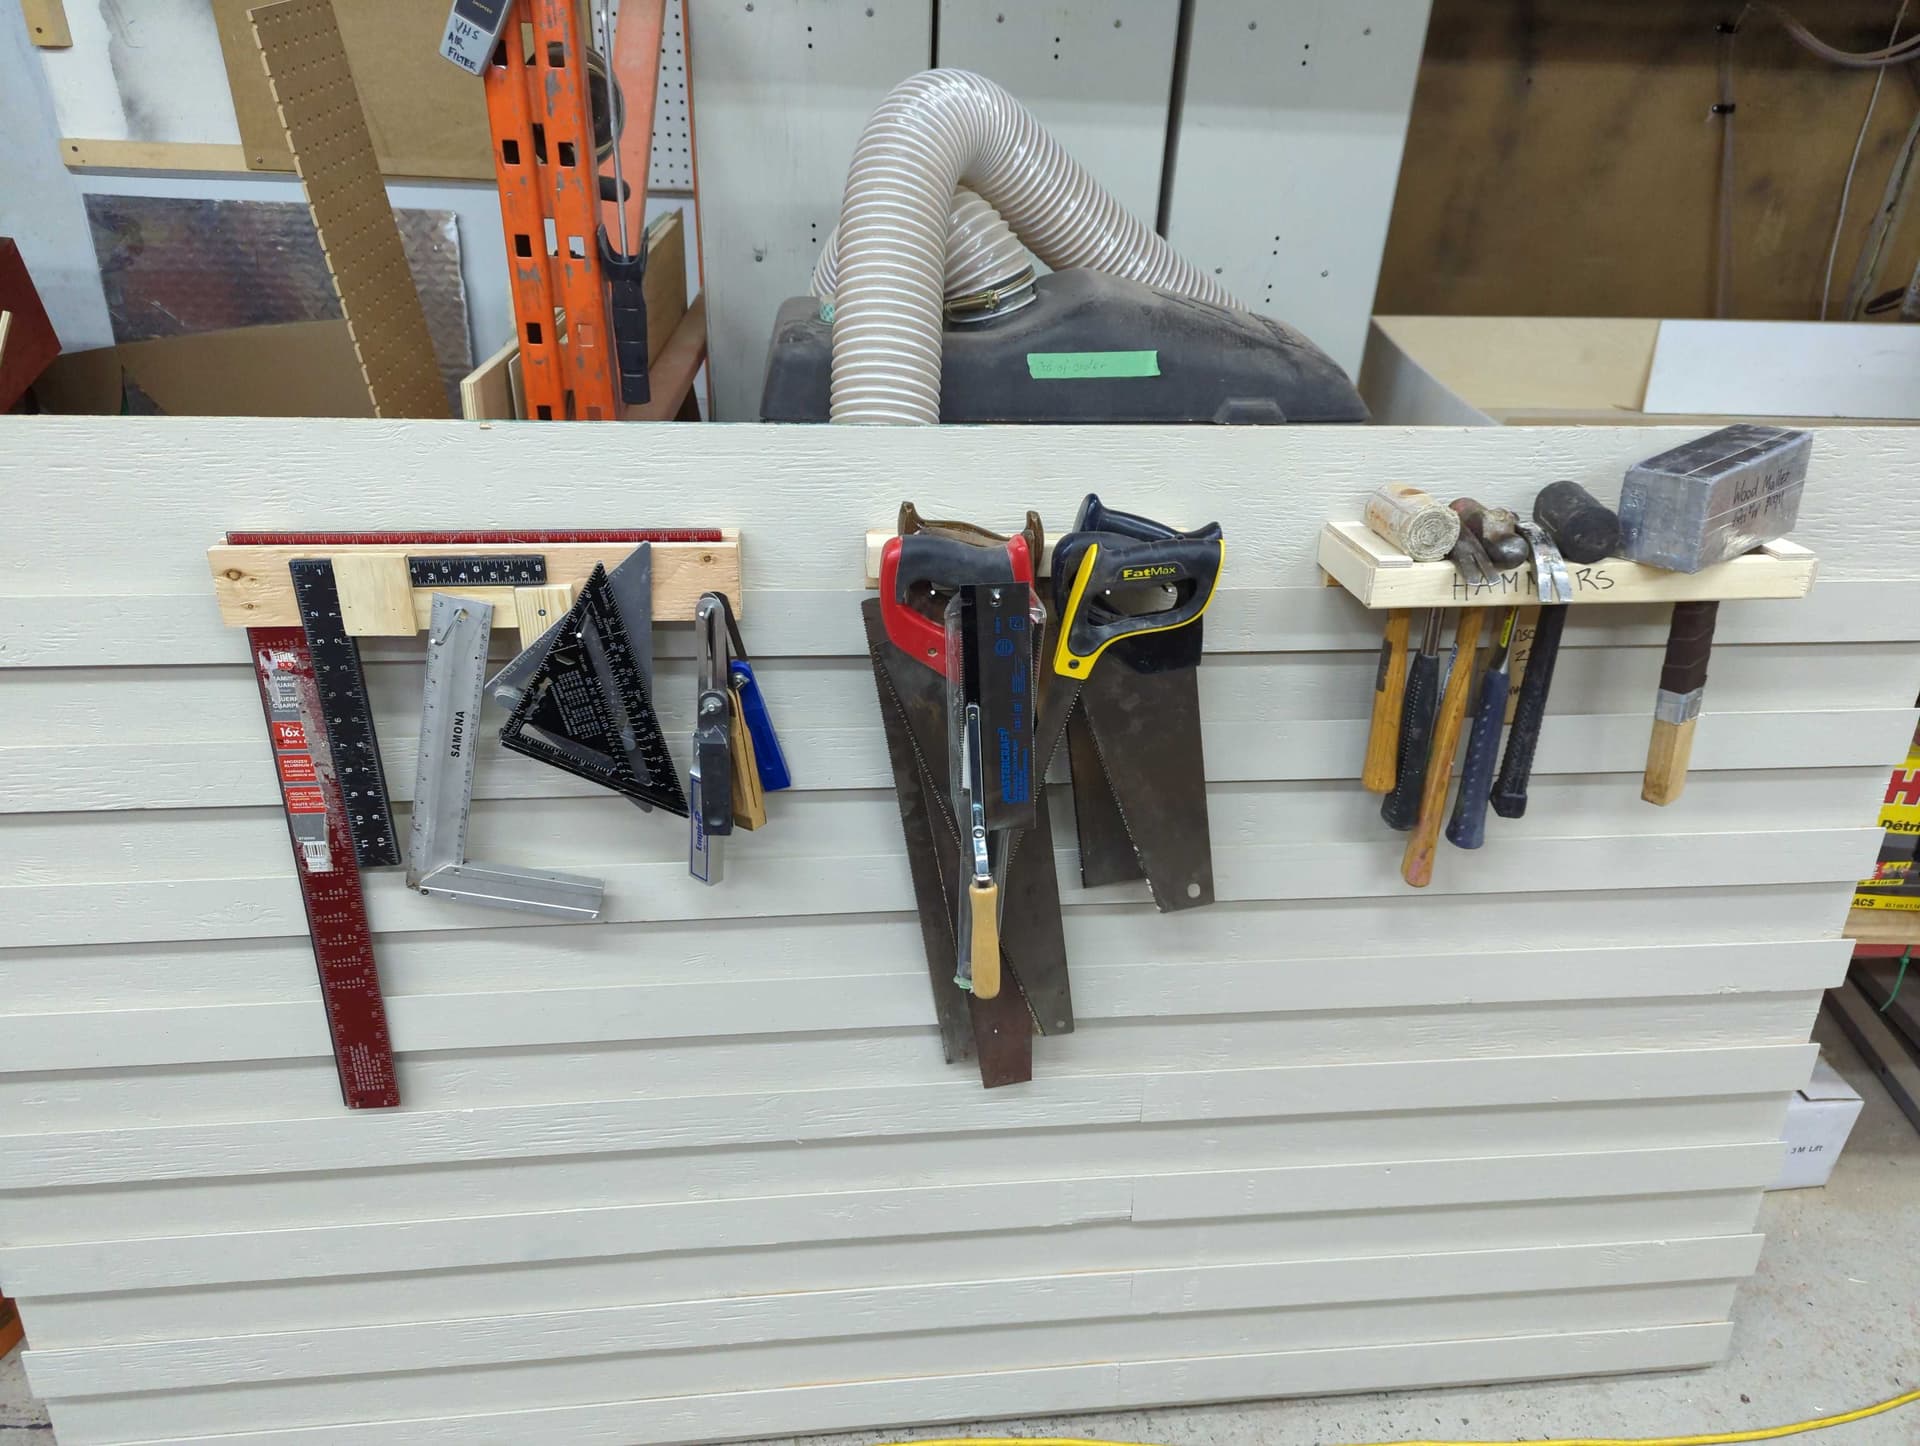
About the tool holders recently created:
Saw holder: - 10 minute build
Its pretty basic. It’s a short peice of wood with holes drilled into it. I hacked the ends off 4 of the peg board holders and hammered them into the holes. A rabbit was cut out of the back for a piece of MDF that extends below the rail with 2 small blocks. One of the blocks is brad nailed into the mdf. The second block has a screw accessible from the front that can be removed to pull the tool holder off the wall.
Hammer Holder: - 40 minute build (only because my wood split on me and i had to remake it)
A 2x4 ripped down the middle with some blocks on either end to create space for the handles. These were attached to the cleats in the back. 1/4 inch plywood was used to help reinforce the end pieces since screws probably split my initial prototype. Again a rabbit was cut for a MDF peice that extends below the rail and 2 blocks will lock the tool holder in place. This is a good reference on how to lock the tool holder to the rail. time to make: 40 minutes (only because on v1 my wood split on me, otherwise 20 minutes)
Framing Squares/Speed Squares: - 30 minute build
This one was made with different thicknesses of plywood stacked and brad nailed together. The back side will hold the larger framing squares and the front one will hold the smaller ones. I used 3 more of the peg board holders to for additional places to hang a few other tools optimizing space. This one is locked into place with a small piece of 2x4 that was cut to act like a bracket and a single screw holds it to the bottom of the rail.