How is the fit between the bearings and rods you ordered? Would you say they are: great, good value, so-so, or wish I ordered something else?
I don’t have a lot of experience with linear bearing or rods before this.
My unskilled and inexperienced opinion of them is that they fit well with the rods, but don’r run back and forth as smooth as I would have expected to.
That was my feeling too, even with plenty of lubricant I was disappointed… (I’m sure there is a rude joke there somewhere but I’ll refrain).
1 Like
I printed the first versions of the all the parts, Learned a bunch and started on the next iterations of the 3D printed parts.
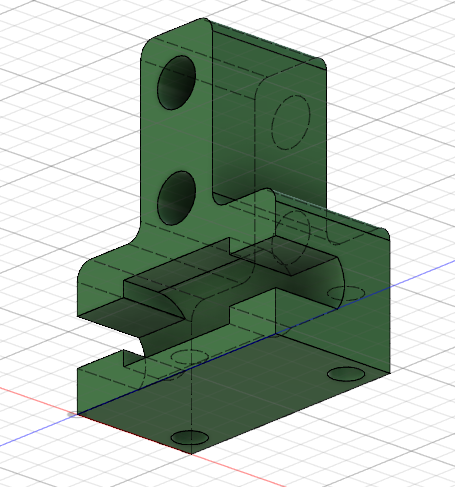
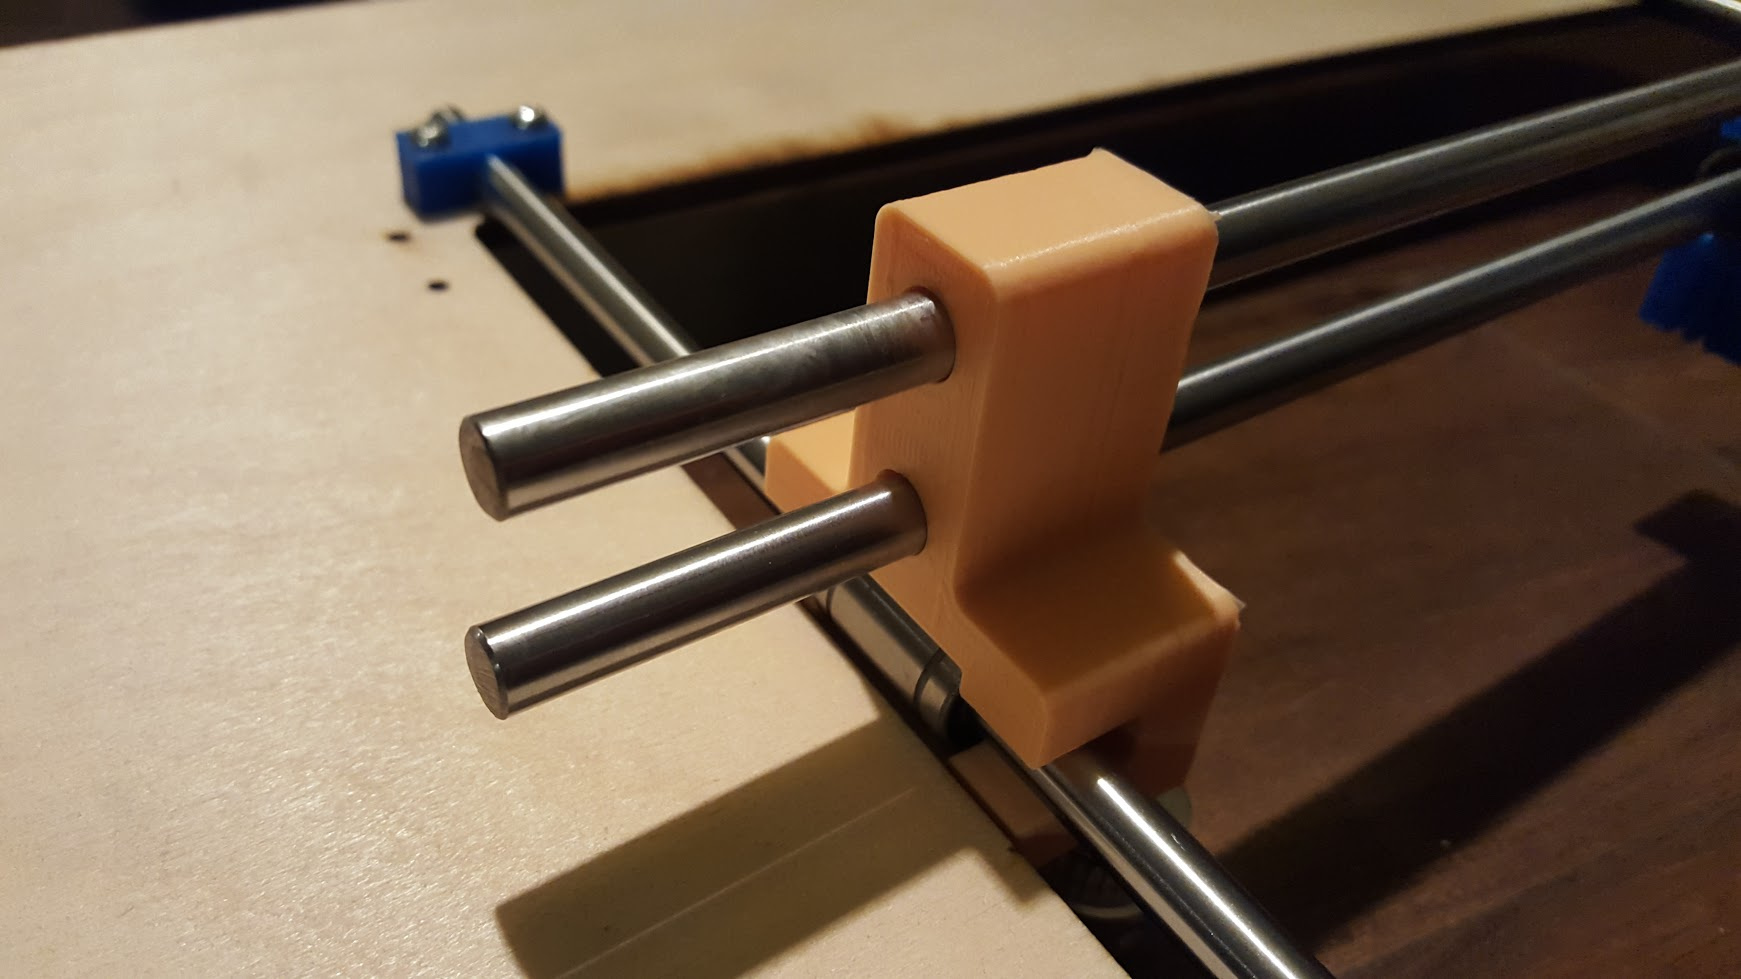
Rod Connector
The overhang are too steep of an angle to print correctly.
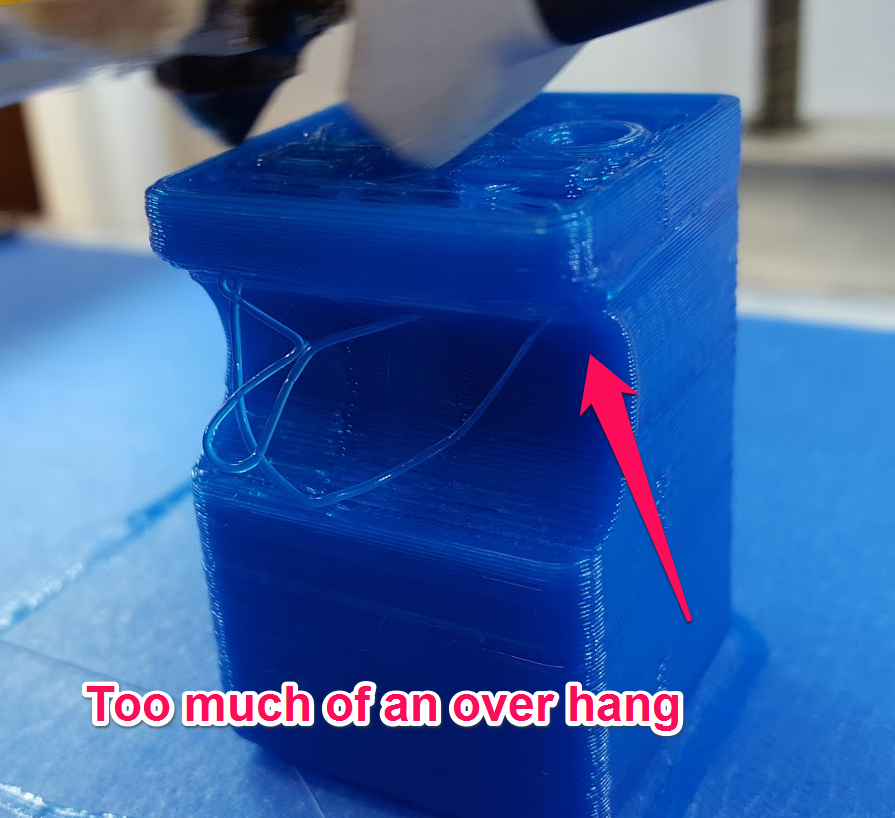
i was planning on using a cable tie to lock the linear bearing in place. This was a crap solution and I ended up redesigning the part from scratch.
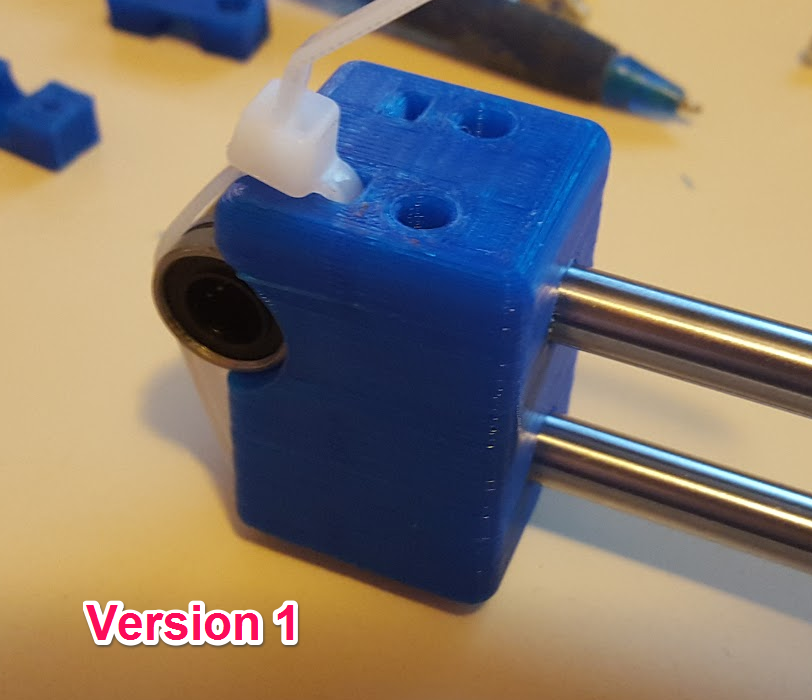
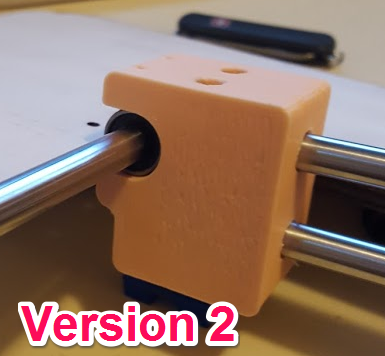
This is version 2, better but I think can still improve on it.
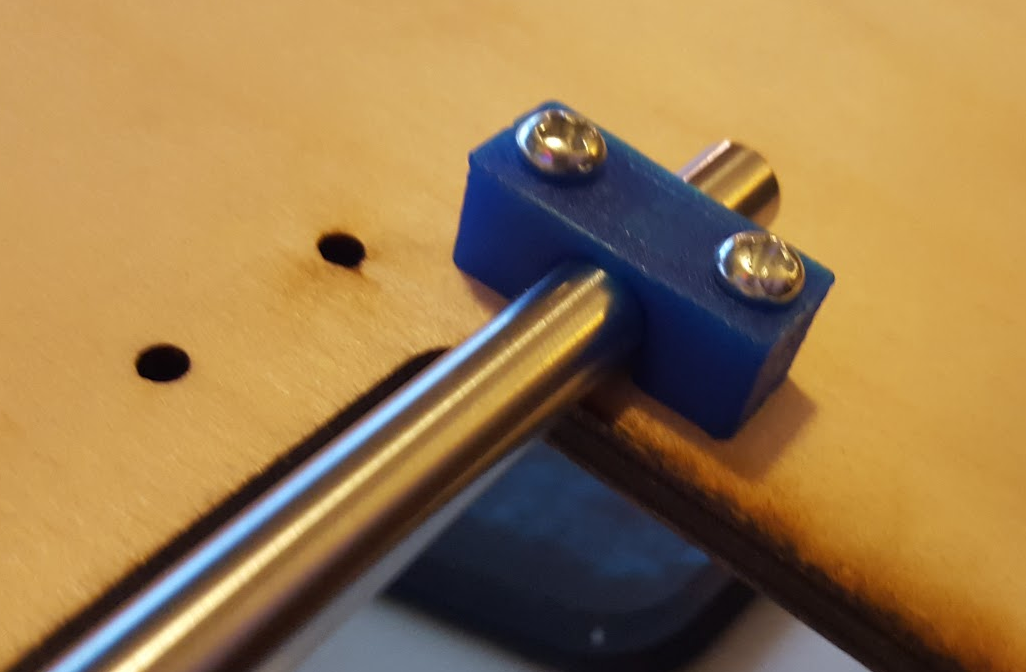
Rod mounts
These worked great, I might counter sink the bolt just to be fancy.
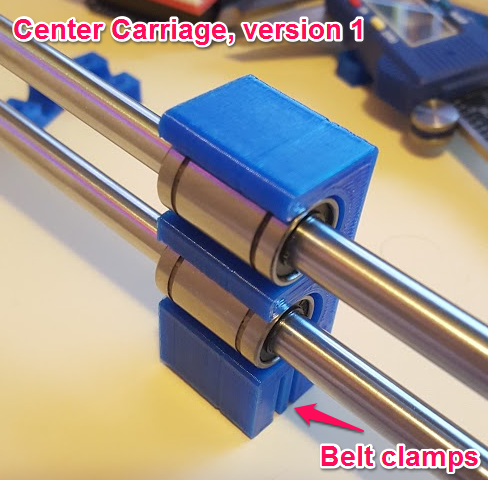
Center Carriage
This worked okay, I still need to add the 2020 rail mount on the back side. The linear bearings mounts and timing belt clamps worked well.
Main board.
Oops, I cut the main board too short in the Y axis. This happens because I didn’t place all the parts together into an assembly in Fusion360 before I started cutting things. I knew there was a possibility of this but I didn’t think that it would be this far off.
There are two ways to resolve this issue. I could redesign the rod connectors to allow the rods to pass thought the connectors, or I can re cut the main board to the right size. I am planning on redesign the rod connectors because it would allow me to use any size rods in the future, and I don’t have any more wood at VHS to cut the main board out of.
Suggestions, comments always welcome.
2 Likes
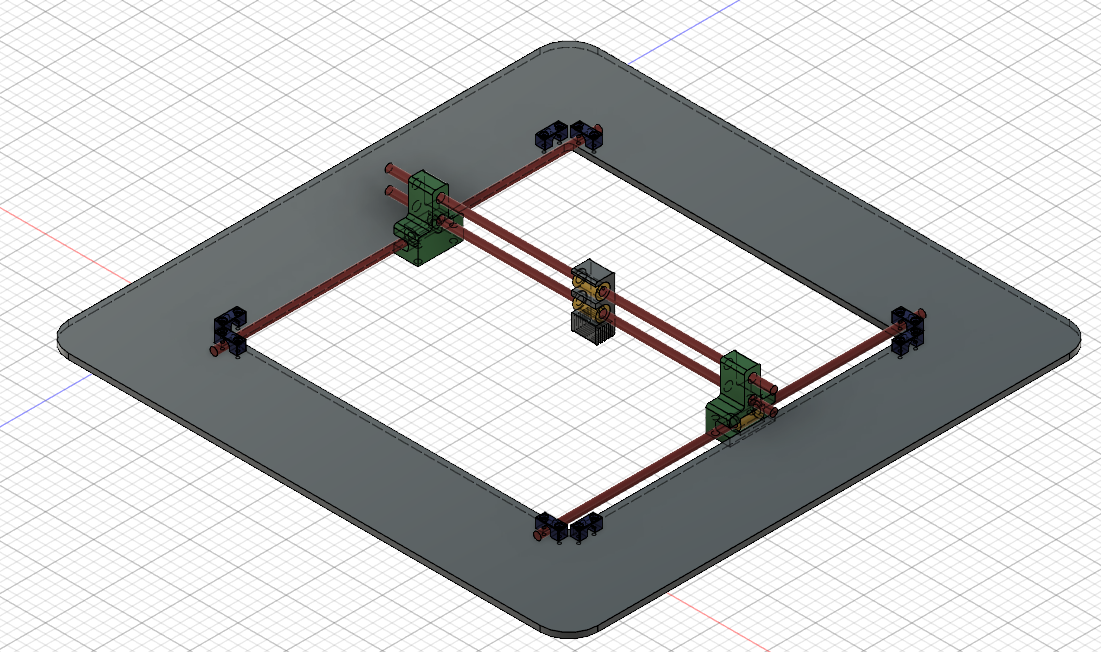
Created an assembly of the broken version I have now.
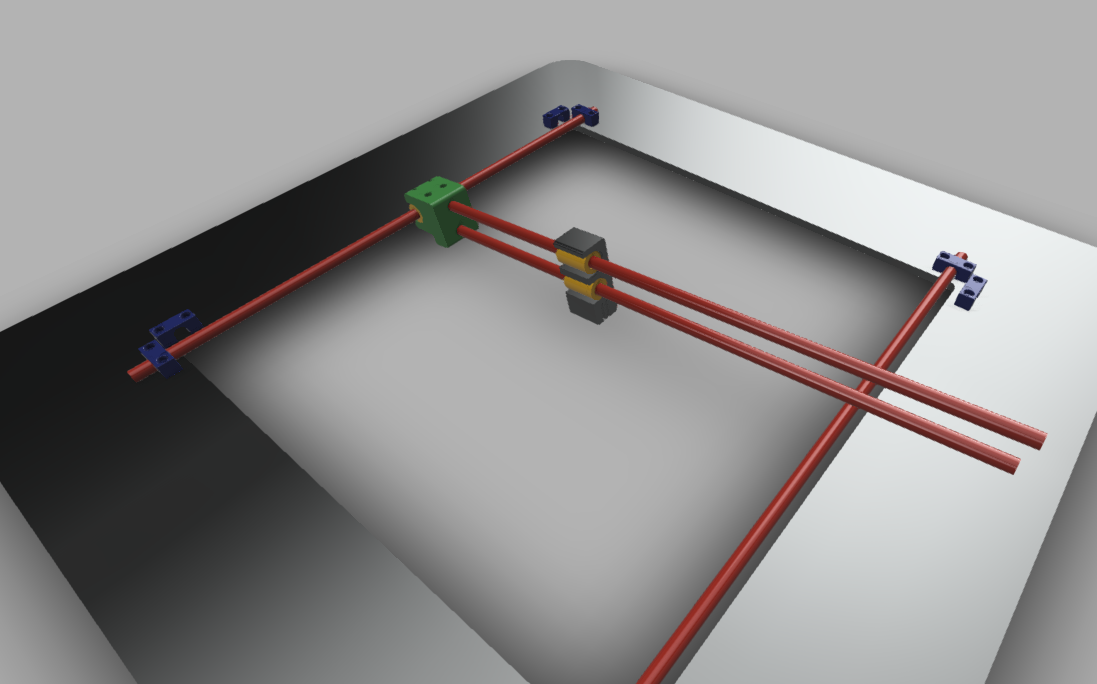
Creating joins and testing motion is awesome (aww inspiring) in Fusion360
I used this tutorial when making the joins
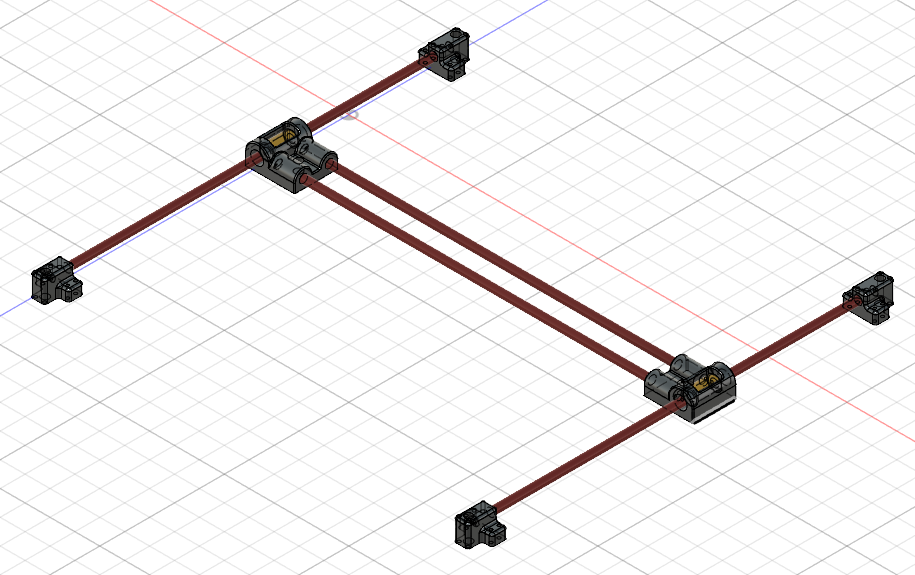
Here is a virtual model
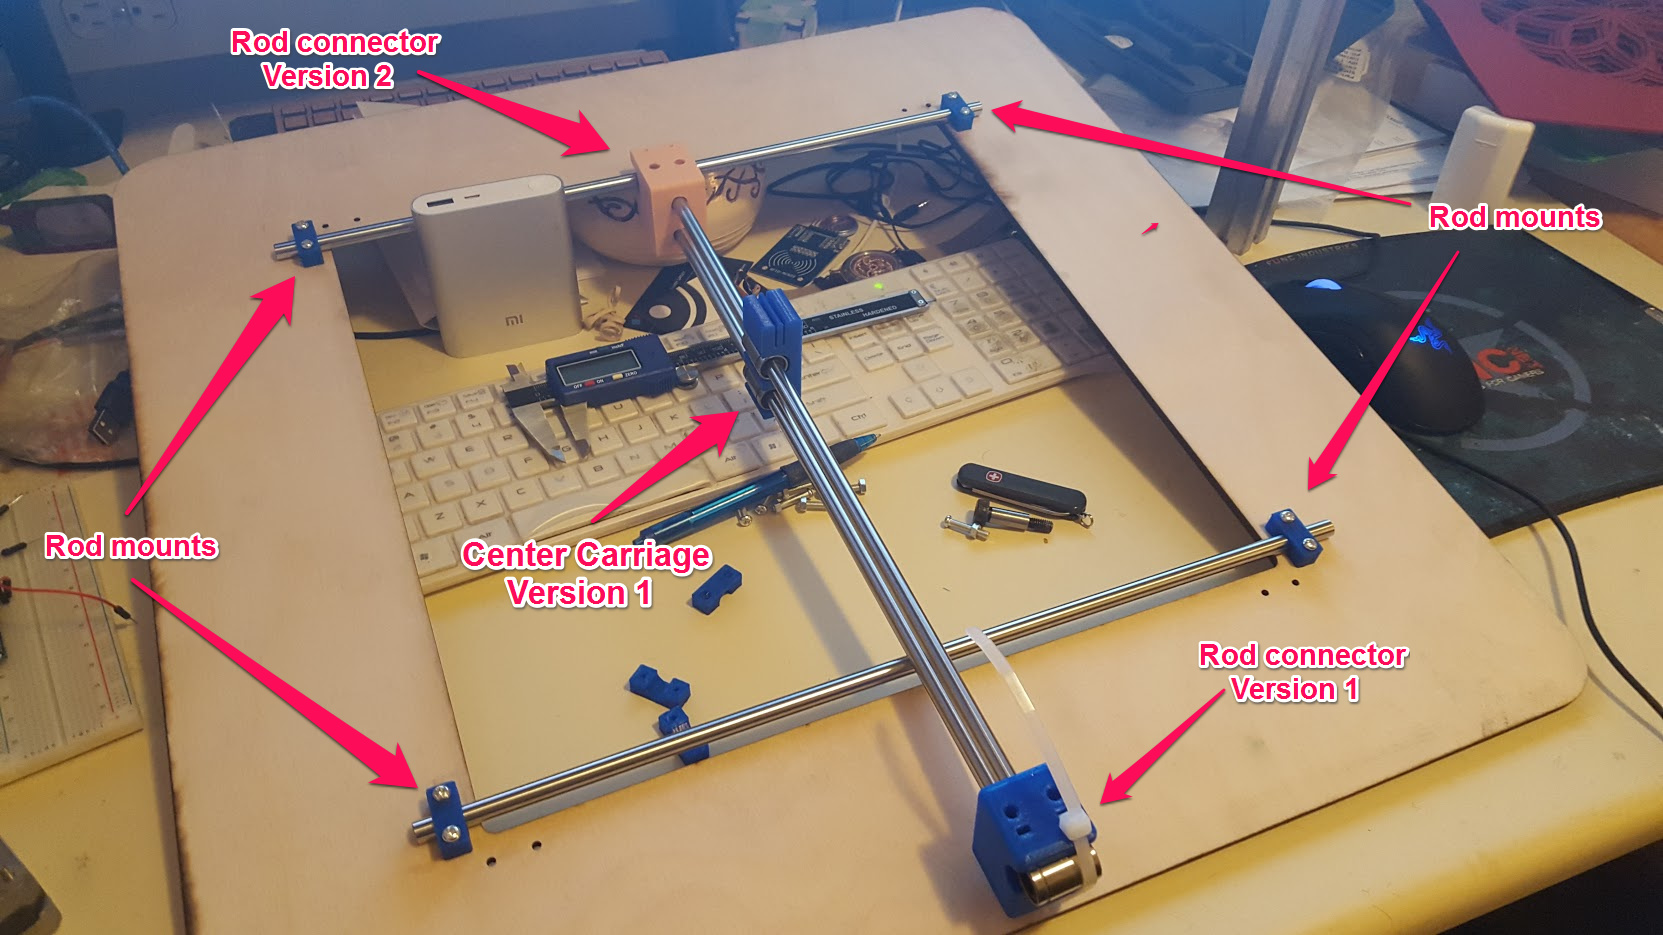
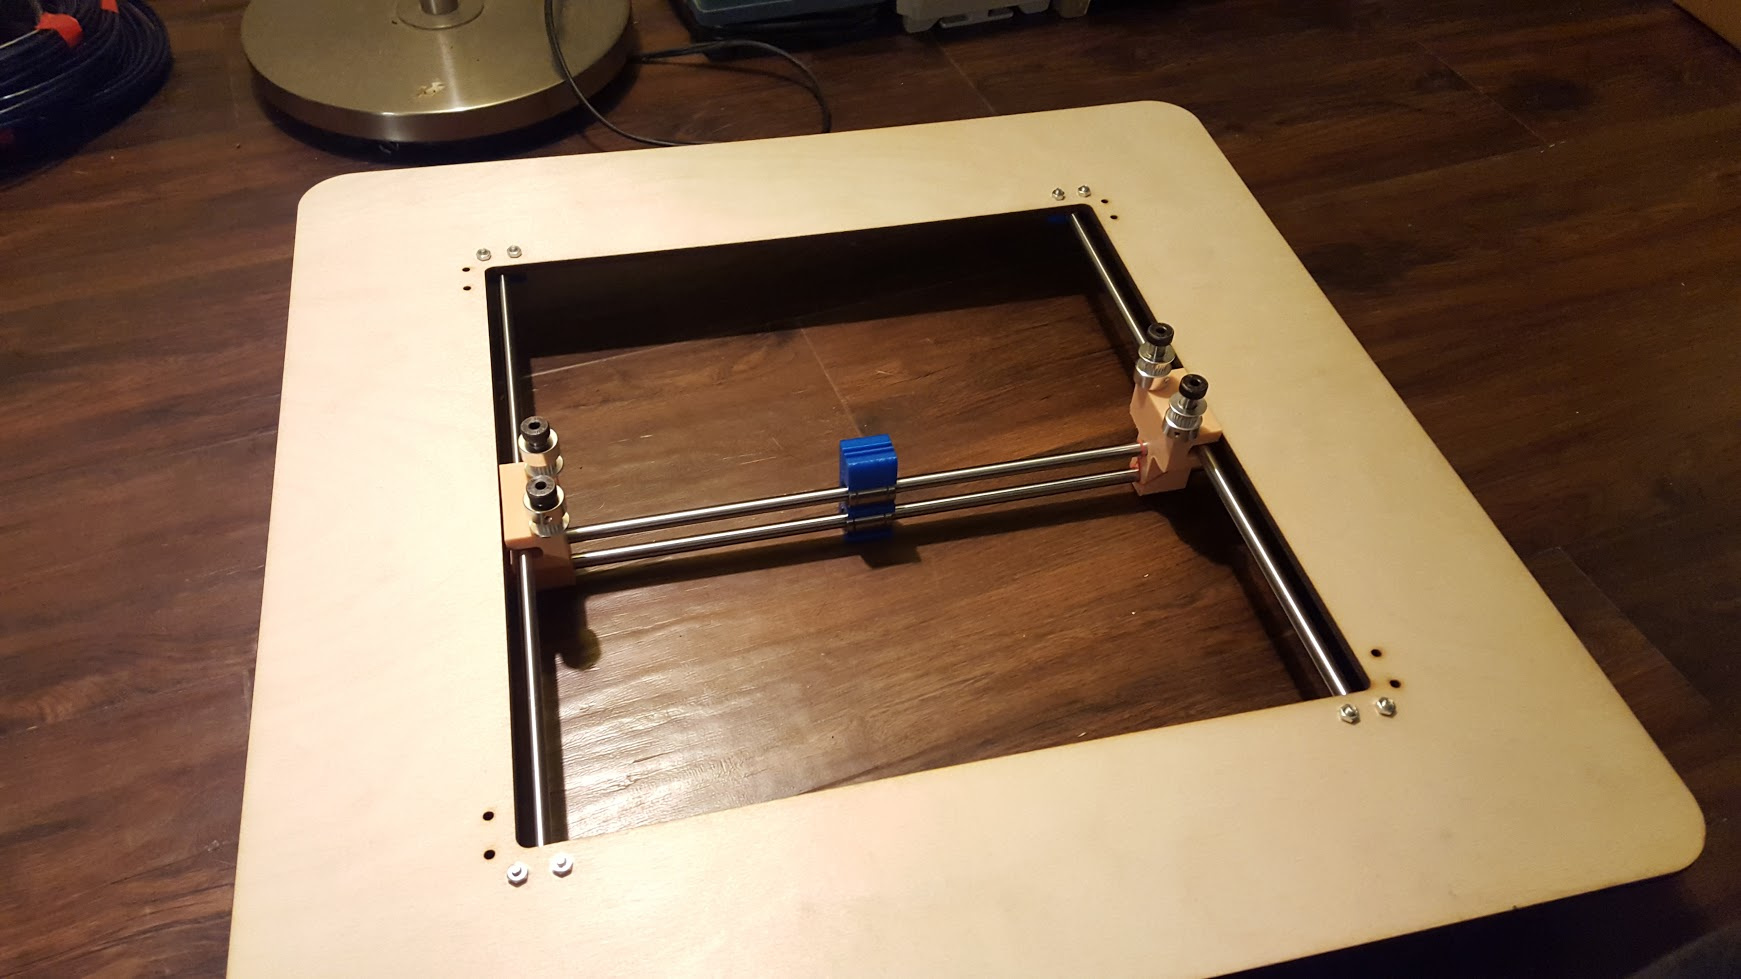
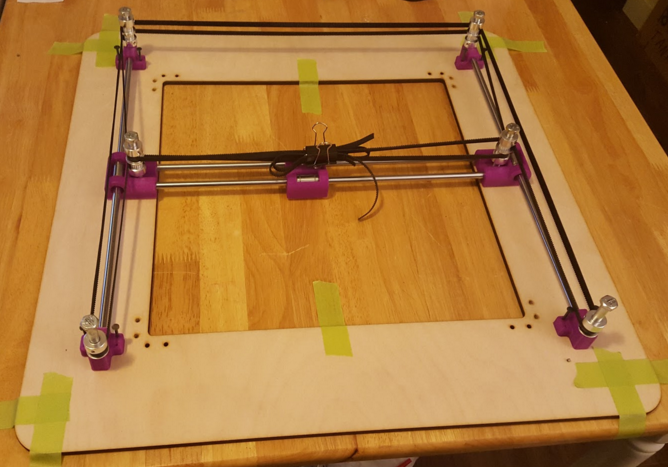
Here is a photo of its current state.
3 Likes
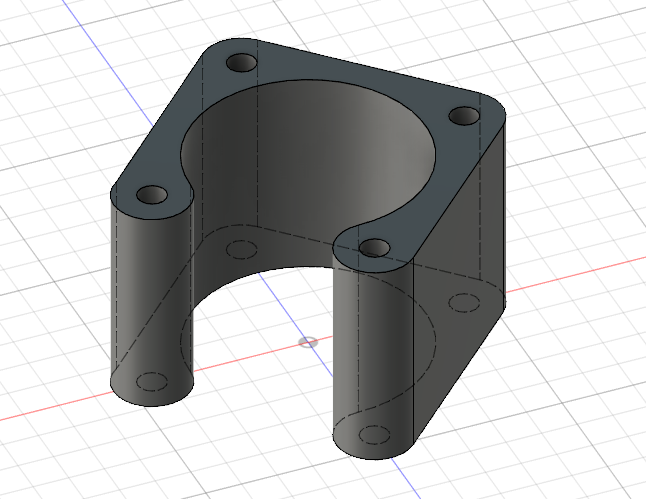
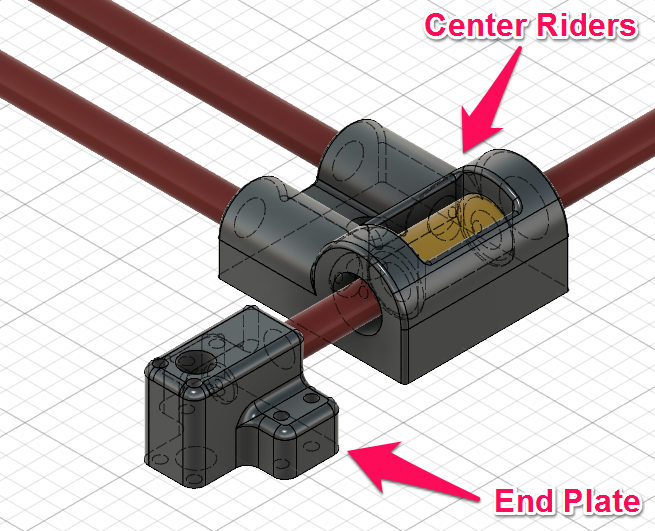
Redesigned through hole rod connectors.
These work but I think I will ended up cutting a new main board. This will allow me to redesign the rod connectors to be more compact with end caps.
Updated assembly
idler pulley
I must be doing something wrong here. They don’t move very smoothly, I have some plain ball bearings I am going to try instead.
Next up is the stepper motor mounts.
I designed these to be 3D printed but I am thinking it might be easier to use some small pipe with long screws instead.
The 3D printing of the parts is really slowing me down. it takes about an hour to print each part. I am going to try to think of more ways that I can laser cut the parts instead of using the 3D printer.
3 Likes

5 Likes
Sorry to gravedig this but this is exactly what I was looking at: Building my own or buying one off aliexpress. I am mostly curious though: what is the speed of this? I am looking to cut card stock but I am going to need to cut like 300 pages a month (which maybe I can stack some and do multiple layers at once to cut down on that).
Specifically @funvill now that you have been a laser cutter owner for a year now at least (presumably) any feedback that you could give me in what I should be looking at on Aliexpress for specs or things would be appreciated.
I would check out http://openbuilds.org/?category=laser-cutter-builds&id=304 for some really good build guides and info.
Funvill will be at Maker Faire. Swing by and say hi. I’m sure he’d love to tell you about it.
Have a look at Good Enough CNC, Hybrid CNC
from Luka Mustafa’s talk at VHS.
Best,
RK
1 Like
This topic was automatically closed 90 days after the last reply. New replies are no longer allowed.