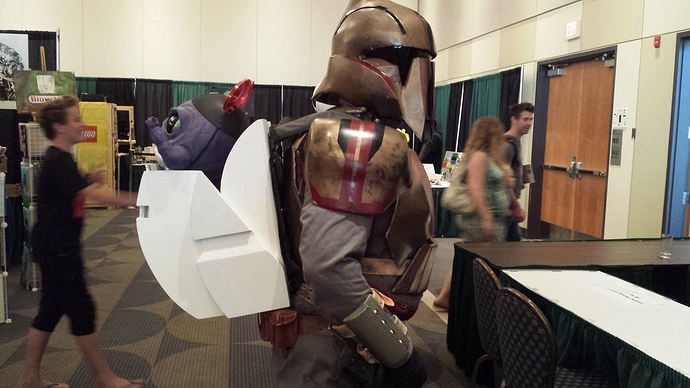
This one is from few months ago but a friend recently saw this one and thought it was neat, and it just came up in discussion on Slack this morning, so I figured I’d share it here.
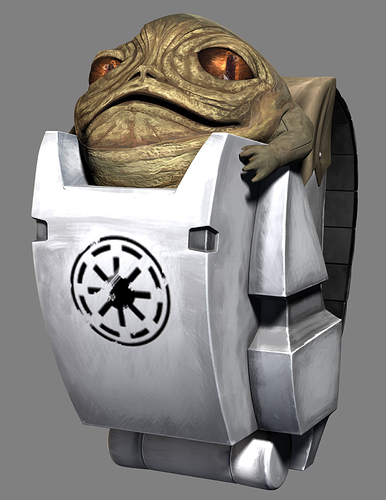
I set out to build a backpack inspired by the one that is worn by Asokah Tano in The Clone Wars cartoon series when they rescue Stinky, the baby Hutt. I know, most of you have no clue what i am talking about. It looks like this:
I took a series of screenshots that I found online and used those to recreate the backpack in OnShape.
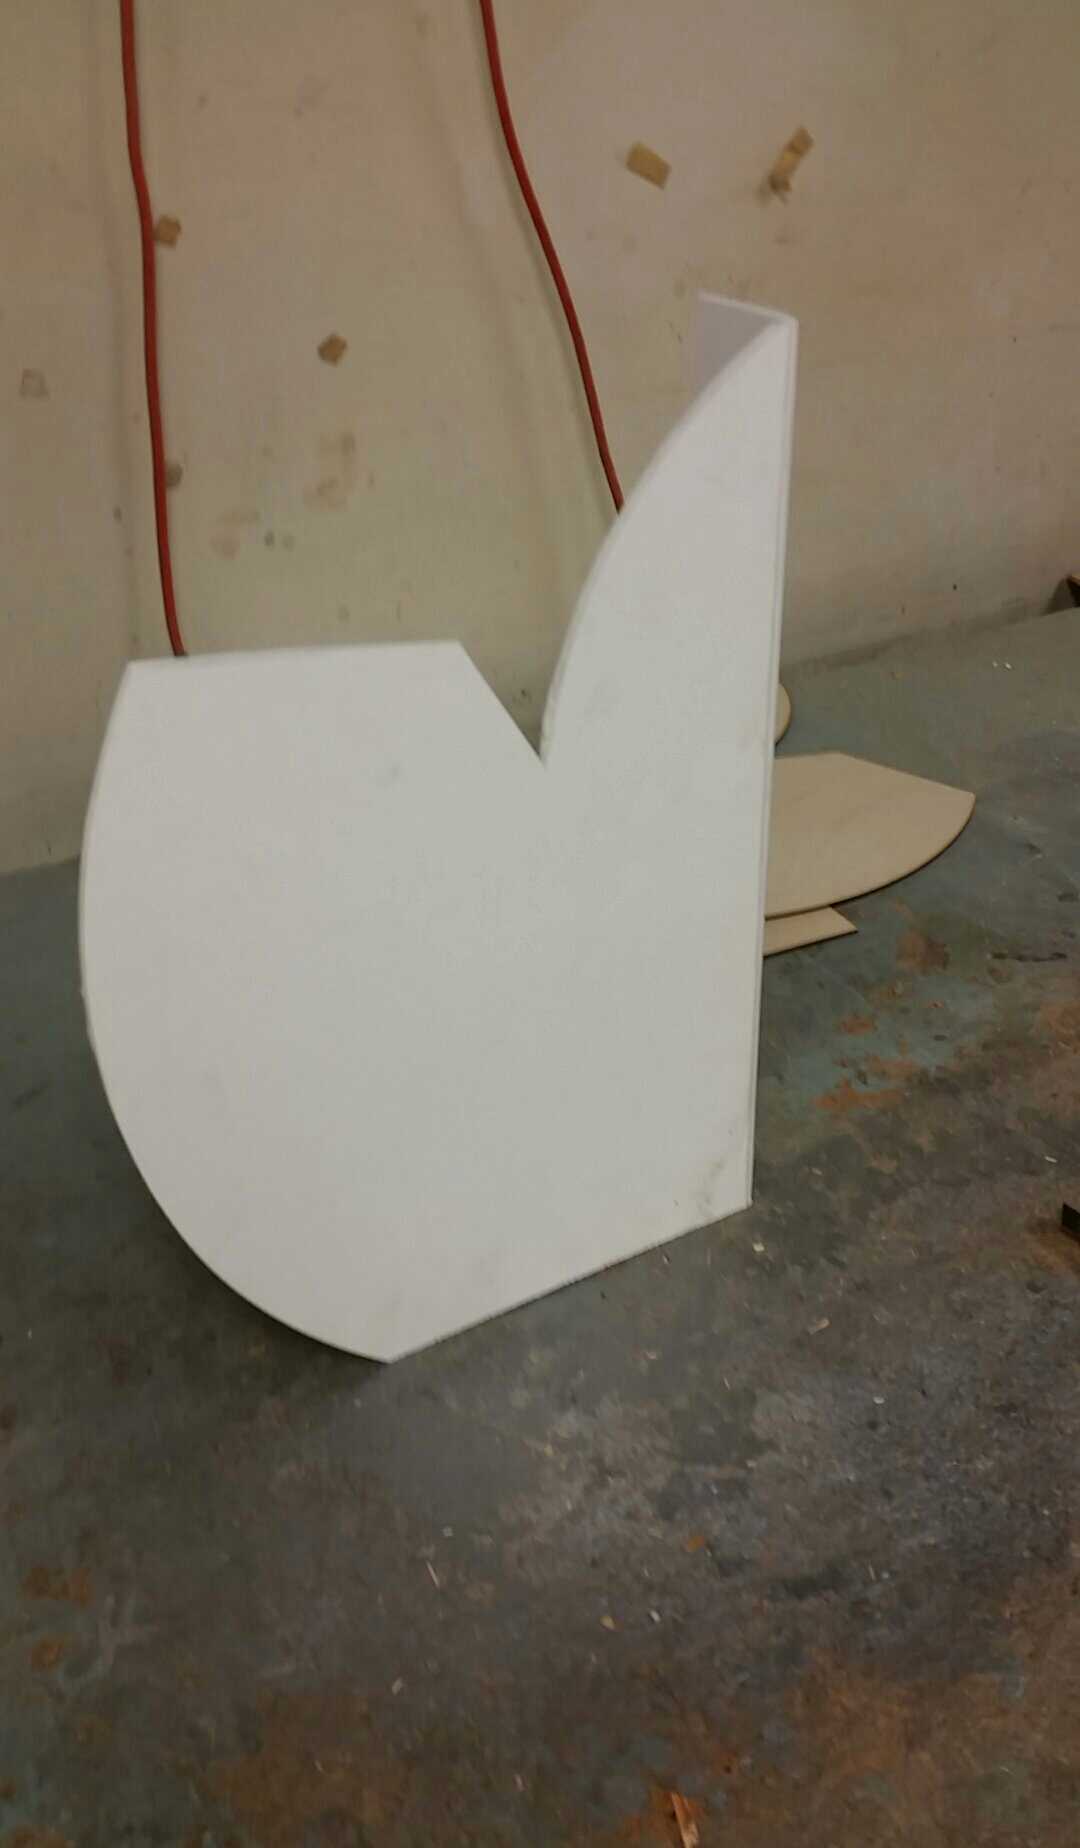
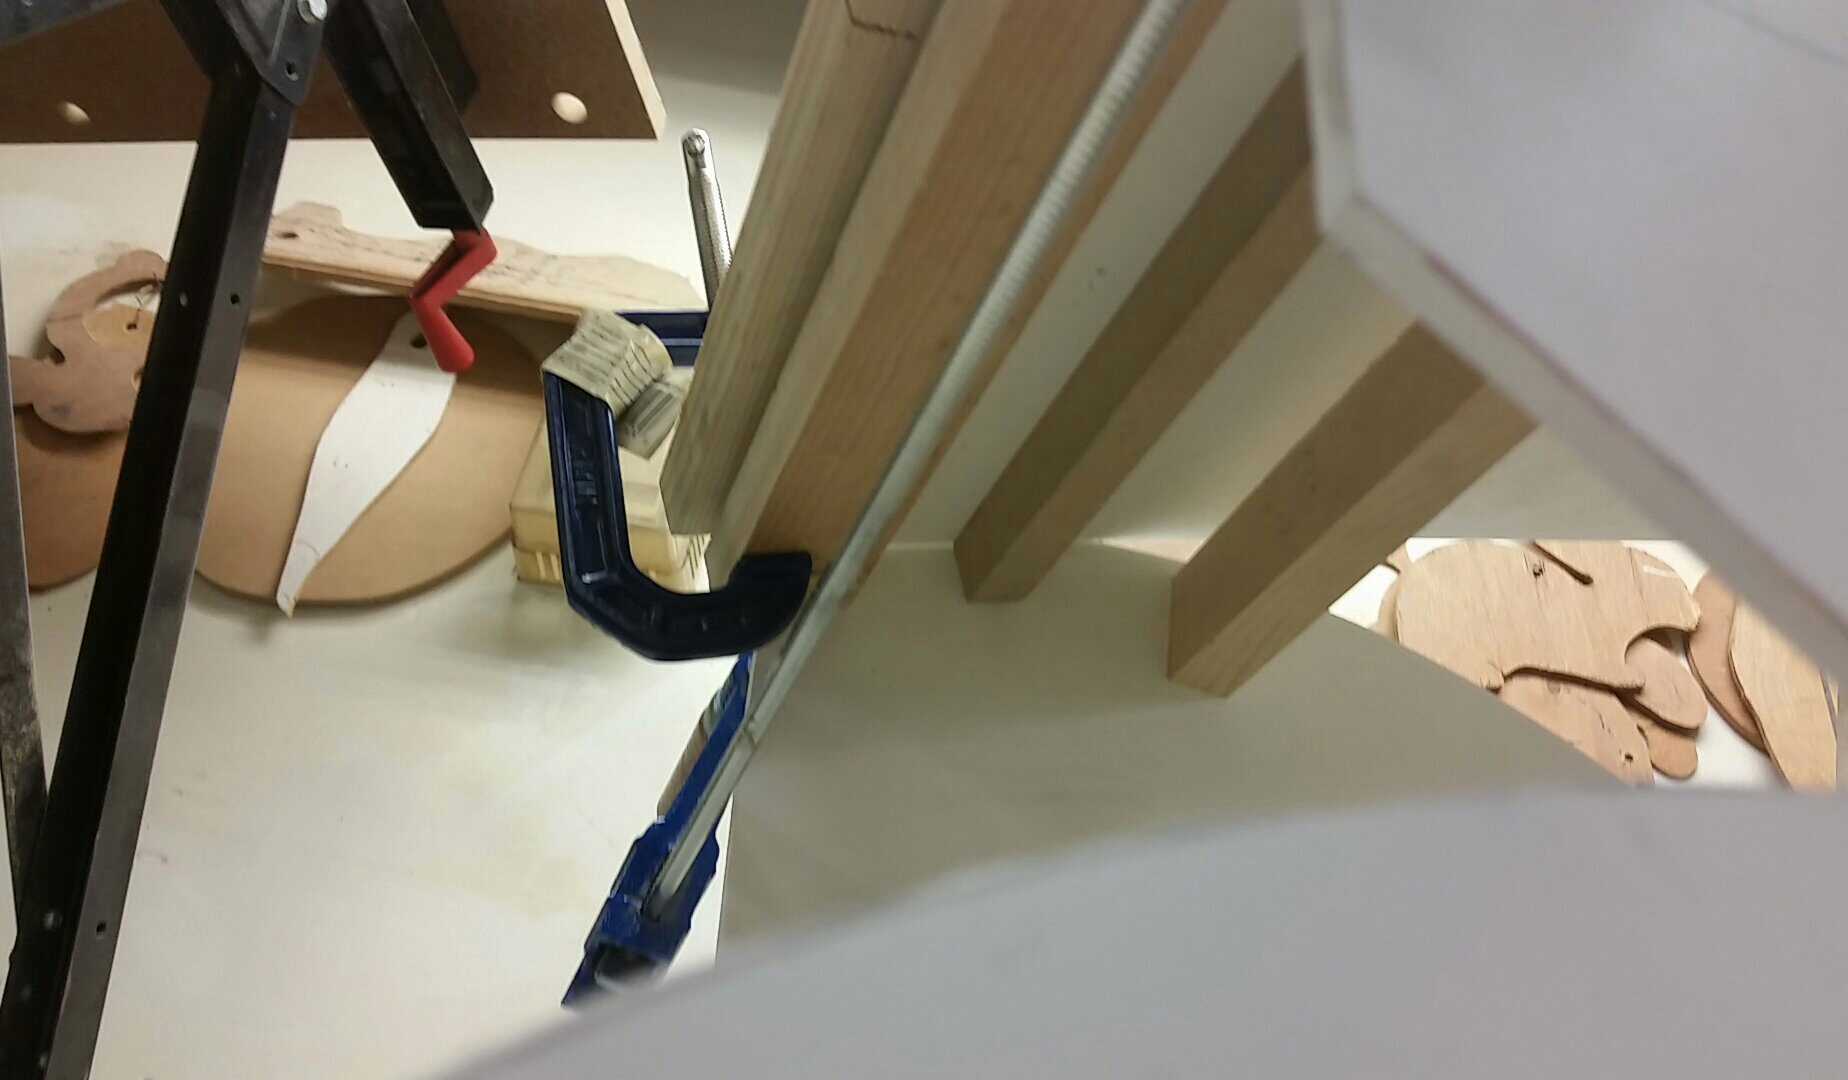
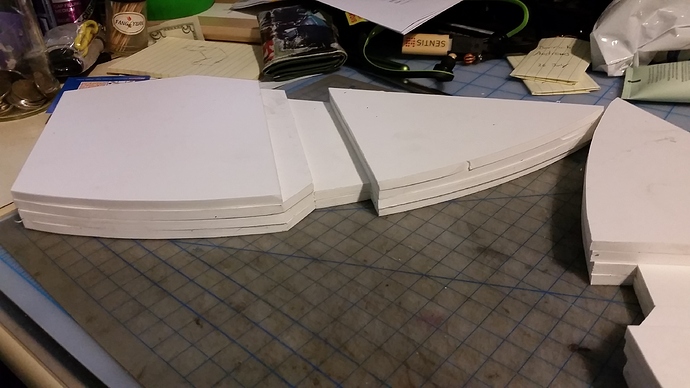
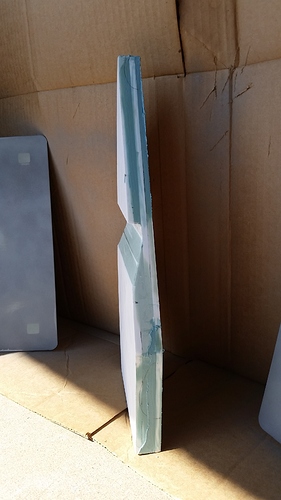
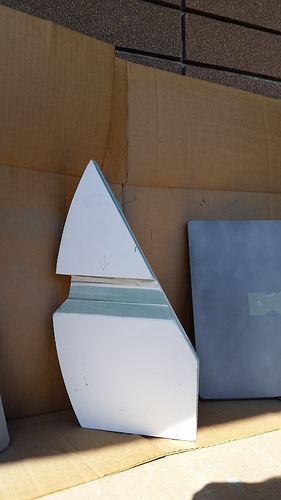
From there, still in OnShape, I created a series of extra sketches which traced the profiles of parts, not to be confused with the sketches that were required to build it. The new set of sketches were exported to DXF files which I cut out on the laser to create a set of wooden templates. The templates were traced onto some white Sintra, which is an outstanding material to work with for plastic builds. It is easy to heat-form, cuts with a razor knife, sands beautifully, machines well, and is quite durable. Sadly enough, it can not be laser-cut directly hence the plywood templates. Sign shops use it extensively so you can sometimes get offcuts at a great price from time to time if you make some connections, but IPP in PoCo sells it for around $120 for an 8’x4’ sheet, so the retail price isn’t terrible.
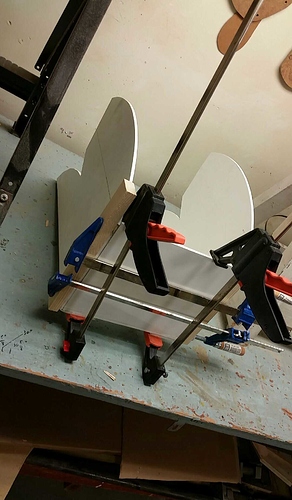
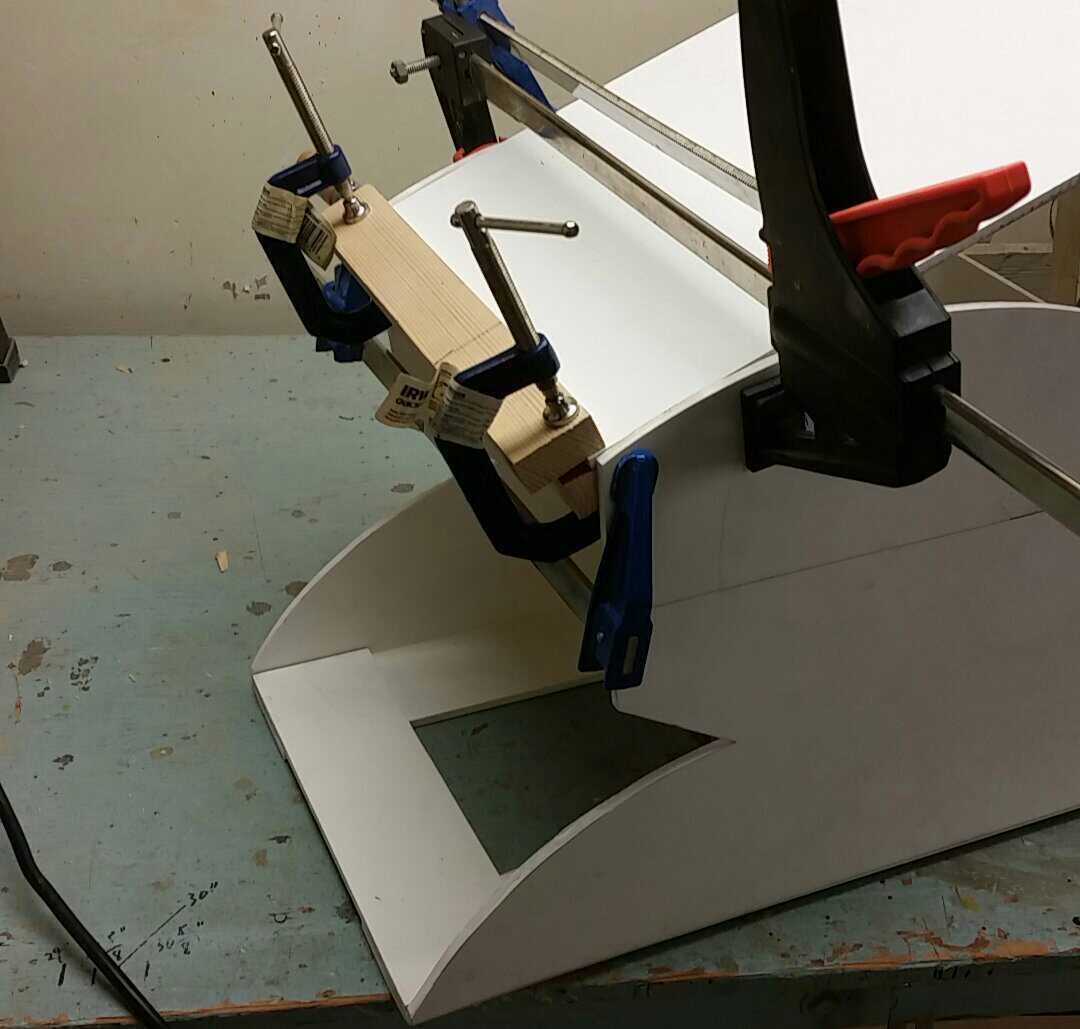
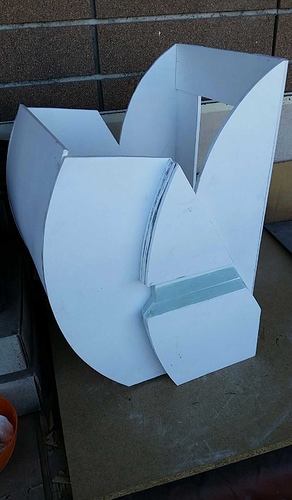
Back on topic, after transferring the wooden templates tot he Sintra and cutting them all out, I got to the fun part of assembling! MONTAGE!!! (cue dramatic music)
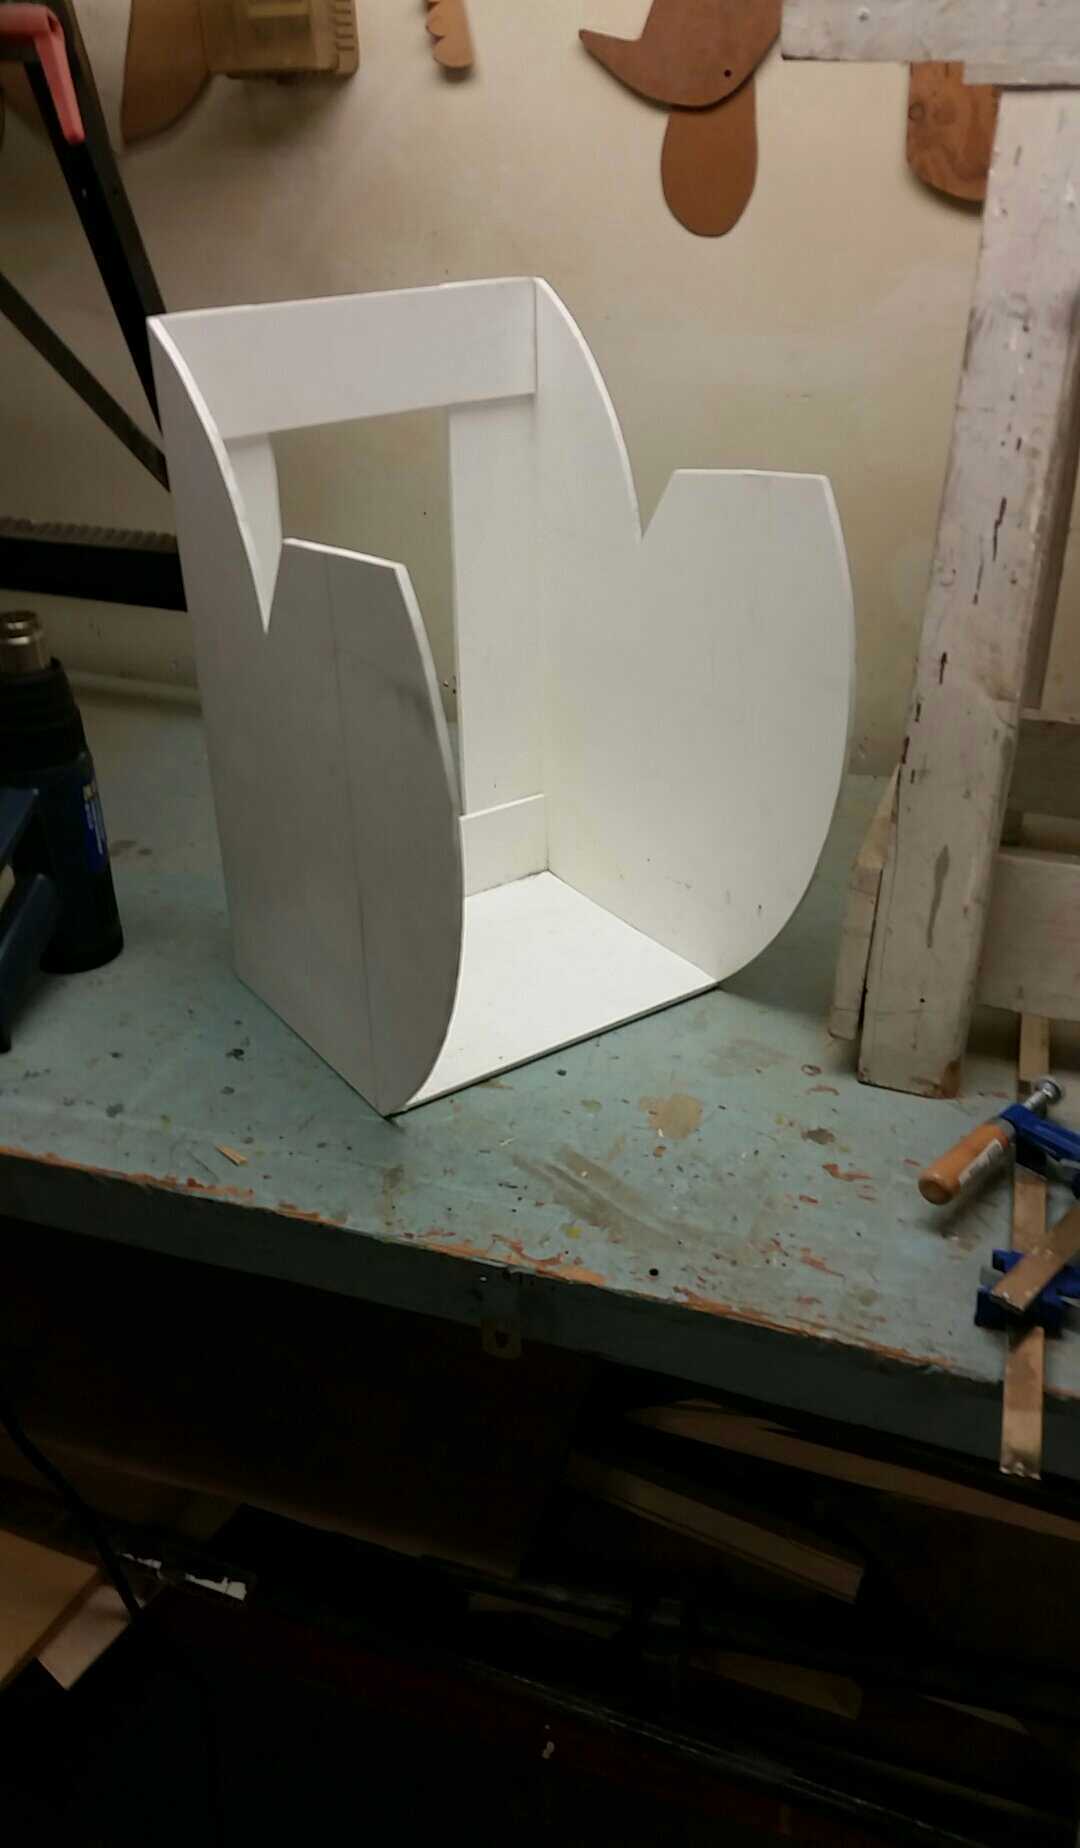
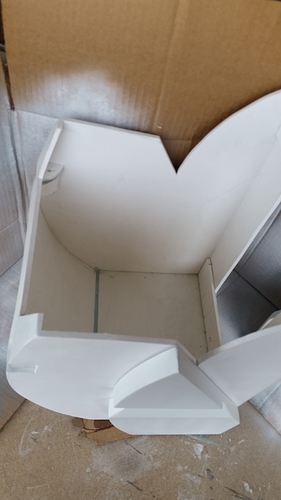
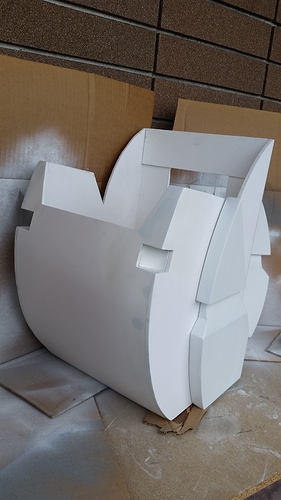
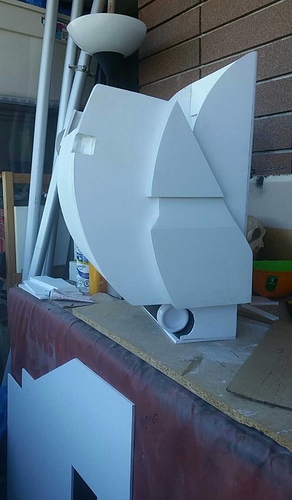
At this point, it has pretty much taken shape! Those who are still paying attention will notice that the bottom is all wrong. There is supposed to be a little thing with a roundy thing and the thingy. There are two problems with that. First, having the bottom come to a point as it did in the cartoon means you can’t sit it on the ground/table/etc to put stuff in it, which is just silly. Second, without that part, it rests perfectly on my belt so I can put a couple of pouches on my belt that it rests on to take some of the wright off my shoulders, and that added piece would be sitting in front of the pouches, making them pointless and pushing the pack out at an odd angle. As a compromise, I made that bottom part separately and built in a little mounting system so it can be added or removed as desired. That part is still under construction since I really just don’t want to do it ![]()
I had to extend the bottom further than is accurate plus add a cordless drill with the spare batteries and a pack of drill bits in the very back of the pack to get it to not tip over while I took that.
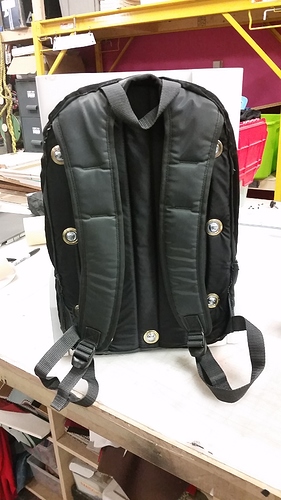
So now we have the pack itself, but what good is that without being able to wear it? You’ll notice a huge hole in the back. I left that intentionally so when I add a padded back to the outside, it will have a little give rather than trying to lay a flat piece of plastic against your ever-moving spine. I had an old laptop backpack laying around that I cut up for the padding and the strapping, figuring a laptop bag would have some extra padded back piece and some comfy straps. So I cut off the cloth backpack’s actual backpack part, leaving just the padded back and straps. Assuming that I will upgrade that later to a nice leather piece to look a little more “Star Warsy”, I used a series of grommets and carriage bolts to attach the cloth parts to the pack frame.:
.
.
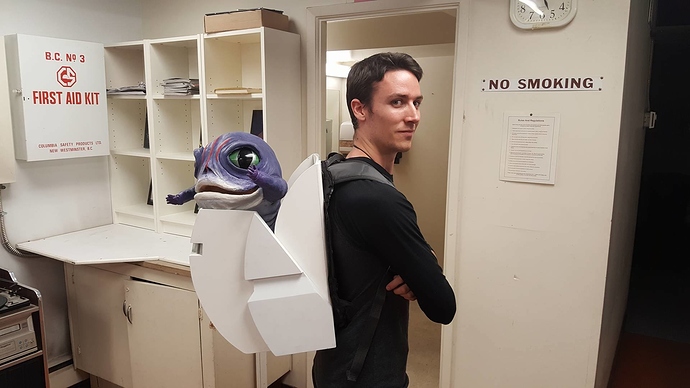
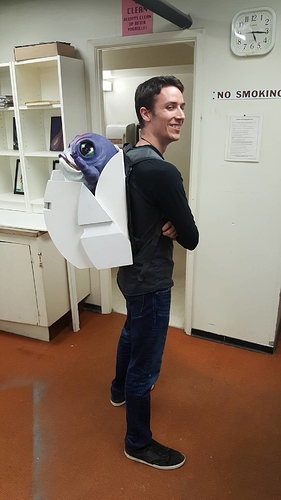
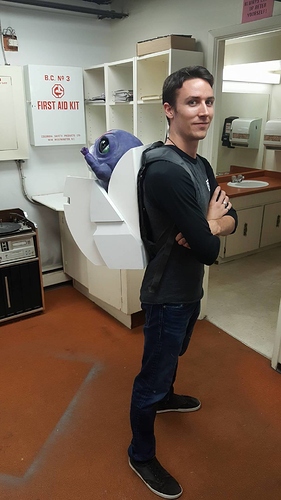
Finally, for the big reveal, I brought in my far more photogenic friend to model it for me:
.
…
…
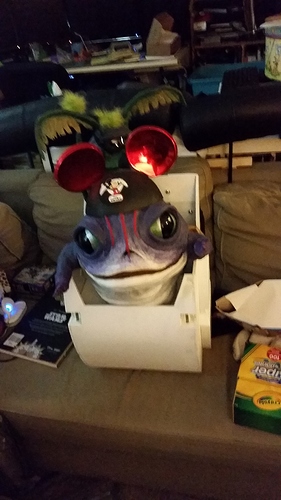
And our little Huttlett, Snooker, trying out his new ride and getting excited for our upcoming trip to Disney:
.
.
So what now?
I still need to finish that bottom removable section because it IS part of the project no matter how impractical it is. After that I want to beat it all up a little to give it a slightly weathered look. Then I am going to play with the idea of making some in-universe travel/visa/customs/checked-baggage type stickers to put on and weather up a bit so it looks like it has actually seen some use traveling around the Star Wars universe. I have also bought the fabric to sew the canvas top that you can see in the reference image, so I’ll need to sew that up one of these days.
