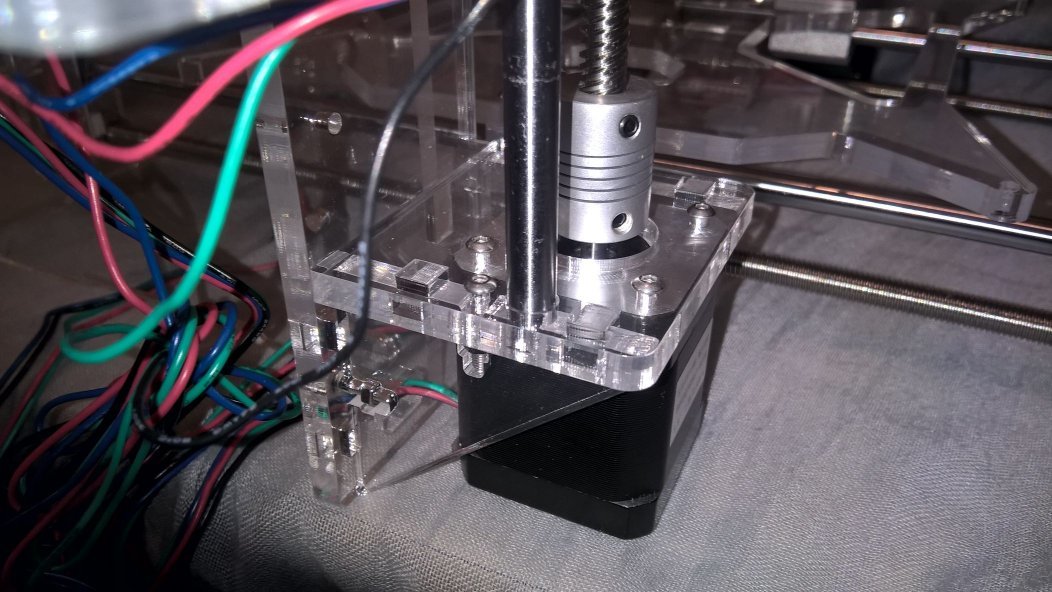
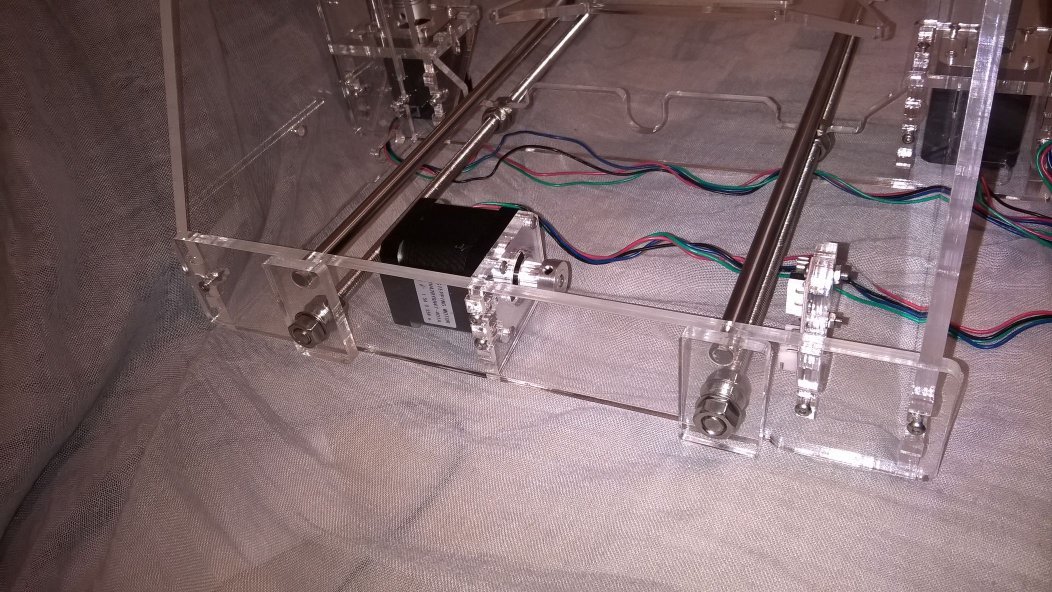
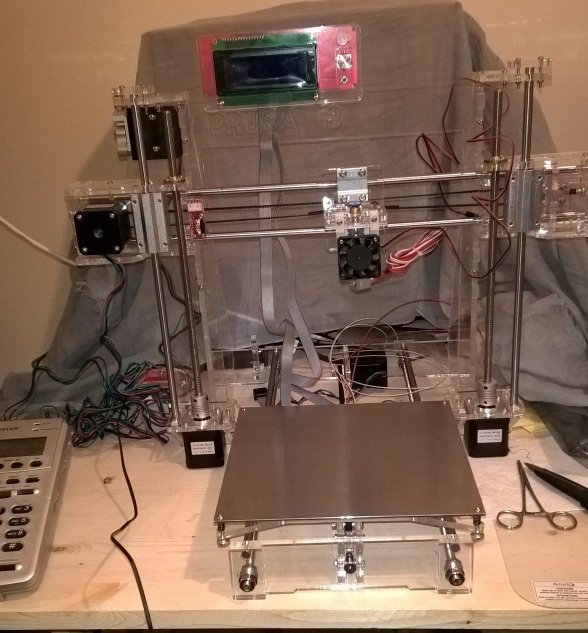
I purchased a 3D printer kit from a company in Ontario. The frame is made of clear acrylic. When I received it, all the acrylic pieces had clear plastic on one side and a pink-tinted plastic on the other. I was tempted to leave the pink on, but quickly decided that wasn’t a great idea, mostly because it started to shred and peel when I was putting things together.
The build instructions are in the form of video tutorials, where someone is building the printer and you follow along. There is no dialog and no captions except for the required hardware for each build section. For the most part this worked, although in the very first video there was a mistake in the labeling and I wasted some time trying to find “M3 * 6” screws in my packaging. I guessed that they meant “M3 * 16” and this turned out to be the correct guess.
Cons:
- There aren’t any labels for the acrylic pieces, so I have to guess which pieces I need based on the shapes I see on the video.
- Occasionally, the person is placing screws into the pieces, but there is a delay before the caption appears telling you which size screws and nuts you need.
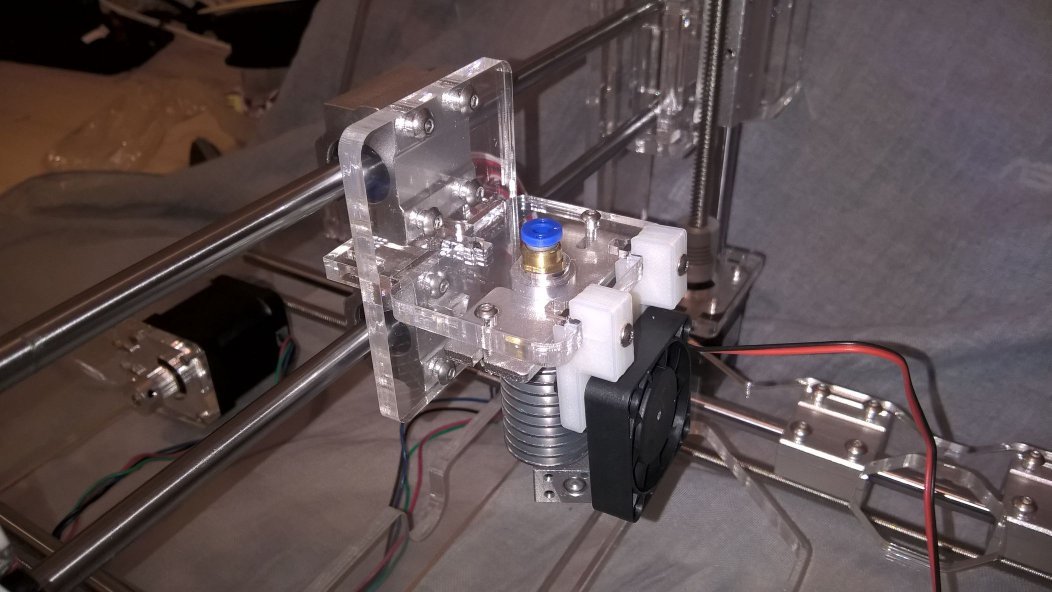
- Sometimes, the person doesn’t let me see all the acrylic pieces before rearranging them or building with them. It doesn’t help that all the pieces are clear acrylic and the video is filmed against a white background!
- Clear acrylic pieces (and poor video lighting) means that sometimes you can’t see which side to attach another piece to. Only once (so far) did I attach something on the opposite side from where it belonged and had to take it apart and reassemble it.
- I’ve read warnings about the acrylic cracking if you tighten the screws too much. I haven’t had that happen yet, but I’m a bit concerned that I might not have tightened them enough.
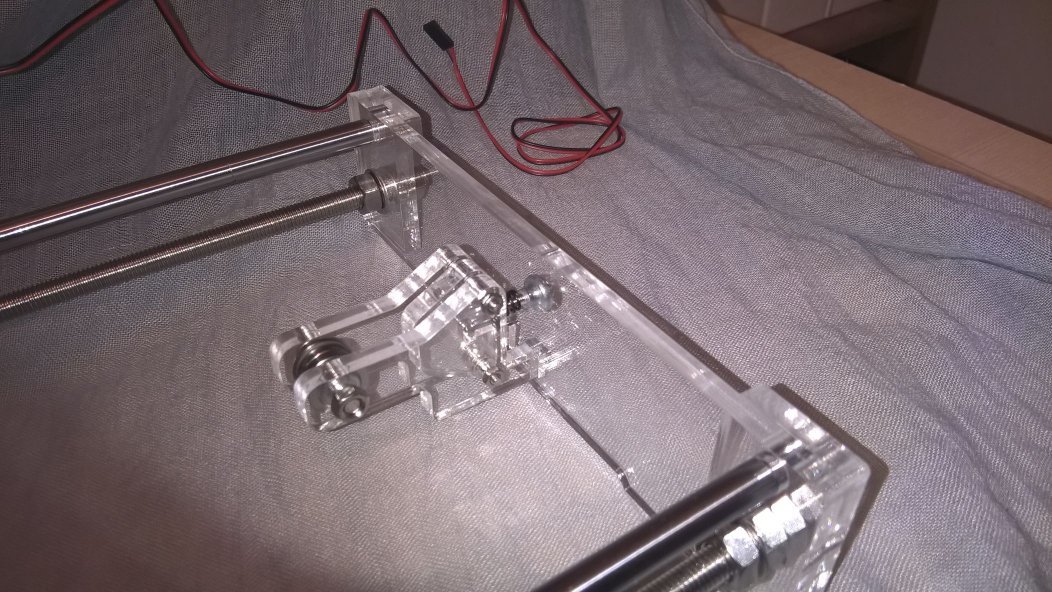
- They forgot to include the third hand that was needed to attach one piece to the frame.
 (Or, they designed one piece in such a way that I needed a third hand - or a clamp - to hold the pieces together while I attached it.)
Pros:
- The video instructions are mostly broken down into fairly manageable chunks. The majority are around 5 to 6 minutes in length, but there are some that are about 25 minutes.
- It is helpful to follow along as someone else is building the exact same 3D printer. I can curse at the video and pause it if they are getting ahead of me, and I can chuckle when they are having problems getting the nuts to sit properly in the pieces.
- All of the hardware pieces (nuts, screws/bolts, shims/washers) are neatly packaged and clearly marked.
I went with this acrylic kit because I knew that it would take forever for me to print all the parts to build my own printer, not to mention ordering the rods and other mechanical parts. I know that I could go in on a group buy with others at the hackspace, but I just never got around to it.
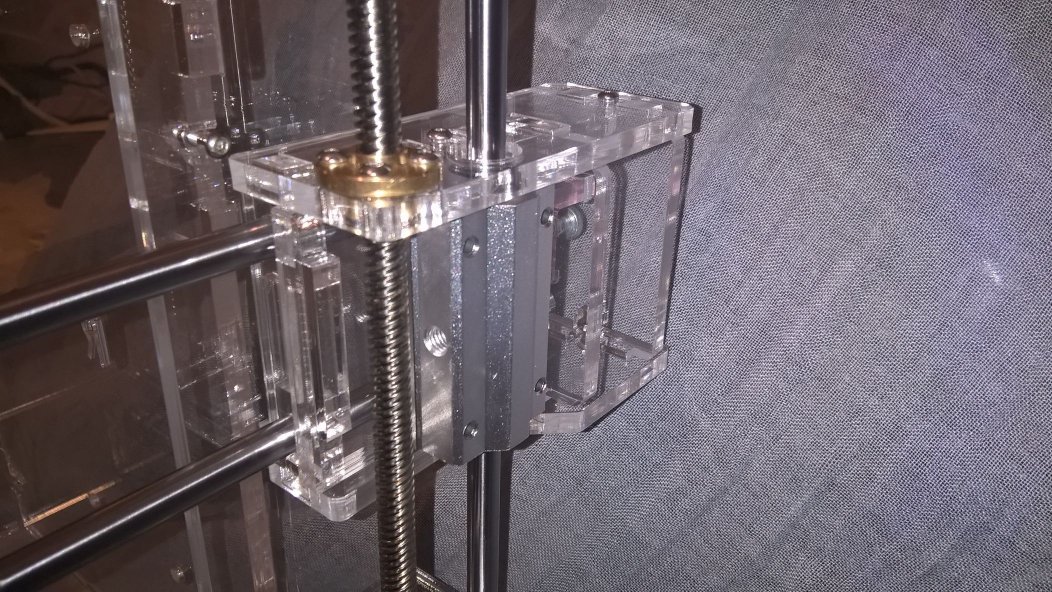
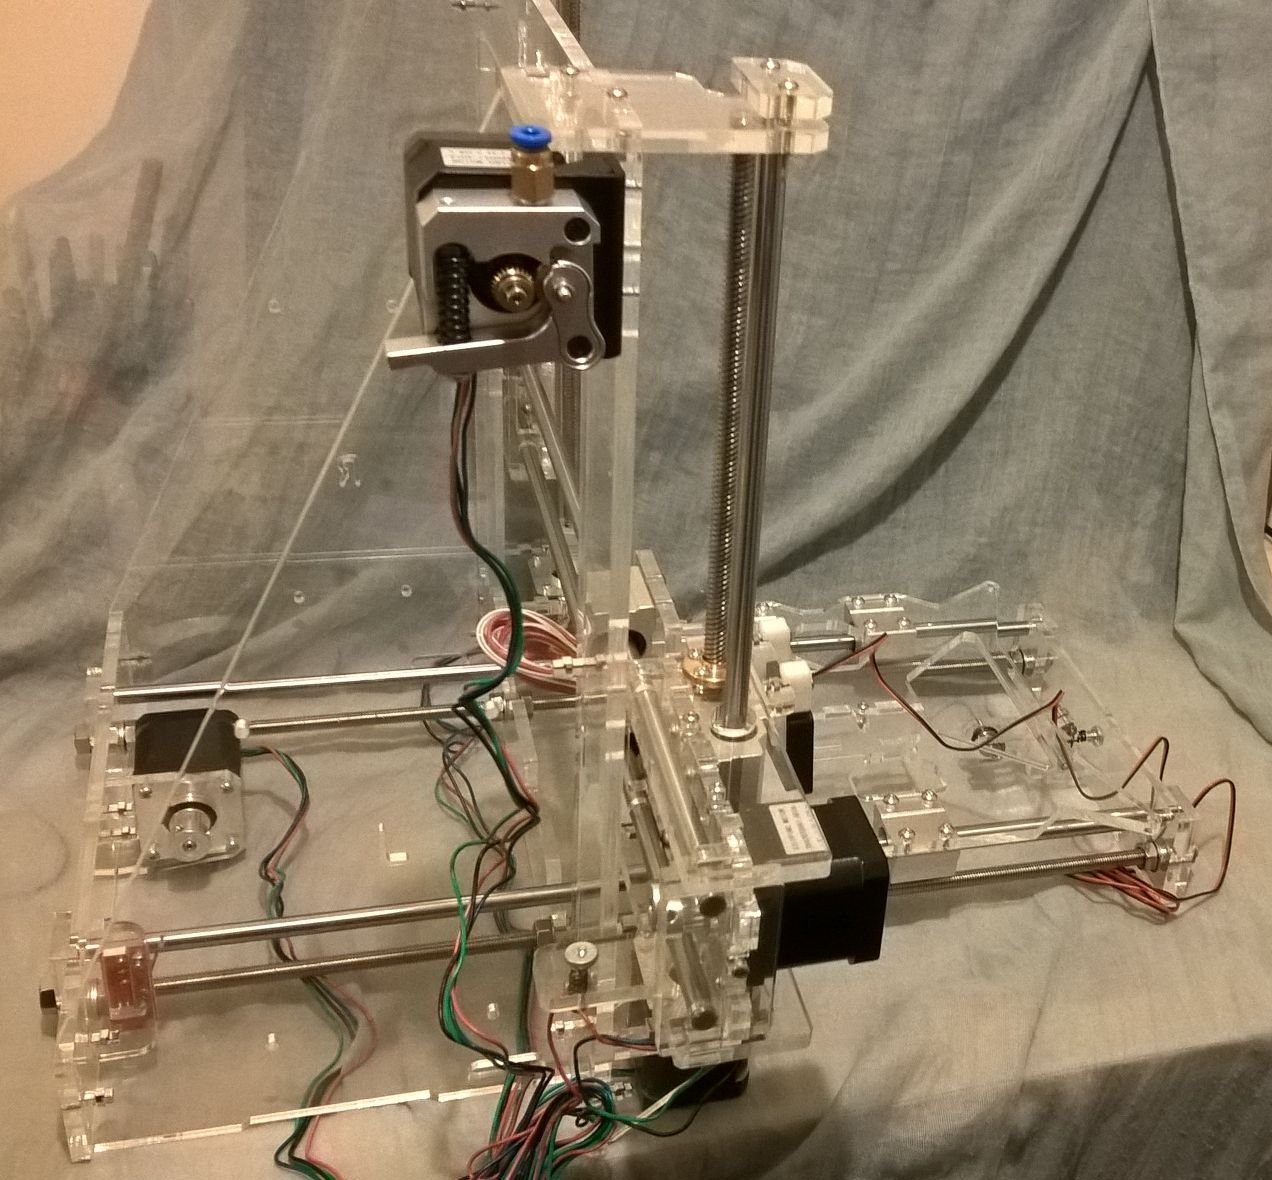
Of course, once I get the printer fully assembled, I’ll print some “improvements” for it. I already know that I want to stabilize the vertical threaded rods.
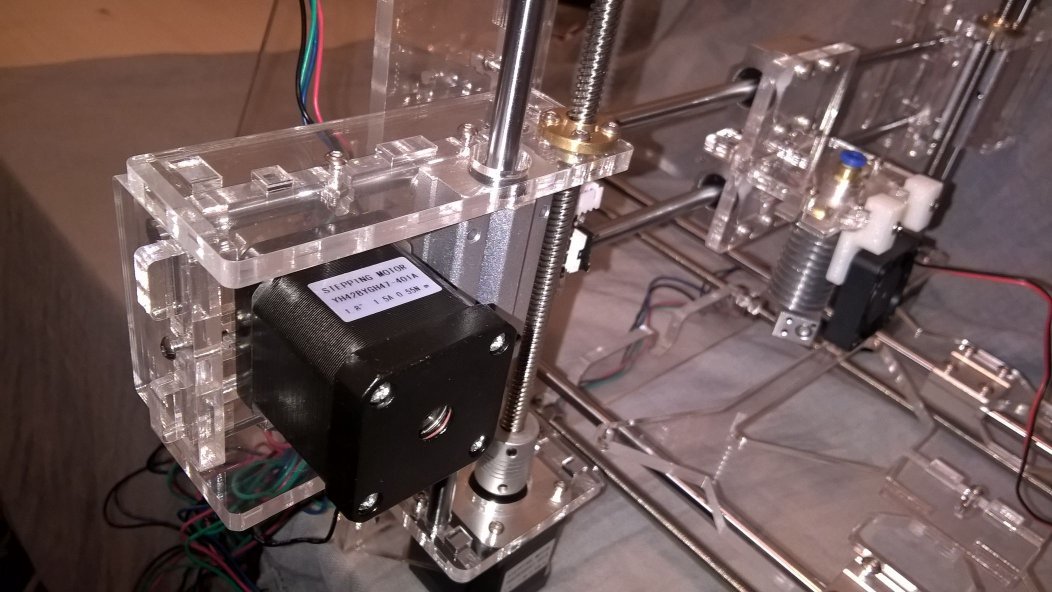
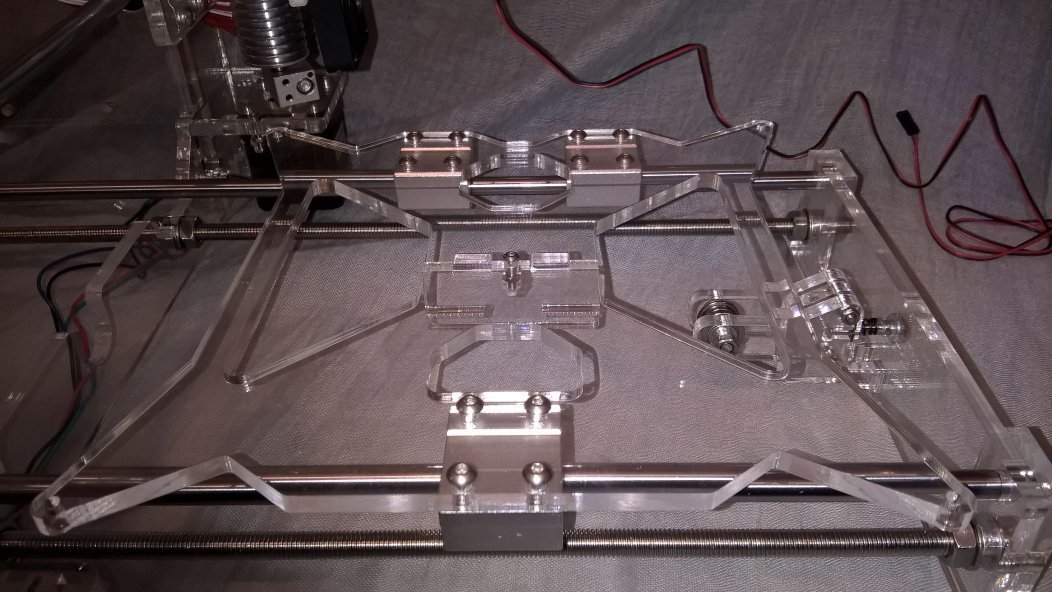
It only took a few hours over two nights to assemble most of the frame. I might be able to finish assembling it tonight.
Then comes the fun part: installing the firmware/software and actually printing something! I might wait until the weekend before I attempt that.