Build log: Drone of Theseus

This will be an ongoing build log, inspired by @packetbob and @Weas3l

This project really started about 2 years ago when @miladh gifted me a box of mostly-working quadcopter parts. What an excellent human! I did a LOT of reading, crashed it a few times, did more reading, upgraded a few parts, did more reading, and eventually had a working drone.

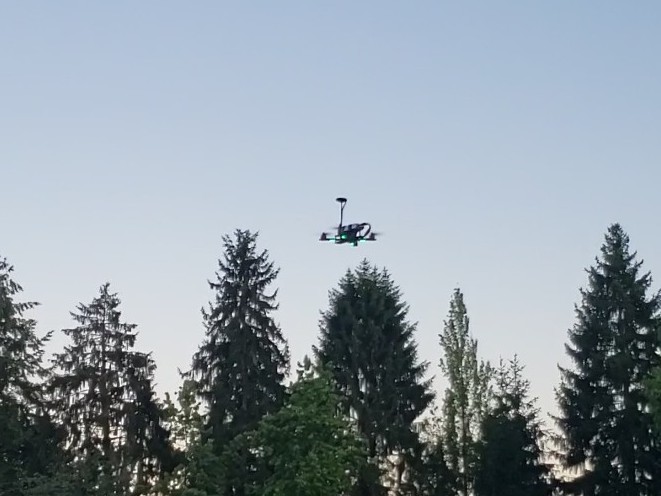
First non-crashy flight at VHS (late at night when no one else was around):

Now, I want more! That quad worked pretty well, but with its 10 inch props its size is a bit unwieldy and way beyond what is necessary to carry only a very small camera, not to mention slightly terrifying when you’ve got something not quite right and it tries to destroy itself.

Version two shall be known as the Drone of Theseus, because some parts will be reused and some will be replaced. When does it cease to be the same drone? Who can say.

This will be slightly different than a standard FPV build, because my goal is to (eventually) fit a small camera gimbal.

Enter the next bag of AliExpress parts:

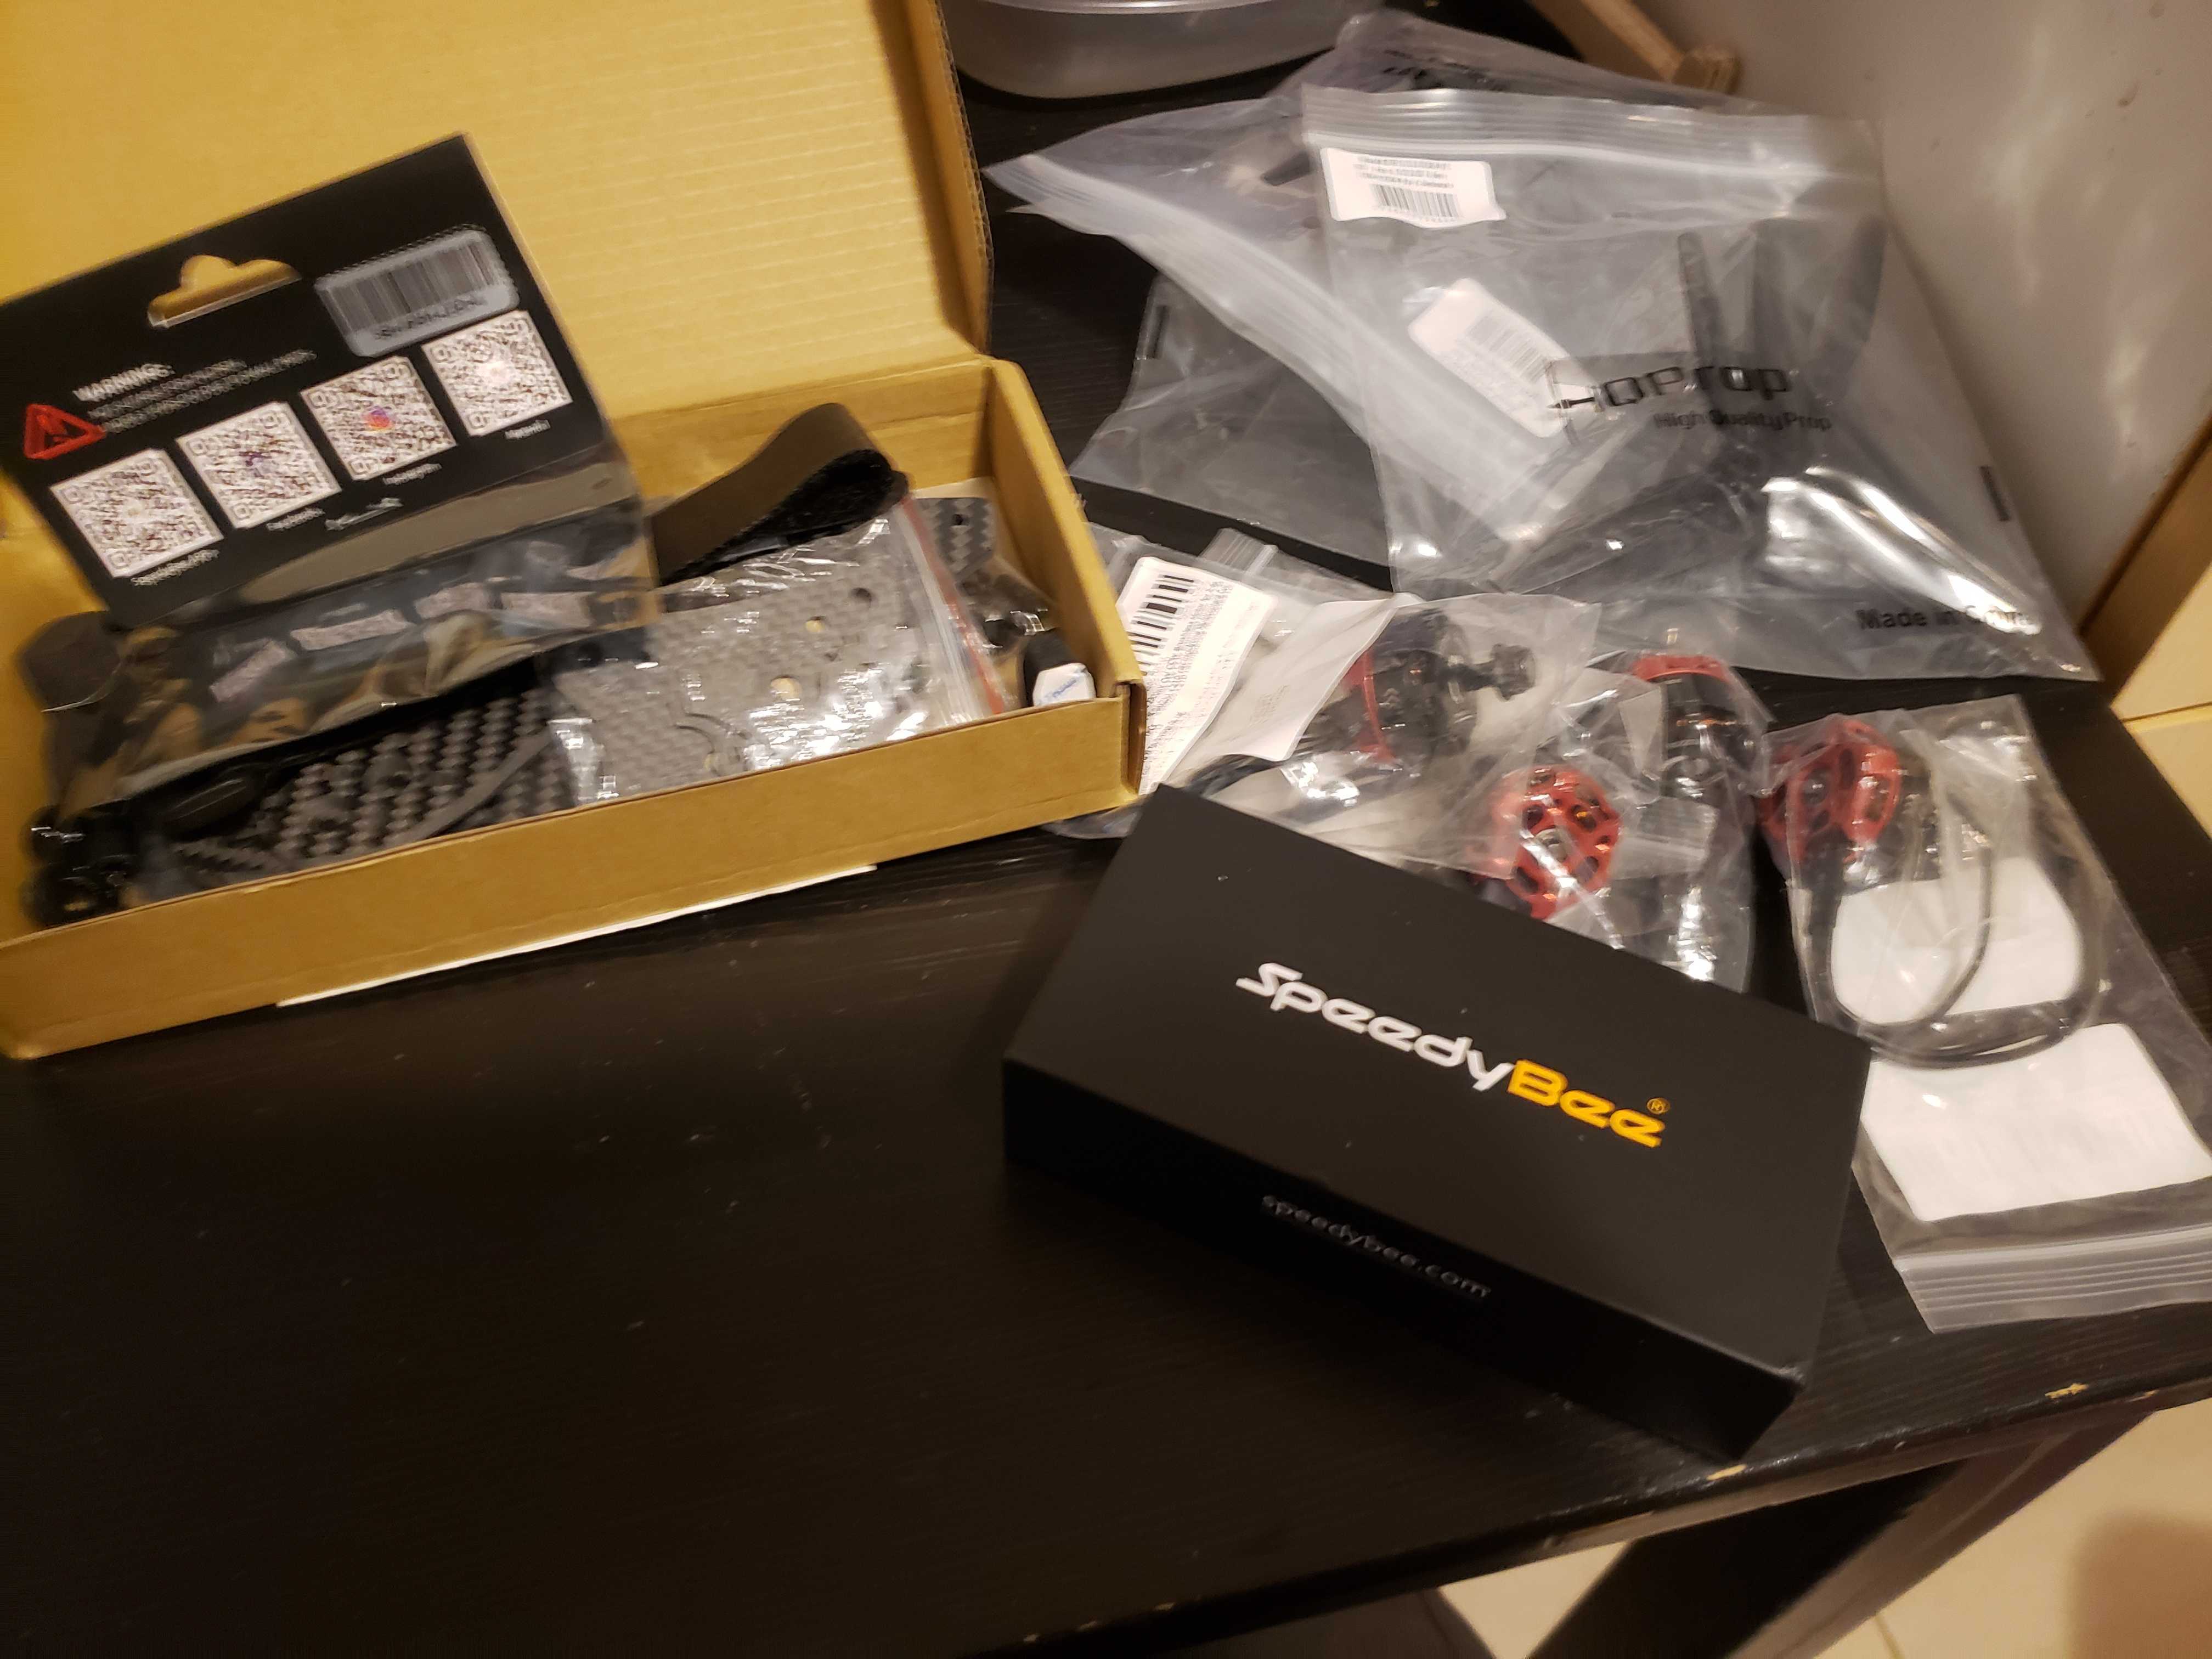
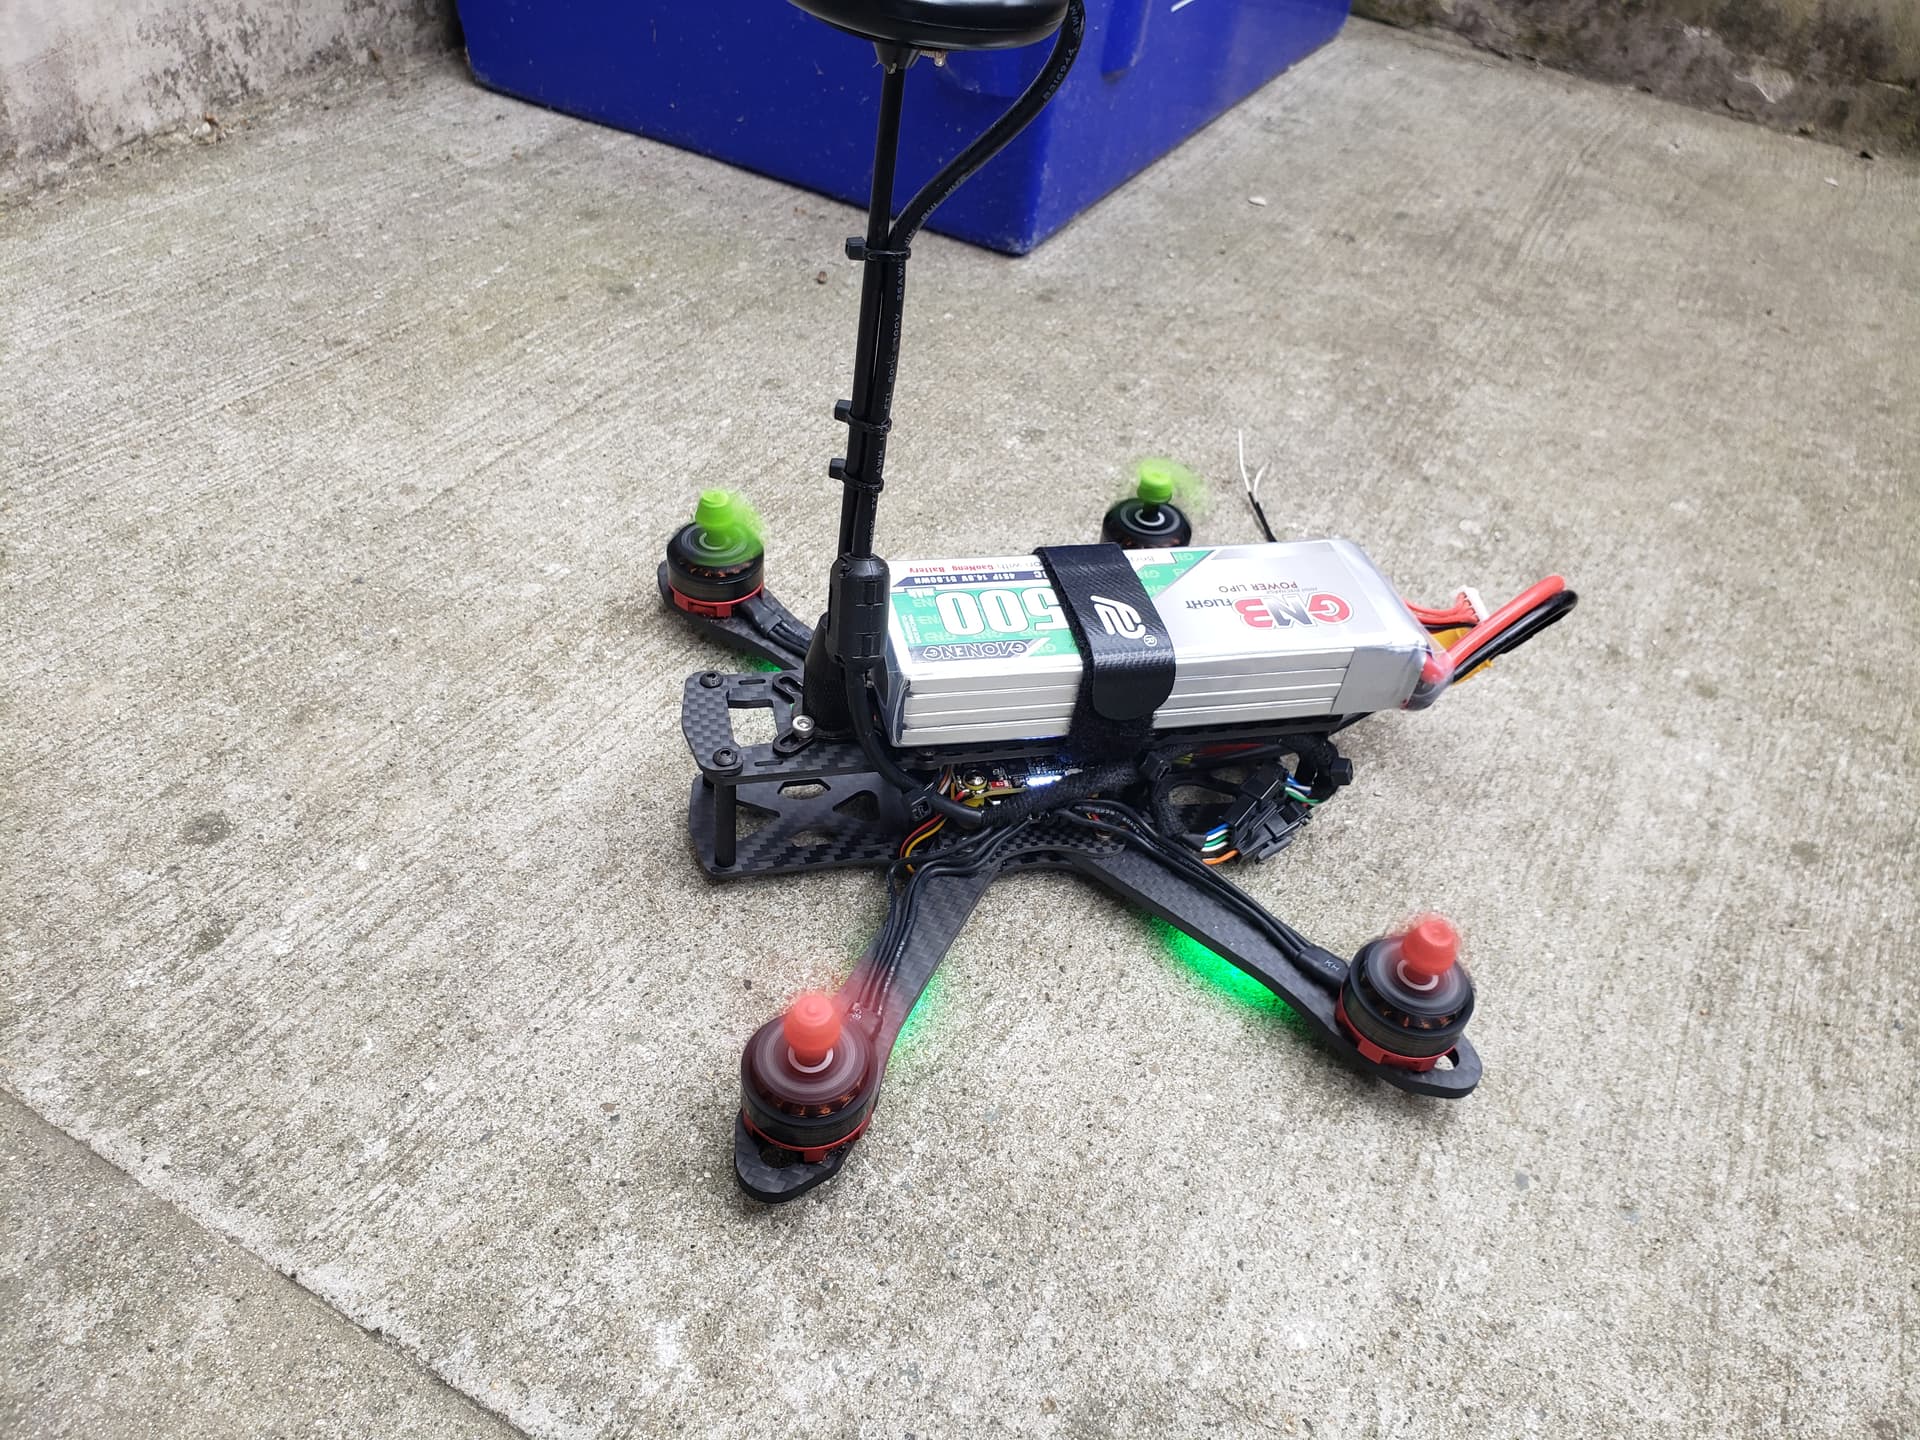
You’ve seen confusing Ikea instructions? Well the new frame came with no instructions. A bit of head scratching later (and definitely no YouTubing) and I had something that looked like a drone:

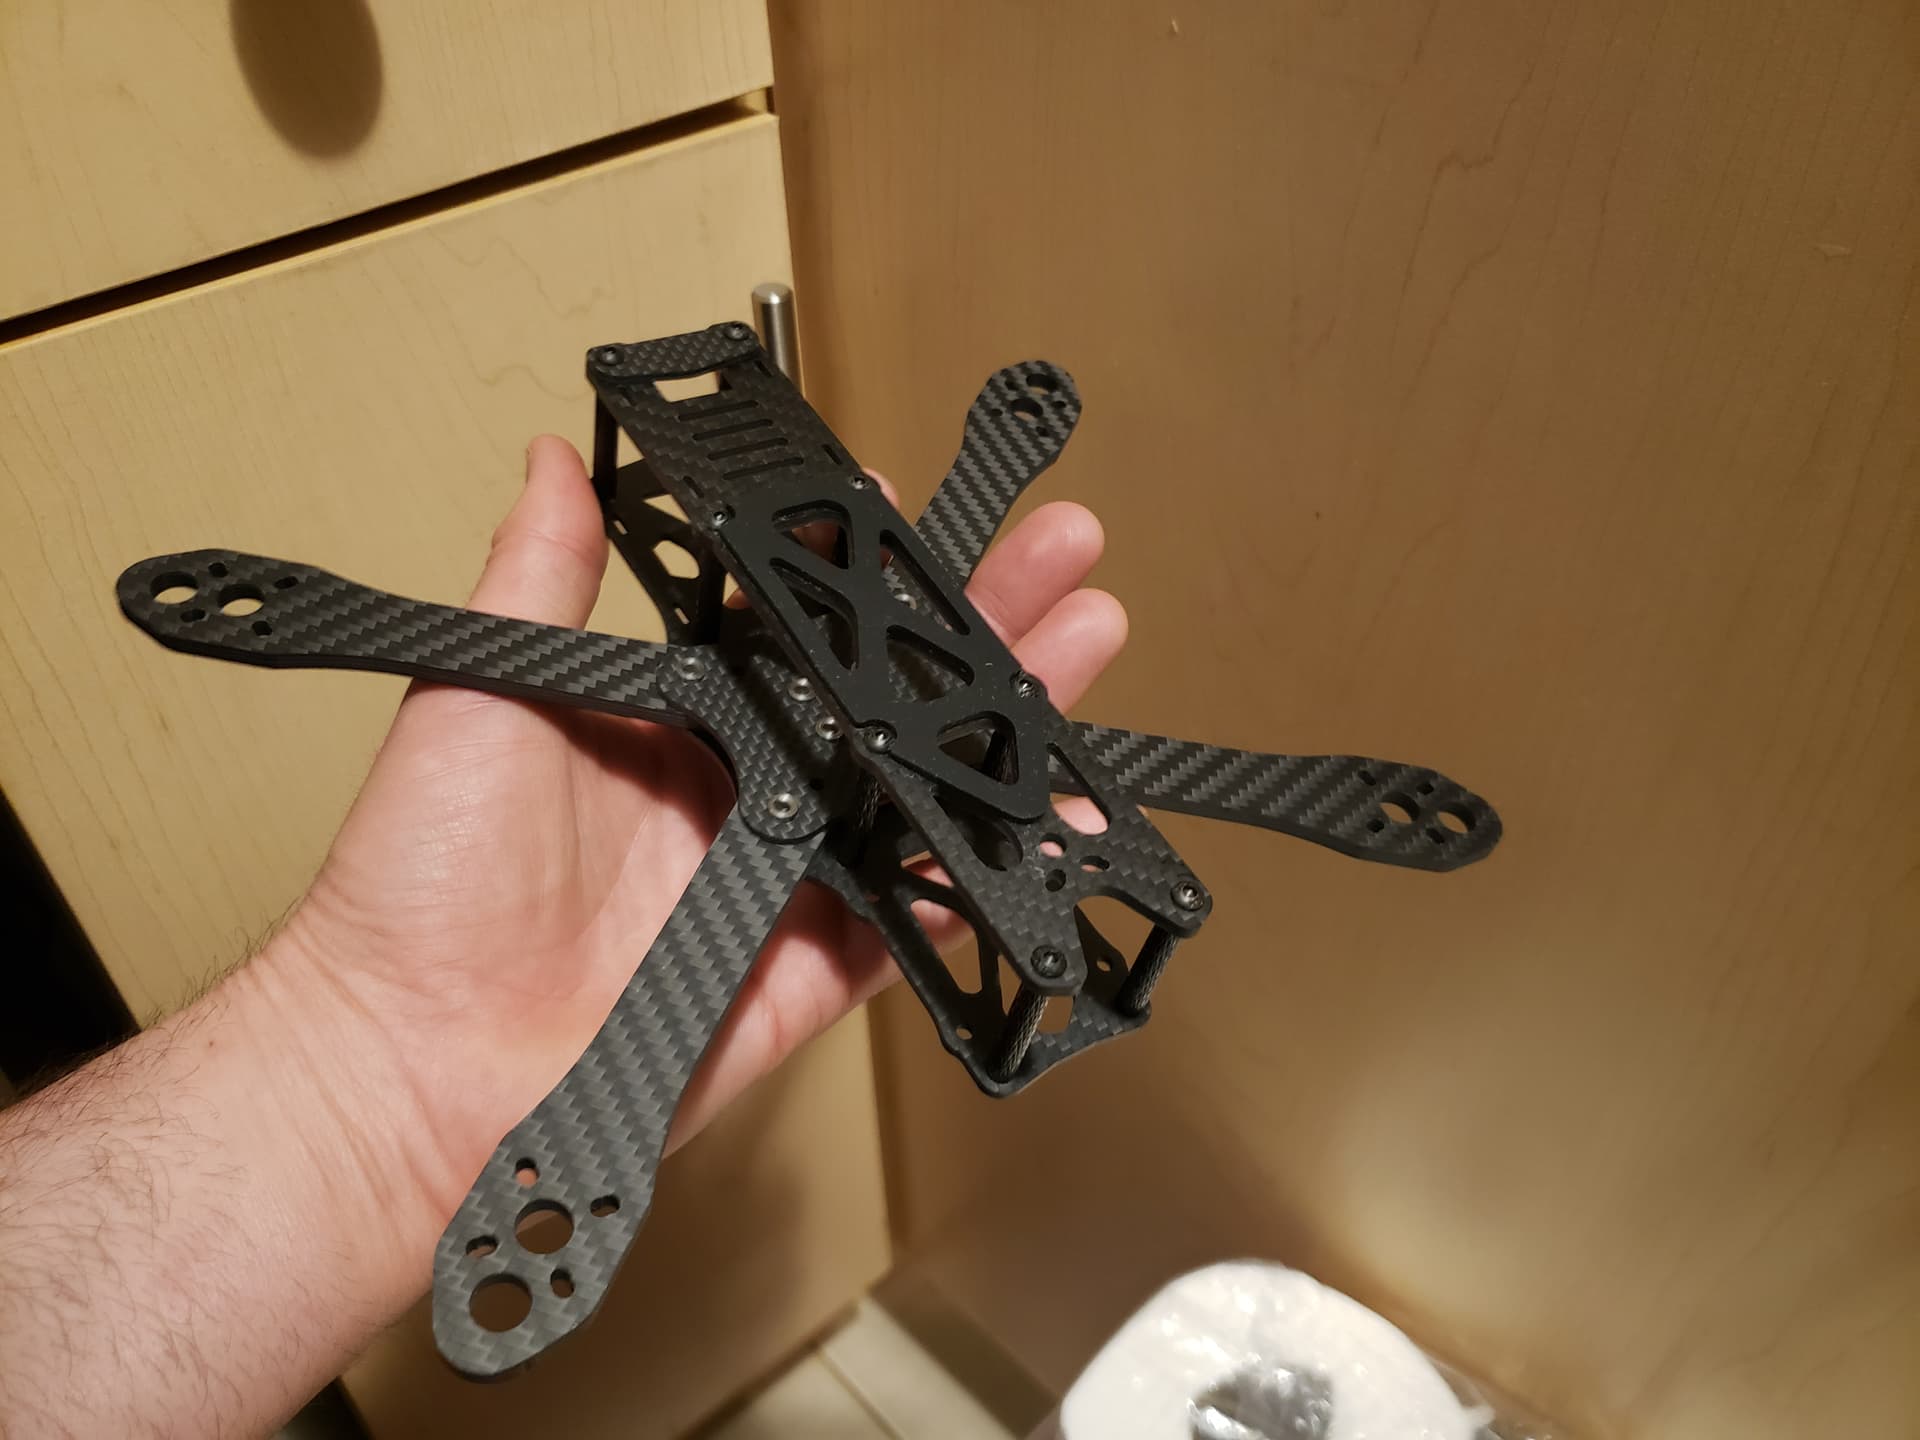
This frame is designed for 5 inch props. Still plenty scary to a squishy human, but easier to cart around.

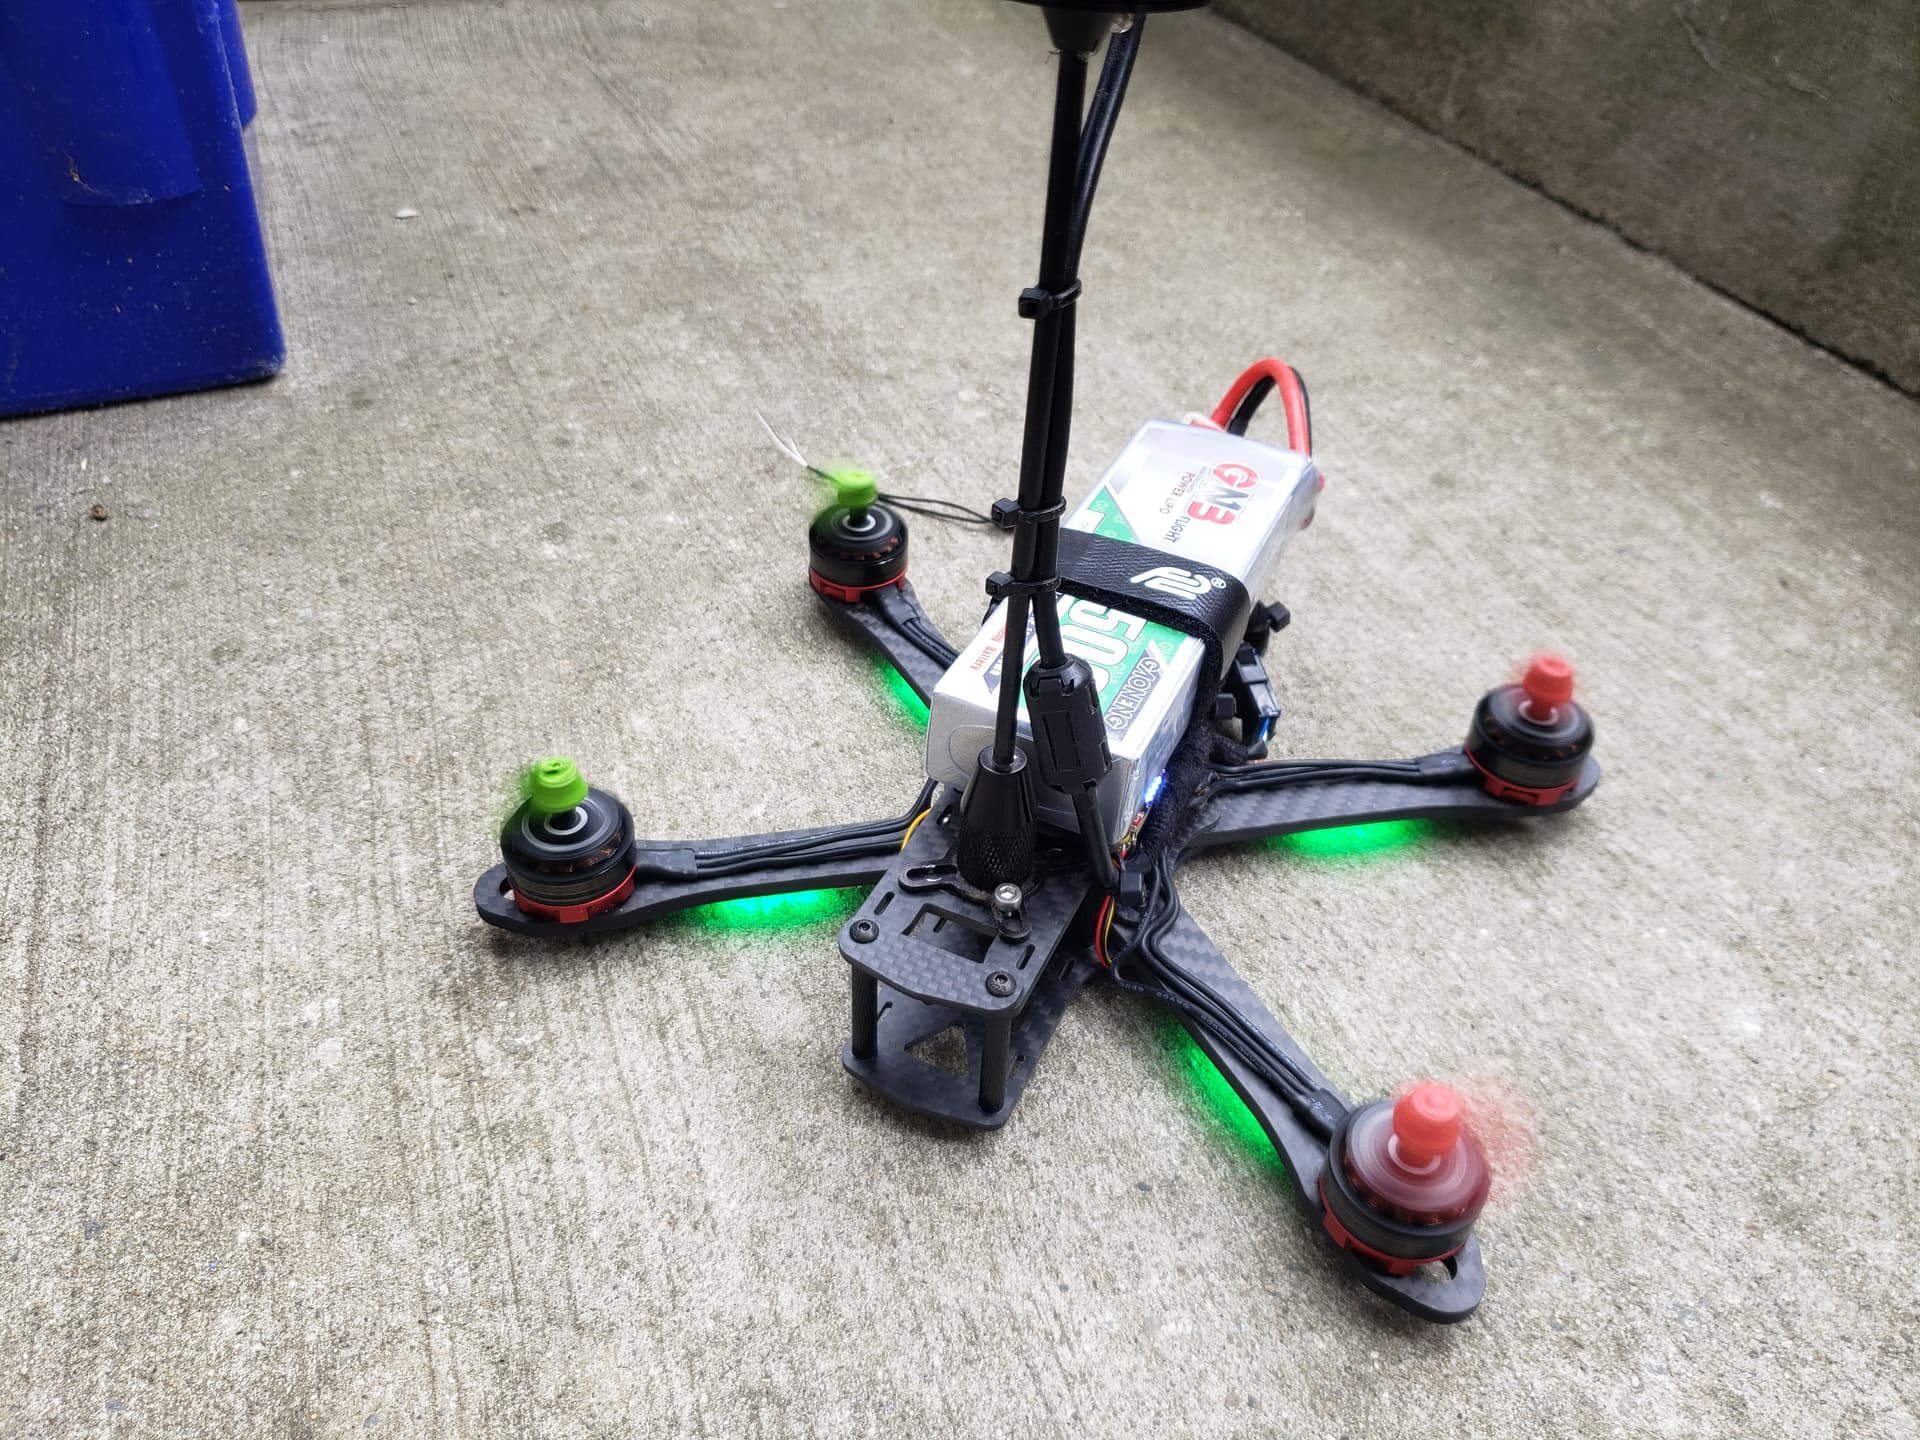
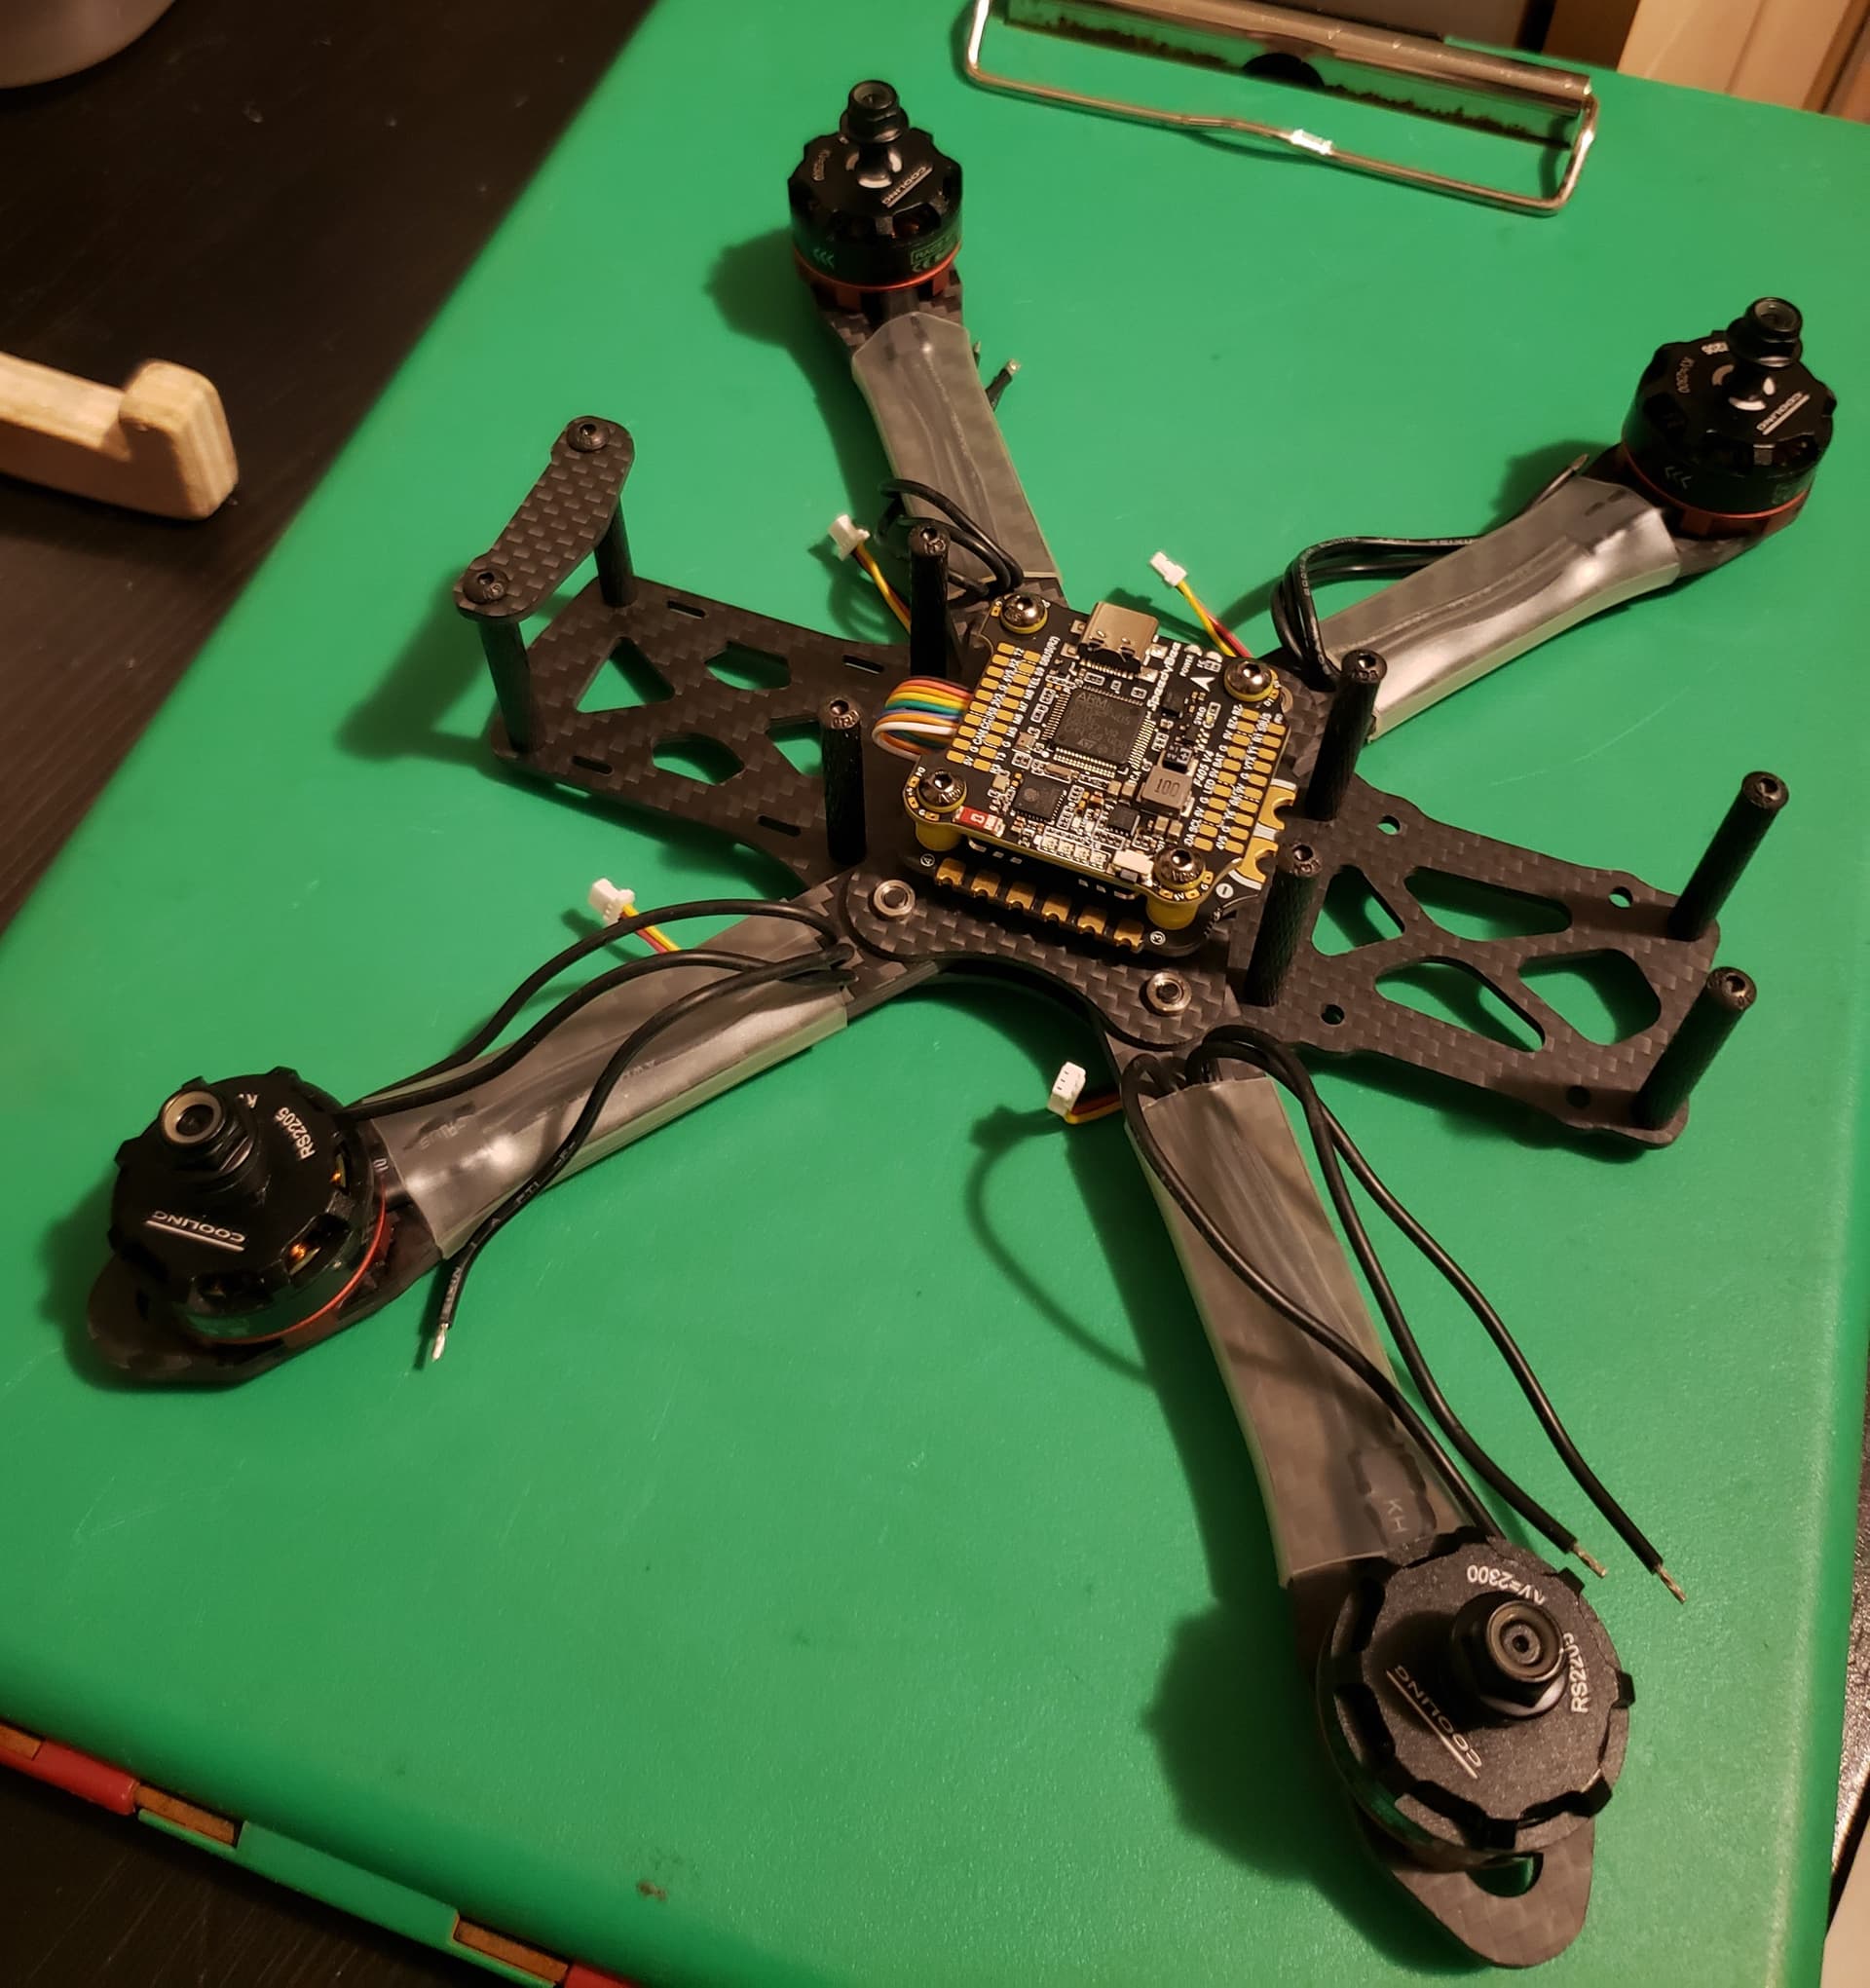
Here it is with the flight controller (FC) and motor electronic speed controller (ESC) stack installed (mechanically, at least):

Of course it also needs LEDs:

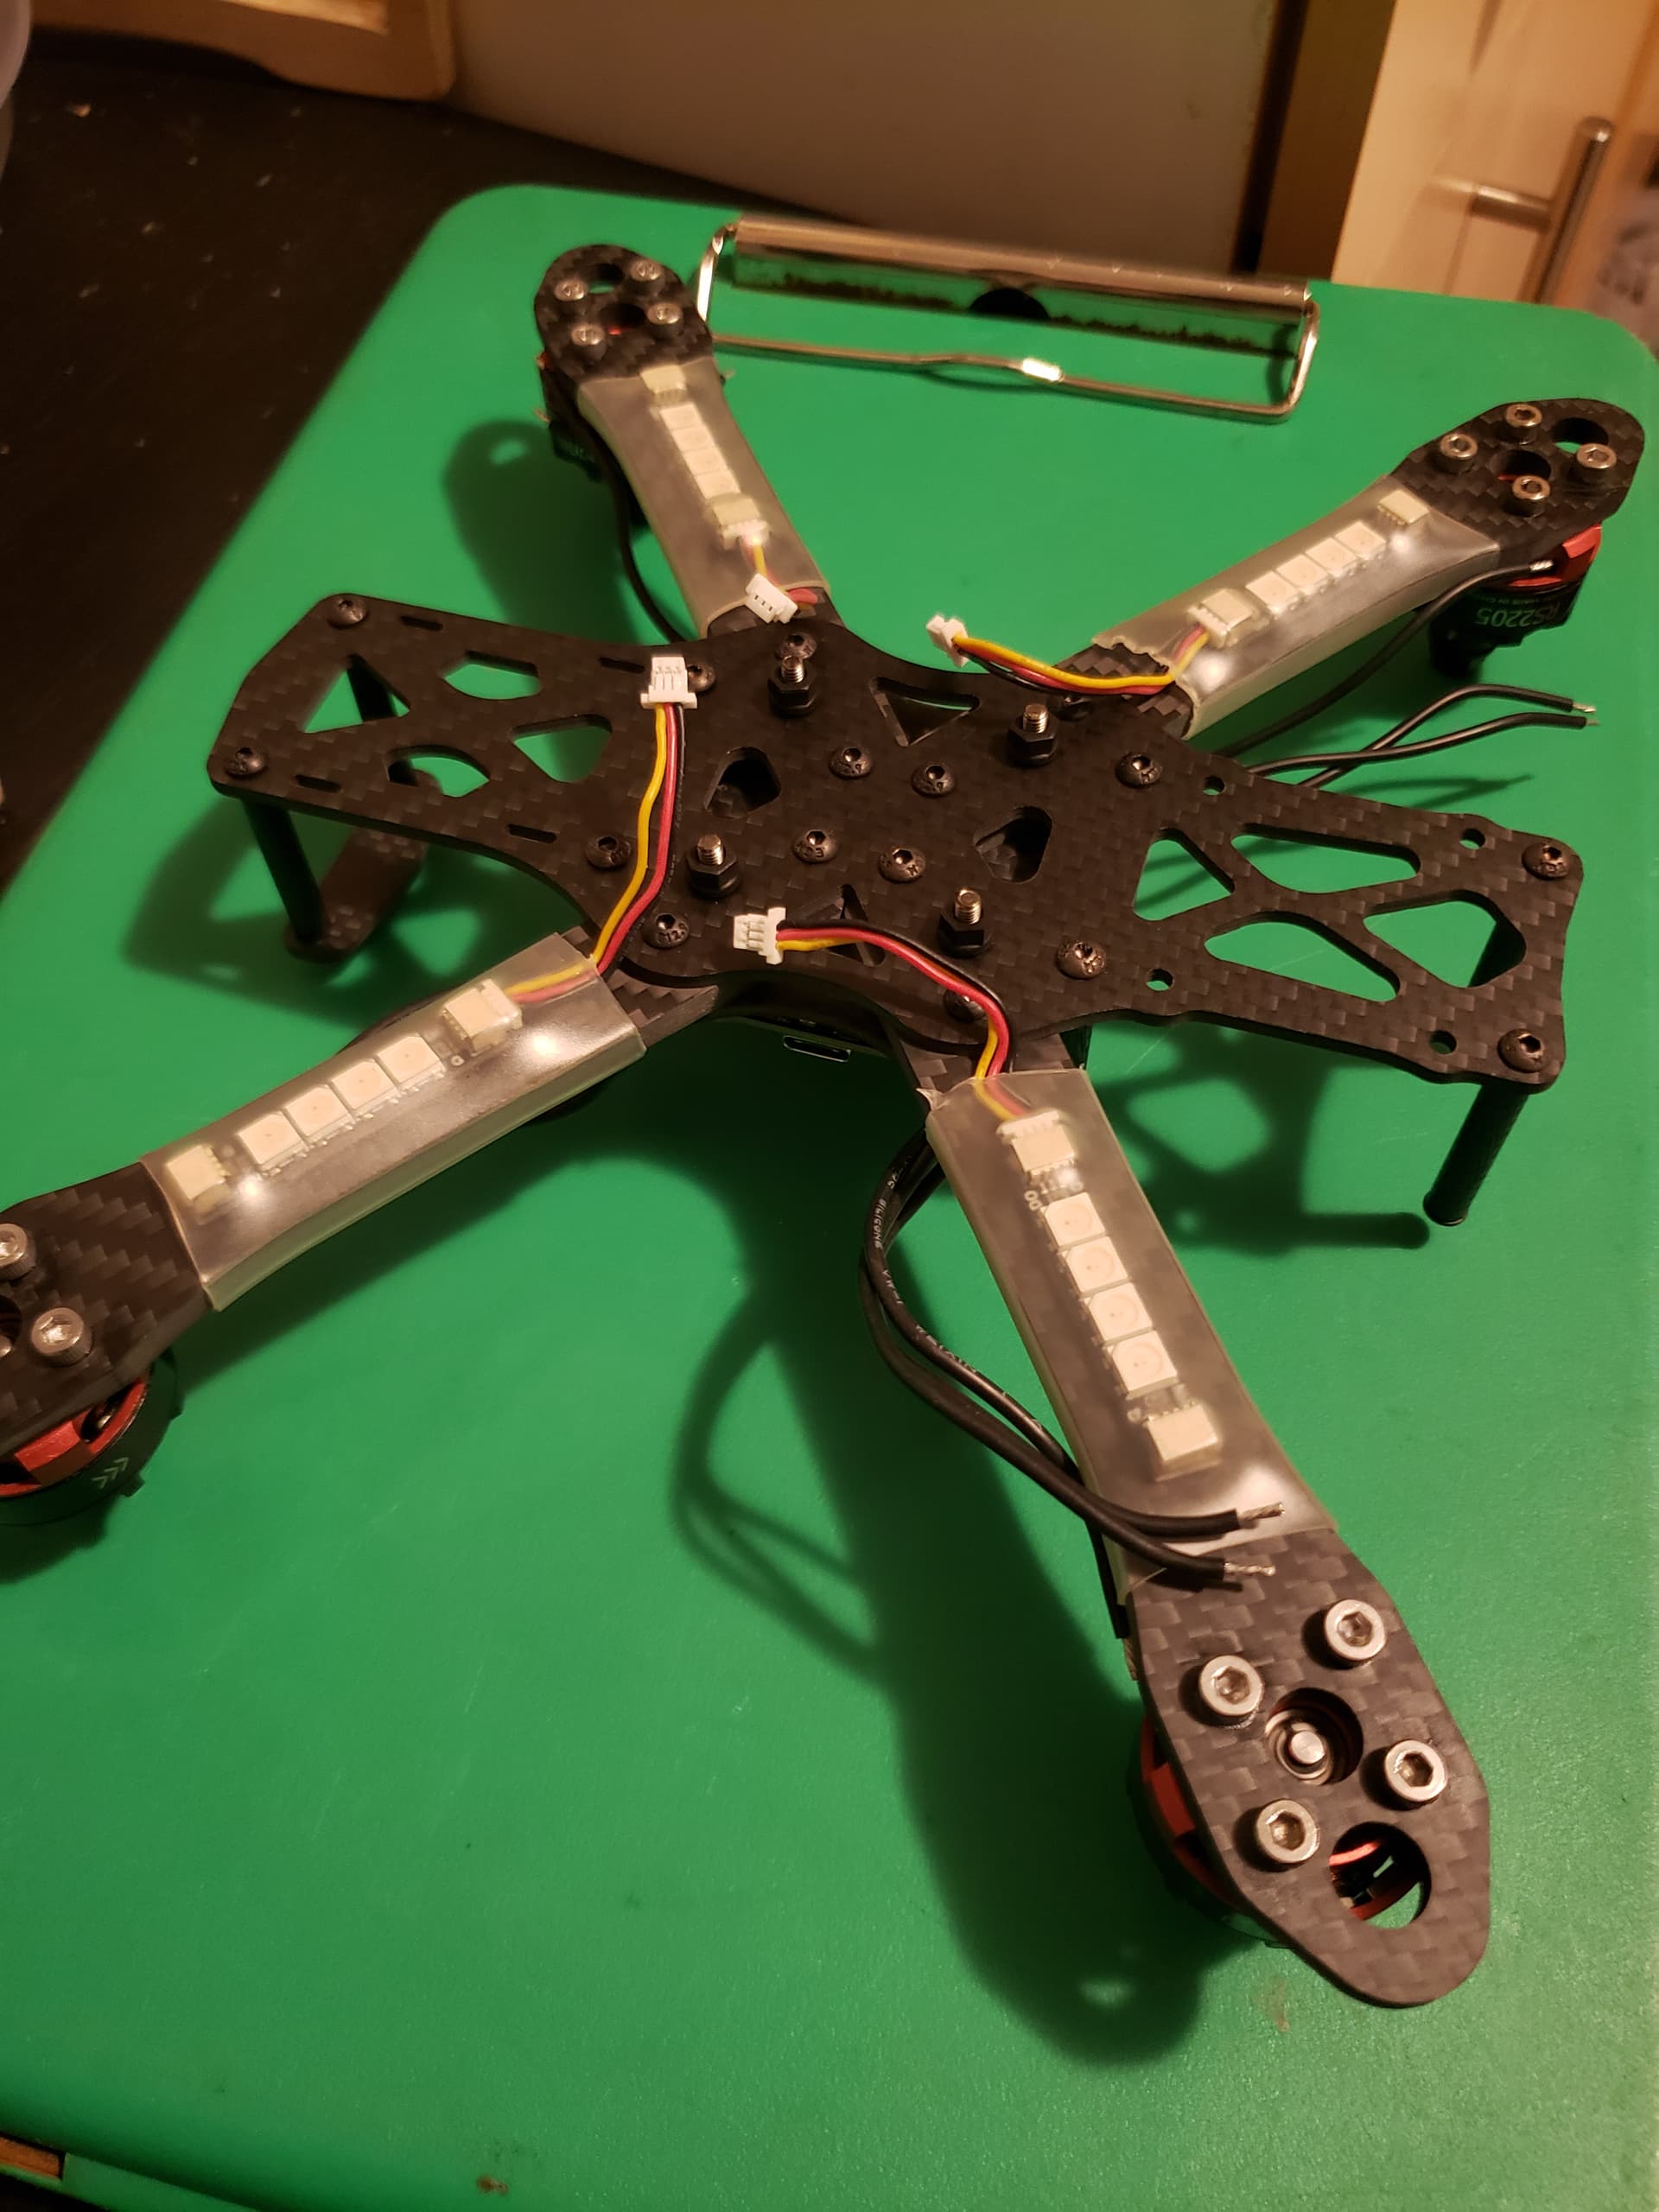
Next steps: wire FC/ESC stack and LEDs, add: battery current sensor, remote control receiver, GPS/compass

7 Likes

Great write up! Looking forward to more!

1 Like

After wasting a bunch of time ruining connectors to bodge the LED wiring, I abandoned that part and ordered the correct connectors on Amazon. Lesson sort-of learned: stop being so impatient, just wait and do it right the first time.

I did get the motors wired up though and did the first smoke test. No smoke!

GIF_20240617_221036_960
Lots of GIF compression though.

Note to future self: you had to set the frame type to “BetaFlightXReversed” Quad-ClockWiseX in Ardupilot to get the motors in the correct order. Edit: AND reverse all the motor directions in the BLHeliS firmware!

2 Likes

A bit more cursing at connectors later, and I was ready to dive into the ArduPilot calibration and config steps. The best thing about ArduPilot is that it has 1000+ settings that can be tweaked. The worst thing about ArduPilot is that is has 1000+ settings that can be tweaked.

Luckily for me, ArduPilot’s default settings are more or less usable out of the box. There are just a few that need tweaking for each specific setup, e.g., UART and RC channel assignments, accelerometer and compass calibration, motor order, battery voltage, etc.

Quick motor spin-up test with no props. Ready to fly, complete with blinky LEDs!

The battery is comically oversized for the frame, but… I already have two of these batteries, and no other batteries. Hopefully this jumbo battery translates to longer flight times and not just a poorly aligned centre of gravity. The GPS mast is also comically tall. I might shorten that at some point.

Total weight is just a hair under 700 grams. Not bad, but definitely requires the Transport Canada RPAS license/registration (which I have).

Next steps: Add props, quick test flight, PID autotune, hover/battery life test, camera+gimbal.

5 Likes

Update: it flies!

First attempt at flight was a complete failure because I had the frame type and motor directions wrong, so even when it did lift off it never made it out of ground effect. Fixed that.

Second attempt at flight was a little shaky; actually, it was extremely shaky, because the flight controller’s PID gains were set too high by default and it was oscillating.

I followed the ArduCopter tuning instructions and got it to be nice and stable.

20240624_210929_exported_520~2

I tried running the autotune routine (this should make it as stable and as responsive as possible), but ran out of battery power before it finished.

On a related note, if anyone has some 4S LiPo packs they want to sell, send me a DM. (Edit: Alternatively, do we still have a ton of 18650 cells hanging around the space? I swear I saw a huge bin of them at some point.)

Next steps: recharge batteries, run a complete autotune

4 Likes

That’s awesome!!

1 Like