Hi all,
I’ve been brewing Ginger Beer at home for several weeks now, so I thought I’d share the process I follow and experiences I had. The recipe I used was taken from Lauren Wood (Ginger Beer - Anyway).
Disclaimer/Waiver
You’re making something you’re going to consume with a live culture, much like sourdough, Kombucha, cheese, or yogurt. The information I’m providing here is for educational purposes only, and I take no responsibility for any outcomes from following these instructions. Create and consume at your own risk.
Introduction
The ginger beer I’ve been making is very light on alcohol. It makes use of a ginger beer plant, which is made of two organisms, a yeast (Saccharomyces florentinus) and a bacterium (Lactobacillus hilgardii). These form a symbiotic colony; the yeast consumes sugar and generate carbon dioxide and alcohol. The bacterium consumes the alcohol, which allows the yeast to survive longer and make more carbon dioxide. You end up with more fizz and less alcohol.
Starting from Scratch
If you don’t have a ginger beer plant, you can try to make your own. You’ll need:
-
8 organic sultanas (golden raisins). They need to be organic, because the organisms you need to create the ginger beer plant live on the skins of grapes and raisins. If they aren’t organic, the processing they undergo will kill the organisms on the skins. Mine came from @Janet, they are Inari brand organic sultana raisins ordered from amazon.ca: https://www.amazon.ca/gp/aw/d/B01BOMB6R8/ref=mp_s_a_1_1?qid=1463354645&sr=8-1&keywords=inari+raisins&pi=SY200_QL40&dpPl=1&dpID=41B0Q5lfsVL&ref=plSrch
-
¼ cup lemon juice. Use real lemons to get the juice, not RealLemon or concentrate.
-
1 teaspoon grated lemon zest. Wash the lemon first to remove coatings that might interfere with the yeast.
-
1 tablespoon white sugar. Roger’s Sugar is what I use.
-
2 teaspoons ground ginger. I’ve been using Compliments brand from Safeway, which provides good flavour.
-
2 cups tap water. Vancouver’s water isn’t heavily chlorinated, but if you’re worried about your tap water feel free to use distilled or filtered water.
-
a jar big enough to hold the plant. A half liter jar like the Classico pasta sauce comes in is just big enough; larger is better
-
cheesecloth or a towel to cover the jar. This keeps insects out but lets air in.
The Process
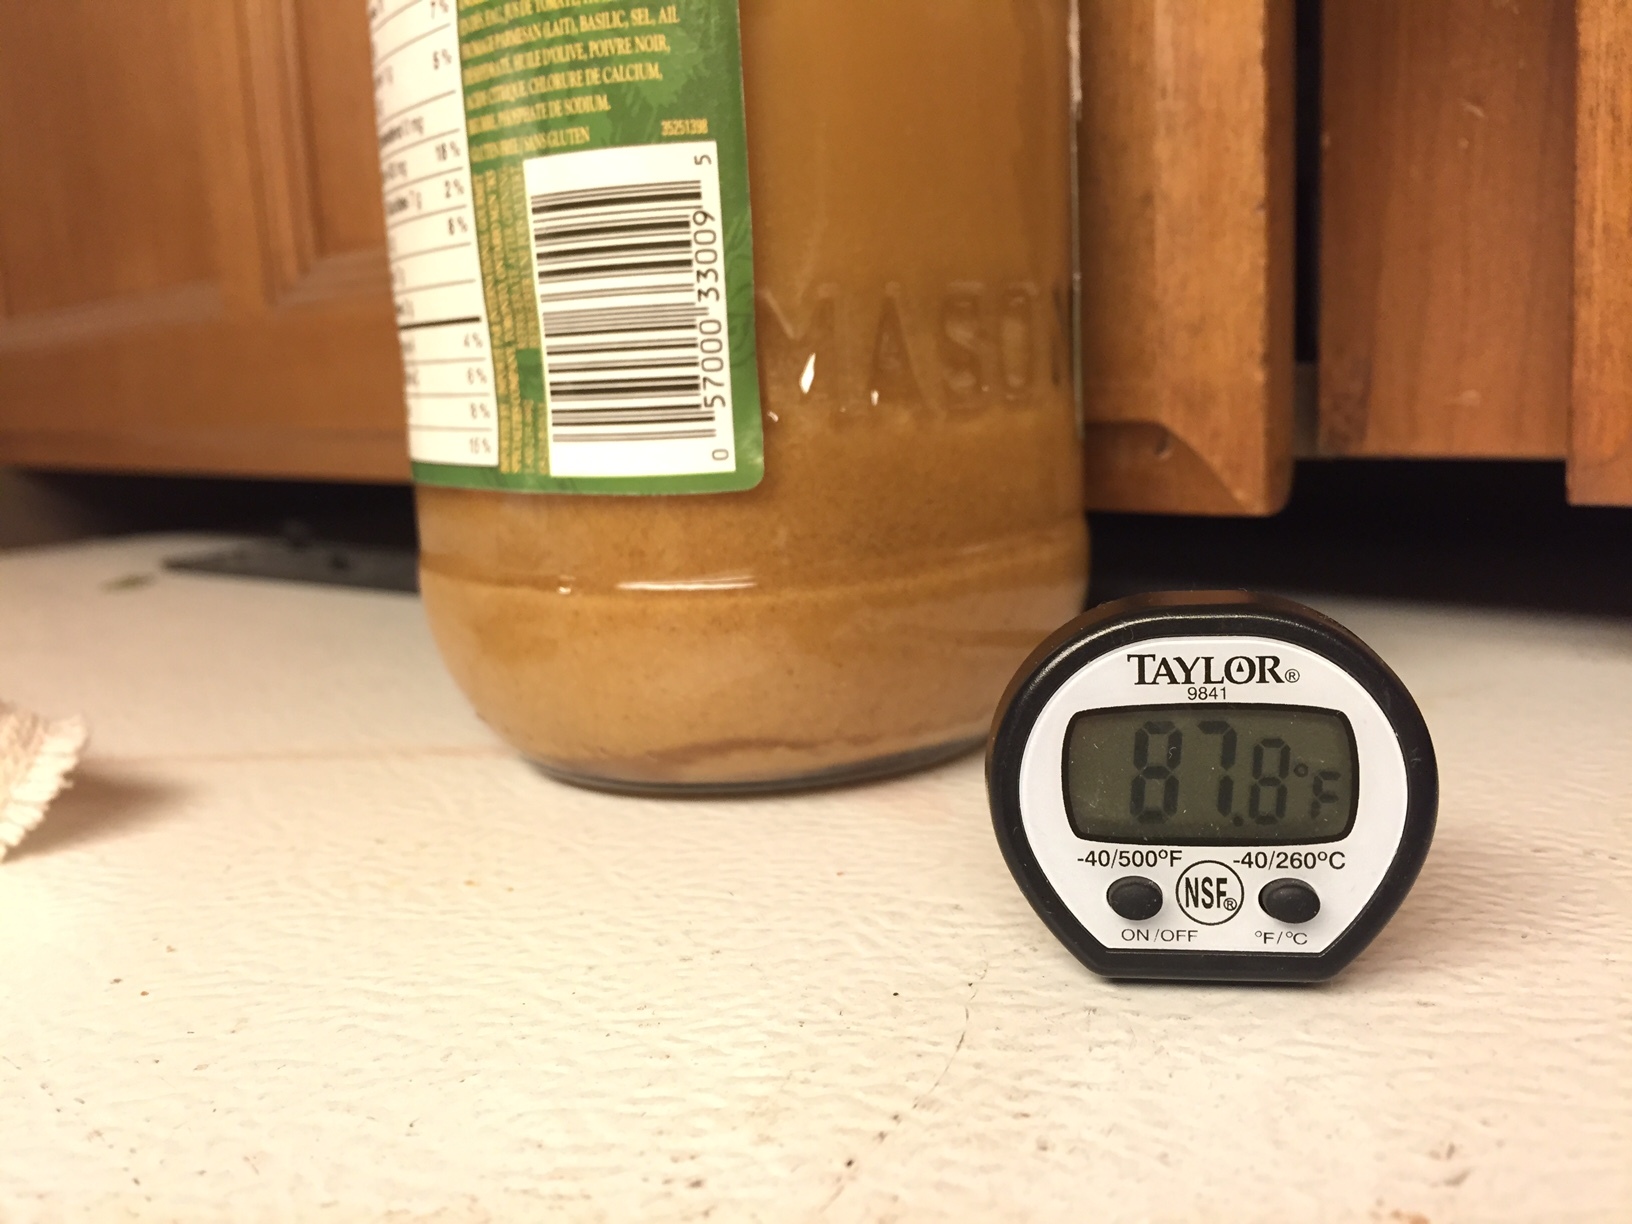
I thoroughly rinse out the jar with hot water several times after a pass in the dishwasher. Unlike other brewing processes, we’re not focused on complete sterility. Combine everything in the jar, and cover it with the cheesecloth. Use an elastic band to keep the cloth on the jar. Remember, we want the air to get to it, and to allow carbon dioxide to escape. Place the jar someplace warm, like the top of your refrigerator in your kitchen. Here’s the temperature on mine to give you an idea:
Every day, add two teaspoons of ground ginger and four teaspoons of sugar to the jar. I stir up the jar contents vigorously. Keep it covered to keep insects out. If luck is with you, in around a week you should see bubbles forming. I’ve heard the plant described as a lava lamp, with the raisins floating up and sinking back down again as the gas accumulates and dissipates. Keep feeding for a few more days until there is gentle bubbling. It should smell like ginger with a faint odor of fermentation. If you get a strong smell of alcohol from the mix with few bubbles, chances are you got some wild yeasts minus the bacteria. See troubleshooting below for what to try next.
Once you have a nicely bubbling plant, it’s time to try bottling it. Feed it one more time, and follow the steps below.
If you see any mold or other evidence of contamination, discard the batch and start over. Double check the cleanliness of your equipment and the area where you are brewing. Remember, it’s open to the air and can be contaminated by airborne pathogens.
If you got a Ginger Beer Plant from someone else, follow the steps below in “Making a New Ginger Beer Plant from the Old One.”
What you need to bottle the Ginger Beer Plant:
- A pot large enough to handle at least 9 liters (cheap stainless steel stock pot from Walmart)
- 10 1-liter plastic PET bottles (any homebrew supplier will have them)
- Plastic screw on caps for the bottles (any homebrew supplier will have them)
- Cheesecloth (found at Canadian Tire)
- A sieve (standard kitchen gear)
- A funnel to fill the 1 liter bottles (also Canadian Tire)
- 3 cups of White Sugar
- 5 cups of tap water
- Juice from 3 Lemons (again, from fresh lemons).
- 7 liters of water
Put the 3 cups of sugar and 5 cups of water in the pot. Bring to a boil and stir until the sugar is dissolved. Take the pot off the heat, and let it cool completely; hot water will kill your ginger beer plant. Add the juice from 3 lemons to the pot. Put the sieve over the top, and put the cheesecloth in the sieve. Pour everything in the ginger beer plant jar into the cheesecloth.
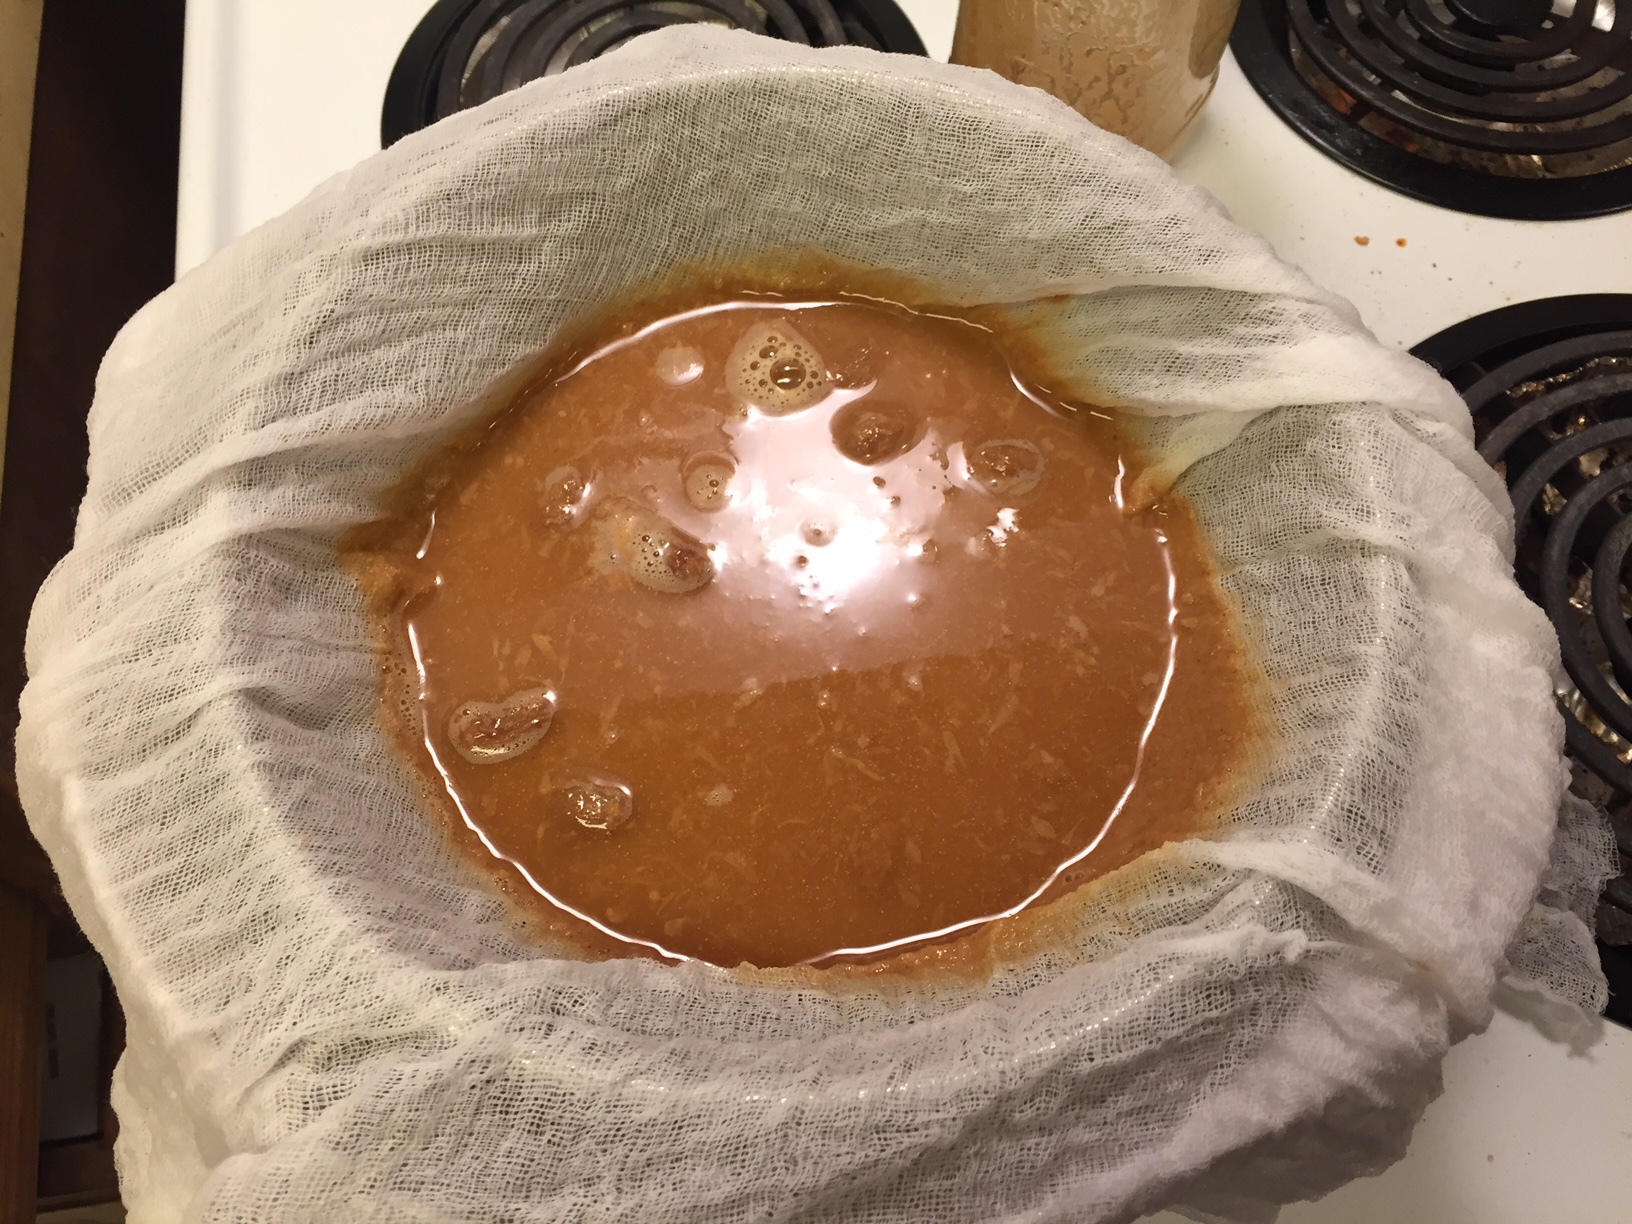
Then, use the cheesecloth to wring out as much liquid as possible into the pot.
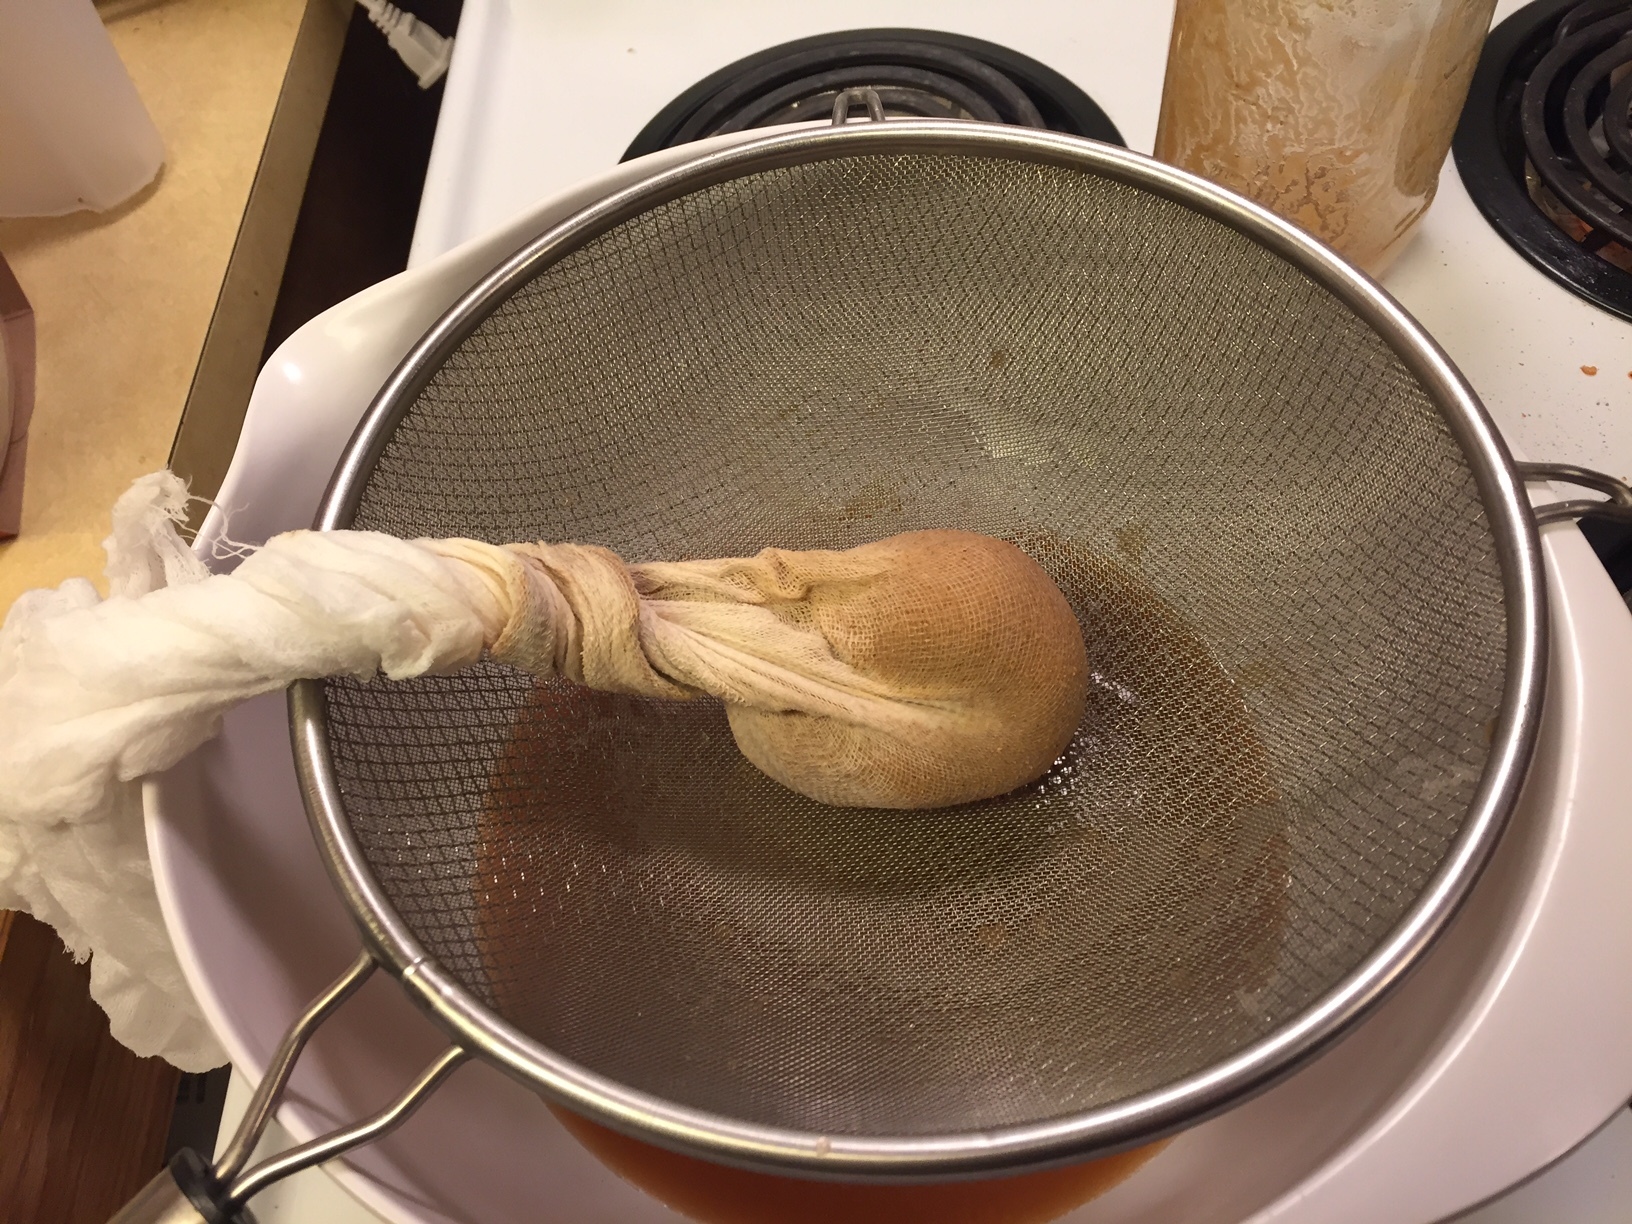
The liquid from the ginger beer plant is what will give the beer its flavour and fizz.The solids left over in the cheesecloth will be the start of a new ginger beer plant.
I like to rinse the bottles with hot water before filling them. Have a good look at the bottles to make sure there are no flaws in them; fermentation will generate a lot of pressure. Make sure the pot is well stirred, and start filling the bottles. Try to measure exactly one liter in each bottle, as that will give you the air gap at the top of the bottle for expansion during fermentation. Screw the caps on tightly, taking care not to cross thread them. You should end up with exactly 9 liters of liquid, one liter per bottle.
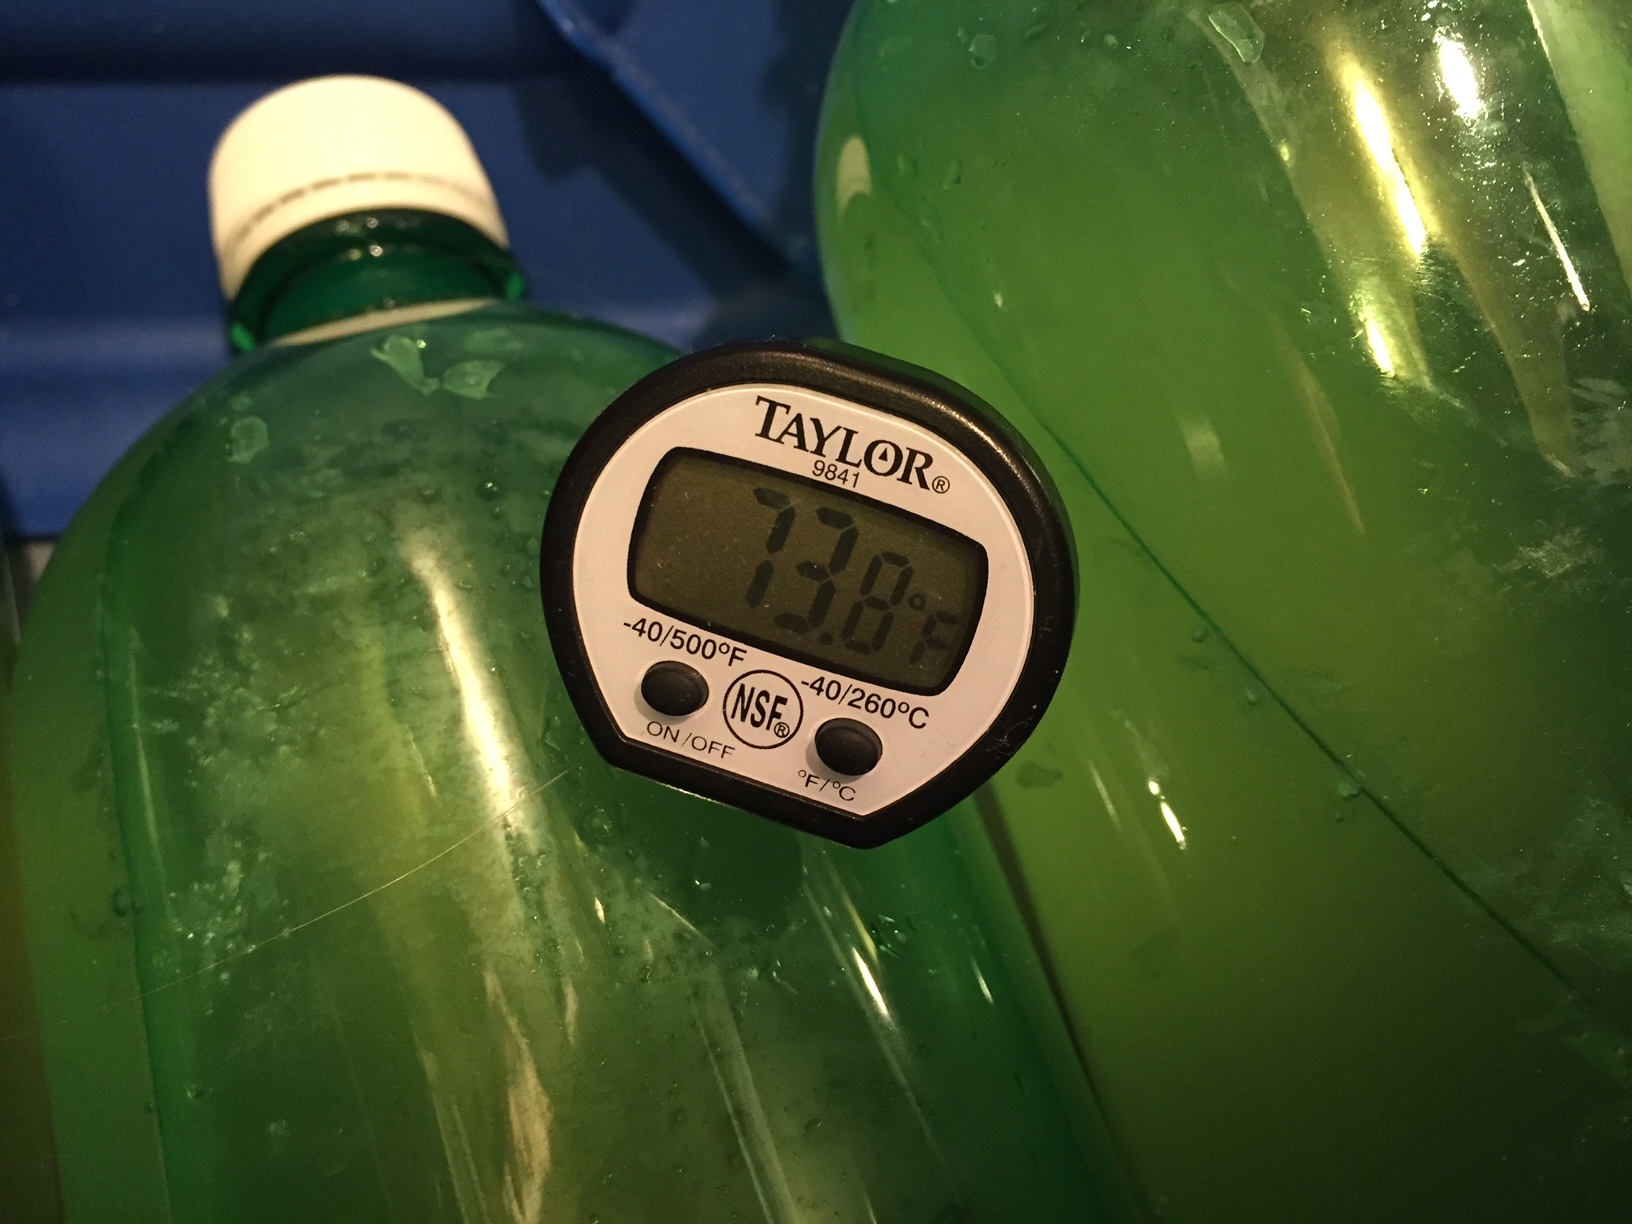
Place the bottles somewhere warm to ferment them. I put them in my bathroom in a large Rubbermaid container with a towel over top; this was to help contain any mess from an explosion. Plastic bottles are much safer than glass ones, but I have had one leak in the past. Here’s a sample temperature from my bottling area:
Making a New Ginger Beer Plant from the Old One
Now, you’re going to prepare the new Ginger Beer Plant from the solid matter in the cheesecloth.
Take half the matter, and put it into a jar with 2 cups of water. Add a few of the same raisins from your first batch to ensure you’re getting the same organisms. Feed it the same 4 teaspoons of sugar and 2 teaspoons of ground ginger. Repeat this every day, and soon you’ll have a new plant ready to go. The other half of the plant can be composted, or given to someone else to start their own plant.
Fermenting in the Bottles
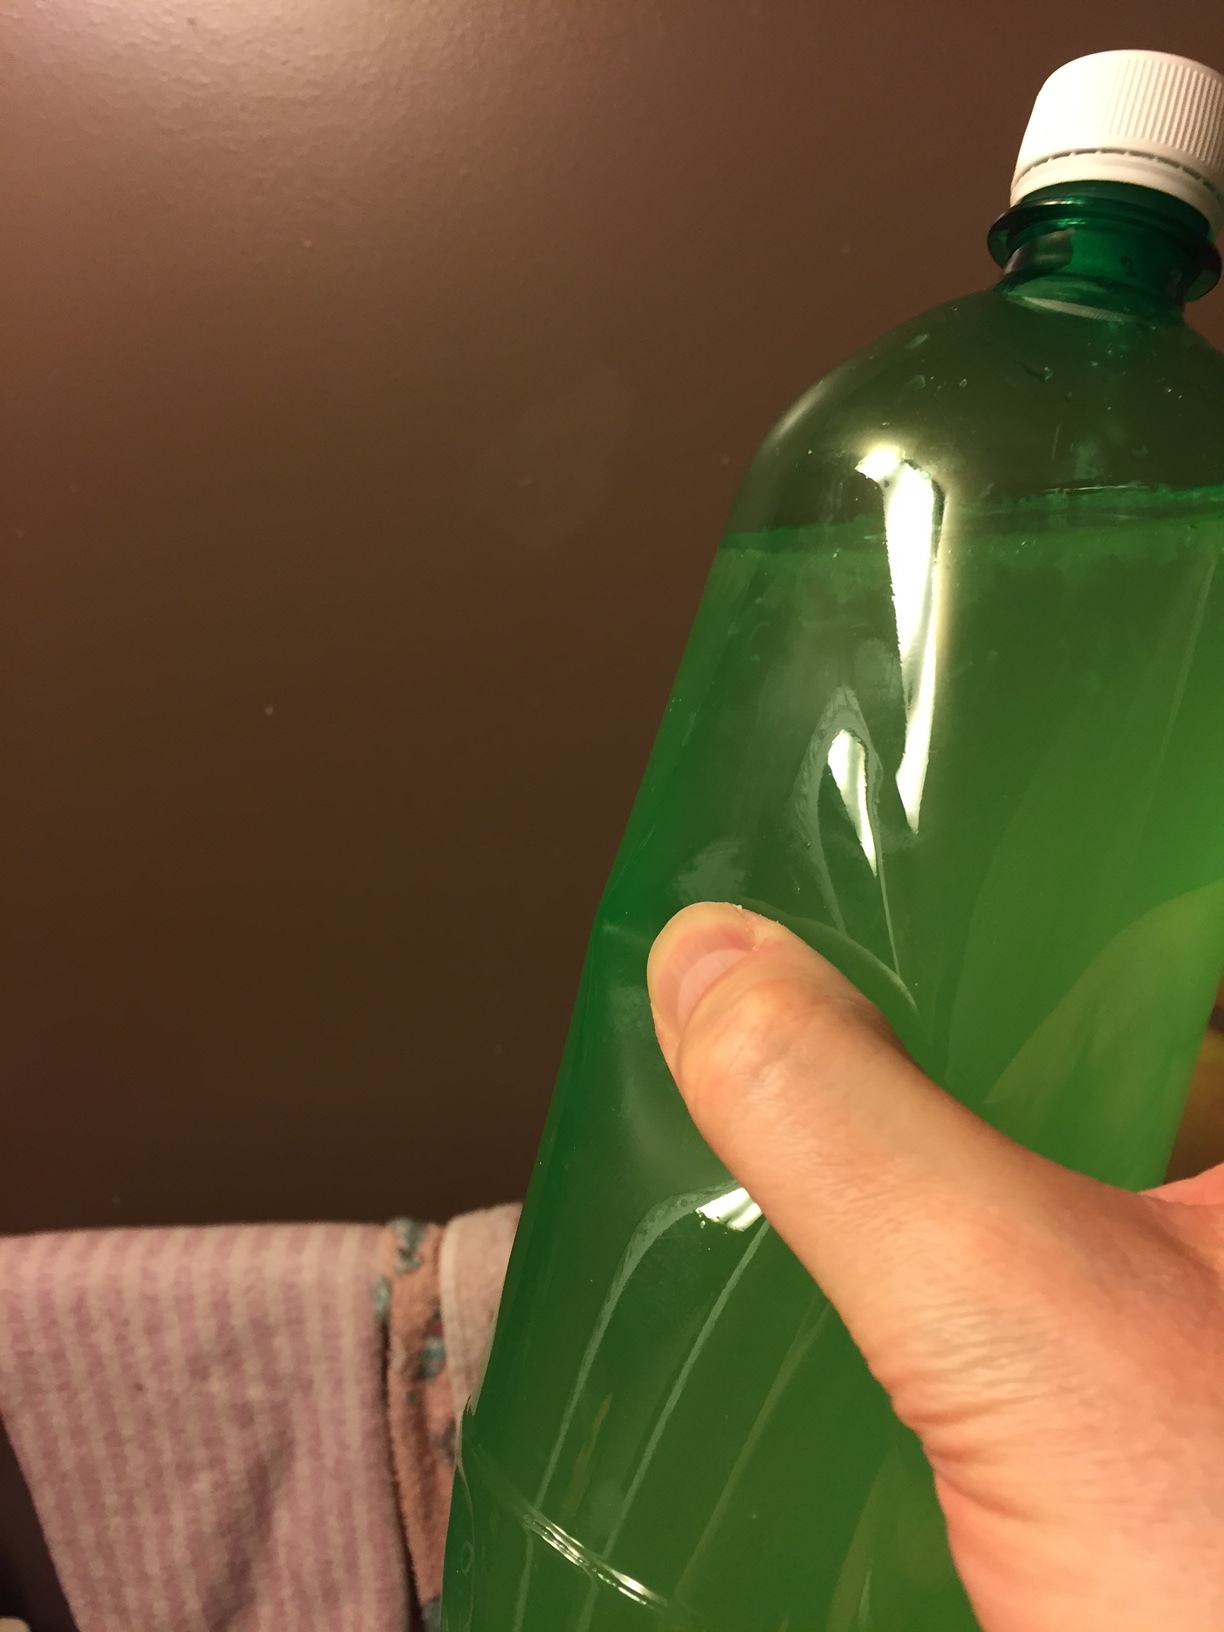
The yeast and bacterium will continue to work producing carbon dioxide while consuming sugar. In my case, it takes about 5-7 days for the beer to be ready to drink. You can check by squeezing the bottles, this picture is too early:
When you have trouble squeezing the bottle, rap it with your finger. The bottle should “ring”, making a noise similar to what an unopened bottle of pop from the store sounds like when struck. At that point, throw a bottle in your fridge to chill. Don’t be impatient and put it in the freezer.
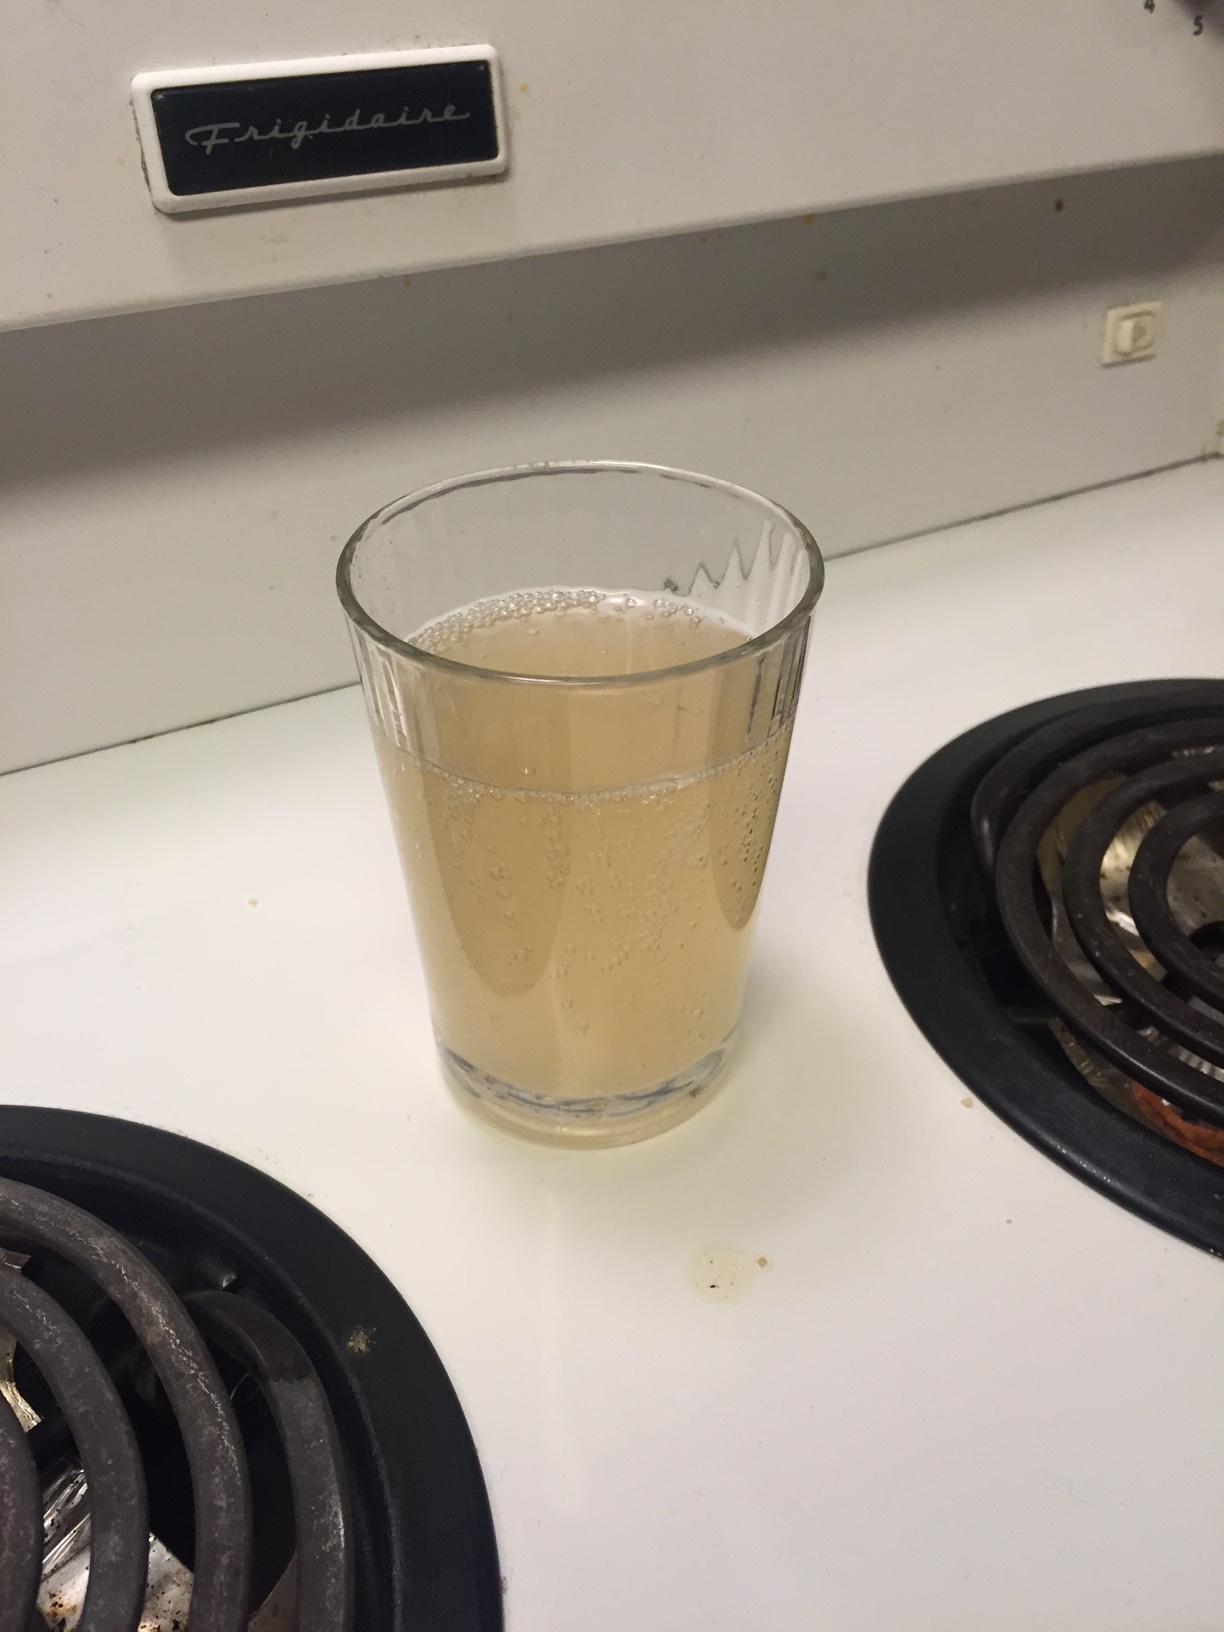
Depending on how long you let the bottles ferment, you will be on a spectrum of sweetness and carbonation. Earlier is more sweet and less fizzy, as the yeast hasn’t converted as much sugar to carbon dioxide. If you find it sweet and not fizzy, give it a few more days. Here’s a shot of mine after 1 week:
When you are satisfied with the carbonation level, you must put the entire batch in the fridge, This slows down the yeast metabolism so you don’t end up blowing up any bottles. Then there’s nothing else to do but enjoy the fruits of your labour!
Troubleshooting
If you feed your ginger beer plant for too long, you may notice less fizzing and a stronger smell of alcohol. The liquid in the plant will also likely be a much darker brown. I’ve had success in fixing it by filtering out the solids, discarding half, and following the procedure for starting a new plant from an old one. Again, don’t forget to add a few raisins to ensure you’re getting the same organisms.
Conclusion
The end result is, in my opinion, a lightly sweetened, delicious ginger beer. It’s excellent on hot days. Once you have the process down, the ginger beer plant can be used with other flavours. I look forward to hearing what people have tried!