Well, I think an update is in-order…
I’ve recently gotten back into circuits (just as we get into the heavy bits of chip shortages, yay). Just as I was getting back into designing other things, I was contacted by the DJ that I sent an engineering test to.
To paraphrase, he loves my controller because it is small and more portable than any of his other equipment. It makes it really awesome to travel/tour with.
These were some of the original design goals, so it makes me pleased as punch that he’s still using the thing after over 2 years. I had no idea. I don’t have access to the original design files (or rather, I could, but they were done on software I don’t have licenses to anymore) so I decided to pick the project back up in my newly minted KiCAD skills.
A couple days later, this is what I’ve got as a new revision.
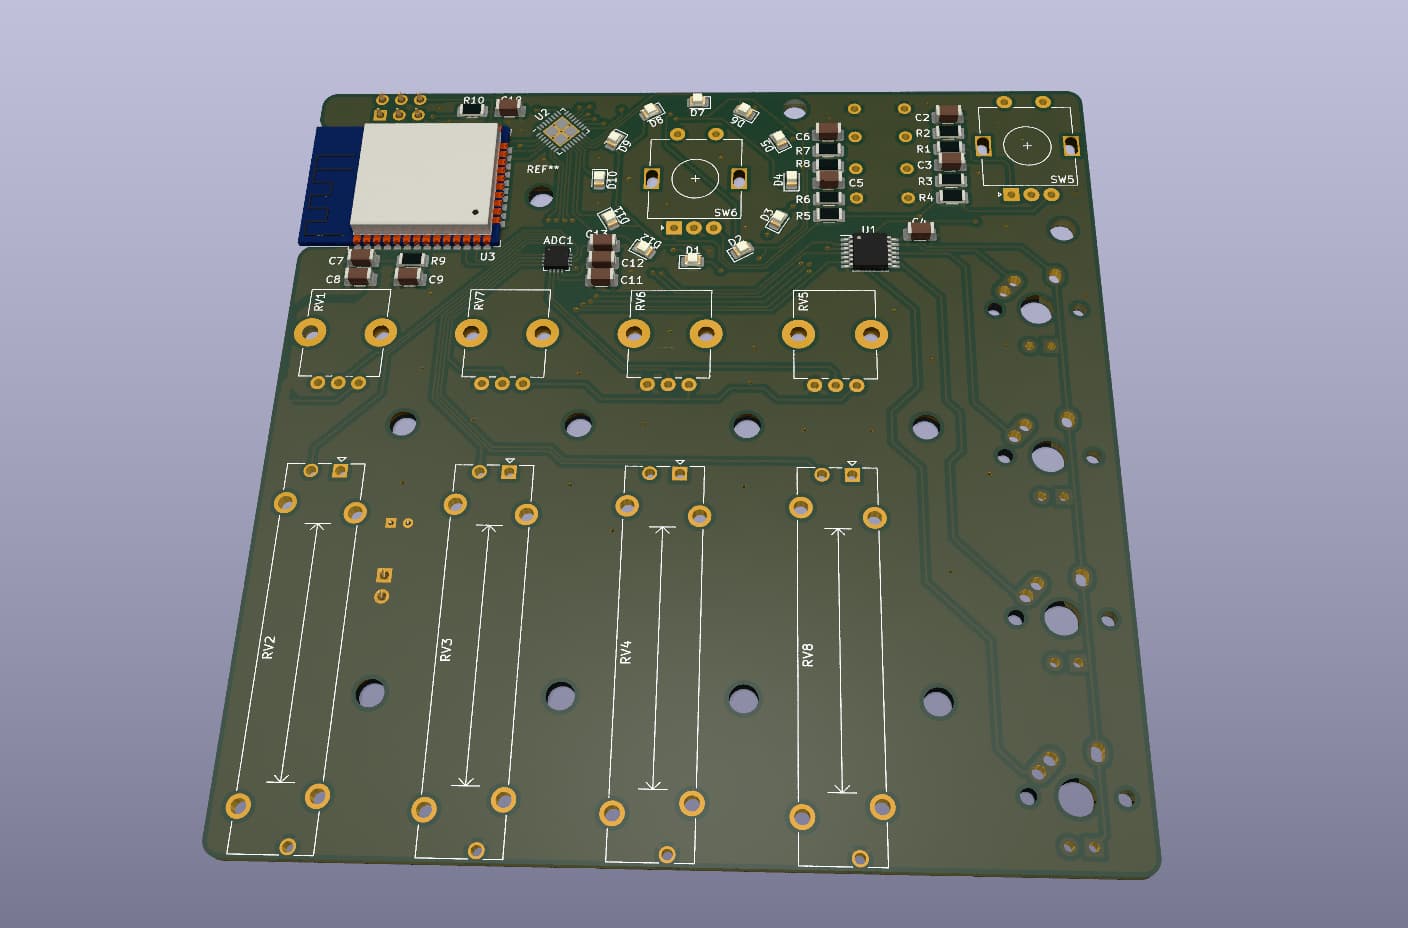
It cuts out a few things and adds a few things.
-
I’m using a new ADC which I think will get me better analog performance. My ADC performance is already better than some other MIDI boards on the market, but for only a couple bucks more, I think I can have best-in-class performance.
-
I dropped a column of buttons. My DJ friend finds for the performances he uses this with, there were plenty already, and with the use of one of the tactile buttons, we can make mode buttons that switch either with a toggle or simultaneous presses to allow lesser used features to still be available on the board.
-
I added another rotary encoder. In my mind, I’ve moved the navigation rotary encoder off to the right and placed a brand new encoder near where the old one used to be and surrounded it in LEDs. The LEDs are single-color (not RGB) but allow for dimming. Depending on configuration, these should be able to help provide additional interactivity. Both rotary encoders include press buttons, so really overall I’m only losing one button.
-
Hardware debounce. I’ve been using software debouncing up until this point, but for some reasons, I’d prefer to go hardware debounce. All buttons are going through a hardware debounce so they can be processed as pure interrupts by the ESP32.
-
The board is once again at 100mm x100mm, this is a significant cost savings, as that’s the breakdown for cheap prototyping boards, beyond this the price goes up rapidly. Removing the extra column allowed for this.
-
I’ve extracted the battery management off of this board. I’ll be doing battery management with a BikeshedBoard LiPo manager. Because some people do not care at all about batteries, this gives me more flexibility and saves board space. This also should allow for easier assembly being able to do it in multiple parts.
-
(not implemented yet) I’ve been asked to include an accelerometer. I think this is actually a great idea. If anyone has a good one I should include, I’m open to it.
Over all, I think my BOM cost has also gone down, which is great since I’d love to make this thing not cost an arm and a leg as a kit.
In writing this up, I realized a few minor things I need to do to the board before I send it off for fab, but I should be sending off a new version soon.