Automated Advent Calendar
Project Concept and Overview
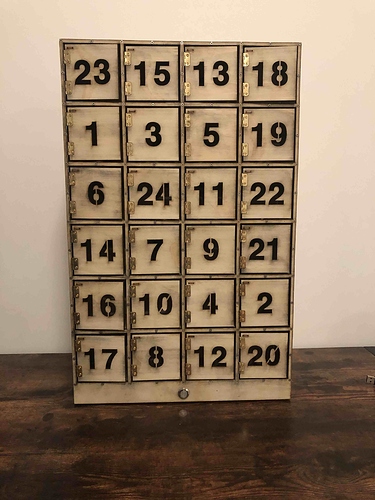
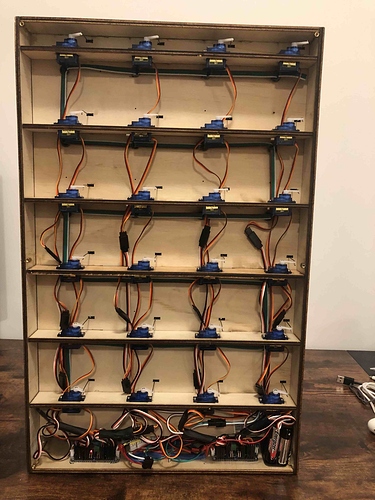
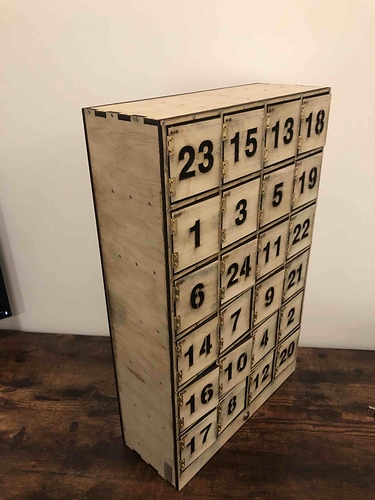
A wooden box has 24 doors that open and close automatically by servo. Additionally each box is individually lighted and controlled by WS2811. Each door represents days 1 - 24 of December as a countdown to Christmas. A small treat or chocolate can be placed in each door. It is also envision that a translucent Christmas image will be adhered to the front of the box with little cuts allowing each door to open. This will not allow the stencil box/day number to be seen unless it is illuminated.
The calendar will have only 2 buttons, 1 in the front and one in the back. The front button is used to open the current day door, the back button is used for system setup. The system is always in sleep mode until either button wakes up the system.
The door button will follow the logic below when pressed:
- If current month is not December, flash all doors 3 times quickly and go to sleep.
- If current month is December and current day has already been open, flash current day 3 times quickly, open door for 2 seconds, close, go to sleep.
3.If current month is December, current day has not been opened then - light all doors and randomly turn off lights until only current door is lit. Door automatically opens for 5 seconds to retrieve “gift” and then shuts and everything goes to sleep.
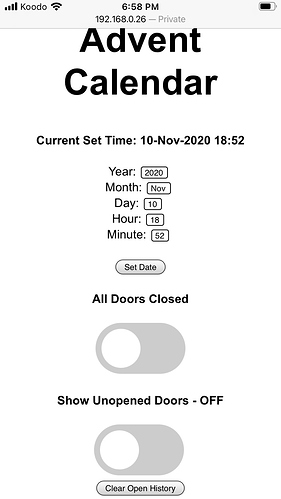
The system setup button at the back starts an independent webserver that can interface through a webrowser to do the following:
• Observe the current system time
• Update/change the current time
• Reset whether doors have been opened
• Open all doors simultaneously (for restocking)
Materials List
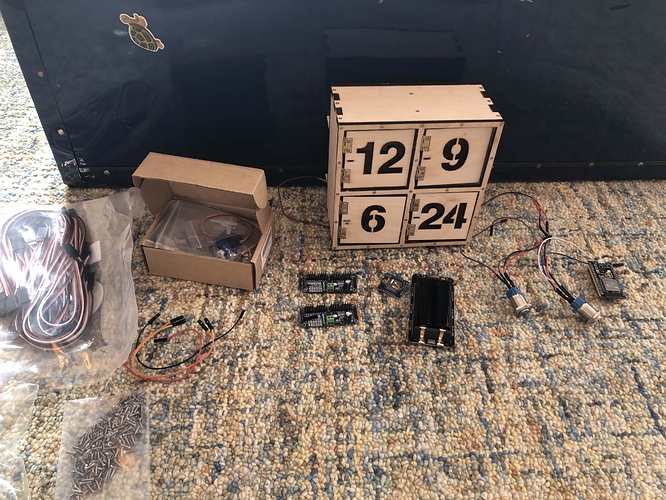
1 ESP32 Development Board
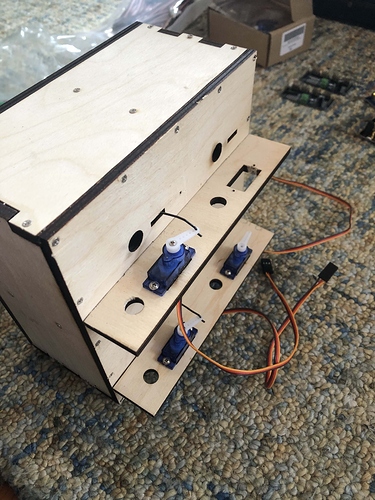
24 SG90 Servos
48 Mini Cabinet Screws
24 WS2811 Individually Addressable lights
1 18650 Battery Shield
2 18650 Batteries
2 LED Push Buttons
2 16 Channel PWM Driver Boards
1 Mofset to cut power to servos when in sleep mode
M2 Wood Screws As needed for screwing together wood
Approximately 5 sq. ft ¼” sanded plywood
<0.5 sq. ft. 1/16” sanded plywood
Connectors and wires as needed
Planned Phases
Phase 1
Planning, Design, Initial Code Writing
Phase 2
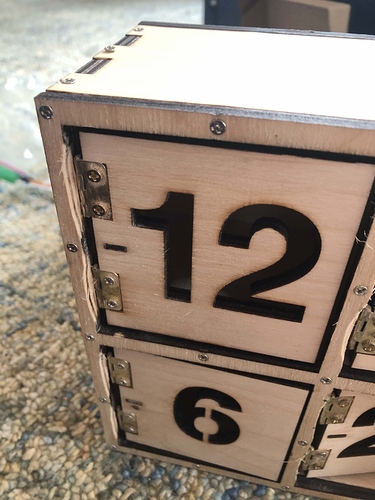
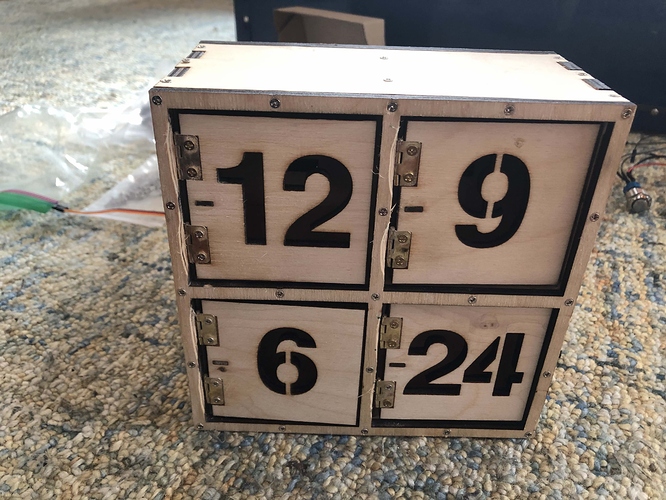
Small Prototype – Laser Cut 2 box X 2 box mini sample to check dimensions, hinge connections, and breadboard wiring
Phase 3
Large Prototype – Laser Cut 4 box X 6 box. Hardwire and solder all connections. Final software testing.
Phase 4
Testing. Try it out for them month of December and see how it works.
Future(optional)
• Design a large PCB to simplify wiring
• See what costs can be cut. With some creative thinking I would like to get material costs < $50 CDN to be accessible to other hackers
• Incorporate a RTC module. The ESP32 time keeping has some drift would help keep time while not in use.
Current Status
I’m currently almost complete Phase 1. I have all the materials ordered and they have either arrived or will be arriving shortly.
I’m currently stuck on the laser cutting. I’ve included the .dxf file required for sending to the laser cutter. I sent the project to some local laser shops and they quoted me $150. I couldn’t part with that much money for this prototype when I know laser cutting is so cheap. I’m currently on the list to get laser training but I’m not trained yet. I posted in the newcomer channel that if another member who has training was willing, I’d be happy to pay or make a donation to cut this small prototype. Slack me if you are interested.
As for the current drawing I just started to poke around in Fusion 360. I’ve taken my first attempt at a 3D drawing of the small prototype and I’ve included this file as well as the .dxf of the sketch.
Advent_Calendar_Small_Proto.dxf
Advent_Calendar_Small_Proto.f3d
