I spent some time last week playing around with the VHS embroidery machine.
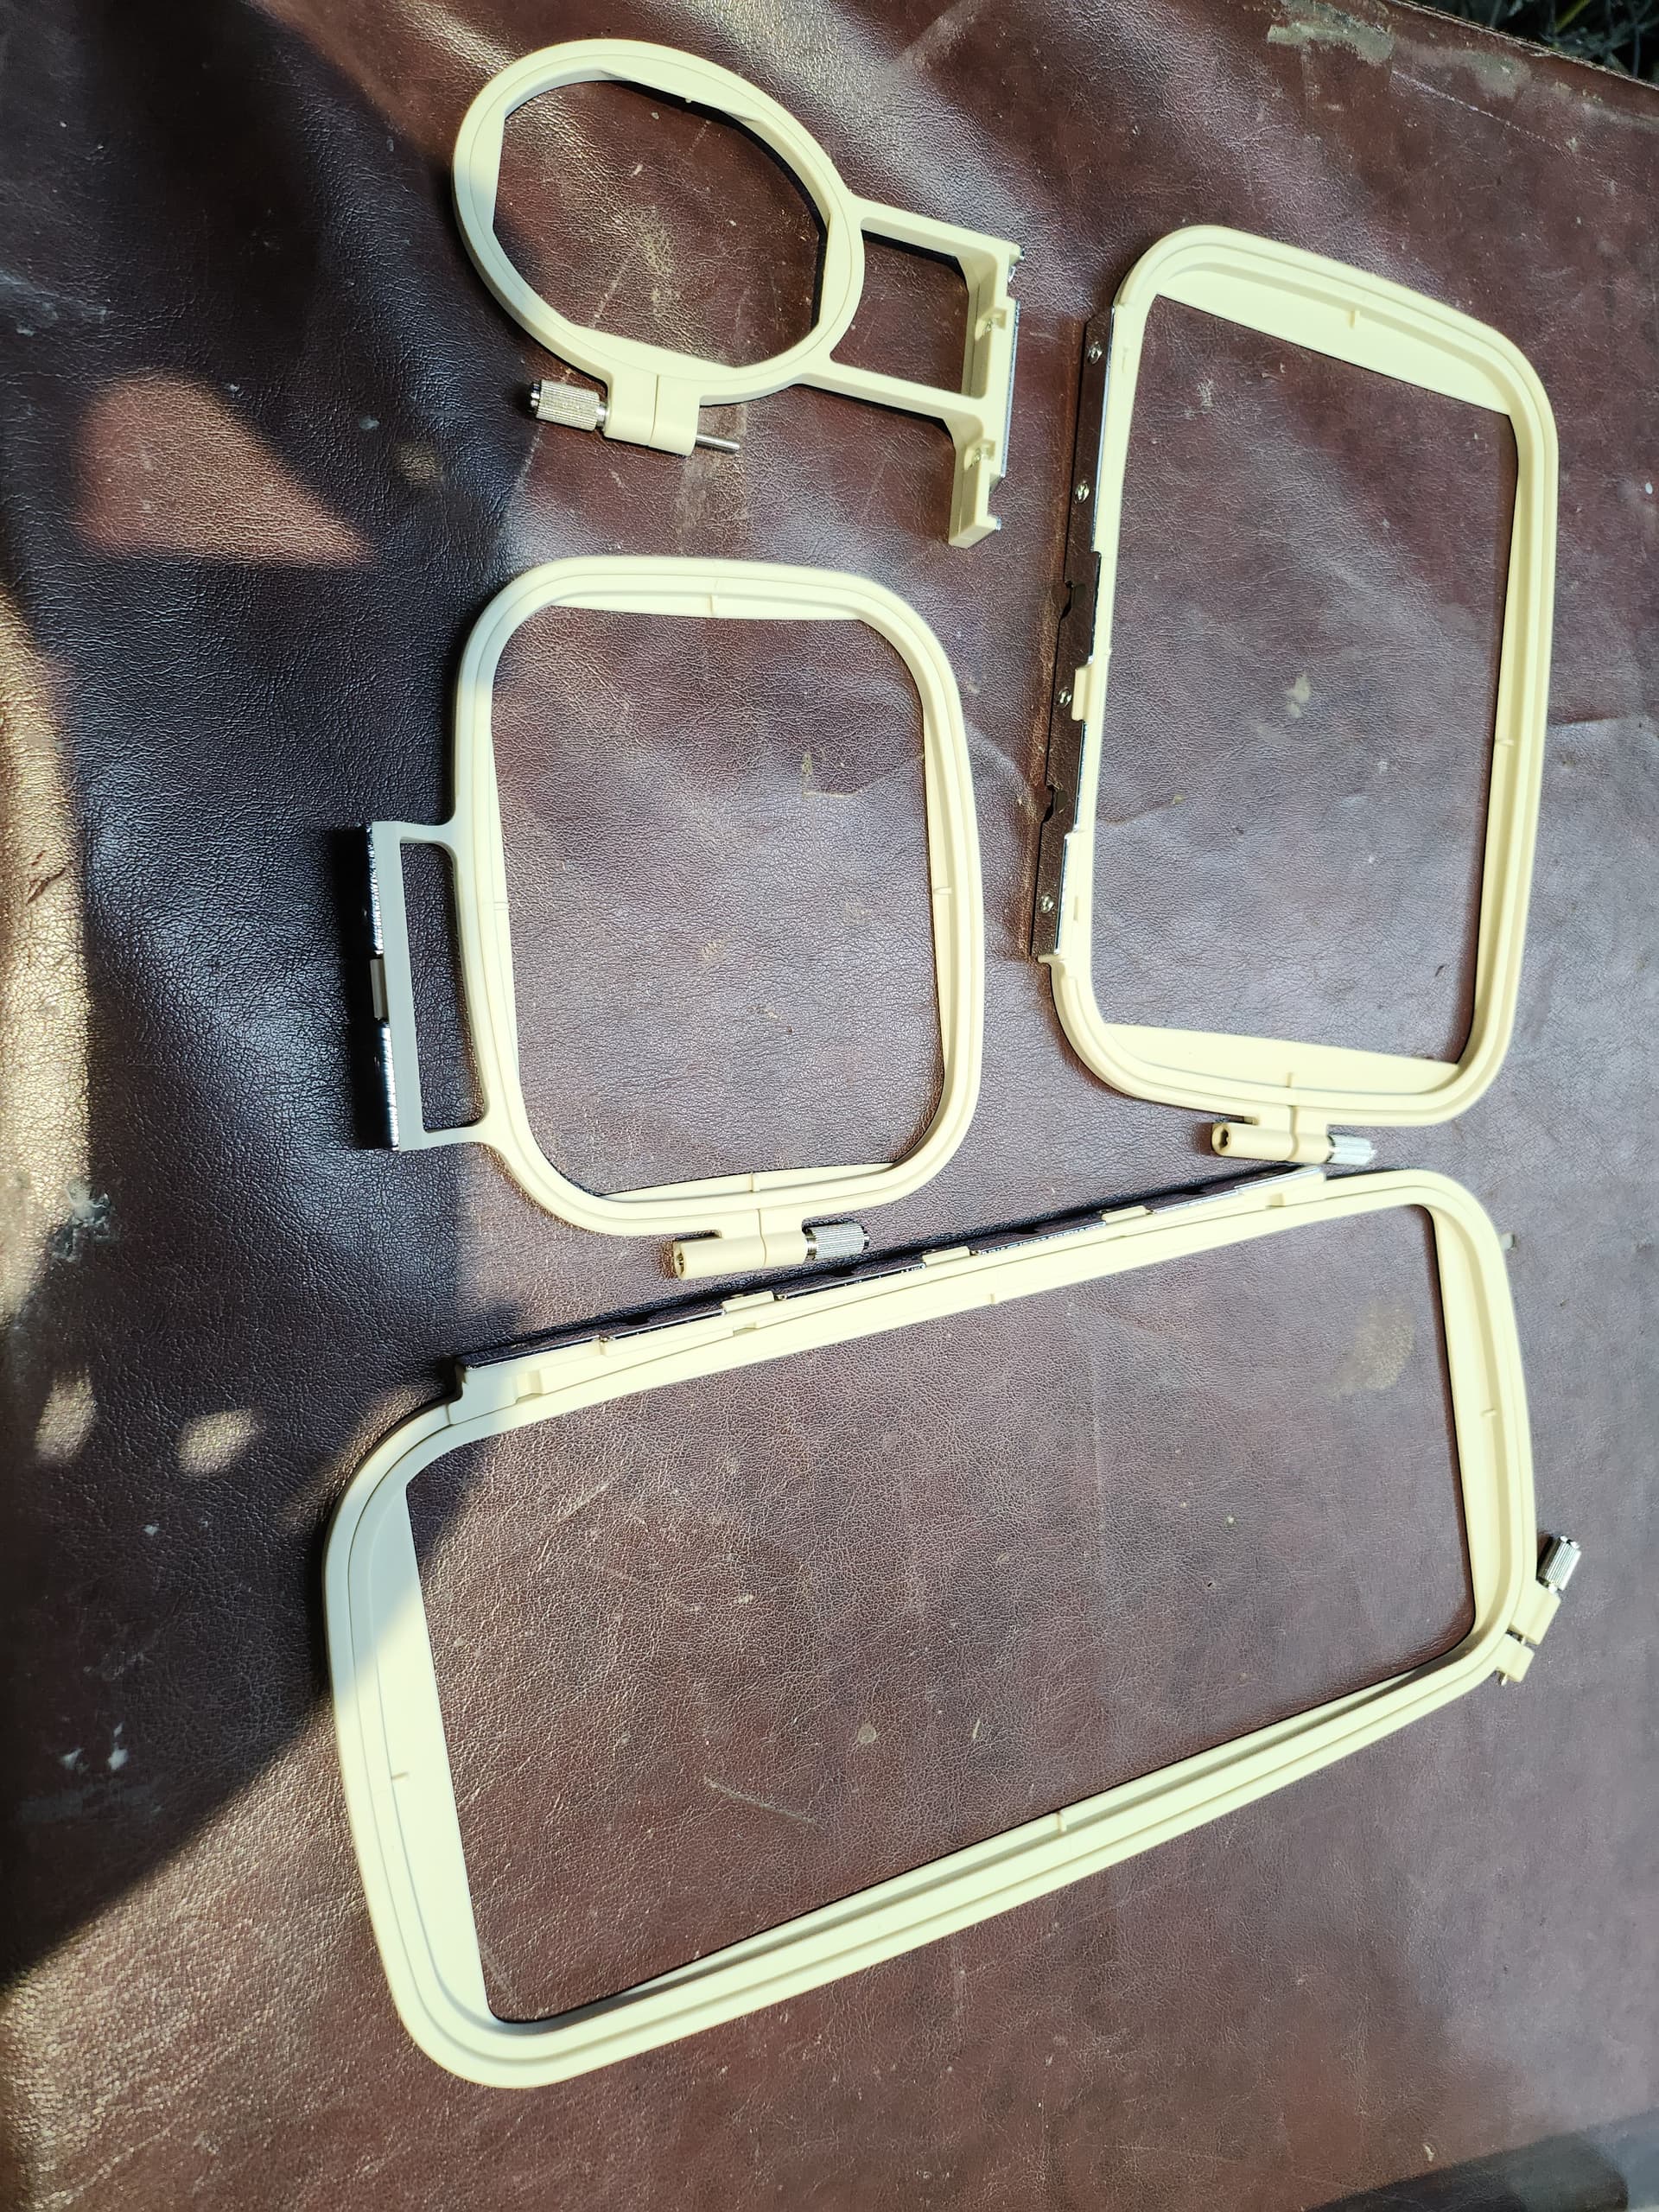
There’s a stack of boxes at the back of the sewing table full of embroidery machine related stuff - the big brown one has stabilizer and bobbins in it.
The stabilizer does not require ironing - just put it under the fabric and place both layers over the big part of the embroidery hoop. Then snap the small hoop in and tighten the screw, pulling everything as flat as possible.
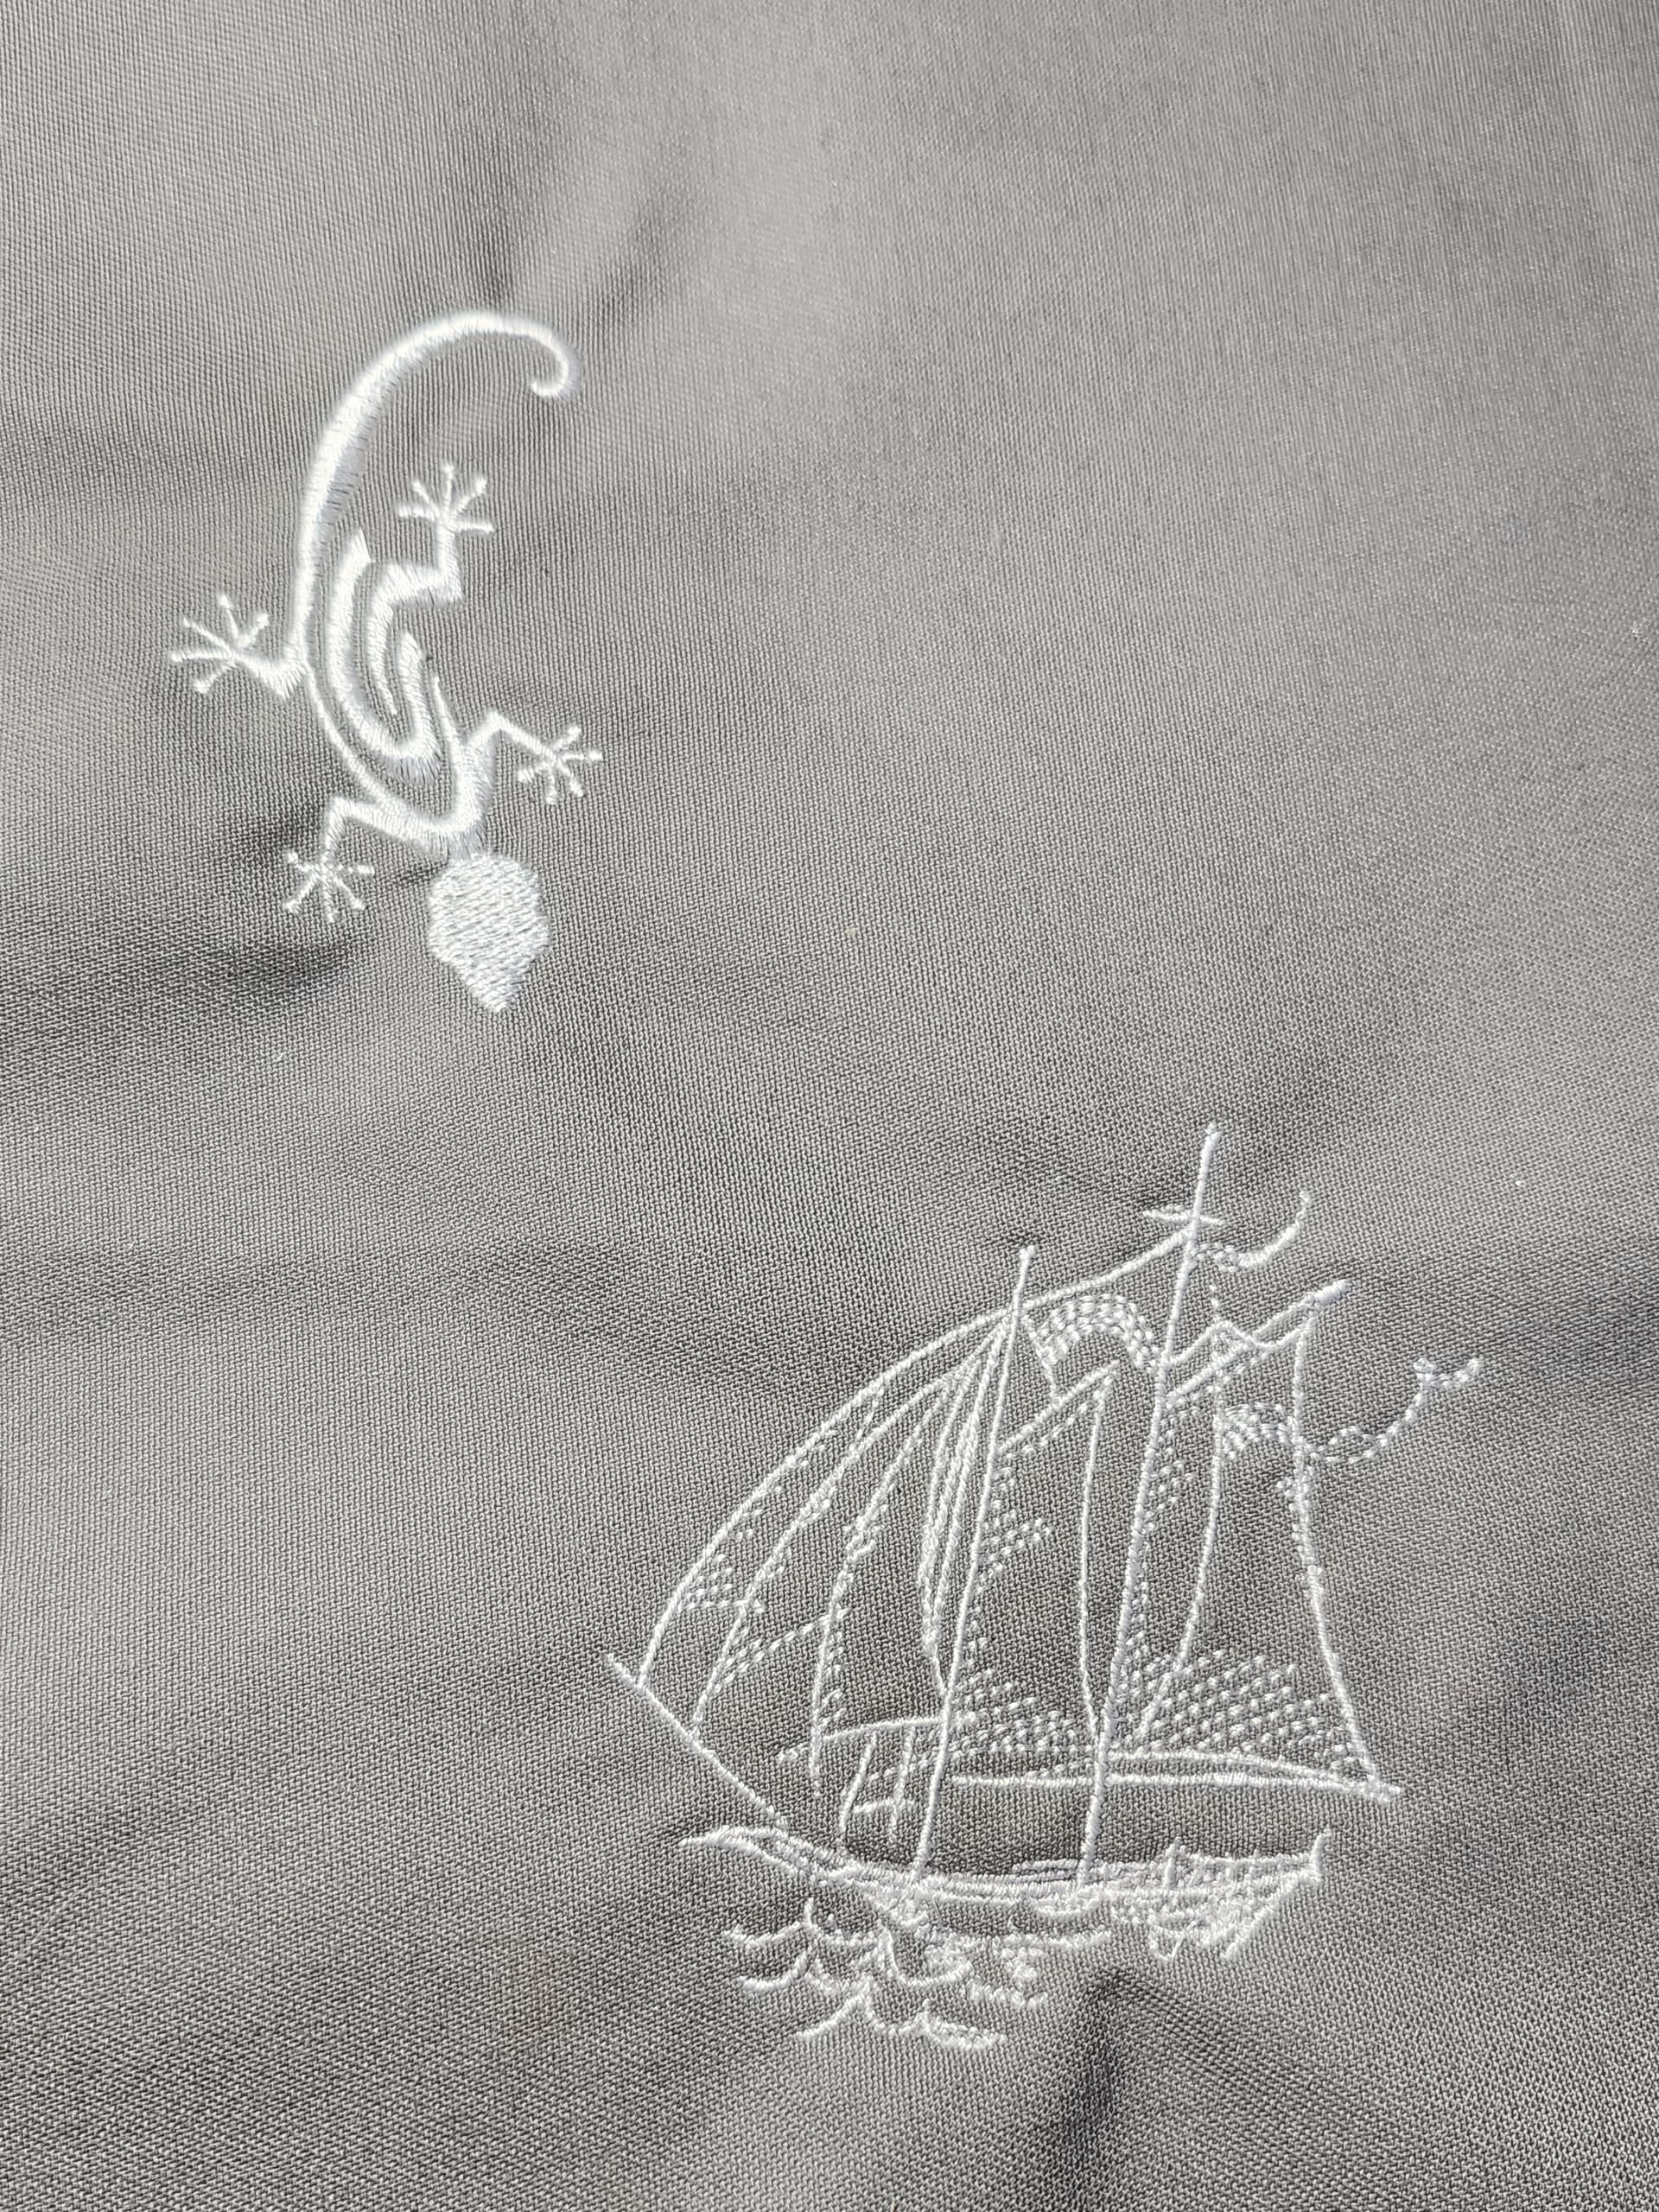
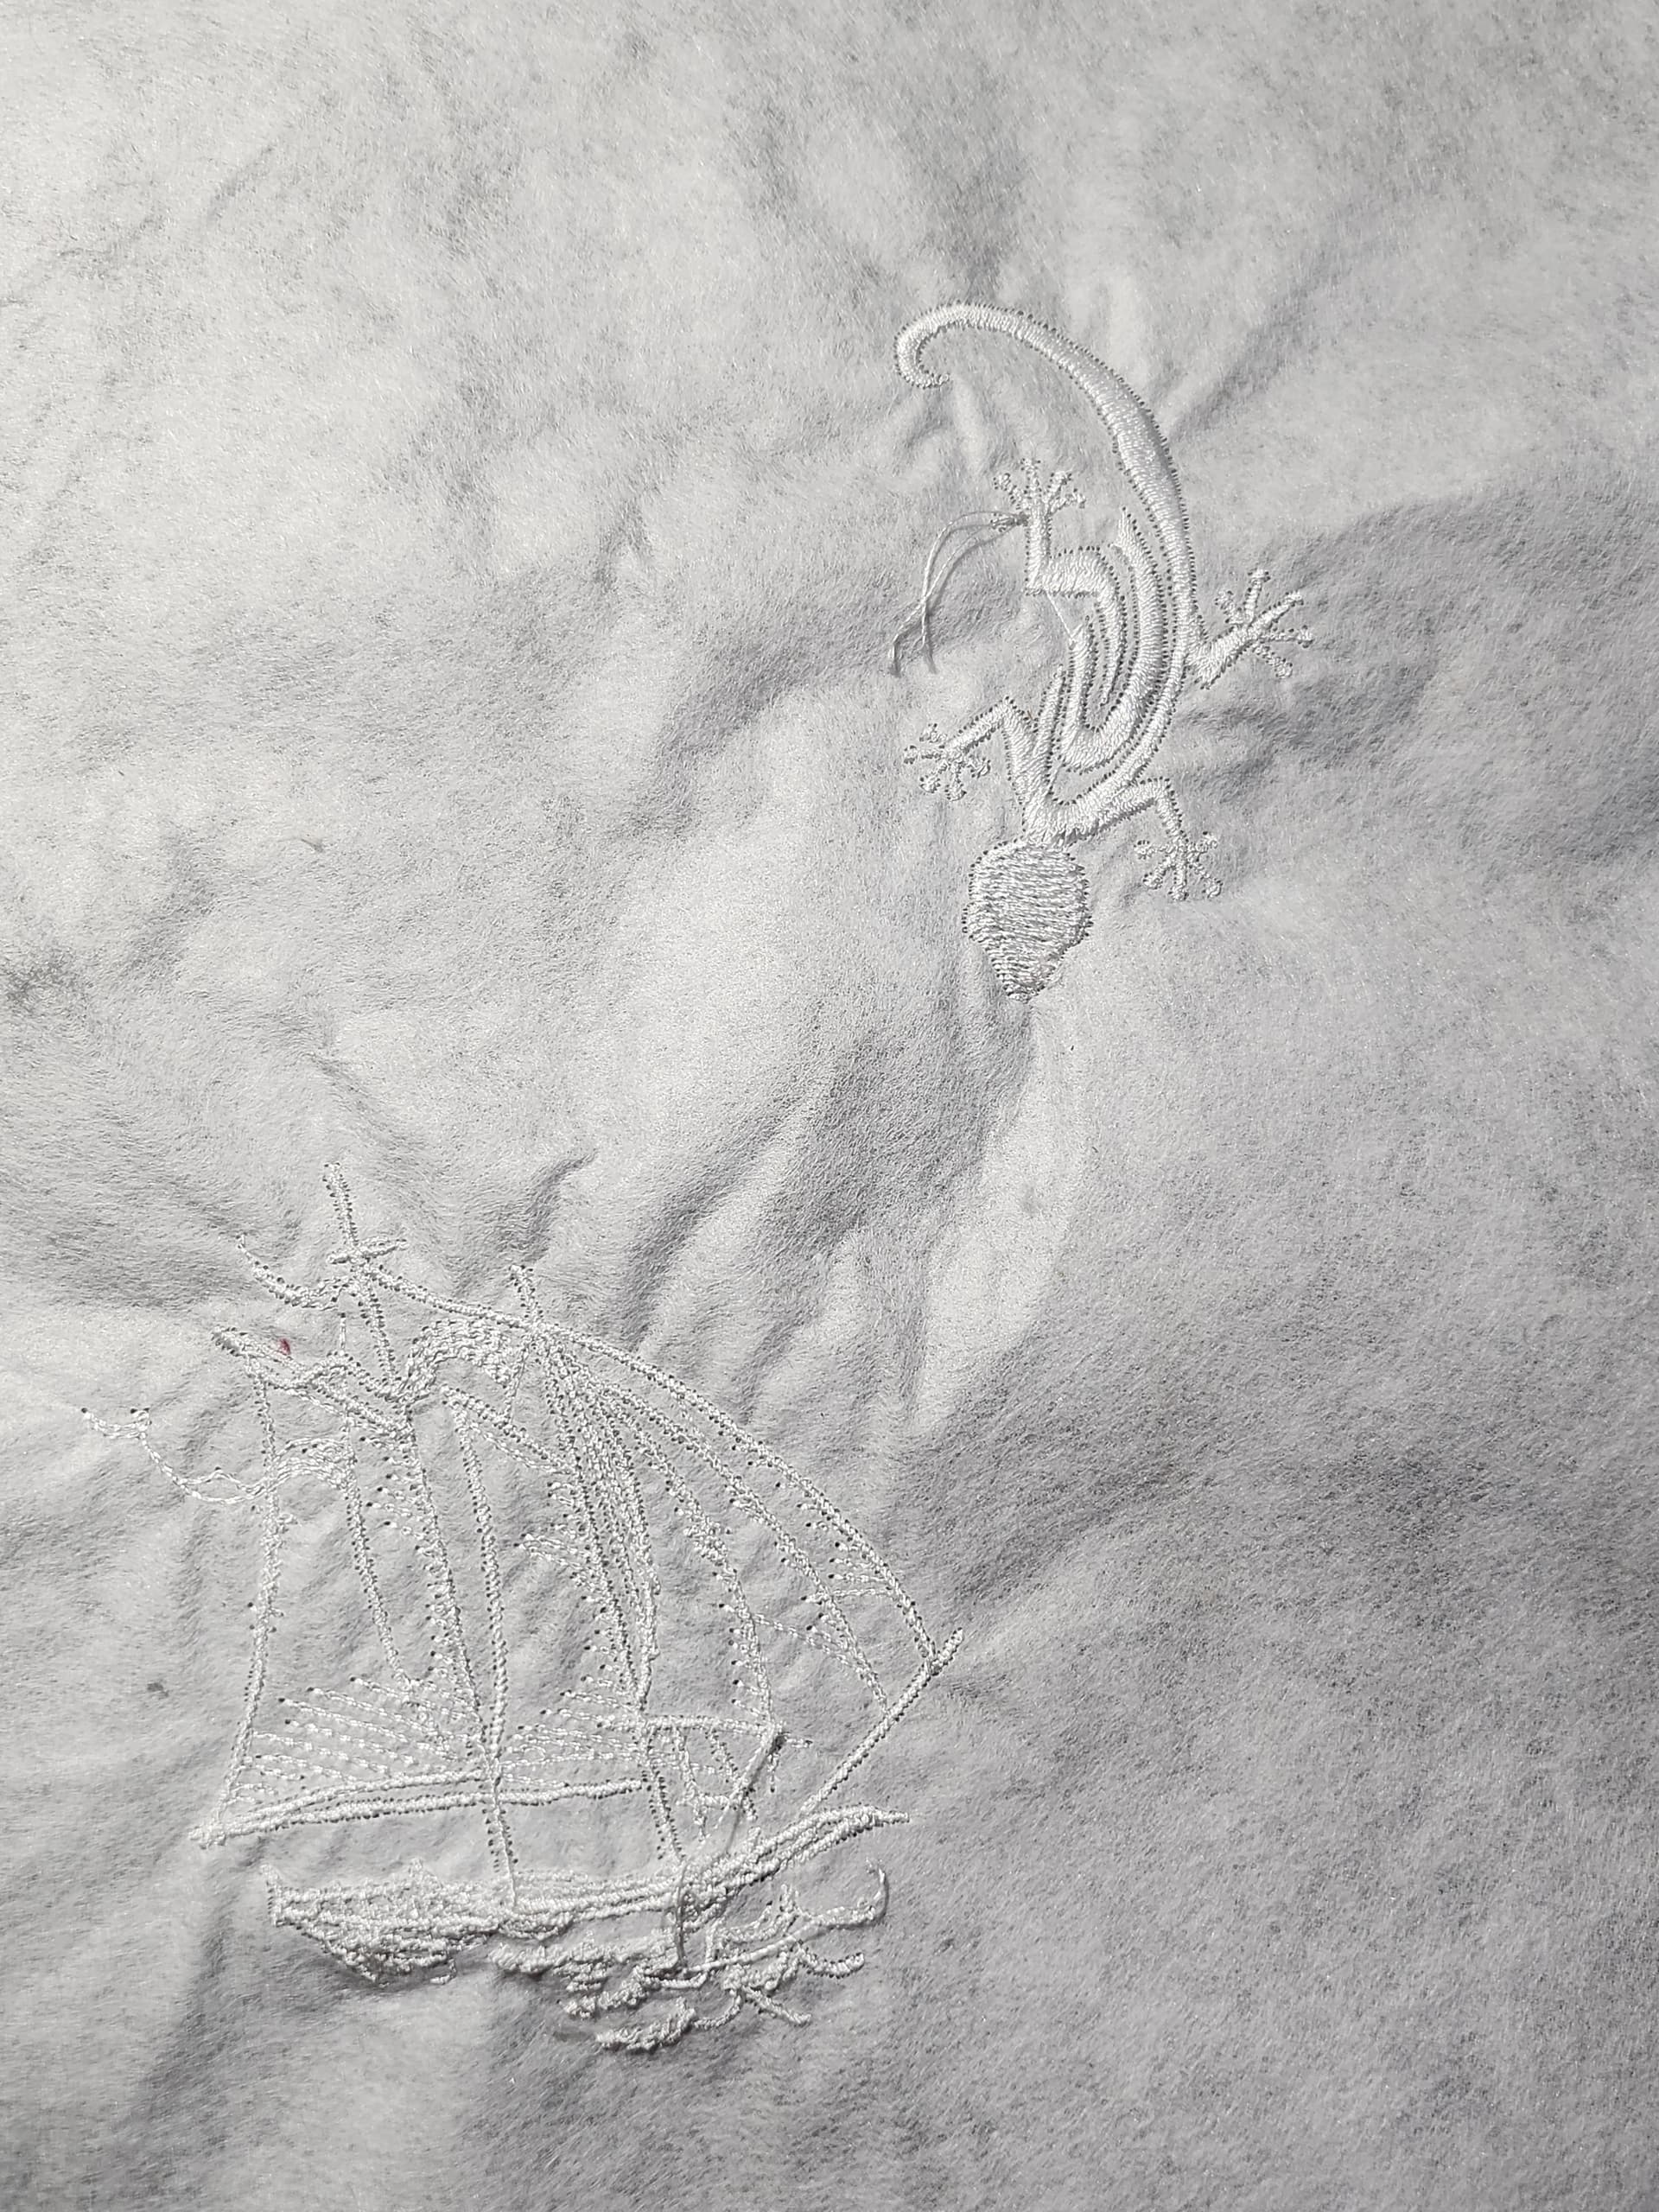
The machine has a built in library with lots of different designs. You can move, rotate, and scale them, although the interface is a little clunky.
I picked a lizard out of the library and embroidered it. Then Martin picked a ship and ran that. Then Martin noticed that the hoop wasn’t completely clipped in… but both designs came out really nicely anyway.
To clip the hoop in correctly, you have to push at the right angle. It should not lift up easily once it’s in.
Another note: I changed the thread color. Winding the bobbin was very easy, and threading was straightforward, but I couldn’t get the automated needle threader to work. In the end I stopped after step 6 and just manually threaded the needle from front to back.
Next I tried embroidering a couple of designs I made in Inkscape. You’ll need to install the Ink/Stitch extension, but then it’s as simple as saving in *.pes format, putting the file on a USB drive (there’s one tucked in the top of the embroidery machine) and plugging the drive into the machine.
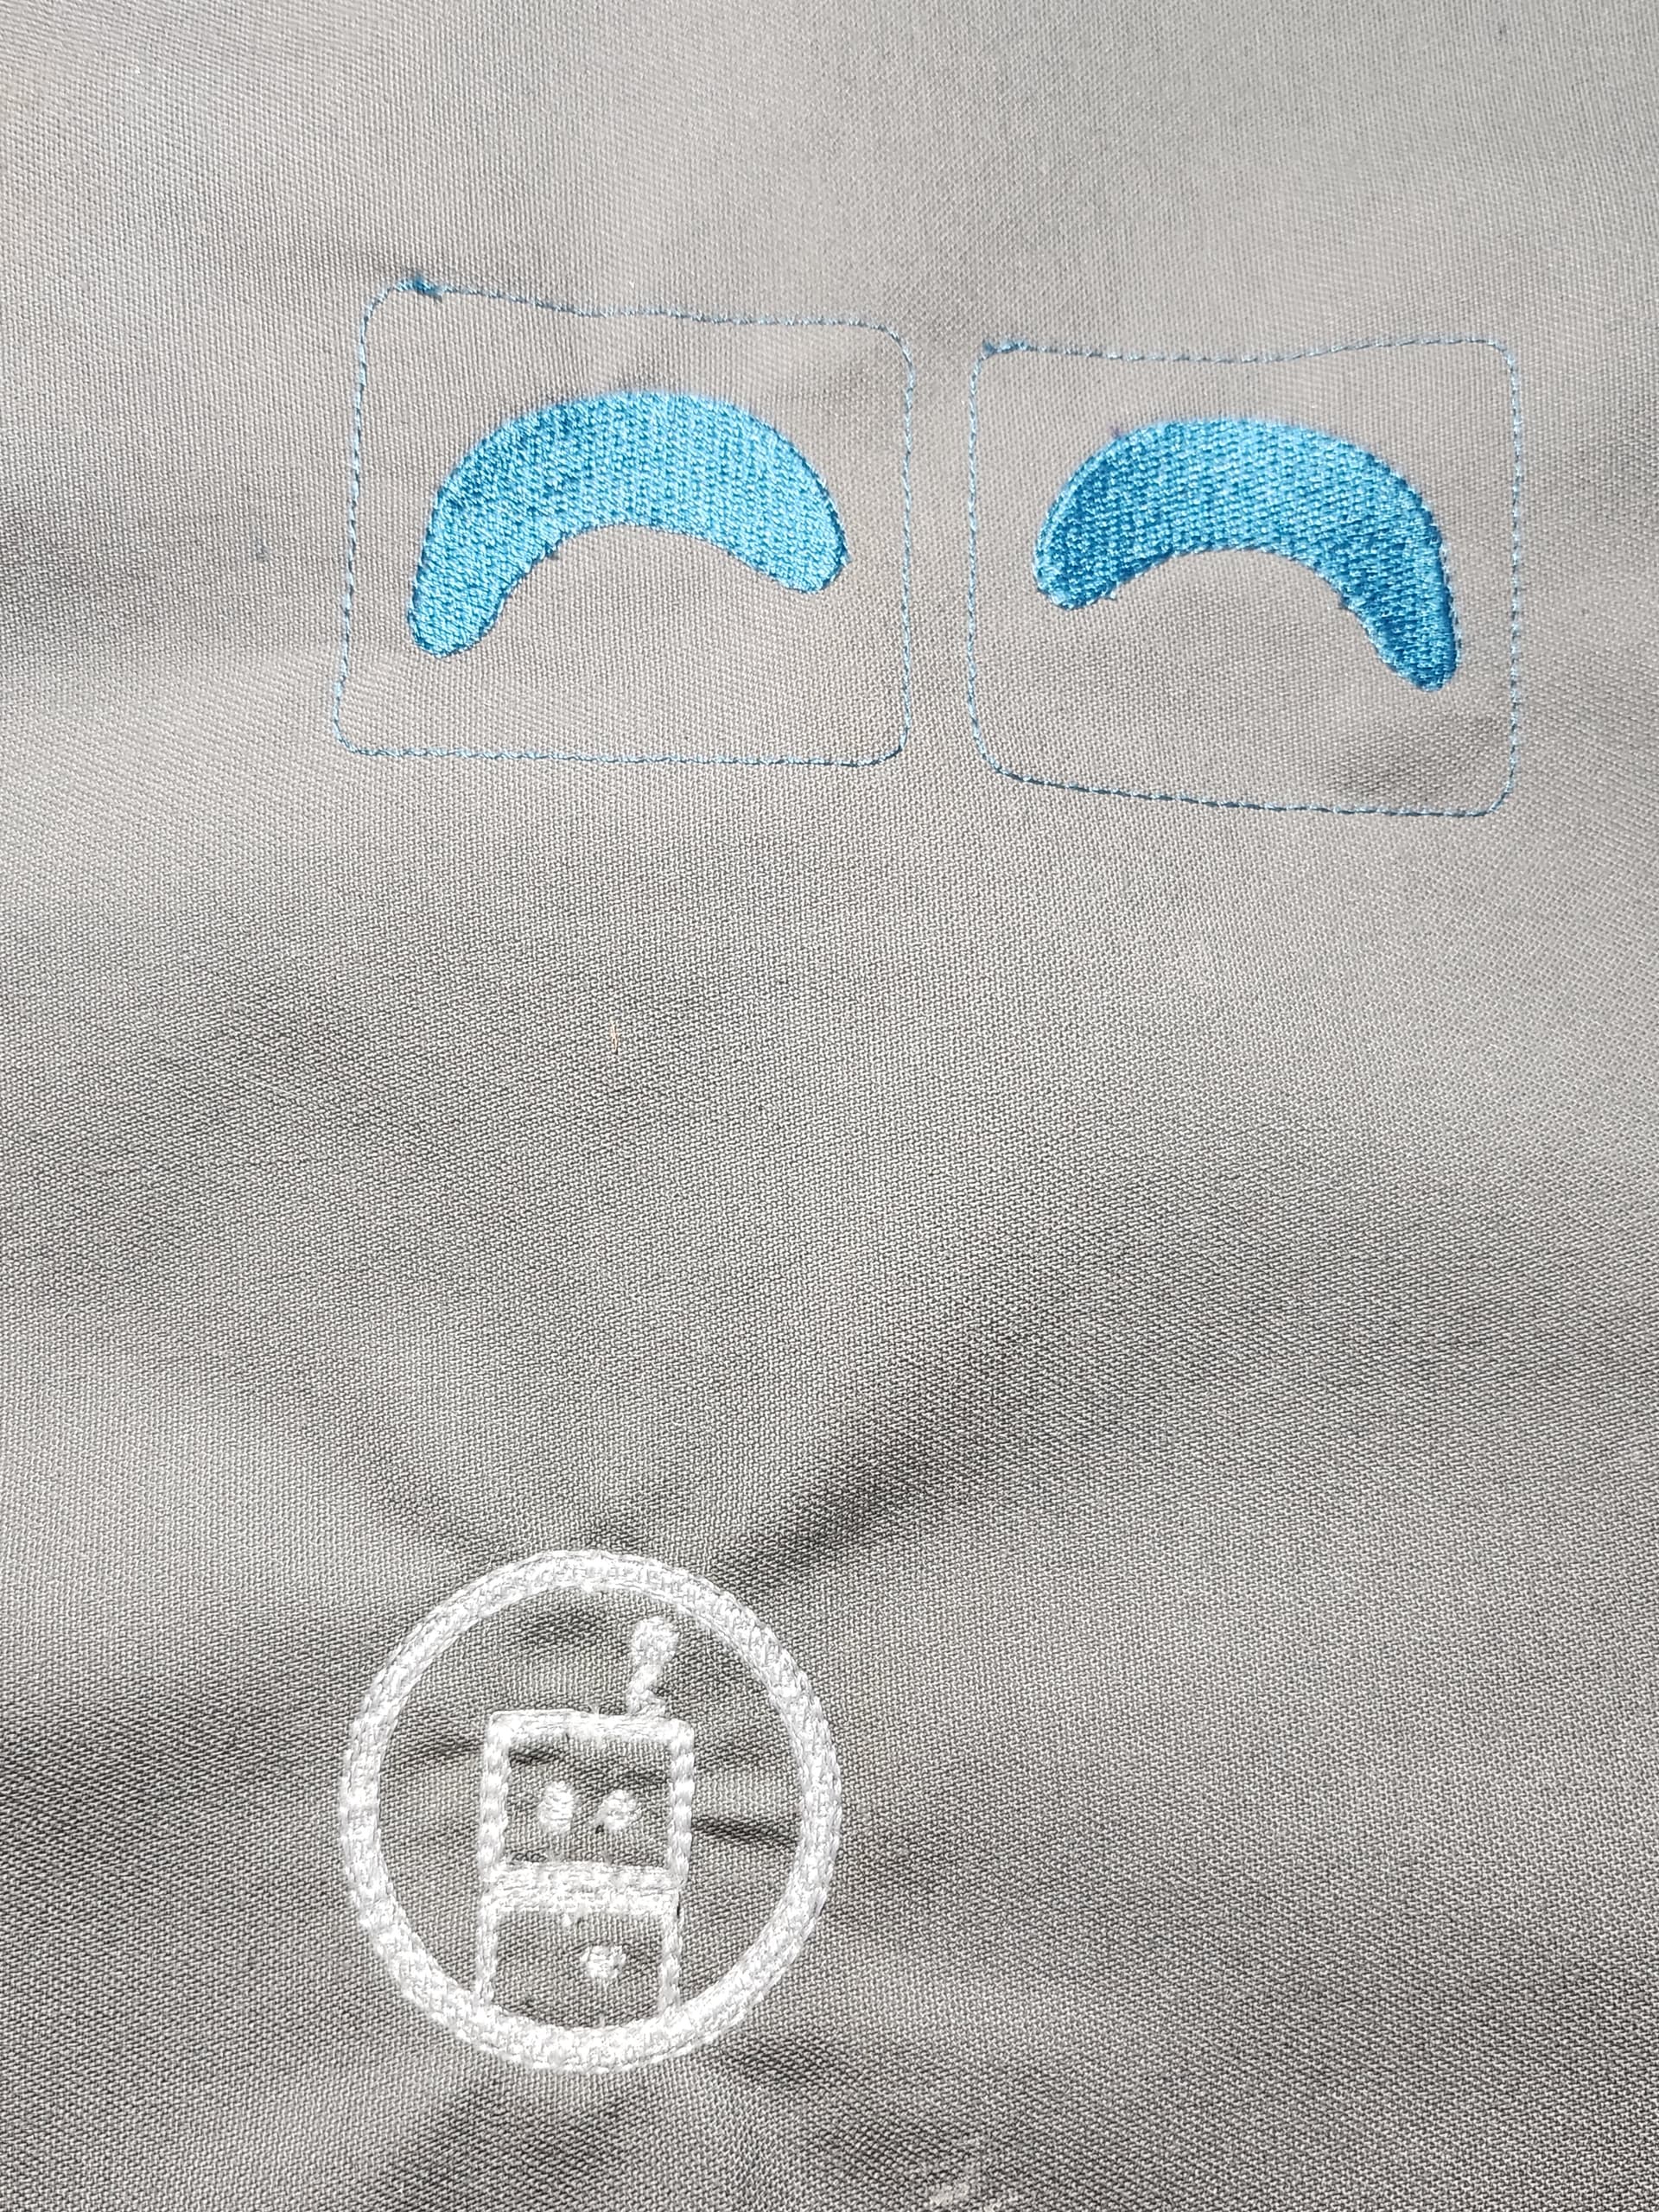
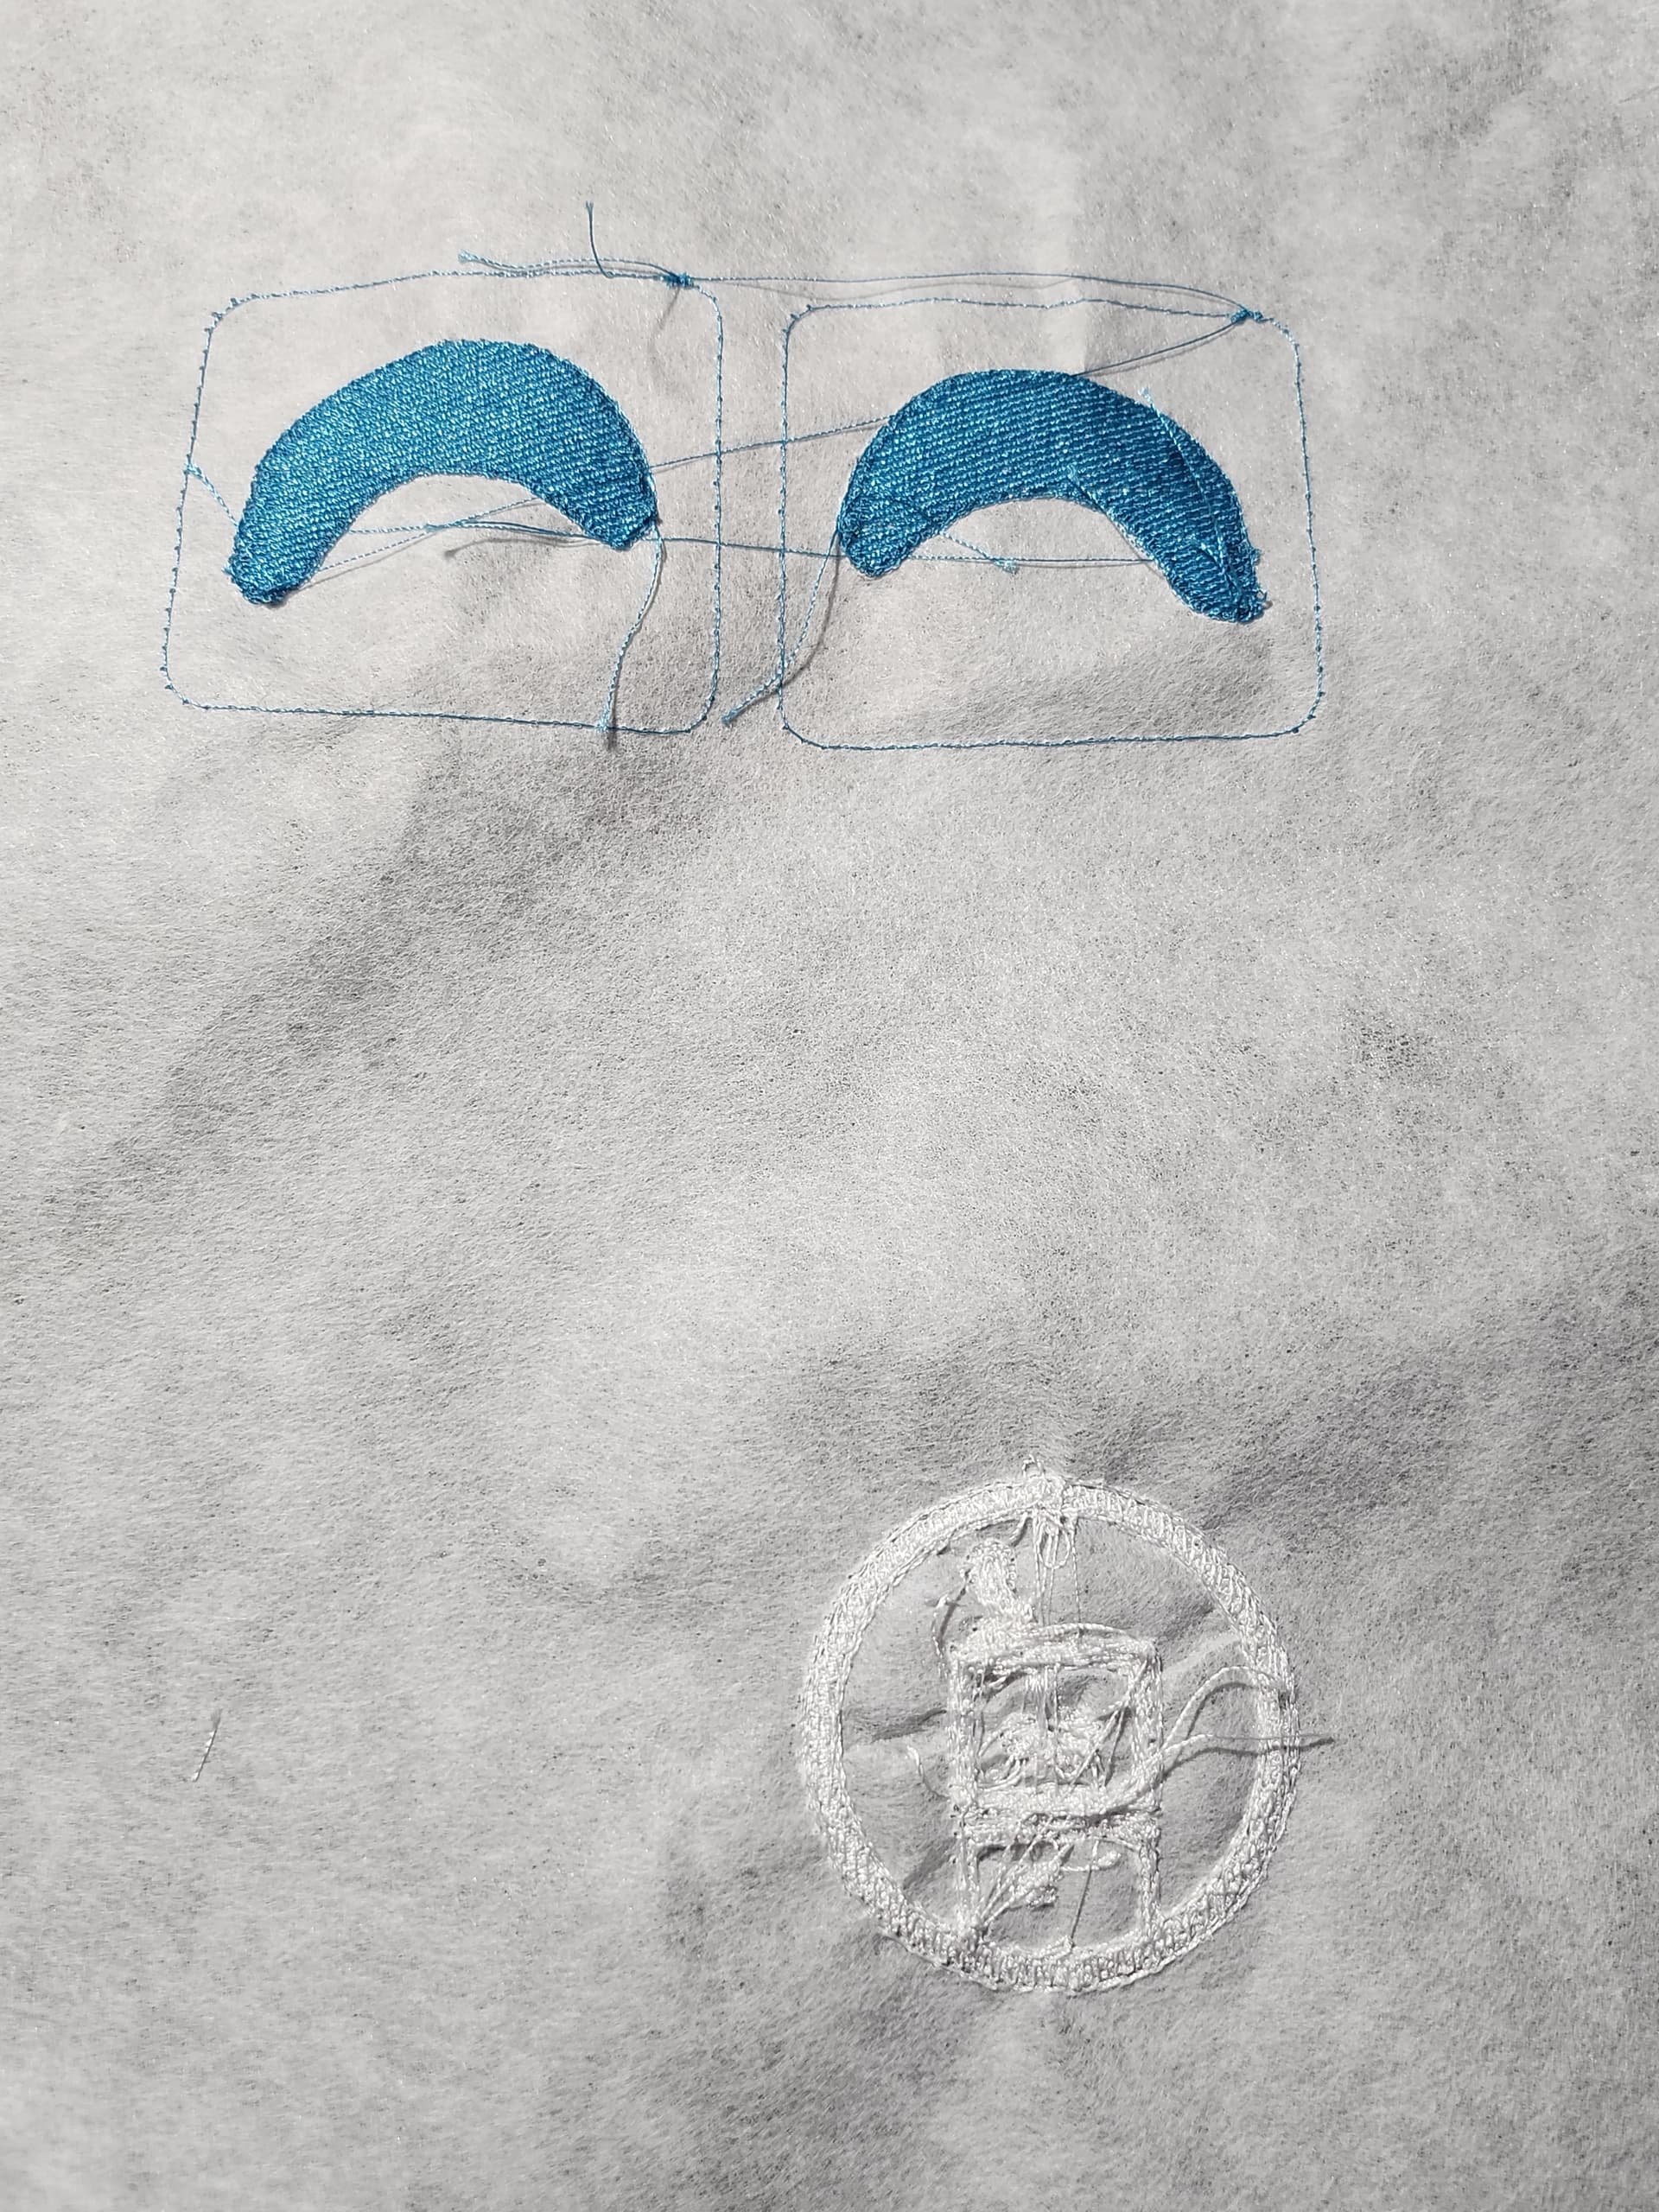
Design 1: a pair of robot eyes. These came out much bigger than I wanted, and the embroidery machine wouldn’t let me scale them down, so I guess I have to get the size right in inkscape.
Design 2: a robot looking out of a spaceship porthole. I’m not very good with Inkscape, so I ended up layering a bunch of circles and rectangles to get something that looked right on the computer. On the embroidery machine, though, each shape was embroidered separately meaning that some areas were embroidered over multiple times. The result is pretty messy (and the robot is supposed to have a neck) so I think I need to work on cleaning that up.