… and here’s a discussion about us saying we’d really like one.
Given that this is a new tool with dangers associated with it, we need to verify many aspects of it, and some minor things need to change. I’m asking for help with getting this up and running as quickly as we can so that we can add value to VHS through enabling our woodworkers (and hopefully inspiring more).
Most importantly, there’s a list of items we have to do before it is operational. If you have expertise that would help resolve/verify any of the items on that list, please speak up so we can attack this and have a great tool for the shop.
Good job team. I wouldn’t say I’m super experienced with a jointer but I have used them in the past to build a few pieces of furniture. I don’t have experience calibrating them or hacking in an e-stop (the ones I used have always been calibrated by someone else) but I am willing to try!
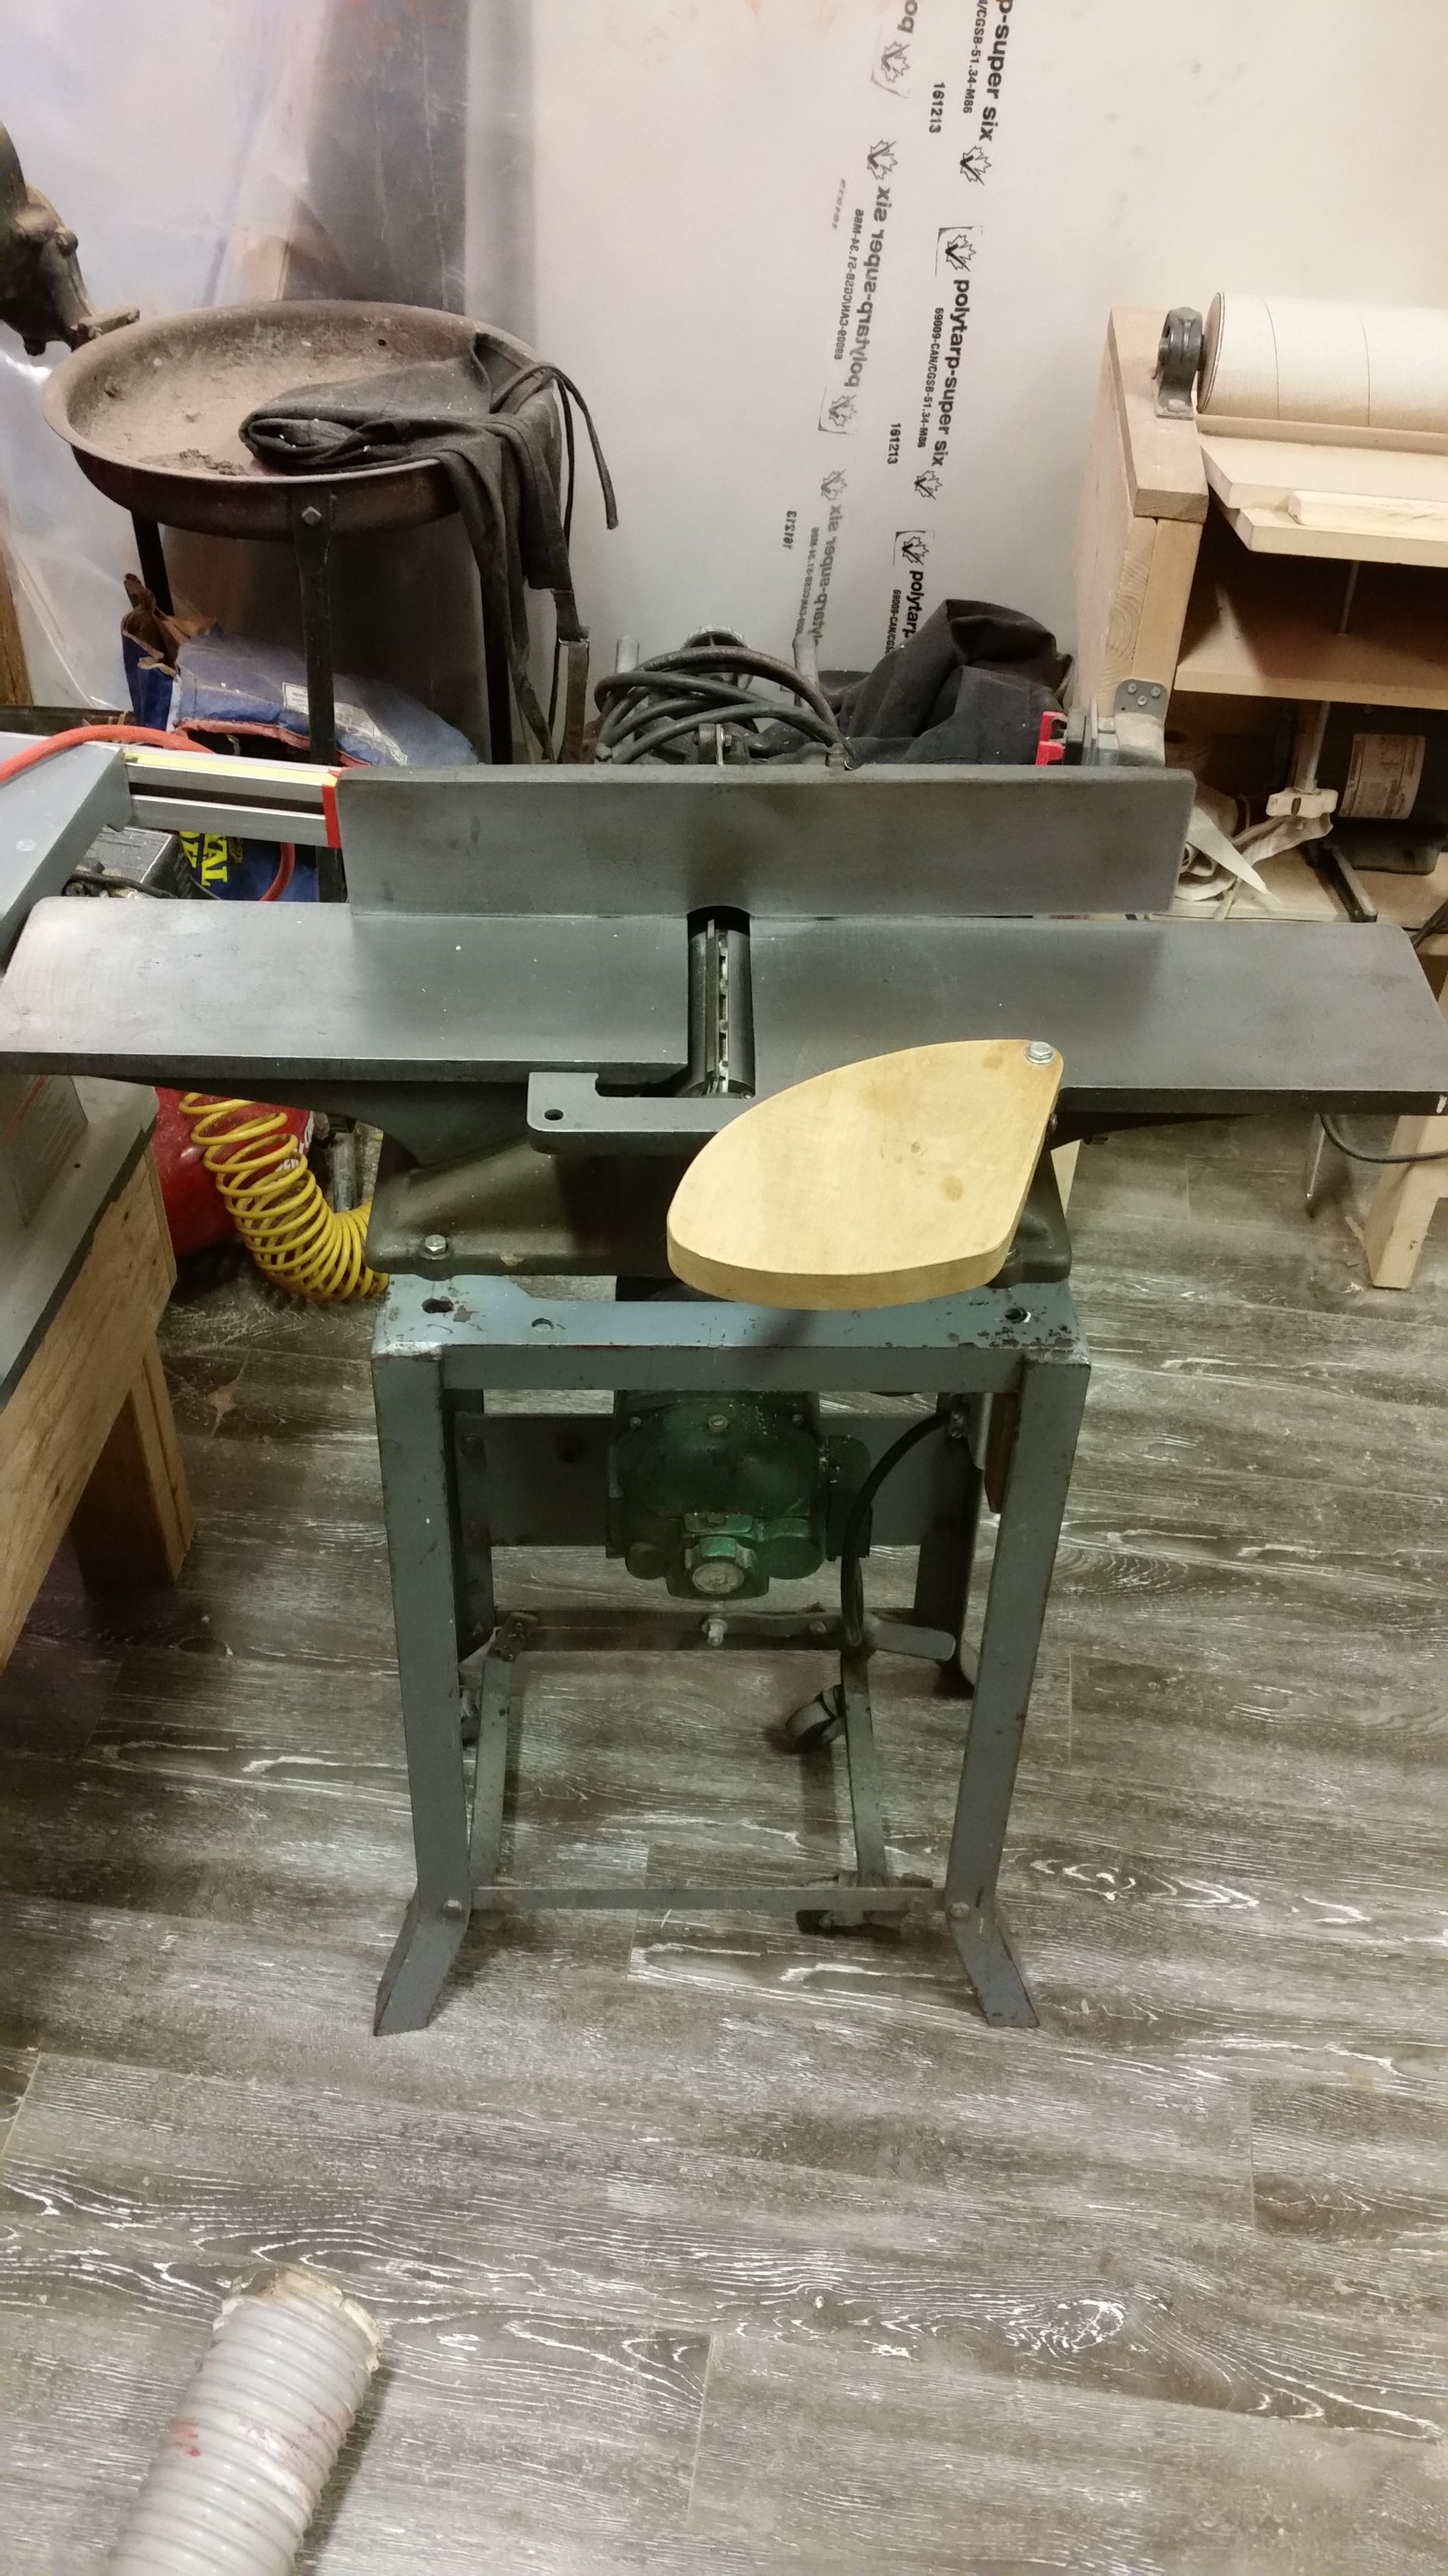
I have reason to believe that it is actually well calibrated, but we should have it verified by someone who can attest to it by inspecting it. The photos taken in the CL add (wish I had saved those now, if someone has them, please post them) were all of the right angles, they showed squares indicating the fence was square, and straight edges showing the blade aligns with the top-feed.
@Lukeo was also given a good run-down of the machine when it was picked up. I suspect my list is a bit conservative, but best to be in that mindset.
If you can verify (or disprove) those, feel free to post your findings!
[edit]
Also, it was moved, so there’s always the chance something slipped in-flight.
WARNING: do NOT use scrap, reclaimed, or used wood on this until we get a
metal detector set up. You will destroy the blades if you hit staples,
nails, screws, etc.
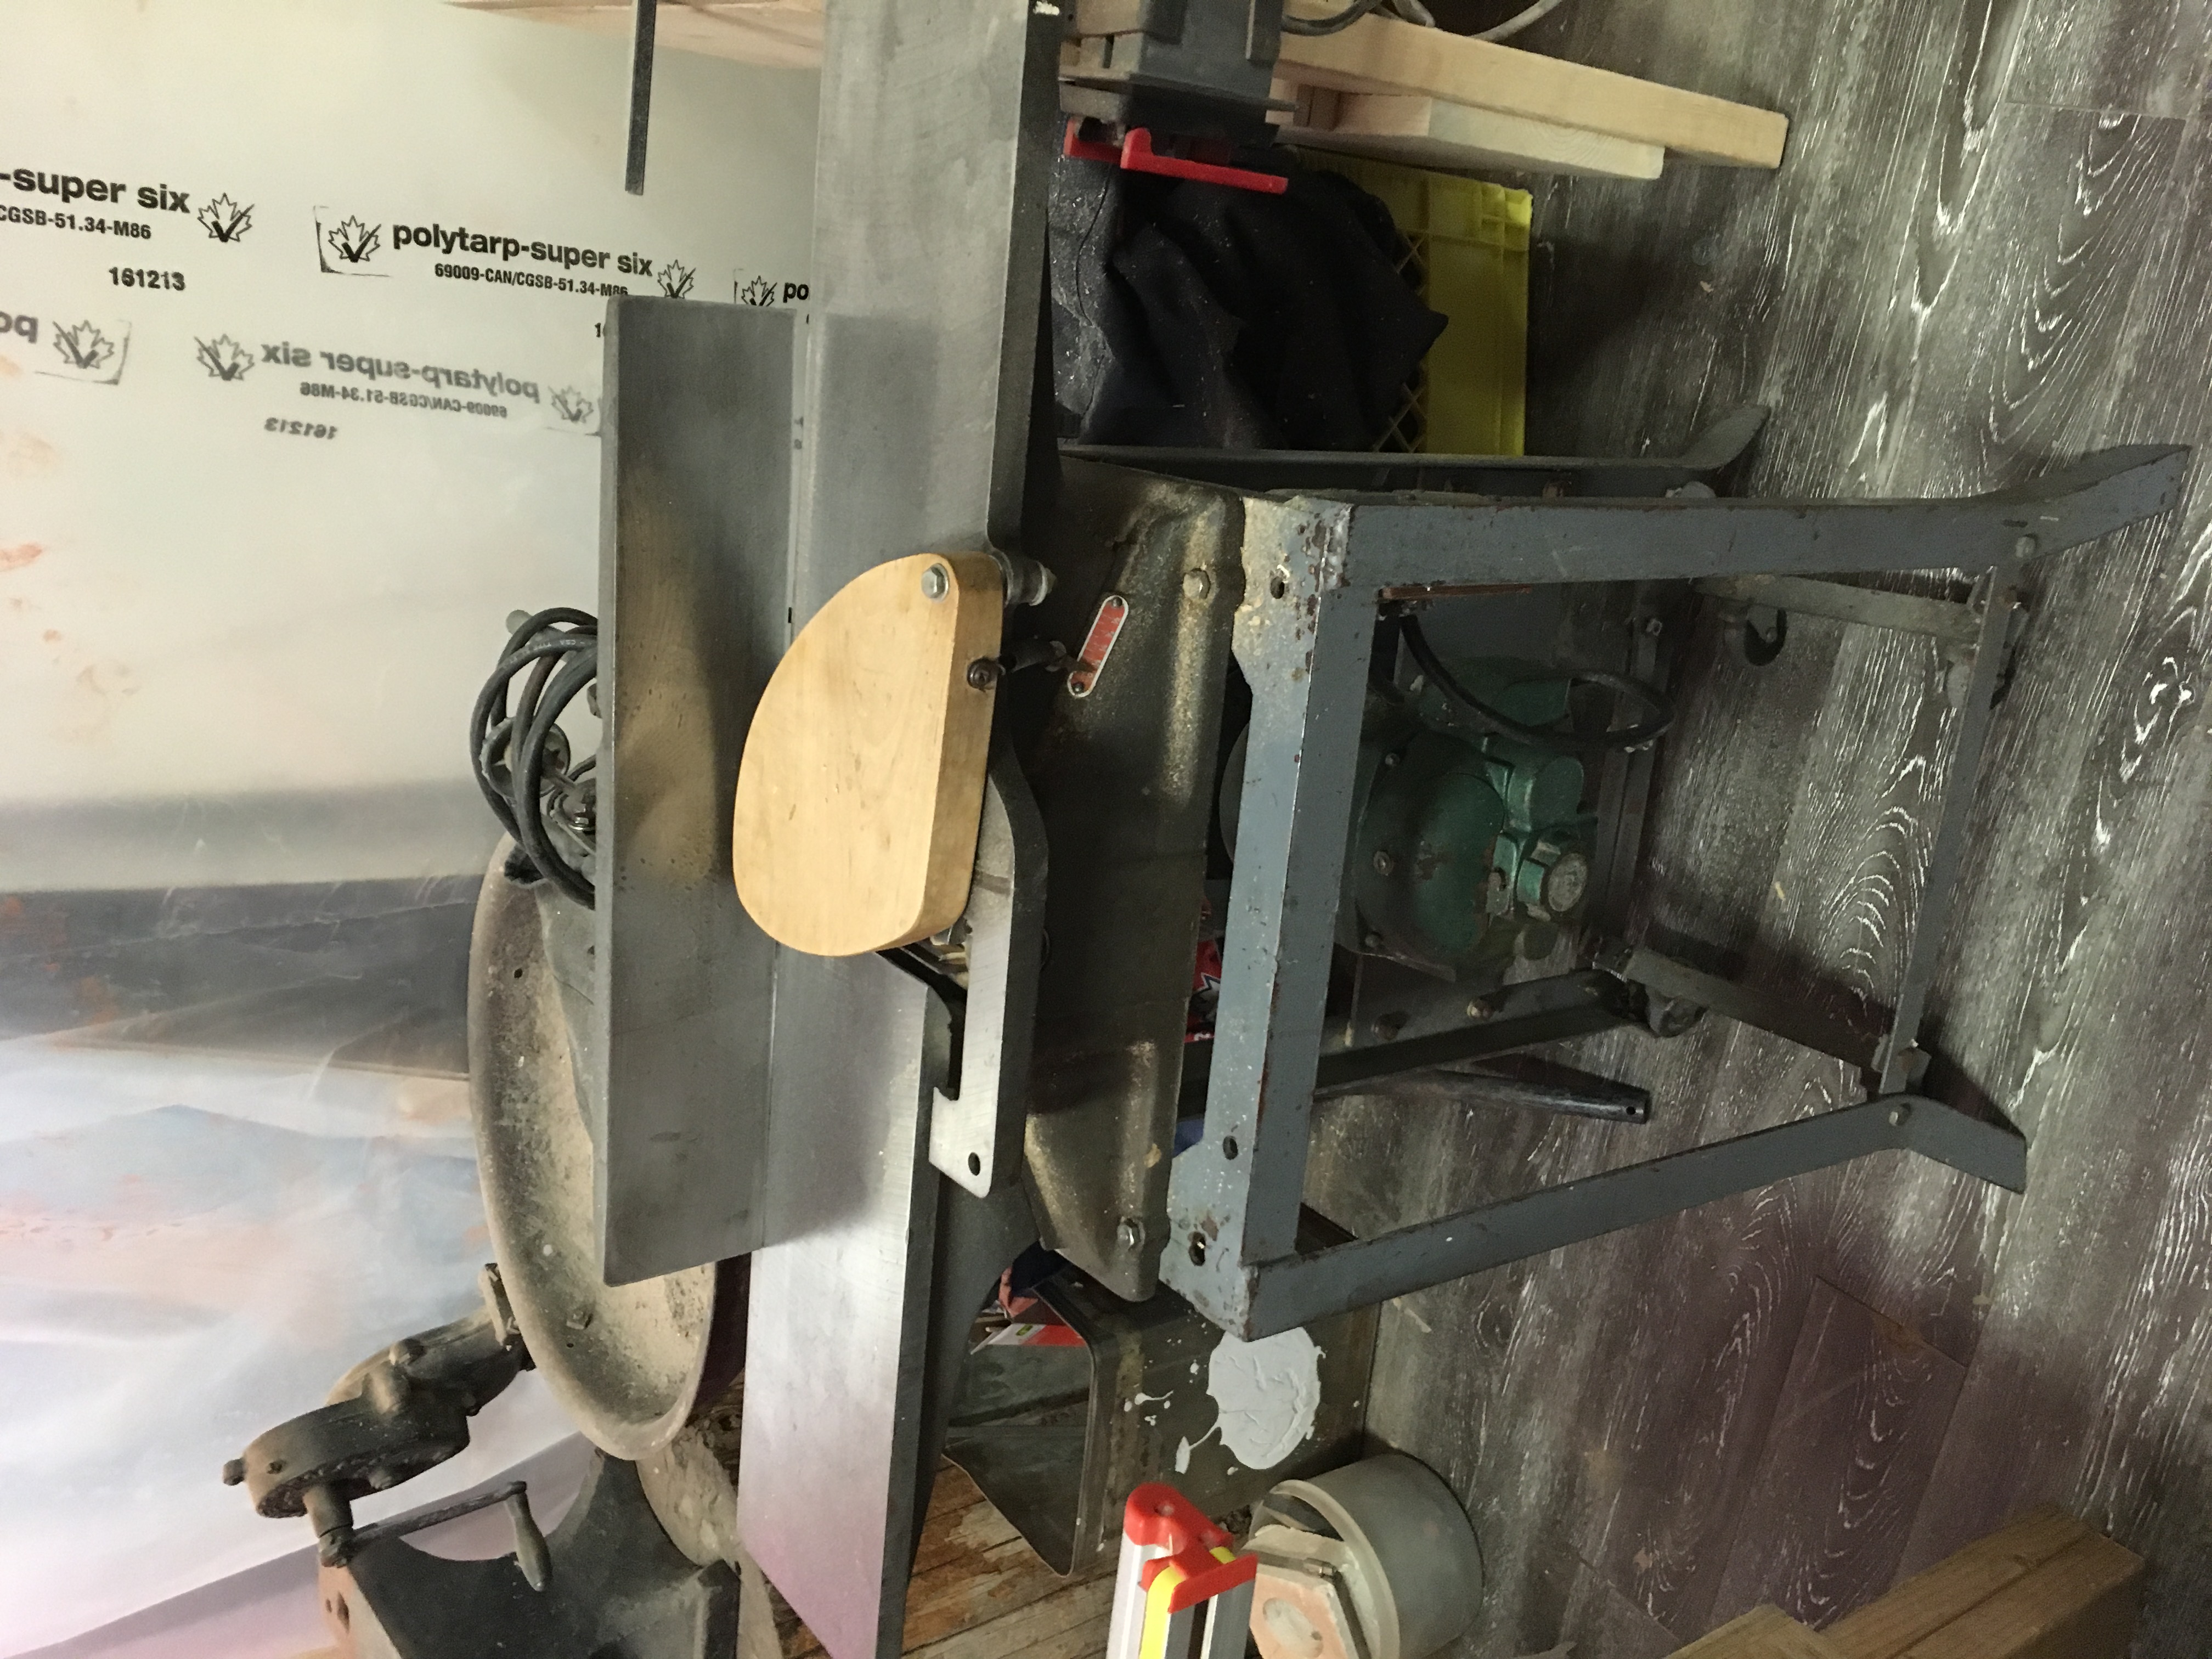
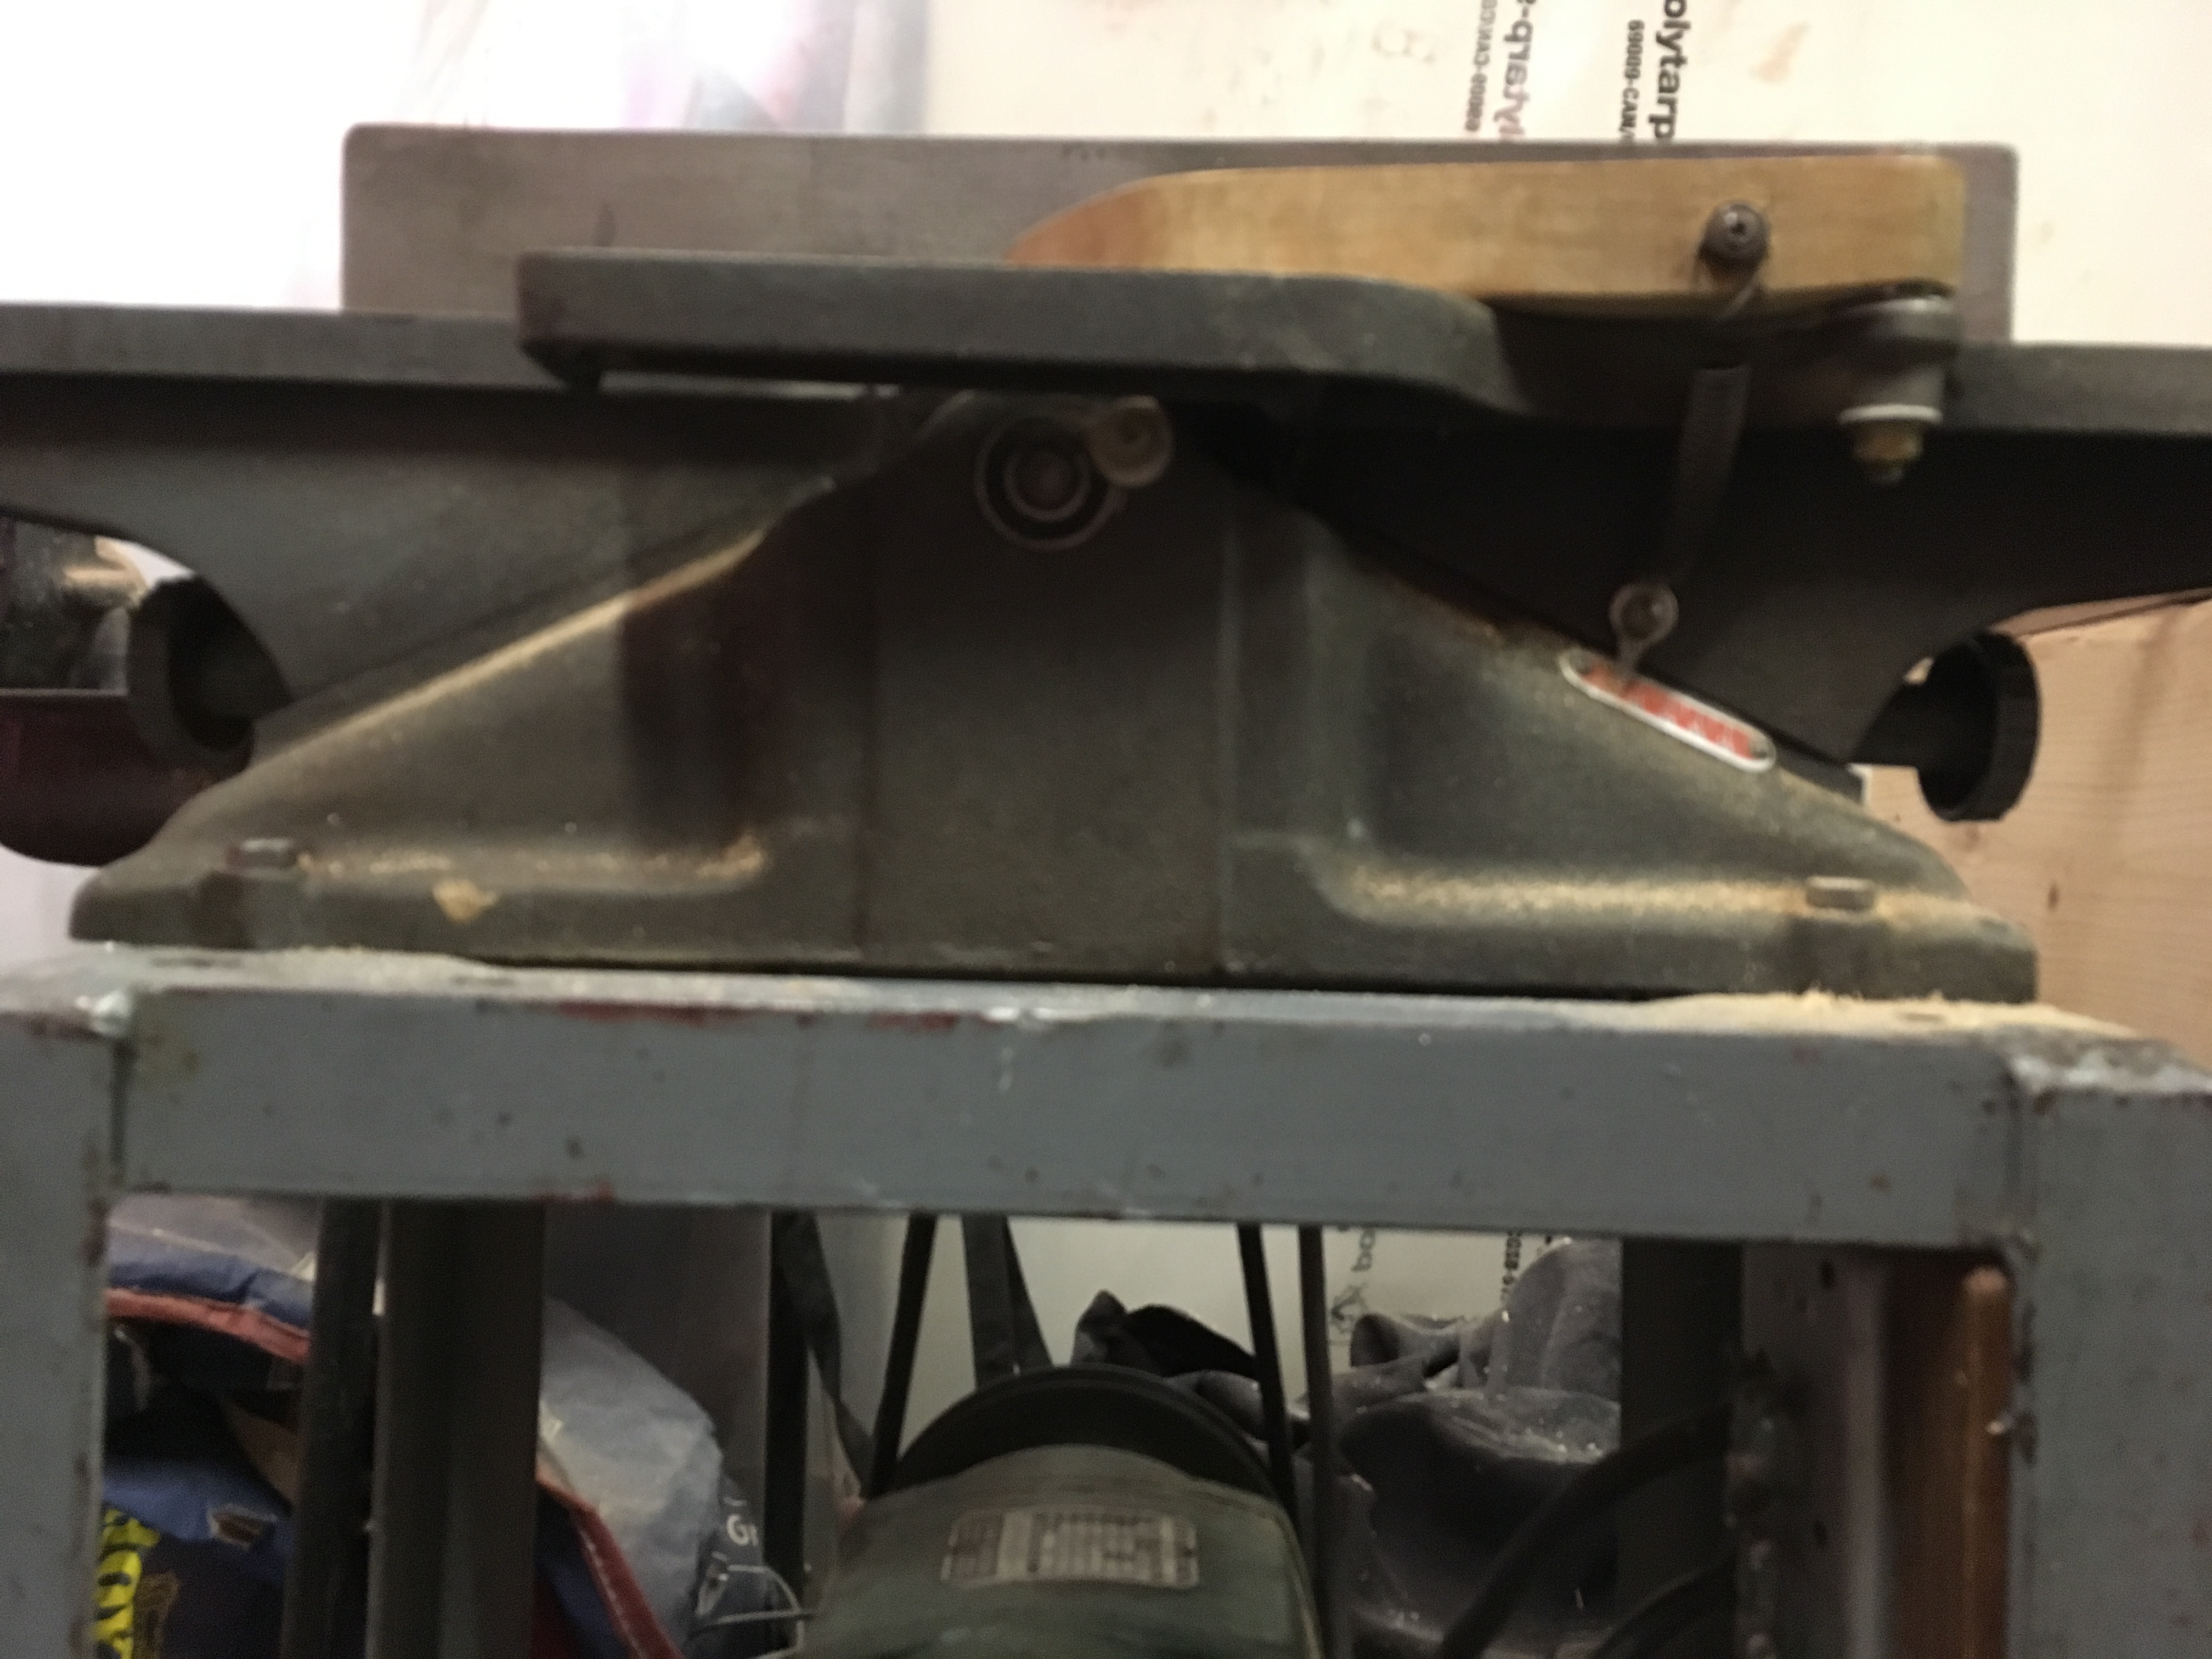
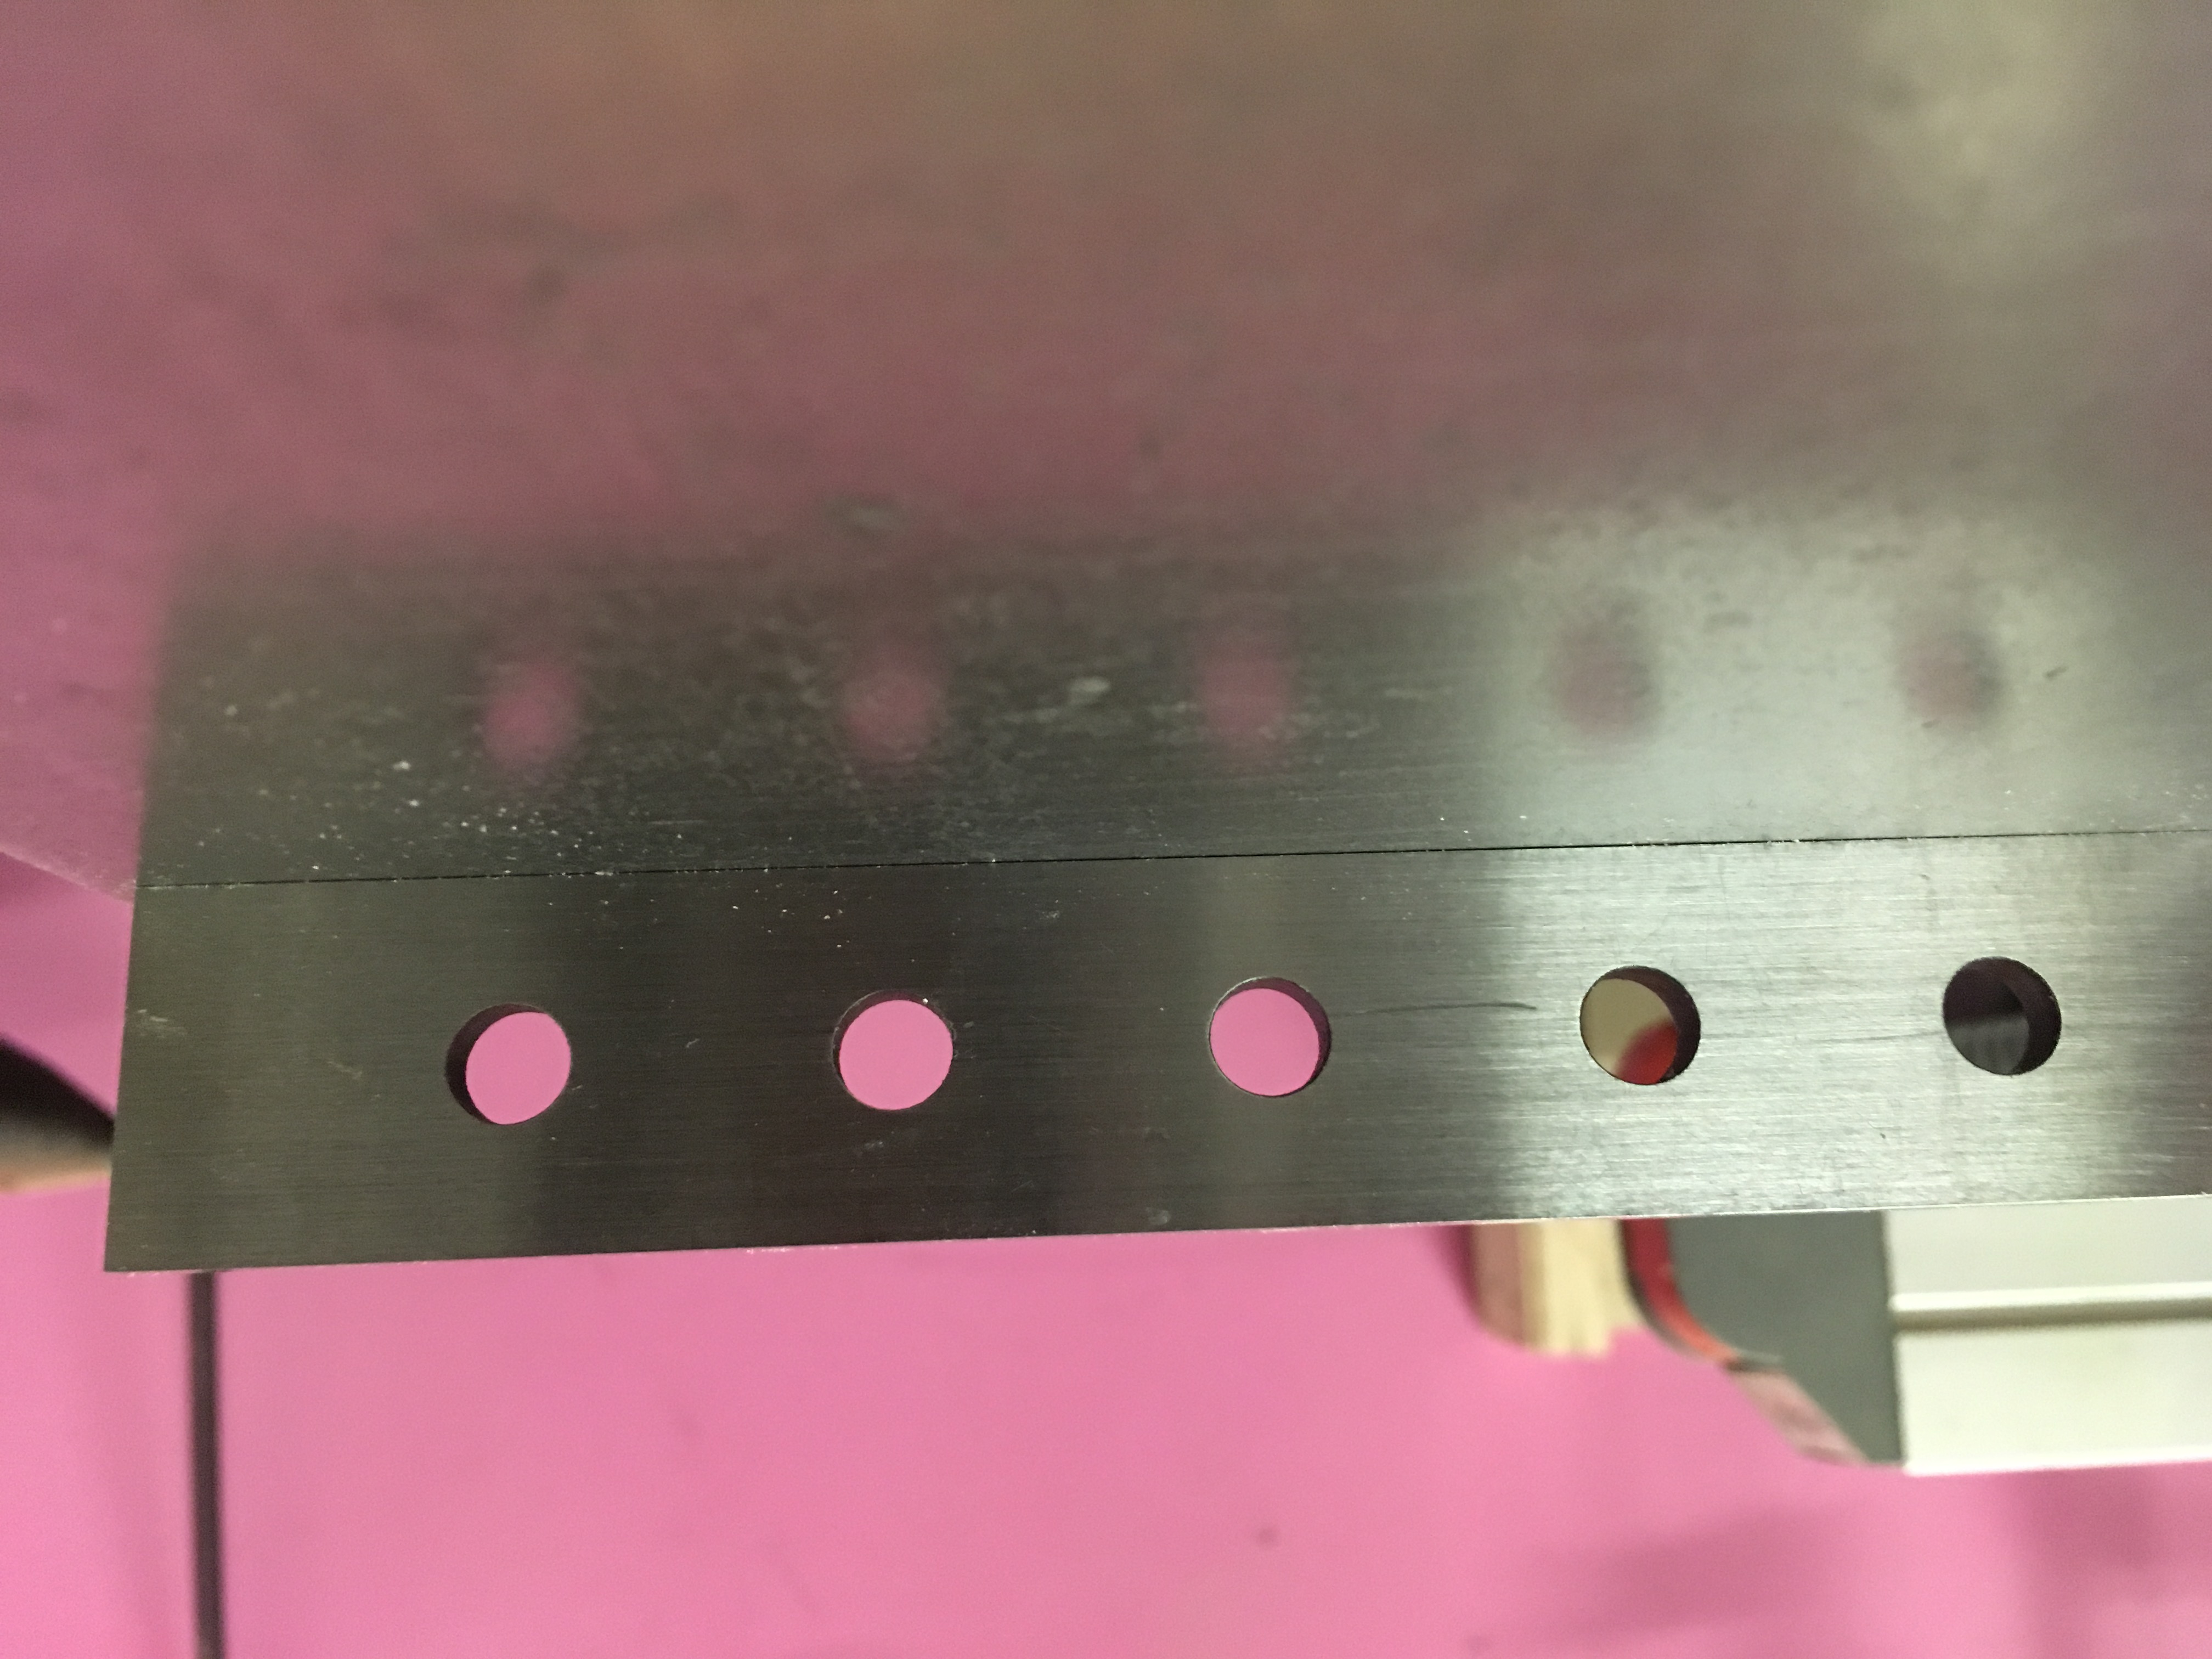
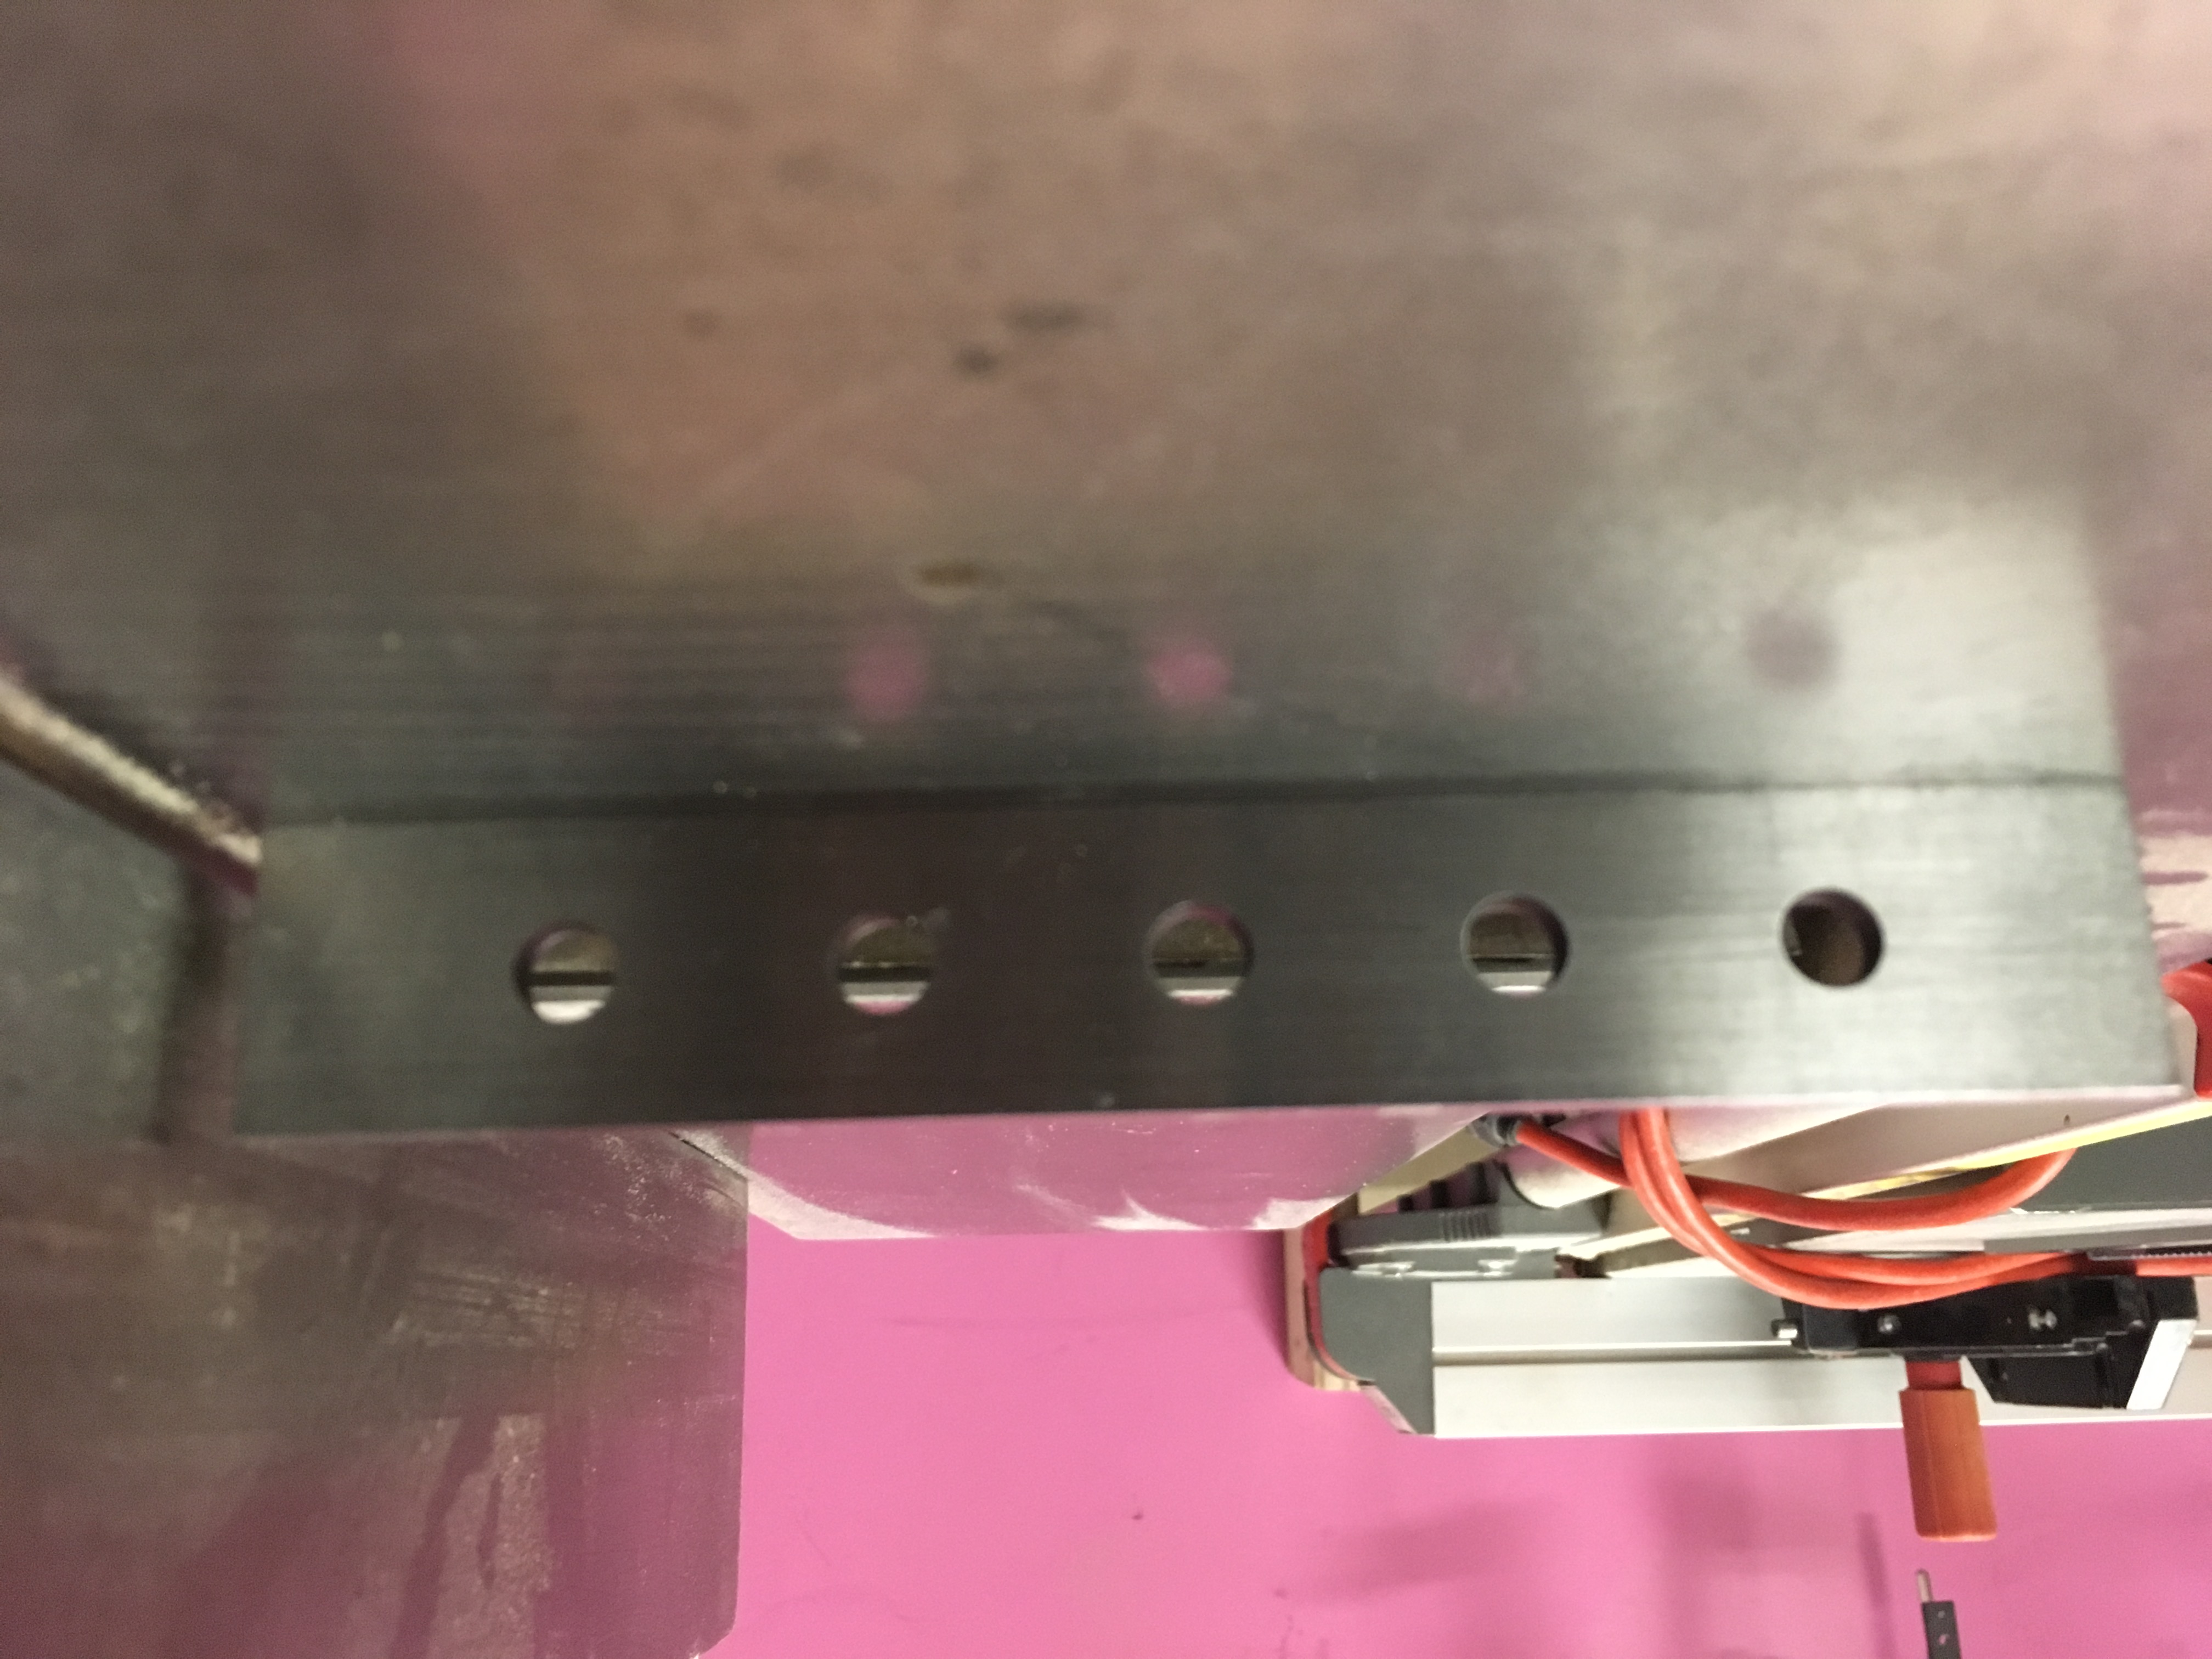
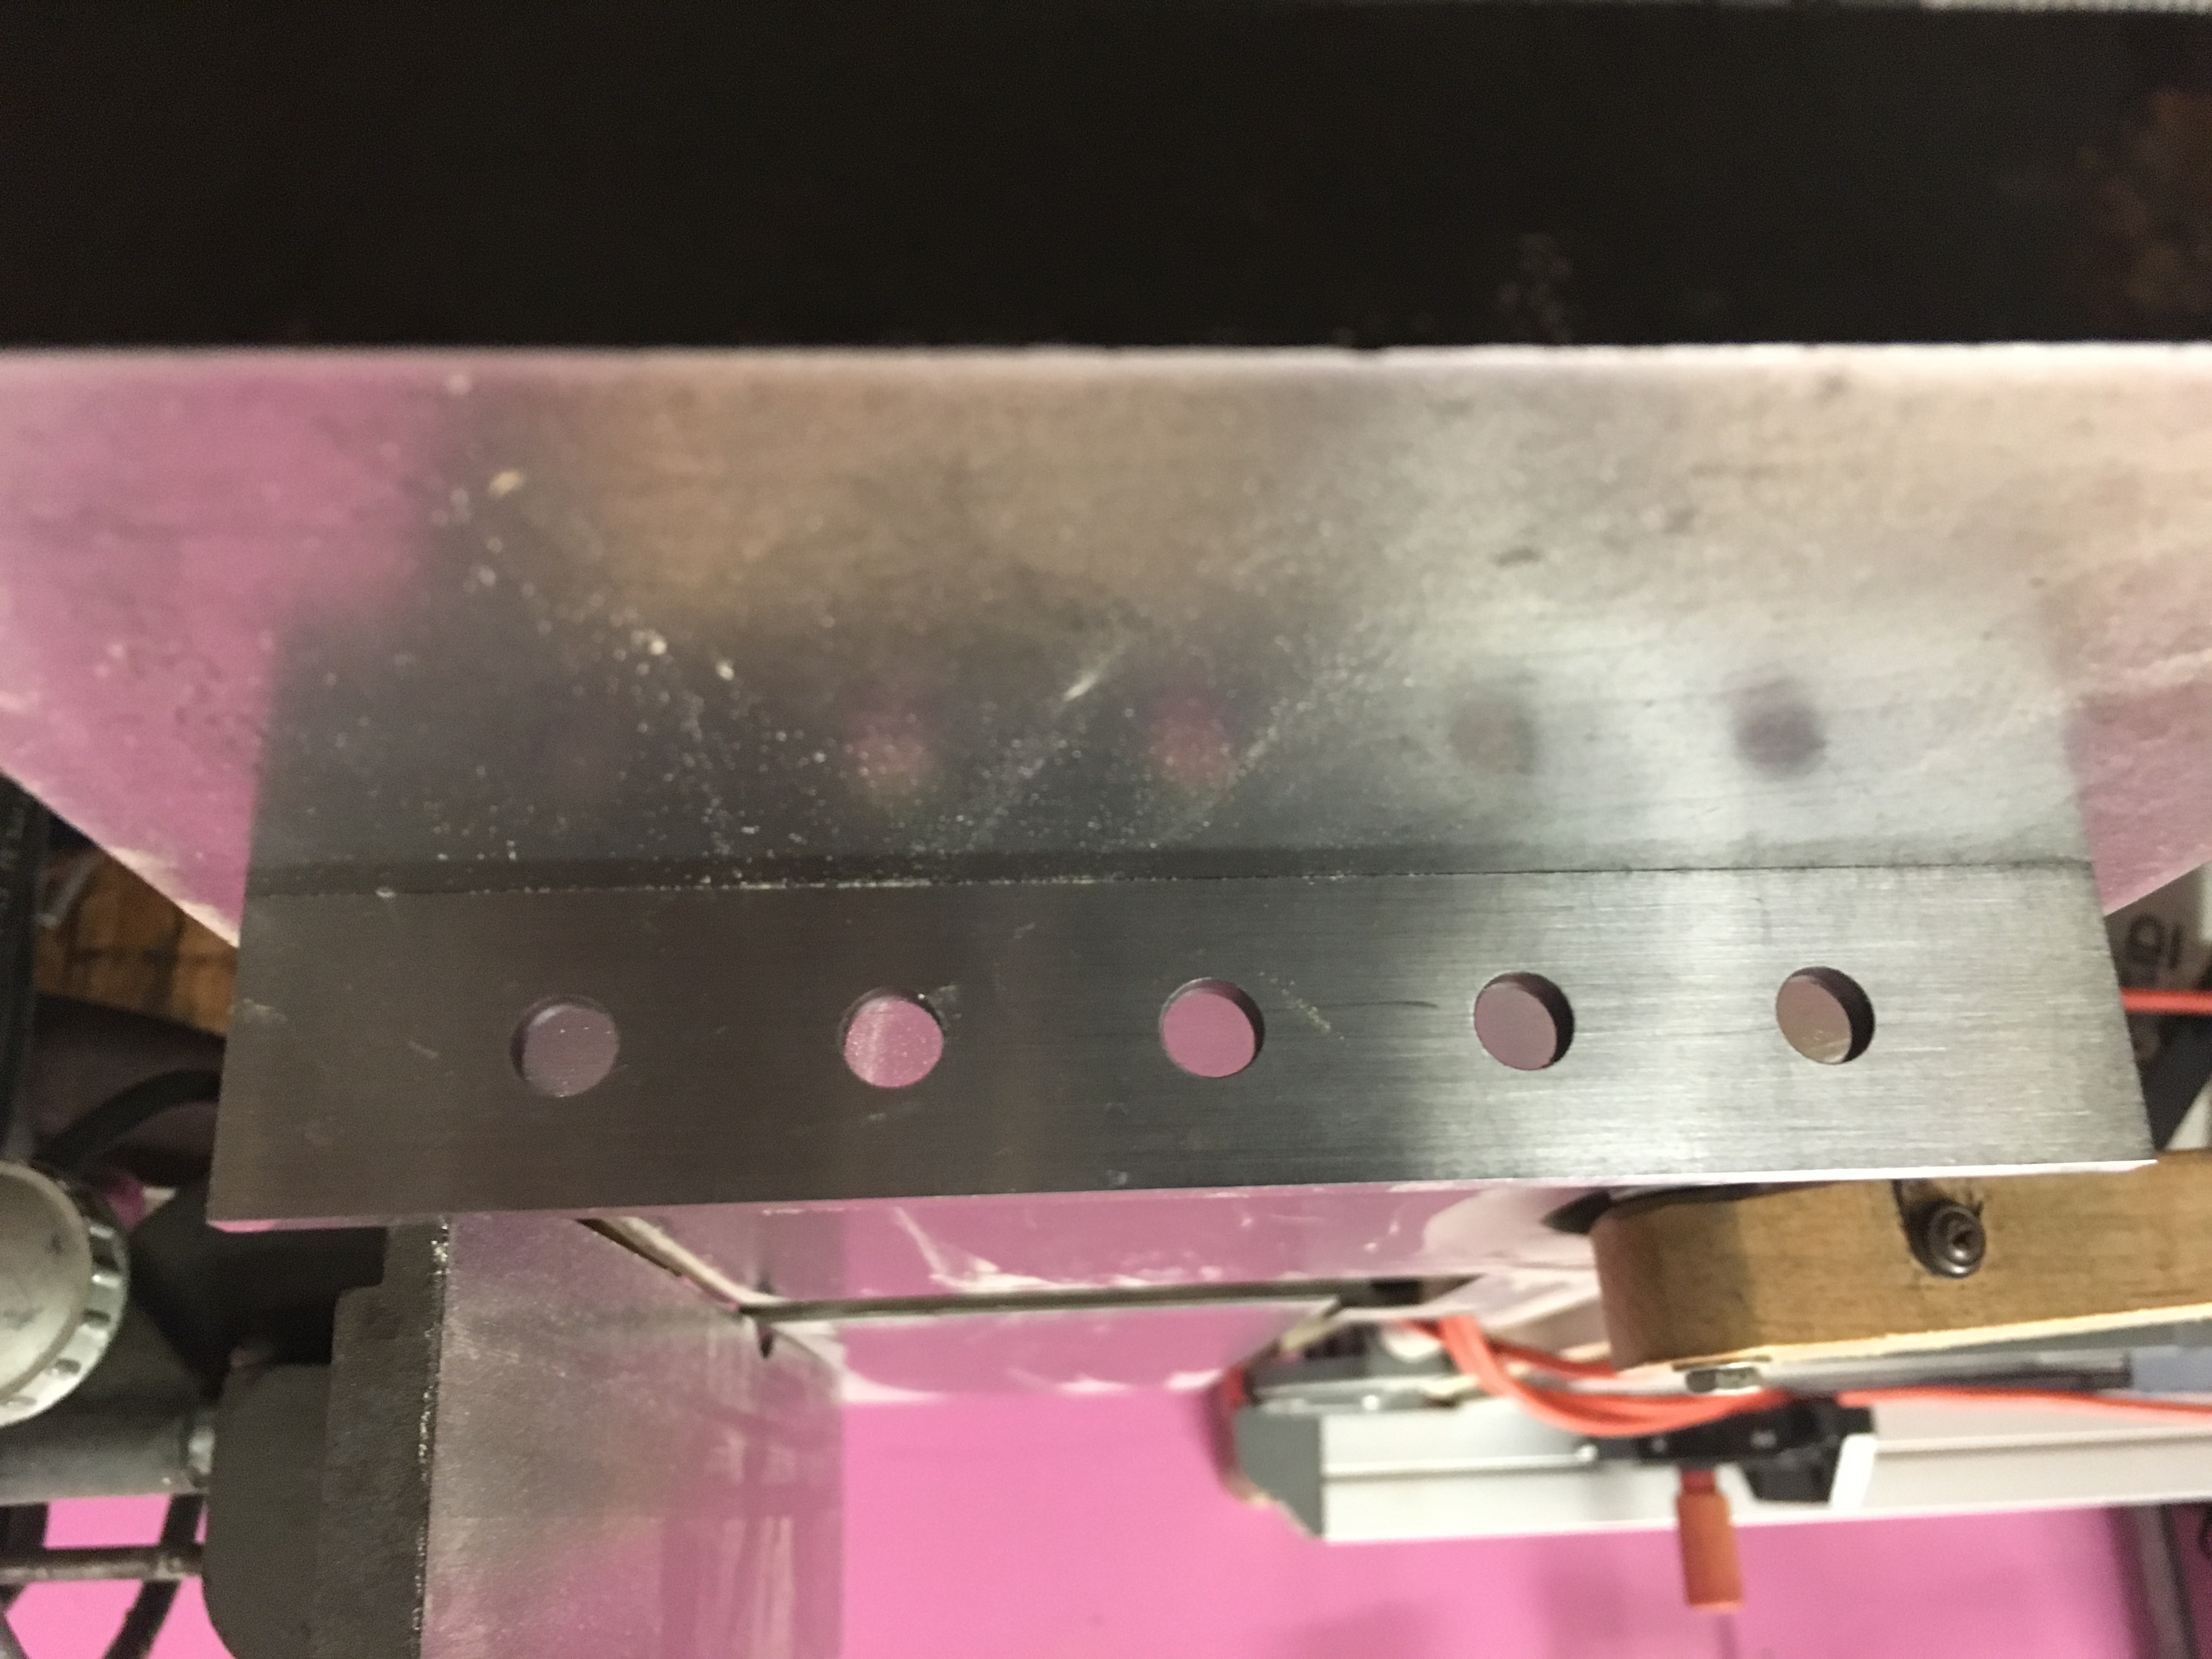
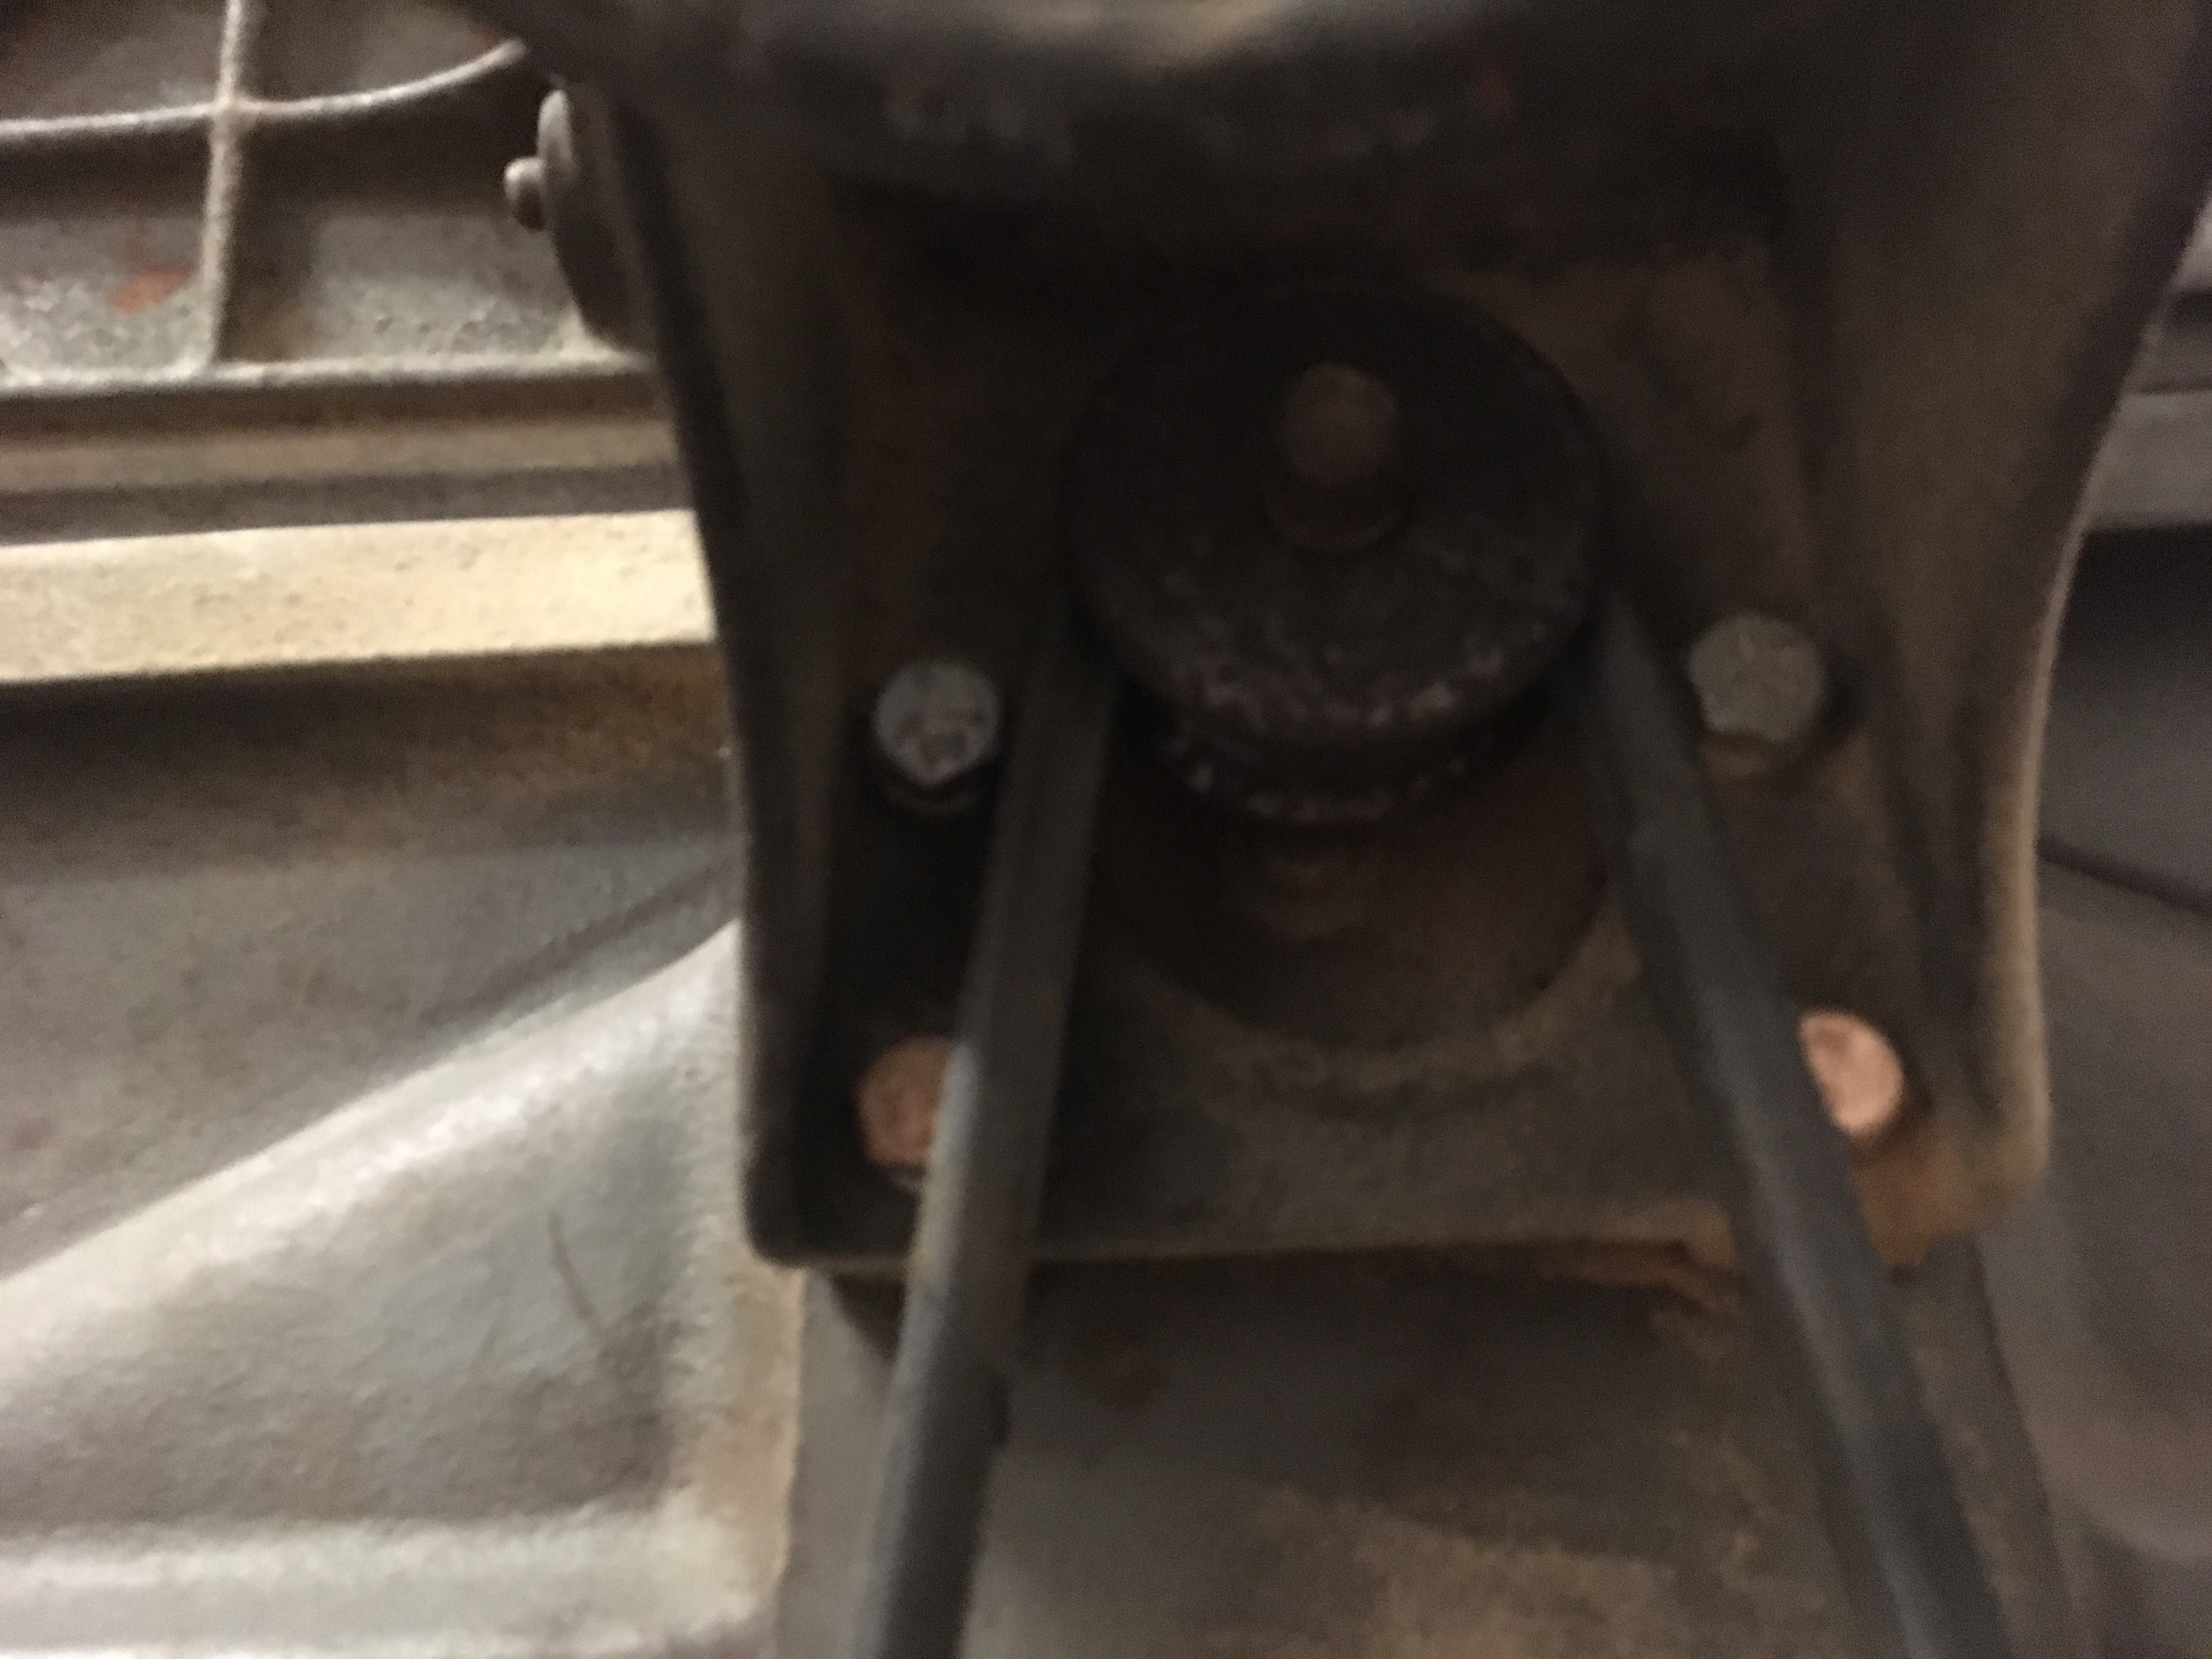
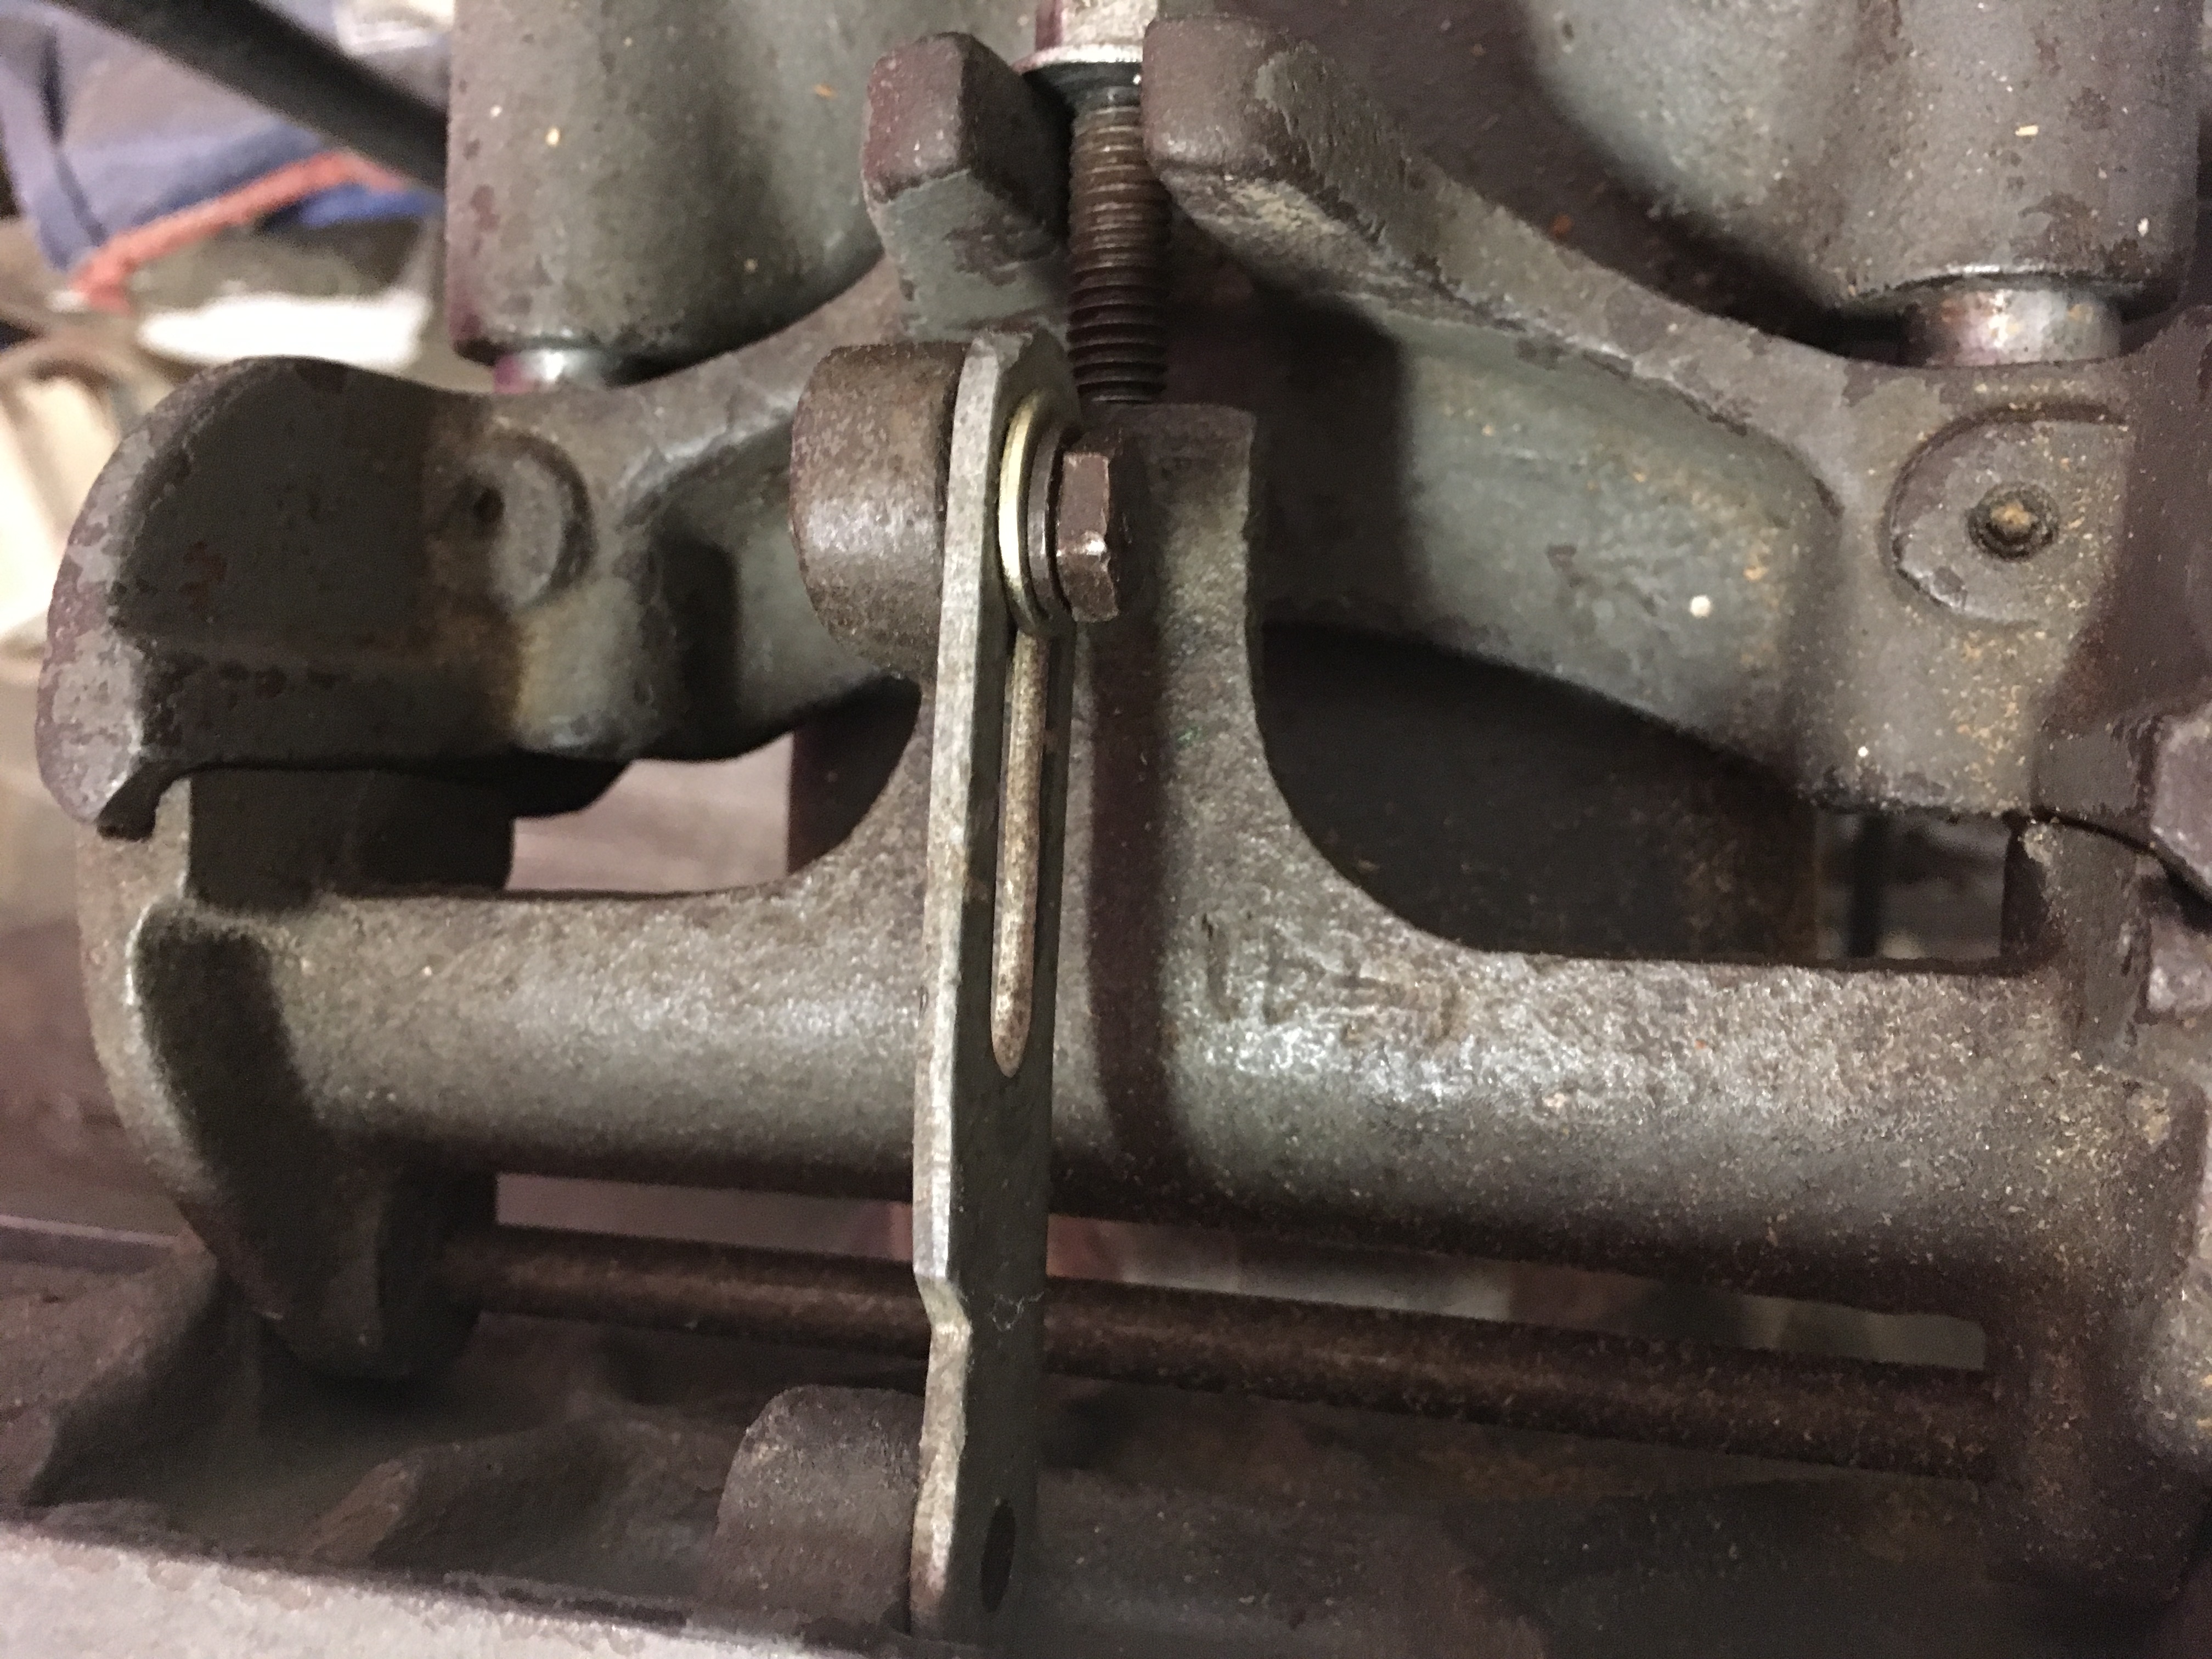
Other than the fence being square to both the infeed and outfeed tables, the two most important adjustments are to ensure that the knives are set to the exact same height as the outfeed table along their entire width and that the infeed and outfeed tables are exactly coplaner along their entire width. These are also the hardest things to adjust accurately however there are lots of resources on the internet for doing this.
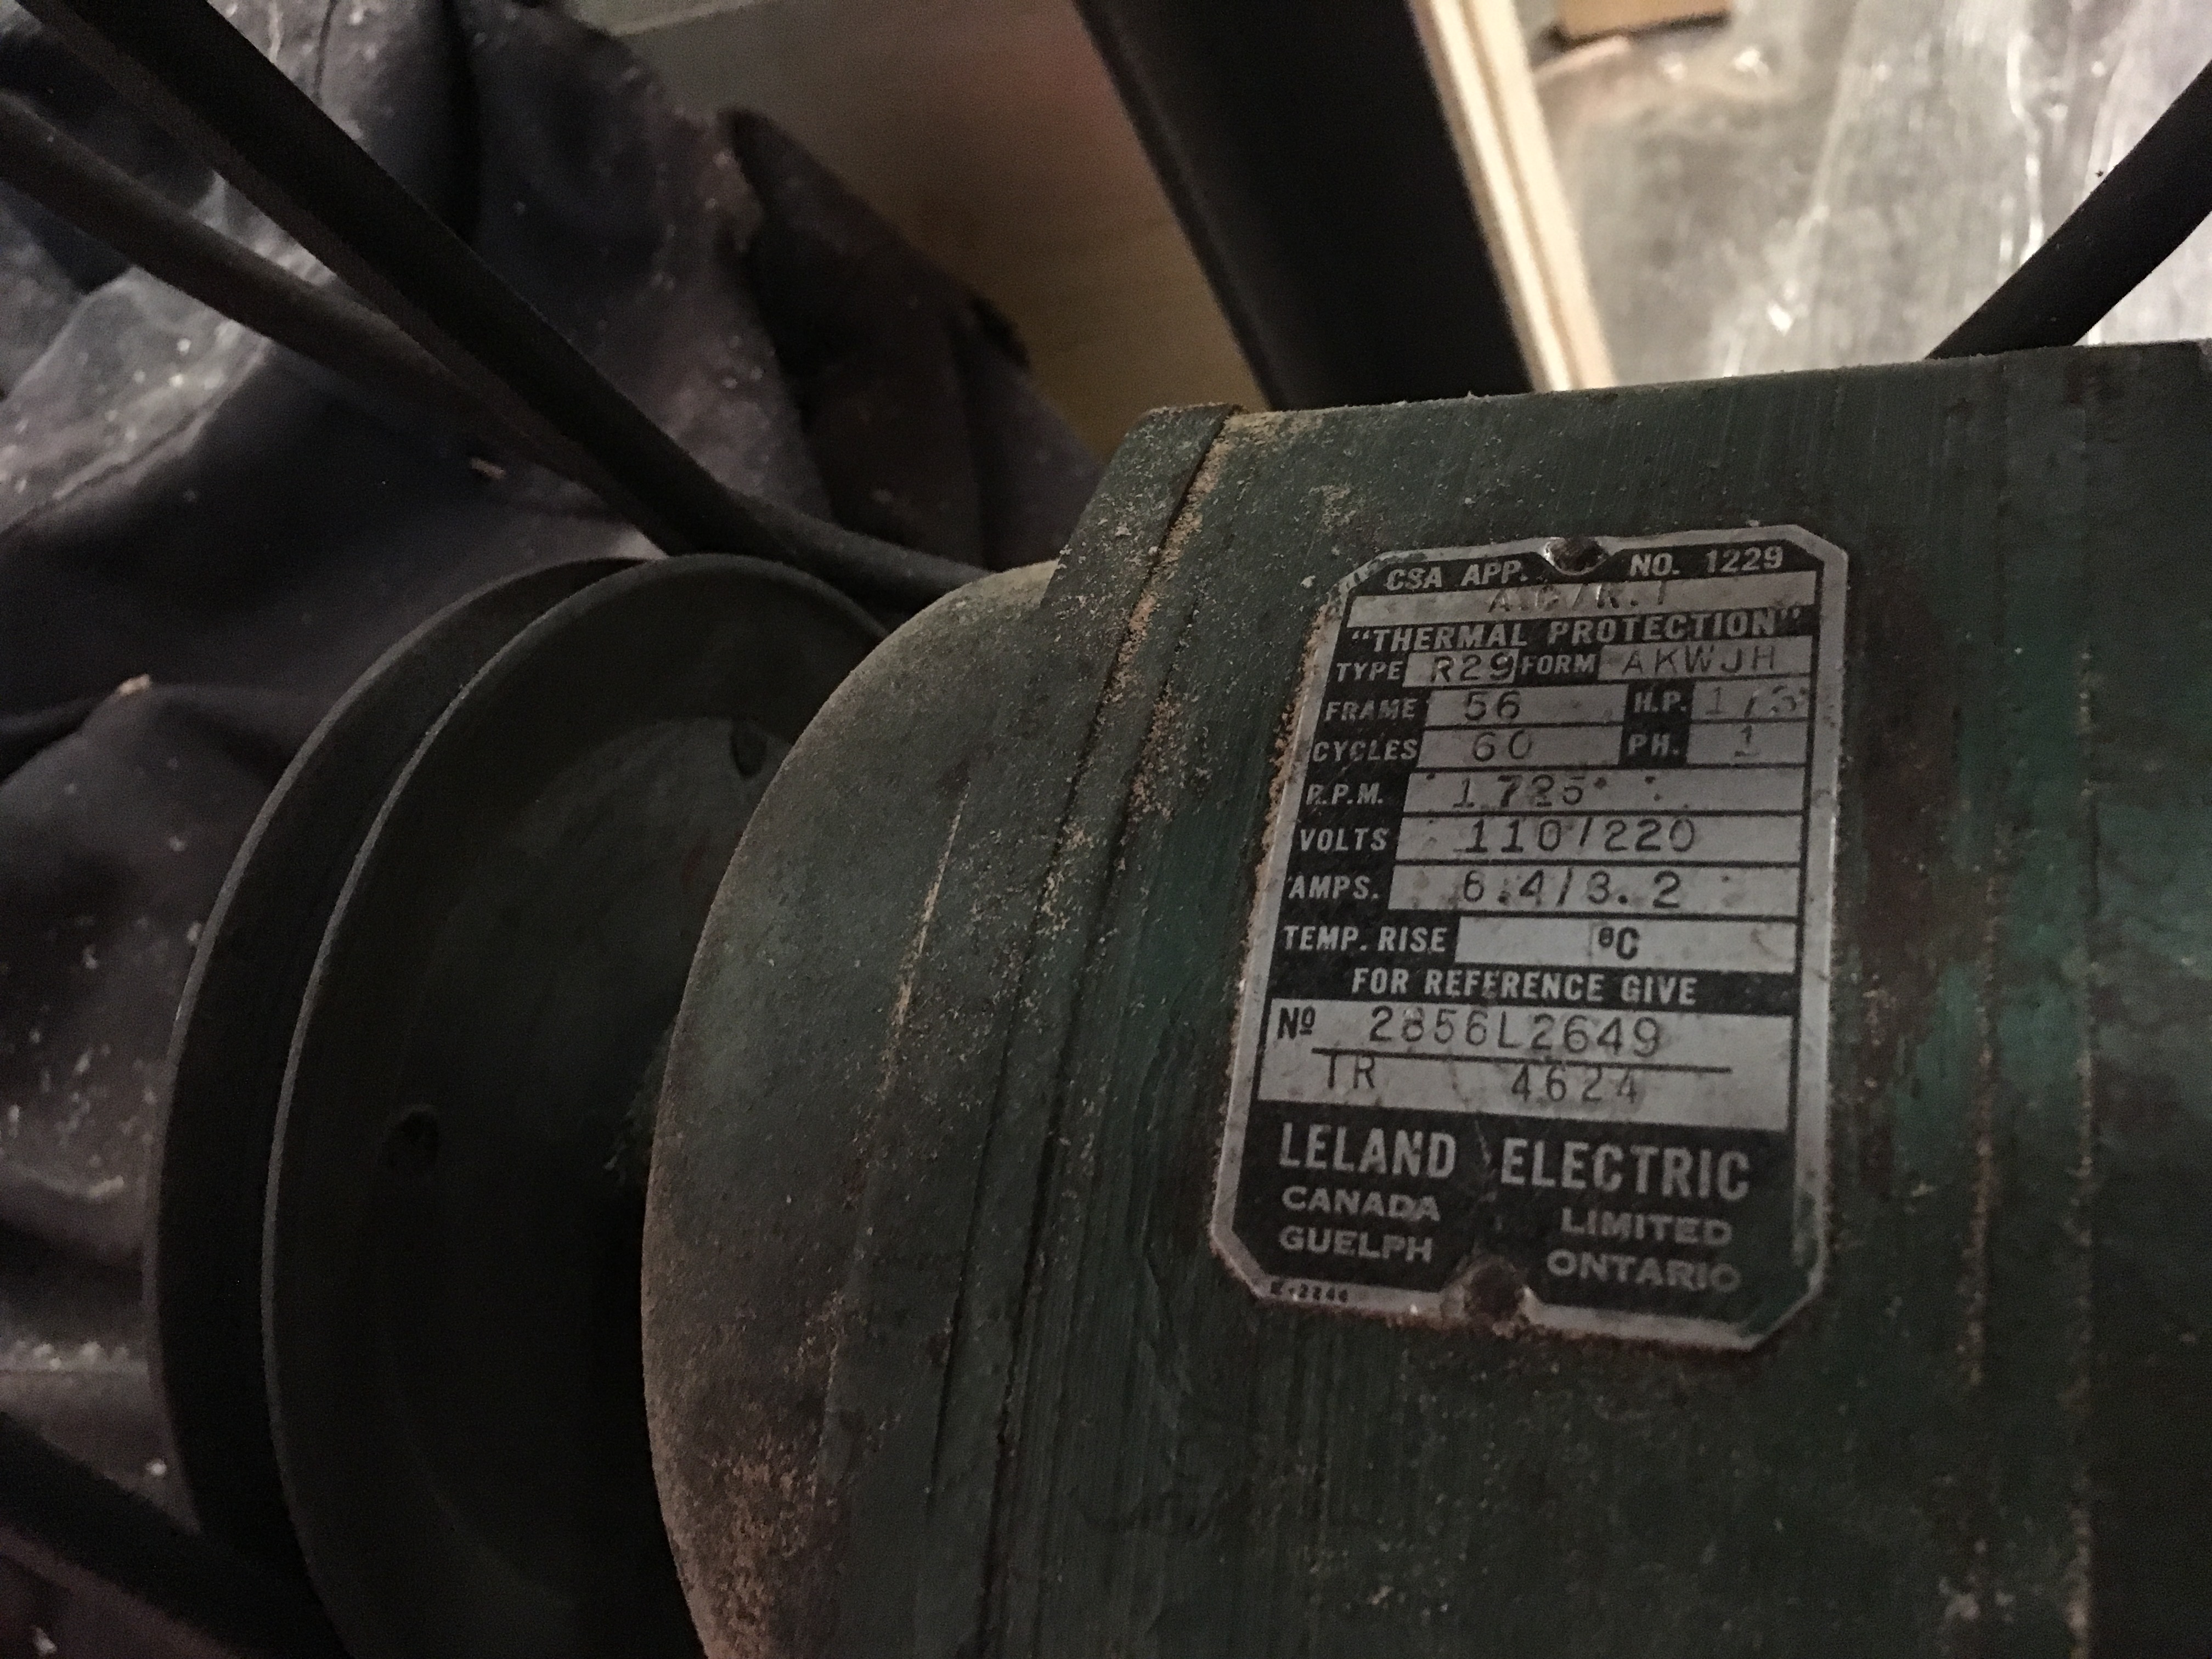
It would be great if you are able to source a user manual for this jointer as it will likely describe the methods for adjusting the tables that are particular to that jointer.
The CL ad pics demonstrated the blade being equal height to the outfeed with a straight edge and the fence being square, but both should’ve independently verified.
Little bit of an update, the push blocks are now at the space. I’ve also ordered a paddle switch similar to the Thickness Sander so we can just replace the light switch (seems easier and simpler than a separate e-stop).
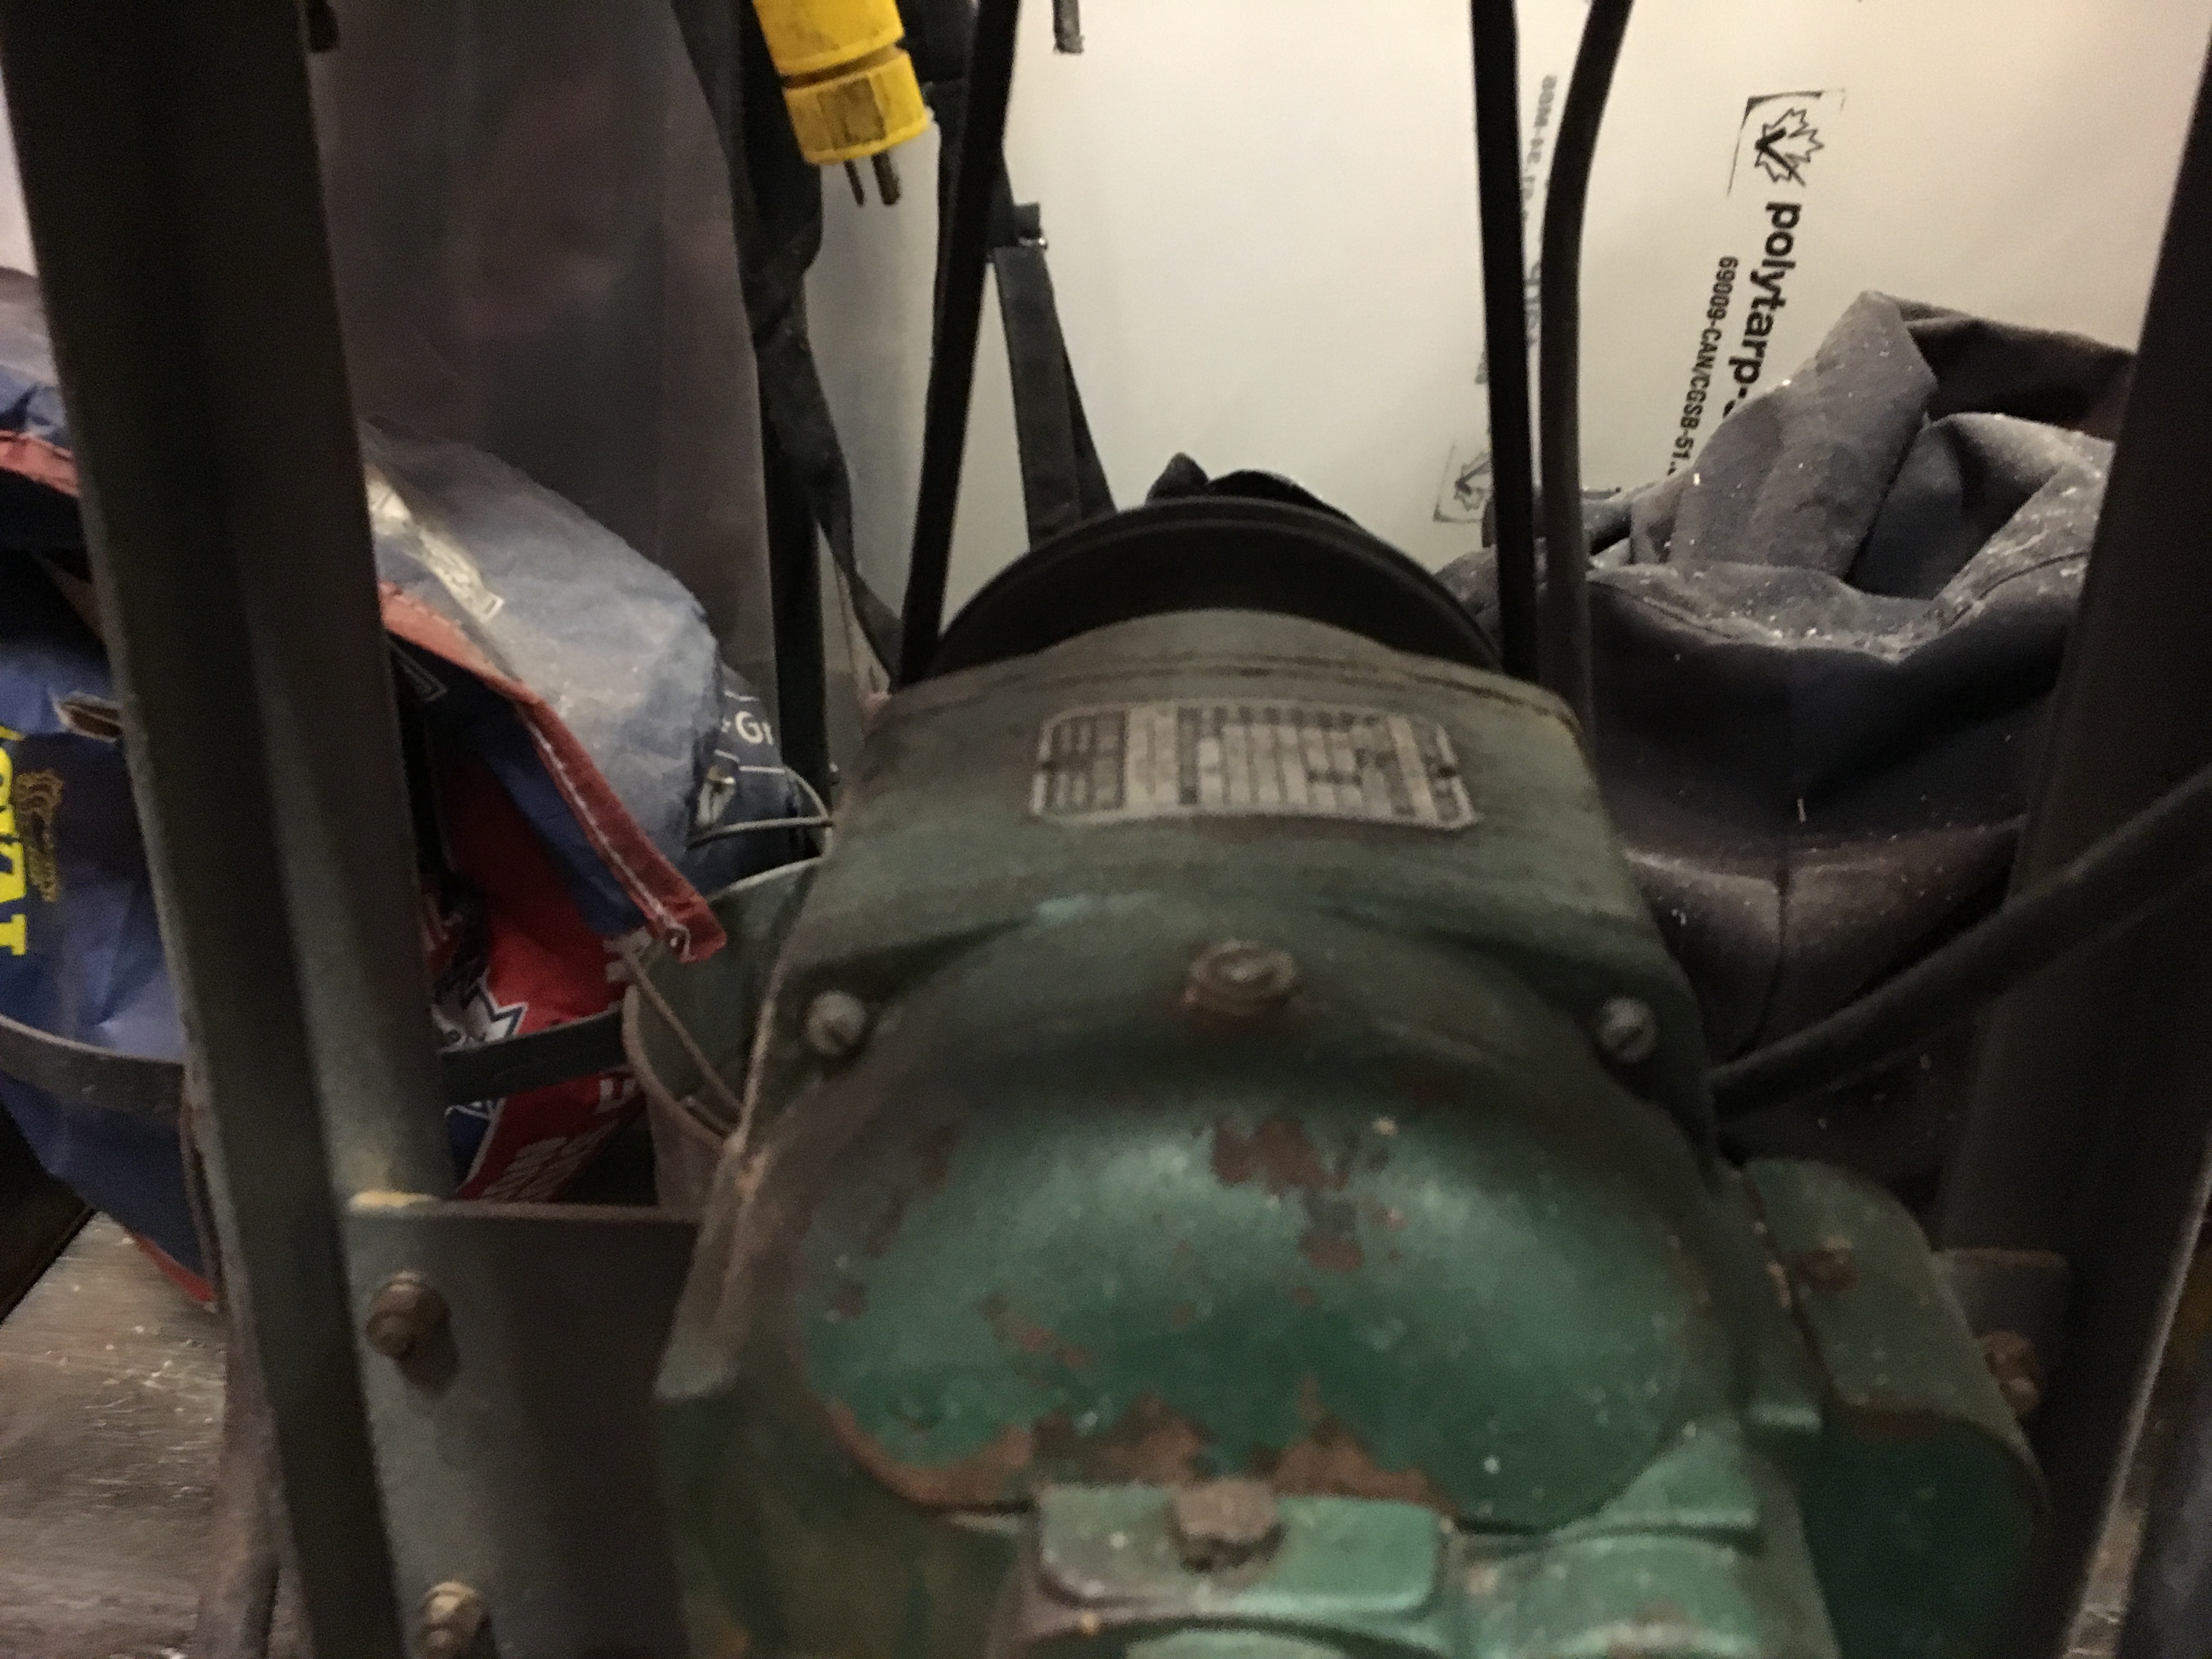
The blade does have a few nicks, but is generally pretty good. If we want to replace the blades soon or sharpen that might be good, but I don’t think that is required before we enable this.
The biggest outstanding item is to find or make a blade guard that isn’t broken. Anyone interested in helping out with that?
This is another machine that likes to eat fingers (which I had the unfortunate experience of witnessing). Please tread carefully and use the push sticks where appropriate.
Great advice! I think we should go with mandatory training from the start.
I’ve already obtained some nice push sticks and pads for this. I’m trying to get into one of the Roundhouse woodworking classes so that I can become a reasonable trainer; early August I should know if I get a slot in the class.
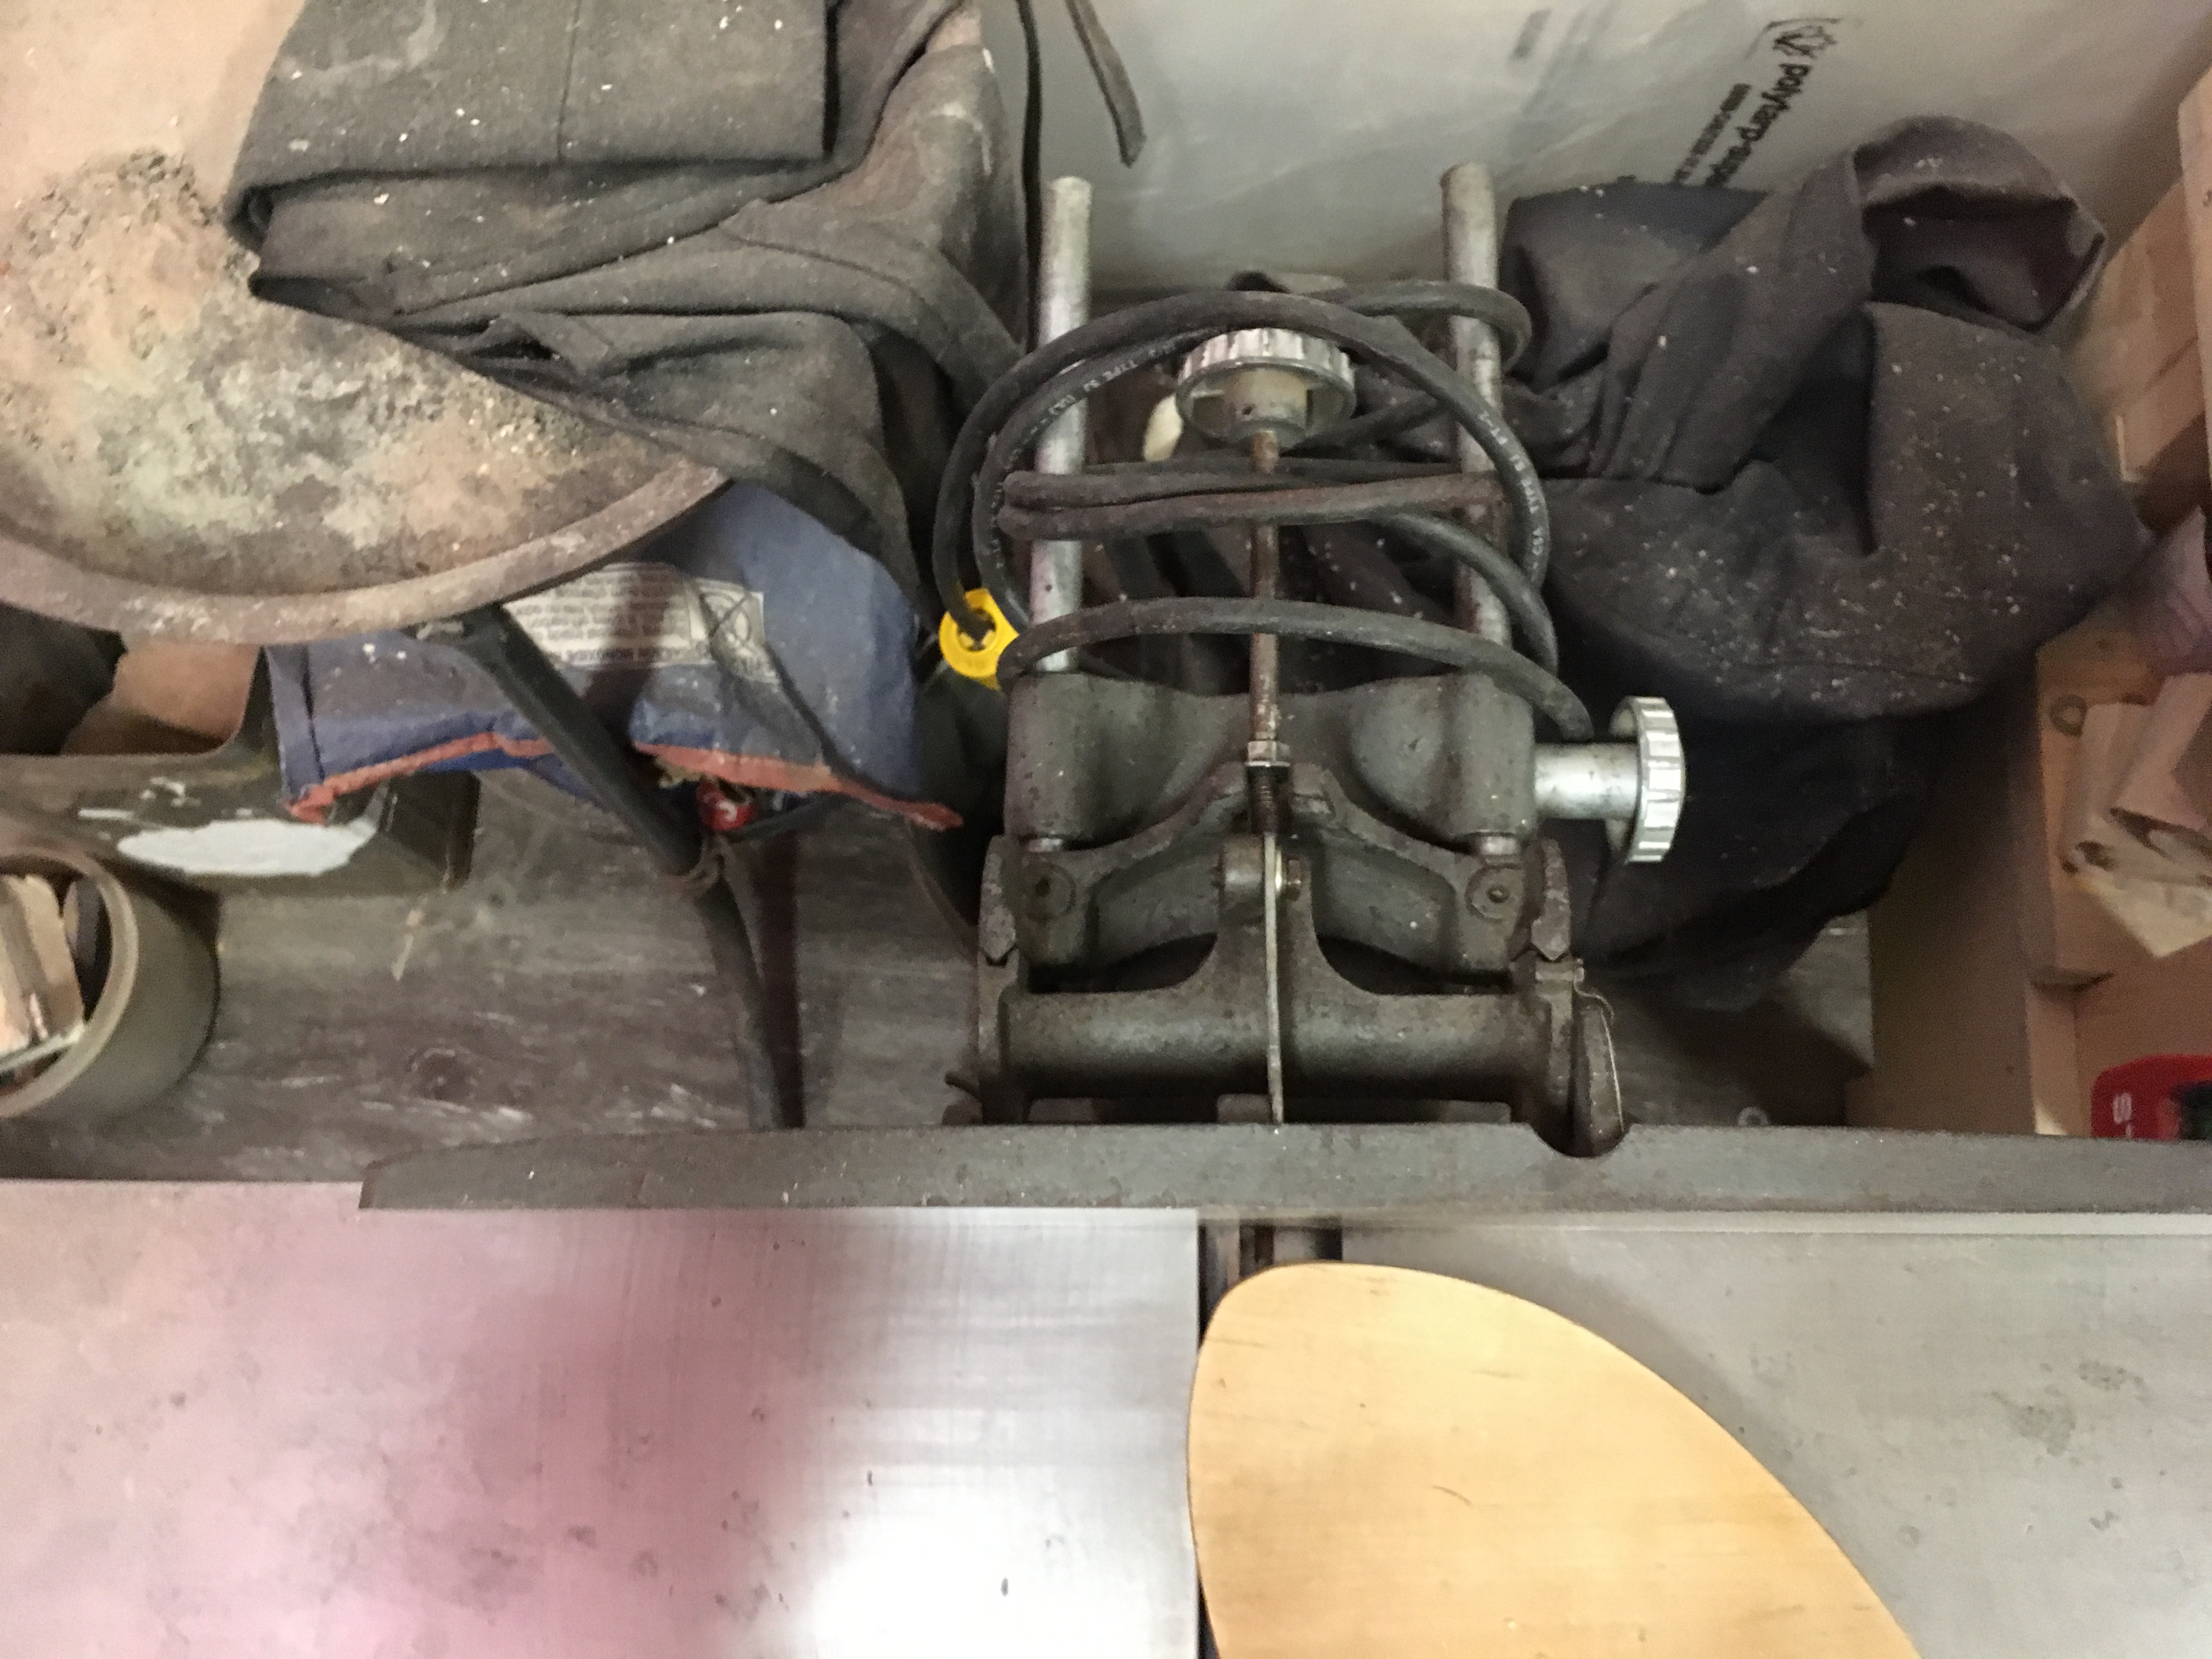
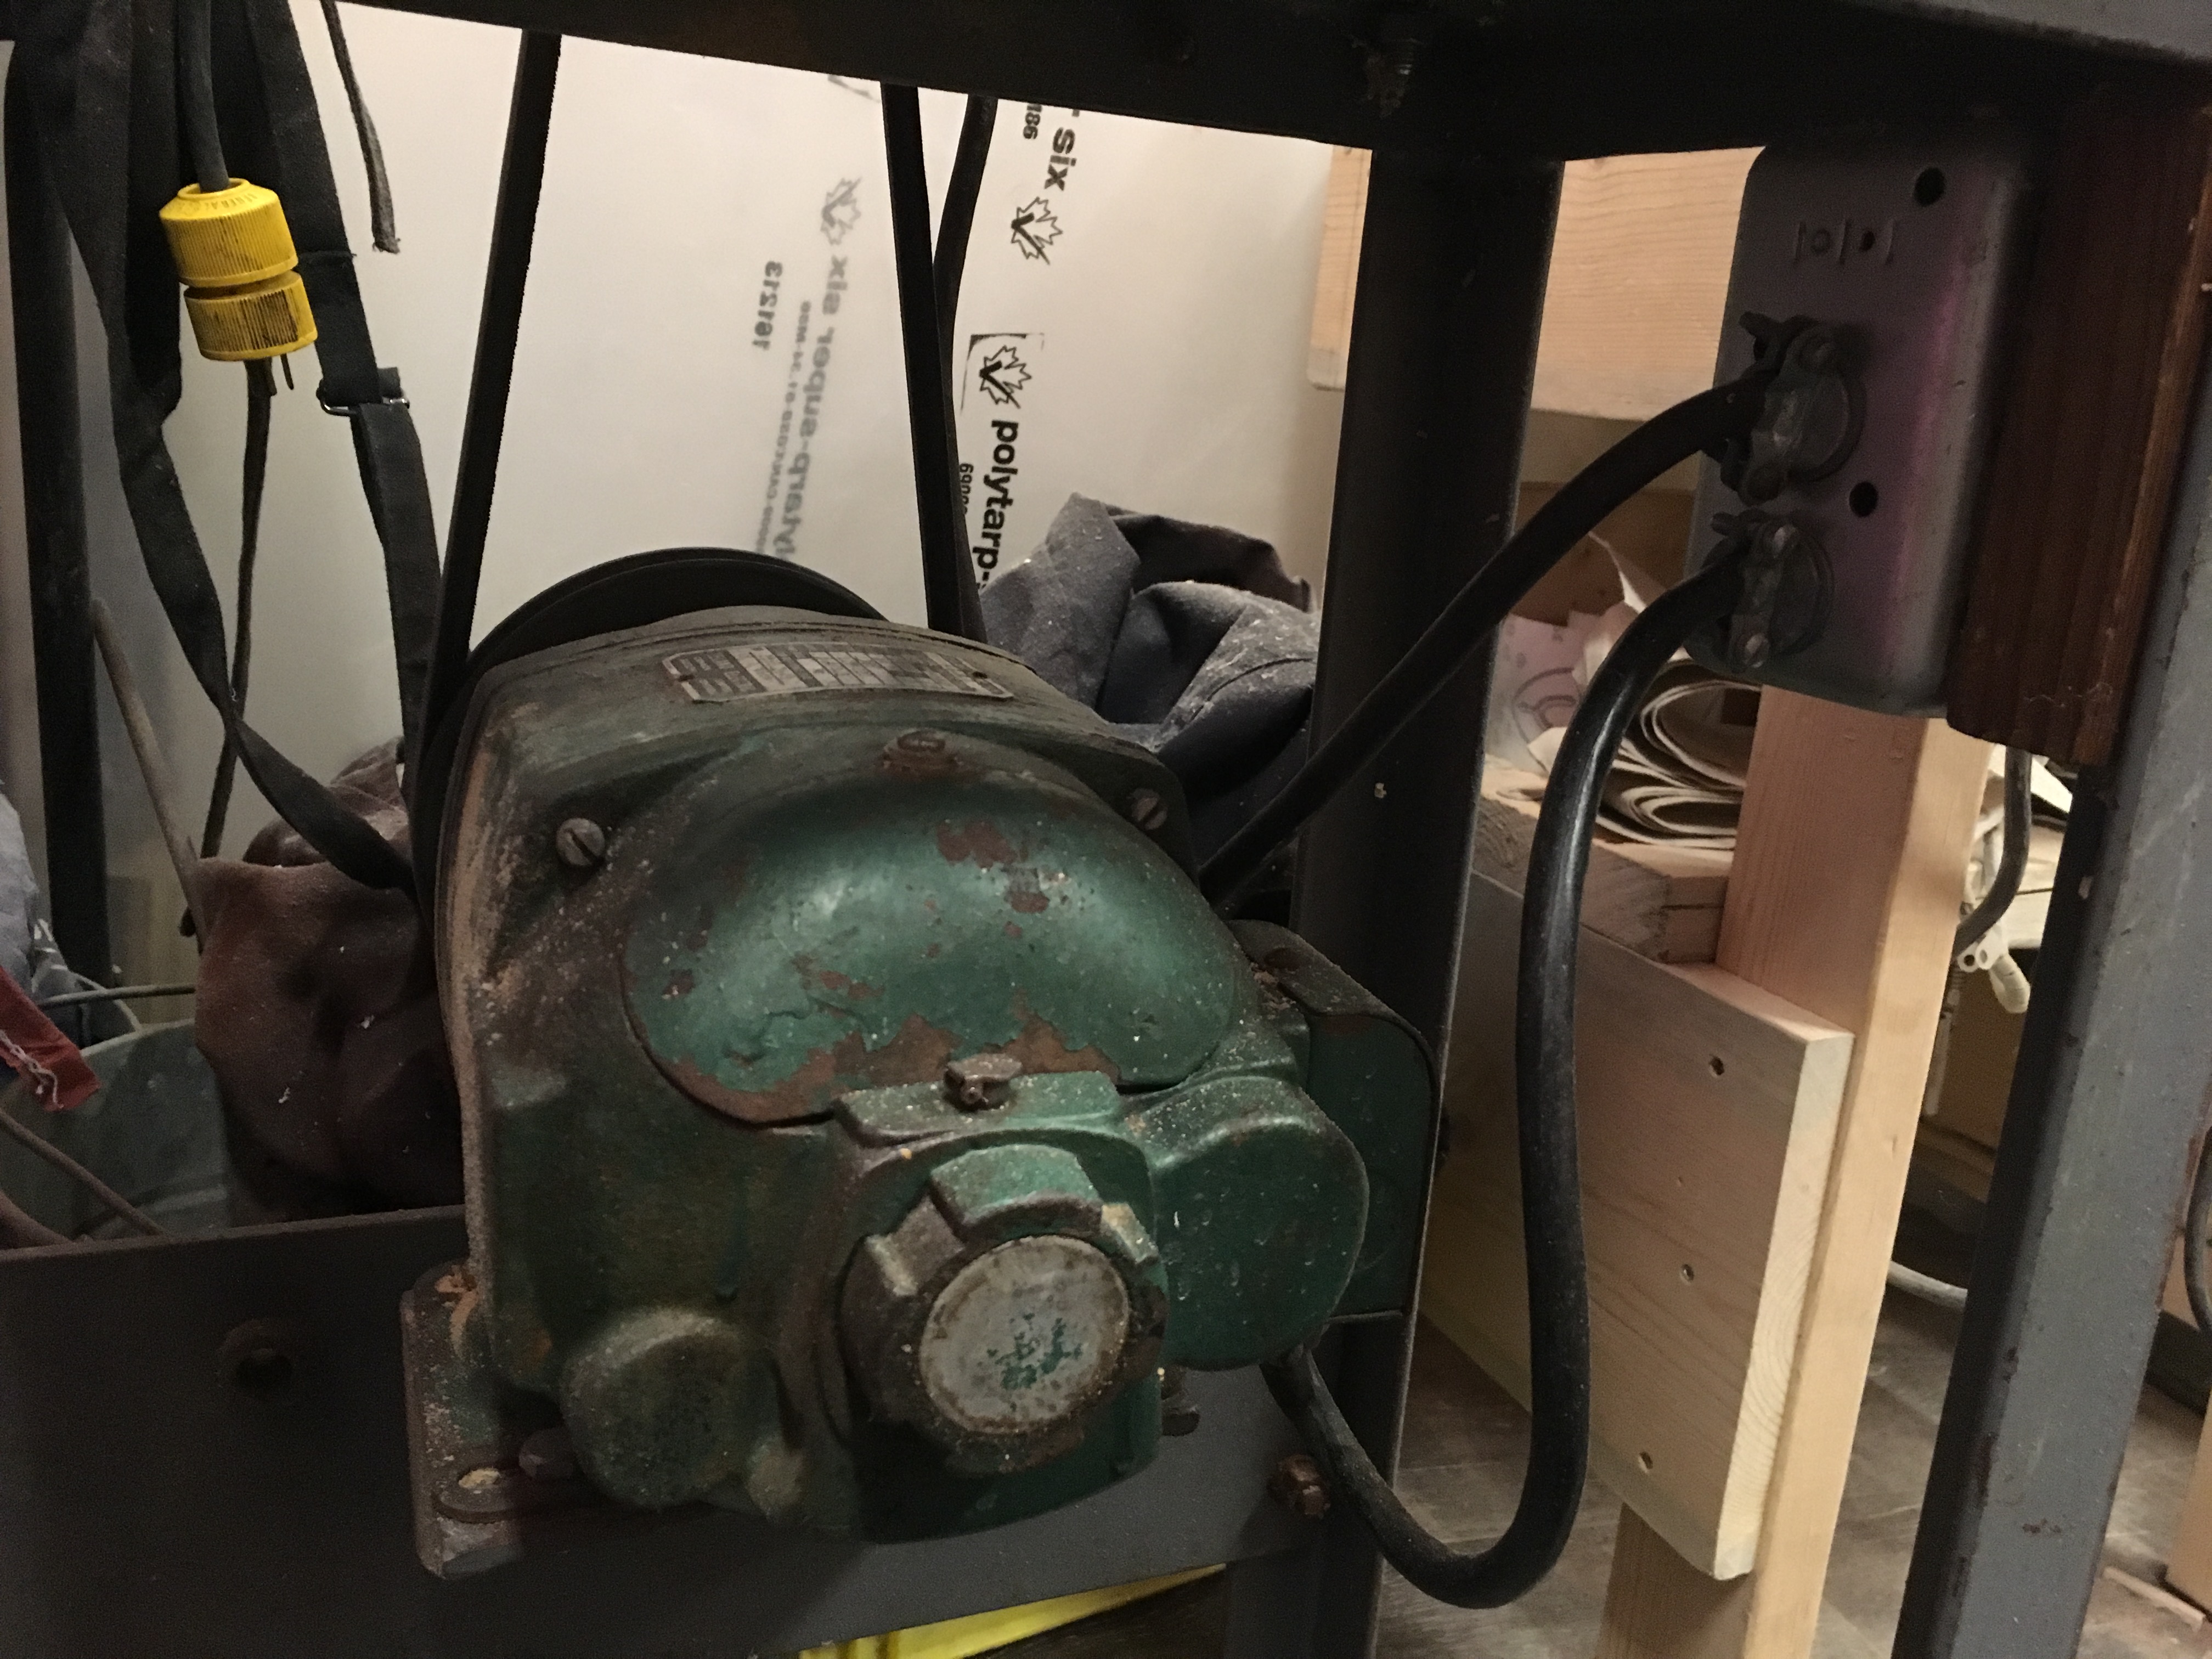
I had a bit of trouble with the wiring today; I thought I had everything connected to the switch all right, routed it into a new box, plugged it in; all was good. Flipped the switch and tripped the breaker. Clearly I didn’t do something correct so I disconnected everything and put the parts on the jointer surface.
Can someone help wire the the new switch? I am no longer confident in this task.