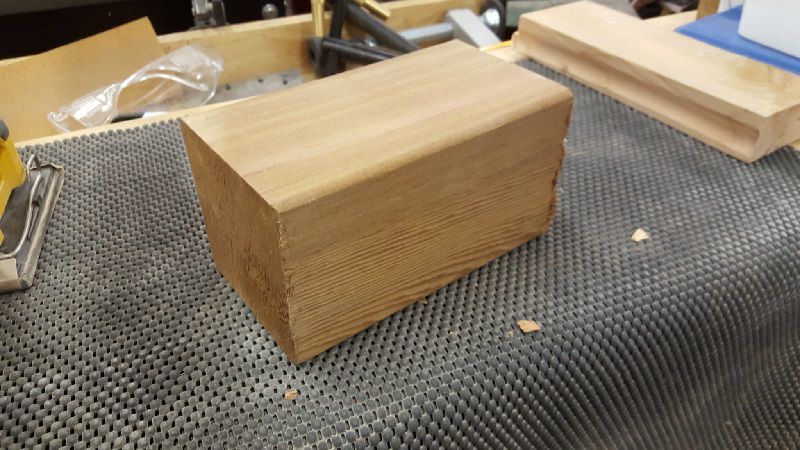
My latest entry to the wood scrap challenge by @mike is a small, lidded hollow form. I whipped this up in a couple of hours from a 7” long offcut from a red cedar 4x4 which, of course, is 3.5” x 3.5”. Here is a photo of the offcut.
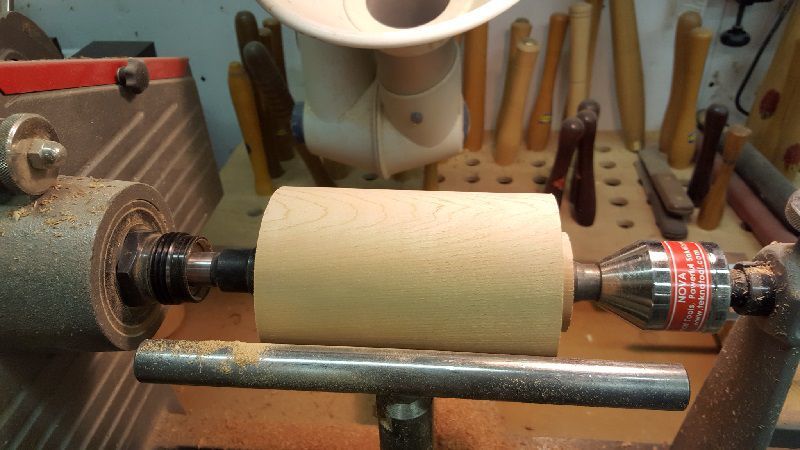
I marked the centres, mounted it on my lathe between centres, rough turned it round and cut a tenon on both ends to fit my lathe chuck.
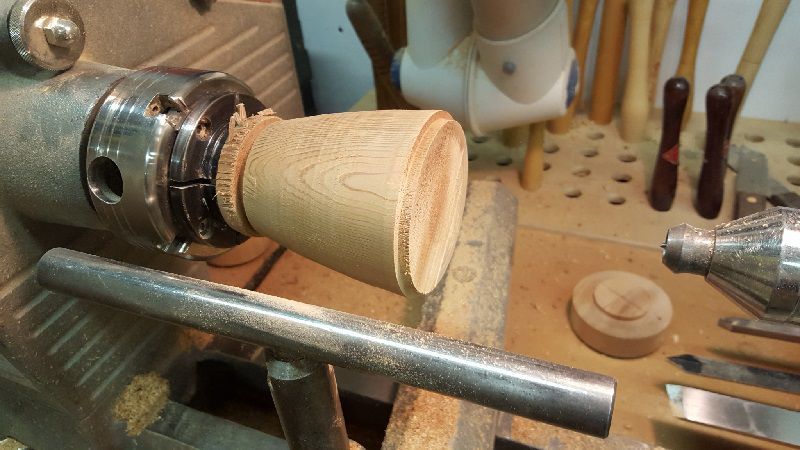
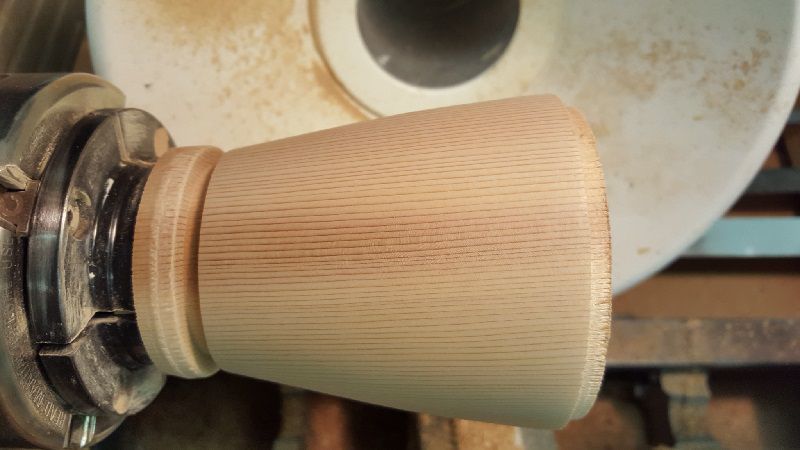
I parted the rough turned blank leaving about ¼ of the blank for the lid and the rest for the vessel. The vessel blank was mounted in the lathe chuck and turned to the desired shape. Red cedar is very soft and requires very sharp tools and a high lathe speed to avoid tear out. Here is a photo of the outside of the vessel before sanding. You can see a few tool marks.
Here is a photo after sanding. I sanded with 80, 120, 180, 240, 320, 400 and 600 grit sandpaper.
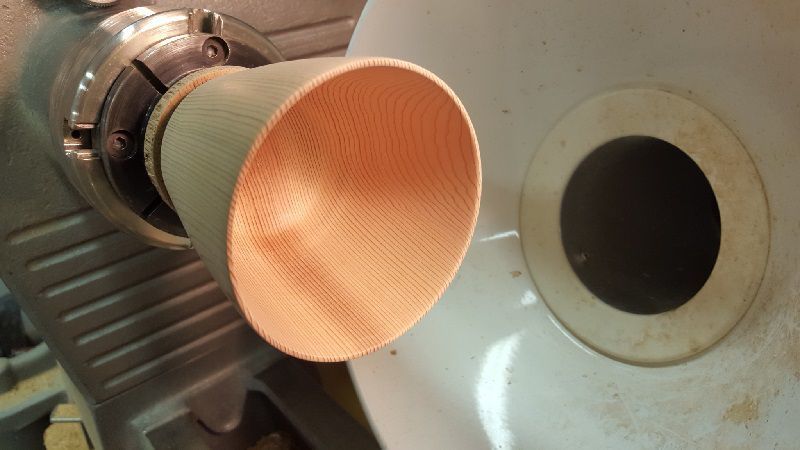
I then hollowed out the inside of the vessel leaving very thin walls; just a bit less than 1/8” thick. I sanded from 80 to 600 grit.
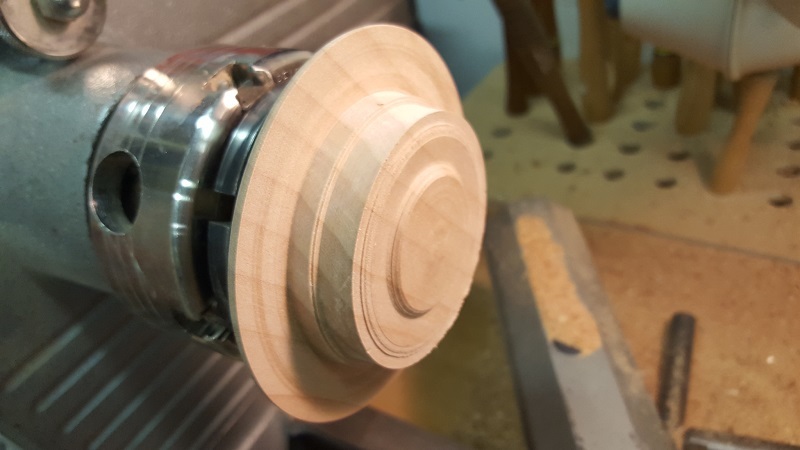
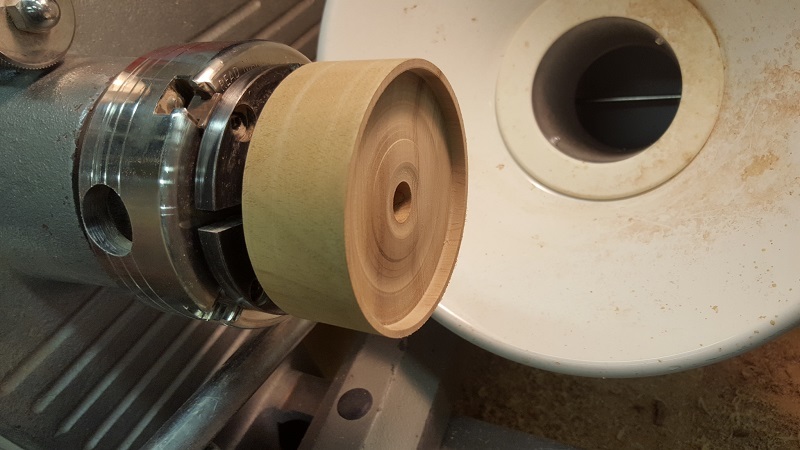
To remove the chuck tenon and finish off the bottom of the vessel, I had to reverse mount the vessel using a jam chuck. Because the walls of the vessel are so thin, the jam chuck had to be turned to a diameter just large enough to hold the vessel securely, but not so large as to split the walls when it was jammed onto the chuck. The jam chuck pictured below has been used for a few projects.
After mounting the vessel on the jam chuck, I brought of the tail stock to provide extra holding power. The wooden point on the live centre allowed me to get as close to the centre of the work with my tool without damaging the tool edge.

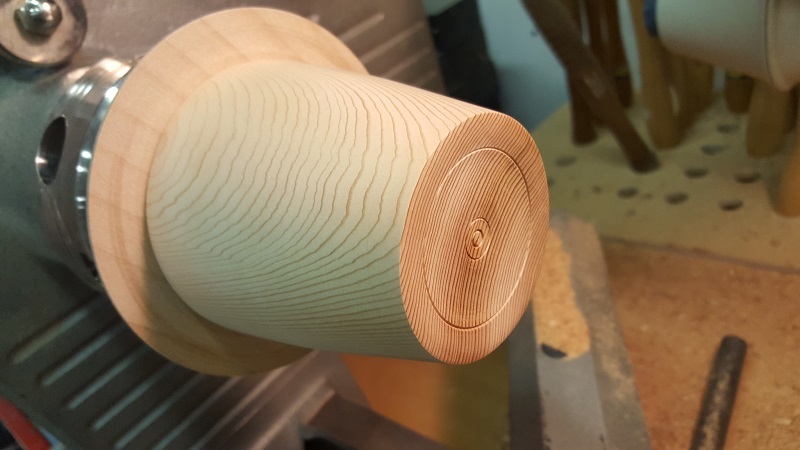
To finish off the centre of the base I had to remove the tailstock and use very, very light cuts as it doesn’t take much to knock the vessel off the jam chuck and send it flying across the room. After removing the nub from the centre, I added a couple of decorative rings and sanded to 600 grit. The bottom is turned just slightly concave so that it will sit nicely on a flat surface.
Next, I mounted the lid on the chuck and turned the inside of the lid. I wanted a domed lid so the inside of the lid is hollowed to about ½” deep. I sanded to 400 grit, added a couple of decorative rings and finish sanded with 600 grit. The flaws that you see crossing the grain are micro cracks in the wood.

To turn the top of the lid, I had to make another jam chuck to fit the lid flange. The hole in the middle of the jam chuck allows me to knock the lid out of the jam chuck from behind with a dowel in case I can’t easily pull it off. This proved to be a wise decision.
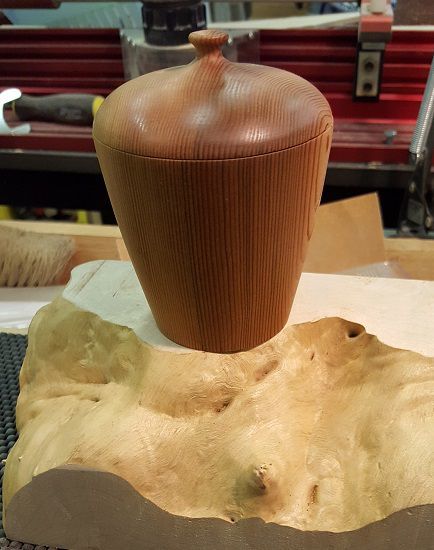
I brought the tailstock up to the lid and finish turned the lid and handle. Sorry, I forgot to take a photo of the lid on the jam chuck. When I had the shape I liked, I turned a small handle. I removed the tailstock and again, with very light cuts, finished off the top of the handle and sanded the whole thing to 600 grit. Here is a photo of the completed project prior to adding a finish.
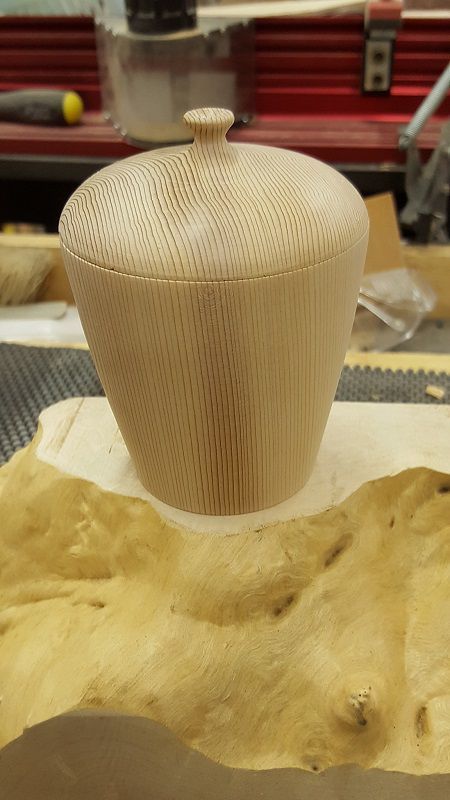
I applied two coats of Danish oil to all surfaces. After the second coat had dried for a couple of hours I lightly buffed the whole thing. Here are photos of the completed project, with finish.