If you all need some machined parts that are larger then the VHS machines can handle, let me know.
5 Likes
So the motor shield I have won’t work with any decently maintained software for controlling motion. I’m considering this:
https://www.amazon.ca/Longruner-Expansion-Stepper-Heatsink-Arduino/dp/B06XJKVLG3
Edit, I just ordered it, here on Wednesday
1 Like
This post is now a wiki. Anyone can edit it.
Here’s a preliminary bill of materials:
- acrylic for frame (can be salvaged material)
- rails x 4 (2 sets of 2 matched lengths) (Jarrett has partial, details to come)
- matching bronze bushings, 2 per rail (Jarrett has, for 8mm rail)
- GT2 timing belt (Jarrett has)
- motors x 2 (plus 1 for Z) (Mike has)
- pulleys + idlers (Jarrett has, but also these are laser-cuttable, at least a first)
- bearing-surface shoulder screws for idlers (Jarrett has)
- hardware (Jarrett has)
- Limit switches (Jarrett has)
- controller (Mike has)
- motor drivers (Mike ordered, arrives Wednesday)
- everything involved for Z-axis including spindle / design (no designs yet)
- interface (keyboard, monitor, etc) for rpi (nothing yet)
- power supply - 12v or 24v (none yet)
- 16gb SD card for OS backup (none yet)
1 Like
I have these if we need them, .118in and .25in
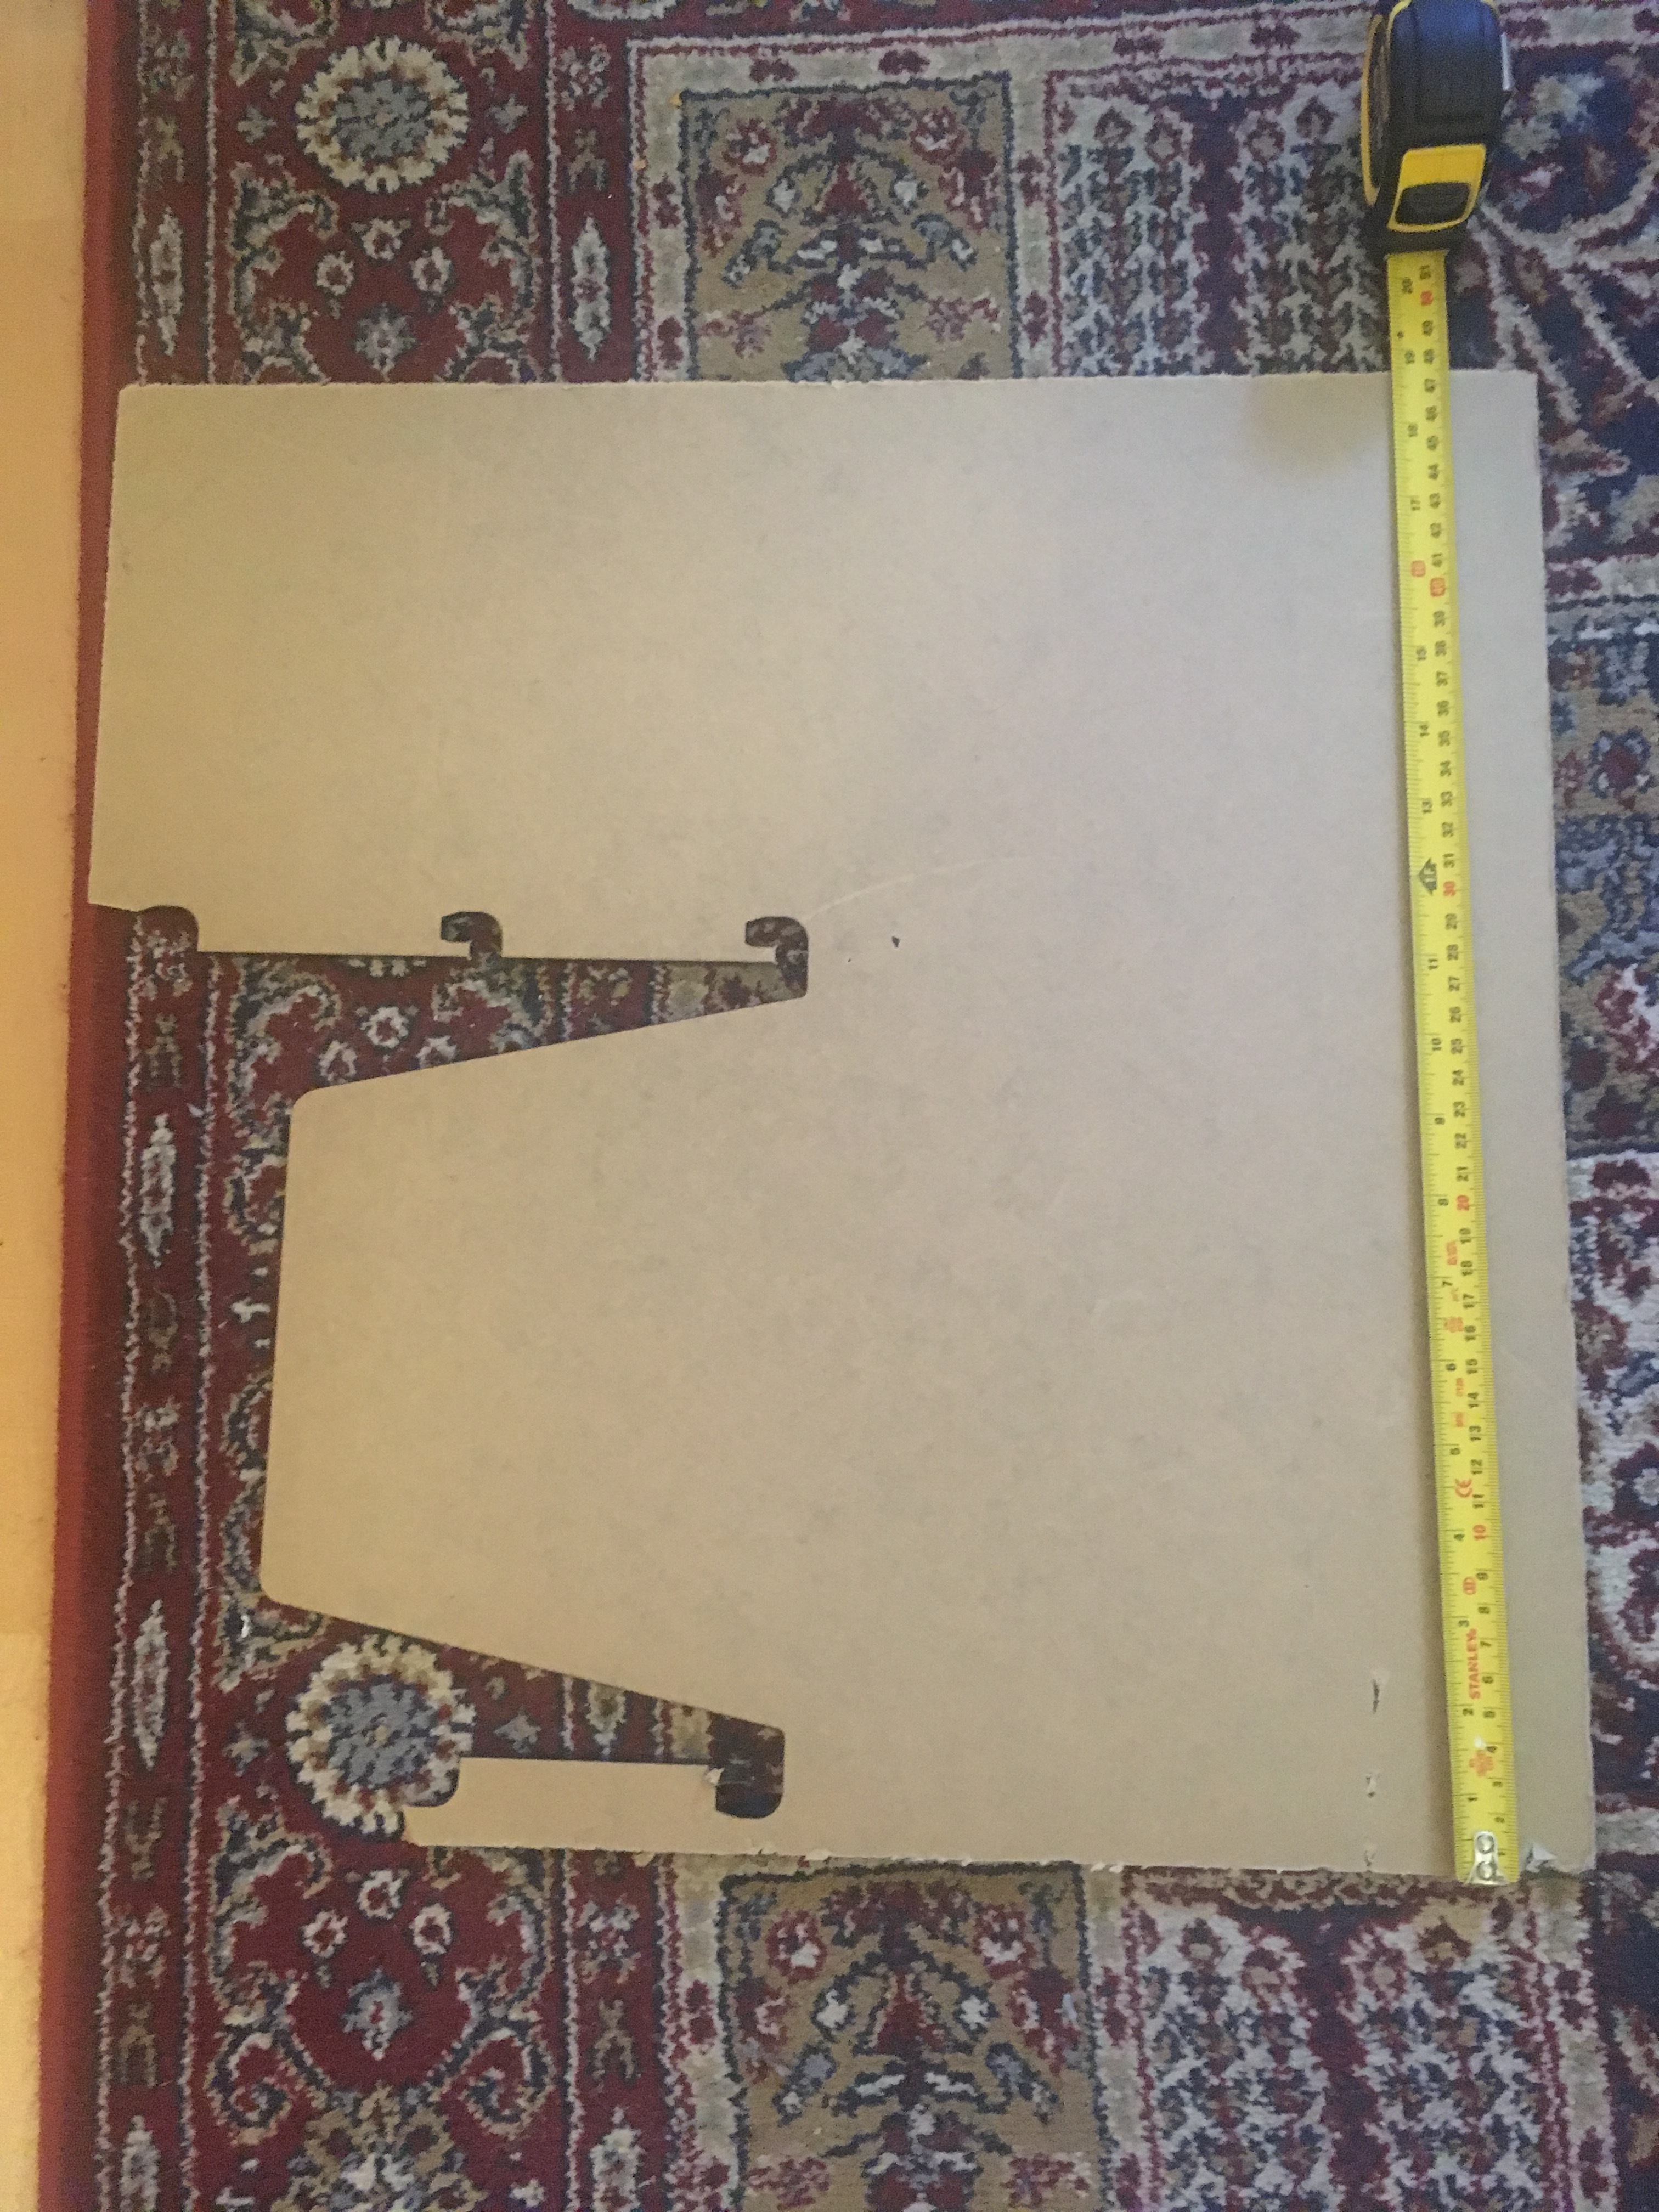
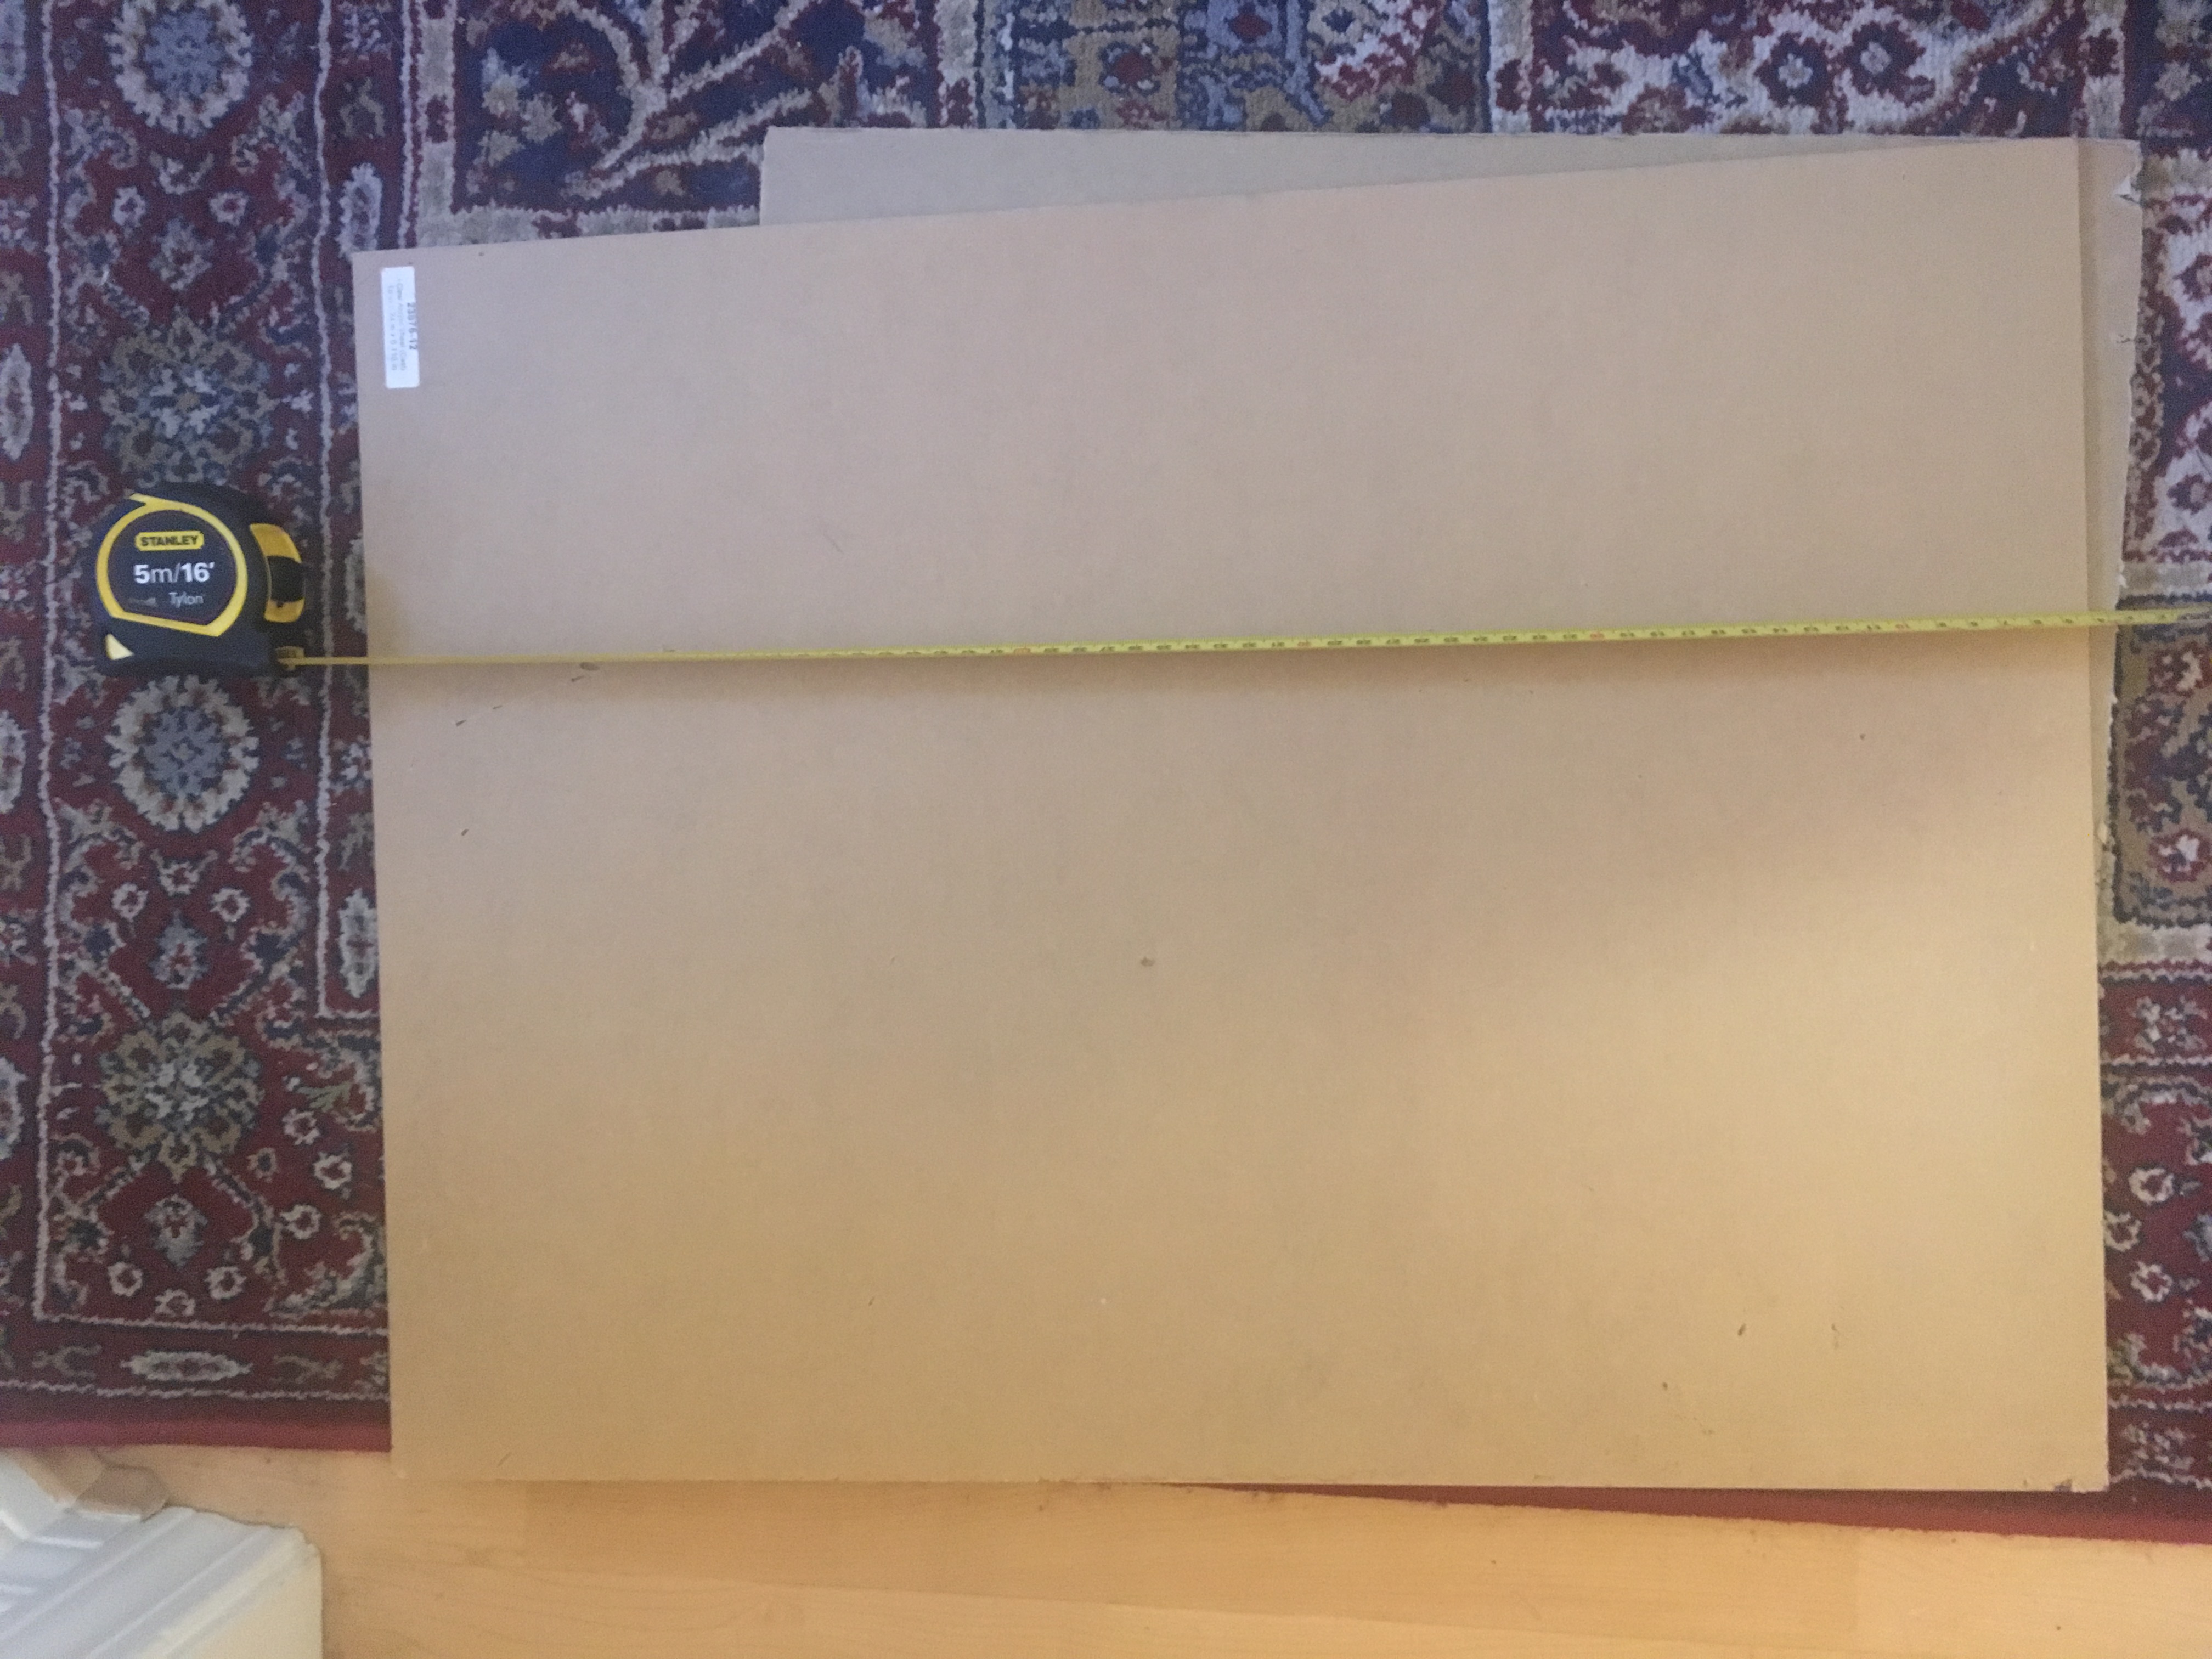
Doh! Just realized the tape fell! 18x24in on the second
Hi!
40ncm is the rated holding torque for the motors I sell. 400 step per turn.
You might be interested in the sir ramps-a-lot board that make it easy to connect external stepper drivers (high current) to ramps/rumba boards. That way you can use common electronics a bit cleaner and run off, say, makelangelo-firmware to drive your corexy.
The biggest challenge I had with corexy was tensioning the very long belts. Especially across the back where they cross over each other.
Awesome! Great option if we need a little umph!
For those who have never helped on a VHS group project, I encourage you to jump in. You don’t need to offer parts, time will be valuable here.
Just put your hat in the ring by saying what sort of effort you want to offer and we will try to get you involved. If someone wants to project manage this, that be awesome! You can even go Wintegatan style and do a project breakdown.
Inventory of my parts:
A few linear shafts - I think it’s 1x6mm, 1x8mm, and 1x10mm. And I only have bushings for 8mm. If anyone has any other 8mm shaft, it would be quite useful! It’s worth noting that most modern printers and scanners don’t even use them anymore due to cost reductions. It’s amazing what they’ve been able to accomplish with plastic sliding on plastic.
Linear rail, bearings, bushings, pulleys, idlers, timing belt, shoulder bolts, and a solitary anti-backlash acme nut, but no rod.
2 Likes
If anyone wants to get involved, it’s being discussed in #machine-shop in Slack.
The vague plan hasn’t really been mentioned in this thread yet I don’t think, but we’re converging on a CoreXY design using lasercut acrylic. Moving bed, stationary spindle.
There are no plans yet for the spindle/z-axis. Yet another aspect that someone could jump on board with.
1 Like
I also started a tool page, but yes most discussion is in Slack
1 Like
I believe our current blocking issue is that we need linear rails and bushings or linear bearings.
8mm linear rail is ideal. Please speak up if you can help.
2 Likes
Stepper driver is functional; once I crimp the other motors I’ll do coordinated motion tests, but this is looking good.

We still need some linear rail/bushings to unblock the gantry build. If you have old 3d printer parts that you don’t need, please speak up so VHS can start making PCBs!
3 Likes
Last night, @Lukeo and @lukecyca were so generous and provided a bunch of bits, bobs, and rails to augment a great frame that @xquared scored at FreeGeek from a discarded laser etcher…
It is a v-rail based frame, but it looks like we’ve got a fairly easy way to get a grantry going. @Rebel_without_Clause and I squared up the frame, and came up with a plan for attaching the Y-axis, the X axis will likely be similar to the original laser etcher. Once we assemble the X and Y axis, we can validate deviation before we start thinking about attaching the Z and spindle.
I’ve placed most of the components with the Sherline. This isn’t to say we are abandoning the CoreXY, but it is difficult to say no to doing this, at least in parallel, when all the parts just work out.
Priority will be to assemble the Y-Axis sled, since that’s the biggest unknown.
4 Likes
This topic was automatically closed 365 days after the last reply. New replies are no longer allowed.