Finished one switch tester and one light proximity switch.
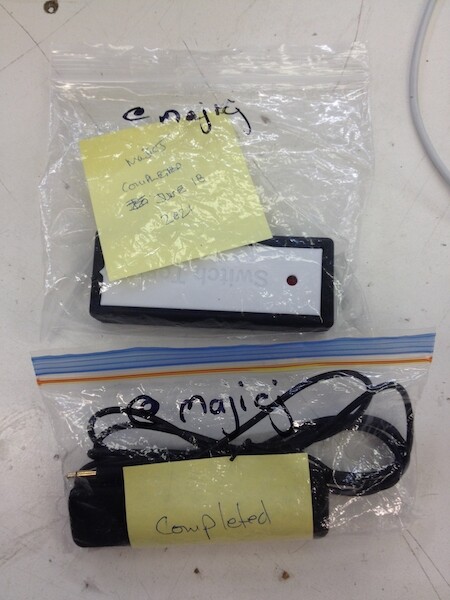
These have been put back in the kit bags in the drop box.
ps I needed to grab a zap strap from one of the other kits. There’s a sticky note in kit saying “missing zap strap”.
Finished one switch tester and one light proximity switch.
These have been put back in the kit bags in the drop box.
ps I needed to grab a zap strap from one of the other kits. There’s a sticky note in kit saying “missing zap strap”.
I also finished a switch tester (did an unlabeled one). Same as Mark - it’s back in the bags. Took my proximity switch home.
Got to meet Tamara also - woot! She picked up her kits to take home.
Thanks Mark and Janet! I will be at space Monday so will bring some extra small zap straps. Cable relief for the win.
will pickup today, should be able to do at least the switch tester today.
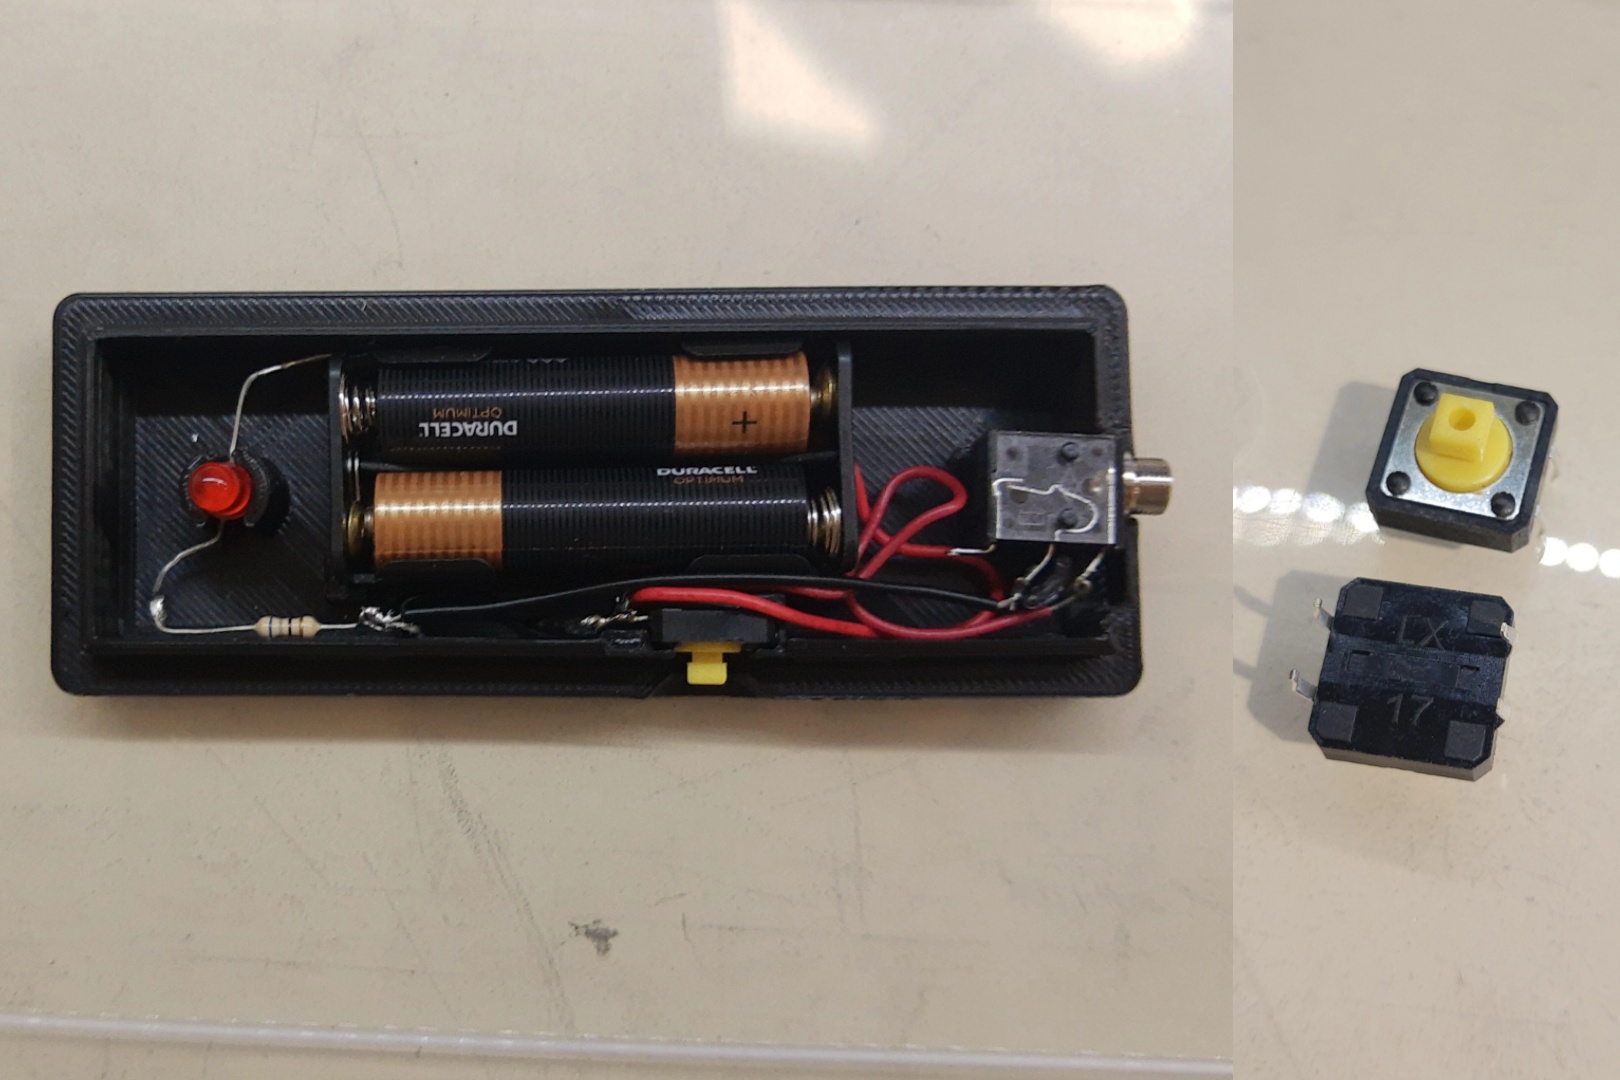
I am almost done the switch tester, did anyone have the problem of the push button not fitting into the base slot? I broke the part I soldered from squeezing it in.
So I found another push button without the back nubs and will try to solder it on tomorrow, I hope the change of parts is ok!
No worries! I’ve had to swap in parts before and I’m sure that’s fine as long as it works the same. Chad might even have a few extra buttons.
I also found the button tricky. It was able to get it to work with a tip from @Majicj by placing the LED in the holder first and pushing down the wiring around the button which oriented the button and made it easier to get in. It still took a little force to push in.
@chadleaman I am having a hard time removing the support on the top enclosure of the Proximity switch. You okay with me swapping it out with the one in the extra kit in the dropbox?
Finished switch tester and put back in the drop box!
This is the yellow push button I replaced it with.
Nice @yuyu! Instructions should of had,cut of nubs and extra legs. Should be all good with this yellow button, it still stays in place? Looks to be same form factor.
Yeah the casings vary in quality sorry about that. Thing should still work and an easy thing to change later. Will print some more cases and try to swing by space at end of the week. But the main part of the soldering and building is super helpful, so even if someone doesnt have a case, the time building is very helpful.
I was in and out of the space very quickly this AM, and grabbed @Majicj and @Janet’s builds. Mark, both your switch and tester are now property of CAYA BC (they equip people that have speech difficulties with the AT they need to communicate). That might be the fastest “kit-build-pickup-deliver” we have had since COVID.
That is awesome!
Yea I think the cutting the nub off part would’ve been helpful, totally did not cross my mind haha. The cut off extra legs part was included.
And yup, it swill not come out once I put it in, and it’s the same form factor!
Was this just missed, or does it need to be amended?
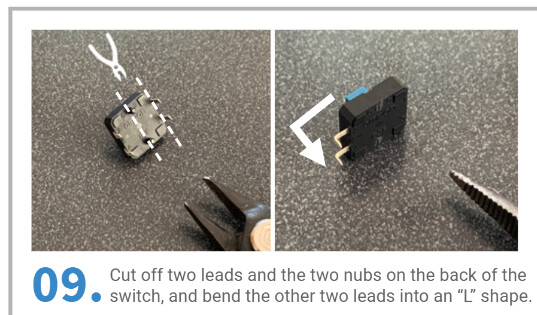
Thanks for asking for feedback! I also missed this initially but I figured it out eventually at the end during assembly. I thought the first photo of the switch was a different part and the kit had just been updated. In the photo the nubs on the back of that part look like leads, while the kit switch had plastic bumps. I thought “nubs” might refer to the small metal bits left after cutting the 2 leads. Because the nubs and leads are so different it might be worthwhile in the text and photo to split the leads cutting and bending and the nub cutting into separate actions/photos.
“Cut off two leads and bend the remaining leads into an “L” shape. Cut off the two nubs on the back of the switch.”
Just my observations as someone who is pretty much all visual when it comes to following instructions (or not following them in this case). ![]()
Thanks, that’s good feedback. There are a few other sets of instructions for devices that use the same switch that illustrate this step more clearly, so it’s helpful to get the perspective of ‘fresh’ eyes.
I’m sure you’ve heard this before but overall the documentation is outstanding. Makes building these kits very enjoyable.
Thanks for Tamara for spotting the following! In the the Light Proximity Kit - just a heads up to check that the 10K resistor in your kit is indeed 10K. It should be brown-black-orange-gold. Tamara and I both have orange-black-brown-gold which is actually 300K. If you need a replacement - there should be 10K resistors at the space. I also have some here at home if needed.
If you’ve left your finished kit at the space already no worries - I’ll check the resistor.
My apologies, and quite the good catch. My kitting skills are like a survey - right 9 times out of 10, with a variance of 3-5%. My apologies and thank you @Tamara_VA7ETR for having better attention to detail than myself.