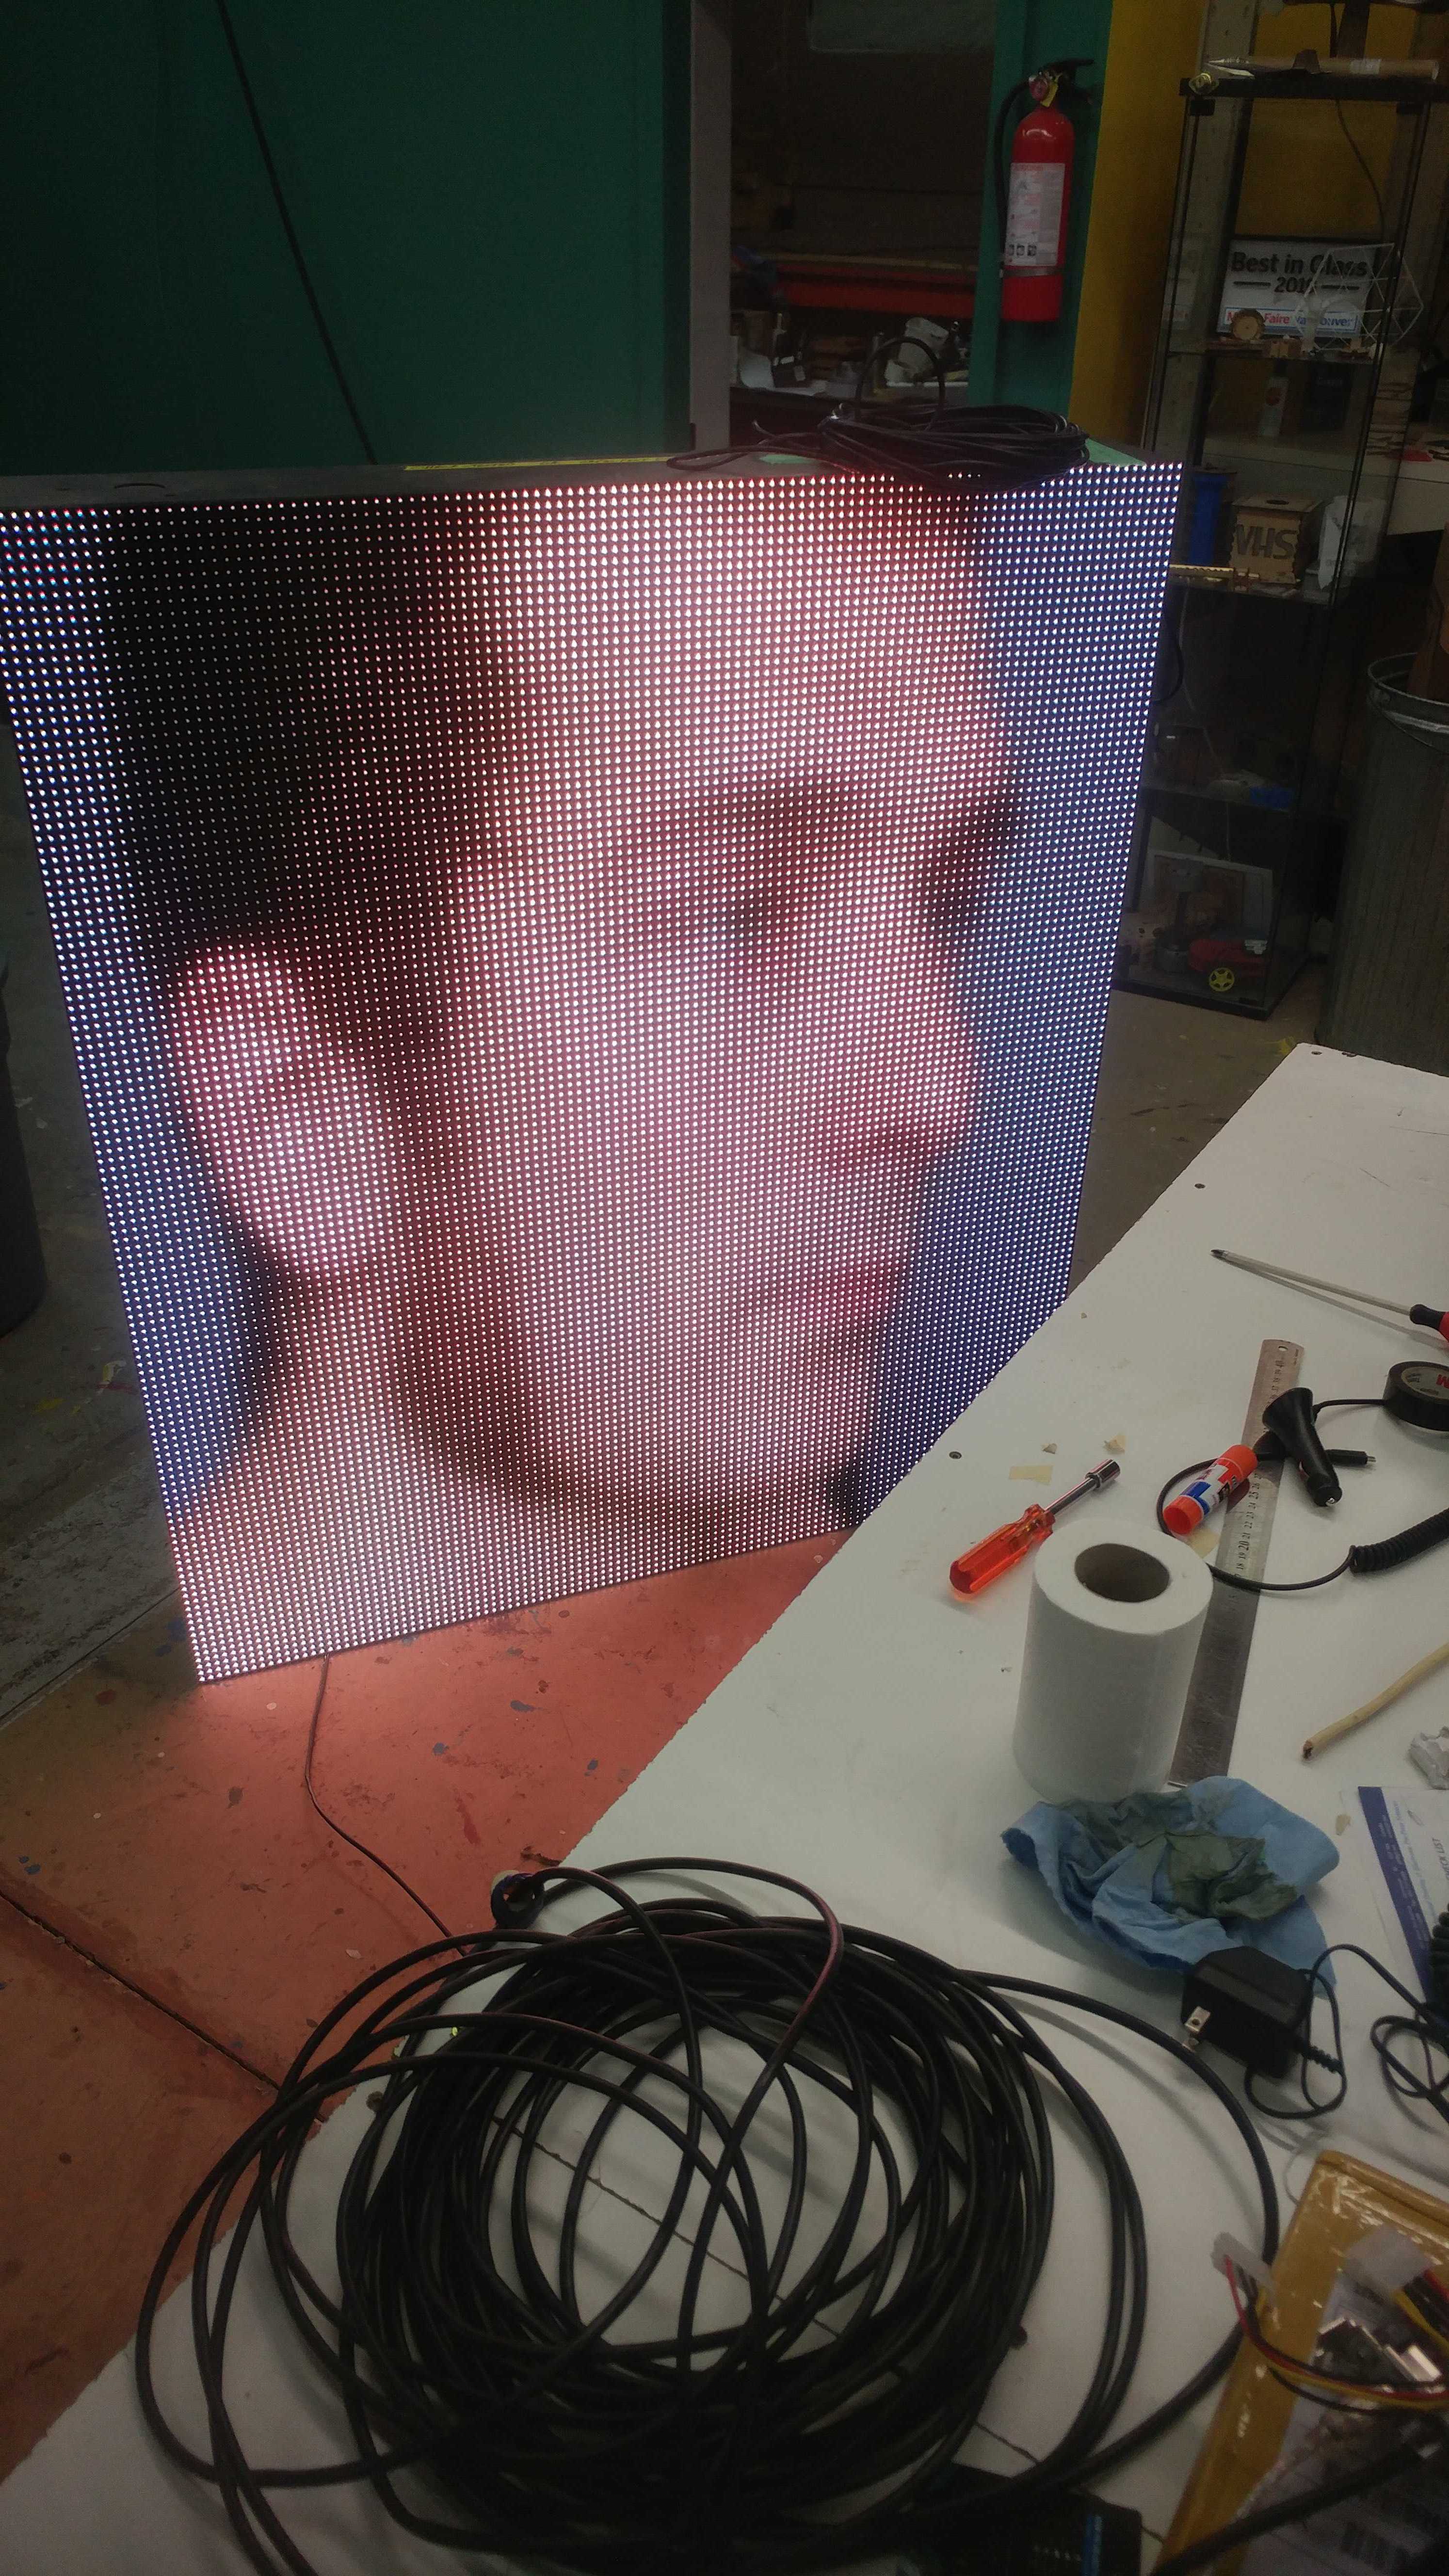
So… you guys… like… its here!

So beautiful, should have sent a poet.
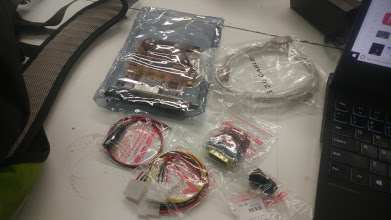
And Lee’s had all the other do dads I forgot I needed to get to make this thing work.
And now to figure out how to program this thing… Wooooooo!
So… you guys… like… its here!
And Lee’s had all the other do dads I forgot I needed to get to make this thing work.
And now to figure out how to program this thing… Wooooooo!
Oh my god - amazing. I love how happy you are. Looking forward to seeing what we can do with this baby. Report back!
Does it need a PC to work?
So update on this, had the sender card work briefly out of the box, then some dumbass hit the update all button to attempt to change the resolution settings which overwrote all of the led driver configuration and borked the whole thing. @rsim and I spent a few hours trying to figure out rhyme or reason to the led driver configuration settings and its obtuse and capricious.
Basically, this sender card can talk to a whole pile of different LED receiver/decoders. Thus it has really really complicated settings that do strange things. It can even talk direct to shift registers, or any one of about 30 different types of LED drivers (but noteably not the ones we have, at least in the version of xmplayer I am using). You can adjust timing, phase angle, pwm on time, latch signal duration, refresh rate, and more, even down to non standard bit and pin order. We managed to get it where there was a blurry dot that corresponded to mouse movement, and some things that kinda looked like the windows we were using, but we couldn’t replicate it even after setting the same settings back.
Some facts though: the sign modules are made up of jxi5020gf led receivers, here is the data sheet with timing details:
https://datasheet.lcsc.com/szlcsc/1810010214_MBI-JXI5020GF-B_C82599.pdf
the decoders are 138bs when that popup config box comes up.
this is the manual for XMplayer (the software that configures the sender card and can also set up slideshows)
http://www.ledcontrolcard.com/download/dbstar/dbstar-XMPLAYER%20control%20user%20manual.pdf
and another that goes into more detail about some of the advanced settings:
I have emails into the manufacturer, and the company that sold me the card. There is also a local shop that sells these led signs that I can try to implore for assistance next week, I am going to sleep on it and maybe try again tomorrow.

Just found this. perhaps?
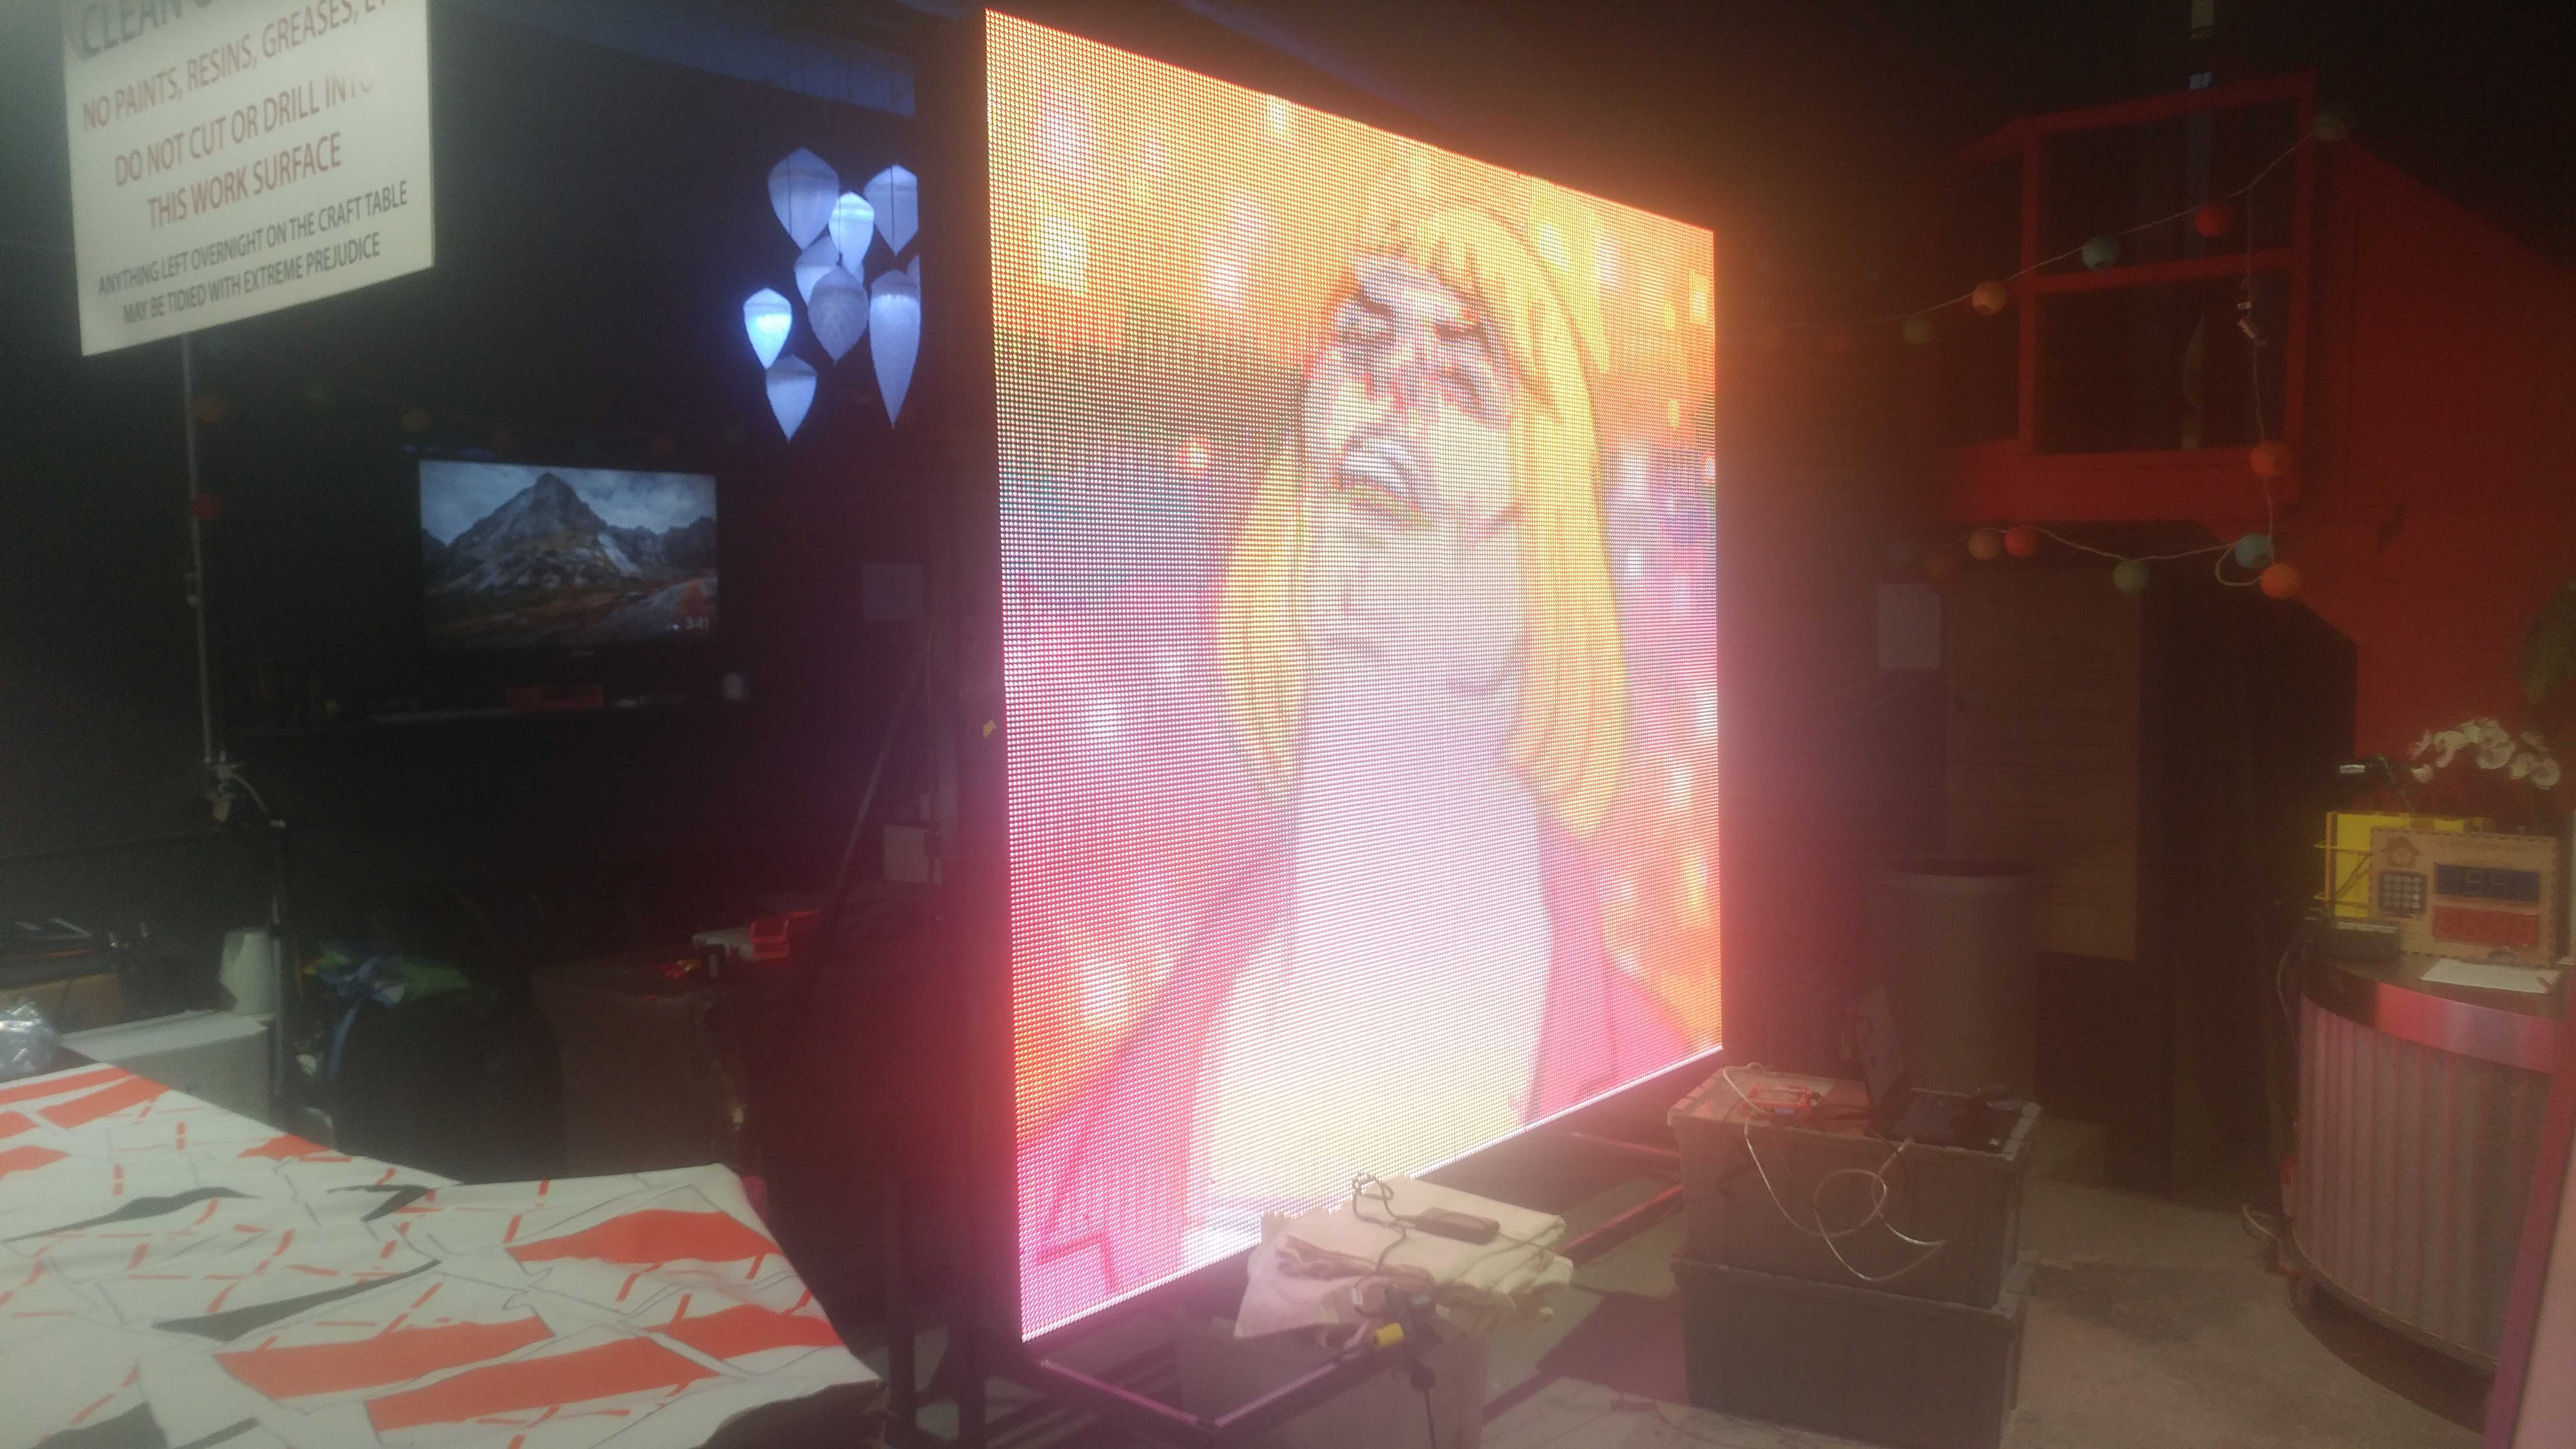
So this happened:
We now have a running video wall (for values of running that include the fact that I only connected one panel and haven’t tested daisy chaining them).
There are a few caveats
To address this issue I have been plugging away on the borked display to figure out the configuration settings some of which include
You can globally dim the display, which is cool:
This means that we can run 7 panels in a row, and draw about 14 amps, if you set all of them to full white.
Also, this is 83 brightness in the space with the lights on:
Yeah, acceptably bright.
Quite amazing looking!!! Well done! Are you still detaching the power plug after working on it - or can anyone just plug it in and away it’ll go? Like - if I plug this baby in and hit reset will it run all the He-man?
Think of it as a giant monitor, with a special magic box that converts the monitor signal to the format of the panels.
Once hooked up it will basically mirror not quite the top left of whatever computer its hooked up to (provided that computer has a DVI or HDMI port).
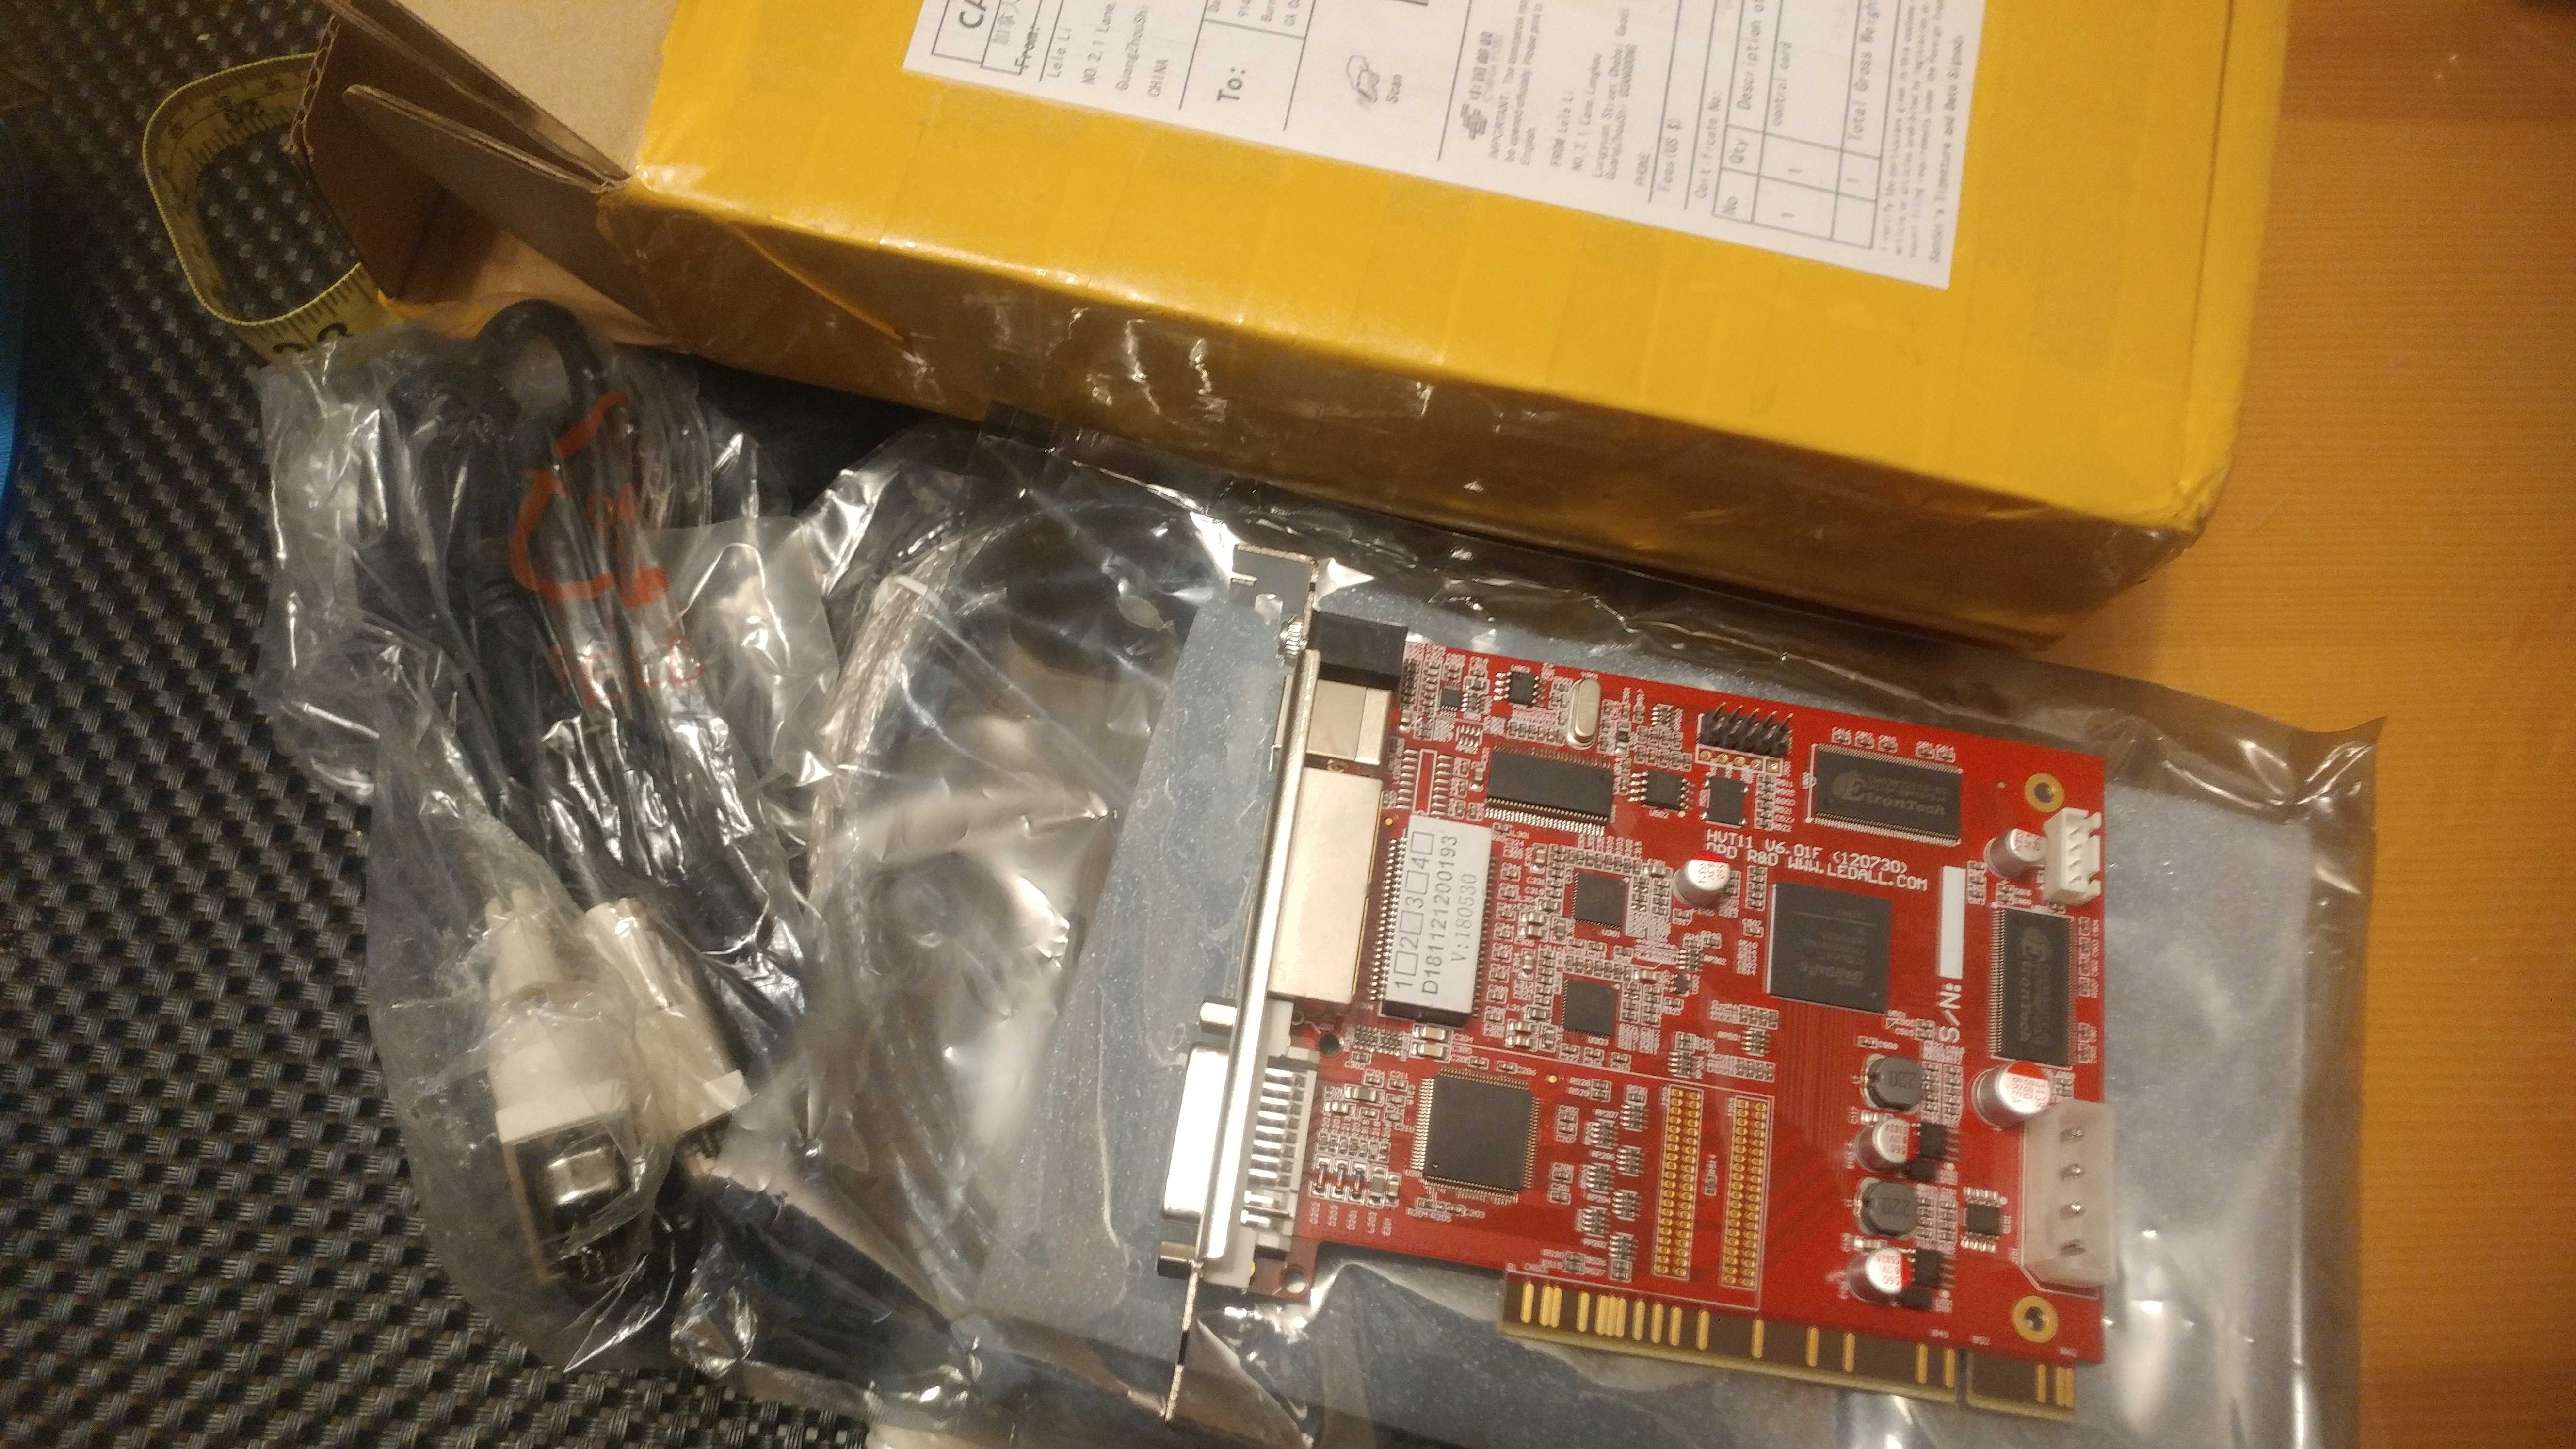
Right now the sender card is the little red card with the wires going into it that sitting on a cardboard box next to my lunch and plugged into a 5v wallwart. I plan to come up with some sort of case/enclosure/upgraded cardboard box for it so we can just have a thing that you plug a computer into when you want to display something. For now I stashed it into my tote, there are several ways to screw up the panels with that thing, most of it fortunately requires the configuration software and a password.
There might be a way to preload slide shows, but I am not sure how that will interact with a live display.
So had a look at this the other day, @Jarrett pointed out that the reciever cards have a serial eeprom chip on them, a SST25VF080B:
He figures it should be possible to dump and copy the storage from a good card, to a borked card, but won’t have time to try that until late December, if anyone else wants to give it a go though feel free.
I am making some progress on the configuration but still have to fix the individual pixel assignment order, new plan is to connect our 2 malfunctioning reciever cards each to a panel and try to configure it that way to get around the pixels not showing up on the screen issue. Won’t be able to try that till next weekend though.
Also, I started a new thread (to avoid thread clutter) about where do we install this thing. Have a look here:
So I have a sender card in a box now.
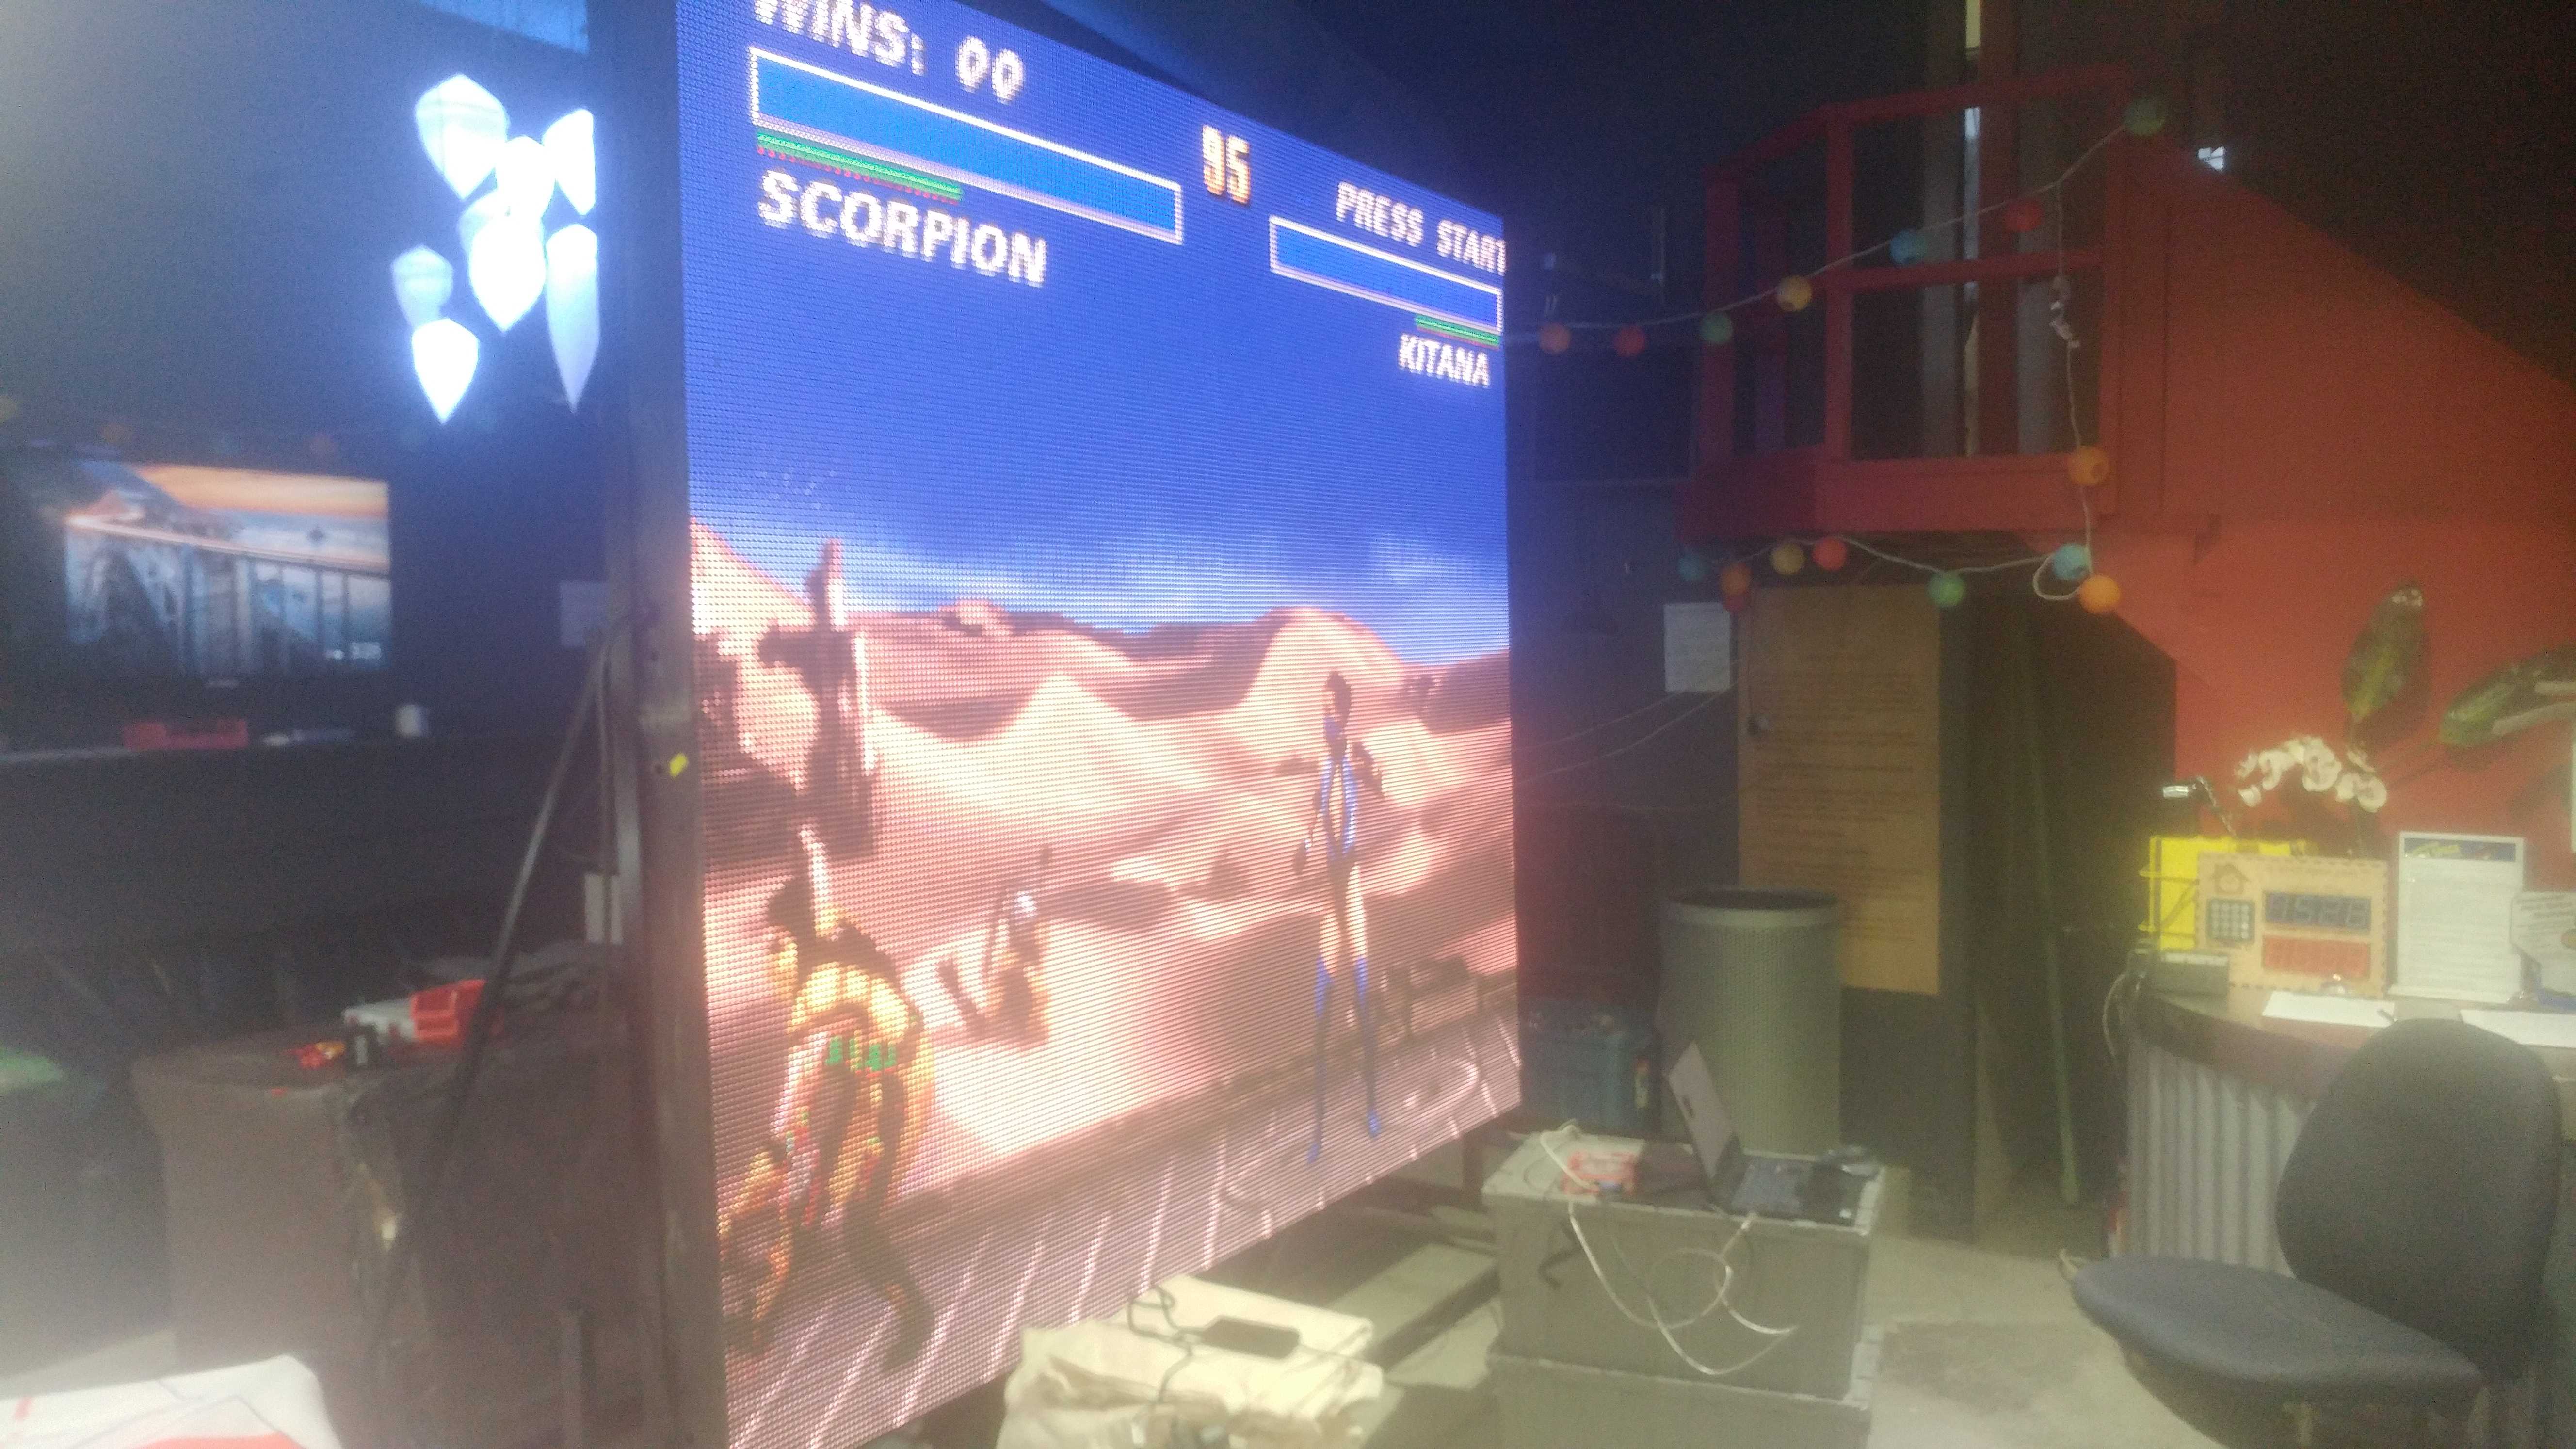
So yeah, you can hook it up and display youtube videos and what have you:

You just need to plug in the power brick, your DVI/HDMI signal, then a data line to the screen. Please don’t lose the HDMI->DVI adapter.
Like anything it ain’t perfect yet, so there are some notes:

As to the larger project of reverse engineering the configuration file, well, turns out that getting these things configured is a royal pain in the arse. So I am tapping out for a bit.
I got as far as the attached file. kinda working.zip (3.6 KB)
Which has the right driver, right scan rate, but the wrong pixel mapping (and the program insists on setting it up to be 32x16 rather than 16x16). If you are interested in taking this further DM me and I can give you instructions for how to download and launch the configuration utility. If you take it on on your own please:
ONLY TRY TO REPROGRAM THE ONE DISPLAY WITH A BORKED RECEIVER CARD
IT IS MARKED WITH TAPE THAT SAYS “HAS BORKED RECEIVER CARD”
WE DON’T NEED ANY MORE BORKED RECEIVER CARDS
REPROGRAMING WILL REPROGRAM ALL SCREENS CONNECTED
DONT SCREW IT UP
Just found out that the Luminescence V show application deadline has been extended to Jan 22nd. Someone might be interested in getting a giant game of pong together for this show? Always a popular one. Deer Lake Gallery.
Would be great fit for this show!
So the screen is running, I got windows installed on one of our old core 2 machines, its slow but functional thanks @laftho for the help with that. The pc is beside the couch. Feel free to fire it up, the password is written on top of the machine.
If the screen doesn’t come on automatically there is a program on the desktop called I think “Turn screen on” that you can launch to… well, turn the screen on. There is a button, its obvious, if you get a password prompt, that was the wrong button, don’t screw with anything behind the password (see posts above).
There are also snes and nes emulators and a roms directory on the desktop.
There are a few things I need help with if someone is looking for a project. I’ve put a fair bit of hours into this and am getting to the point where I would like to step back and let others take over. PM me if you need more details.
Off the top of my head though, on the list is:
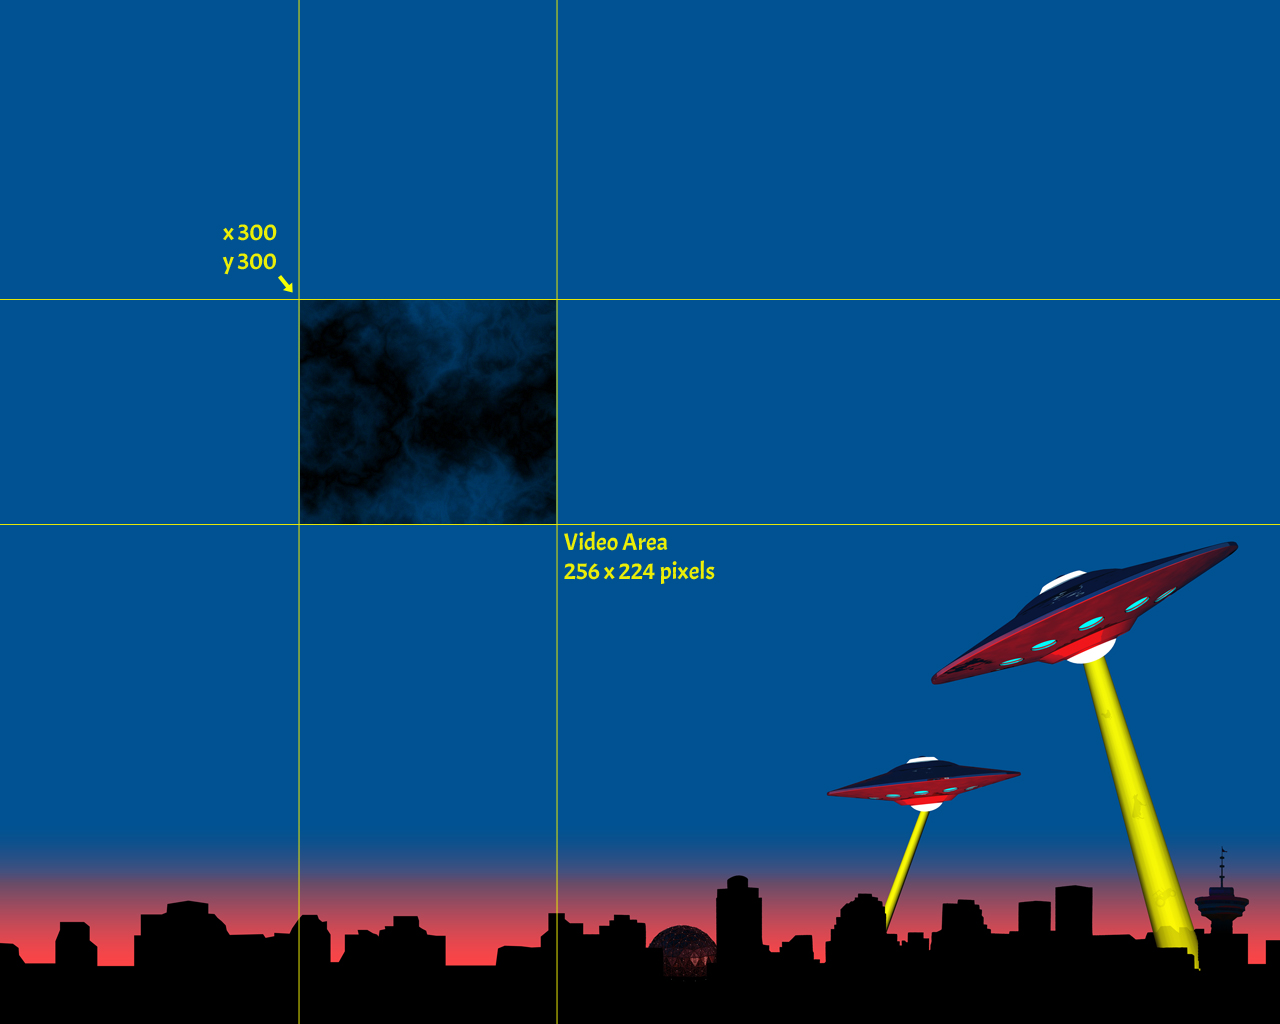
Other than that, the thing works, its basically a giant monitor, drag whatever you want to display to a spot 300 pixels down and 300 pixels right and it will mirror on the video wall.
I added a desktop image to the machine to help align your window to the display, basically anything inside the black square gets put on the wall.
I can take care of some of these.
Sweet, thanks Rob.
I got the ac repatched tonight, now you can just plug in the one cord on the left of the screen and it will power everything. The video wall itself is on its own switch.
Best to leave that cord plugged in and the computer running due to settings reverting. But if you need to fire it up after a reboot and the screen aint scaled right check to make sure the display is set to duplicate not extend, and check the video scaling is set to 100% these settings seem to change… Not sure why.
The new switch is beside the power cord
use this to turn off the video wall image and cut out all the fan noise when the screen is not in use.Oh and I have a new desktop, thanks for the sugestions.
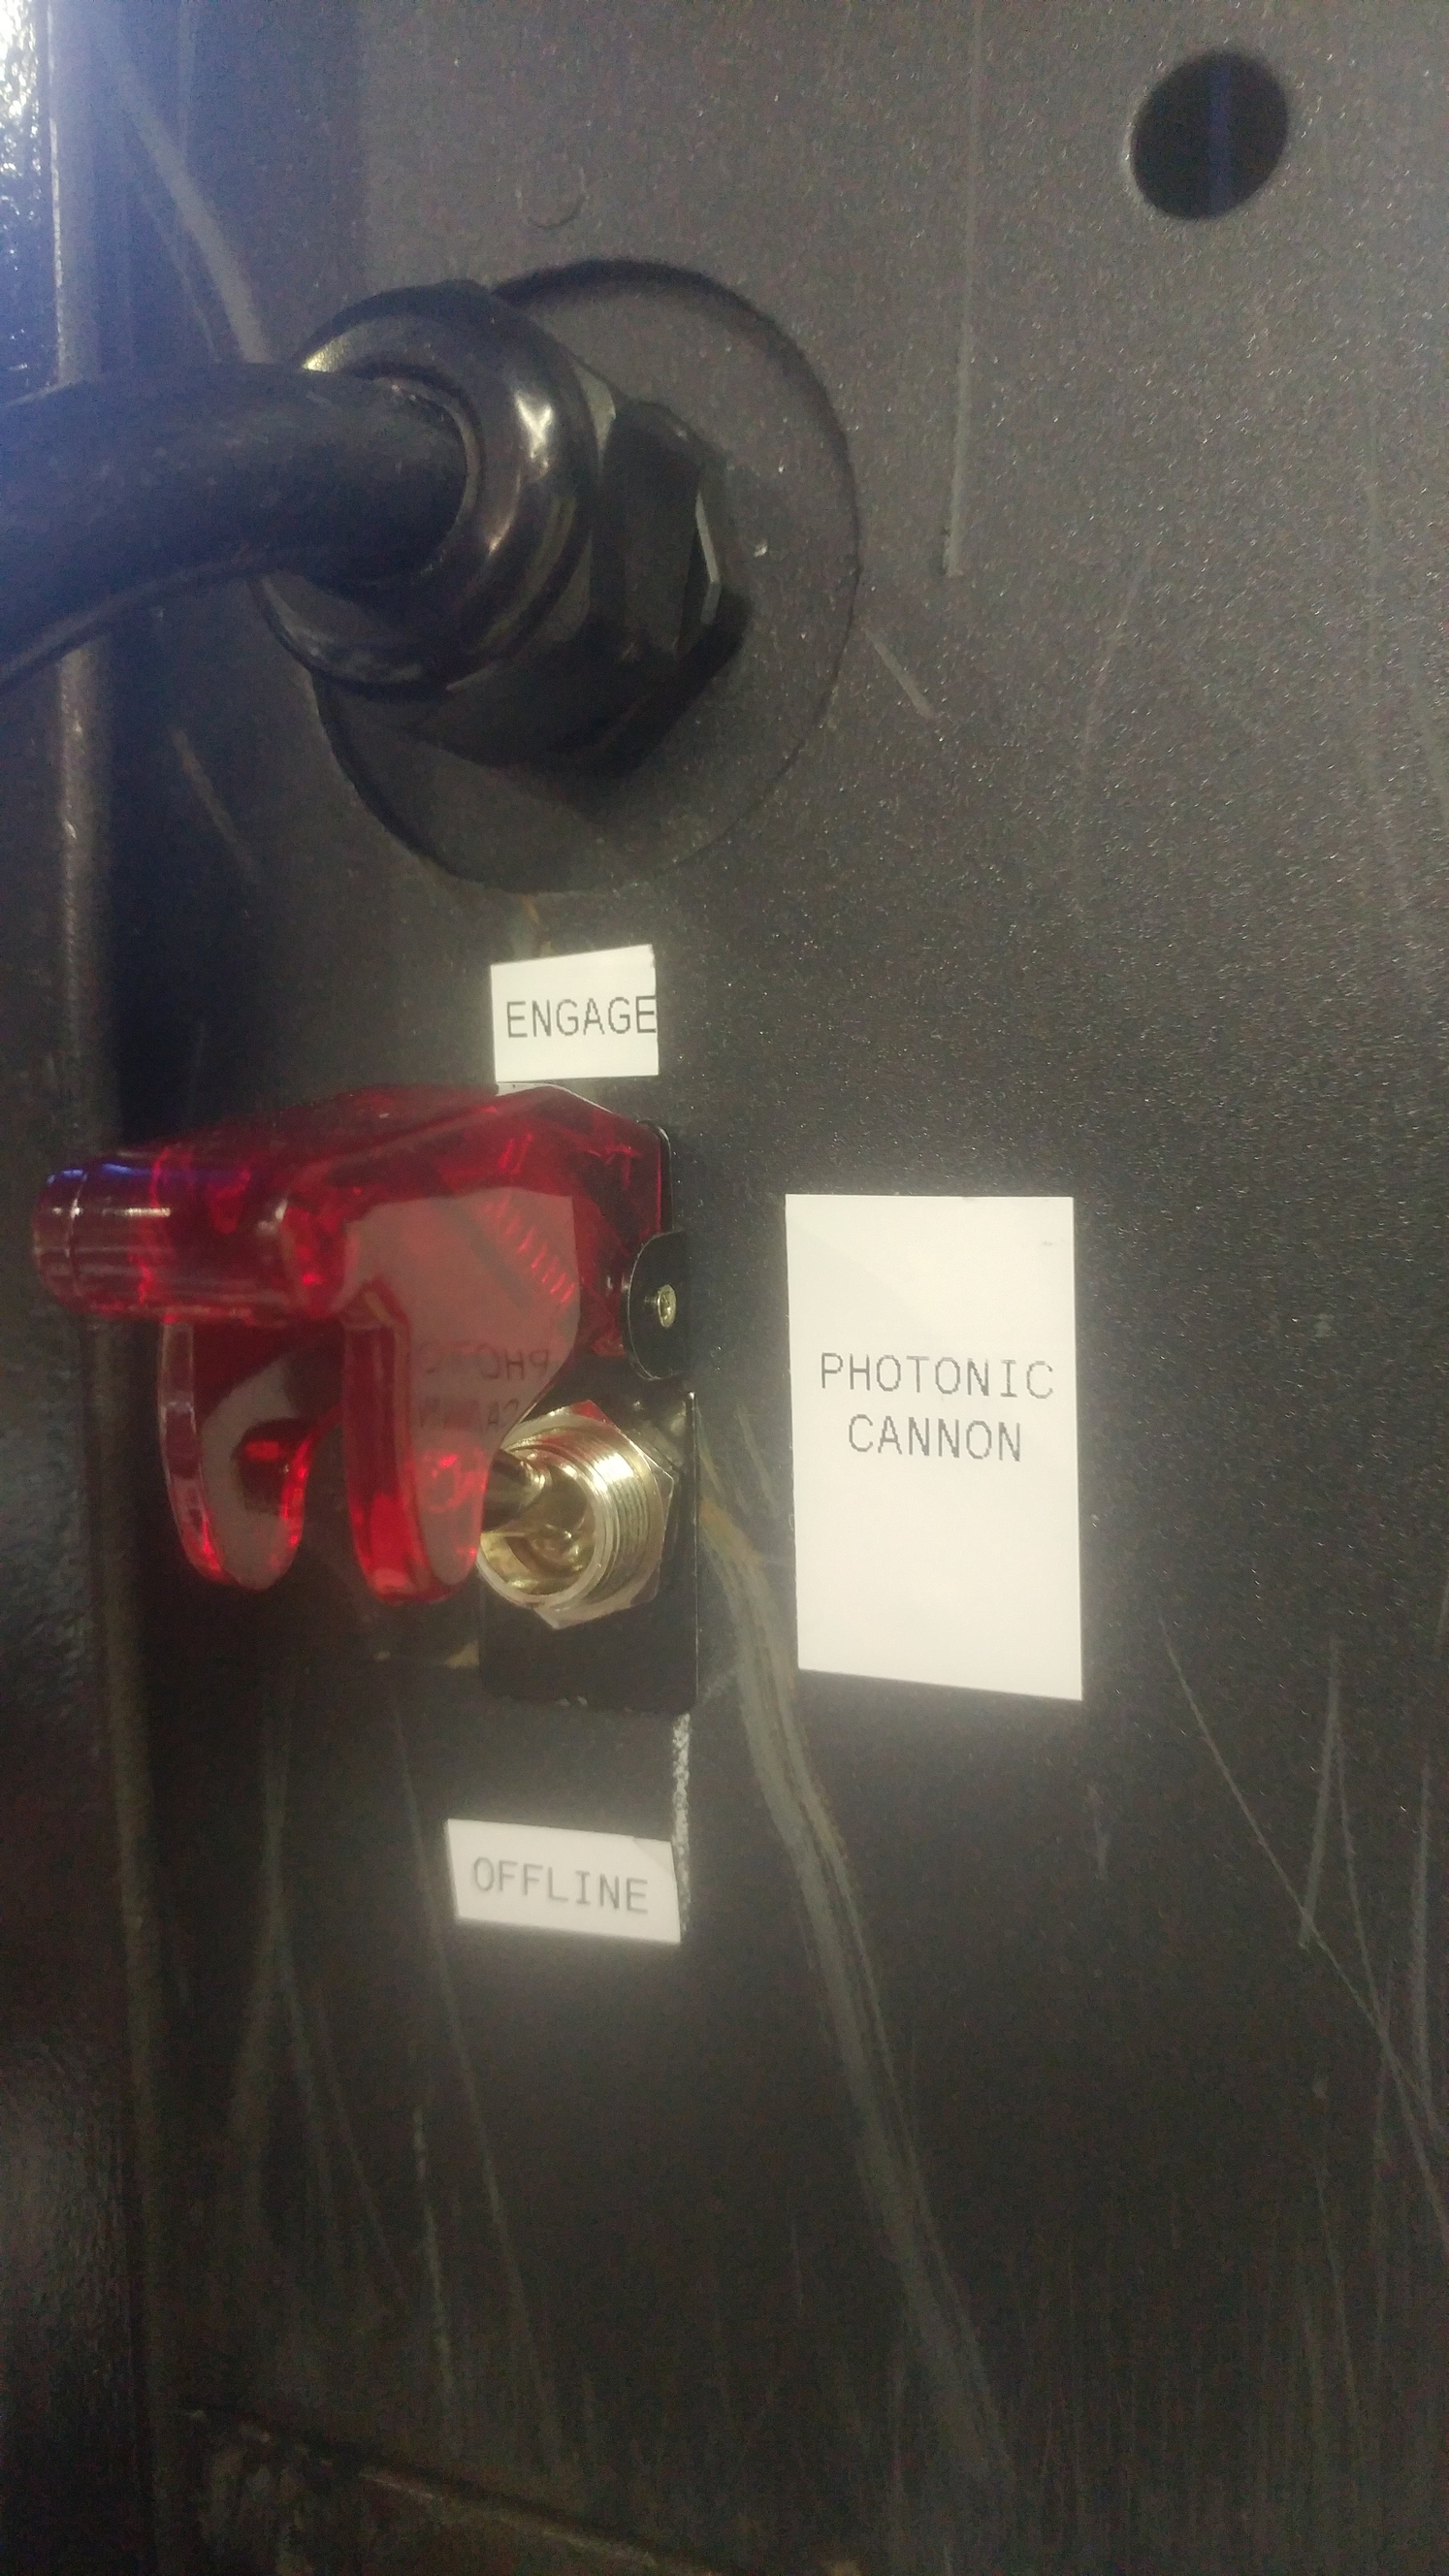
So yeah fire it up, would love to see what people come up with to display and play on our new photon cannon.
Not sure if this is old news, here is some code to send to the receiver card in C.
That looks like its for a ColorLight 5a-75, we could order those but right now we have a DBstar HRV11S.
What exactly is falcon player? looks like its for running xmas lights? not sure how that helps.
Falcon Player is a system for running Xmas lighting (or anything controllable via serial, DMX, E1.31, Pixel ). It runs animated sequences to music and video… This code appears to be a plug in to let a Falcon Player output to the video wall controller…
Falcon Player runs on a Rasp Pi or a BeagleBone
https://falconchristmas.com/wiki/Falcon_FPP
It has a crap load of features…
Sorry I thought you had Colorlight boards.
This topic was automatically closed 365 days after the last reply. New replies are no longer allowed.